A DIY Mattress?! How I Chose a Savvy Rest Mattress | Pretty Handy Girl

If you’ve been searching for a mattress that wouldn’t break down and wouldn’t need to be thrown away after several years, you came to the right blog post. I was like you until I found what I call our DIY Mattress.
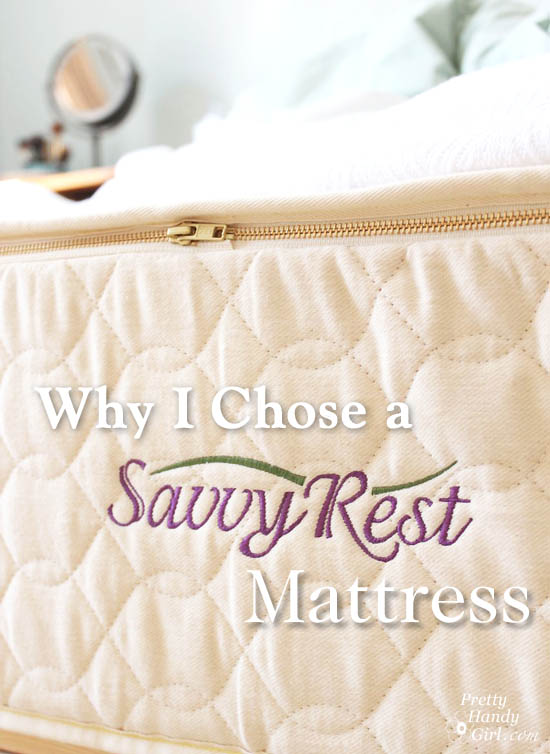
A DIY Mattress?! How I Chose a Savvy Rest Mattress | Pretty Handy Girl
Our DIY Latex Mattress: the Savvy Rest Serenity

Disclosure: 

Here’s the disclosure before you start reading. It seems like every blogger has been approached by a mattress manufacturer. I’ve received a fair amount of pitches as well in my inbox. But, I’ve declined them all. Instead, I chose to approach Savvy Rest because I REALLY wanted to share their product with you. BUT, here’s the whole truth (and nothing but the truth.) Once you learn a little more about latex mattresses, it is going to be a sleep changer for a lot of you! Savvy Rest was nice enough to consider my proposal and agreed to send me the mattress in exchange for a mention on my blog. Just so you know, I choose the brands I want to work with because I love the products. If I don’t like a product, I don’t blog about it. This is one of those products that I have recommended to my friends, family and anyone who will listen to my ravings. 

Update:It’s now been over four years since we began sleeping on our Savvy Rest Serenity mattress and we are still happy with it. Recently Savvy Rest asked if I’d like to use affiliate links since I still sing the praises of their product. I’ve included affiliate links for your convenience. I earn a small percentage from a purchase using these links. There is no additional cost to you. You can read more about affiliate links hereNow that you know the whole truth, this is my opinion and my story: 

When I shared our master bedroom plans, I told you that it all started with getting a new mattress. And, I have been dying to share the information about that mattress with you! I literally have to control myself from stopping random strangers on the street to tell them about this amazing latex mattress that I discovered. In fact, as I sit here typing this post I’m worried that it’s going to sound too much like an infomercial because of how much I love our Savvy Rest Serenity latex mattress.  In a nutshell, here are the main reasons I have fallen head over heels in love with it:

  • It is amazingly comfortable and supportive. We’ve been sleeping on it for a month now and my back aches are GONE!
  • Organic! No chemicals, no off-gassing, no bleaching! The cover is made with natural cotton and wool. The interior layers are natural latex.
  • Eco-friendly because not only are the materials natural, but this mattress will last you at least 20 years (often times latex mattresses can last 30 – 40 years or more!) This means less waste going to the landfill! And you know how passionate I am about keeping things out of the landfill.
  • It is completely customizable to your comfort and support needs. (As well as separate customization for your partner.)

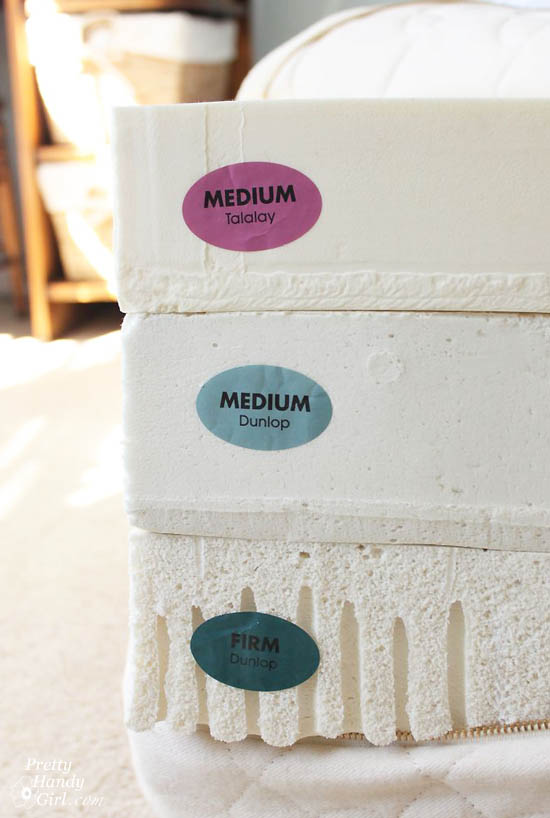
Sounds good right? But, this isn’t your average mattress. I like to call this a DIY mattress because you literally pick three distinct latex foam layers to customize to your comfort needs. First, you choose either talalay or dunlop latex or a combination. Then you can choose between soft, medium and firm. This offers you more options than you can count sheep!

A DIY Mattress?! How I Chose a Savvy Rest Mattress | Pretty Handy Girl

Let’s not forget about your spouse who likely has completely different comfort needs. He or she can chose their own comfort layers when you select the Savvy Rest Serenity split queen or split king mattress. This is the key to a happy marriage, is it not?!

A DIY Mattress?! How I Chose a Savvy Rest Mattress | Pretty Handy Girl

But, I want to back up and discuss a little more about how I realized we needed a new mattress and how I decided on a Savvy Rest mattress.

Do you need a new mattress, too? Read more

Give_a-blogger_a-cookie

Master Bedroom Makeover

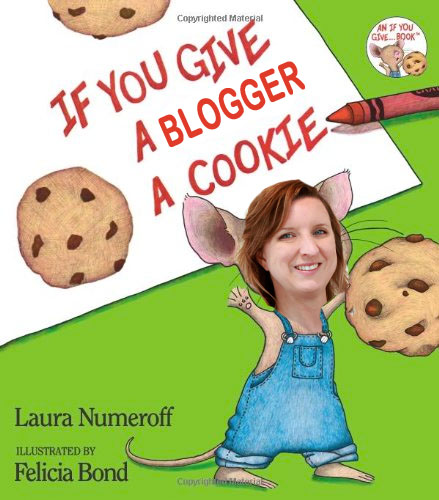
Do you know that book, If You Give a Mouse a Cookie? Yeah? I feel like I’m literally living inside that book, only the title is, If You Give a Blogger a King-sized Bed. It was inevitable. We finally made the switch to a king size mattress. Without getting into too much information (because I will be sharing with you in the near future, the mattress we chose and why it is the LAST mattress we will ever have to buy), we decided to upgrade to a king size mattress. When we brought the mattress in, we found out we needed to rearrange our room. And when we rearranged the room, we realized that our new arrangement would cover up the dandelion wall mural that I painted. And, since we were covering up the dandelion, we might as well paint the walls. And if we were painting the wall, wouldn’t it be cool to have dark walls with a white bed? And if I wanted a white bed, I needed to build a new bed. (Because, you know me…I have to build my own bed, instead of buying one.) And after I built the bed and put it in the room, I’d realize that we needed new curtains, new bedding, new….well, you get the picture right?! If you give a mouse a cookie…and on and on. Who understands these trickle down DIY projects?

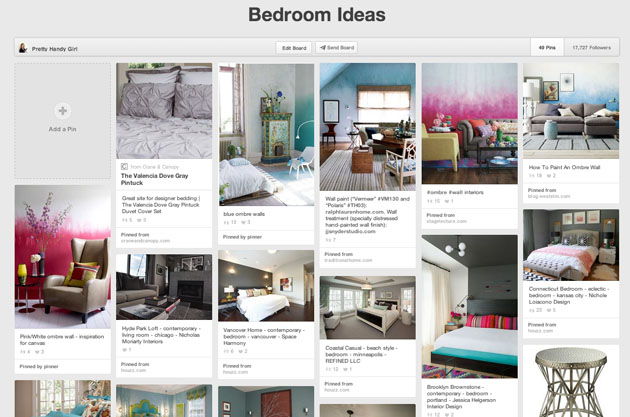
I began pinning some inspirations for our bedroom.

PHG_bedroom_pin-board

Some of my favorites are: Read more

Painted Lampshade & a Quick Guest Room Makeover | Pretty Handy Girl

Painted Lampshade & a Quick Guest Room Makeover | Pretty Handy Girl

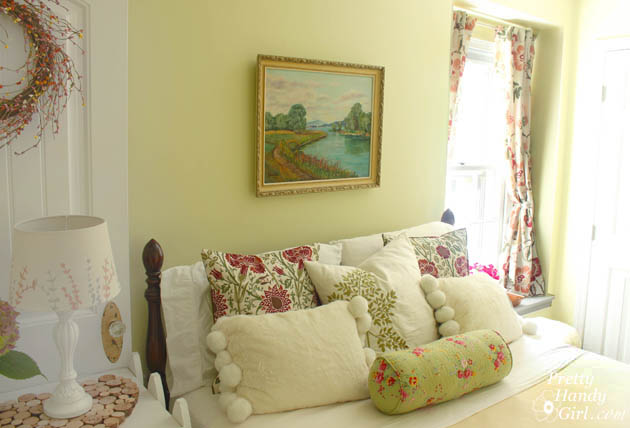
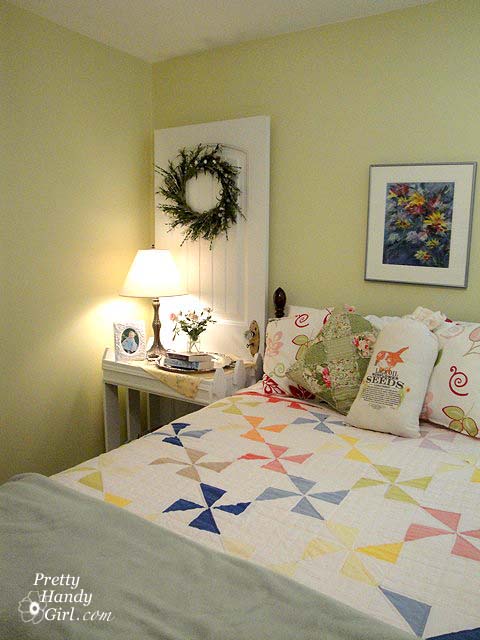
My mom was coming to visit his month. Since she’s a repeat guest, I wanted to give the guest room a little mini makeover for her. With the addition of some new pillows, curtains and a painted lampshade I gave it a new look in an afternoon.

Here’s the before:

GuestBed

And the after: Read more

How to Create a Rustic Wood Headboard for $80 | Pretty Handy Girl

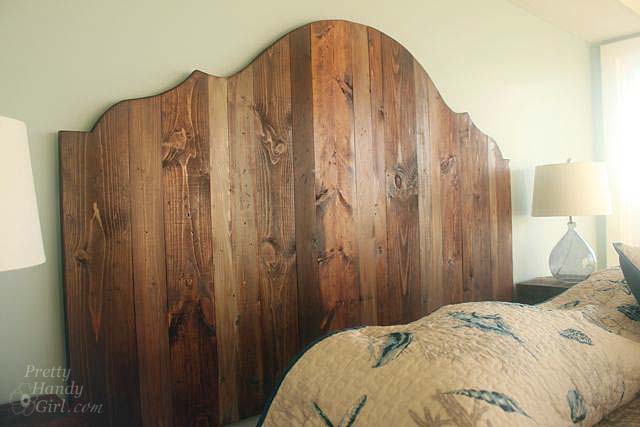
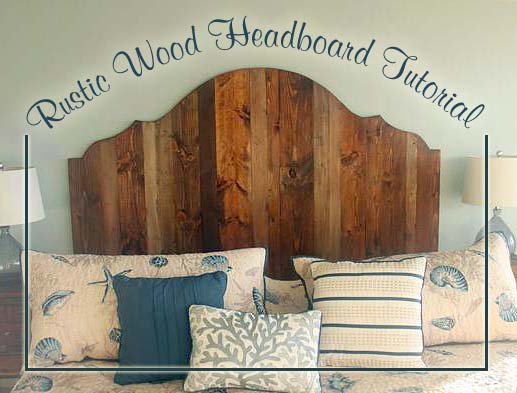
I’m back with more progress on the beach condo. I am really excited to share this tutorial on how to create a rustic wood headboard with you because it caused quite the buzz on Facebook and Instagram. This has to be one of my favorite projects that I completed in my stepmom’s beach condo. (You can see more pictures of the condo renovation on my sister’s interior design business page. Be sure to like her page, she has some great renovations to share.)

My sister, Caitlin, wanted me to make a unique rustic wood headboard for the master bedroom. Her budget was running low so she turned to Pinterest for some ideas and showed me this picture as inspiration.

I followed the link to a retail site where you could purchase the headboard for $2,195! {Cough, choke, gag…this was well out of our budget!} When we tallied the receipts, the lumber and materials to build our own king-sized headboard came in around $90 from Lowe’s! Woot woot!

And best of all, it is a relatively easy project that anyone can do if they have the right power tools.

Materials: Read more

DIY Room Divider King Headboard

I’m still working on my bedroom re-do, it’s been a long process but it is slowly coming to an end with the decorative part.

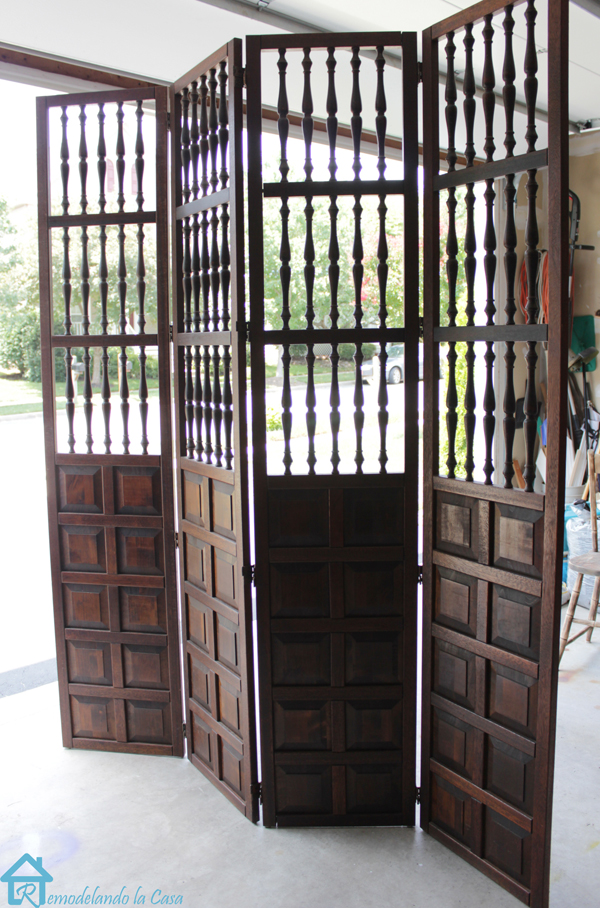
After painting the room, my big question was how to make the bed or that whole wall where my bed is going to be located, the focal point in the room.  At first I was thinking about installing wall paper with a nice design, then I thought about using a stencil since its a more economical choice. A painted stencil would also be easier to change later on.  Then, I received a stroke of luck! I scored a cabinet in the FREE section of Craiglist! When picking it up, the owner asked me if I also wanted this room divider:

DIY Room Divider King Headboard

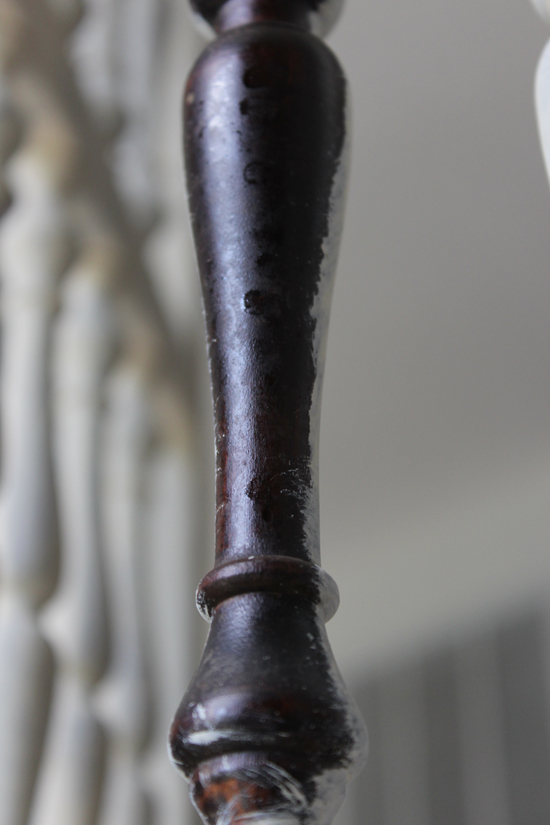
“Of course!” I said and run out of there before he had time to change his mind!  That thing is super heavy! It looked really nice after a good cleaning, up close not that much, something was sprayed on it 🙁 there were lots of spots all around.

DIY Room Divider King Headboard

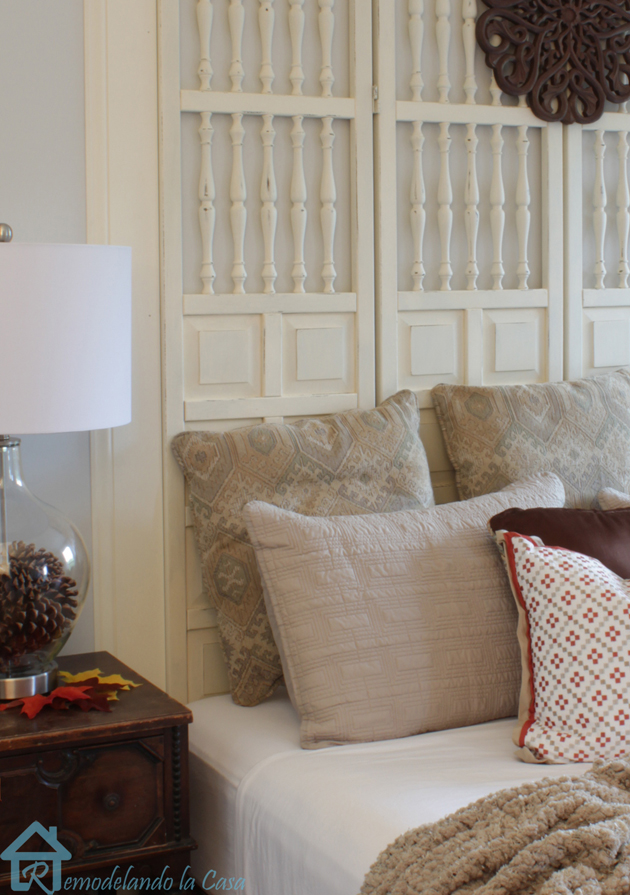
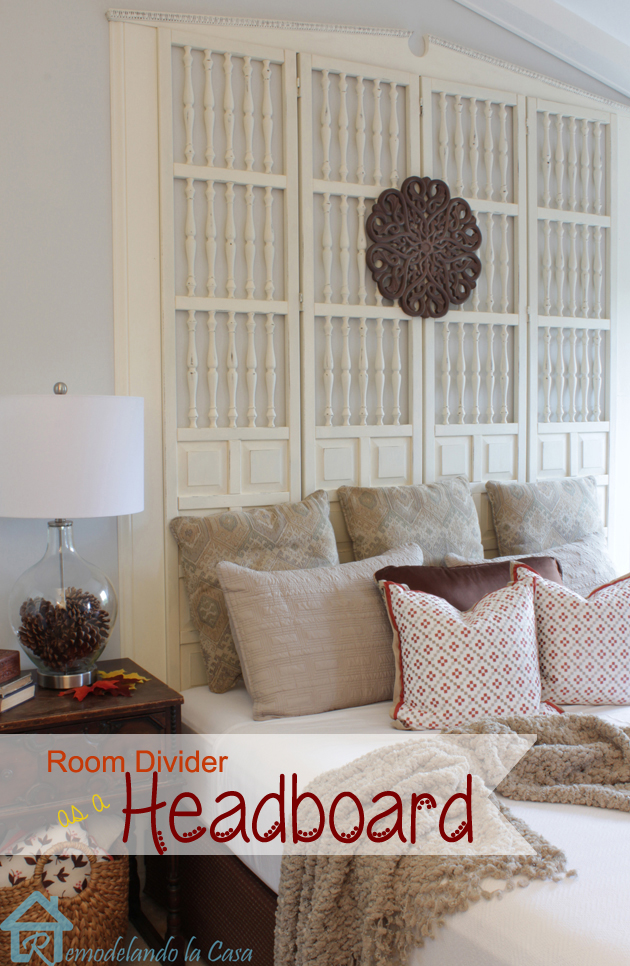
That’s why I decided to paint it and use it as my bedroom’s headboard.

The materials and tools you will need: Read more