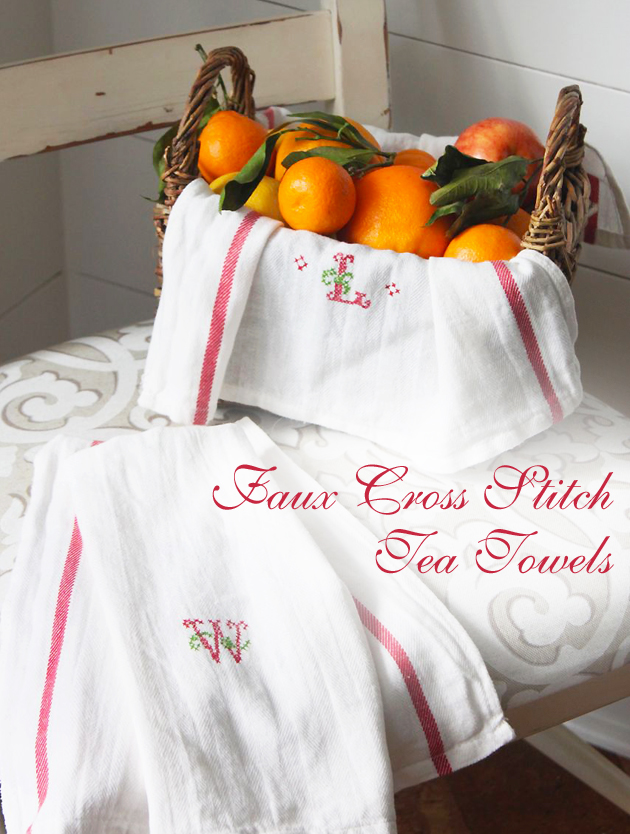
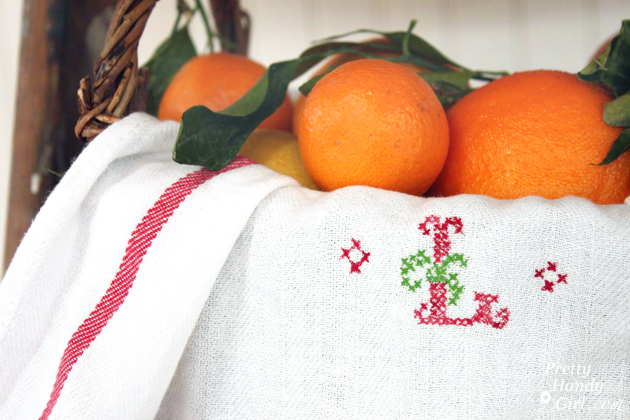
How about a cheap and easy DIY gift idea today? Faux Cross Stitch Tea Towels are sure to please anyone and they cost less than a dollar! I bought several of the red striped Tekla tea towels at Ikea that cost .79 a piece!
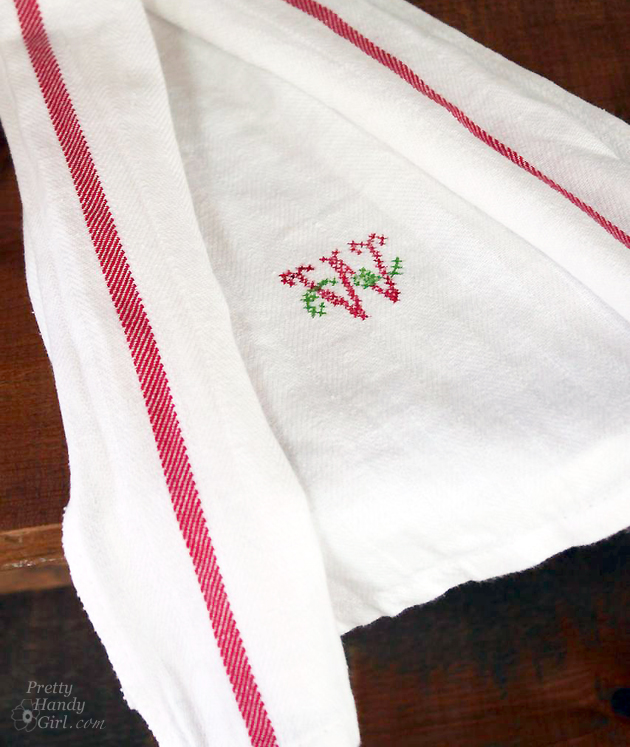
I came up with the idea after seeing Miss Mustard Seed’s cafe curtains. But, decided to create monogrammed tea towels to give as gifts.
Materials:
- Ikea Tekla Tea Towel
- Red & green acrylic paint
- Tiny round paint brush
- Painter’s tape
- Light box (if you don’t have one, you can tape your letter and towel to a window during the day.)
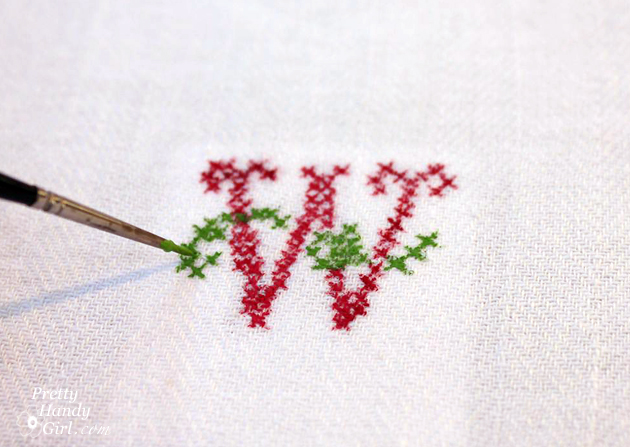
Instructions: Read more