wine bottle vases

Are you a wine drinker? Nope? Well how about a beer drinker? Either way you can stop throwing away those pretty bottles and cut them to use as glasses, containers —or my favorite—flower vases!
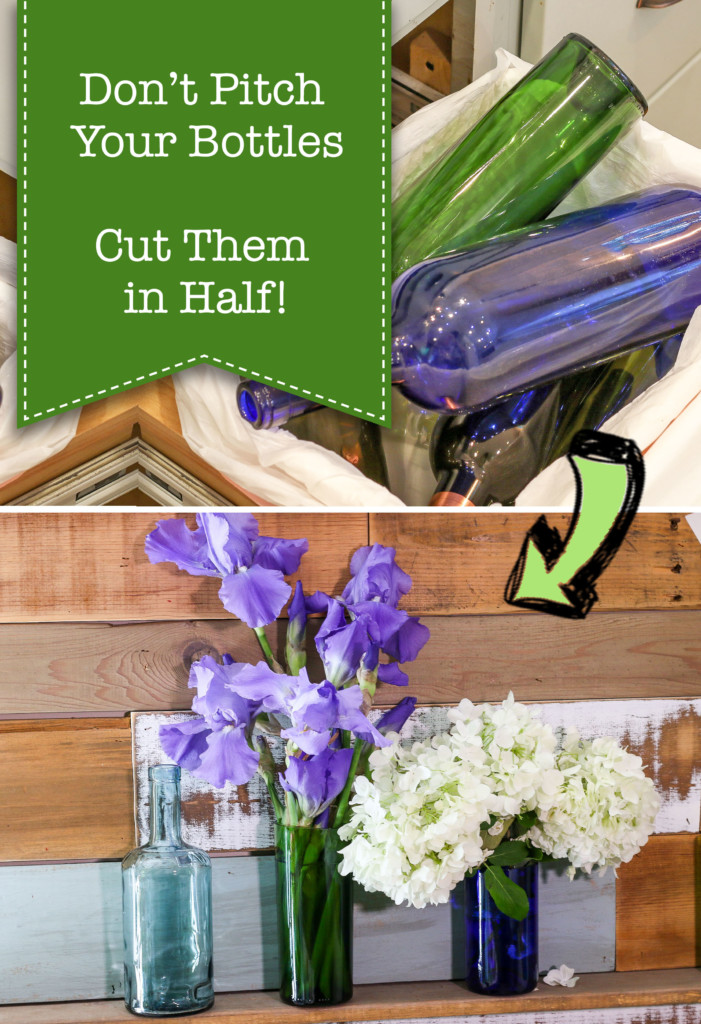
don't throw away wine bottles. Cut them in Half

Don’t Pitch Bottles! Cut Them in Half!

About a year ago I bought a bottle cutter off Amazon. I had grandiose plans to make vases and drinking glasses galore. Instead the glass bottle cutter sat in the box. Recently I decided to take the leap and try it out. (Especially because my yard is overflowing with flowers to share.) I figured this was a great way to upcycle wine bottles and use them as free vases for friends and neighbors. Ready to learn how to make wine bottle vases, or drinking glasses, glass containers, or votive holders?

We’ll need a few tools to make this magic happen.  

Materials:

(I’ve included affiliate links for your convenience. I earn a small percentage from a purchase using these links. There is no additional cost to you. You can read more about affiliate links here.)

Feel free to watch the video or keep reading to learn how to cut glass bottles easily and safely.

Instructions:

Before cutting your bottle, you’ll need to remove the label. Here’s another tutorial to easily remove labels from bottles. 

Make a small mark at the bottom of your bottle. This is where you will start and stop your cut.
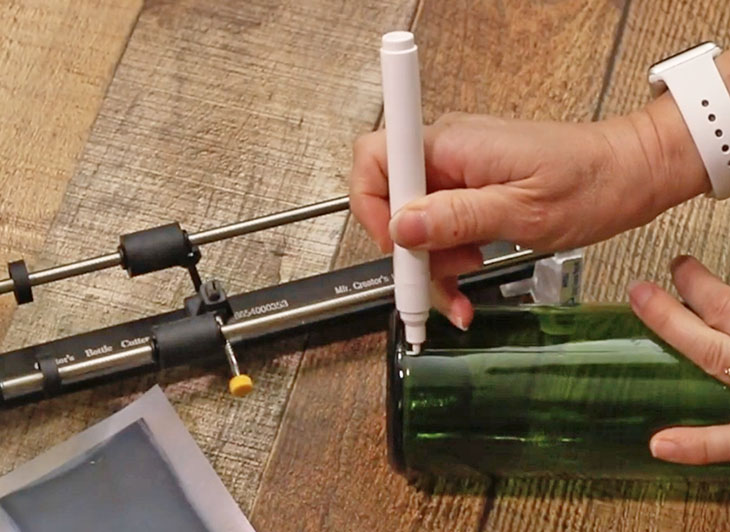
mark bottom of wine bottle with white paint pen

Adjust the glass cutting wheel to where you want to make your cut. Release the glass cutting wheel on the cutting jig. Slowly rotate the bottle until you have completed one full rotation.
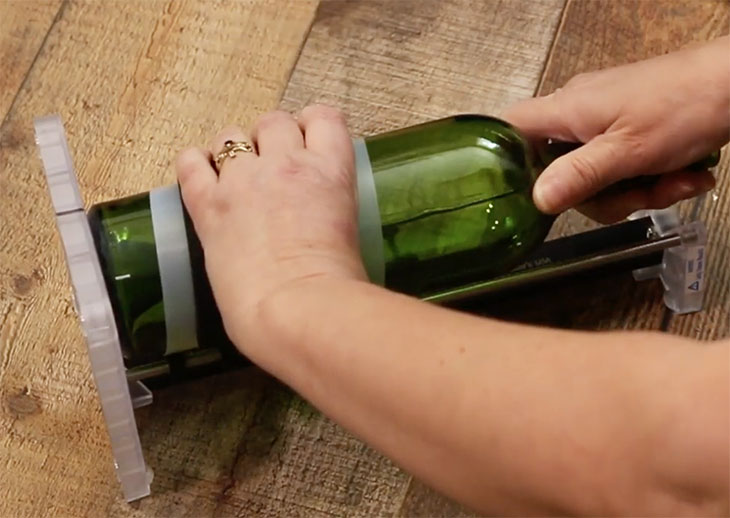
turning bottle to cut

Remove the bottle and check that your bottle has been scored the full way around.
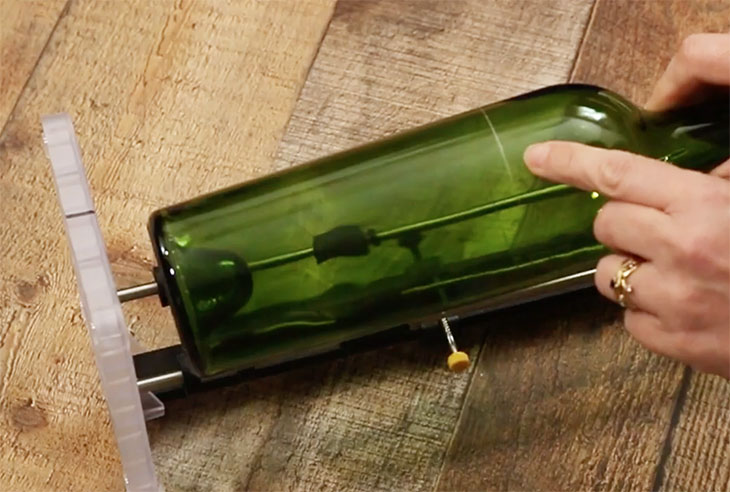
pointing out scored cut line on wine bottle

Time to move into the kitchen. Make sure you are wearing those safety glasses.

Have a pot of hot water on the stove almost to boiling. Next to this have a container with ice water ready.

Dip the wine bottle into the hot water, making sure to submerge the bottle to the cut line. Hold it there for 15-20 seconds.
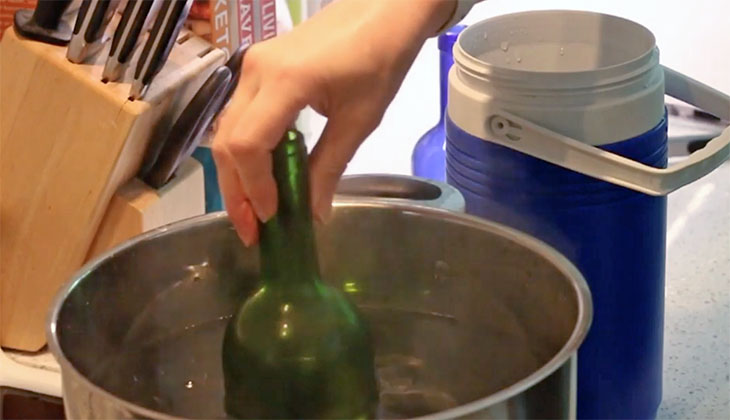
wine bottle in hot water

Then immediately immerse the bottle into the ice water. Try to separate the bottle (if it doesn’t separate on its own.)
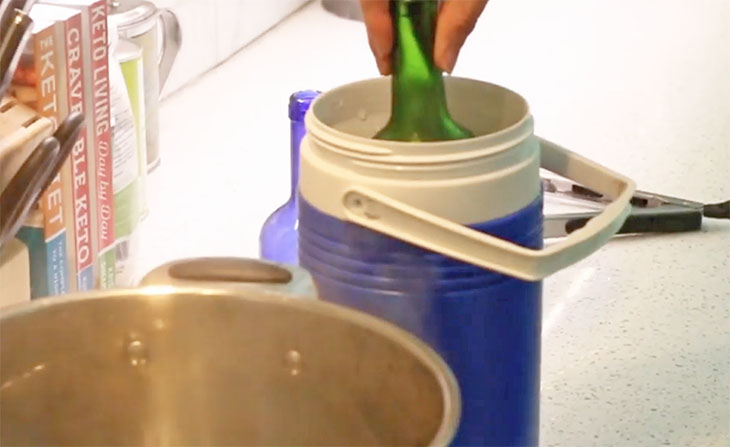
wine bottle in ice cold water

If it won’t break, resubmerge into the hot water and then the ice water again. 
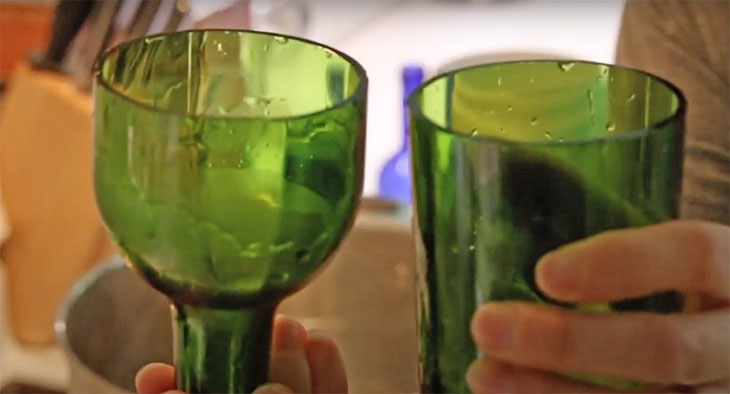
cut wine bottle in half

Once the bottle has separated, the edges need to be filed. For even smoother edges, sand the rim with progressively finer sandpaper. I started with 150 grit and worked up to 600 grit. 
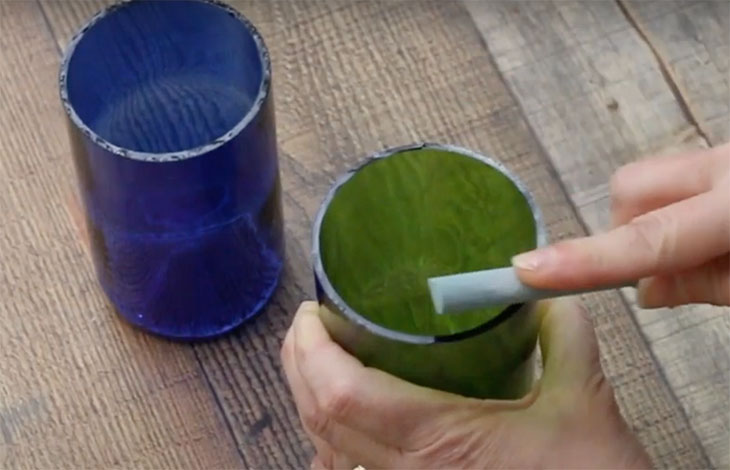
file cut glass smooth

Be sure to clean up your glass shavings, take care because they can cut you.

Now you can use your newly cut bottles as containers, drinking glasses, or vases!

Fill them with water and flowers to give as a gift. 
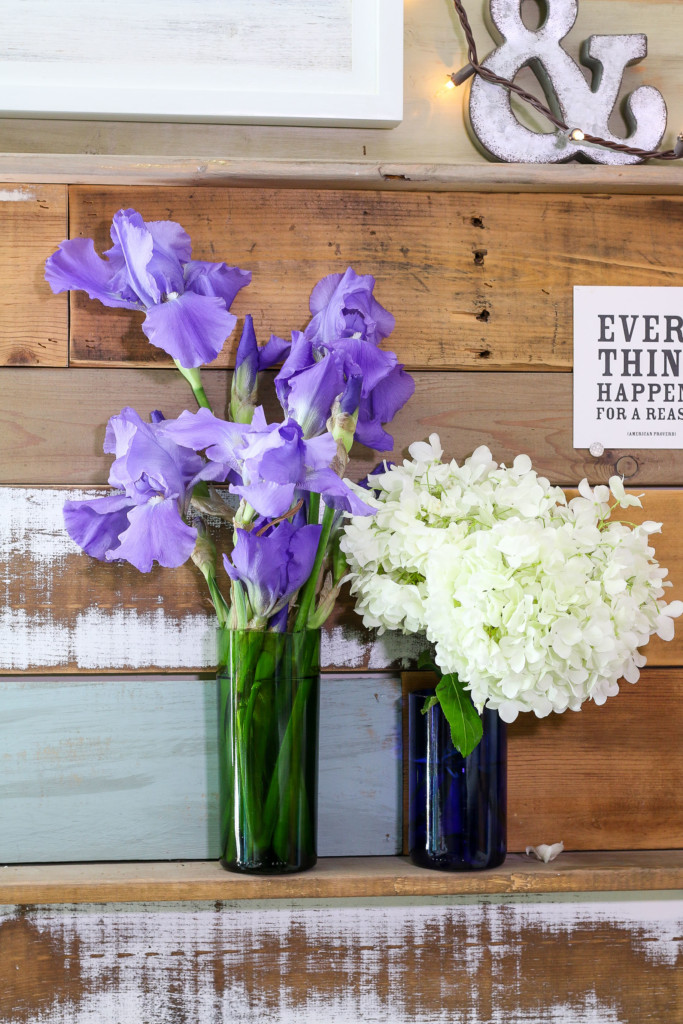
wine bottle vases

Now promise me you’ll never throw away glass bottles again. They are too pretty not to re-use. Especially once you have a bottle cutter.

signature

If you liked this tutorial, you’ll love learning how to make these gold leaf decorated vases:
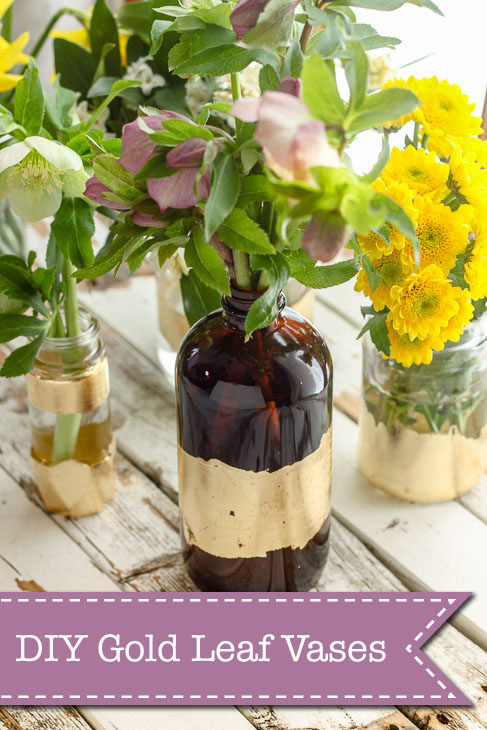
DIY Gold Leaf Vases from Recycled Bottles | Pretty Handy Girl

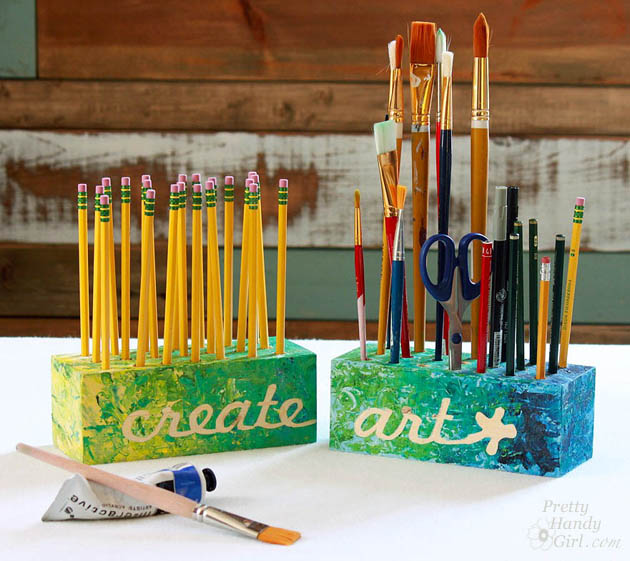
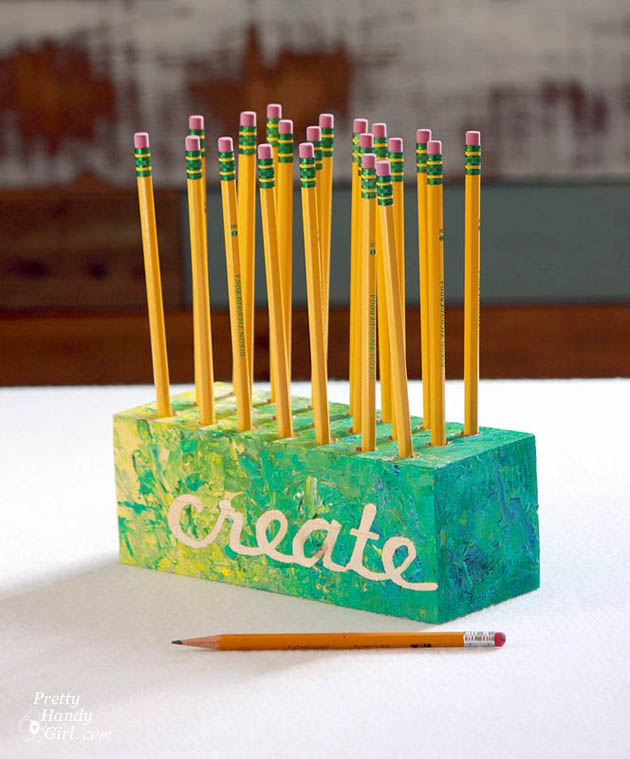
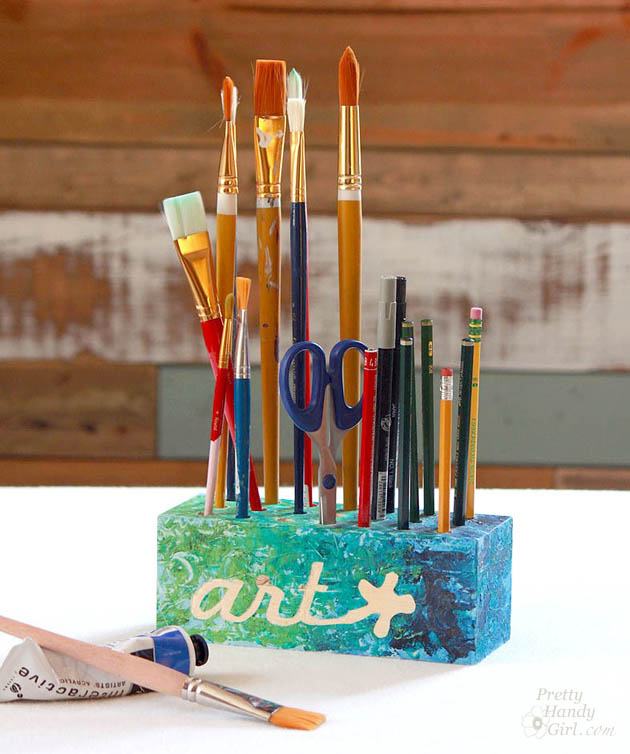
Need a quick gift using scrap wood? A Creative Block Desk & Art Utensil Holder is an easy and fun gift to make and certainly a project that you can customize to meet your needs. Best of all, the kids can help with the painting step!

create_art_block_holders_sm

Creative Block Desk & Art Utensil Holder

Mother’s Day is this coming weekend! Have you decided how to show her your appreciation and love?! I did! My mother is a professional artist. She creates amazing paintings that inspire others and brightens their homes. For Mother’s Day I wanted to brighten her studio with these art utensil holders. I call them “Creative Blocks.”

Go ahead and raid your scrap pile and join us as we make these colorful and fun Creative Block Desk & Art Utensil Holders.

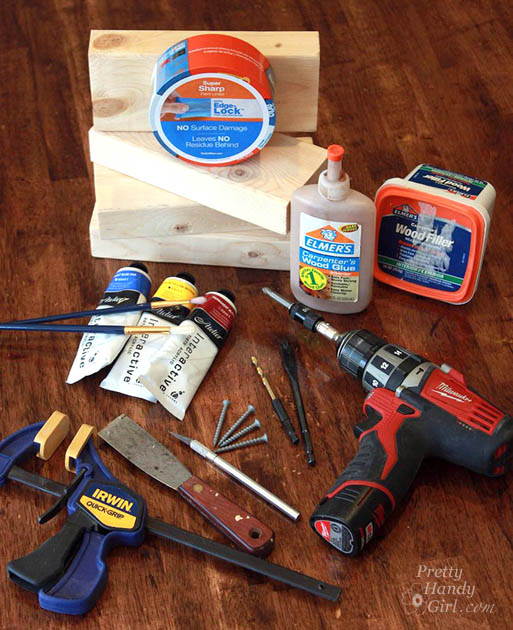
Materials:

(I’ve included affiliate links for your convenience. I earn a small percentage from a purchase using these links. There is no additional cost to you. You can read more about affiliate links here.)

materials_wood_blocks_sm

Instructions:

1. Block assembly: Select two 2×4″ scraps cut to the same length. Spread glue on one board and sandwich them together.

glue_blocks_together_sm

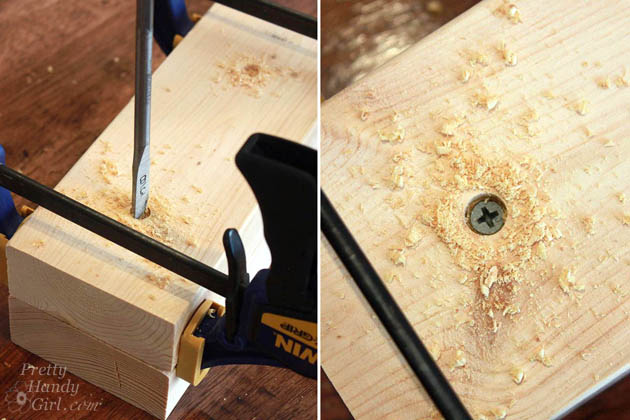
Clamp the wood together and drill two small holes to countersink the heads of the screws. Drive two screws into the bottom of the wood to hold the pieces together.

drill_blocks_together_sm

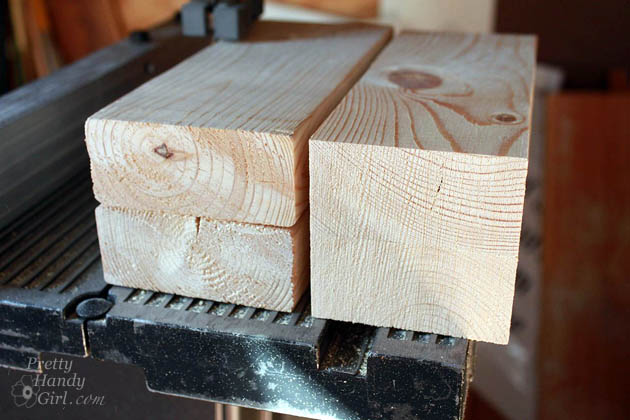
Use a band saw, jigsaw, or table saw to trim off the rounded edges of the wood so you have a square block of wood with straight corners.

square_off_2x4s_bandsaw_sm

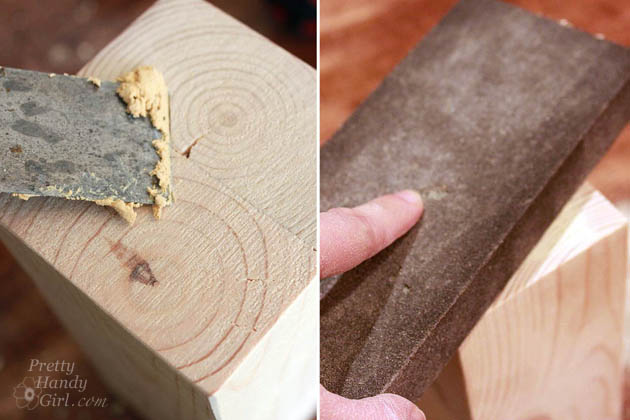
Putty any cracks or holes. Sand until smooth.

putty_and_sand_blocks_sm

2. Creating the mask:

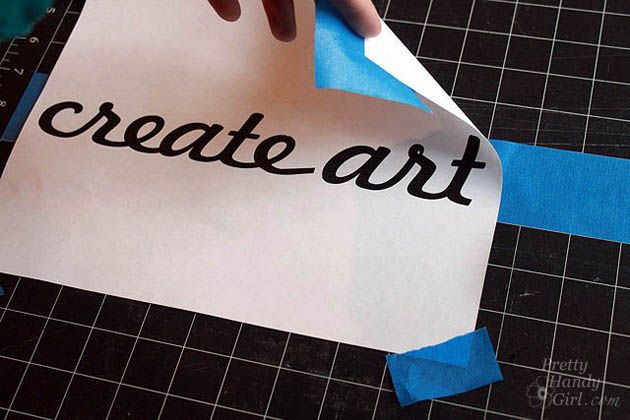
If you have a craft cutter (Silhouette or Cricut) you can create a mask in vinyl easily. But, if you don’t you can use the computer to print out your words. Lay the print out on top of a strip of Painter’s Tape. Use a few pieces of tape to secure the corners.

create_art_printout

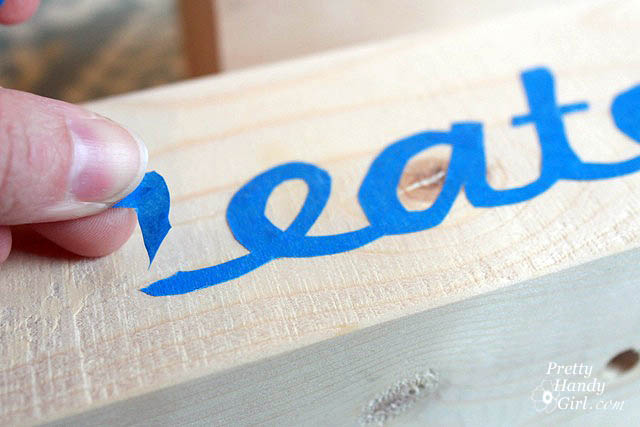
Trace around the words with the X-acto knife (be sure to have a few fresh blades on hand.) Transfer the resulting cut-out tape onto the block of wood. Press the edges of the tape mask to secure the tape.

add_scotch_blue_tape_letters

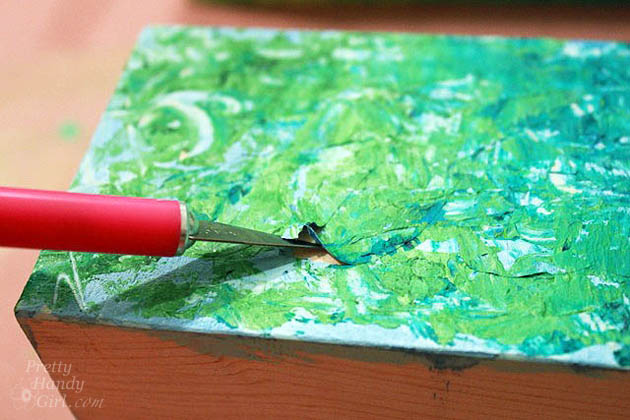
3. Painting the block: Paint a base color onto the block. Then use a brush and/or palette knife to dab thick paint over the block (minus the base.) Use the X-acto knife to gently peel off the tape mask. Let the paint dry thoroughly overnight.

lift_tape_up

4. Drilling Holes:  After the paint has dried completely, mark the location of the utensil holes with a pencil. Put a piece of painter’s tape on the drill bit to mark the depth of your holes. Clamp the block and drill holes at each pencil mark.

drill_holes

Dump sawdust out of the holes.

Wrap up the blocks in gift wrap and enjoy the look of joy as your Mom opens her Creative Block Mother’s Day gift!

create_pencil_holder_sm

art_brush_holder

You know, as an artist myself, I almost loved these too much to give them away. But, my Mom is worth it. (And I can make another set if I want ;-).)

create_art_block_holders_sm

For more last-minute Mother’s Day gift ideas and many other creative projects, check out the Gift Ideas section here on the blog.

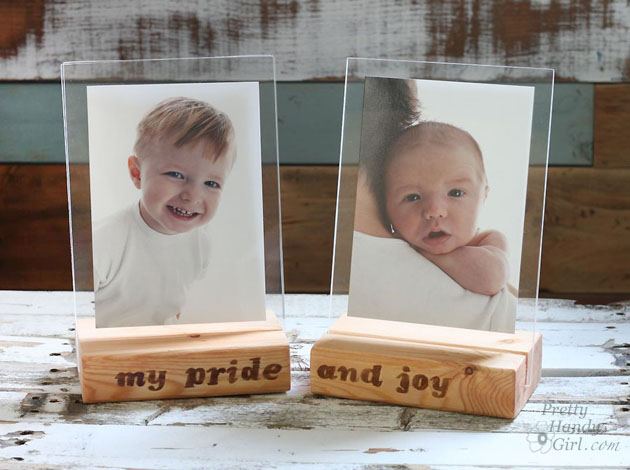
PHGFancySignIf you liked this project, you’ll love these floating picture frames using more 2×4 scrap wood.

wood-block-picture-frames

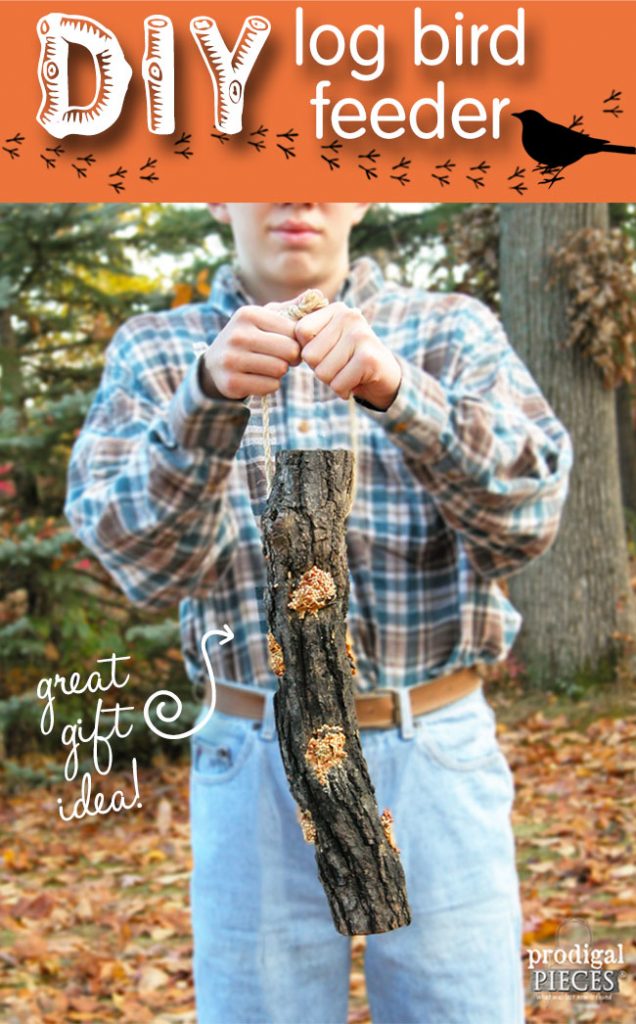
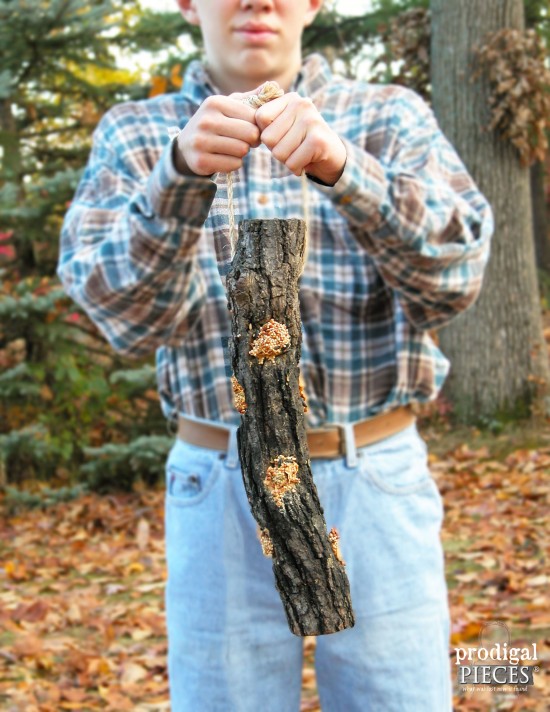
Give your feathered friends a treat from spingtime through winter. Make this easy-peasy DIY log bird feeder with one tool and a few basic materials by Prodigal Pieces for Pretty Handy Girl www.prodigalpieces.com #prodigalpieces

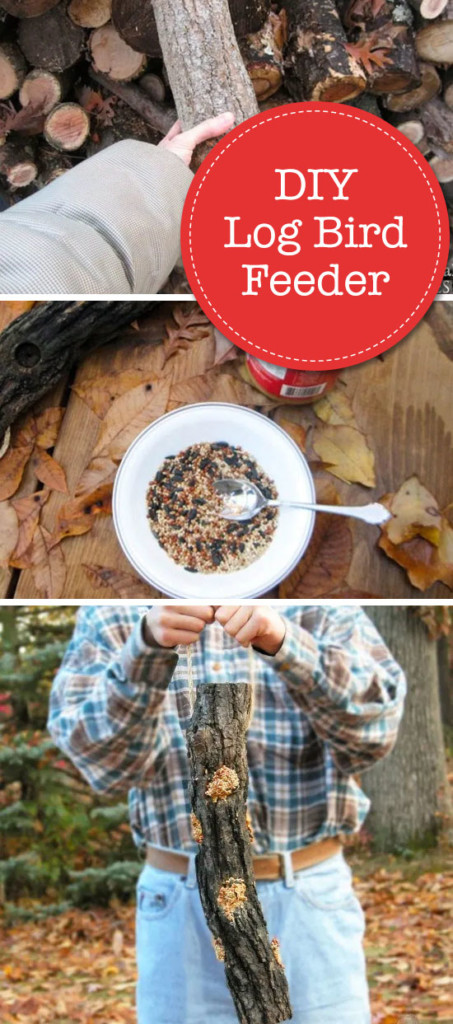
Hello readers, I’m Larissa coming to share with you a nature-inspired DIY project. Today, we’ll learn how to create a special DIY Log Bird Feeder treat for our feathered friends. The best part is that this can be a family fun activity to do AND to give as a gift for anyone who loves bird watching.

Give your feathered friends a treat from spingtime through winter. Make this easy-peasy DIY log bird feeder with one tool and a few basic materials by Prodigal Pieces for Pretty Handy Girl www.prodigalpieces.com #prodigalpieces

DIY Log Bird Feeder

We are avid bird lovers in our home and were delighted when a friend of mine gave us this bird feeder made from a piece of firewood and rope. How easy is that?

Give your feathered friends a treat from spingtime through winter. Make this easy-peasy DIY log bird feeder with one tool and a few basic materials by Prodigal Pieces for Pretty Handy Girl www.prodigalpieces.com #prodigalpieces

What a delight it is to see our tree clinging birds (nuthatches, tufted titmice, and woodpeckers) come for a visit and see their excitement at the treat they’ve found, especially the birds that overwinter. Did you know that migratory birds will remember your home the next time they’re passing through and will come back again year after year if you continue to provide nourishment for them? It’s like a reunion each spring and winter. Fun!

So, let’s grab some materials and get ready to create a DIY log bird feeder!

Give your feathered friends a treat from spingtime through winter. Make this easy-peasy DIY log bird feeder with one tool and a few basic materials by Prodigal Pieces for Pretty Handy Girl www.prodigalpieces.com #prodigalpieces

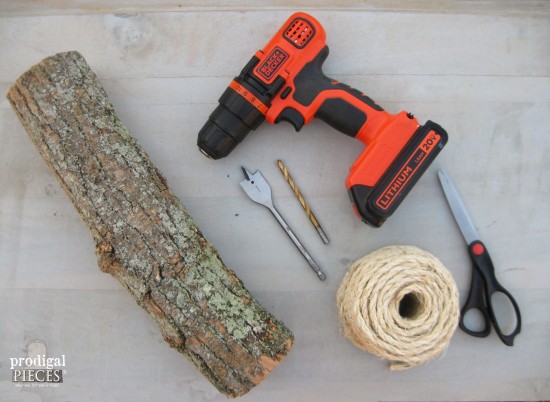
Materials:

(I’ve included affiliate links for your convenience. I earn a small percentage from a purchase using these links. There is no additional cost to you. You can read more about affiliate links here.)

Picking Your Log:

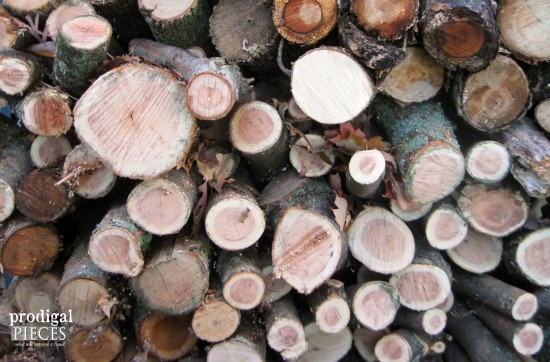
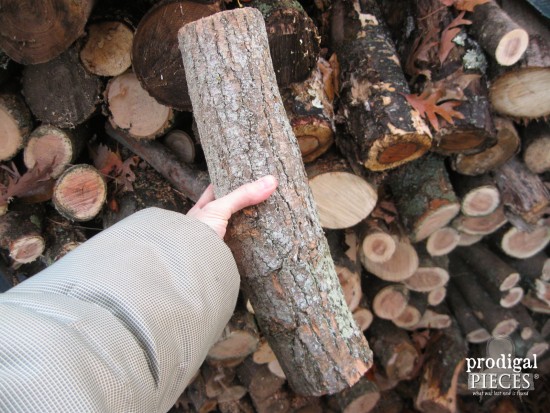
We are blessed to have a fireplace, so we always have a stash of firewood on hand. For your log, you can use a downed branch or head to your own stash to grab a piece of wood.

Give your feathered friends a treat from spingtime through winter. Make this easy-peasy DIY log bird feeder with one tool and a few basic materials by Prodigal Pieces for Pretty Handy Girl www.prodigalpieces.com #prodigalpieces

The tree-clingers prefer a chunky bark, but any tree variety will do.

Give your feathered friends a treat from spingtime through winter. Make this easy-peasy DIY log bird feeder with one tool and a few basic materials by Prodigal Pieces for Pretty Handy Girl www.prodigalpieces.com #prodigalpieces

Instructions:

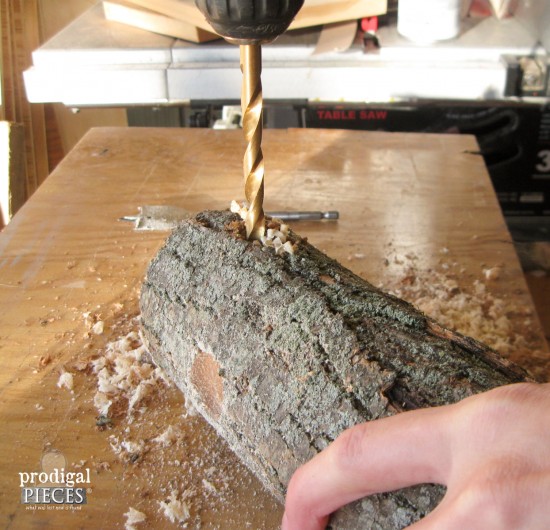
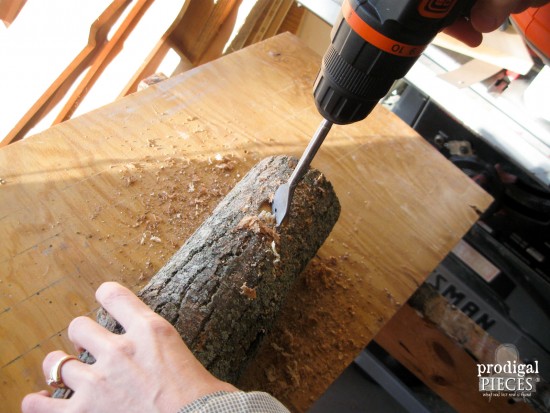
Clamp your log and keep your hand clear from the drill bit. Wear appropriate eye protection.

Give your feathered friends a treat from spingtime through winter. Make this easy-peasy DIY log bird feeder with one tool and a few basic materials by Prodigal Pieces for Pretty Handy Girl www.prodigalpieces.com #prodigalpieces

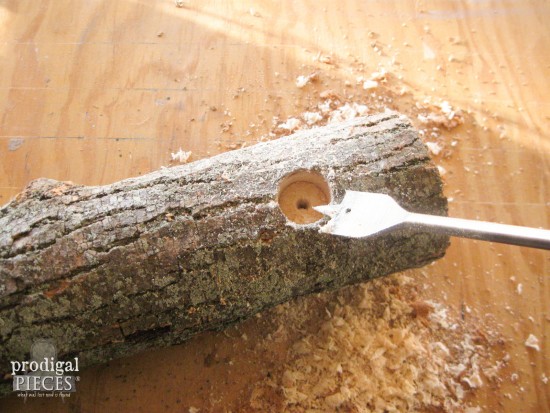
To start, use a 1″ spade bit to drill a hole approximately 1/2″ deep, 2 inches down from the top.

Give your feathered friends a treat from spingtime through winter. Make this easy-to-build DIY log bird feeder with one tool and a few basic materials.

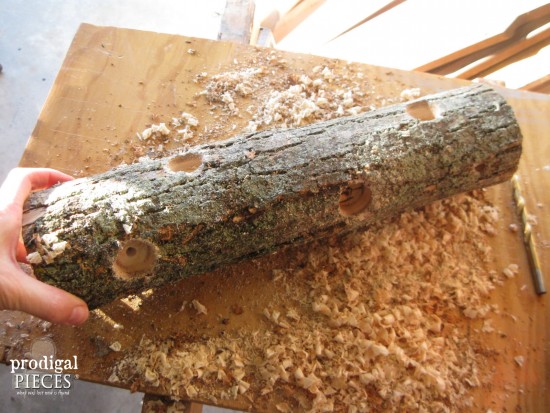
Drill a second hole on the same face about 6″ below the first.

Roll the log a quarter turn and drill in the next face starting with the first hole about 5″ from the top and then a second hole 6″ below that one. (This does not have to be exact and gives a more rustic feel when randomly chosen.)

Give your feathered friends a treat from spingtime through winter. Make this easy-peasy DIY log bird feeder with one tool and a few basic materials by Prodigal Pieces for Pretty Handy Girl www.prodigalpieces.com #prodigalpieces

Repeat those steps until you have two sets of matching faces on opposing sides.

Drill your rope hole using a 5/16″ bit. Starting on the face that has the first hole 5″ down, drill your rope hole 2″ from the top, making sure to go completely through the log.

Give your feathered friends a treat from spingtime through winter. Make this easy-peasy DIY log bird feeder with one tool and a few basic materials by Prodigal Pieces for Pretty Handy Girl www.prodigalpieces.com #prodigalpieces

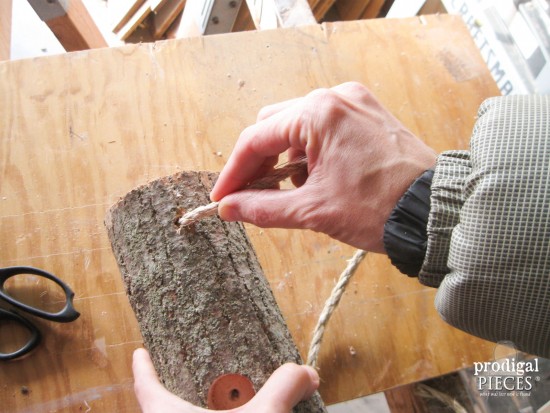
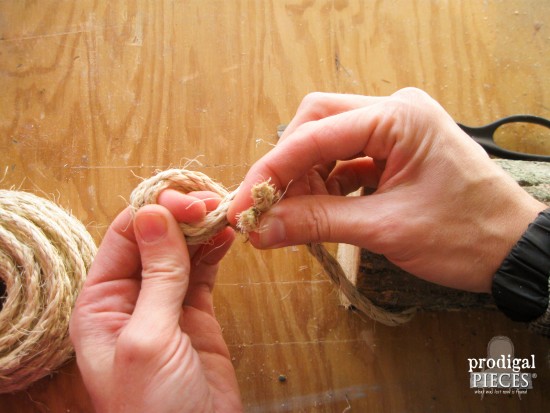
Cut a 2′ or longer piece of rope and thread it into the hole. If you turn the rope in the direction of the braid (counter-clockwise) while inserting it, that will help the rope go through smoothly.

Give your feathered friends a treat from spingtime through winter. Make this easy-peasy DIY log bird feeder with one tool and a few basic materials by Prodigal Pieces for Pretty Handy Girl www.prodigalpieces.com #prodigalpieces

Once through, tie the rope ends together using a basic knot.

Give your feathered friends a treat from spingtime through winter. Make this easy-peasy DIY log bird feeder with one tool and a few basic materials by Prodigal Pieces for Pretty Handy Girl www.prodigalpieces.com #prodigalpieces

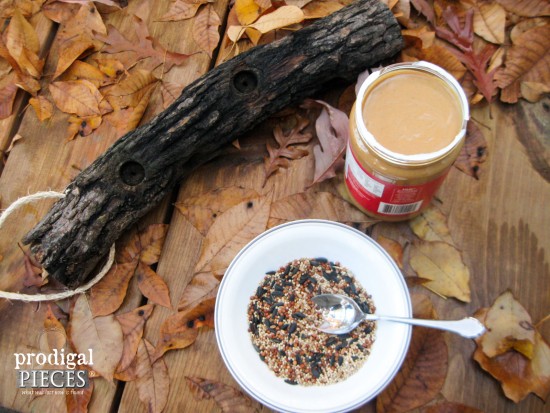
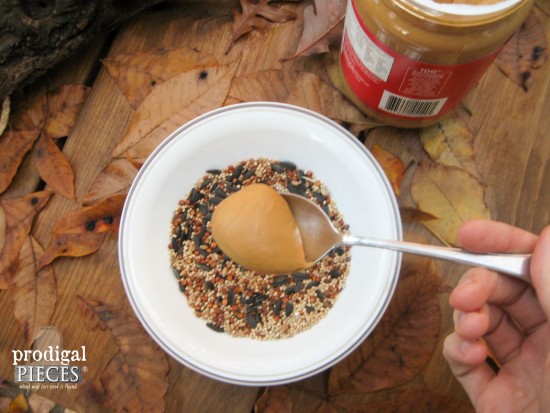
On to the fun part! Birds burn a ton of protein flitting about, so they need to store up as much as they can. We prefer to use chunky peanut butter and then roll it in seeds like this.

Give your feathered friends a treat from spingtime through winter. Make this easy-peasy DIY log bird feeder with one tool and a few basic materials by Prodigal Pieces for Pretty Handy Girl www.prodigalpieces.com #prodigalpieces

Grab a tablespoon of peanut butter and place it in a bowl of birdseed.

Give your feathered friends a treat from spingtime through winter. Make this easy-peasy DIY log bird feeder with one tool and a few basic materials by Prodigal Pieces for Pretty Handy Girl www.prodigalpieces.com #prodigalpieces

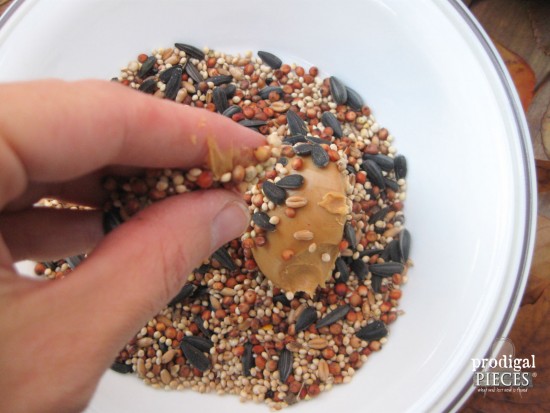
Then sprinkle the peanut butter with seed.

Give your feathered friends a treat from spingtime through winter. Make this easy-peasy DIY log bird feeder with one tool and a few basic materials by Prodigal Pieces for Pretty Handy Girl www.prodigalpieces.com #prodigalpieces

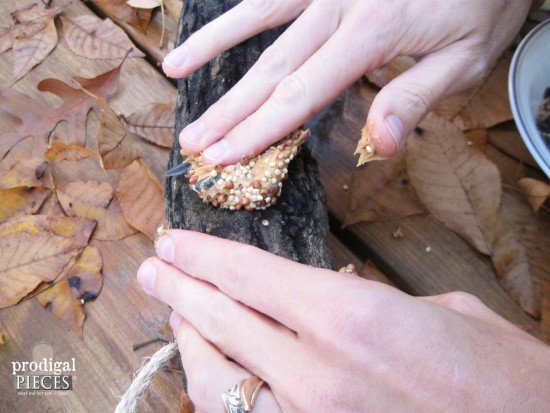
After coating with the seed, press the mixture into the holes using the back of a spoon, or if you’re nutty like me (catch the pun?) it’s more fun to use your fingers.

Give your feathered friends a treat from spingtime through winter. Make this easy-peasy DIY log bird feeder with one tool and a few basic materials by Prodigal Pieces for Pretty Handy Girl www.prodigalpieces.com #prodigalpieces

The kids love this part!

Give your feathered friends a treat from spingtime through winter. Make this easy-peasy DIY log bird feeder with one tool and a few basic materials by Prodigal Pieces for Pretty Handy Girl www.prodigalpieces.com #prodigalpieces

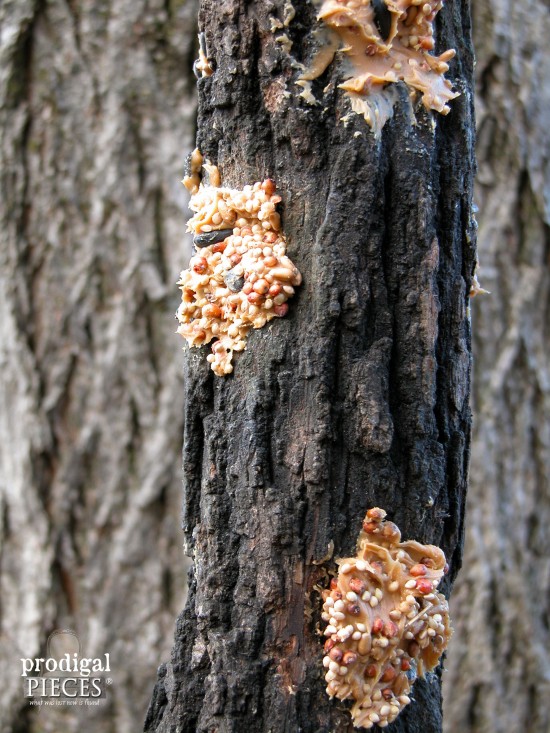
You’re done and it’s ready to hang. Yay!

Give your feathered friends a treat from spingtime through winter. Make this easy-peasy DIY log bird feeder with one tool and a few basic materials by Prodigal Pieces for Pretty Handy Girl www.prodigalpieces.com #prodigalpieces

For a fun twist, and if you’re feeling handy, you could also add dowels for other species to be able to roost at each hole, but for this project I kept it simple.

Got questions? Please feel free to ask.

If you enjoyed this project, do pin and share!

blog signature copy

Pin this project for later!

DIY Log Bird Feeder Pin Image


Liked this project? Then you’ll love these birdhouses:

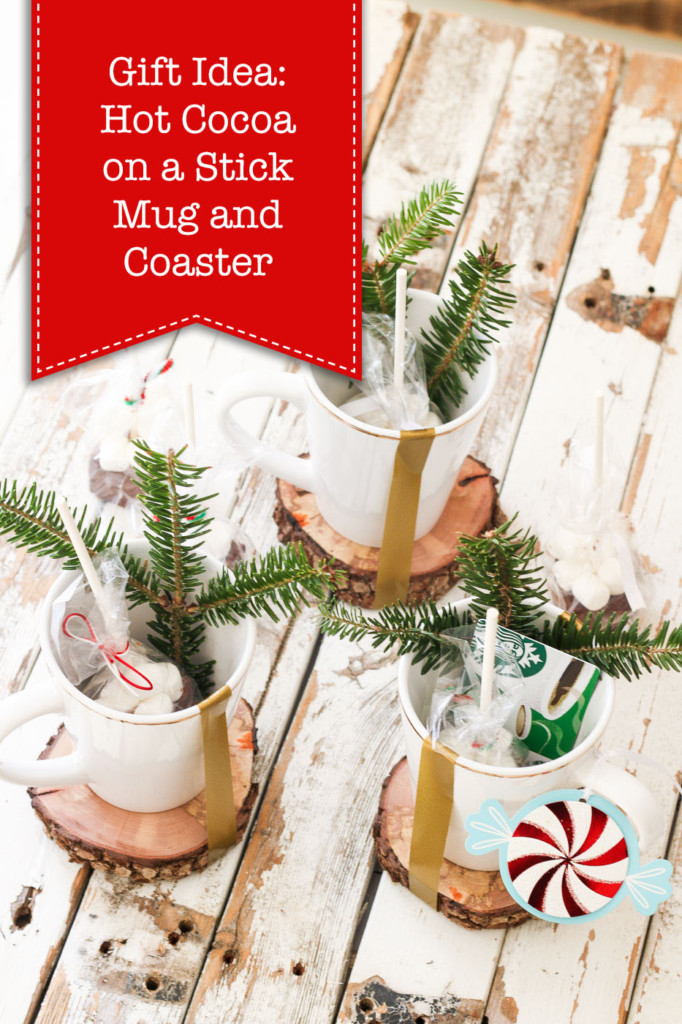
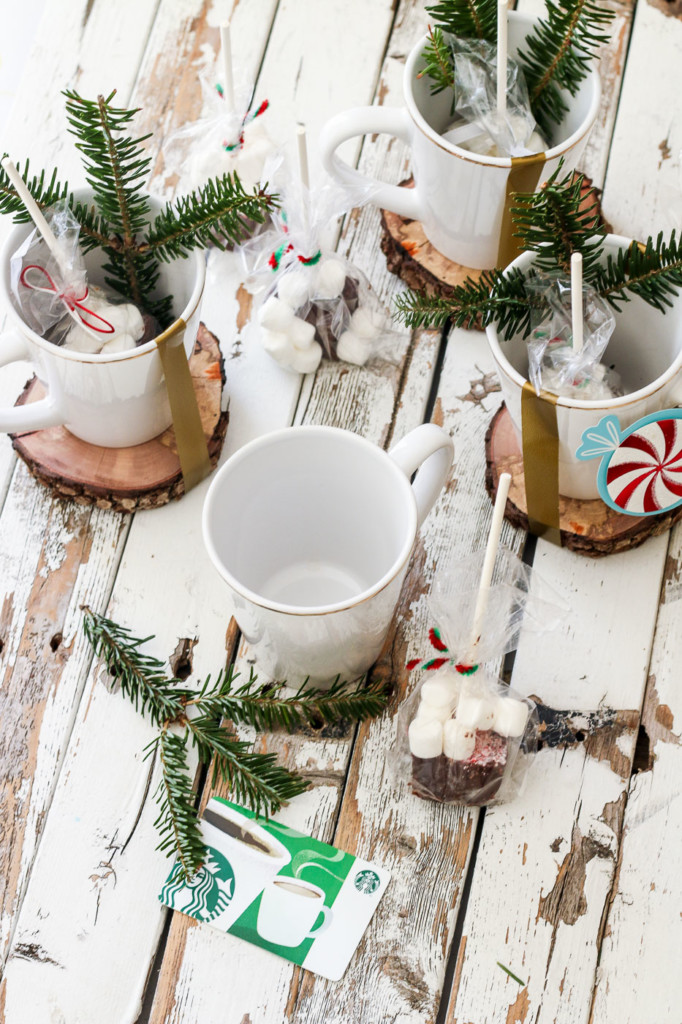
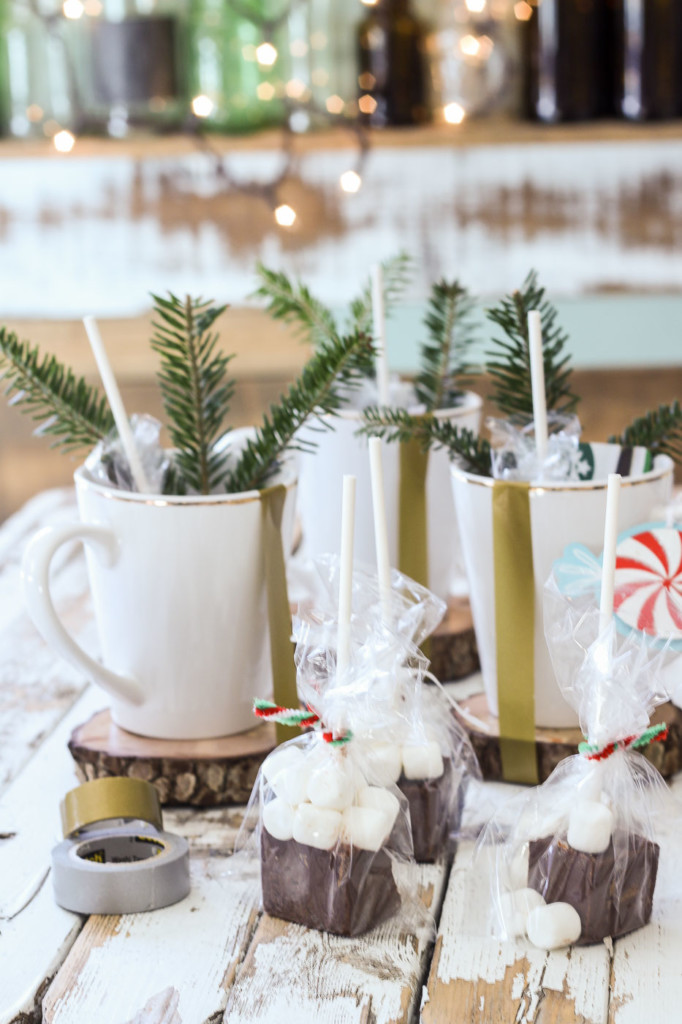
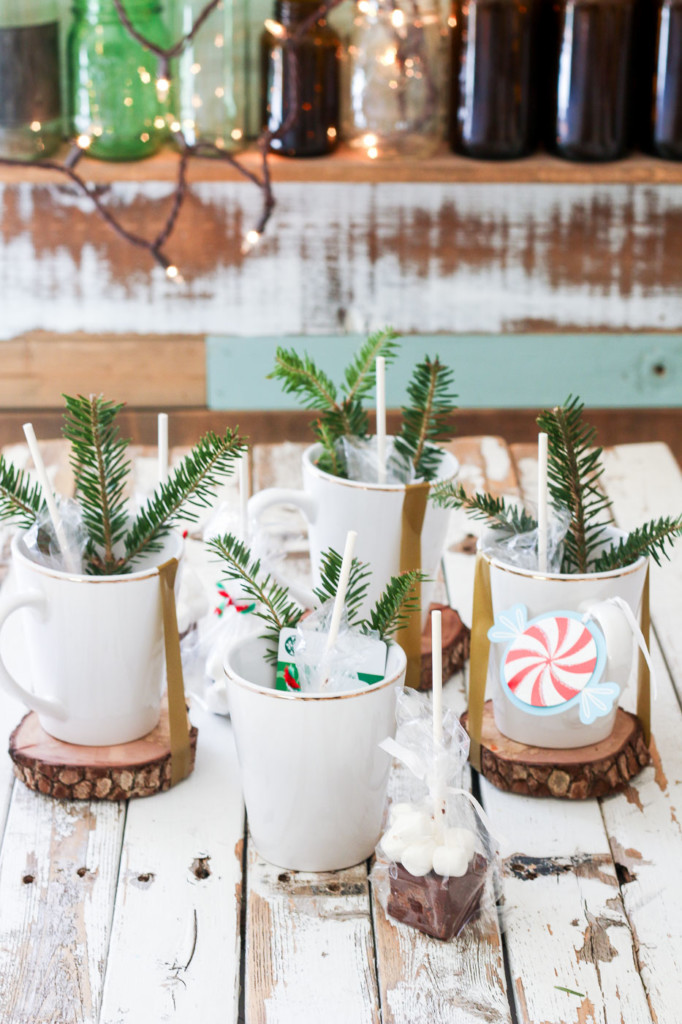
Every year I try to come up with a simple and inexpensive gift idea for teachers and service providers in my life. But, I don’t want the gifts to look cheap. This year I put together these simple Hot Cocoa on a Stick Gift Mugs. They look festive and provide a nice warm treat for anyone on your “I really should get them a little something” list. Read on to learn how to make these simple gift mugs.

Holiday Gift Idea: Hot Cocoa on a Stick

There are a variety of hot cocoa on a stick recipes. But, the recipe I used for the hot cocoa on a stick can be found on the King Arthur Flour website. The mug and coaster gift idea can be put together quickly and efficiently to make several for a last minute gift idea.

Materials:
Instructions:
Are you ready for the quickest and easiest tutorial on the Pretty Handy Girl website? Set that stopwatch, because once you have all the materials this Holiday Gift Idea aka Hot Cocoa on a Stick is going to solve your small gift-giving dilemma.

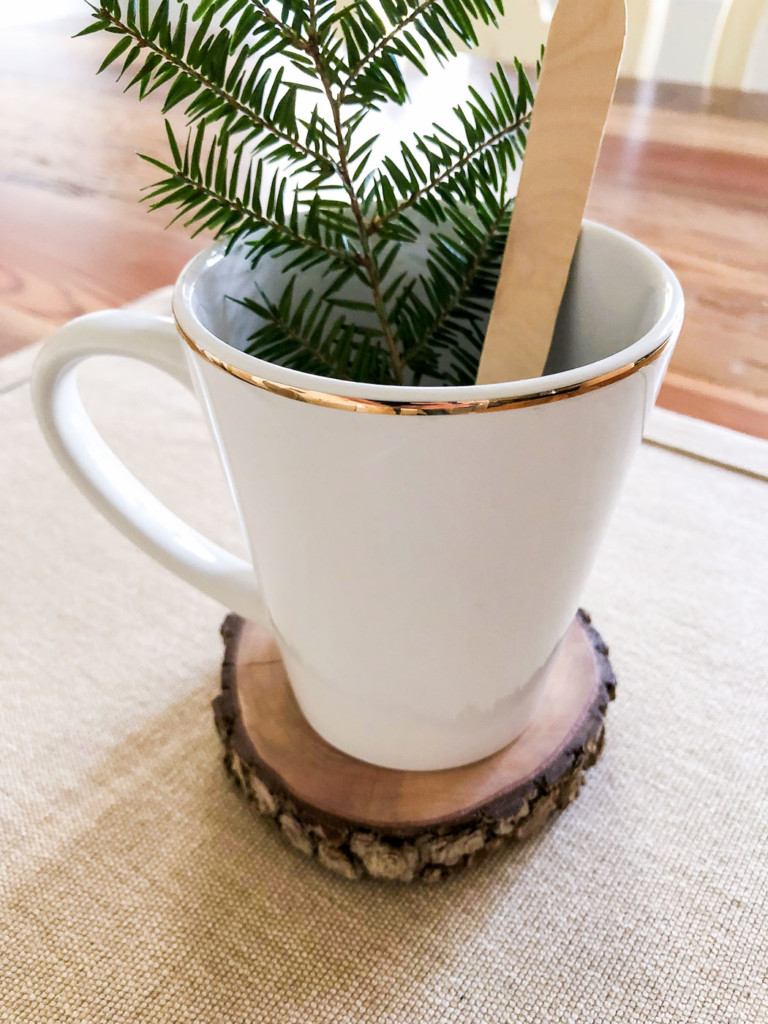
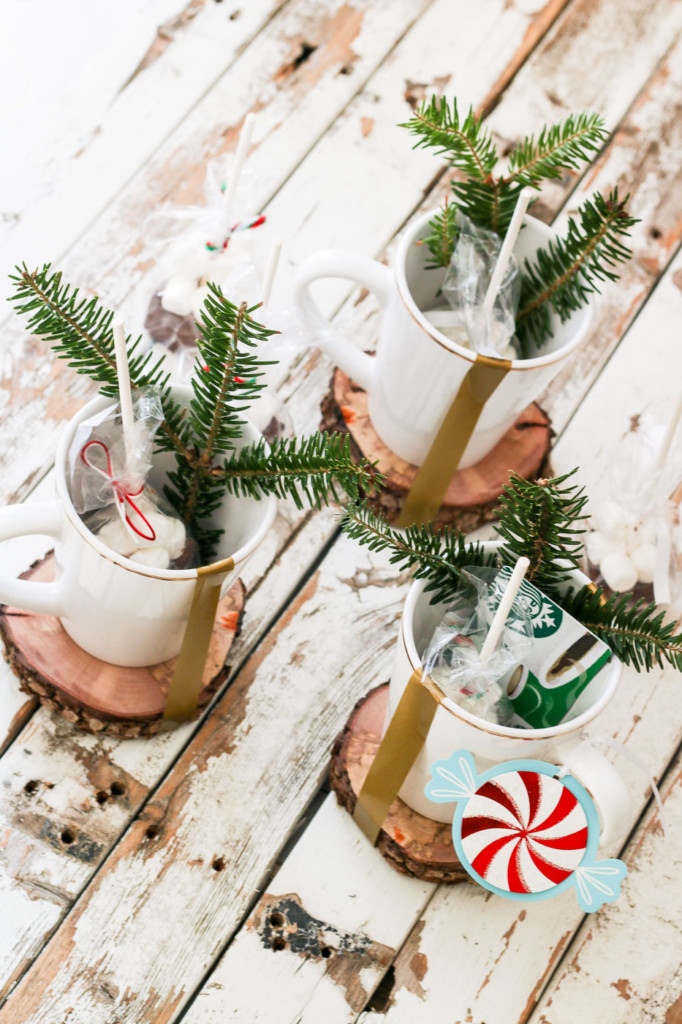
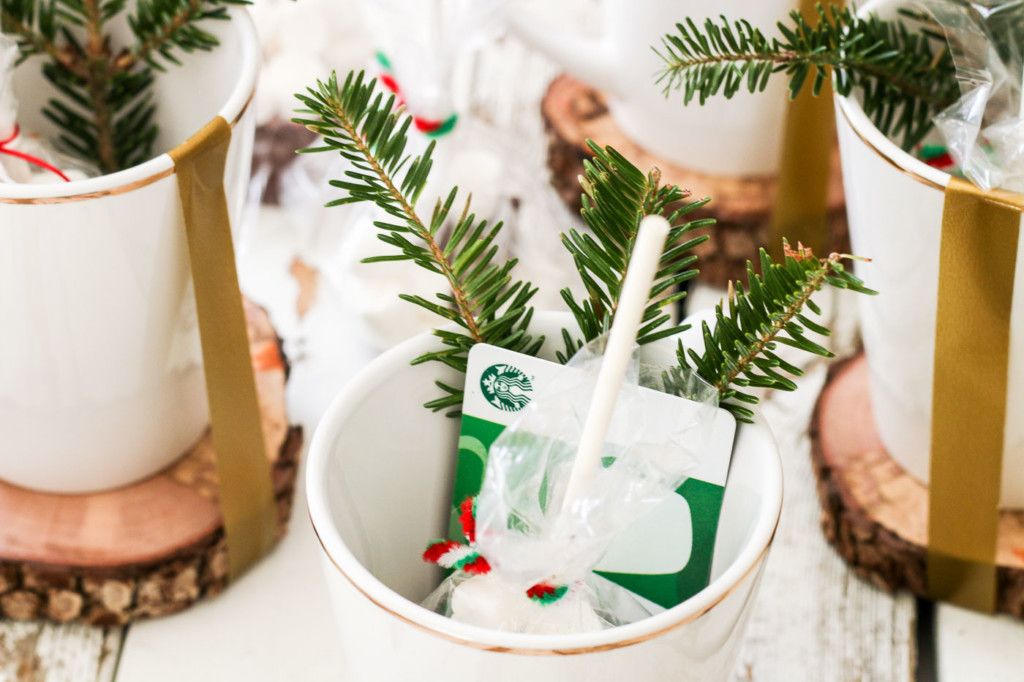
Ready. Set. Go! Put the pine bough, hot cocoa on a stick, printed directions, and (if you’re feeling extra generous) add a gift card. Insert all items neatly into the mug. Center your mug on the wood slice coaster.

Use washi tape to secure the mug to the wood slice coaster. (Overlap at least an inch or two of the washi tape inside the mug rim. Use one continuous piece of washi tape going from one side of the mug, under the coaster, and back up the opposite side of the mug.) Use caution when handling the mugs as the washi tape can rip if jostled too much.

Add a gift tag if you like. Or set them on a tray to deliver in person or put them out as holiday party favors.

What do you think? Easiest holiday gift idea every? I’d love to hear if you have ideas or variations on this holiday gift idea.

In the meantime, I’ll be sipping on a fresh mug of hot cocoa on a stick! Yum!

signature

P.s. Looking for more last minute DIY Gift Ideas? I have an entire Pinterest board full of DIY Gift Ideas here.

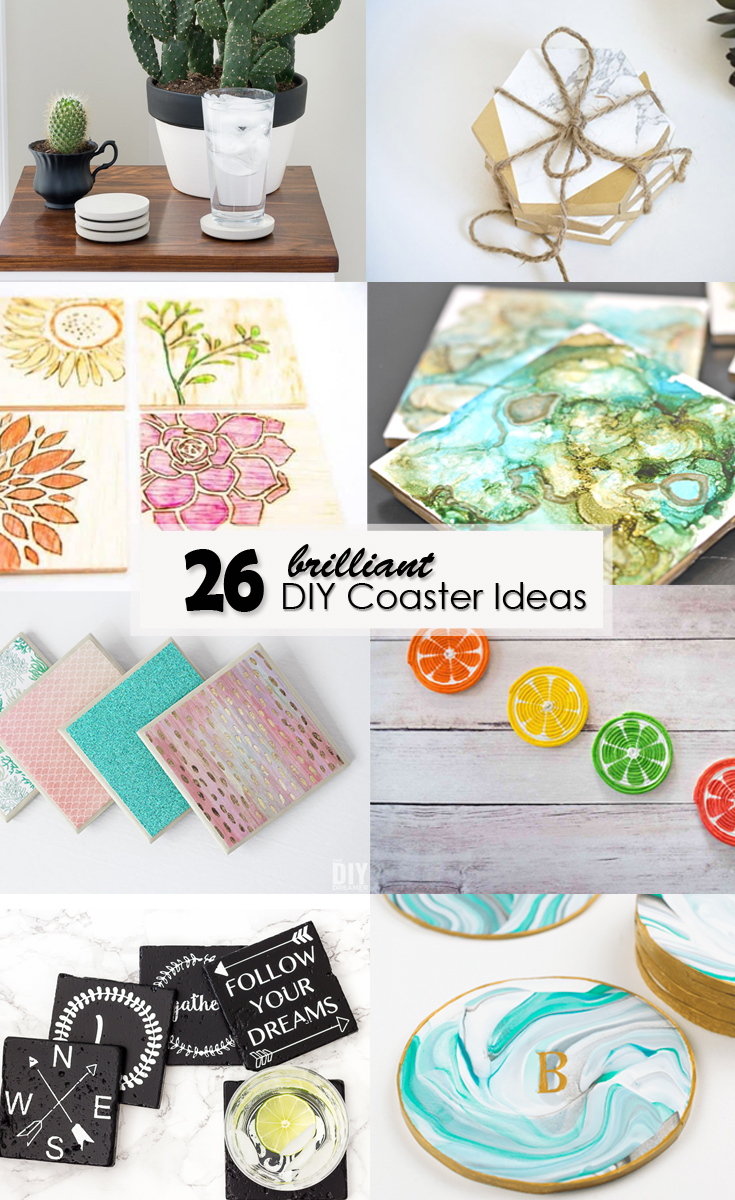
26 brilliant DIY Coaster Ideas square image

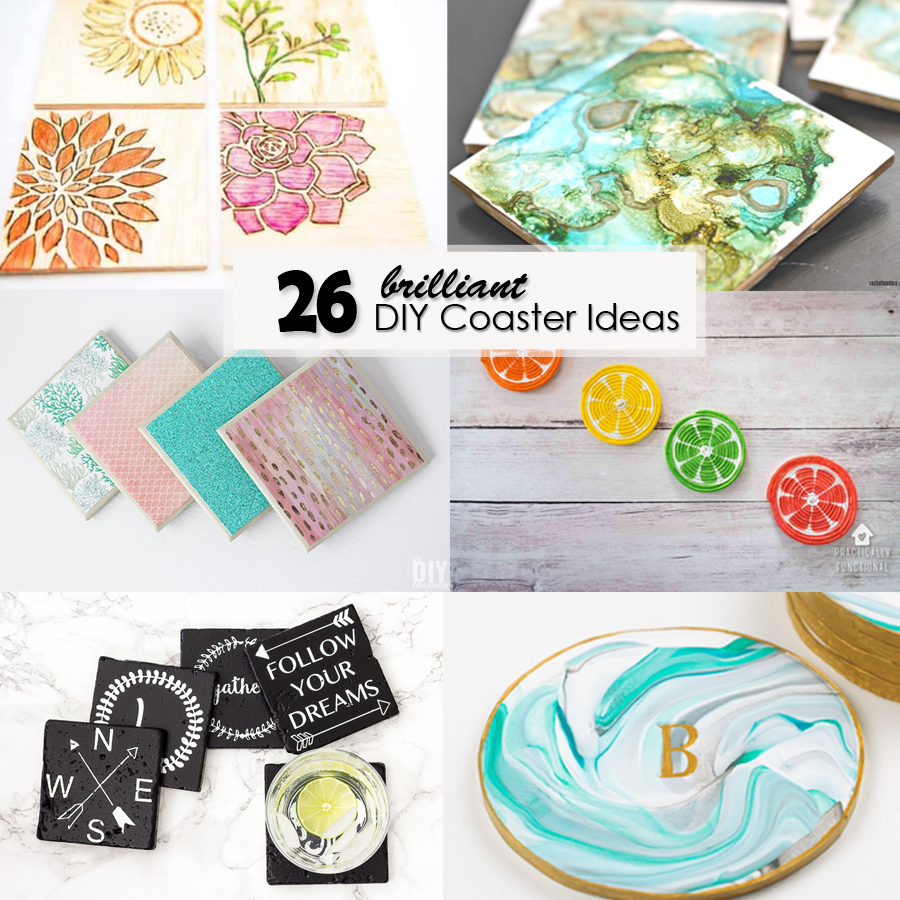
26 brilliant DIY Coaster Ideas square imageAdd some personality to your home and prevent those awful rings on your tabletops by making some coasters to place under every drink! Here are 26 brilliant DIY coaster ideas to inspire you and show how you can use a variety of materials to create some really cool coasters in any decor style.

26 DIY Coaster Ideas

diy oilcloth drink coasters by pretty handy girlLearn how to make these DIY Oilcloth Drink Coasters that you can use both indoors and outdoors.


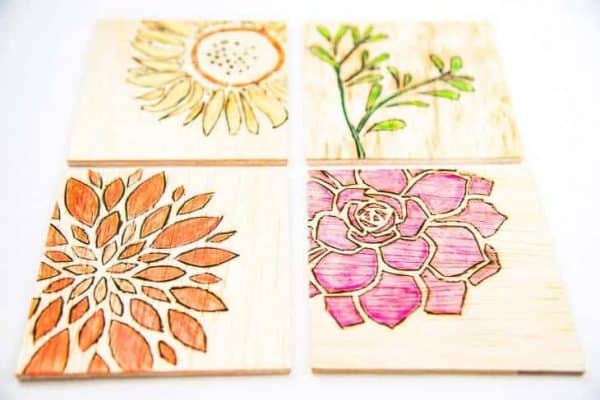
diy woodburned trivets and coasters by pretty handy girlUse cork and stencils to create these awesome Woodburned Coasters for your table.

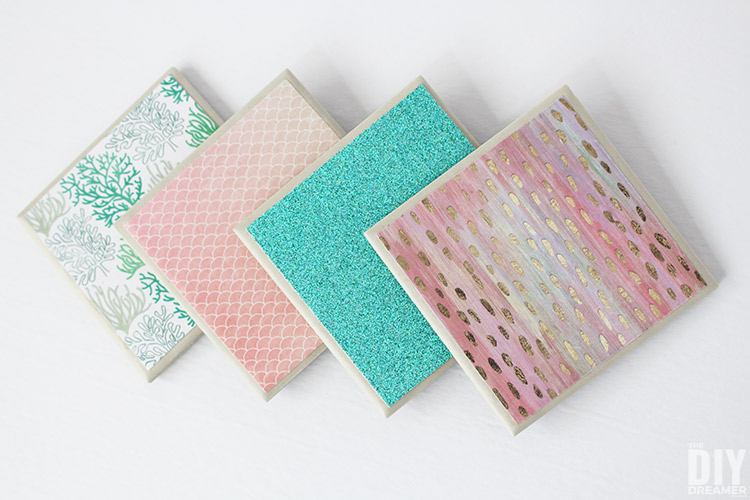
diy mermaid tile coastersIf you love beach or mermaid themed decor, make these magical DIY Mermaid Tile Coasters.

diy watercolor wooden coasters from the handymans daughterLearn how to make these DIY Watercolor Wooden coasters to add some beautiful color to your room.

fabric wood coasters by pretty handy girlAdd some patterns to your room with these fun DIY Fabric Coasters.

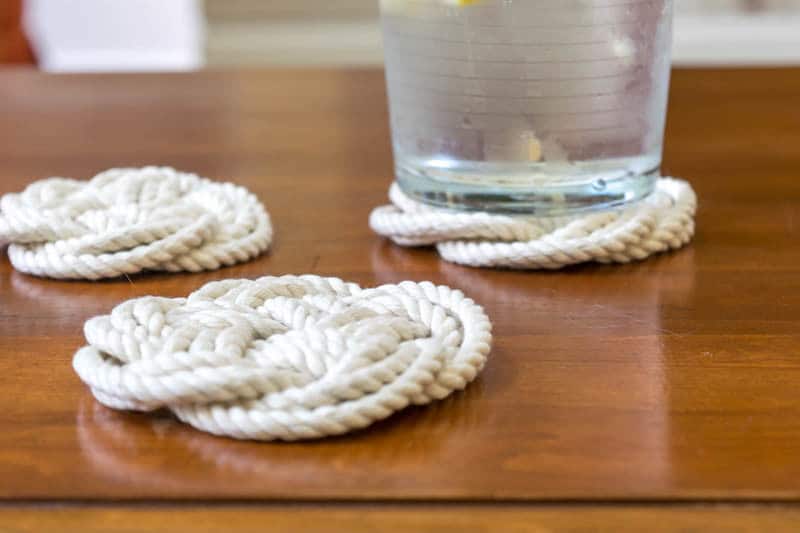
turk head knot coasters by nourish and nestleUse some cotton rope to make these amazing Turks Head Knot Coasters.

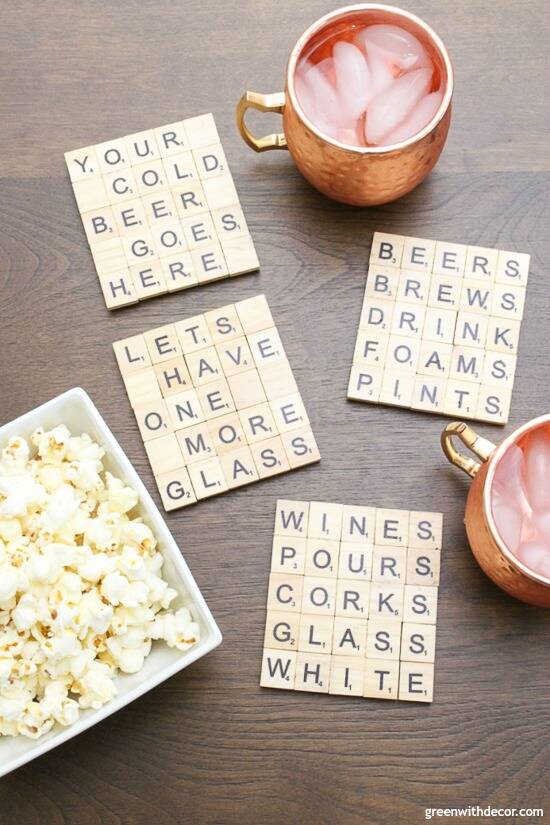
scrabble diy tile coasters by green with decorDo you love words? Create these Scrabble Tile DIY Coasters for your next gathering.

mosaic glass coasterUse small glass tile mosaics to create these modern easy-to-make Mosaic Tile Coasters.

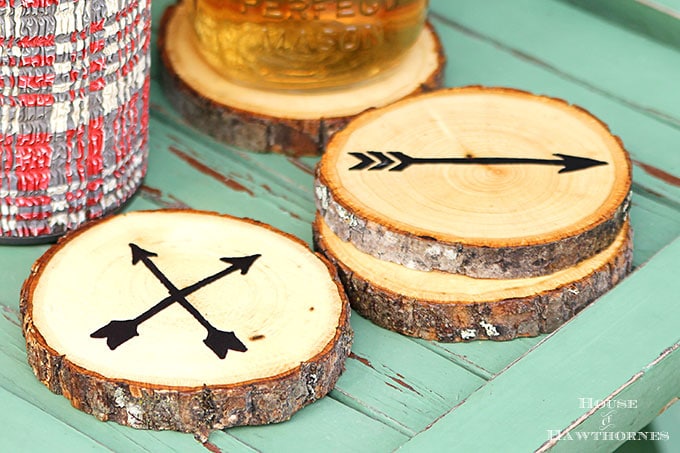
diy arrow wood slice coasters by house of hawthornesPersonalized Rustic Wood Slice Coasters would be so fun for your next dinner party.

map tile coasters by hazel and gold designsMake note of places that you’ve lived or loved with these Geographic Map Tile and Resin Coasters.

gold and marble coasters by pretty handy girlGold and Marble Coasters would make a gorgeous addition to your modern space.

diy arrow wood slice coasters by house of hawthornesA fun rustic option would be these DIY Arrow Wood Slice Coasters.

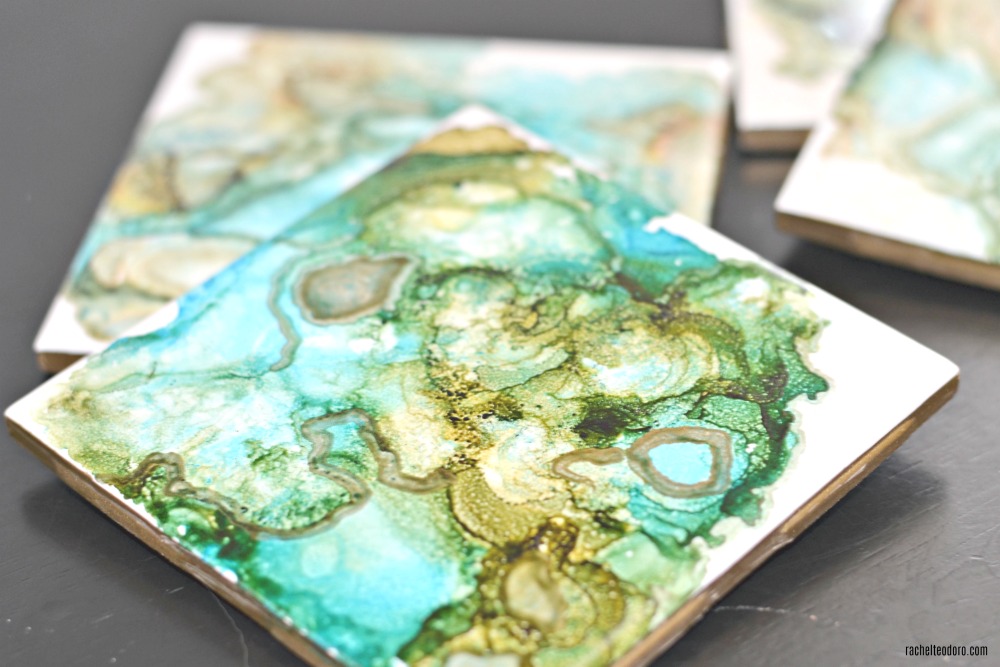
diy agate look ceramic tile coasters by rachelteodoroMake these natural looking Faux Agate Tile Coasters with alcohol inks.

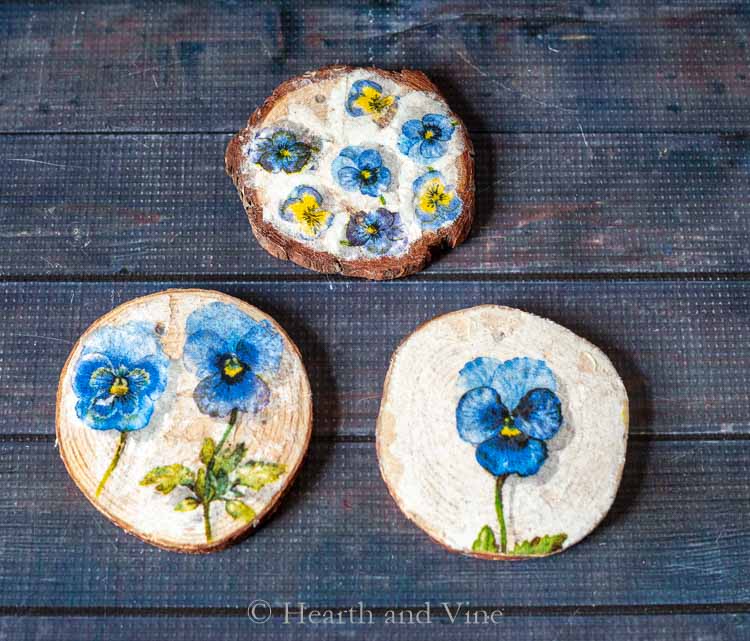
decoupage coasters by hearth and vineUse some old paper or napkins to make these beautiful Decoupage Coasters.

diy scented coastesr by lemons lavendar and laundryMake some clever DIY Scented Coasters using essential oils.

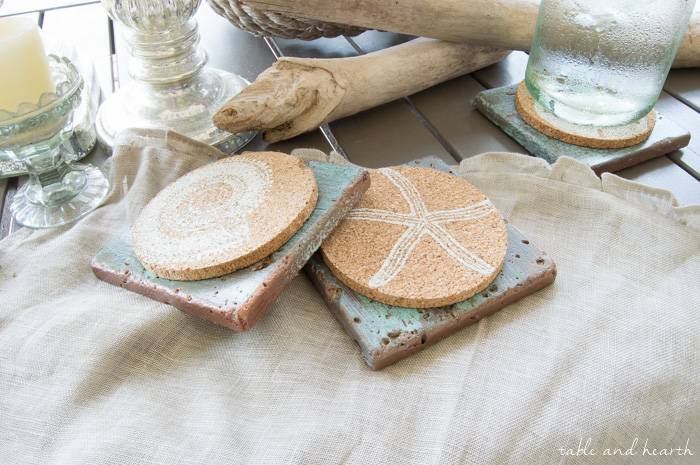
coastal tile coasters copper patina by table and hearthIf you love coastal style, these Copper Patina Tile Coasters would be perfect for your space.

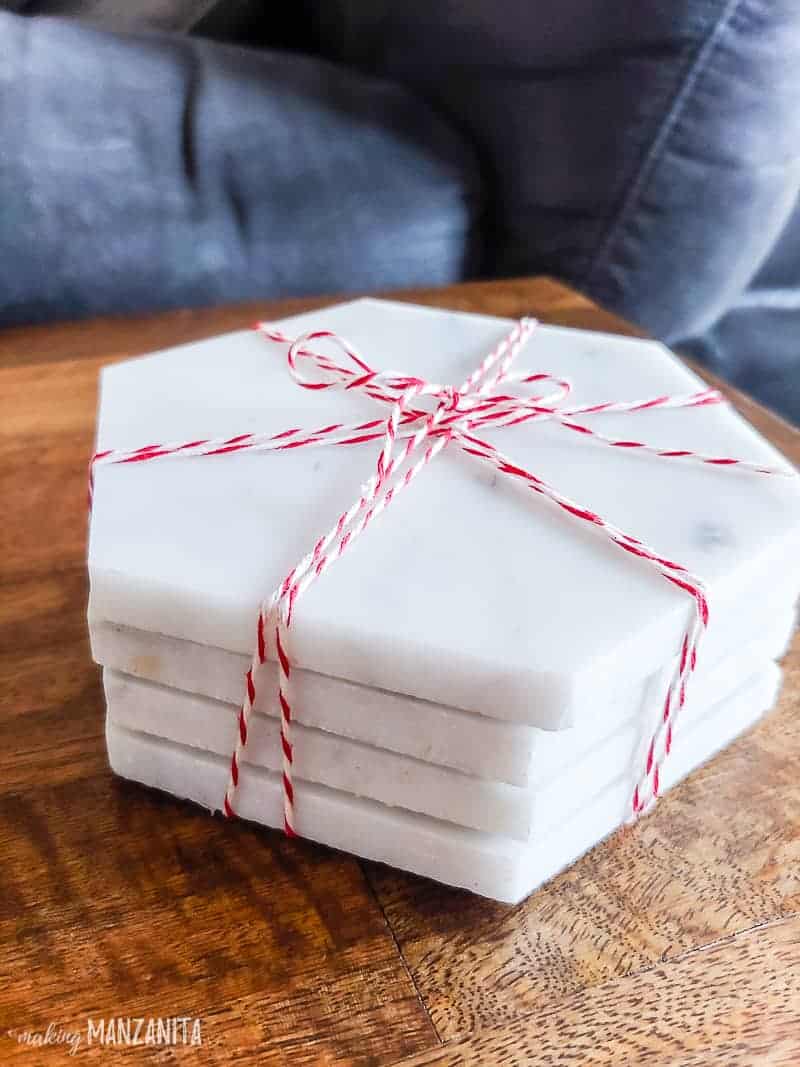
marble coastersIf you have extra tiles lying around, make something like these DIY Marble Coasters.

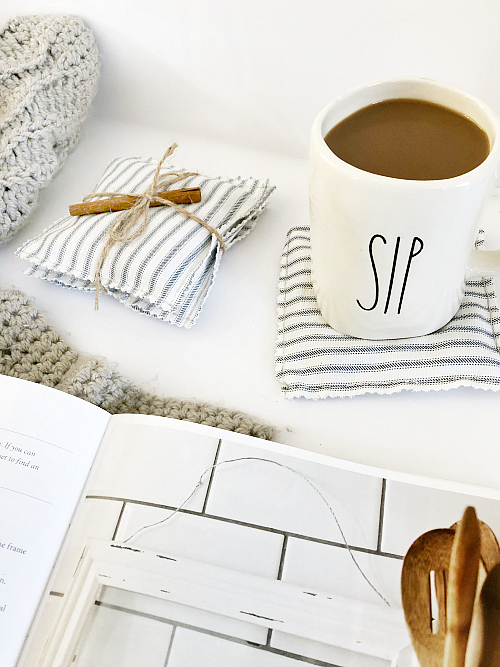
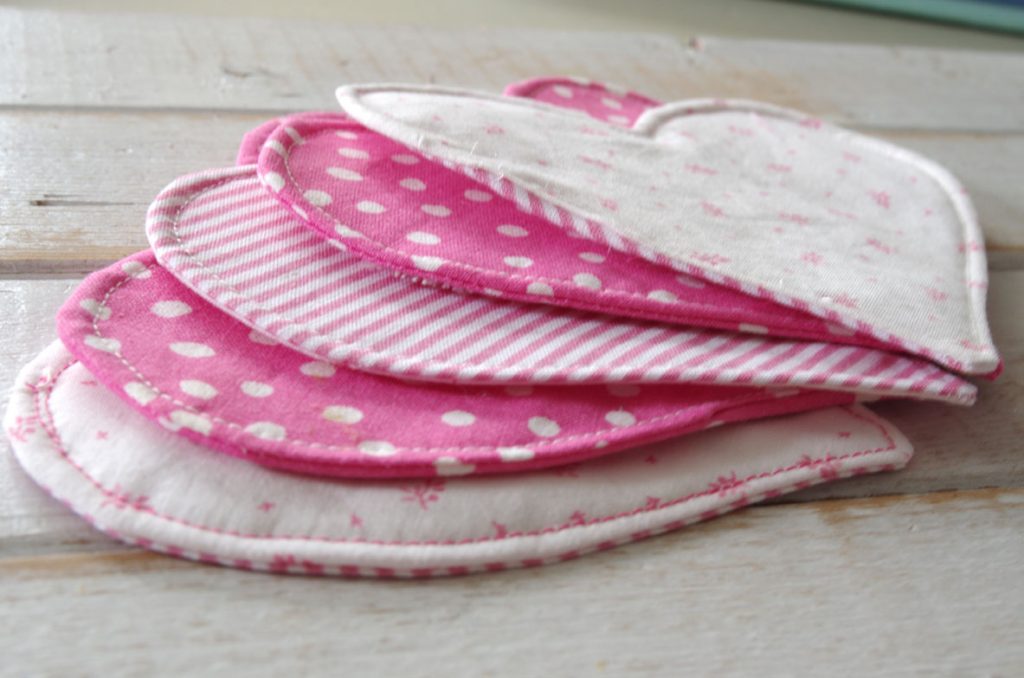
heart shaped fabric coasters by create and babbleThese Easy to Make Fabric Heart Coasters are a perfect way to use up some small fabric panels.

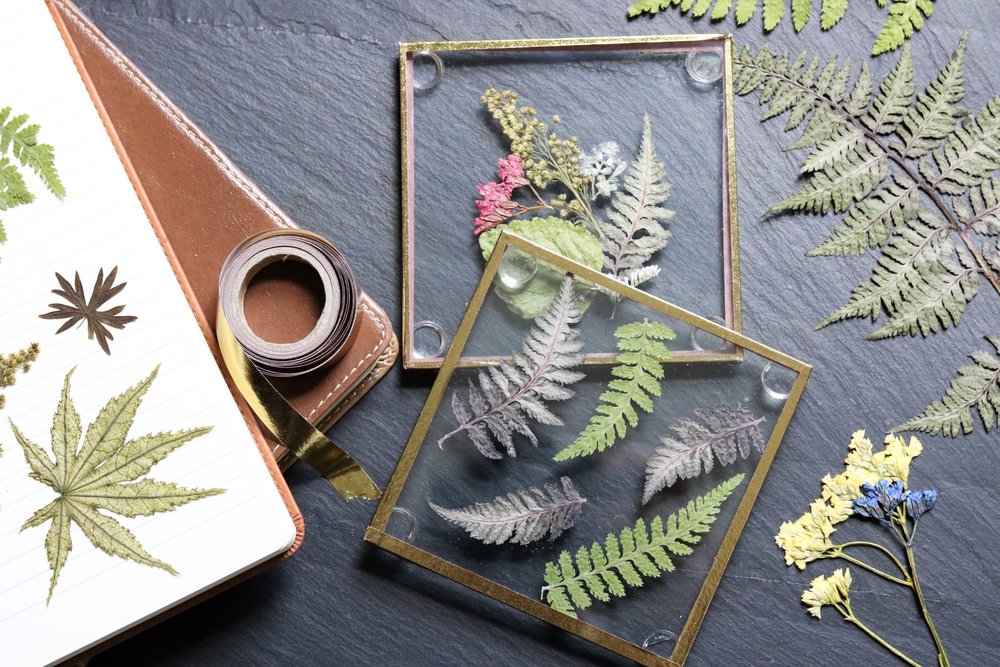
Dollar store flower coasters by crafty lumberjacksCreate these elegant glass Dollar Store Flower Coasters.

make metal washer coasters by smart fun diyCreate something unique by making these Metal Washer Coasters.

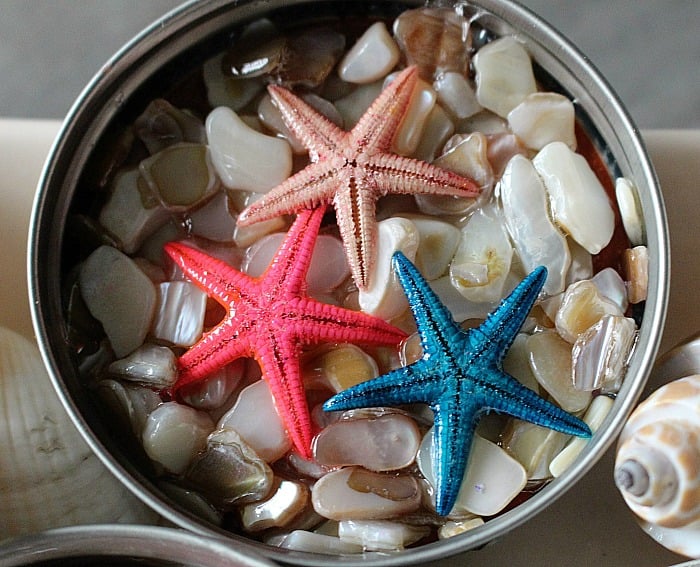
beach themed coasters with mason jar lidsUse some gloss glaze to adhere these awesome pieces and create a Beach Themed Mason Jar Lid Coaster.

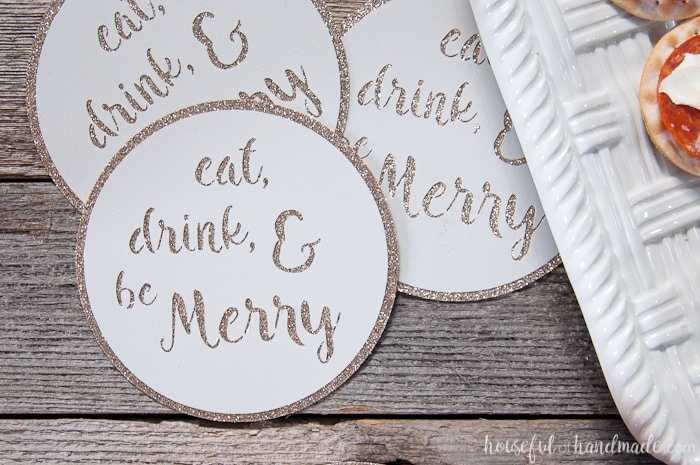
quick and easy diy drink coasters Make these quick and easy DIY Drink Coasters for your next cocktail party.

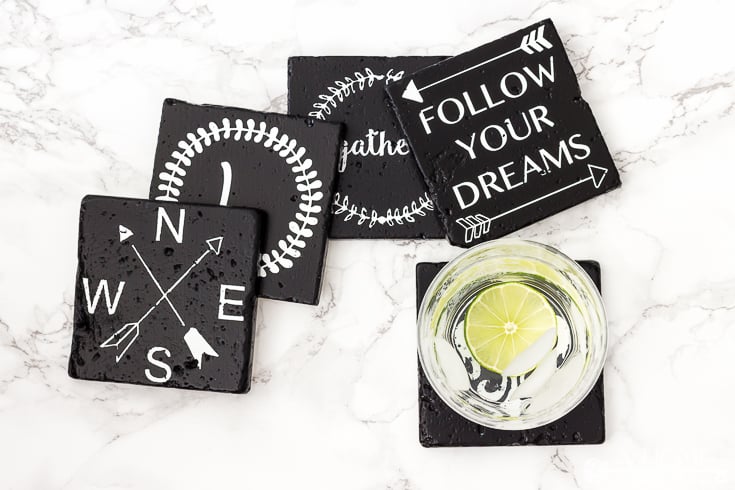
diy farmhouse style coasters by a home to grow old in Tiles and black paint make the perfect canvas to make these DIY Farmhouse Style Coasters.

diy marbled clay coasters by craving some creativityMake these DIY Marbled Clay Coasters with any color combination you want.

concrete coasters by Brittany GoldwynYou will not believe how simple it is to make these chic Concrete Coasters.

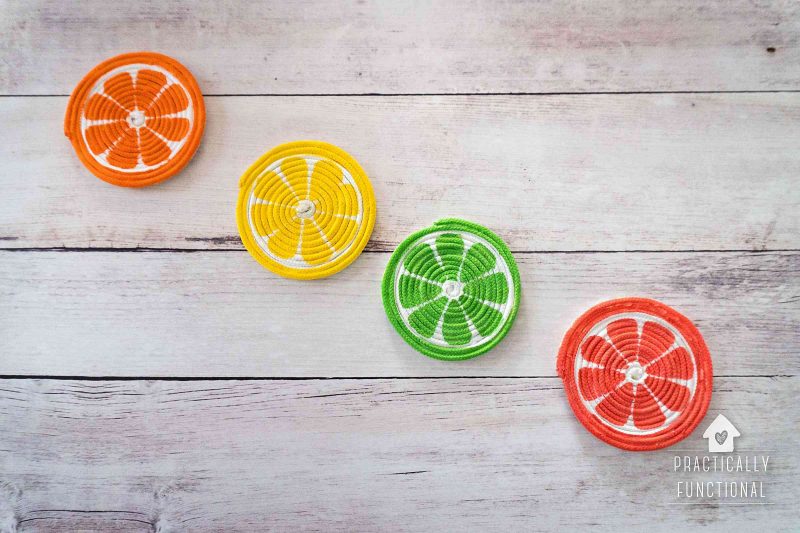
diy painted rope coasters by practically functionalUse some rope to make these fun DIY Painted Rope Coasters for your summer parties.


I hope you found some helpful ideas in this roundup of DIY Coaster Ideas to help add some functional beauty to your room or next party. Remember to click over to each site for the full tutorial. Please pin this image on Pinterest to share with your friends!

26 brilliant DIY Coaster Ideas Pinterest image

Hi, I’m Sheri from Hazel + Gold Designs. Here are a few fun stats about me: I like love chocolate and peanut butter (together of course.) If you like stats, I have been crocheting for about 16 years, crafting for 20, and woodworking for about 4 years. I found a passion in making and being creative and began documenting my projects online at Hazel + Gold Designs.

When not working on projects, I enjoy spending time with my husband, four children, perfect dog, and ornery cat. You can find me on Facebook, Pinterest, Instagram and Twitter.

Read all of Sheri’s tutorials.

~Find more of Sheri’s projects here ~