diy wooden bath tray

DIY Wooden Bath Tray with phone holder Pinterest imageDIY Wooden Bath Tray with Phone Holder

Are you looking to add some beautiful functionality to your bathroom? This DIY Wooden Bath Tray (with Phone Holder) is the perfect addition! It turns a plain bath tub into the perfect place to relax and unwind.  I’m Sheri from Hazel + Gold Designs, and I am excited to share this DIY Wooden Bath Tray with you today. The best part about this tray is the added mount to secure your phone (so you can browse the web or watch a video while you’re relaxing.) Keep reading for all the details on how to make this bath tray yourself!

Materials:

(I’ve included affiliate links for your convenience. I earn a small percentage from a purchase using these links. There is no additional cost to you. You can read more about affiliate links here.)

Instructions:

1. Prep the wood

The first step in this project is to cut your wood pieces. This diagram shows the measurements for my bath tub tray, but you will need to measure your tub and adjust the measurements accordingly.
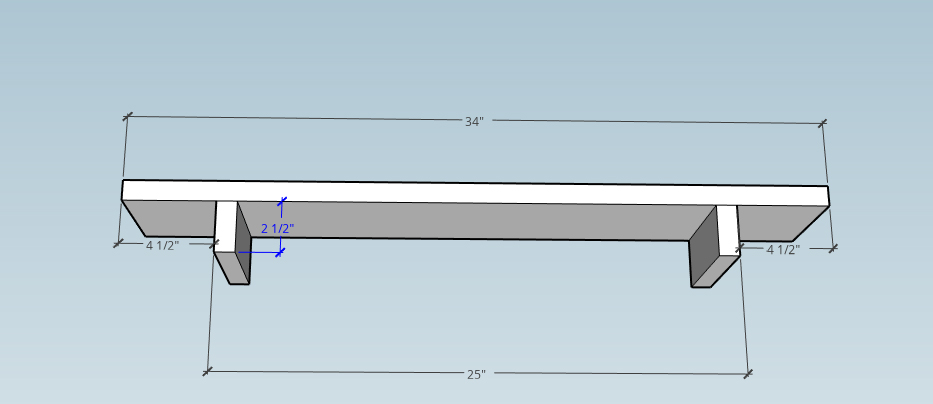
DIY bath tray woodworking plan

Next, sand your wood pieces. If your wood is fairly smooth you can use a 180 grit then 220 grit. For rougher wood, use a coarser grit sandpaper first.
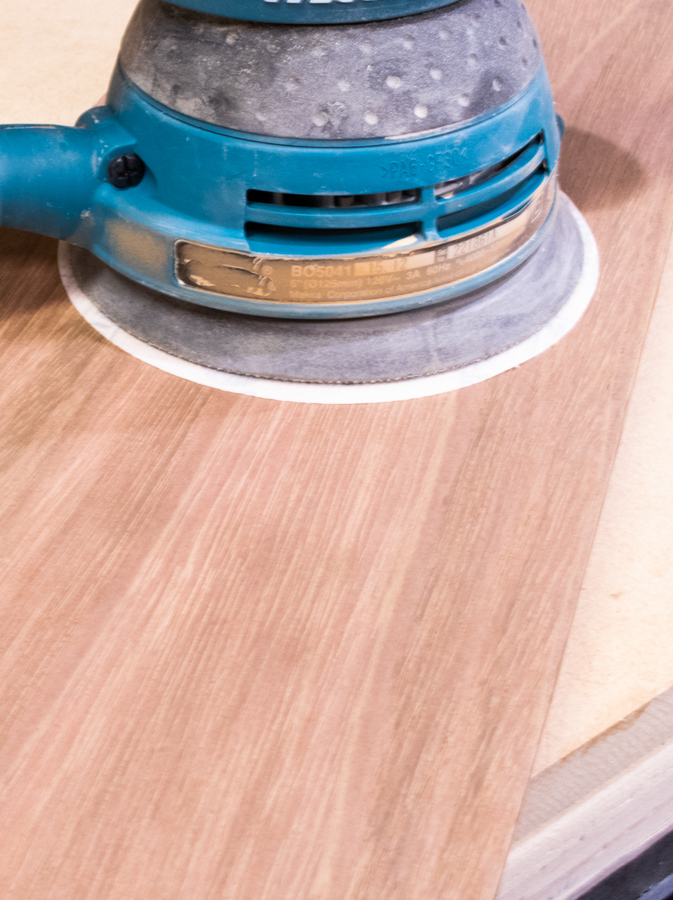
sand all boards2. Drill holes

Use a forstner bit to drill shallow holes the size of tea light holders. The candles will sit into the groove making them less likely to slide off the tray.
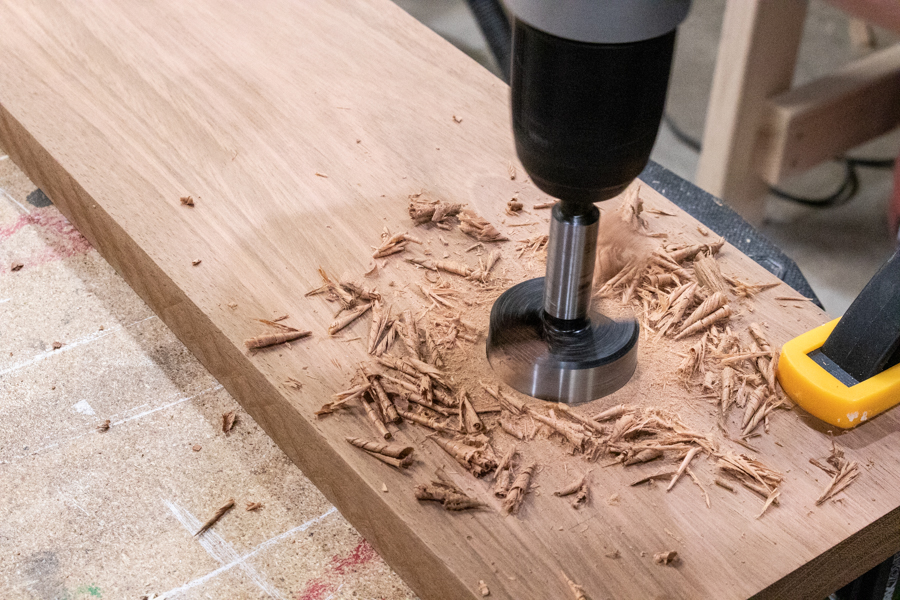
drill shallow hole with forstner bit

drill shallow circle with forstner bit

Use a ruler to mark where you will place the handles.
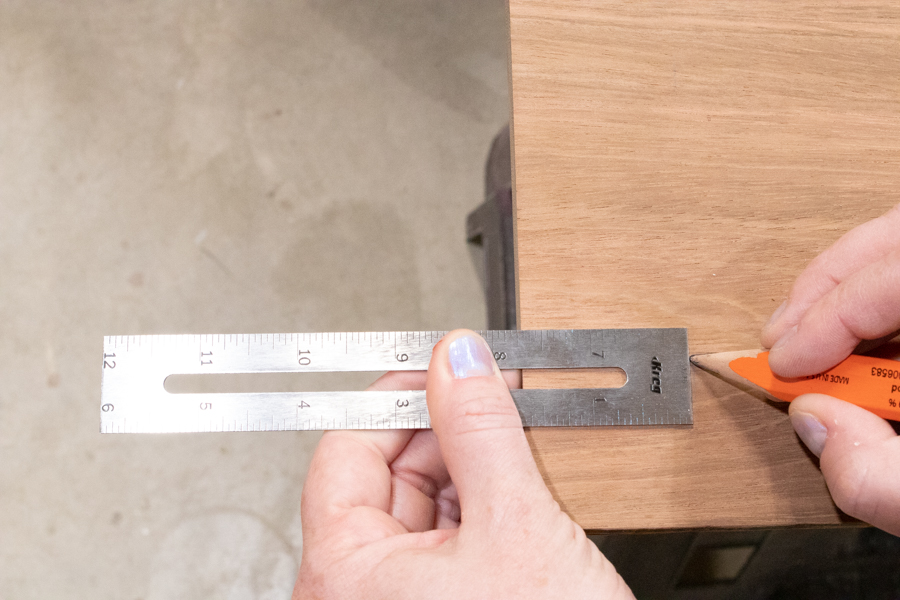
measure and mark where handles will go

Use a drill bit the size of your drawer pull screws and drill your holes as marked.
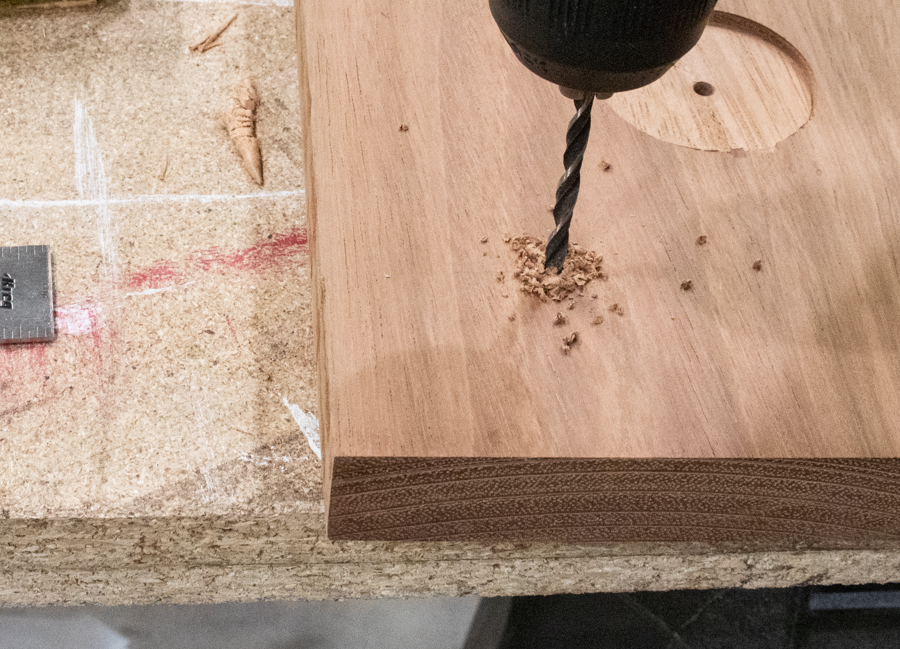
drill holes for attaching handles

Next, take your two small pieces and drill pocket holes into one side. This is a quick and easy way to attach the bottom pieces of your tray. If you don’t have a pocket hole jig you could use other methods of joinery.
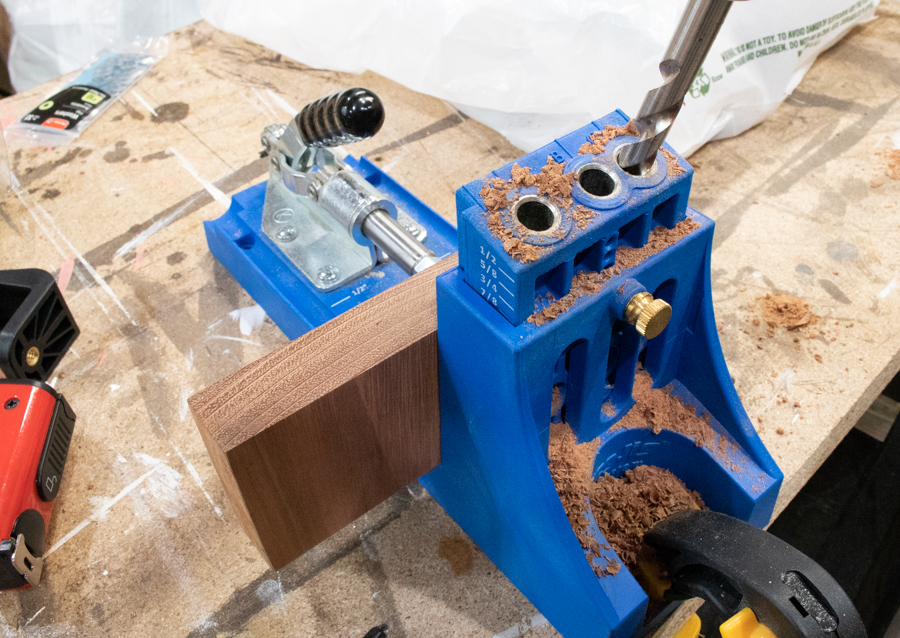
cut two small pieces and drill pocket holes

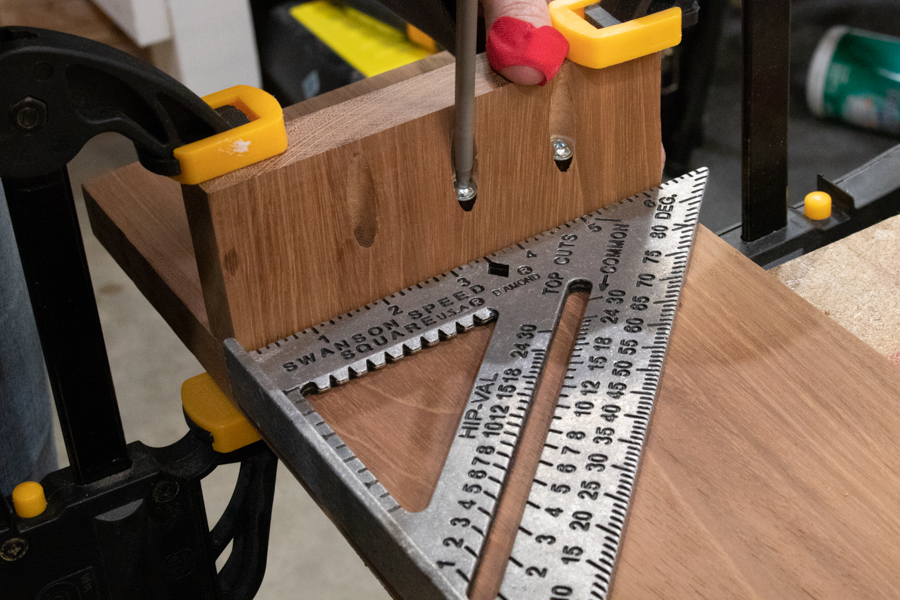
Attach the bottom boards to the bottom of your tray with wood glue and pocket screws. Be sure you size these to fit just inside each side of your tub. This will prevent the tray from sliding anywhere.
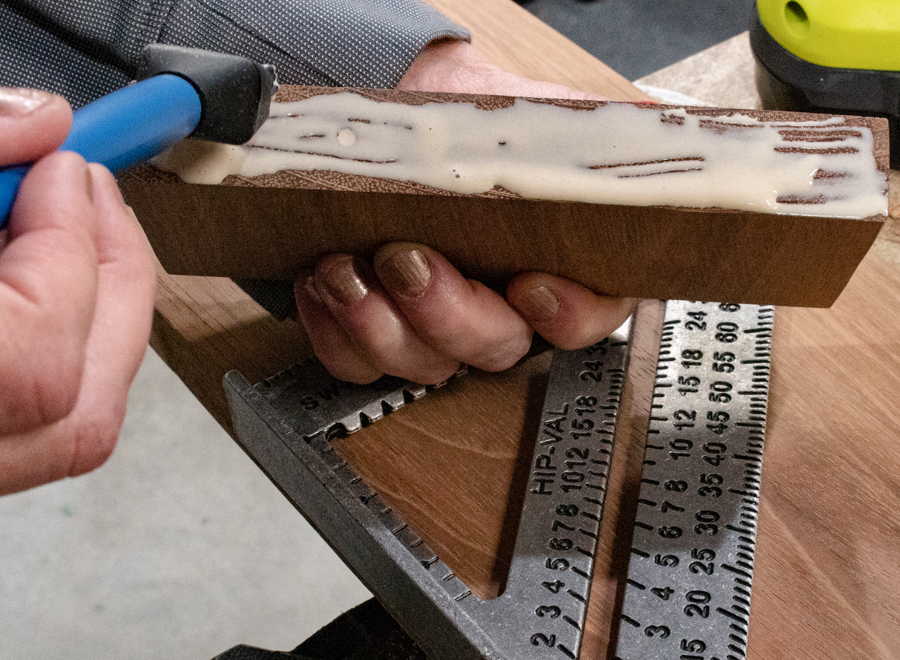
apply wood glue

Attach small pieces to bottom with pocket screws

3. Finish with polyurethane

Finally, finish the entire DIY bath tray with polyurethane. You may want to use a poly that is made for exterior environments because you need a strong water-resistant finish. I applied three coats, letting each dry completely and sanding lightly with 220 grit sandpaper in between each layer. This gives you a beautiful smooth finish.
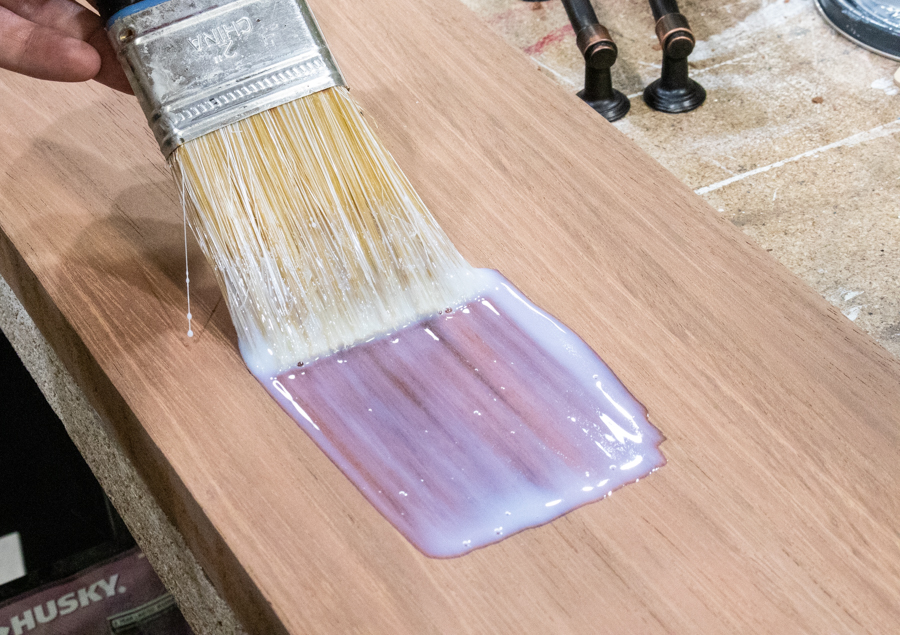
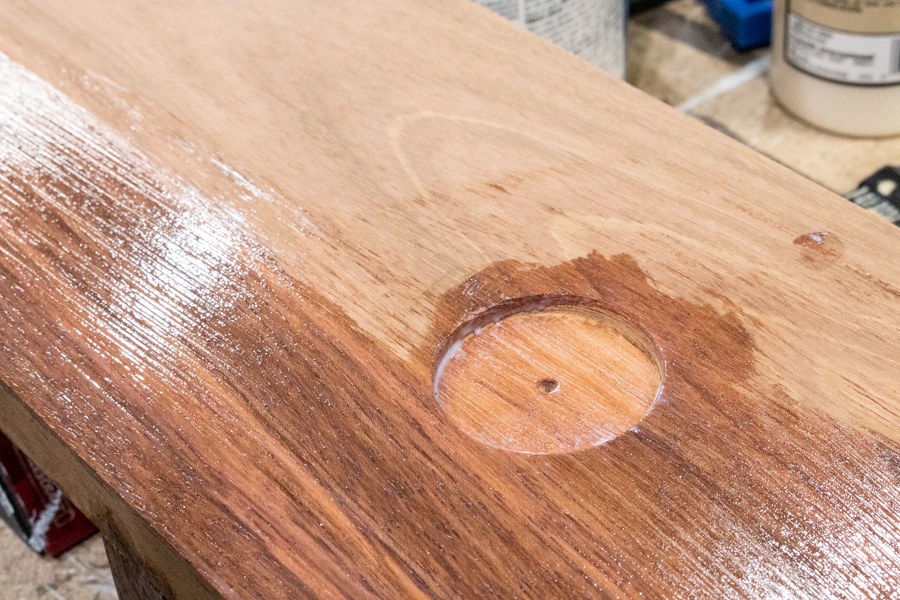
Coat with polyurethane that is water resistant or waterproof

Coat with polyurethane that is water resistant or waterproof

4. Add Handles and Phone Holder

Use your drill to attach the handles.
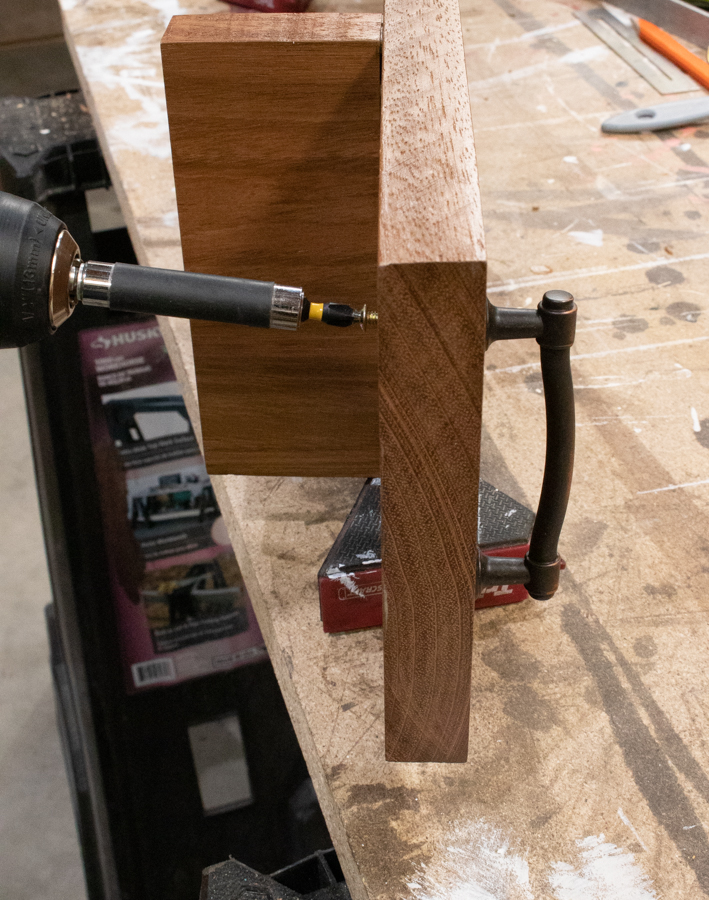
Attach handles through drilled holes in tray

Attach the cell phone tripod adapter to the center of the tray with one screw.
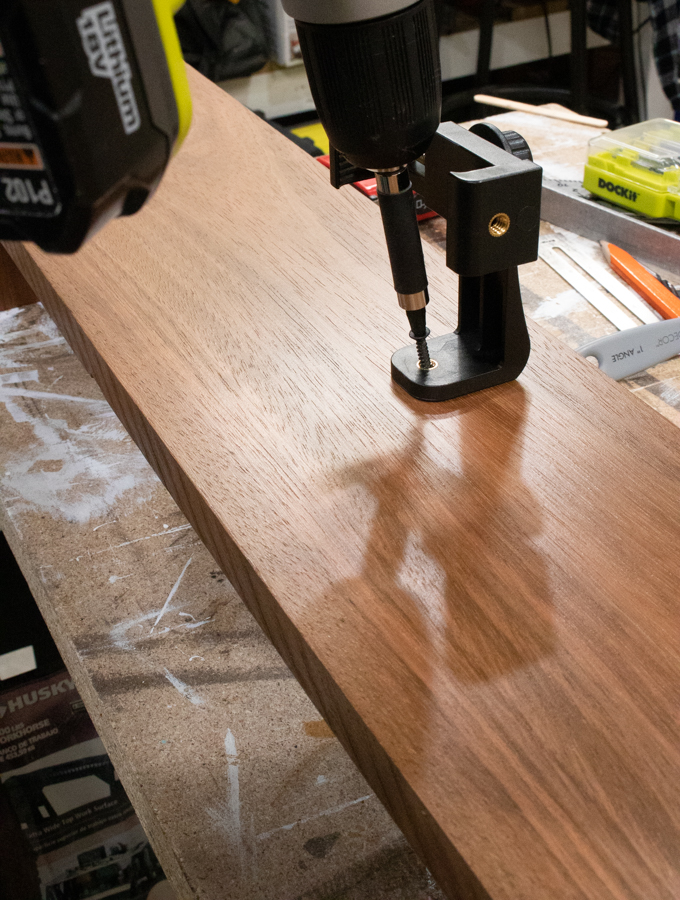
drill tripod phone holder to DIY bath tray

Completed DIY Bath Tub Tray

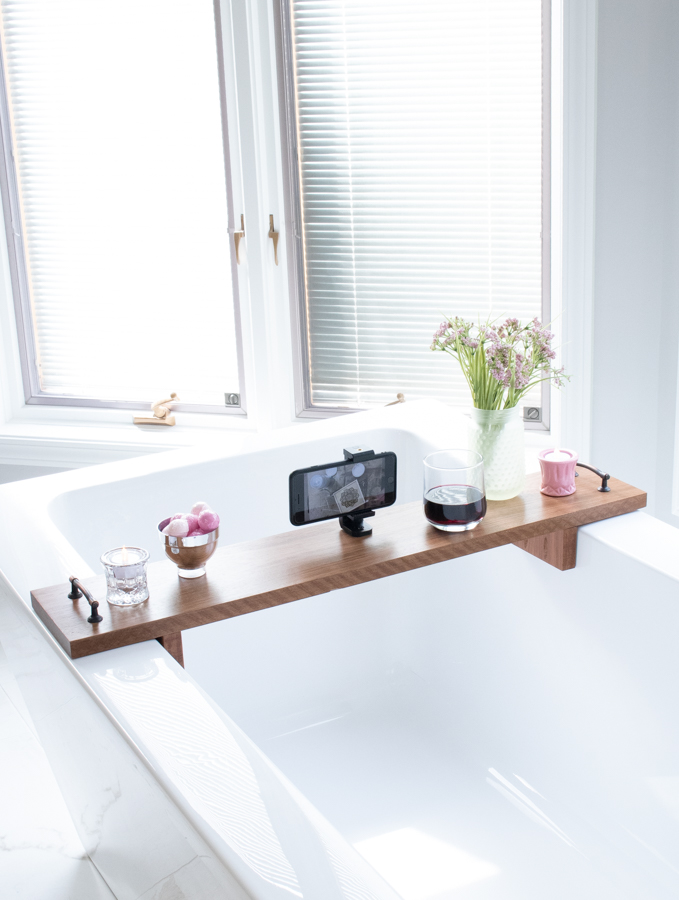
Your project is finished! Add a washcloth, flower, candles, bath bombs and a glass of wine! They tray turned out so beautiful you’ll want to take a relaxing bath immediately.

diy bath tray closeup

Be forewarned your bath times may extend longer than normal.
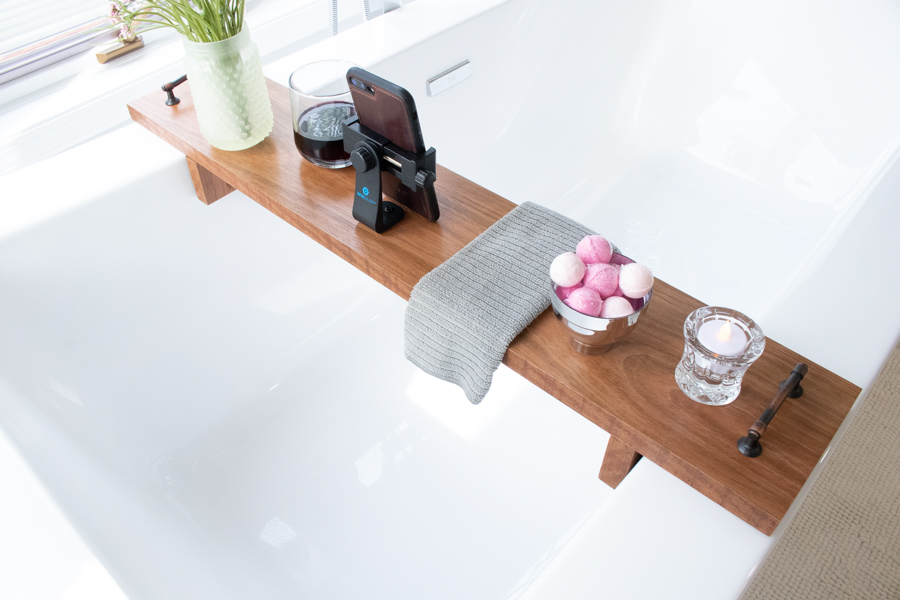
Finished DIY bath tray with phone holder back angle photo

This DIY Wooden Bathtub tray was easy to make! You should build one for yourself immediately.
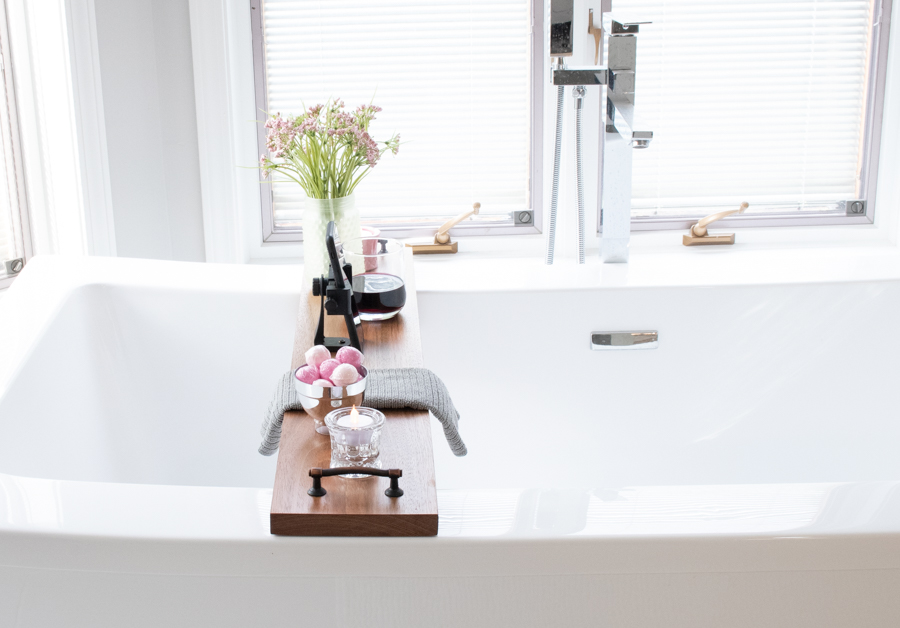
diy bath tray from side angle

Bonus: Your phone holder can turn so you can view things vertically or horizontally! Netflix binge watching? Bring it on.
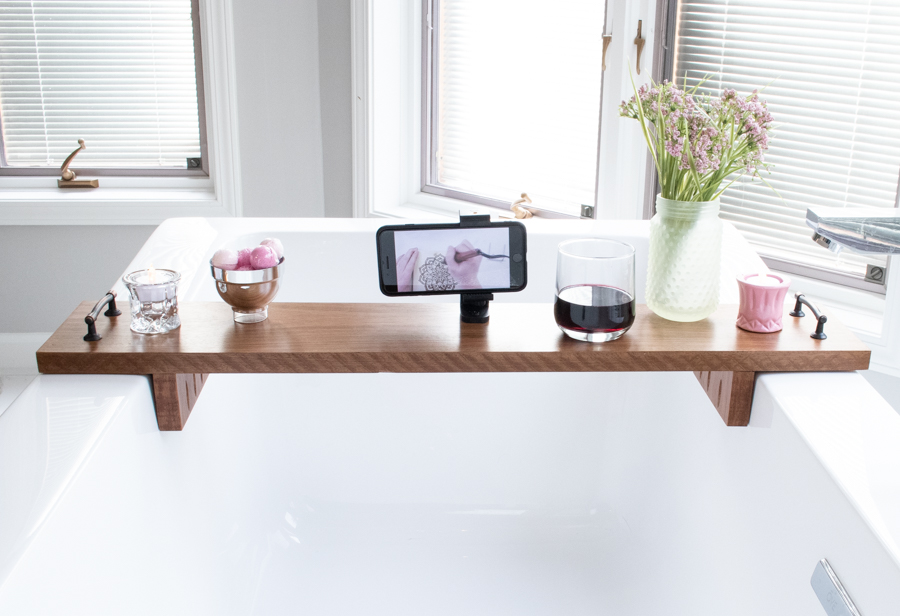
diy bath tray from front view

If you like this project, please share it on Pinterest so others can enjoy it too. Thank you for reading!


DIY Wooden Bath Tray with phone holder Pinterest image

Hi, I’m Sheri from Hazel + Gold Designs. Here are a few fun stats about me: I like love chocolate and peanut butter (together of course.) If you like stats, I have been crocheting for about 16 years, crafting for 20, and woodworking for about 4 years. I found a passion in making and being creative and began documenting my projects online at Hazel + Gold Designs.

When not working on projects, I enjoy spending time with my husband, four children, perfect dog, and ornery cat. You can find me on Facebook, Pinterest, Instagram and Twitter.

Read all of Sheri’s tutorials.

~Find more of Sheri’s projects here ~

Liked this project? If so, you’ll love this DIY Scrap Wood Laptop Stand:
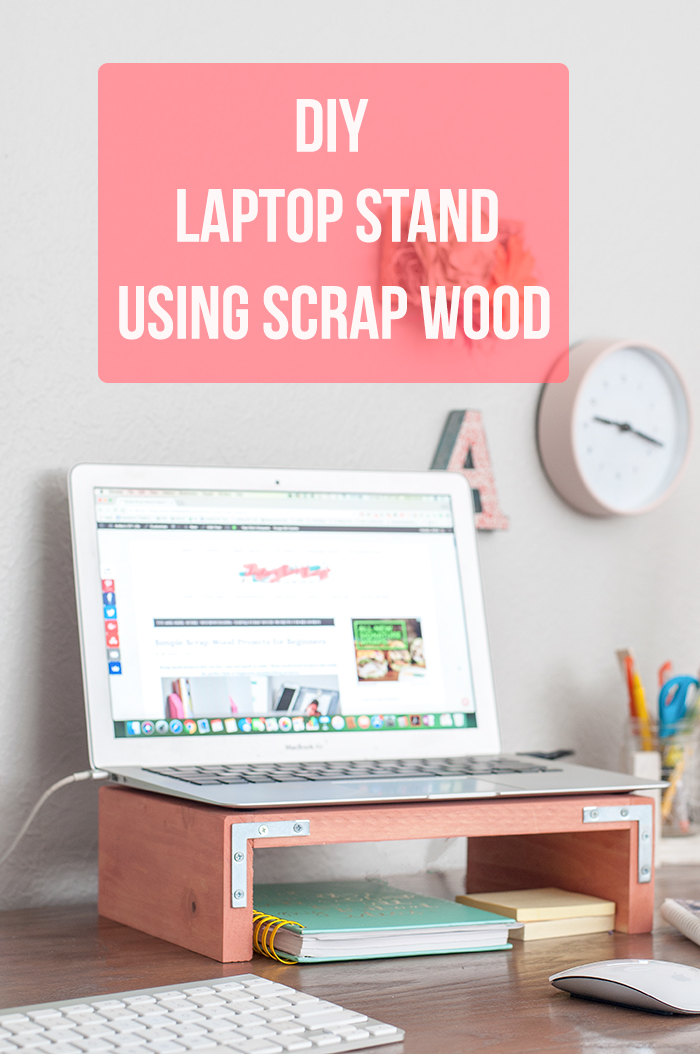
How to build a laptop stand using scrap wood.

Or this DIY Farmhouse Style Serving Tray:
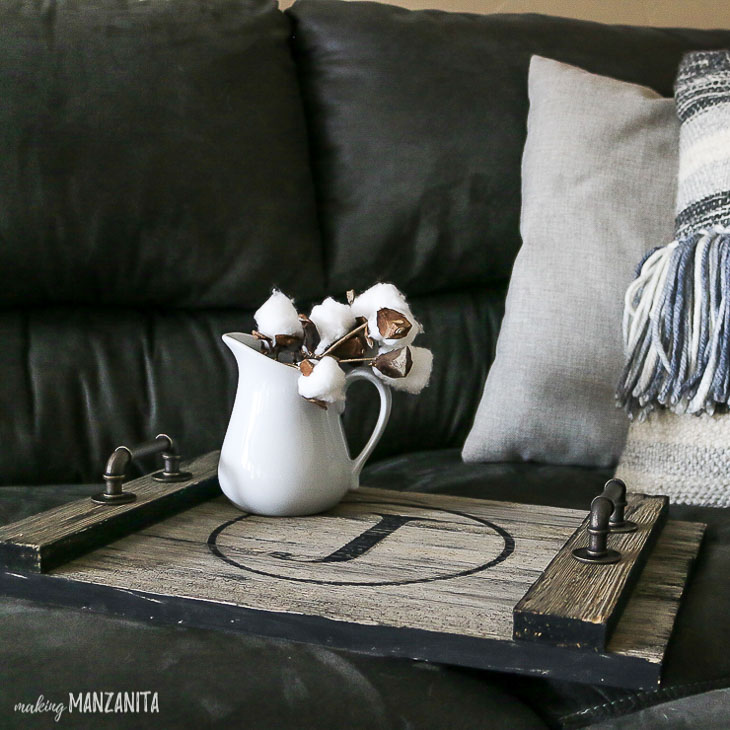
Farmhouse rustic wood serving tray on couch

Tutorial for making these DIY oilcloth, water resistant drink coasters for Summer!

DIY Drink Coasters - Water Resistant fabric and perfect for Outdoor Use and Summer Parties!

DIY Oilcloth Drink Coasters

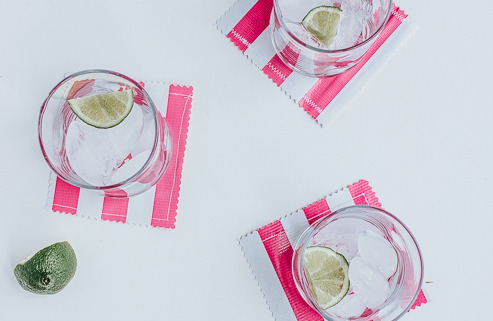
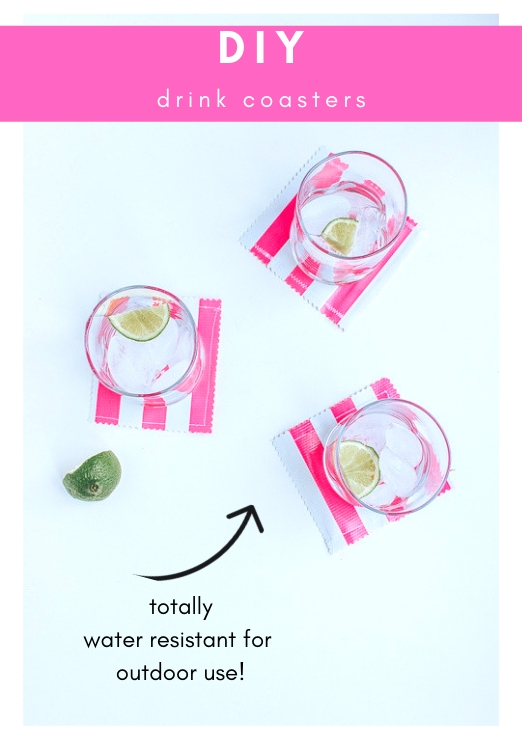
Hi there!  I’m so thrilled to be back today with this super quick and easy project.  The weather in Seattle has been totally amazing lately and it’s got me thinking about summer.  And, summer entertaining is on the brain! This project will look great on your patios and outdoor spaces. Bonus, it’s totally water resistant too. Let’s take a mini-break and learn how to make these adorable DIY oilcloth drink coasters for gifting or entertaining.

What in the world is Oilcloth?

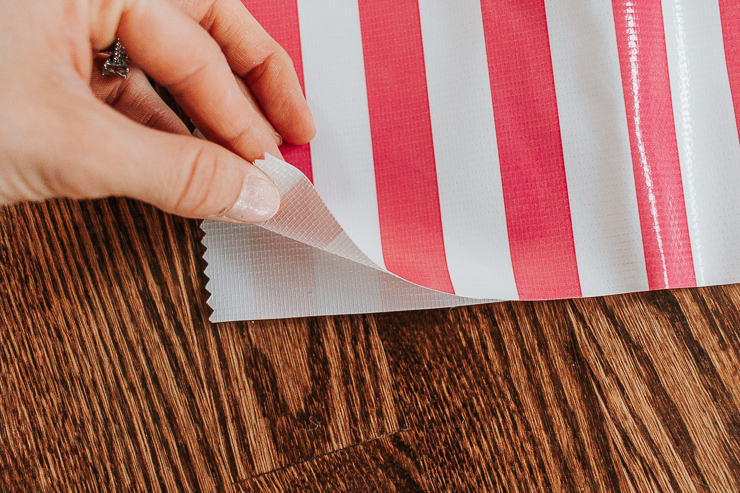
Oilcloth is a type of fabric.  It has vinyl on one side and kind of a soft mesh of cotton on the other side.  Vinyl has a slippery and plastic-like feel to it. The best part about vinyl is you can wipe it clean and it’s water resistant! This makes oilcloth a perfect fabric choice for outdoor items like tablecloths, COASTERS, beach bags etc.

The other great thing about oilcloth is that it just happens to be made in a multitude of funky patterns and bright colors.  This fabric was made for Summer!  When you get a minute – run a google search for ‘oilcloth fabric’ and you’ll see what I mean.  Such pretty patterns!

So this is the perfect little accessory for all those Summer fiestas and BBQ’ s you have in the works.  Or even for gifting away as little favors.  Tie a cute burlap string around them and presto! You have a lovely handmade housewarming gift.

Perhaps you own a pool or live near the beach?  Or know someone who does?  These coasters make a fantastic DIY gift idea for them.

Here’s the best part: these stylish oilcloth coasters took me 10 minutes to make – start to finish.

Materials:

(I’ve included affiliate links for your convenience. I earn a small percentage from a purchase using these links. There is no additional cost to you. You can read more about affiliate links here.)

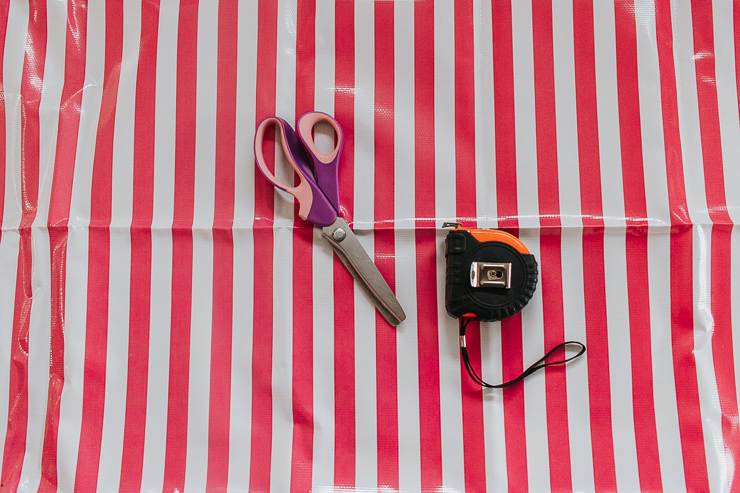
Gather materials needed to make oilcloth drink coasters

  • Oilcloth Fabric – I chose these hot pink stripes from Fabric.com
  • Sewing Machine
  • Pinking Shears – these are simply scissors with a serrated edge.  They are used to cut a zig zag pattern in fabric to prevent fraying.
  • Tape Measure (for measuring your coasters to a perfect square)

Instructions:

Start by folding your oilcloth in half.  We need two exact squares to make one coaster (both front and back will be the vinyl, water-resistant side).

Fold your oilcloth fabric in half

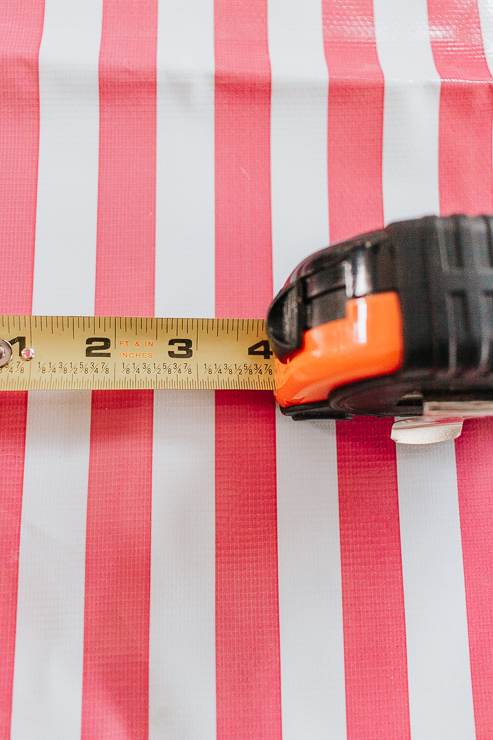
Step 1:  Measure out a perfect square on your oilcloth fabric.

measure out your coasters using a tape measure or ruler

I measured approximately a 4 inch square coaster.  (It’s totally up to you on sizing. Most drink coasters are between 3-5 inches square.  For fun you can also cut circles instead of squares. Use a bowl or circle template to make a perfect circle.)

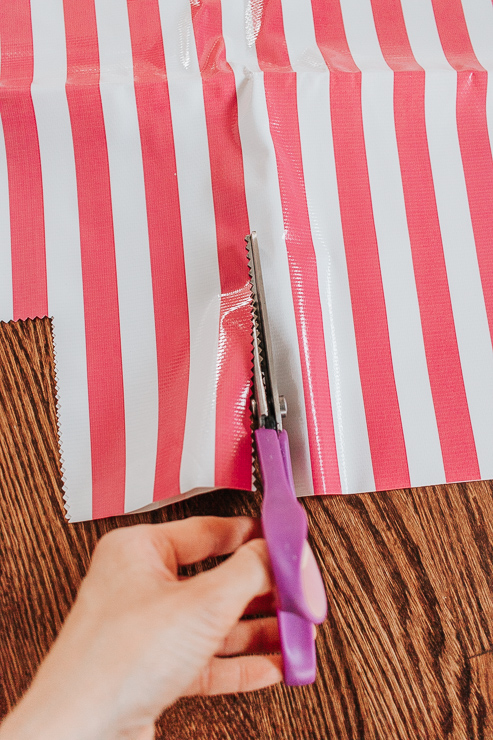
Step 2 :  Use your pinking shears to cut out your measured square.

Cut out the two squares of oilcloth fabric that you previously measured

Since your fabric is folded in half – you can pretty much cut two squares at once.  You can also use regular scissors here and even them with pinking shears after sewing.

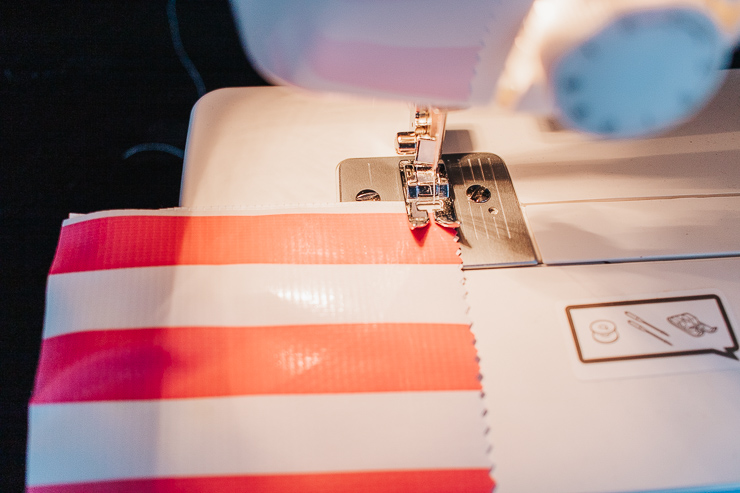
Step 3:  Line up your two squares and sew them together vinyl sides out.

sew both layers or oilcloth fabric together

Use use small binder clips (another little sewing trick I use a TON) to hold your two pieces of fabric together while sewing.  I wouldn’t suggest using pins because the holes will be visible even after removing them.

A straight stitch is fine, but feel free to try something fun like a zig zag stitch.

Tips for sewing and working with oilcloth fabric :

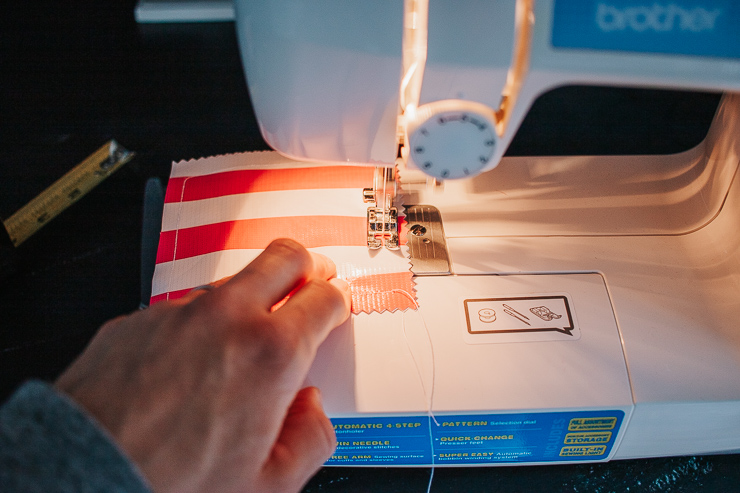
Gently feed oilcloth through your machine so it doesn't stick to the presser foot

  • Because oilcloth is vinyl and kind of plastic feeling, it will stick under your presser foot.  To combat this,  use two hands to feed the coaster through.
  • An alternative is to purchase a Teflon presser foot – they are fairly inexpensive and won’t stick to the vinyl fabric as easily.
  • DO NOT IRON OILCLOTH.  It will melt and the mess won’t be pretty.  If your oil cloth is wrinkled, lay it out and throw some heavy books on top for a few days. This usually presses the wrinkles out.  Oilcloth also “releases” more wrinkles when warmed up a bit.  Therefore you can try laying it by a sunny window.  Don’t microwave your oilcoth. 🙂

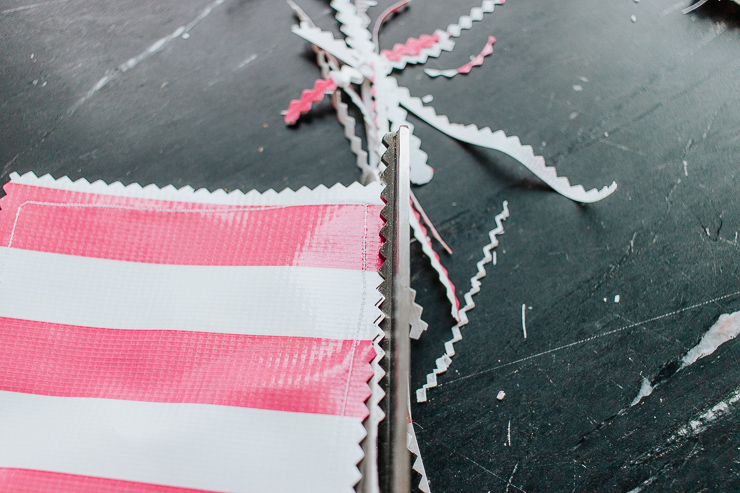
Step 4:  Use your pinking shears to clean up the edges of your coasters

Even up the edges of your newly sewn coasters with your pinking shears

Simply snip along the edge without cutting through the seam to straighten and clean up the ends.

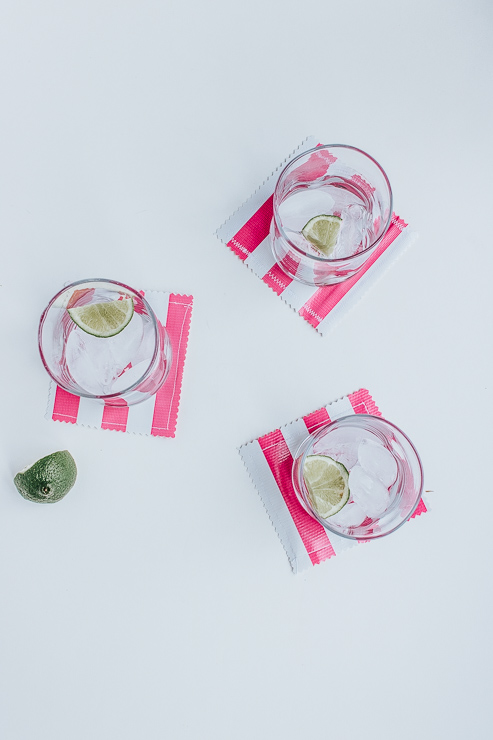
Guess what?  All done!  See how fast it was making these DIY oilcloth drink coasters?

These coasters look so cute and are perfect for Summer! Pin this image to share with a friend:

Tutorial for making these DIY oilcloth, water resistant drink coasters for Summer!

I don’t know about you, but I may need to mix up a batch of margaritas tonight.  I hope you guys enjoyed this tutorial!

Tutorial for making these DIY oilcloth, water resistant drink coasters for Summer!

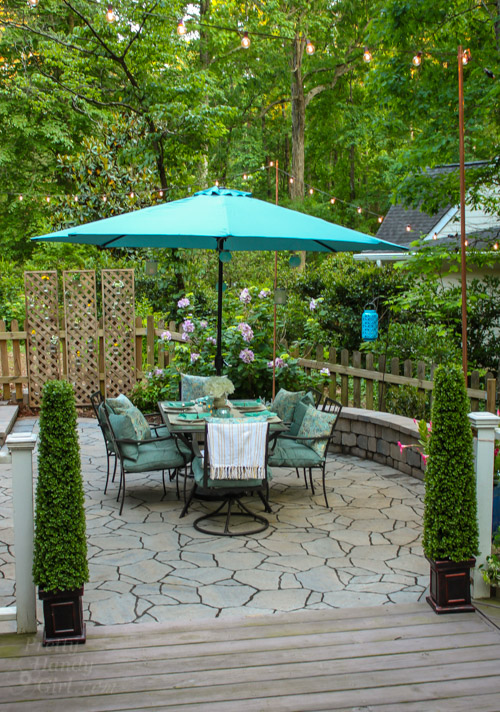
If you enjoyed this tutorial, you might want to check out my tutorial on DIY frayed napkins.  They also make a nice gift and pretty setting for your tables.  And for even more inspiration – be sure to check out Brittany’s amazing backyard and patio reveal, what a beautiful space!

Outdoor Garden Patio Party Decorating Ideas | Pretty Handy Girl

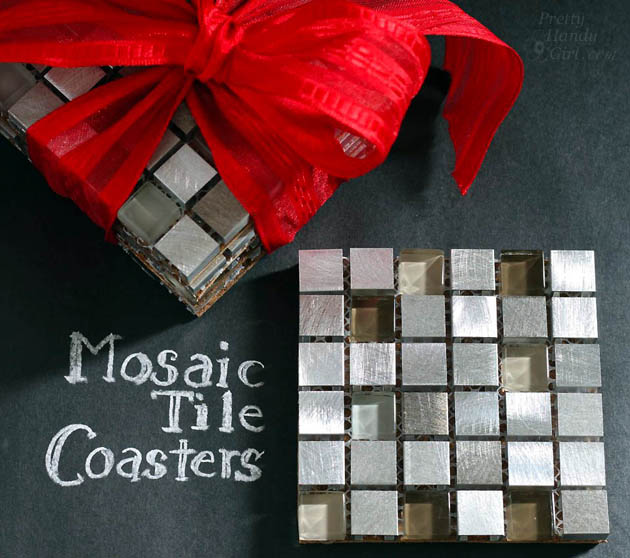
You may also like this tutorial for making mosaic tile coasters…

Mosaic Tile Coasters | Pretty Handy Girl

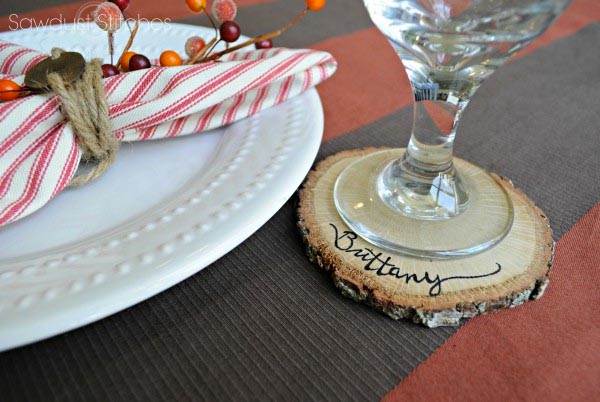
…or DIY personalized wood slice coasters.

I’ll be back here next month and I’m looking forward to connecting with you all again soon.

karen signature

~ See More of Karen’s Tutorials ~


karen from decor hintHello!  I’m Karen, the creator of the Home Decor and DIY Blog: Decor Hint . I’m a Native of the East Coast, but I currently live in beautiful Seattle with my hubby, our two wonderful children and our spunky wheaten terrier.

You can usually find me with some sort of craft in one hand and a coffee in the other. And I’m always rearranging furniture or moving lamps from room to room. I have a passion (read: obsession) for decorating, DIY, and gardening. In short, I love making my house into a home.

Like many, I’m inspired by what I see in home decor magazines, but I’m not so inspired by the price tags.  Consequently, I love finding and creating beautiful budget-friendly home decor items. In a head to head competition, I bet you’d never know the difference between the designer items and my DIY creations!  Many of my DIY projects focus on sewing, crafting, upcycling and organizing. Some of my favorite projects have been making pretty wreaths , sewing my own tassel hand towels, and crafting these trendy wood bead garlands . I can’t wait to inspire you and spark your creativity through my DIY projects.

You can always connect with me on Pinterest , Twitter or Instagram.

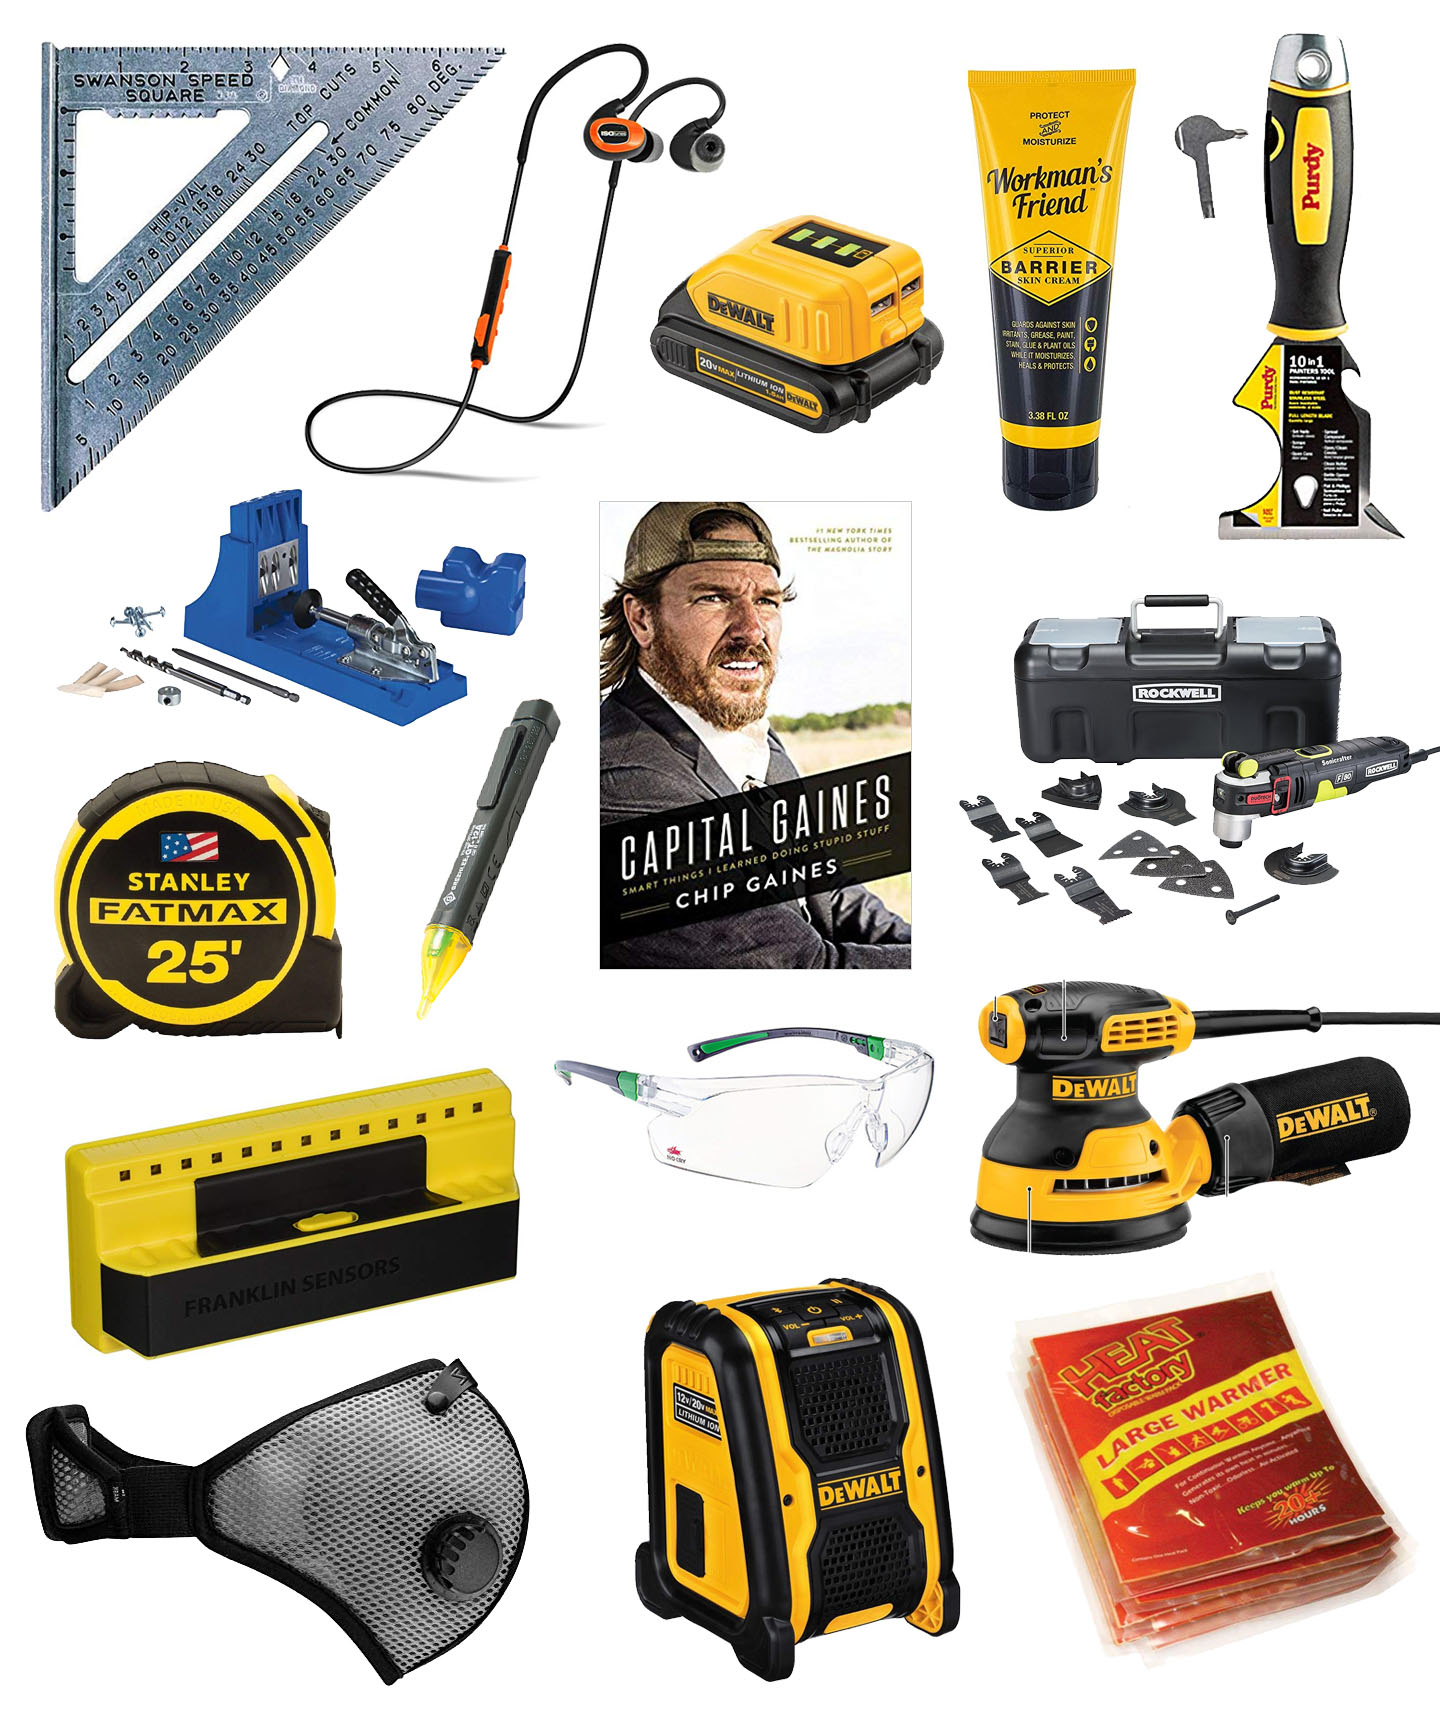
Top 16 Gift Ideas for the DIY Enthusiast
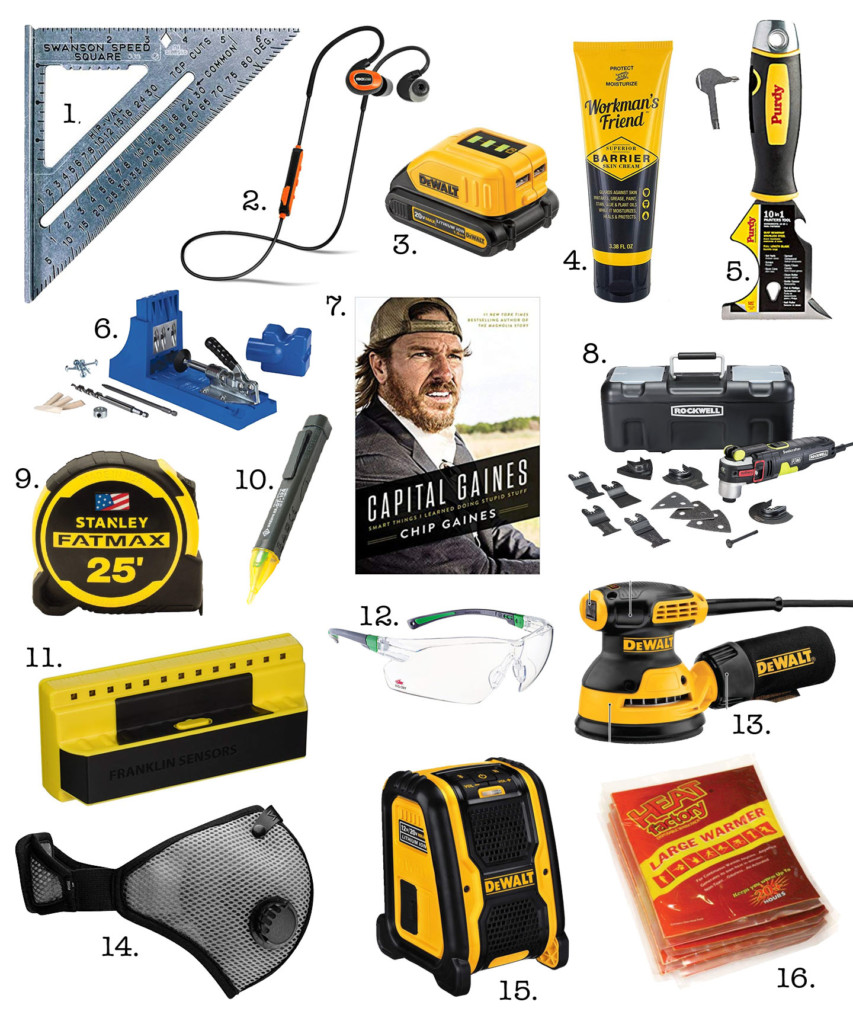
Cyber Monday is the perfect day to look for online deals and steals. Even if you missed Cyber Monday, I have some stocking stuffer ideas for your little (or big) DIYer? These are gift items I know any DIYer would love to have in their stocking. In the list are items I’ve found useful while working on a variety of projects this year (including building a whole house.) Here’s my list of 16 gift ideas for the DIYer in your life (in no particular order):


  1. Swanson Framing Square
  2. Iso-tune Bluetooth Noise Reducing Headphones
  3. DeWalt Battery USB charger adapter
  4. Workman’s Friend Barrier Cream and Moisturizer
  5. 10-in-1 Painter’s Tool
  6. Kreg Jig
  7. Capital Gaines by Chip Gaines
  8. Rockwell Oscillating Tool
  9. Stanley FatMax Fit in Hand Tape Measure
  10. Greenlee Non-Contact Voltage Tester
  11. Pro-Sensor Precision Stud Finder
  12. No Cry Safety Glasses
  13. DeWalt Random Orbital Sander
  14. RZ Re-usable Dust Mask
  15. DeWalt Jobsite Bluetooth Speaker
  16. Hand & Body Warmers

About my gift suggestions:

Swanson Framing Square – This year I’ve used this framing square for many framing and cutting needs especially when using my circular saw. In addition, I’ve used it to scribe a line for ripping lumber with my circular saw. Any good carpenter would be lost without a good framing square.

Iso-tune Bluetooth Noise Reducing Headphones – When you are trying to protect your hearing (but dread using ear plugs), this set of noise reducing ear buds will keep you happy and safe as you jam to your favorite tunes while working.

DeWalt Battery USB charger adapter – While preparing for Hurricane Florence, I pulled this USB charger adapter from my tool box and brought it inside. Although I didn’t have to use it, this little adapter has been invaluable for freeing up the outlets while my crew and I were running on conditional power. (It does require a DeWalt battery to attach to for charging.)

Workman’s Friend Barrier Cream and Moisturizer – I’m very particular about hand lotions. They have to provide a lot of moisture without leaving a greasy feeling. The Workman’s Friend moisturizing cream in my opinion is the perfect consistency, but it also acts as a barrier cream keeping your hands cleaner after a day of getting dirty.

10-in-1 Painter’s Tool – I didn’t think there was any way to improve on the standard 5-in-1 painter’s tool, but Purdy proved they could do it. Tucked into the handle of this tool is a small flat head and philips head screwdriver. In addition to the screwdrivers, you can also use this tool to set nails, scrape, open cans, spread compound, open/clean cracks, clean rollers, pull nails, and hammer.

Kreg Jig – The Kreg Jig has been my favorite tool for building furniture and frames. It’s an invaluable tool for anyone getting started in woodworking. You can read my tutorial for How to Use a Kreg Jig here. Forget the more expensive models of the Kreg Jig, the K4 is all you need.

Capital Gaines by Chip Gaines – This book may seem random in a list of tools, but I highly recommend everyone read this book. Chip has written a book that is full of inspiring quotes and mindsets to push you forward in any endeavor you choose!

Rockwell Oscillating Tool – This is one of those desert island tools that will get you out of a jamb and allow you to make precision cuts to molding, cut nails and score in tight spots. I never take this tool out of my truck.

Stanley FatMax Fit in Hand Tape Measure – I get it, you already have a working tape measure. But, if you try this tape measure you’ll understand my new found love for the “fit in your hand” tape measure. As a woman, I struggle with larger tape measures, but this one fits nicely in my hand, and it’s perfectly balanced if I want to drop extend it while standing on a ladder. Finally, it beats all other tape measures in a stand out competition. (Let’s be honest, it’s lots of fun to beat out the boys in a stand out competition. LOL.)

Greenlee Non-Contact Voltage Tester – Never take on any electrical job without this tool. It can test for power through wire insulation and is easy to see and hear when voltage is present.

Pro-Sensor Precision Stud Finder – This is by far the simplest and easiest stud finder I’ve used. It visually shows where the start and end of studs are in your walls.

No Cry Safety Glasses – I have a small head, but these safety glasses fit perfectly on my face without slipping down my nose. But, they also fit a larger head circumference comfortably. The No Cry Safety glasses are my new favorites.

DeWalt Random Orbital Sander – This orbital sander is another favorite tool with a dust collection bag or port to hook up to a vacuum cleaner. The hook and loop pad makes changing sandpaper a breeze.

RZ Re-usable Dust Mask – When it comes to safety equipment, you’ll be more likely to wear it if it’s comfortable. That’s why I like the RZ dust masks. The soft fabric doesn’t leave mask marks and the velcro closure provides a more comfortable fit. The inner filter can be changed as needed, and the exterior can be used over and over again. It’s better for you and the environment!

DeWalt Jobsite Bluetooth Speaker – This little bluetooth speaker has great sound, it’s small and can withstand being dropped and kicked around.

Hand & Body Warmers – Working in my unheated garage or on the job site this time of year leads to frozen fingers. I like keeping a stash of these hand warmers nearby to keep my fingers and body warmer (allowing me to work longer hours.)

I hope you liked this list of 16 Gift Ideas for the DIY Enthusiast. Anyone who works with tools or on a job site will love them too.

DIY Pencil Vases

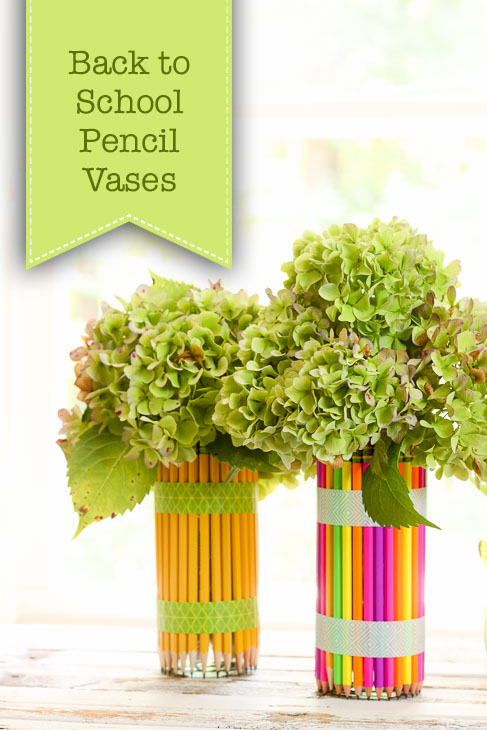
DIY Back to School Pencil Vase

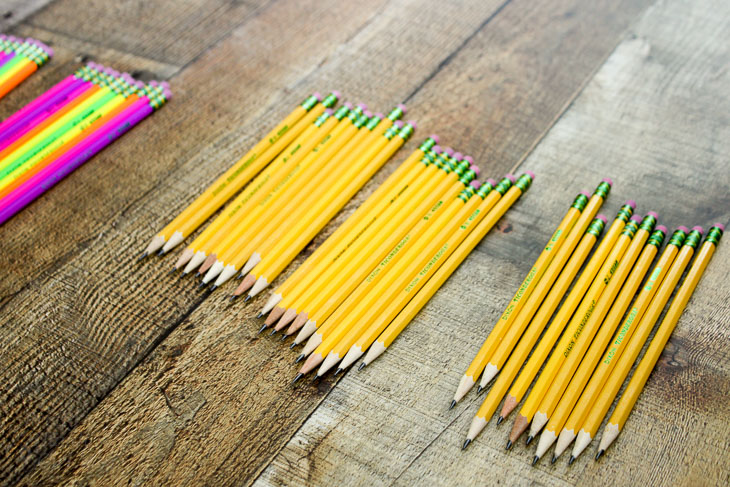
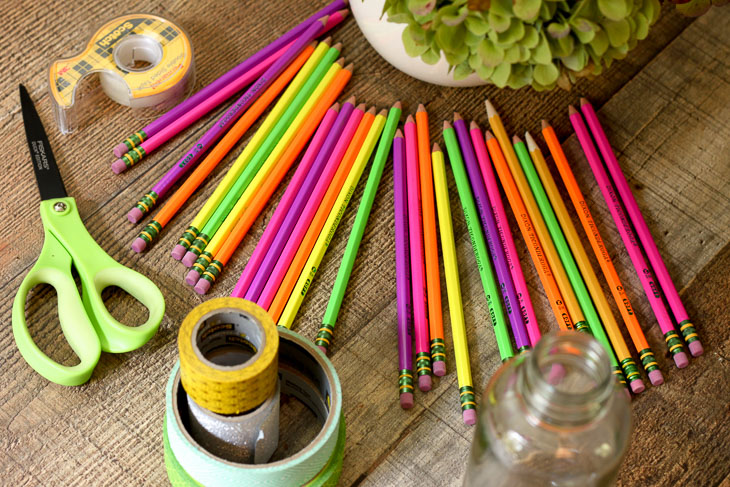
Last year my son’s teachers asked for a pack of pre-sharpened pencils. Instead of just giving them a box of pencils, I wanted to give his teachers something prettier than a box of pencils. When I found a colorful package of pencils, I knew I was on to something. After some  sharpening pencils it was time to get creative.

Materials:

(I’ve included affiliate links for your convenience. I earn a small percentage from a purchase using these links. There is no additional cost to you. You can read more about affiliate links here.)

Instructions:

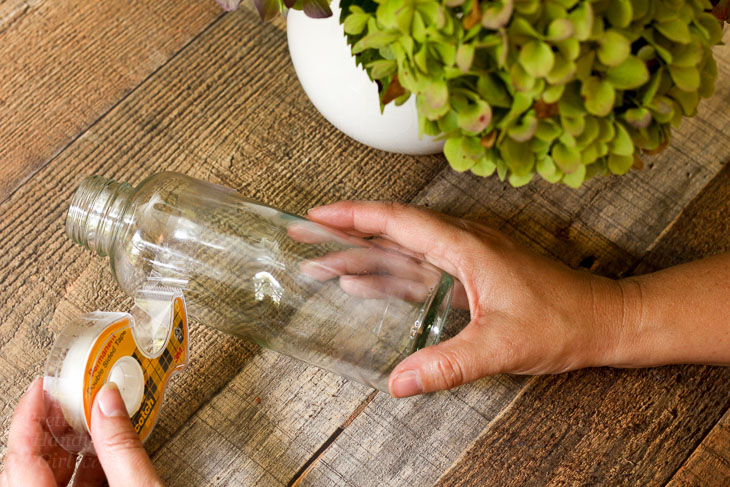
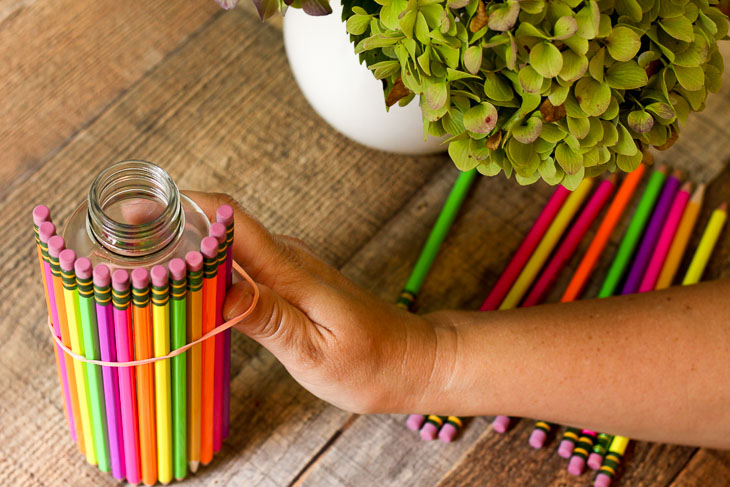
Remove the label and clean your recycled glass bottle. Dry it thoroughly. Apply double-stick tape to the top and bottom edges of your bottle.

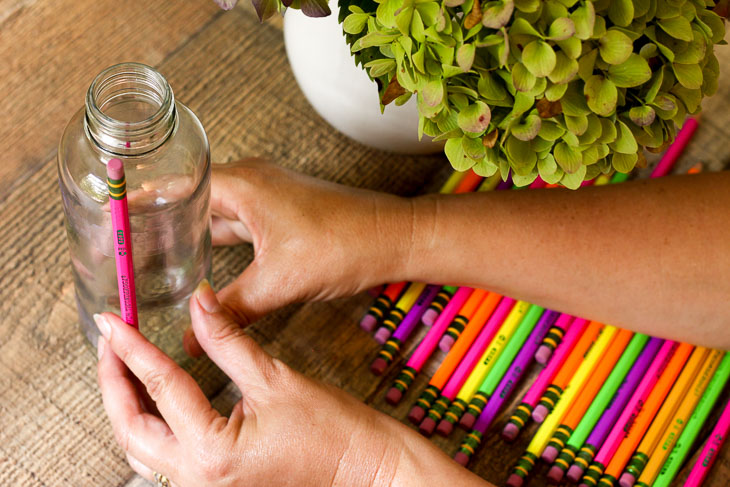
Lay one pencil onto the bottle vertically. Press it against the tape for a temporary hold.

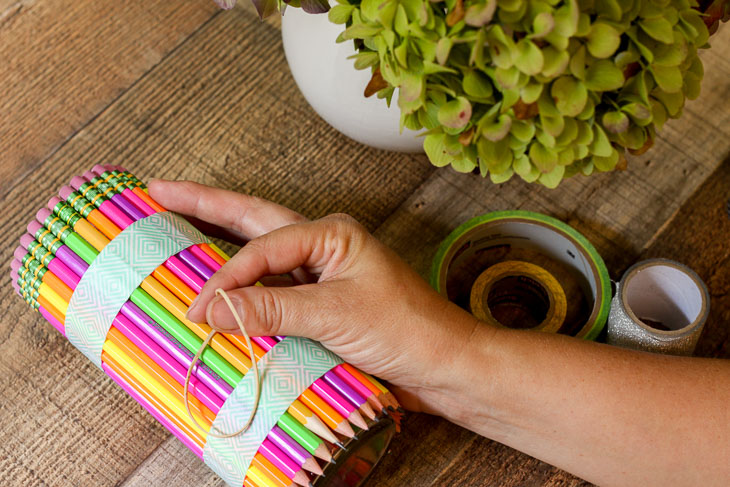
Continue adding pencils around the bottle. At about 1/3 – 1/2 coverage, slip a rubber band around the middle of the bottle over the pencils. This will help hold the pencils in place.

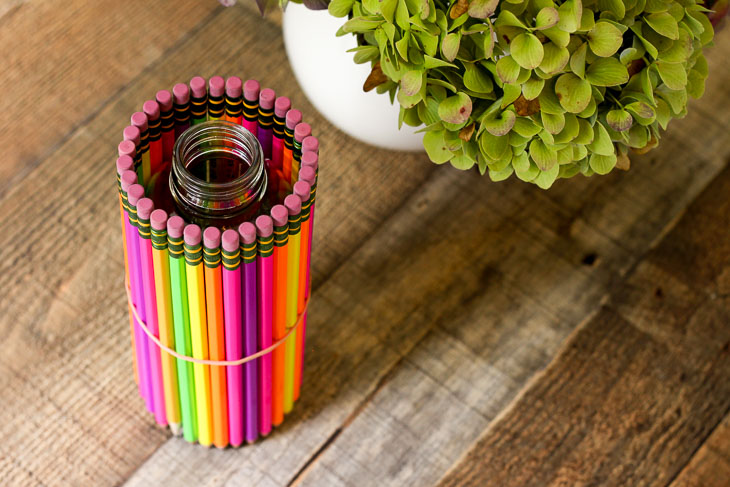
Continue adding pencils until the bottle is completely covered.

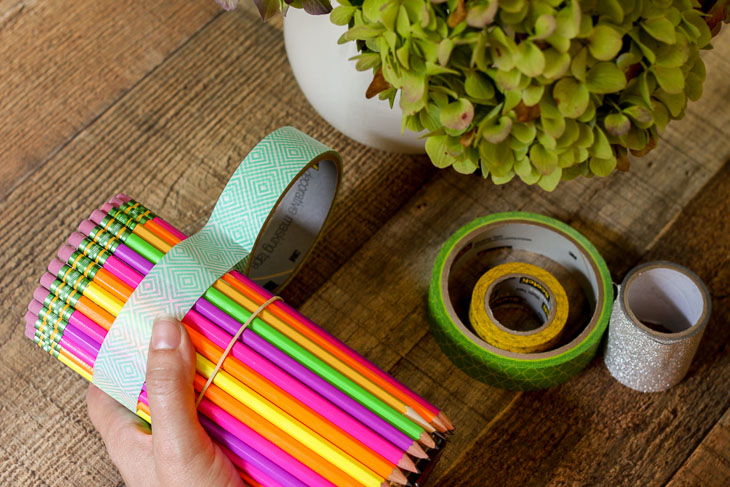
Choose a coordinating washi tape and tape one end of the pencil stack.

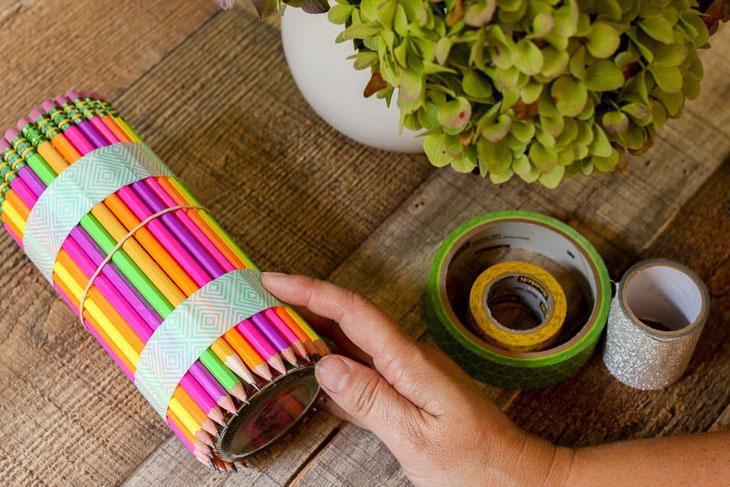
Press the tape firmly against the pencils and repeat along the bottom edge of the pencils.

Remove the rubber band.

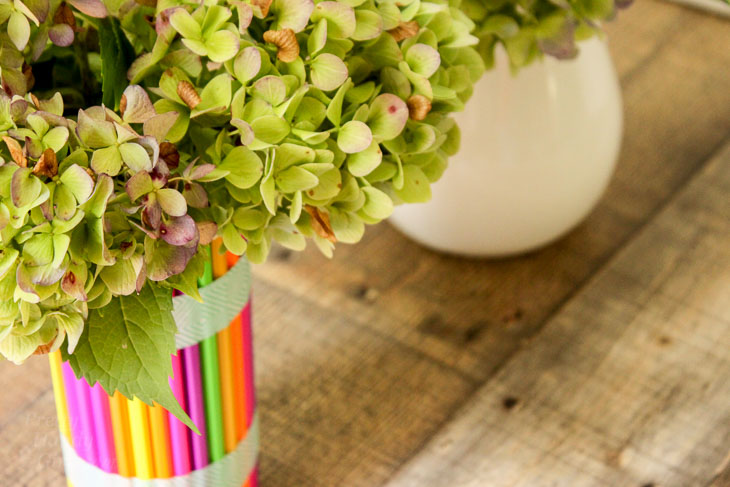
Fill the bottle with water and add some flowers.

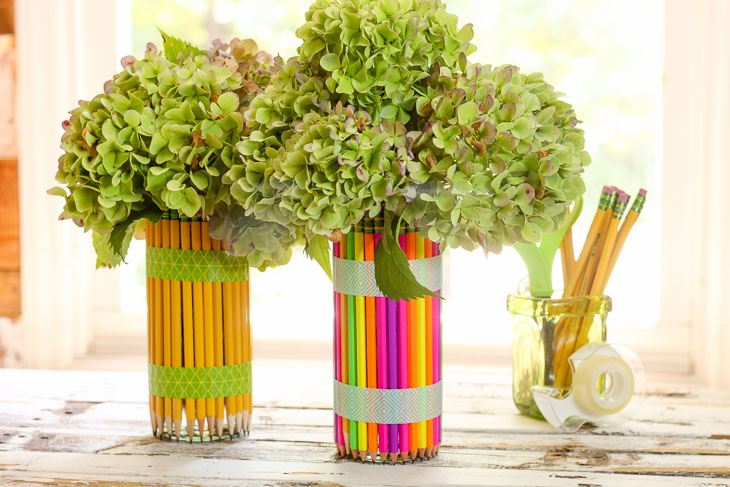
Deliver this beautiful DIY Back to School Pencil Vase to the recipient.

You might have to convince them it’s okay to remove pencils as needed.

Either way they look cute on the desk for a while.

Here’s a video tutorial to show you how easy it is to make the back to school pencil vases:

Like this idea? Pin it for future reference (and to share the love):

DIY Pencil Vases

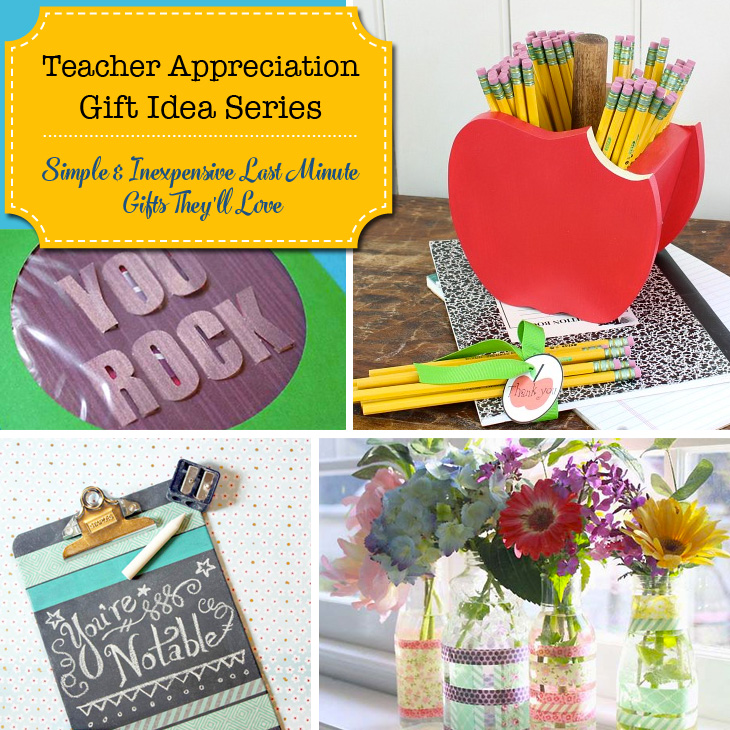
If you liked this idea, you’ll love some of these other teacher appreciation ideas:

Teacher Appreciation Gift Ideas Series | Pretty Handy Girl


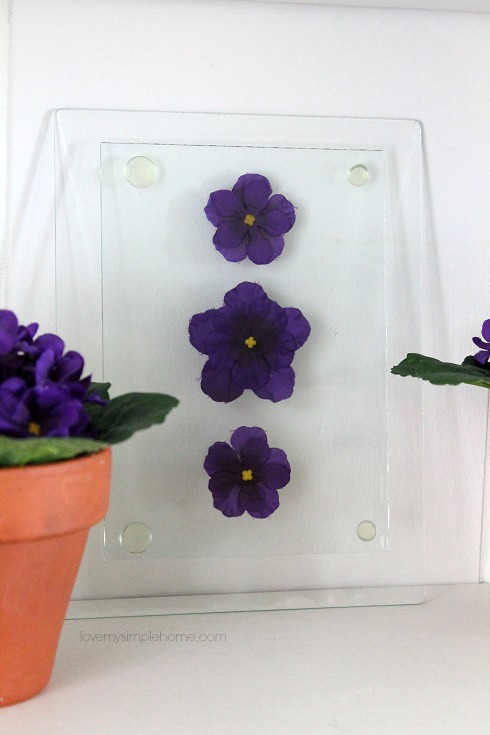
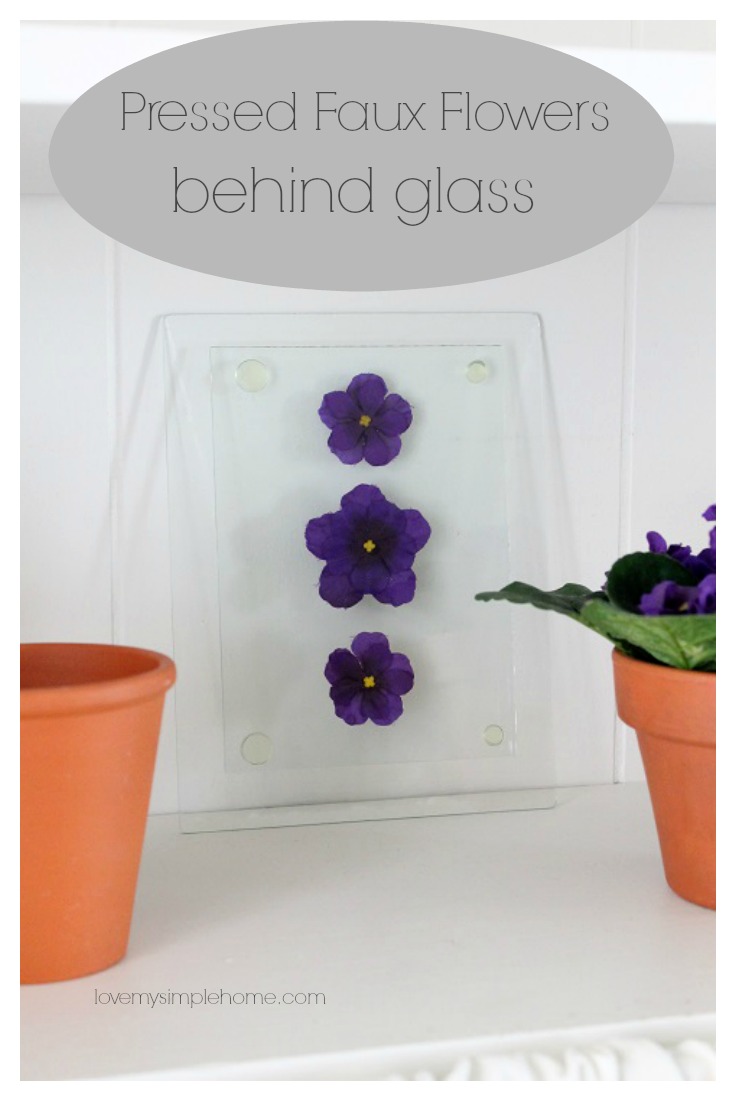
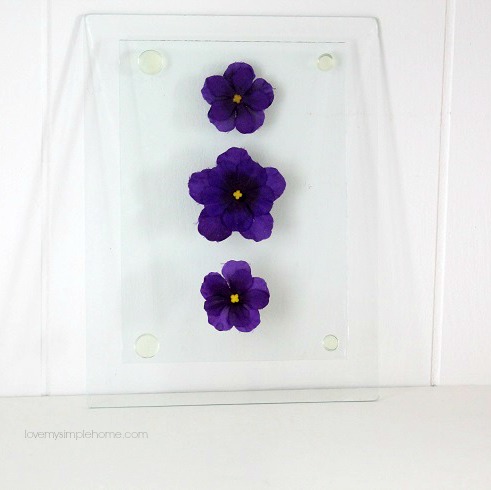
Pressed faux flowers behind glassPressed Faux Flowers

Hello, Pretty Handy Girl friends!  Julie from love my simple home here, with a new DIY project!  Pressed faux flowers behind glass is quick and easy to make. You’ll end up with a beautiful piece of leaning art that you can display on a shelf in your home.

Materials:

  • Faux Silk Flowers
  • Glass from two picture frames in different sizes
  • Scissors
  • Hot Glue Gun
  • Craft Glue

Instructions:

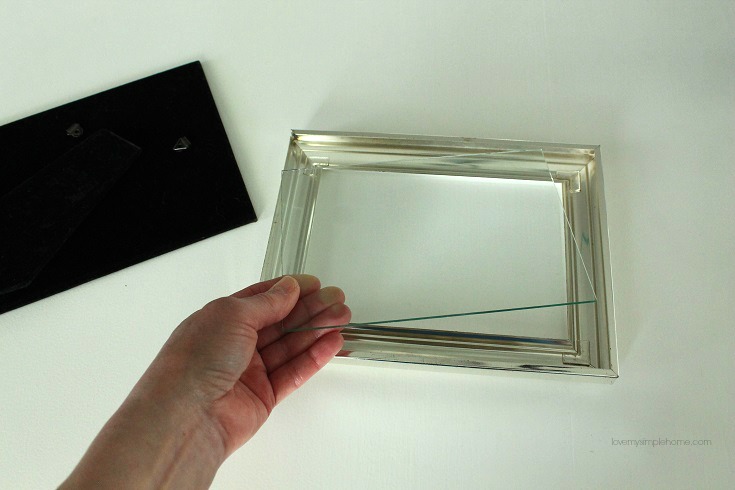
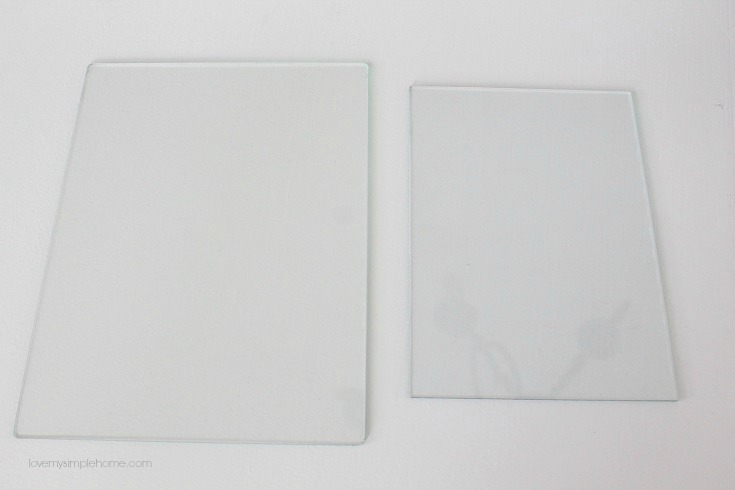
  1.  Choose two different size picture frames (they can be any size you want.)  Make sure they will fit on your shelf.  I used one 5″ x 7″ and one 8″ x 10″.

Materials for Pressed faux flowers behind glass

Remove the back and the glass from your picture frames.

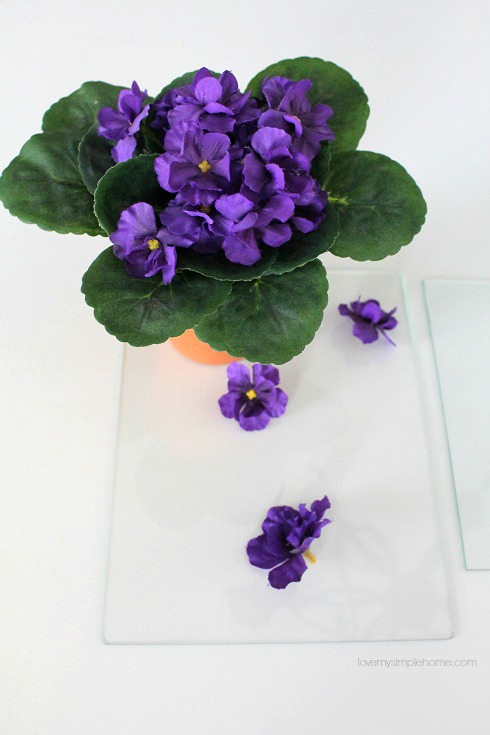
2.  Select the flowers of your choice. Pull the blooms off the plastic stems.

Pressed faux flowers behind glass

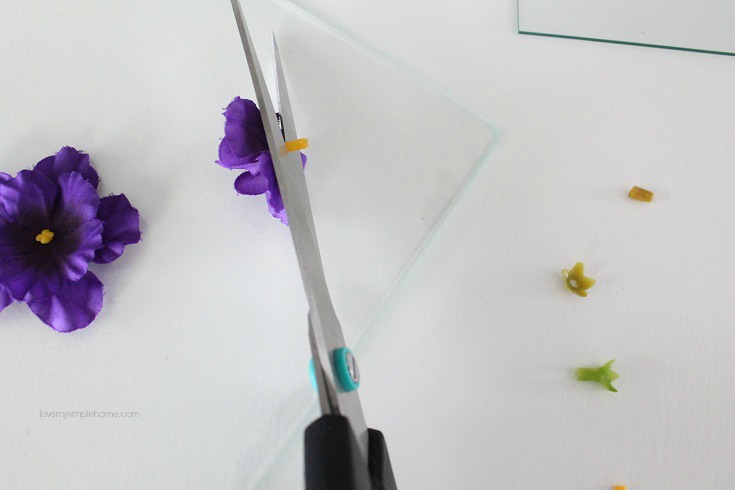
3.  Cut the plastic stems from the flowers. Use your scissors for this task.


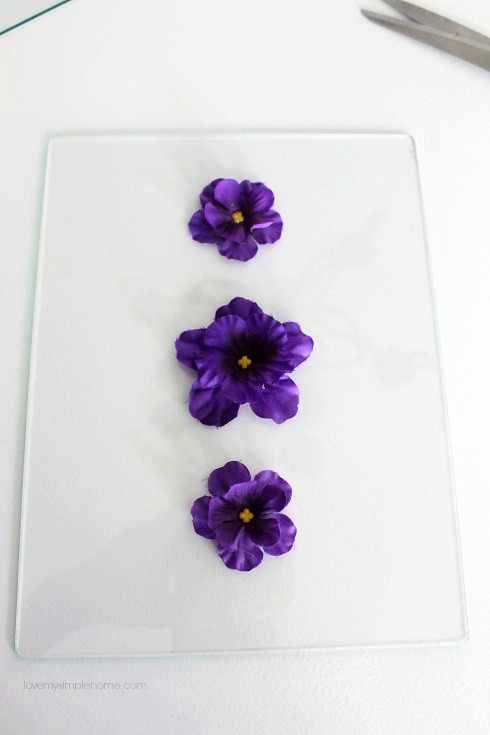
4.  Arrange the flowers any way you like on top of the larger piece of glass.  When you like what you see, add a dab of craft glue to the back of each flower and gently press onto the glass.

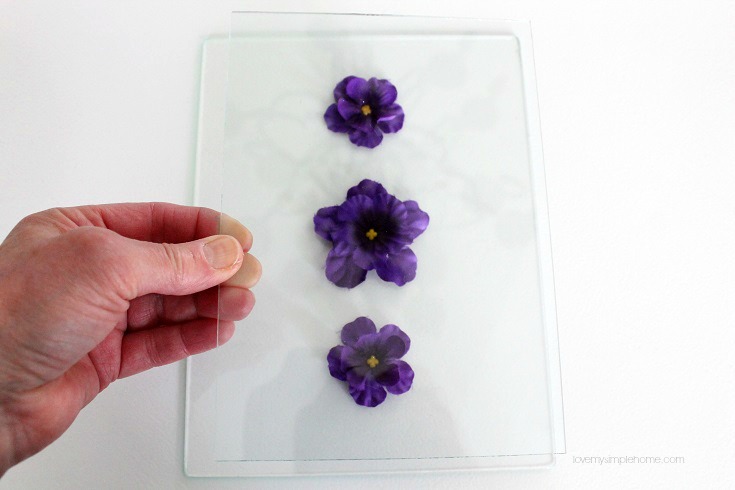
6. Place the smaller piece of glass on top of your lovely flower arrangement.  Grab your trusty hot glue gun and put a dab of glue on the four corners of the smaller glass piece.

7.  Flip the glass, then lay the glass down over the flowers. The glass should be centered on the large piece of glass. Gently push down on the four corners and hold it in place for about 30 seconds or more until the glue adheres to the glass.   After the top piece of glass is in place, the flowers will lay flat pressed between the two pieces of glass.

Pressed faux flowers behind glass

Pressed faux flowers behind glass

That’s it, you now have a beautiful piece of leaning art you can display on a shelf in your home.

Pressed faux flowers behind glass

I hope you enjoyed this quick and easy DIY art idea.

Be sure to check out my other tutorials here at Pretty Handy Girl and over on my website love my simple home.