Pen and Ink Sketch Decorative Dessert Plates | Pretty Handy Girl

Pen and Ink Sketch Decorative Dessert Plates | Pretty Handy Girl

My goodness, November is flying by! Get it…flying…insects. I crack myself up. But seriously, I have been having a blast coming up with new creative gift ideas that you can make. This idea for making pen and ink sketch decorative dessert plates turned out better than I expected! The only downside is that they really are only for decoration. The paint used on the plates can be cured, but the manufacturer states that it technically isn’t food safe.

With that disclaimer out of the way, think about how you could commemorate an event with a personalized plate. Or you could use the same stenciling technique on the outside of a pitcher, mug, glasses or anywhere that the food wouldn’t be in contact with.


(I’ve included affiliate links for your convenience. I earn a small percentage from a purchase using these links. There is no additional cost to you. You can read more about affiliate links here.)

Materials:

Pen and Ink Sketch Decorative Dessert Plates | Pretty Handy Girl

Optional: Porcelaine or glass ink pens for writing


Instructions: Read more

Make a Tray from a Cabinet Door | Pretty Handy Girl

Make a Tray from a Cabinet Door | Pretty Handy Girl

One of my favorite places to thrift shop is the Habitat ReStore. I mean, where else can you find cool $2 cabinet doors?

Make a Tray from a Cabinet Door | Pretty Handy Girl

This fine cast off door is just screaming to be upcycled into a beautiful tray. Especially when the same thrifting adventure yielded VERY COOL door hardware! Simply combine the two and you have yourself a unique serving tray to give as a gift (or keep for yourself.)

Make a Tray from a Cabinet Door | Pretty Handy Girl

Materials:

  • Cabinet door
  • Door handle or cabinet handle
  • Wood putty
  • Putty knife
  • Ruler
  • Pencil
  • Drill
  • Drill bits
  • Screwdriver bit
  • Rubber bumpers

Optional: Rub n’ Buff Gold Leaf

The steps are super simple. Read more

Easy Wooden Chalkboard Sign | Pretty Handy Girl

Easy Wooden Chalkboard Sign | Pretty Handy Girl

Do you keep scraps of wood and say to yourself, “I might need that for something someday.” Well, today is your someday! Grab a scrap (or ask Lowe’s for their scraps) and create this super easy wooden chalkboard sign.

When you’re done, you can turn it into a sign that displays your favorite quote; a plaque welcoming friends; or you could create a fun Christmas Countdown sign!

Easy Wooden Chalkboard Sign | Pretty Handy Girl

Materials:

Easy Wooden Chalkboard Sign | Pretty Handy Girl

  • Scrap wood (3/4″ thickness works the best)
  • Chalkboard spray paint
  • Painter’s Tape
  • Red paint (I used Miss Mustard Seed Tricycle Milk Paint)
  • White paint pen
  • Chalk
  • Pencil
  • Eye hooks
  • Drill
  • Drill bit slightly smaller than the eye bolts
  • Ribbon
  • Pencil
  • Safety glasses


Instructions: Read more

Stenciled and Dyed Scarves Tutorial | Pretty Handy Girl

Stenciled and Dyed Scarves Tutorial | Pretty Handy Girl

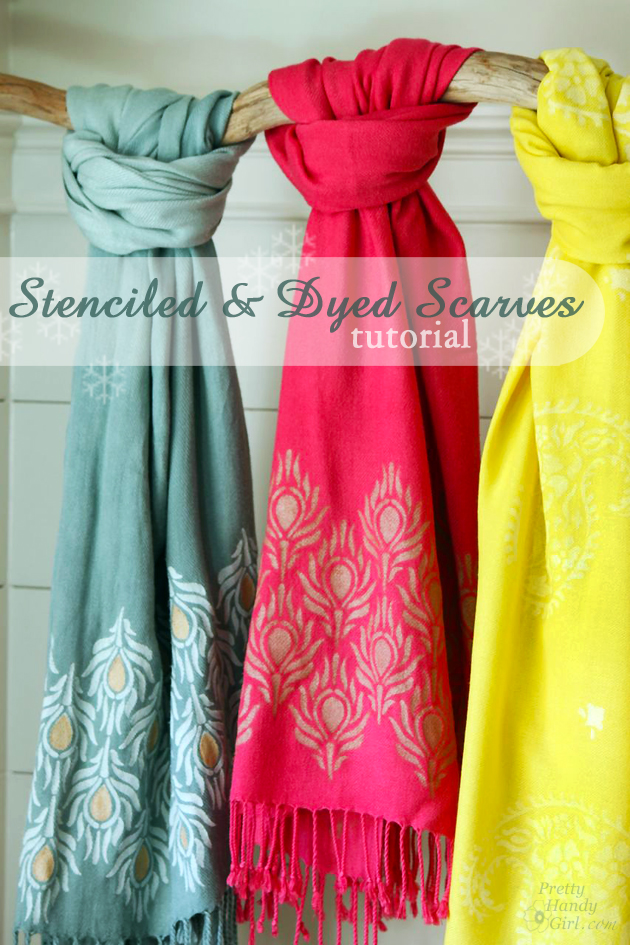
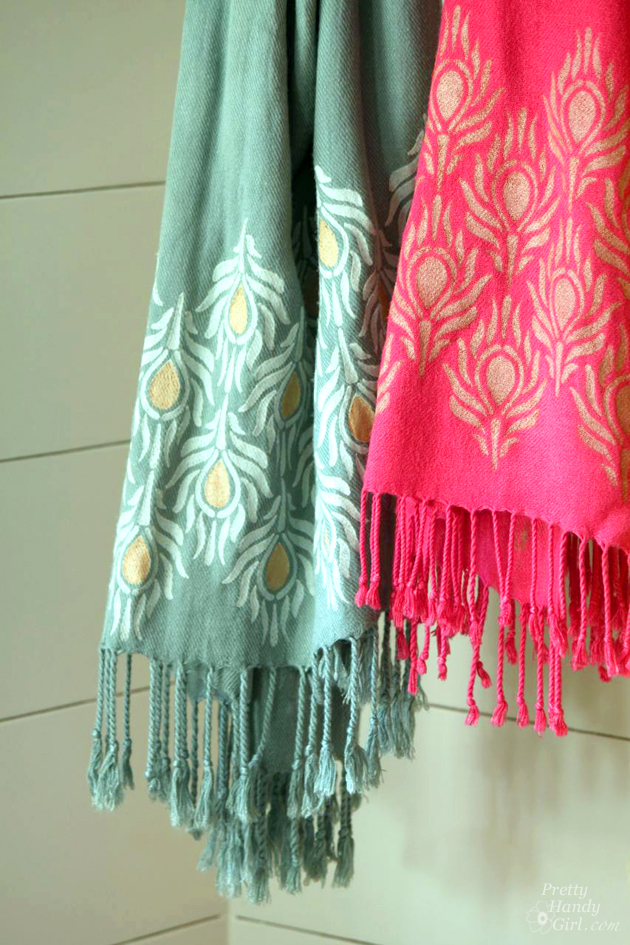
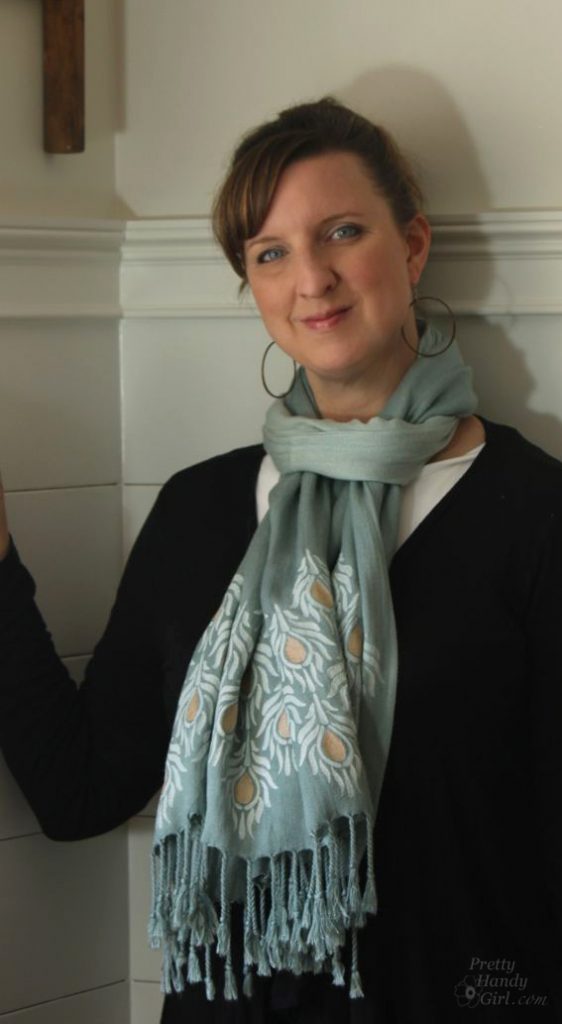
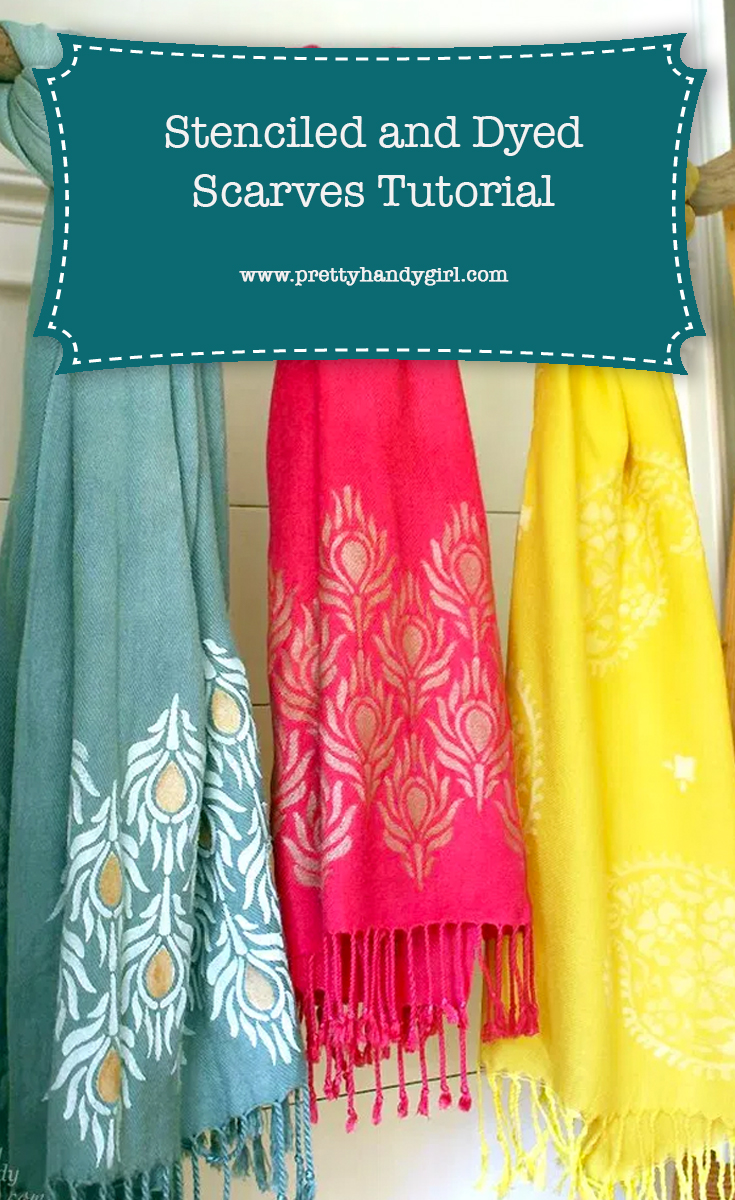
Once again I’ve created a DIY gift that I want to keep for myself! It’s true, I’ve fallen in love with these stenciled and dyed scarves that I created this week. In particular, I’m rather fond of the blue/gray and yellow ones. So, my question to you is, which looks better on me? (Because I might have to keep it.) The blue/gray ombré scarf with the peacock feathers.

Stenciled and Dyed Scarves Tutorial | Pretty Handy Girl

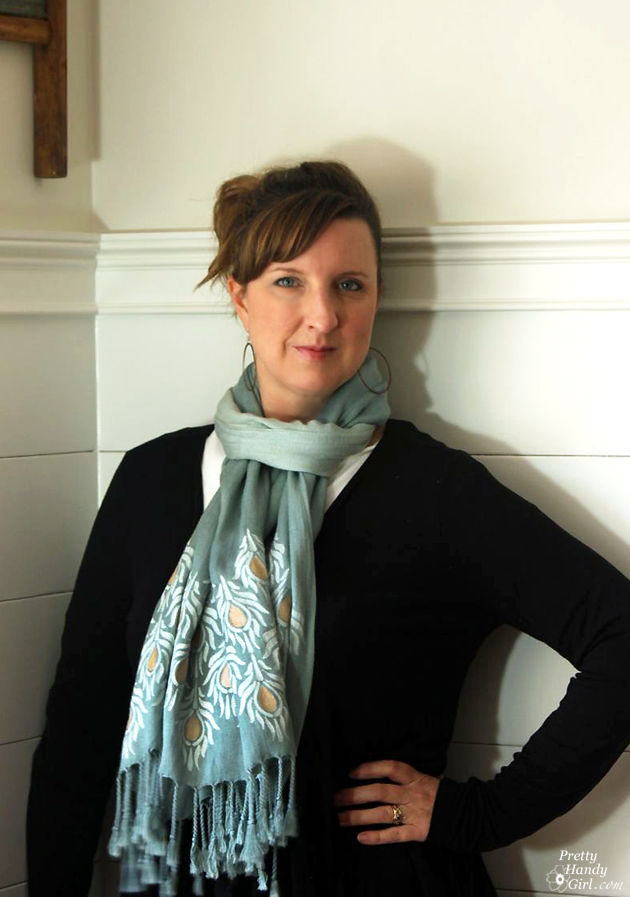
Or the sunny yellow scarf with paisleys. I always thought I didn’t look good in yellow, but I think the picture is proving my thoughts wrong.

Stenciled and Dyed Scarves Tutorial | Pretty Handy Girl

For this gift idea, you can either purchase colored scarves or buy white scarves and dye them. I prefer to do the latter because frankly I don’t usually like the scarf colors offered (at least the inexpensive ones.) But, that’s up to you and your time availability.  Let’s get on to the tutorial, shall we?

Materials for stenciling scarves:

Stenciled and Dyed Scarves Tutorial | Pretty Handy Girl

(I’ve included affiliate links for your convenience. I earn a small percentage from a purchase using these links. There is no additional cost to you. You can read more about affiliate links here.)

Materials for Dyeing Scarves:

Stenciled and Dyed Scarves Tutorial | Pretty Handy Girl

Instructions for Dyeing Scarves:

To keep this tutorial from being crazy long, I’m going to show you the quick and basic steps for dyeing, but I highly recommend that you follow the instructions on your package of dye or on the RitDye.com website.

Stenciled and Dyed Scarves Tutorial | Pretty Handy Girl

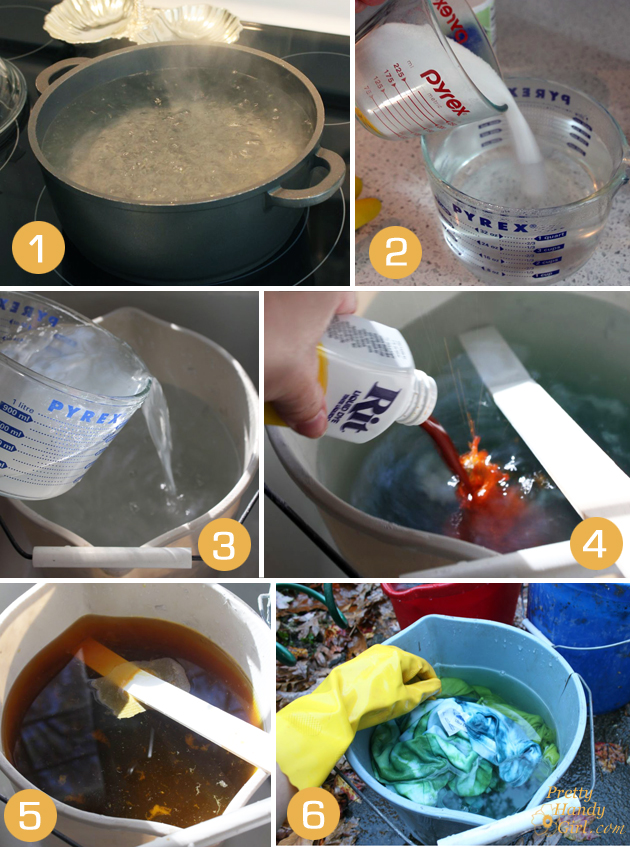
1) Boil 4 cups of water.

2) Pour 1 cup salt [recommended for use with viscose (same as rayon)] in the hot water and stir to dissolve.

3) Pour hot salt/water mixture into a bucket with 2 gallons of hot water inside. Stir.

4) Pour appropriate dye amount (look on bottle or color formula chart) into the bucket.

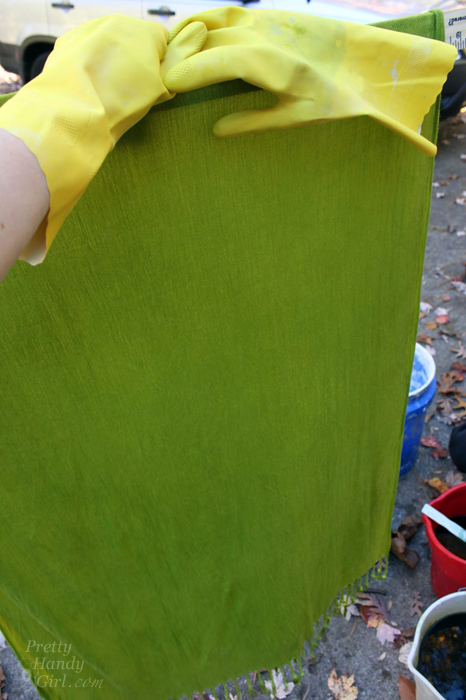
5) Mix well. Dip scarf inside the bucket. Stir and let scarf sit for several minutes (about 10 minutes.)

6) Remove scarf and wring out any excess dye. Place in a separate bucket that has clean water in it. Rinse and wring scarf in water. Change water often and continue until the water remains mostly clear (this takes a while.)

Ombré dyeing technique: 

If you wish to create an ombré scarf, drape the scarf over a ruler or pole. Gently dip the bottom third of the scarf into the dye bath. Do not let the scarf sit, bounce it up and down. After a few minutes, dip the scarf in lower (about 2/3 way) and continue to bounce it in the dye bath. Finally, the last minute, dip the entire scarf into the bath and remove immediately. Dip it about six more times, constantly dipping to create a gradiation or ombré effect.

Stenciled and Dyed Scarves Tutorial | Pretty Handy Girl

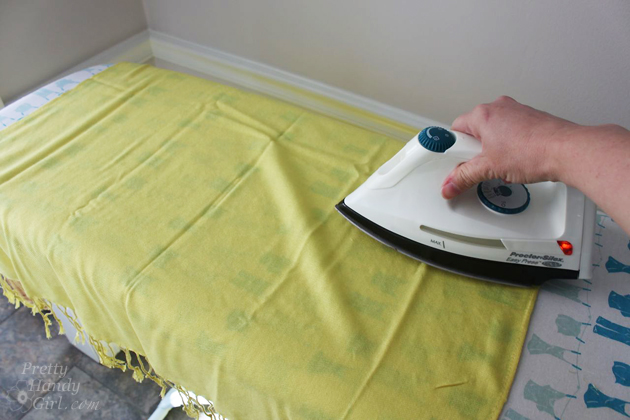
After the scarf is thoroughly rinsed, wash it with like colors in the washing machine. Dry. Iron all wrinkles out of the scarf.

Stenciled and Dyed Scarves Tutorial | Pretty Handy Girl

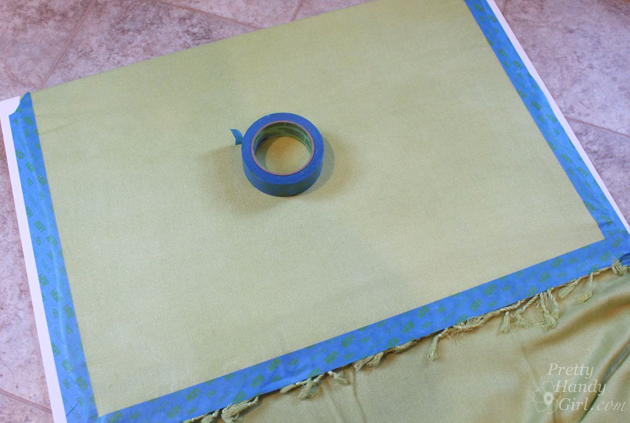
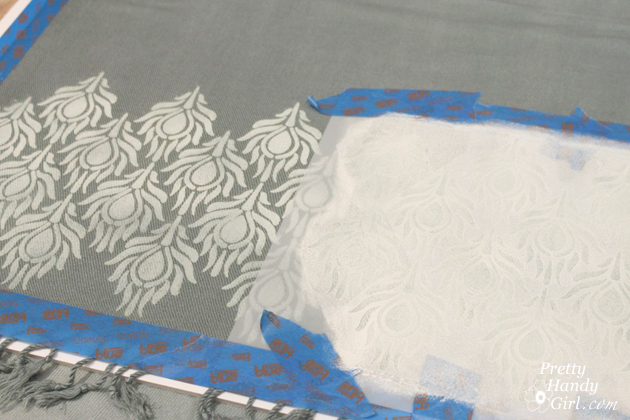
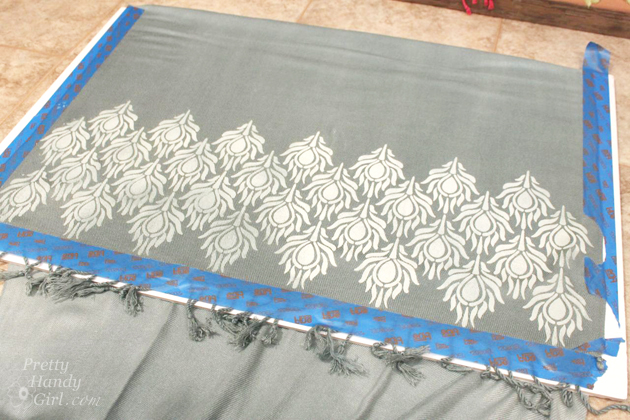
Tape one end of the scarf to a board with painter’s tape. Make sure the fabric is taught.

Stenciled and Dyed Scarves Tutorial | Pretty Handy Girl

Tape your stencil onto the scarf. If there are areas on the stencil that you wish to block, tape over them.

Stenciled and Dyed Scarves Tutorial | Pretty Handy Girl

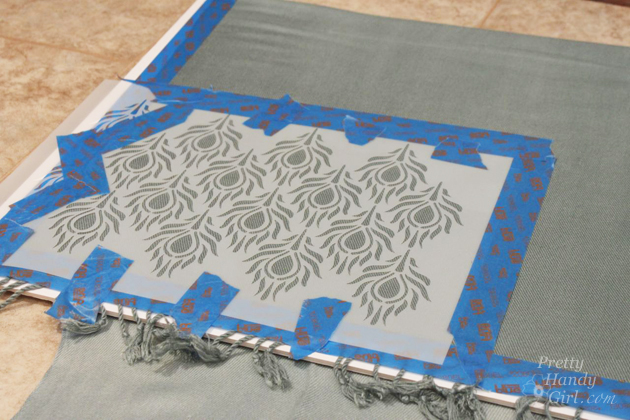
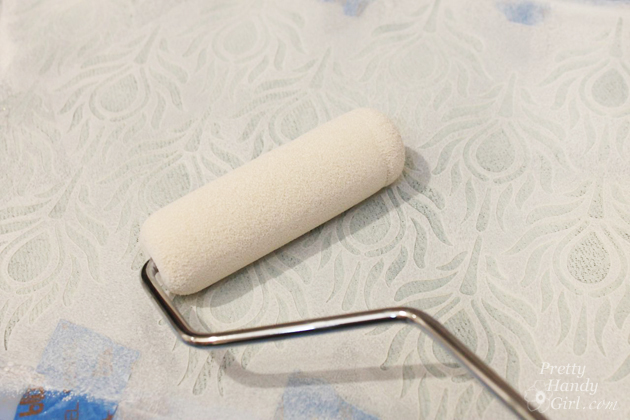
Roll your roller into the paint. Roll any excess paint off the roller until it is almost dry. Then roll your paint over the stencil. You’ll have to roll over it multiple times to build up enough saturation of the paint.

Stenciled and Dyed Scarves Tutorial | Pretty Handy Girl

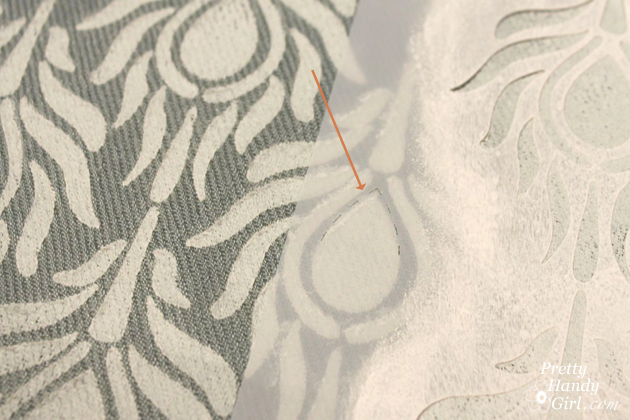
Lift the stencil and position it next to the printed area.

Stenciled and Dyed Scarves Tutorial | Pretty Handy Girl

Line up the registration marks with the last row of your stencil design.

Stenciled and Dyed Scarves Tutorial | Pretty Handy Girl

You might need to remove the areas you masked off and adjust to the opposite side.

Stenciled and Dyed Scarves Tutorial | Pretty Handy Girl

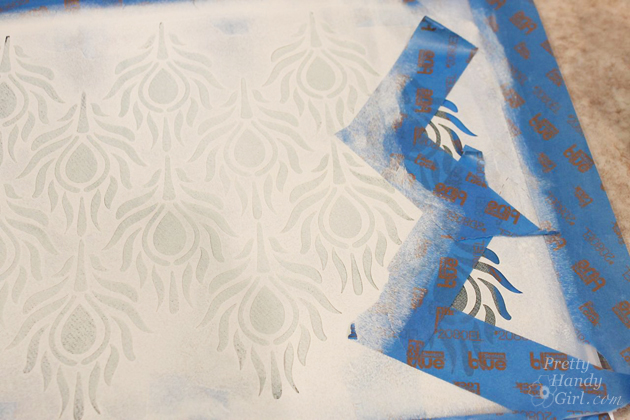
Roll your paint onto the stencil until you have good coverage. Remove the stencil.

Stenciled and Dyed Scarves Tutorial | Pretty Handy Girl

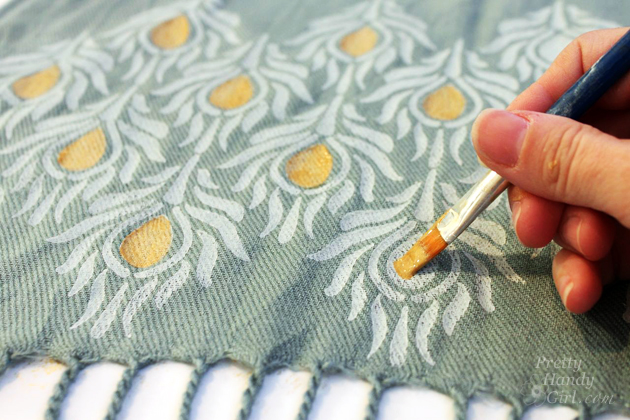
Allow the paint to dry. Remove the scarf and print the other end of your scarf. For extra color, you could paint some areas of the pattern with a second color.

Stenciled and Dyed Scarves Tutorial | Pretty Handy Girl

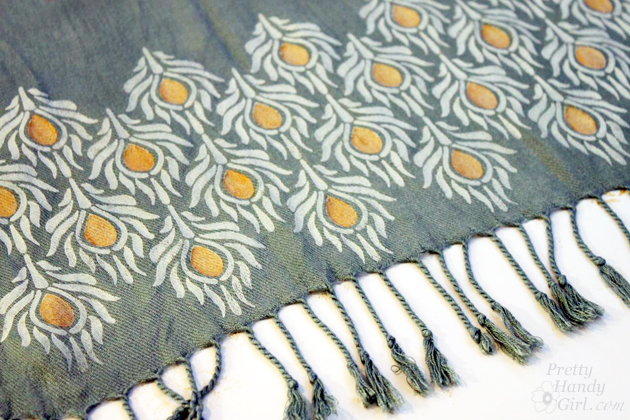
Allow to dry and enjoy your beautiful creation!

Stenciled and Dyed Scarves Tutorial | Pretty Handy Girl

If you would like more of a visual demo, you might enjoy watching the Google Hangout hosted by HomeTalk on stenciling that I did on Wednesday with Melanie from Royal Studio Designs and Jesse from Scout & Nimble. It was a blast and there were some really awesome holiday ideas shared! They could also be Très Frugal DIY Gift Ideas!!!

I am in absolute love with the results of these scarves!

Stenciled and Dyed Scarves Tutorial | Pretty Handy Girl Stenciled and Dyed Scarves Tutorial | Pretty Handy Girl

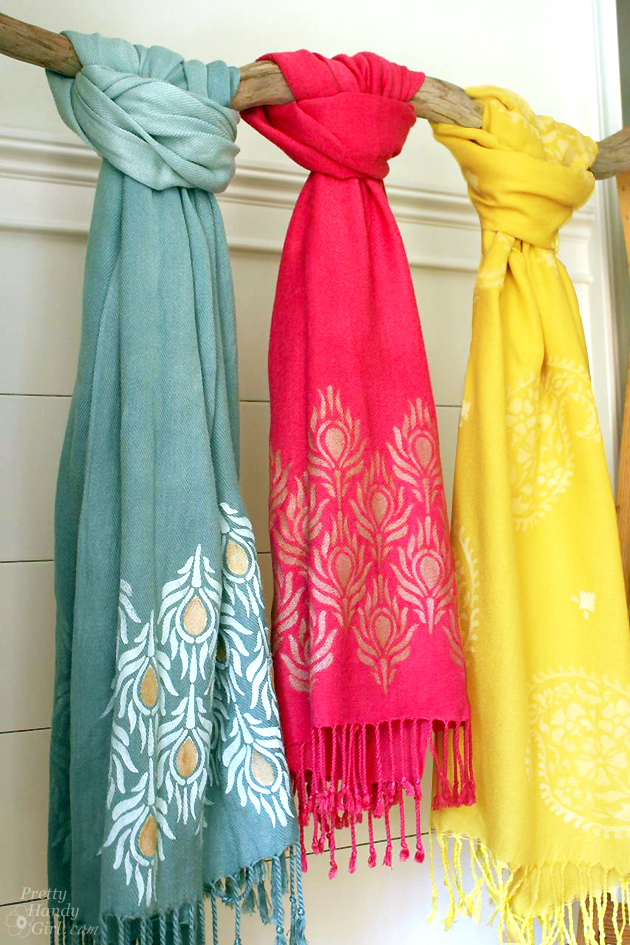
Which is your favorite? I still can’t decide…blue/gray…

Stenciled and Dyed Scarves Tutorial | Pretty Handy Girl

or yellow?

Stenciled and Dyed Scarves Tutorial | Pretty Handy Girl

Help me decide!PHGFancySign

Pin for later!

DIY Stenciled and Dyed Scarves | Pretty Handy Girl

All the Très Frugal DIY Gift Ideas can be seen here.

Spoon Tealight Candle Holder

Spoon-Tealight-Candle-Holder-Feature

Jacque and I are so excited to be contributing in Brittany’s Trés Frugal- 30 DIY Gift Ideas!  We’re no strangers to DIY gift ideas!  In fact for as long as I can remember, my family has taken part in a Make-a-Gift tradition.  Each year we have to come up with some creative DIY gifts to give to family members.  It’s one of my favorite traditions!

With the holidays closing in on us, who couldn’t use some quick and budget friendly gift ideas? So today, we’re sharing a quick look at how to make a DIY tealight candle holder!

Spoon Tealight Candle Holder

Reclaimed wood seems to be the perfect material to make DIY gifts out of.  We have made a few different custom wall hangings using various types of reclaimed wood and love the rustic look.  We found out that a family friend was replacing some of his older barn boards and were lucky enough to snag a few for our stash!  Barn wood and pallet wood are great options for this project, but don’t rule out other sources of lumber.  We’ve actually used old decking boards for tons of projects.  If you can’t find any wood to reclaim, take a peek at Brittany’s tutorial on how to make new wood look old, weathered, and rustic.

Materials List:

  • Weathered Piece of Wood
  • 3 Spoons
  • 3 – 1 ” Wood Screws
  • D-Ring Wall Hanger (with screws)
  • 3 Tealights

Tool List:

  • Nail Set
  • Hammer
  • Drill
  • 1/8″ Drill Bit

Instructions: Read more