How to Frame and Install Window Casing and Trim by Pretty Handy Girl

Hello Friday!!! It’s been a chaotic week here, how about yours?

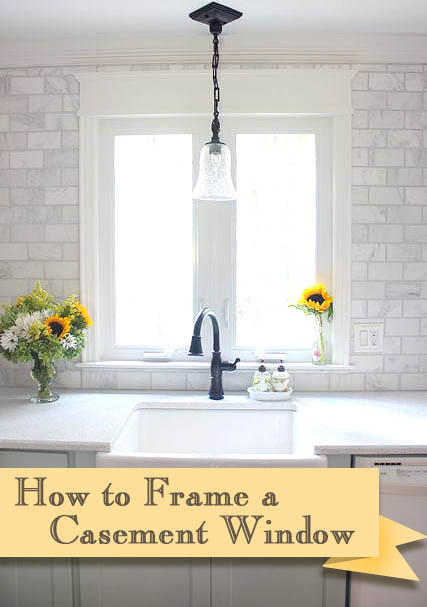
I’m excited to be sharing more tutorials from the kitchen renovation. I hope you’ll excuse me as we jump back and forth in the renovation process. I’ve been trying to get the most relevant tutorials to you as soon as I can. Speaking of relevant, I understand there are a lot of under-dressed windows out there that need trim or could use a little more “WOW Factor”!  Is that your  case—ment? Hahahaha. Well, sit down for a minute and I’ll go over the details for installing window trim and casing on a casement window. Have no fear if you have a double hung window or other, these techniques will work for those windows too.

Replacement vs. New Construction Windows:

handyman_installing_window

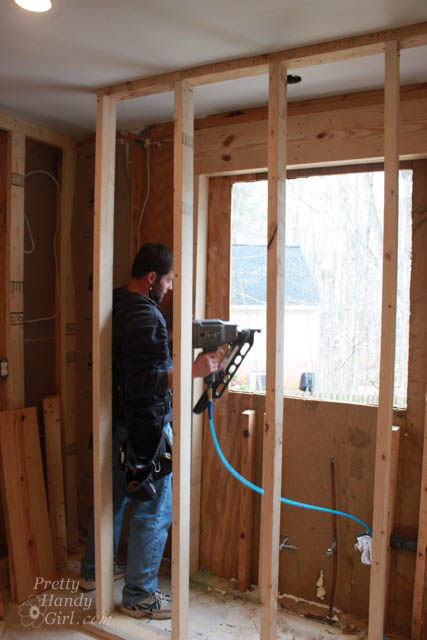
But, let’s back up for a minute. I wanted to share with you a little snafu that happened with our casement window. When I ordered it, the guy taking the order asked me a few questions and somewhere there was a translation breakdown. He thought I needed a replacement window because I was replacing an existing window. What he didn’t realize is that I was increasing the size of the window opening and therefore needed a new construction window. In the end, I was stuck with the replacement window, but my handman and I used as many weather-stripping, caulking and water barrier techniques we could think of to keep it water tight.

This is what you need to know when ordering a new window: If you are removing the old and putting in a new window into the same frame, you order a replacement window. If you are expanding or changing the size of your window opening you need to order a new construction window.

Materials:


Instructions for Installing Trim, Casing and Moulding on a Window: Read more

before_after_contest-winner

My goodness, you DIY creators really know how to “bring it” to the Before & After contest! I saw so many amazing ideas and projects. And I truly enjoyed browsing each and every project. I also tried to leave comments for everyone, but I have to admit my attempts were almost thwarted by the word verification tactics (please double check if you have word verification on. I know in Blogger it is defaulted on. I promise you will get more comments and really won’t see much spam if you turn it off.) 

I want to show you this week’s winner and then I want to share some of the other amazing Before & After projects. Are you ready?….Get Set…and the winner is:

Budget kitchen remodel by The Kim Six Fix

Kim’s Amazing Budget Kitchen Remodel from The Kim Six Fix

This gal gave her whole kitchen a budget renovation. And she did all her own electrical and plumbing to boot. When life hands Kim a challenge, she delivers a DIY smackdown. Take a few minutes and enjoy reading more about Kim’s renovation. And please pin from her post. It’s only fair since she did all the work.

Here were the amazing runners-up: Read more

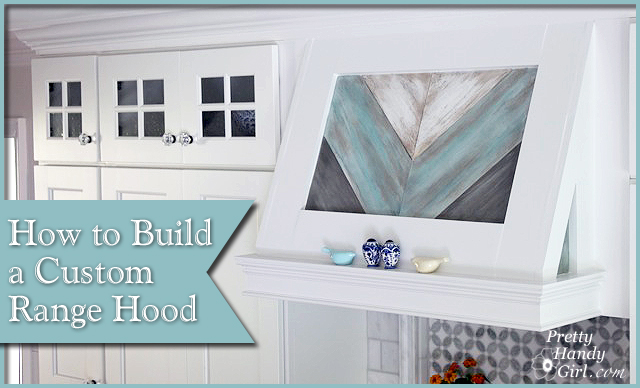
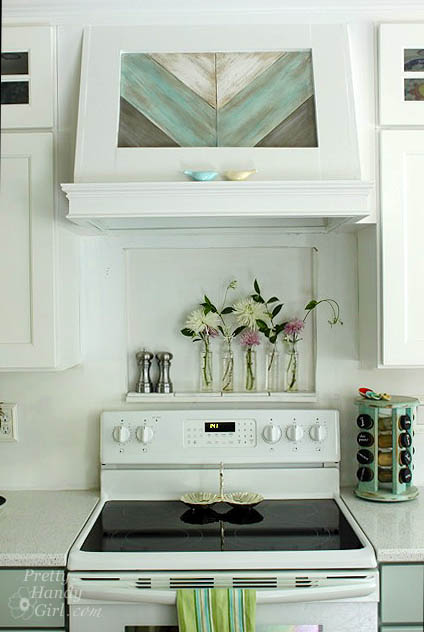
How to Build a Custom Wood Range Hood by Pretty Handy Girl

Have you seen the beautiful custom range hoods on my Pinterest board? From the beginning of our kitchen planning sessions, I knew I wanted to put in a custom wood range hood. But, finding a tutorial to build one was tough. The one that helped me the most was Cristina’s how to build a range hood tutorial.

build custom range hood

I knew when I built our hood that I’d need to take detailed notes and photos to help you accomplish your own project. I hope this tutorial helps you build your own range hood!

Build Custom Range Hood Materials: Read more

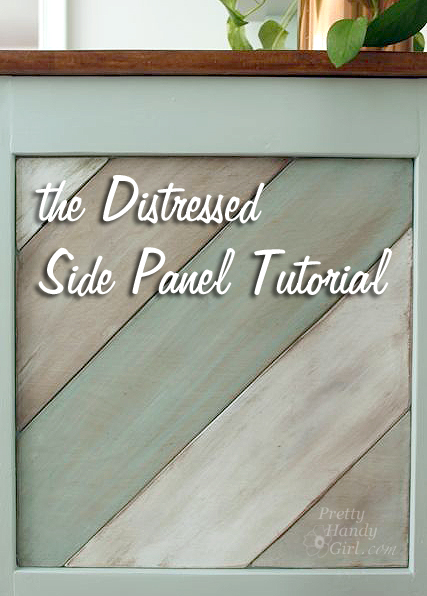
distressed_side_panel_tutorial

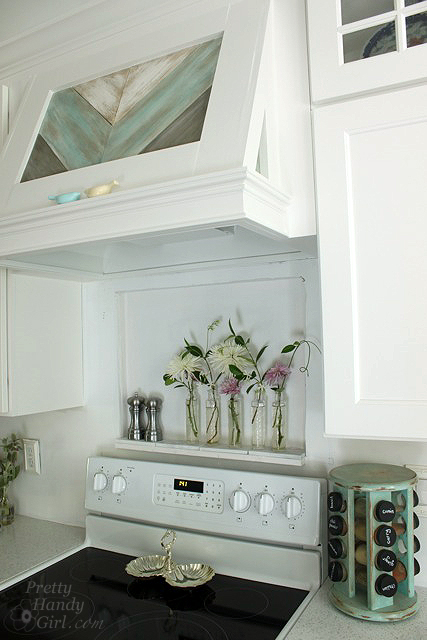
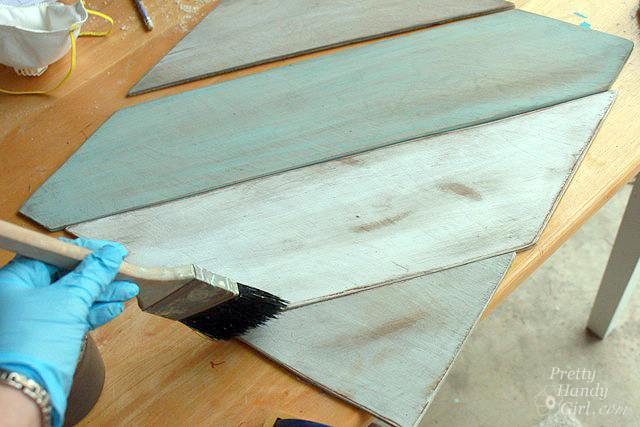
I can tell you are excited about this tutorial! I’ve had more comments and compliments on the side panel on my kitchen desk and on the range hood. Today we are going to talk about the painted Distressed Wood Panel Tutorial.

distressed_wood_range_hood

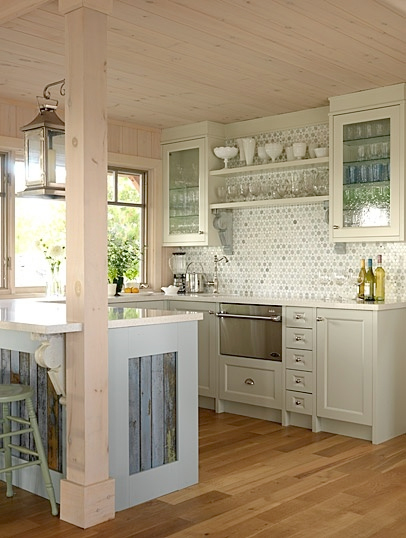
They are definitely the details in our kitchen that make it personal. I got the idea after seeing Sarah Richardson’s kitchen, where she actually used reclaimed lumber on the side of her cabinets.

Sarah_richardson_kitchen

But, I knew finding the right distressed wood would be tricky. Plus, I always worry about the presence of lead paint. Instead, I decided to make it and fake it. As promised, I’m sharing the tutorial with you. Read more

turn_an_old_table_into_desk_top

Have you seen my command center in the kitchen? It’s a beauty to look at, don’t you think? Especially that gorgeous wood desk top.

kitchen_desk_top

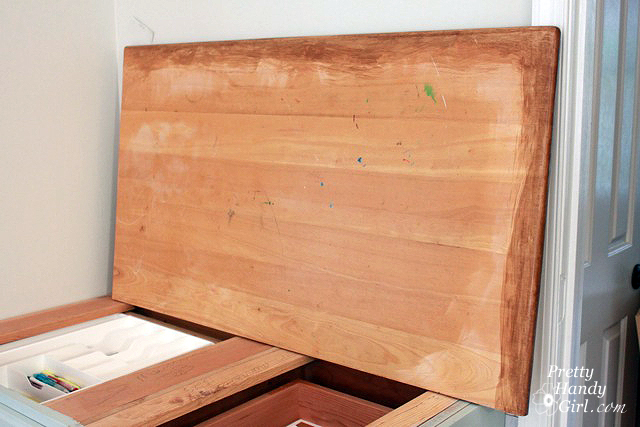
Well, I have a secret! It’s actually an old kitchen table top that was given to me for FREE! Yup, zero dollars, no moolah, nothing! And this is what the table top looks like:

underside_desk

I actually flipped it upside down to refinish it. But, I’m jumping ahead of myself. Here are the details: Read more