Fall Decor in a Rustic Farmhouse Kitchen | Pretty Handy Girl

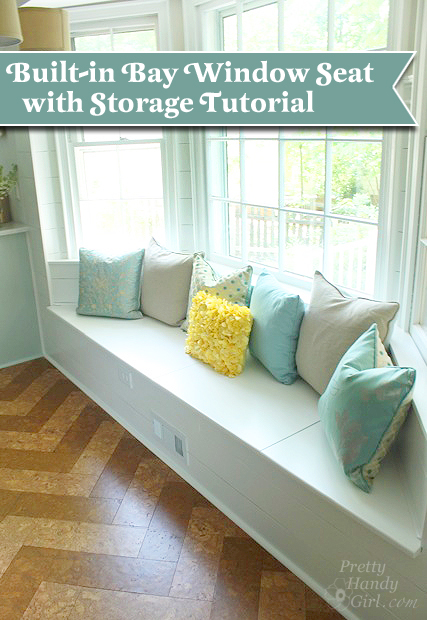
built in bay window seat with storage tutorialBuilding a Window Seat with Storage in a Bay Window

You know when you dream about the finished product on something that you’ve been planning for a long time? And then you finish and your dream becomes a reality? And you think to yourself, am I still dreaming? All those sentiments and more have been going through my head since I finished the building this built-in window seat with storage in our bay window. This window seat is divine! In fact, I’ve begun calling it the Queen’s seat in the hopes that it will deter any male folks from claiming it in our household.
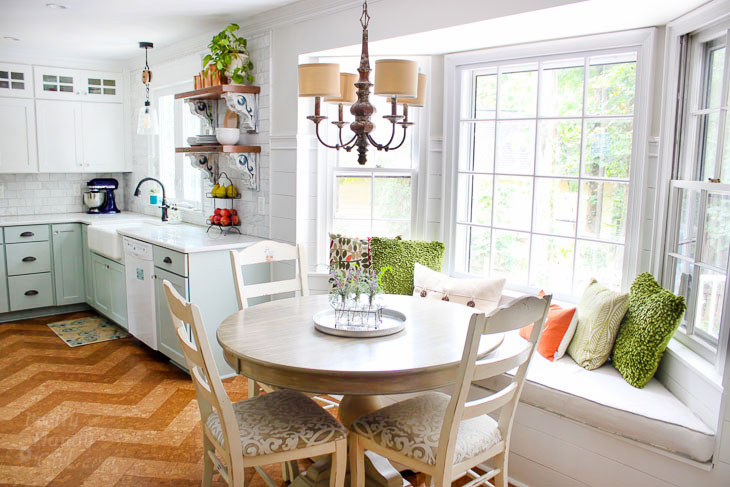
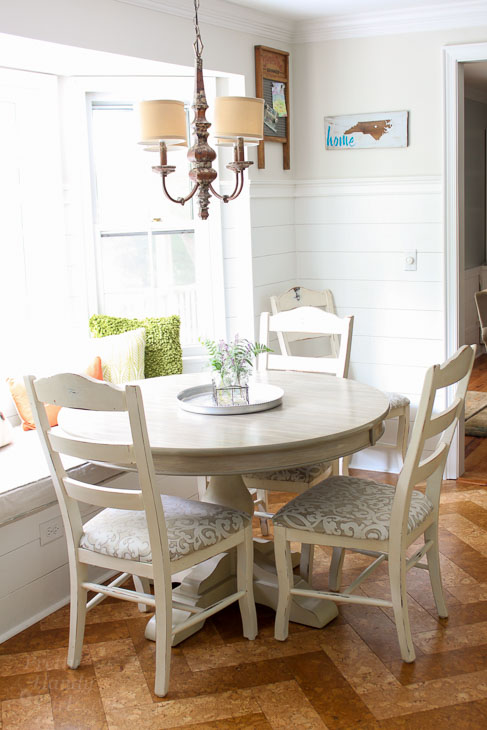
Love this kitchen decorated for fall. You have to see the rest!

Several of you have asked for the tutorial to build the window seat. I have that for you, but I want to mention that this is a slightly more advanced project. Halfway into writing this tutorial, I realized there was no way I could show you each and every cut, step, and trick without this being the world’s longest blog post/tutorial. If you have some basic carpentry skills (you know how to hammer, nail, use some power tools and you know how to attach a 2×4″ securely to a wall), you should be able to handle this. With that being said, I do want to offer any help if you should have any questions during the process of building this bench, please feel free to email me and I will do my best to help you.

I also want to mention that I did have to move the HVAC vent forward so it came out the front of the window seat. Here’s the tutorial to move a floor vent. I do want to caution you against building over a vent. We have a bookcase that was built over the register and the wood inside grew mold because there wasn’t enough force to blow the air and moisture out the front of the bookcase. Just a warning, don’t take the easy way out.

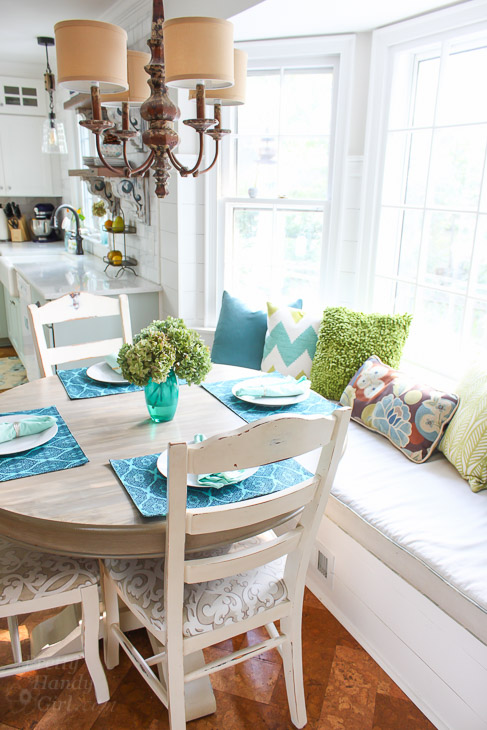
Basics for Building a Built-in Window Seat in a Bay Window: Read more

How to Install Planked Walls - a tutorial by Pretty Handy Girl

Today’s post is all about filling in the plank and how to plank walls! I love a good play on words…and I love the planked wall look which harkens back to a simple country farmhouse look. Previous to the water leak we had beadboard walls that I had installed shortly after moving into our house. But, I was tired of the beadboard and really wanted a look that was casual, cozy and all about the farmhouse look. I’d fallen in love with The Lettered Cottage’s guest room walls:

Those lucky ducks uncovered the planks under the drywall! I knew we wouldn’t be lucky enough to find anything but termite damage under our drywall. Then I saw the House of Smith’s installed their own gorgeous planked walls using ripped plywood planks and two nickels:

I decided I could do it for cheaper, so I used two pennies. LOL. Get it? Cheaper than two nickels. 😀

The process of installing plank walls is really very simple. And the planks are great for covering a multitude of sins on your wall. (Like previously glued beadboard walls.) Read more

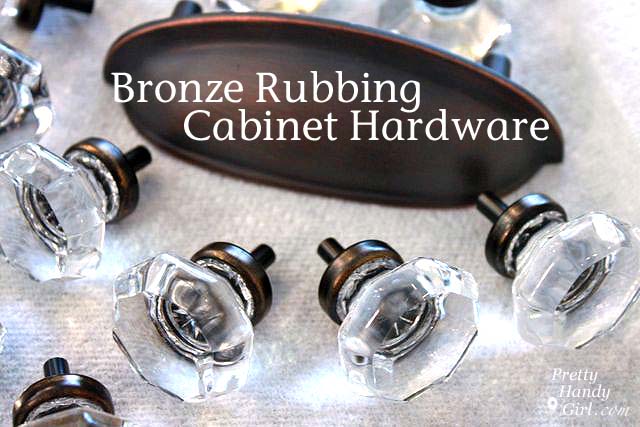
bronze_rubbing_cabinet_hardware

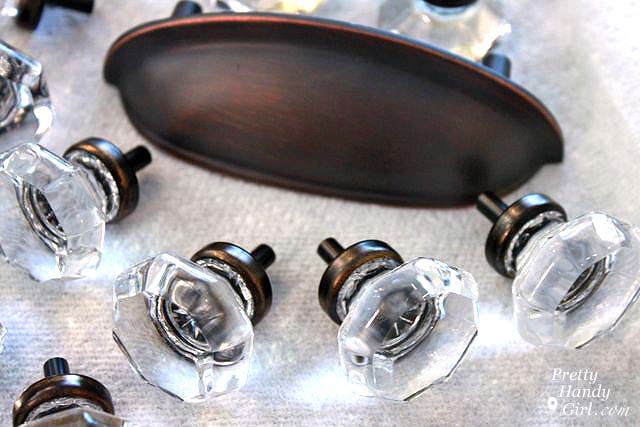
Have you ever fallen in love with two different cabinet hardware? But, you worried that your friends and family might have you arrested by the non-coordinating home accent police? No? Okay, so maybe it was just me. Enter this Rubbed Bronzing Cabinet Hardware post….you are going to love this.

(I’ve included affiliate links for your convenience. I earn a small percentage from a purchase using these links. There is no additional cost to you. You can read more about affiliate links here.)

I fell in love with these glass knobs. Read more

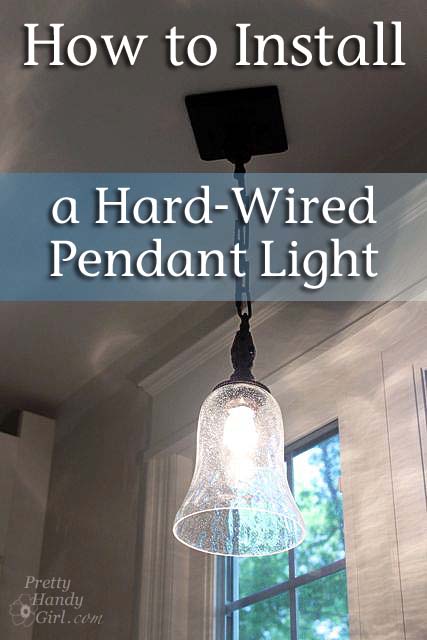
how_to_install_hard-wired_pendant_light

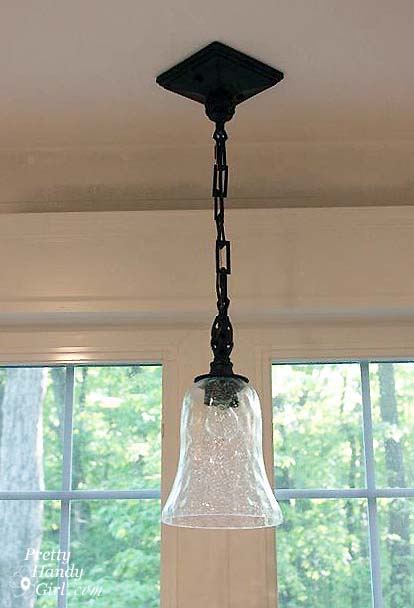
You may have noticed that pretty little seedy glass pendant light over our sink from my video the other day. It was a breeze to install, so I want to share with you the tutorial.

(I’ve included affiliate links for your convenience. I earn a small percentage from a purchase using these links. There is no additional cost to you. You can read more about affiliate links here.)

And now it’s tutorial time!

Materials:

Instructions:

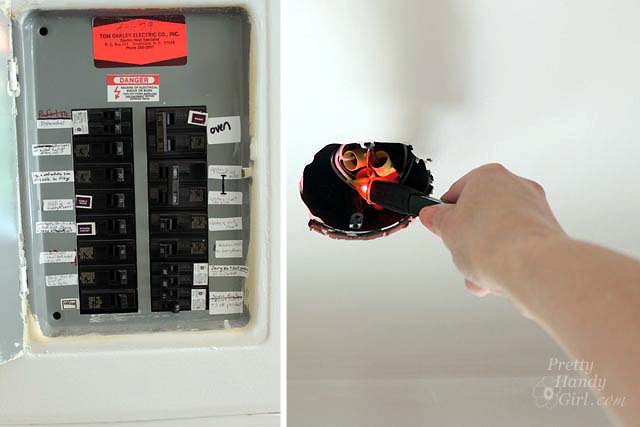
Safety First! Turn off the power to the light fixture circuit. If there is no light fixture installed, check the power with a voltage tester. (I had to flip 6 circuits before I found the one that fed power to that junction box! And you know, I updated the labeling in our circuit breaker once I found it. This is required by code.)

turn_off_power_check_wires

Modifying the Height of a Light Fixture:

Use a ruler to measure how low you want your pendant light to hang. If you need to, put a piece of painter’s tape at that mark to give yourself a visual reference spot to see if you like that height. (Or corral a partner into holding the light fixture for you while you make up your mind.)

uttermost_pendant_light

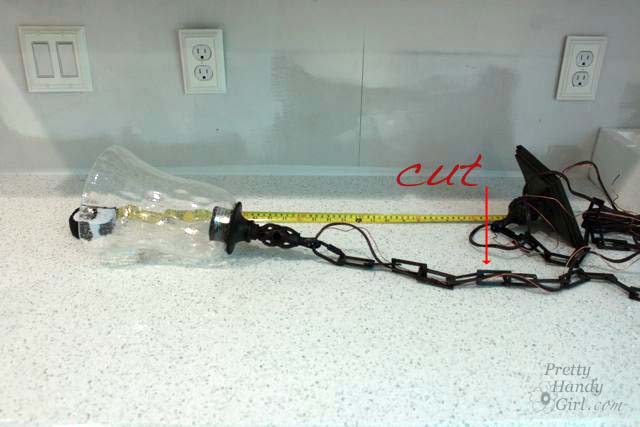
Lay your tape measure on the counter and stretch the light fixture out next to the ruler (be sure to set the glass shade on to gauge the full height.)

figure_link_to_remove

Assess where to separate the chain to reach the desired height.

remove_chain_light_links

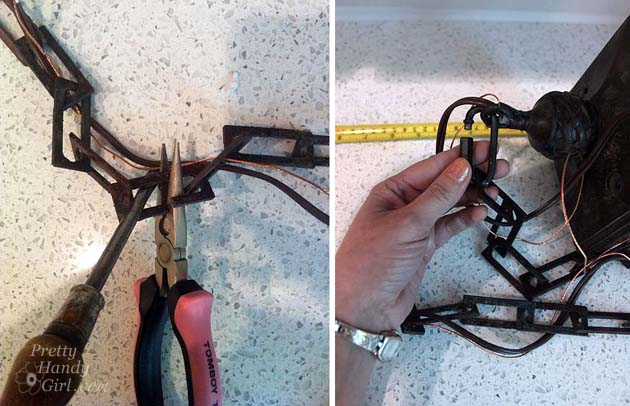
You can separate chain links by using two screwdrivers and rotating them in opposite directions as shown below:

Read more

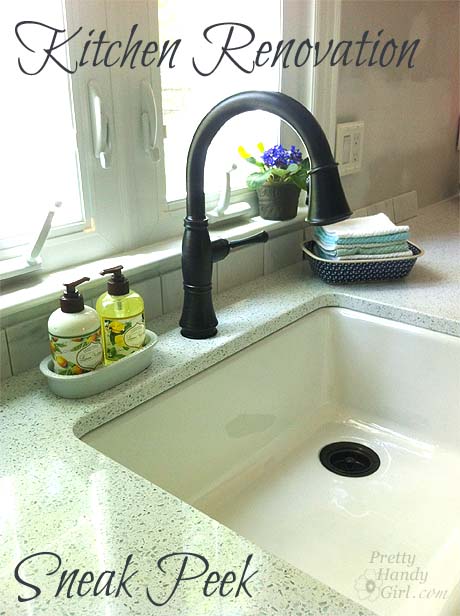
kitchen_renovation_sneak_peek

I am so thankful for all the comments and well wishes you have given me over the past six months. Many of those comments have lifted my spirits during the long kitchen renovation process. Your belief in me has truly allowed me to take on projects I would have probably shied away from.

After 6.5 months, we finally unpacked our boxes and officially moved back into the kitchen. The plumber hooked up our sink and dishwasher on Tuesday. It was a milestone for us. My boys (young and adult) acted as if the kitchen sink was a thing of wonder.

boys_looking_at_sink

As a thank you for helping me through the process of building our kitchen back after the leak, I’m giving you a little sneak peek of the progress. It’s not complete, but I feel like I owe you this little video preview:

Source List:


Just getting caught up on our kitchen renovation? You can read ALL about how we went from a small water leak to bare studs to a working kitchen!

PHGFancySign