TGIF! Our spring break is officially here. Sadly I’m not going to Cancun to party it up like a bunch of MTV teenagers (As if!). But, I am hanging with two guys! My two little guys that is. I’m looking forward to crafting a little bit with them and maybe catch up on some sewing. My boys both like to sew. They also like to build with hammers. That’s my parenting mission at work. I vow to teach them to do everything that I know how to do no matter which gender that talent is associated with.

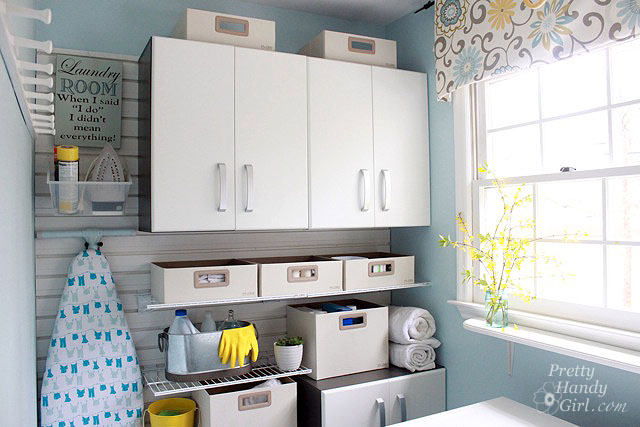
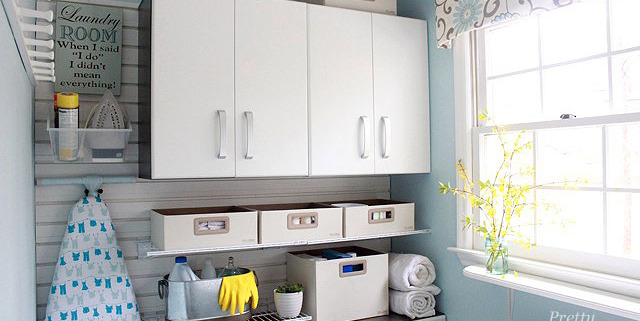
But, enough about me, what you are really here to see is the laundry room reveal! Before I give you the whole 5′ x 8′ tour, I want to show you how the Flow Wall cabinets and shelving are installed. Because you aren’t going to believe how easy it was. Before installing the cabinets, I installed the slat wall in no time! Read more

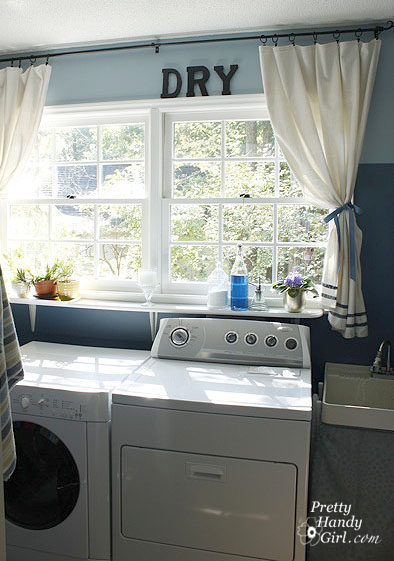
You know that beautiful laundry room I showed you last year? Yes, this one:

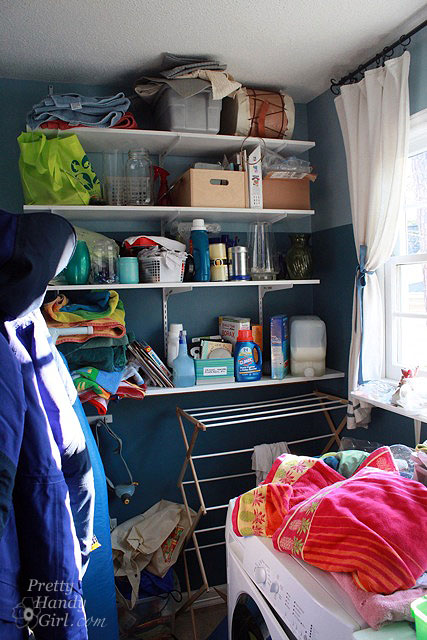
Well, it isn’t so pretty right now, and honestly I strategically didn’t photograph the ONE wall in the laundry room that isn’t….so….pretty. Can you blame me?!

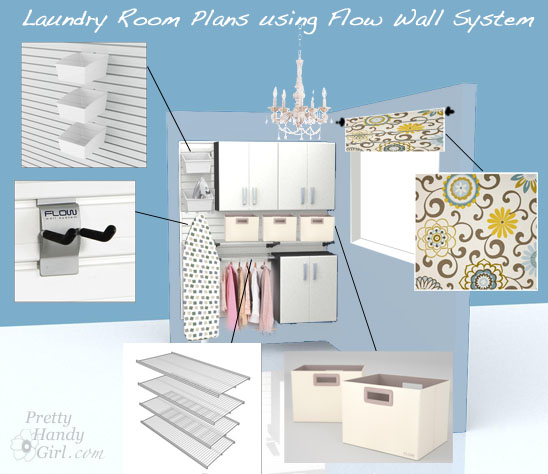
But, that is all about to change! I’ve been working with a Flow Wall System representative to come up with a plan for my laundry room wall.

Flow Wall Garage and Home Storage Solutions

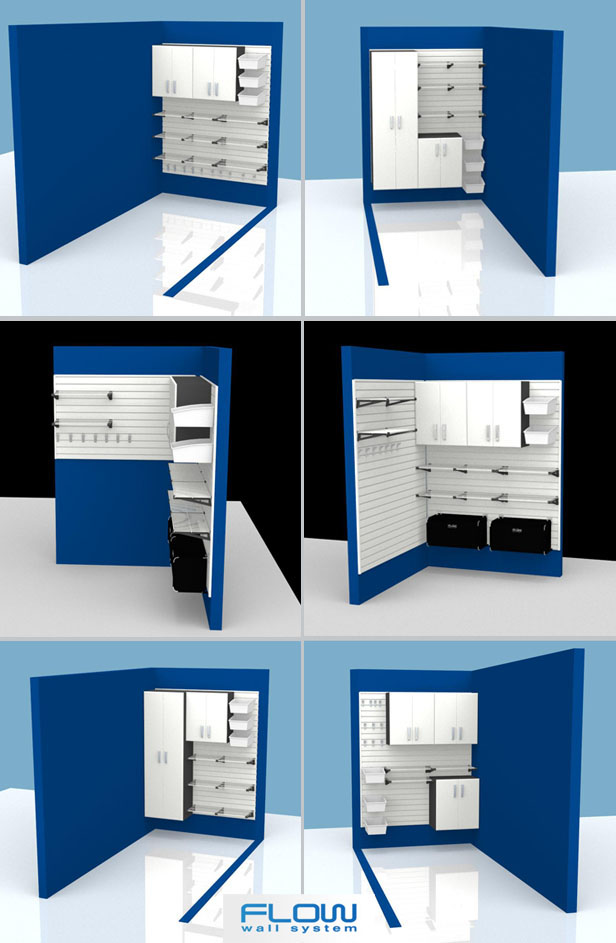
Within half an hour of sending him my measurements (of my laundry room, not my body measurements – LOL), he sent back multiple possible configurations for our room.

I can’t even begin to tell you how fantastic it is to turn over the planning to someone else for a change! Of course, being the planner that I am, I had to tape up a few paper templates to help visualize how they would work in my space.

The Flow Wall System looks like it is going to be a snap to install (and I will definitely let you know for sure!) Here is a short 60 second video to show you a little more about Flow Wall System:

Here are my beautiful plans for the laundry room using the Flow Wall System sketches as inspiration.

1. Flow Wall medium wall mounted storage bins to hold the iron and ironing supplies

2. Flow Wall small storage hook to hang ironing board on

3. Flow Wall white coated wire shelves for extra storage and drying clothes

4. Flow Wall jumbo decor bins in cream to corral detergents, spot cleaners, etc

5. Waverly Pom Pom Play Spa fabric for a faux roman shade

6. Spray painted brass chandelier inspired by Modern Parsonage

7. Flow Wall cabinets to hide my unsightly mess

What do you think? Do you like the design? I’m probably going to scrape the ceilings and repaint in there too. The exact wall color will have to wait until I get the fabric. I’m particular about color like that. More on my color snobbishness next week. Until then, I hope you have a great weekend.

Disclosure: This is a sponsored post for Flow Wall Systems. I have been compensated for my time and will be receiving some complimentary products. However, the ideas and words are all my own. I was not told what to write or what products to write about. I believe you have the right to know when a post is sponsored. Regardless of whether a post is sponsored or not, I believe in honesty, truthfulness, and complete transparency in my posts.

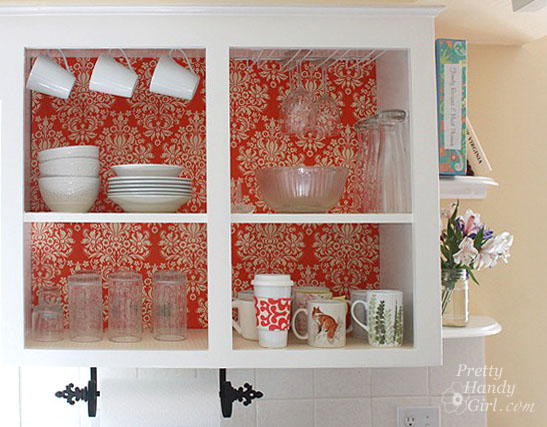
I’m back to show you the updates I made to my kitchen. Remember the plans I shared with you? These fabric backed cabinets made the kitchen new.
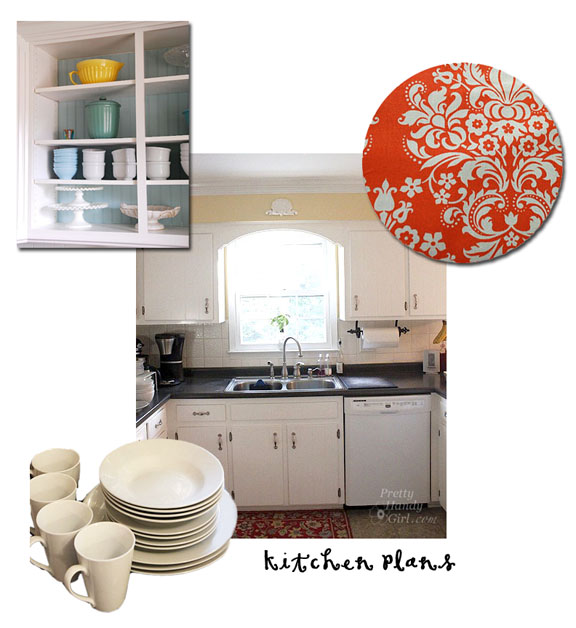
Well, they have been implemented and I LOVE the results! Best of all, the materials I bought cost me under $25 and that included the white dish set. But, the cherry on top is that I can easily reverse the changes if we move (or get sick of the look.)

And now, I present to you:
Fabric Backed Open Cabinets for the Kitchen

When we first met these sad cabinets, they were dark, dreary and had an eclectic collection of mugs:
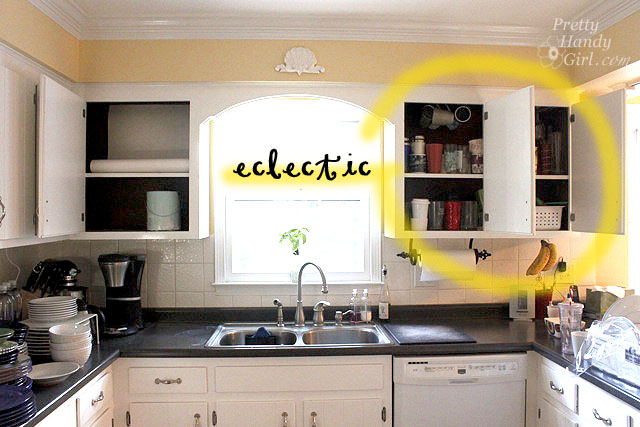
Within only a few hours (minus drying times), I had a stylish new look that is bright and cheery!
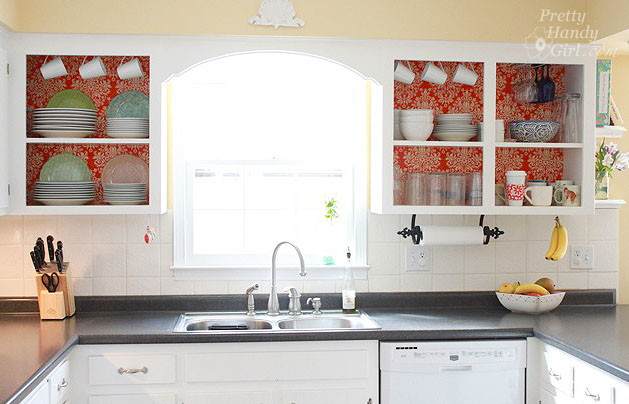
Follow along for the tutorial and the 50 cent tour (please deposit your pocket change on the way out.) Just kidding. I’ll let you in for free.

Materials:

(I’ve included affiliate links for your convenience. I earn a small percentage from a purchase using these links. There is no additional cost to you. You can read more about affiliate links here.)

Optional: 

Difficulty: Easy

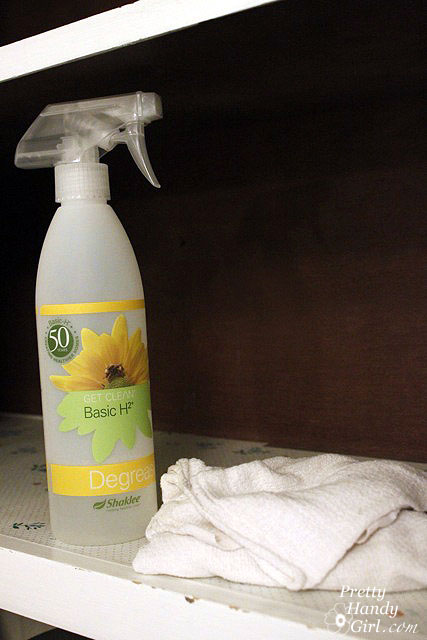
Step 1: Empty your cabinets.

Clean the insides with an all purpose kitchen cleaner.
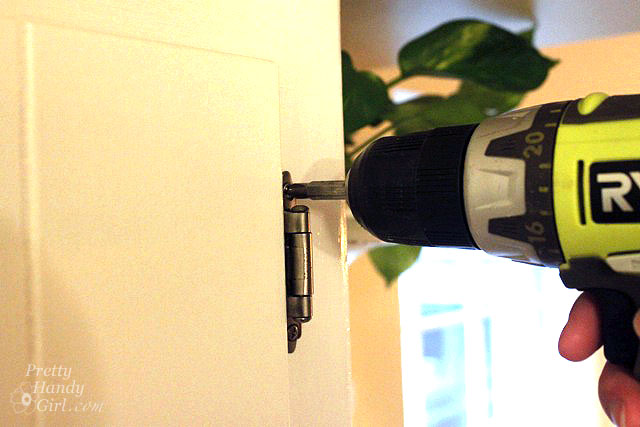
Step 2. Starting from the bottom, remove the screws from the cabinet door hinges. The last screw should be the very top hinge (to keep the weight of the door from wrenching the screw out of the wood.)
Put screws into a ziplock bag and label your cabinet doors in order so that you can return them to the appropriate cabinet opening at a later date.
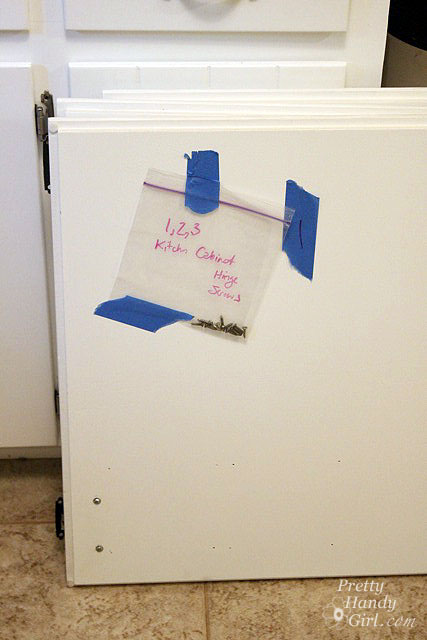
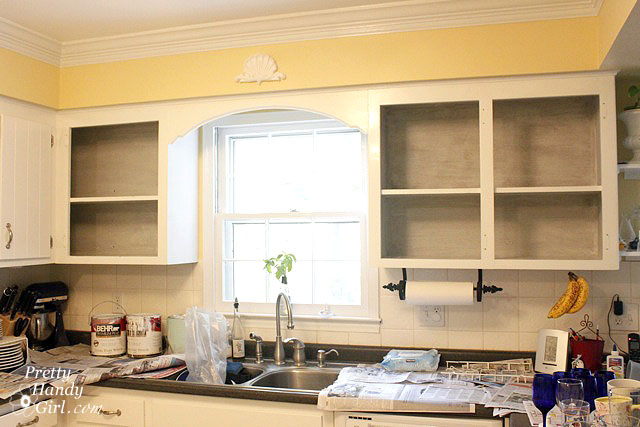
Now you should have a clean slate like this:

Step 3. If your cabinets are dark inside, you may or may not decide to paint the insides. (Be sure to check with your landlord if you are renting.) I chose to paint mine because the interiors were so dark. If you want to skip this step, fast forward to the next step.

Prime the insides by rolling on primer over the flat surfaces. Use a brush to get into the corners and crevices.
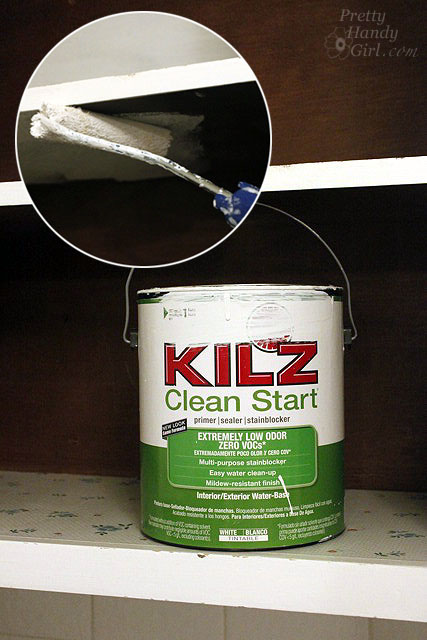
Once the primer has dried, get out the wood putty and putty knife.
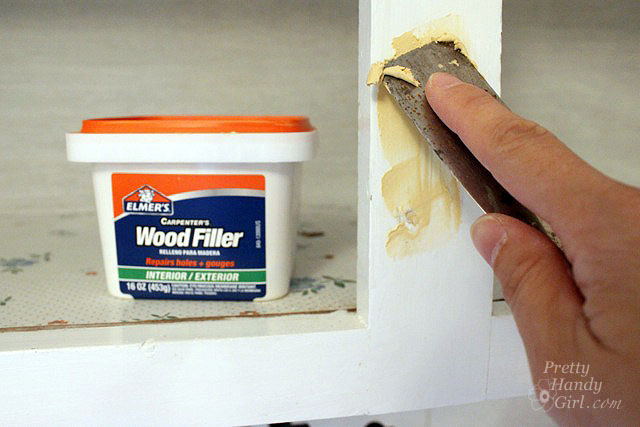
Step 4. Using the putty knife, spread a small amount of putty over the holes where the hinges were. Push the putty into the holes, then scrape the excess off. Allow the putty to dry completely.
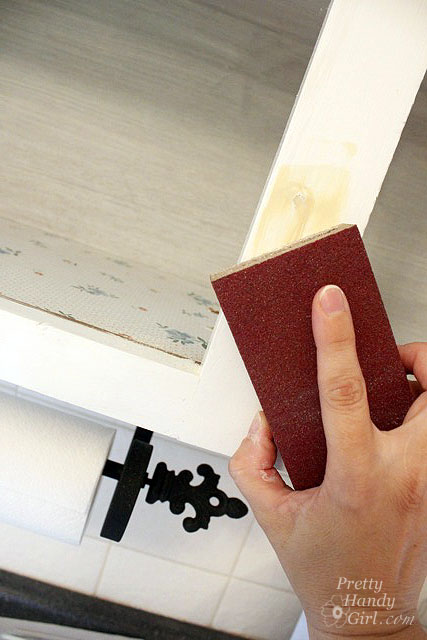
Step 5. Sand the puttied holes until smooth.
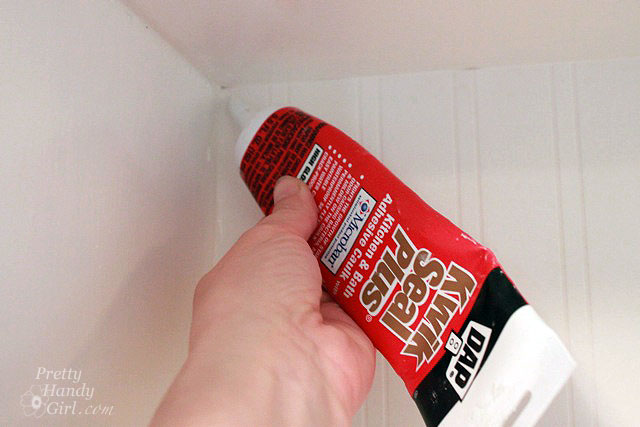
Step 6. Touch up the putty holes with paint or stain. Add caulk to any cracks or seams at the back of your cabinet. Allow the caulk to dry thoroughly.
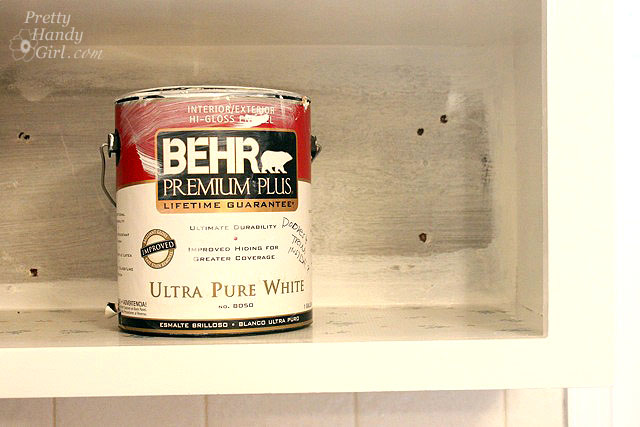
If you are painting the inside of the cabinets, roll on paint with the small roller and use the brush to smooth out the paint and get into the grooves.
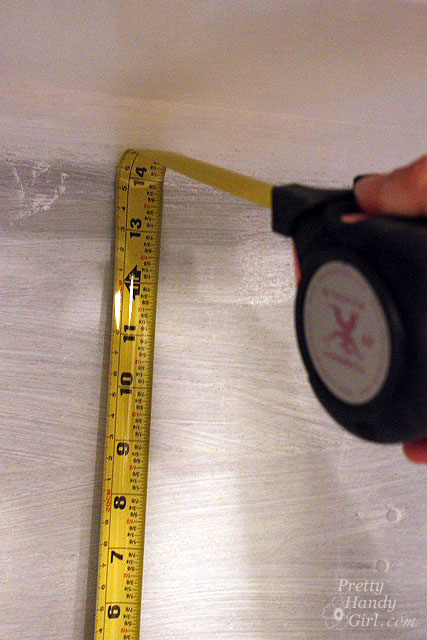
Step 7. Measure the dimensions of the back of your cabinets. Make sure your measurements are precise (measure twice, cut once is a good adage.)
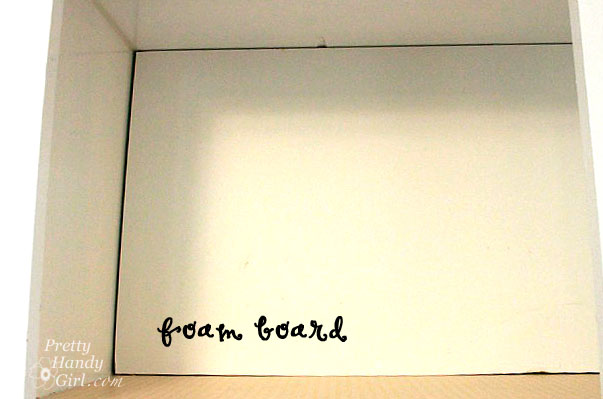
Cut a piece of foam board using the measurements you just took.

Test fit the foam board into the back of the cabinet. If your cabinet’s face frame is smaller than the cabinet back, you will probably have to bend the foam board to get it in.
Step 8. Iron your fabric. Make sure to iron all the wrinkles out.

Cut the fabric 3 inches wider than the foam board. Lay the foam board on top of the fabric (wrong side facing up.)
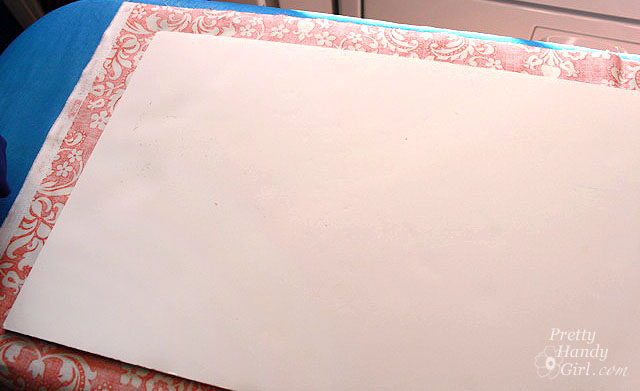
Step 9. Tape the edges of the fabric onto the back of the foam board. Be sure to pull the fabric taut.
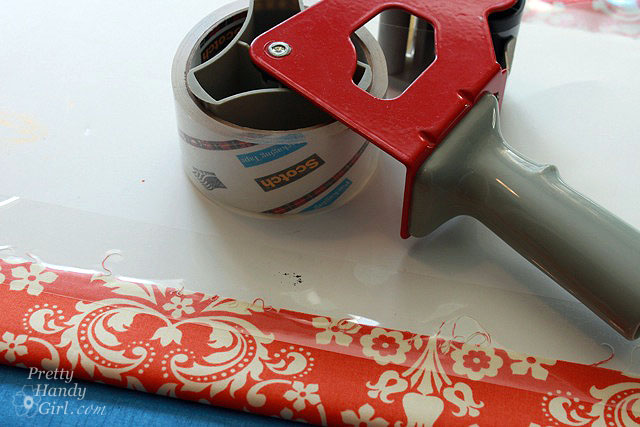
Fold the edges of the fabric as you would on a gift. Tape the ends to the back of the foam board.

Step 10. Insert the foam board into the cabinet.
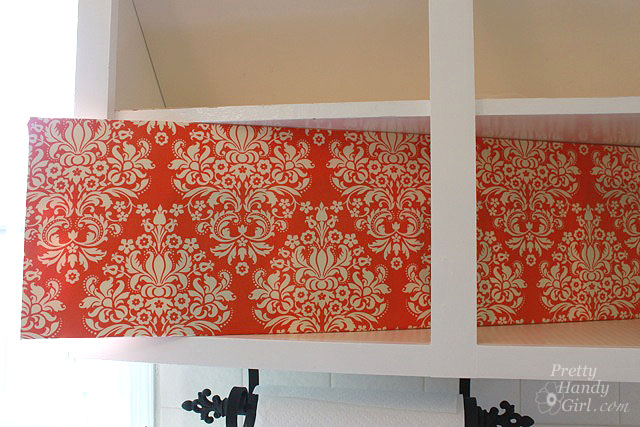
Push the foam board firmly against the back of the cabinet. The tension of the fabric and the board against the edges of the cabinet should hold it in place, no need to tape or glue anything!
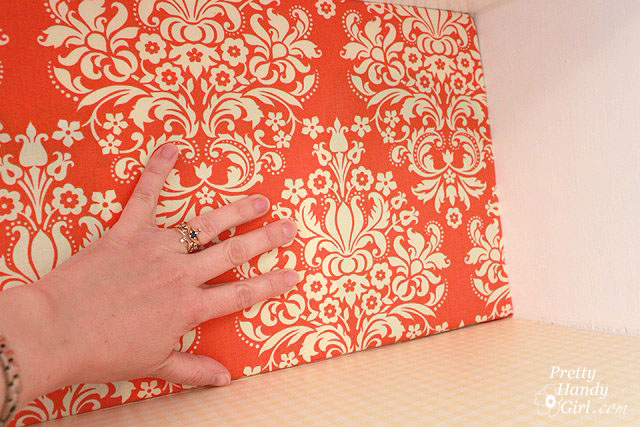
It is a good idea to try to line up your pattern if you have multiple shelves. (Do as I say, not as I do.)
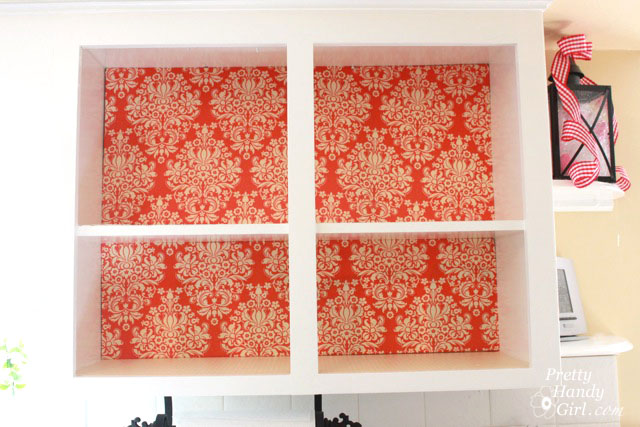
Start putting your coordinated dishes back into the cabinet. Think about displaying them as you might see in a store to complement these fabric backed cabinets.
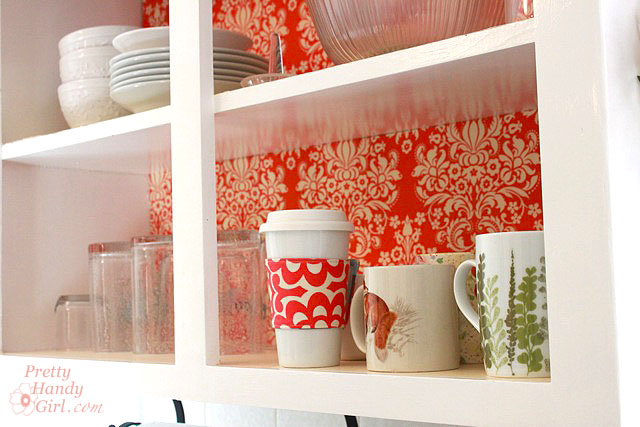
For visual interest and extra storage, I hung some mugs from the top of the cabinet.
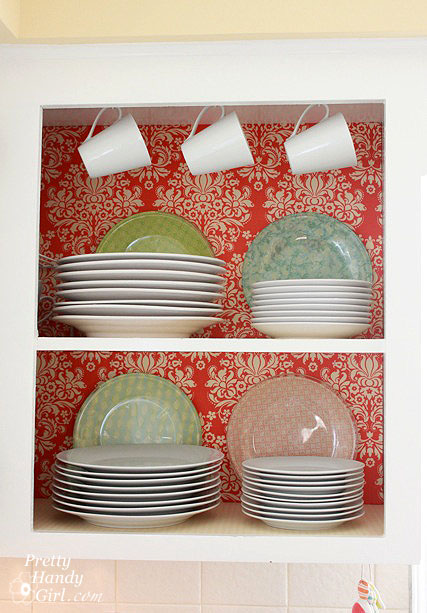
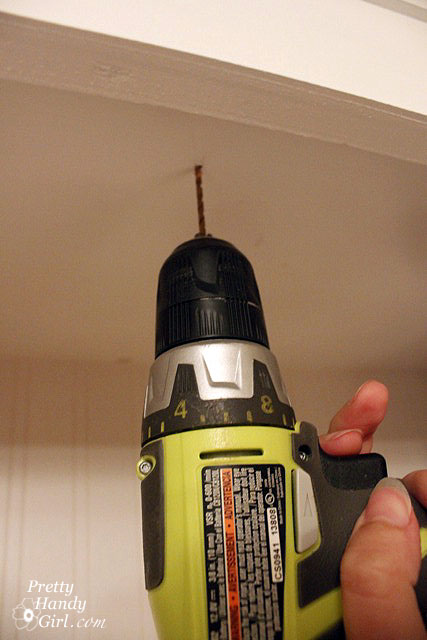
It was as simple as pre-drilling some holes and screwing in white cup hooks. (I did measure the same distance back from the face frame and spaced the hooks evenly. But, I’m a perfectionist like that.)
I am in love with my new kitchen! And all it took was less than $25 in supplies and a few hours.

What do you think?

The best part about this project is that I can easily remove the foam boards…
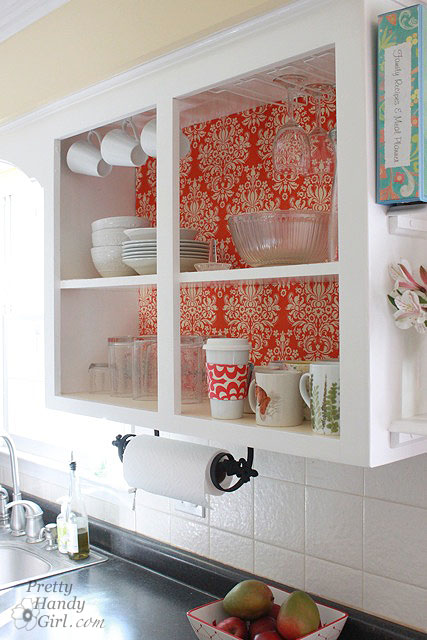
…or tape new fabric onto the back when I want to update the look!
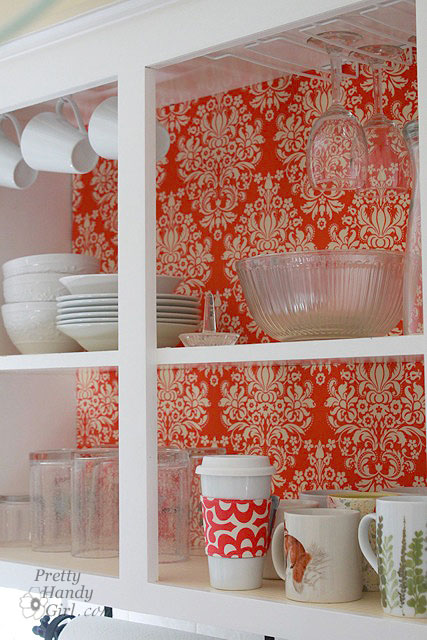
Can you imagine a cheaper, easier or more glamorous update to your kitchen?
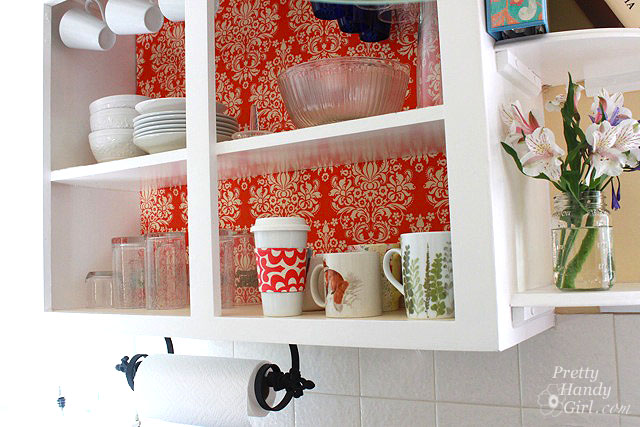
Are you an apartment dweller that is restricted from making permanent changes to your home? Or does your budget limit the renovations you’d really like to make? Why not make a few frugal changes that reflect your own style. These fabric backed cabinets are a win for any kitchen!

Apartment Guide has changes you can make that won’t break the bank:

Want to find even more design tips for your home? Apartment Guide has budget friendly ideas and DIY how-tos for people in any sized home on https://www.movingtoday.com and https://www.apartmentguide.com/blog/

Disclosure Statement:

Apartment Guide and owner Consumer Source, Inc. partnered with bloggers such as me to participate in their monthly blogger program.  As part of that program, I received compensation.  They did not tell me what project to create or what to purchase. Nor did they influence my opinions! We believe that consumers and bloggers are free to form their own opinions and share them in their own words. Consumer Source’s policies align with WOMMA Ethics Code, FTC guidelines and social media engagement recommendations.

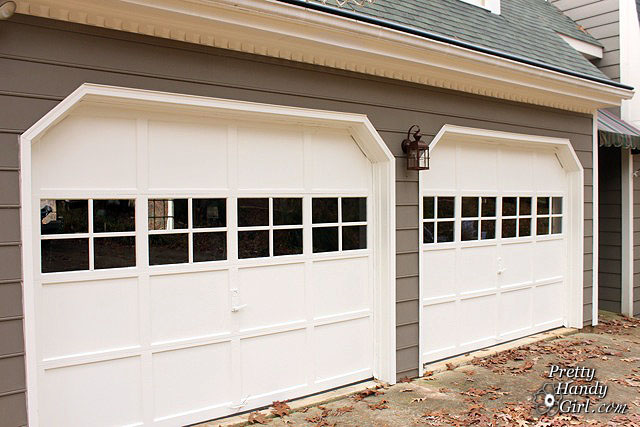
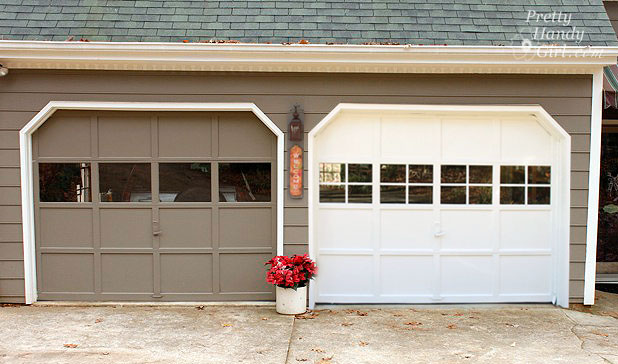
You know that thing about your house that you really want to change, but it takes you a while to mull over how to change it? Well, that thing for me was our garage doors. They are the two giant doormen that greet me at least five times a day as I run errands and taxi my children to and from school. I always thought they could be a little more polished and more inviting. In this mulling over period I dreamt of painting the garage doors and boosting the character factor by adding grilles to the windows. I even created a paint preview to see what it would look like. I fell in love immediately and the hulking gray doors’ fate had been sealed.
I wasn’t exactly sure how I was going to add the grilles (cross pieces in the windows.) I thought about cutting up paint sticks or just plain strips of square dowels cut to fit, but I REALLY wanted them to look as real as possible and I liked the router profile of the real deal.

A few months later I literally almost tripped on a stack of donated window grilles at my local Habitat for Humanity ReStore. You know, the cheap ones that are pressed up against the window and always fall out. Grrrr!

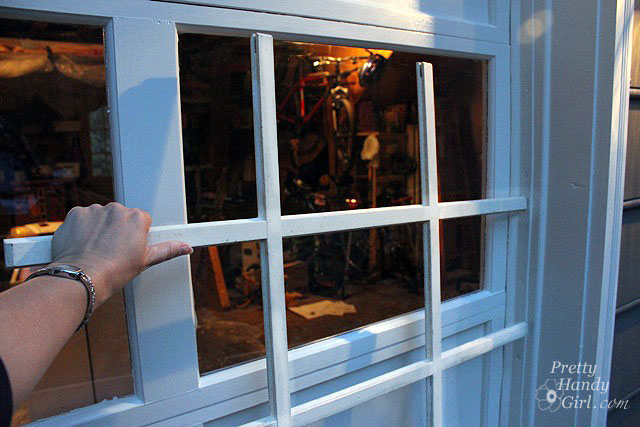
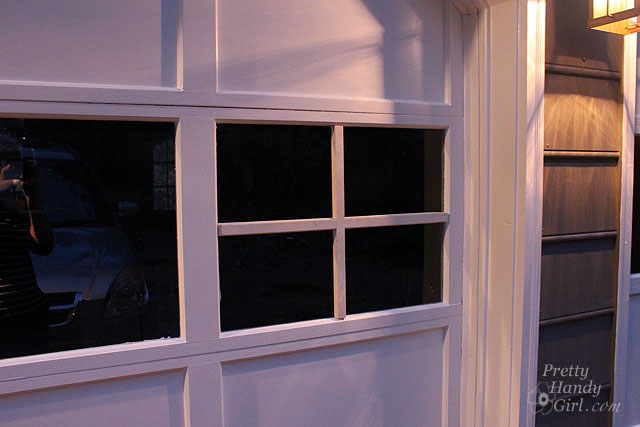
That was when the “A-ha” moment happened and I figured that I could use them to dress up my garage doors. I carefully measured the panes on the garage then found a set of four grilles that would give me two cross pieces per window! Perfect! And the best part about those grilles is that they only cost $2 a piece. For $8, some paint and glue I was able to transform my garage doors from boring bland to cottage charm!

And here is the tutorial for how to add grilles to plain jane garage door windows!

Materials:

  • Reclaimed grilles from Habitat ReStore
  • Hand saw
  • Pencil
  • Tape measure
  • Paint
  • Loctite Outdoor Sealant Glue
  • Windex
  • Rubbing alcohol
  • 3M painter’s tape
  • Razor blade scraper
  • Paintable flexible caulk
  • Caulk gun
  • Wet rag
  • Gloves

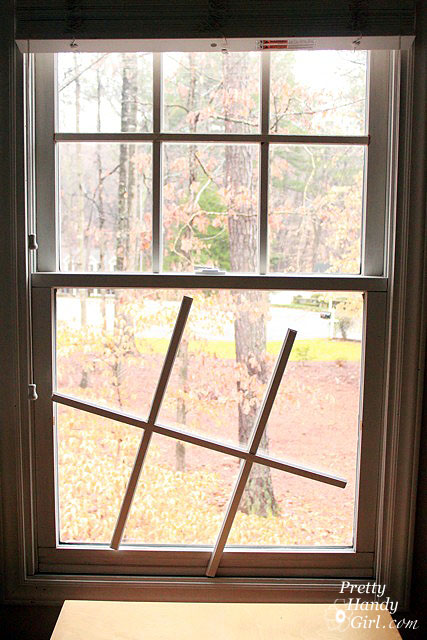
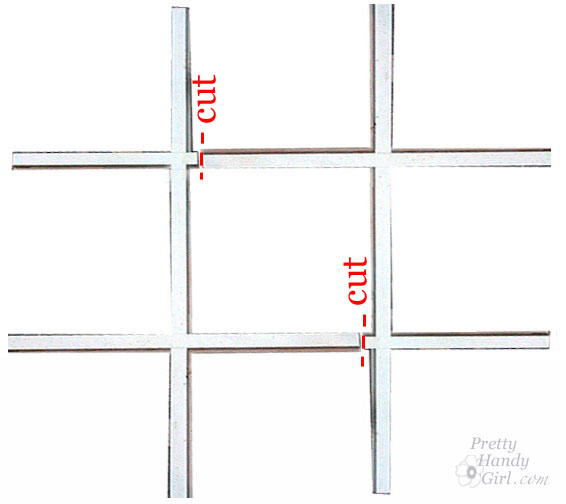
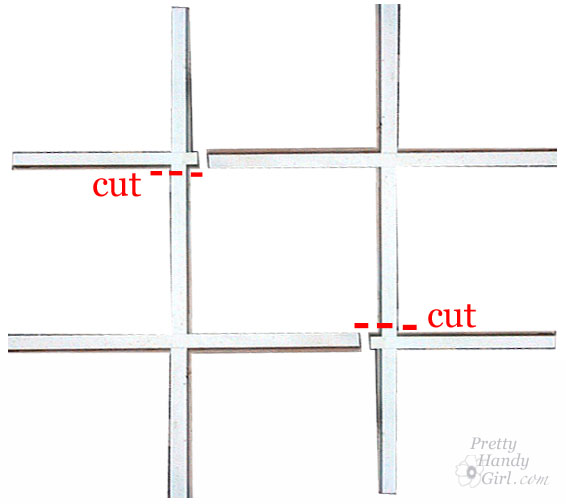
Start by cutting the grilles down to size. This is how I got two crosses from each grille. First, cut the grille into two pieces as shown below:

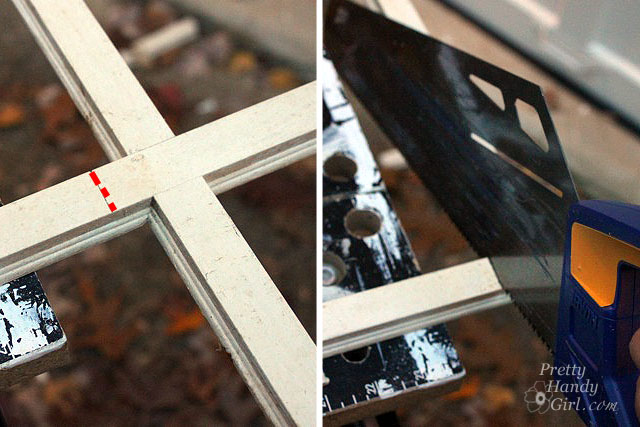
No power tools needed. A handsaw works great.

Next, cut off the excess so you are left with two crosses that fit perfectly in the window panes of your garage door.

Test fit the cross. If your measurements are off, no worries, 1/2″ gaps can be filled with caulk.

After cutting all of the cross pieces, clean them off. Lightly sand and paint them the same color as your garage doors.

After the paint is dry, clean the glass with windex and then use rubbing alcohol to remove any dirt and debris from the glass.

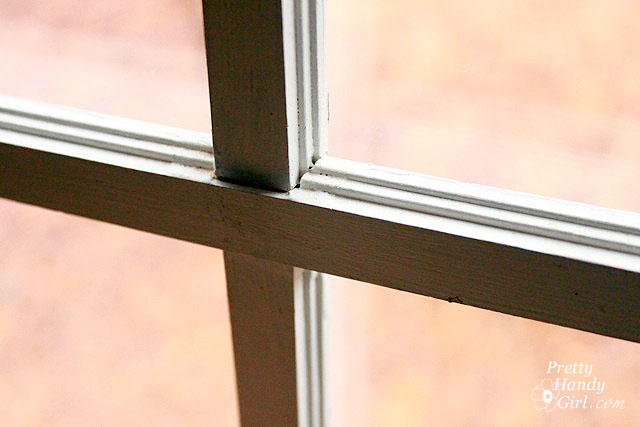
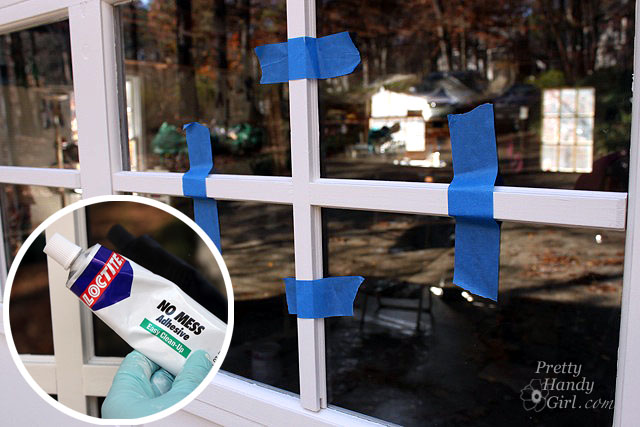
Spread a bead of Loctite Outdoor Adhesive onto the backs of both the vertical and horizontal bars. Center and press the grilles onto the glass. Use painter’s tape to hold them in place.

Wait 24 hours for the glue to harden and dry. Then scrape any excess glue off the glass with a razor blade.

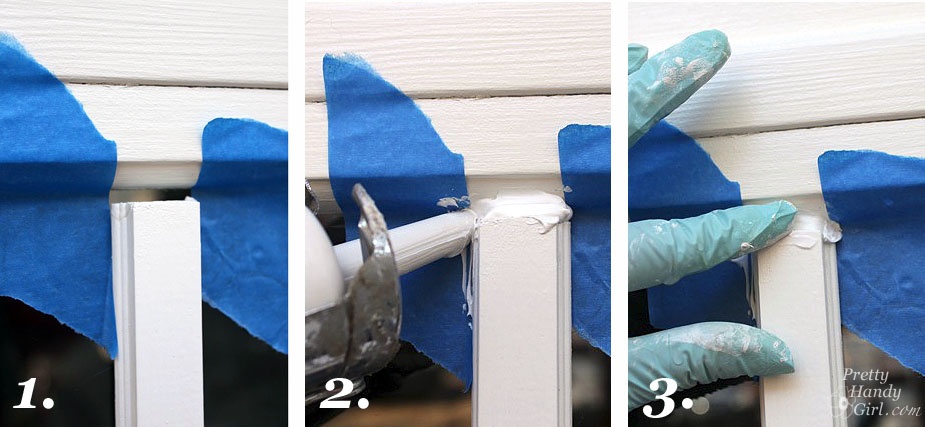
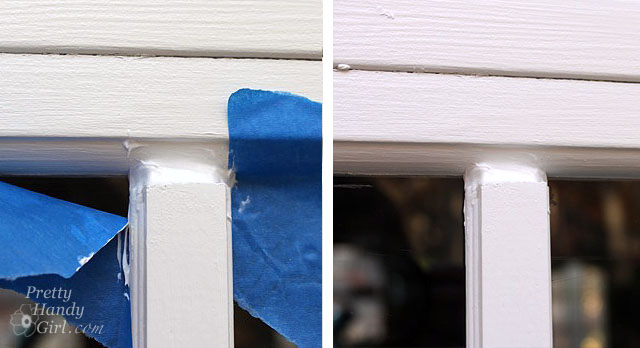
Time to fill in the cracks! Caulk all the seams. For the larger gaps, 1.) Apply painter’s tape on both sides of the void to 2.) keep the caulk off the window and give you a crisp, clean edge. (I’ll have a special caulk gun tutorial for you on Friday!)


3.) Remove the painter’s tape while the caulk is still wet. Let the caulk dry.


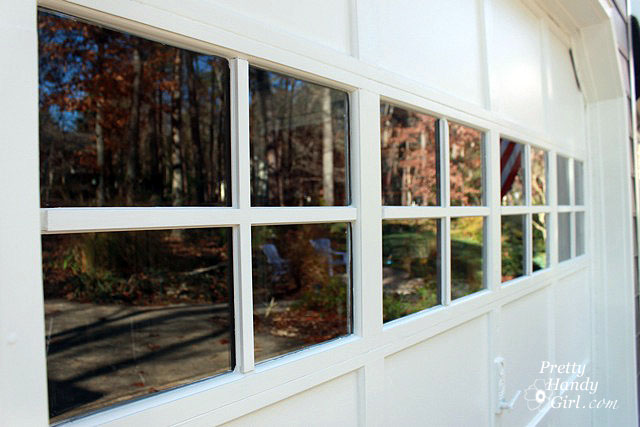
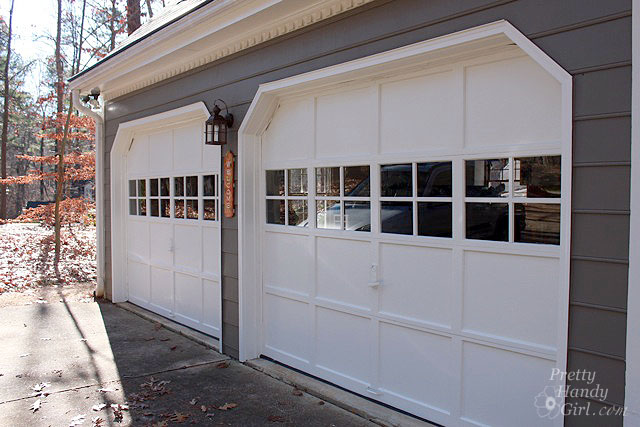
 And you’re done! How is that for adding instant character?!


I could kiss these beauties! They are definitely welcoming doormen now.

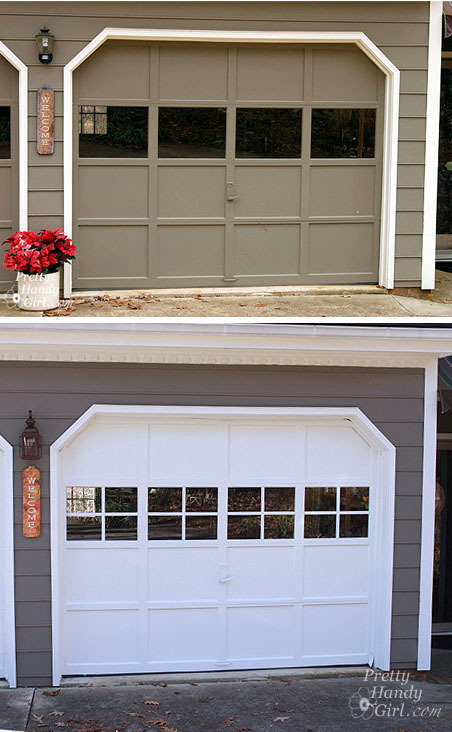
Speaking of welcome, I repainted our faded Welcome sign and hung it back up. Are you an eagle eye reader? What else changed in the pictures below? Five things have changed, can you spot them all? I’ll start you off:

  1. Painted doors
  2. Added grilles
  3. Refreshed welcome sign

Okay, one more lookey at my beautiful garage door windows and then you have to leave.

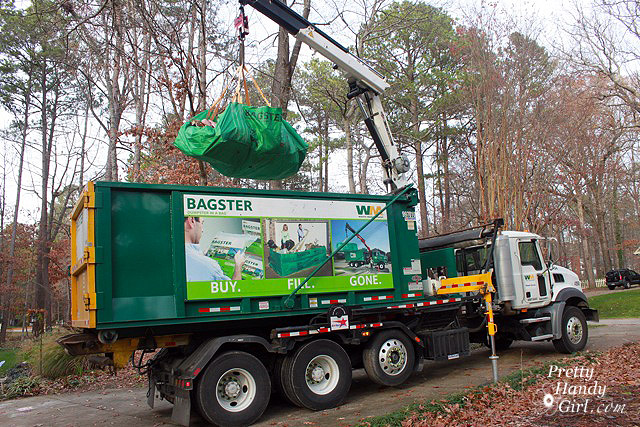
I want to give a big shout out and thank you to Waste Management and The Bagster who helped make my garage makeover a possibility. You can see more of my garage transformation here.


Welcome back to another Tool Tutorial Friday! Before we begin I want to congratulate Wendy, who won the Tomboy Tools Magnetic Hammer! Wendy said, “Thank you for continuing your education for women on power tools! I learn so much from your posts. I’m also glad to know that my son wasn’t the only one with multiple arm casts! Pink hammer – cool.”  You are very welcome!!!

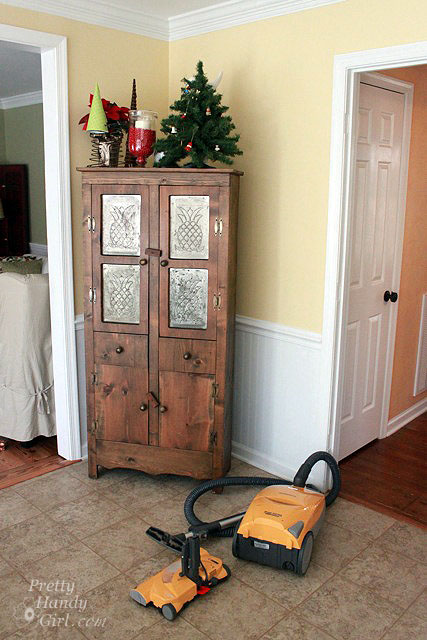
Now, on to the tutorial. Today I have a very important power tool that is a very neglected tool in my home. In fact, it is so infrequently used that I need some help from a more experienced handy girl. Anyone want to volunteer to write a guest tutorial on using a power vacuum cleaner? I could really use your expertise.

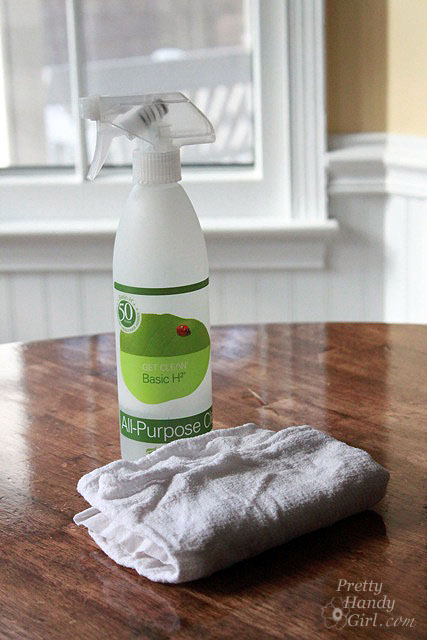
Or this equally valuable tool:

I have forgotten how to use it. Any help would be greatly appreciated. Anyone?

Well, I hope you don’t mind that instead of the usual tool tutorial friday, I’m going to give you a Holiday Home Tour instead. Get ready for this amazing tour of my utterly beautiful home! All decked out and ready for the holidays!

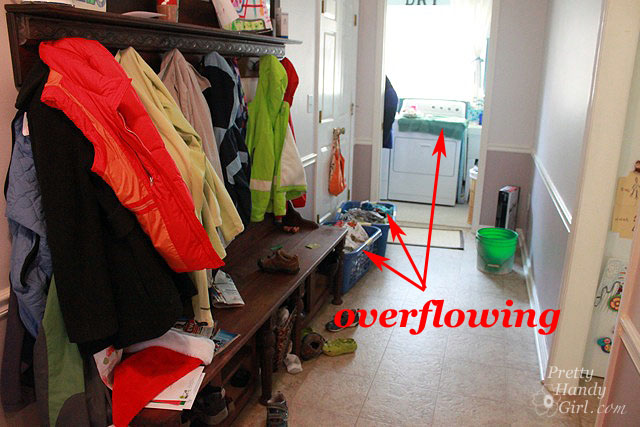
Welcome to my mudroom. I spent a lot of time decorating this room. You can see the holiday decor is so abundant it is essentially overflowing!

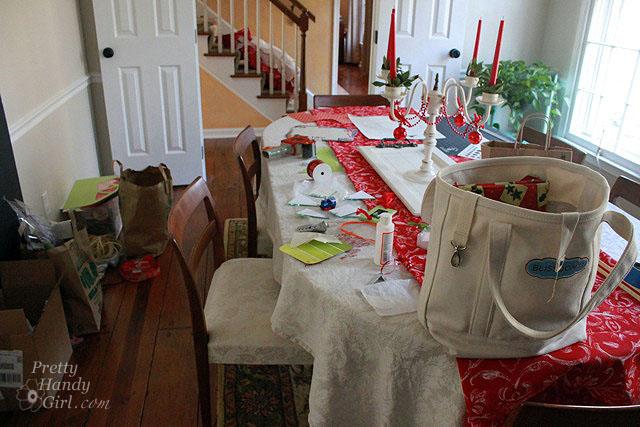
My dining room is decked out for the season with ribbons, glitter and glue. Even the advent presents are beautifully laid out (in the tote bag.) And I spared no expense when it came to decorating the walls. I used a unique combination of paper bags, boxes and ribbon to adorn them.

Follow me, right this way. Aren’t the garlands of fabric simply beautiful on our stairway? I just love the simplicity of the swags. Pink and silver running shoes add the perfect punch of color.

The kitchen has a child decor theme. Complete with reindeer food and some presents displayed on the counter. Rudolf would be thrilled to eat here.

The living room is decorated from floor to ceiling. I decided to go with a casual and convenient theme this year. When the holidays are over, all I have to do is open the blue bins (which double as a festive ottoman) and drop the decorations inside. Simply genius, don’t you think?!

I saved the best for last! This year I’ve decided to adorn the office with a new color theme. The browns and teals really bring out the holiday spirit! As do the loosely placed papers and items. Careful thought was taken into the placement and juxtaposition of each object on the desk. I think I really nailed this design.

If you haven’t guessed by now, today’s post is a “Keeping It Real” style post.

I’ve been so insanely busy with craft tutorials, Habitat ReStore lectures, broken arms, holiday preparation, gift purchases, and… oh, did I mention that Pretty Handsome Guy is away on business this week? So, you can imagine my life (and home for that matter) are in a state of disarray. So, I hope you’ll excuse me for the next few days as I take a little time to pull my home and life back in order and enjoy the holidays with the people that matter most to me (not that you don’t matter to me!)

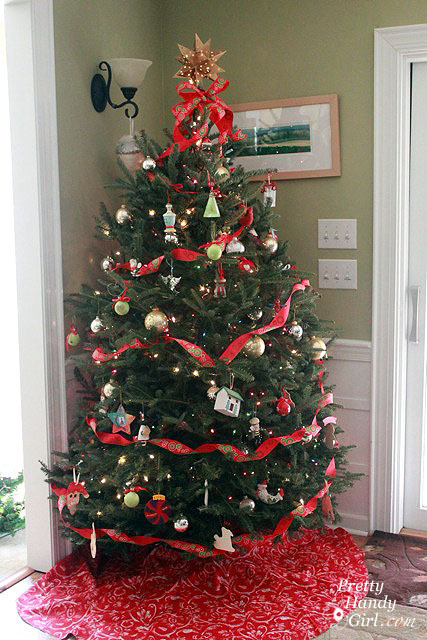
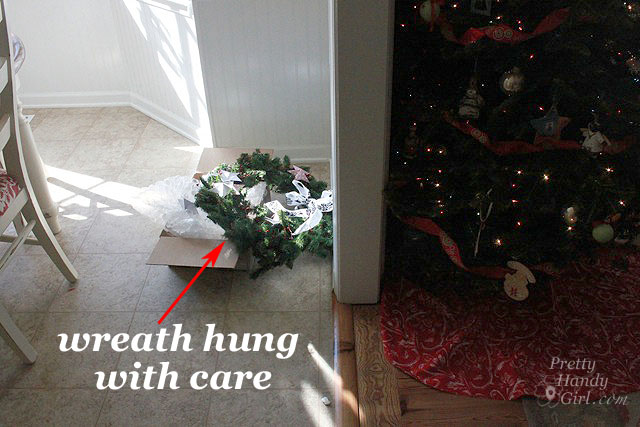
In all seriousness, I have accomplished one decorating feat: the tree! I think it looks pretty good if I do say so myself…except…what is that thing lying on the floor to the left of the tree?

Oh, why it is my wreath that has been hung with care!

I’ll be back on Monday with a very important guest. And then check in every day next week for my creative gift wrapping series. You won’t want to miss it!

In the meantime, Happy Holidays! And feel free to see how I decorated last year, aka Rustic Christmas Decor!

Sharing my eclectic decorating style with: Positively Splendid’s Saturday Seven and Funky Junk Interiors SNS

In other news, I have a big announcement to make: The first set of speakers have been announced for the SNAP 2012 conference! I am really excited to be working with such a fabulous group of women bloggers!

If you haven’t heard of it, SNAP is a big creative blog conference from April 19th – 21st near Salt Lake City, UT. I am truly honored to be asked to speak at SNAP and I can’t wait to share some motivational empowerment words with the attendees.

If you would like to enter to win a ticket to SNAP, there is a big ticket giveaway happening right now! From now until Christmas, SNAP will be giving away one ticket a day. So, head over to enter to win your ticket.

Feel free to read a little more about the SNAP conference. It is going to be phenomenal!