When last we left our gal, Pretty Messy Girl was embarking on a journey into the bowels of her garage. There were crevices and corners that hadn’t seen a shop-vac in years. Dead spiders and centipedes lurked in their dark and dusty hideaways. Fearlessly, she dove head first into the task at hand and with her hero, the Bagster at her side, she overcame the clutter despite the odds!
How did she do it you ask? Well, come with me (if you dare) to see how she took a cluttered disaster of a garage and made it into a serene DIY work haven (okay, that might be stretching it a bit.)
Here is how she shoe-horned lawn equipment, garden tools, four bikes, two scooters, safety gear, sports equipment, balls galore, games, swim and outdoor activities, beach things, shoes, food storage, paint, paint and more paint …(deep breath)…AND an entire power tool laden workshop into this small space.
First she cleared out the entire garage. What was left was a dusty, dirty, and dark cave. All the “crapola” was placed into the Bagster. A little comment from Pretty Messy Girl:
I must say that I really didn’t mind having Mr. Bagster hanging out next to our driveway for a few months. It weathered the rain and wind. And gladly accepted anything I put into it (with the exception of certain items that you can’t dispose of: paint, appliances, and a few other hazardous waste materials.) Now, if I had a big dumpster blocking the view and creating an eyesore for the neighbors, that would be a different story!
The bag was super easy to set up and it held the items inside. Occasionally a side would flop over, but if I put big and ridgid items inside the edges, the sides would stand up better.
A few trips were made to Goodwill and a few more trips into the attic (don’t ask what lurks up there. Gulp!) Once the garage was cleared, she gave it a good cleaning with the shop-vac.
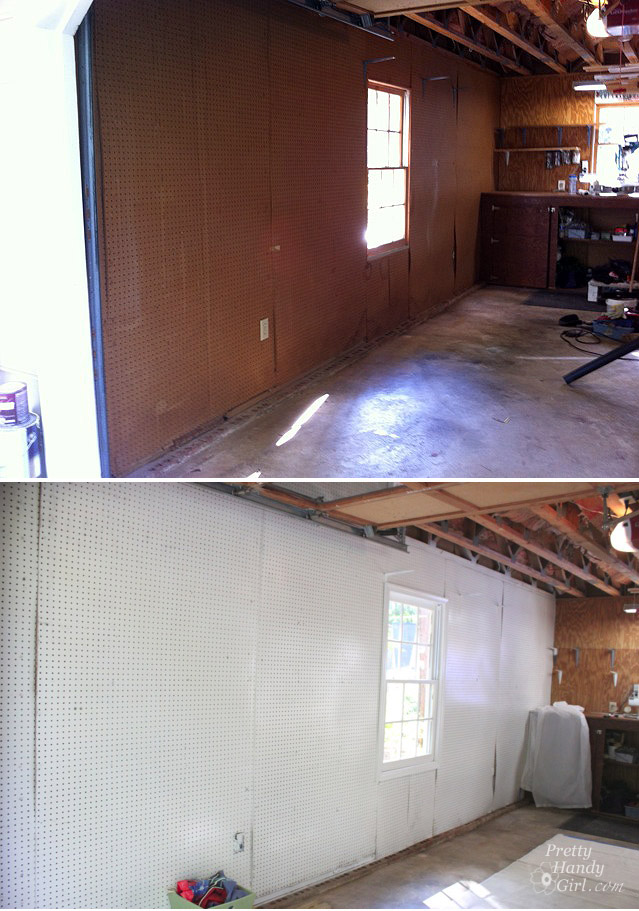
Then she decided that she MUST paint the walls of the garage. Pretty Handsome Guy thought she’d fallen off her workbench. I mean, why paint the inside of a garage? Well, let’s just say that you can thank her later. The results speak for themselves. The amount of light in the garage now makes it a lot easier to photograph tutorials.
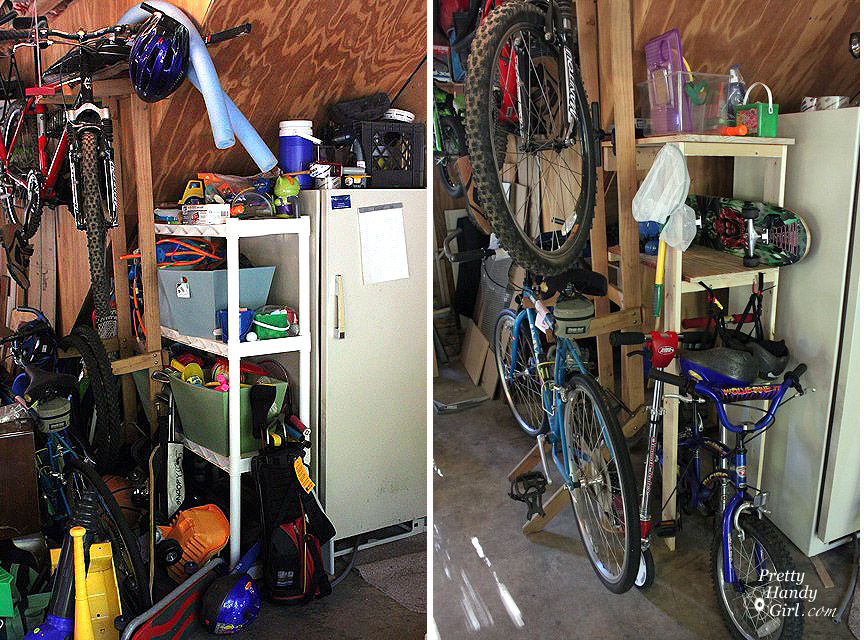
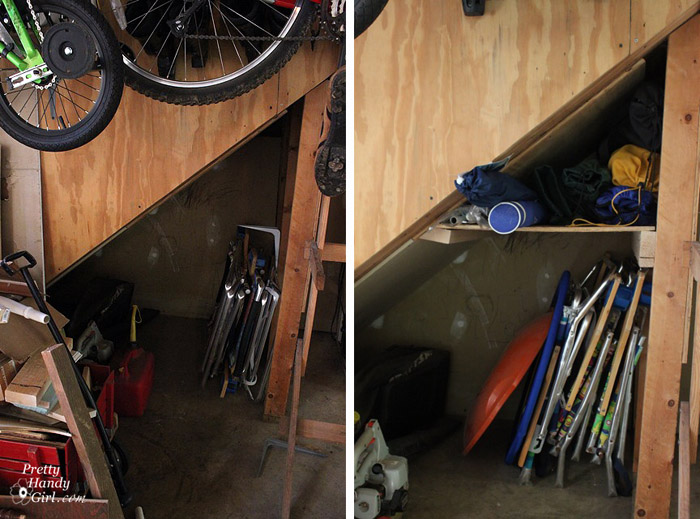
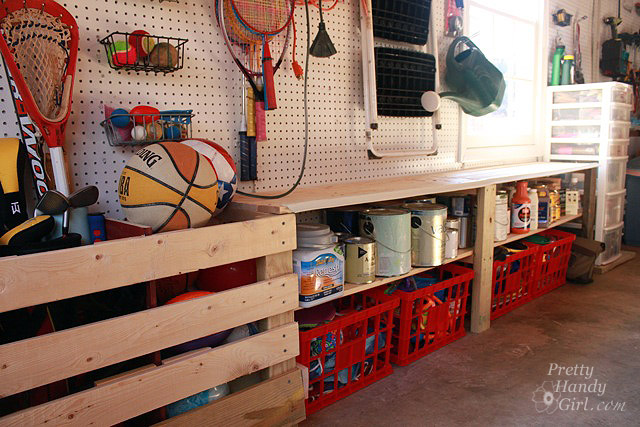
Next came the quest to squeeze a gallon worth of stuff into a quart sized container. Pretty Messy Girl uncovered several nooks and crannies that were not being utilized in the garage. And she built several custom shelving units to take advantage of the wasted space. One for the bikes and safety equipment:

A shelf for the beach umbrellas and folding chairs (did you see that empty space above the beach chairs! That was a crime! Wasted space has no business in this garage.
She also designed a yard-a-sport-o-ball collector. But, it is easier to just say the corral.
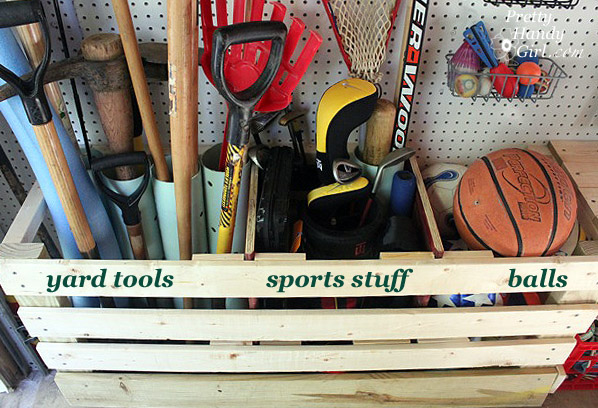
The corral was created to maximize storage for those items that are always grabbed for on a regular basis. The rakes and yard tools used to each have separate hooks on the peg board, but that took up a whole wall worth of space! Now, they take up a small 4′ x 2′ space.

To hold the tools upright, she bought the cheapest and widest piece of PVC pipe she could find. Then cut the drainage pipe into 4 equal lengths. After bolting them together at the top and bottom, screwed them to a 2″x4″ that was attached to the wall. Voila! Perfectly upright storage for yard tools!

Two more compartments were created in the corral by nailing small scraps of 1×4″ boards and then cutting a piece of plywood to slide between the scraps and create a separate compartment for sports “sticks”. And another compartment for all the balls that come standard with two small boys! What is it with boys and their balls? (Wait, don’t answer that!) I don’t think I owned more than two balls as a child. (Now I’m getting myself into innuendo-trouble.)
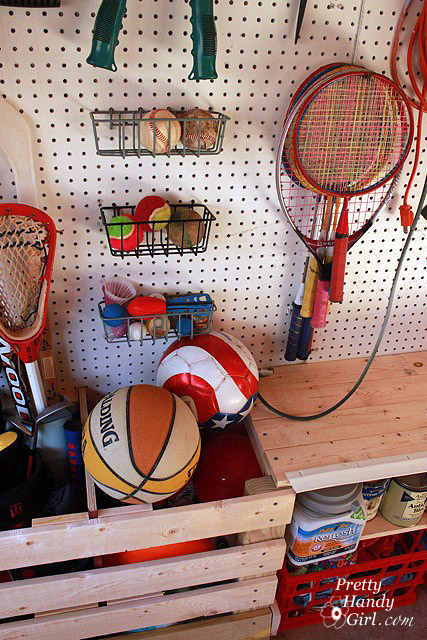
Attached to the corral are two built in shelves specifically sized for all the paint. Yes, she has an ever growing paint collection! (An artist has to have options, ya know!) And plastic milk crates below store water toys and games.
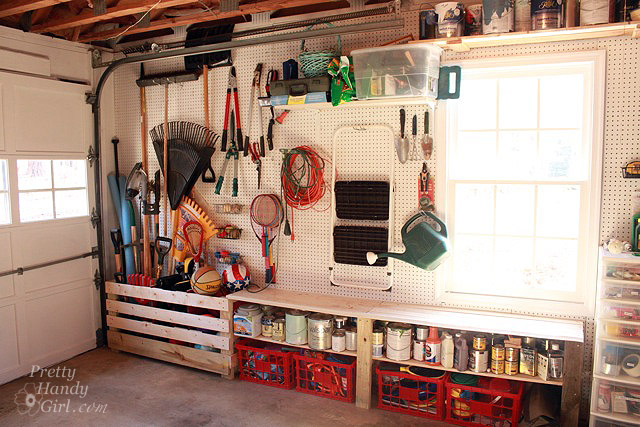
Do you remember the paint storage before? She’s extremely lucky no one called the Shelf Protective Services Division. That is just cruel and unusual punishment!
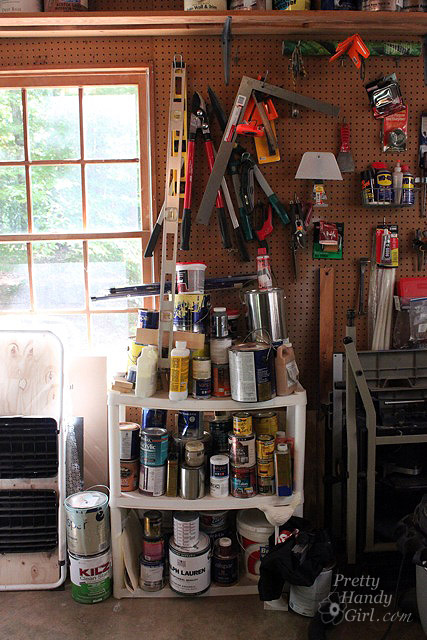
The plastic storage shelves have been sent out to pasture to retire in a life of ease (holding empty plant pots under the deck.)
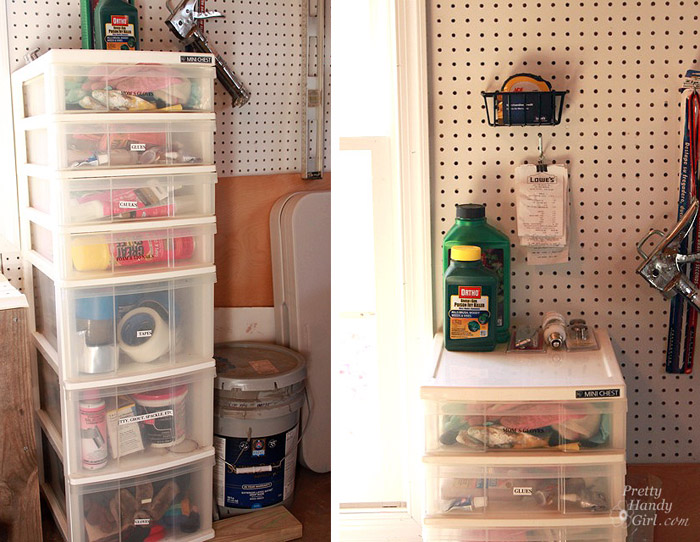
Where the paint used to be, she pulled a plastic storage chest from the attic (Yes, there is an entire store to shop from up there.)

The plastic drawers are perfect for housing tape, caulk, glue, gloves, etc. And in a stroke of genius — not really, but why she didn’t think of this before, we’ll never know — she added a binder on a hook to hold all the home improvement receipts. AND this is also where all the items to be returned wait (for the one day that they will be reunited with their family on the store shelves.) When that day arrives, and months have past, she can store all the merchandise credit cards in the little wire shelf. (She does a little jump kick every time she raids that stash of pre-paid cards.)
Moving right along, this was definitely the most disorganized section of the garage. The tool storage near the work bench. What a crying shame. What DIY woman could live with that? (Obviously Pretty Messy Girl, that’s who.) Well, it is a mess no more. With some new tool storage and some thought put into tool useage, she tamed the tool clutter.
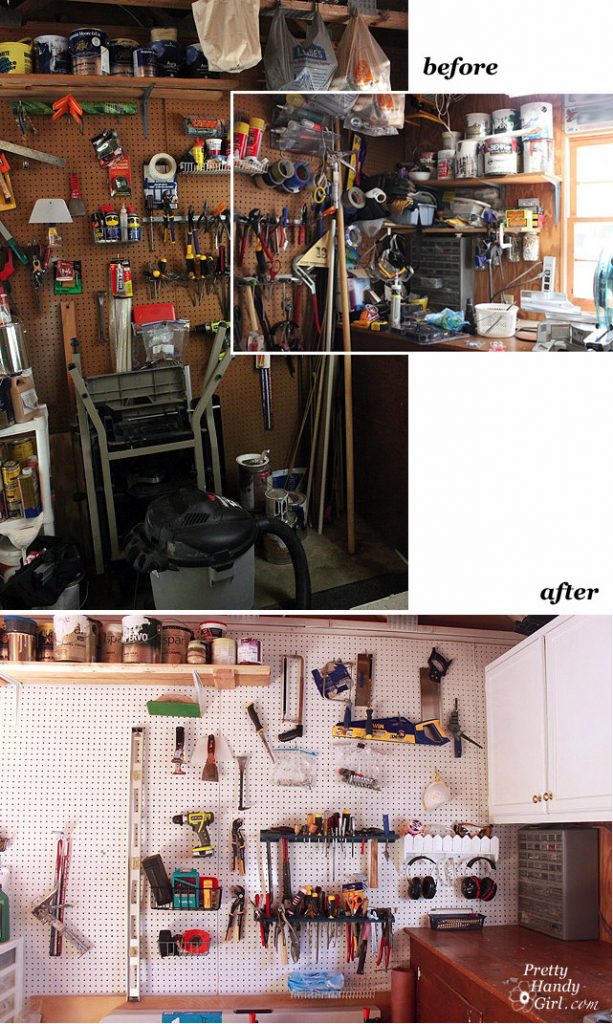
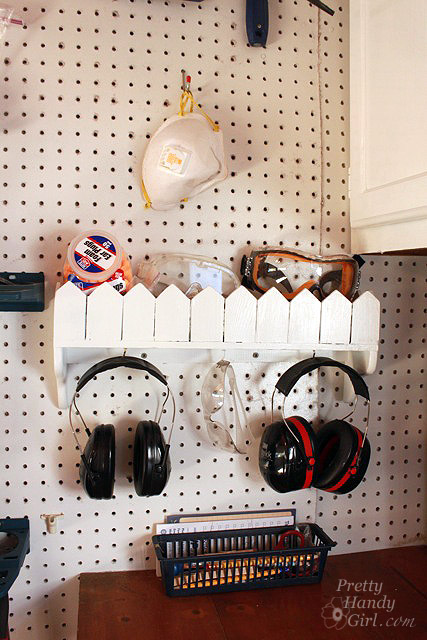
And a special spot was chosen for all the safety gear (to be a constant reminder of how important it is to wear them)! Right Meri-K?
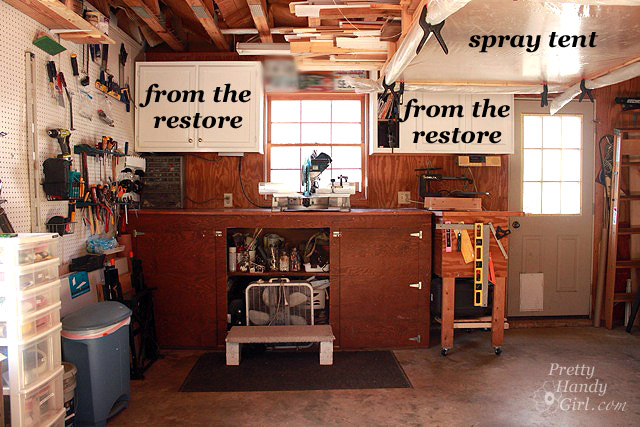
We come now to the dust protection area. With the miter saw being Pretty Messy Girl’s right hand man, this area had seen mountains of sawdust. Cans of paint, and anything that was on the open shelving always had a 1/4 – 1/2 inch of accumulation. But, not anymore! Two cabinets were purchased from the Habitat ReStore and hung on the wall. (The price was a real steal! $50 for both.) A fresh coat of paint gave them new life. Someday she hopes to paint the wall and workbench to match. Some day (a girl can dream can’t she?) In addition to sawdust, paint dust can become a real problem in her lair. One time she and a friend spray-painted some chairs and the entire garage and everything in it looked like a coal mine. A spray tent was added to the underside of some rafters. Plastic sheeting simply tacked up with 1×2″ boards and the sides are rolled up and secured in place with extra large clamps. (PVC pipes inside the plastic help make rolling up neat.)
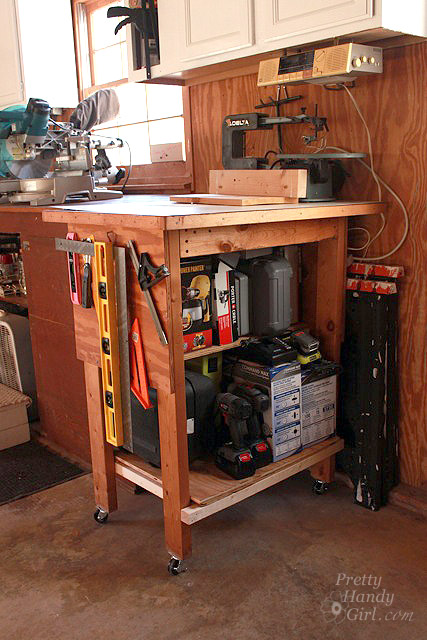
The rolling tool caddy is tucked away on the right side of the workbench. Moveable storage for all the power tools.
An annex was built onto some IKEA shelving for shoes and boots. (And excess food storage.)
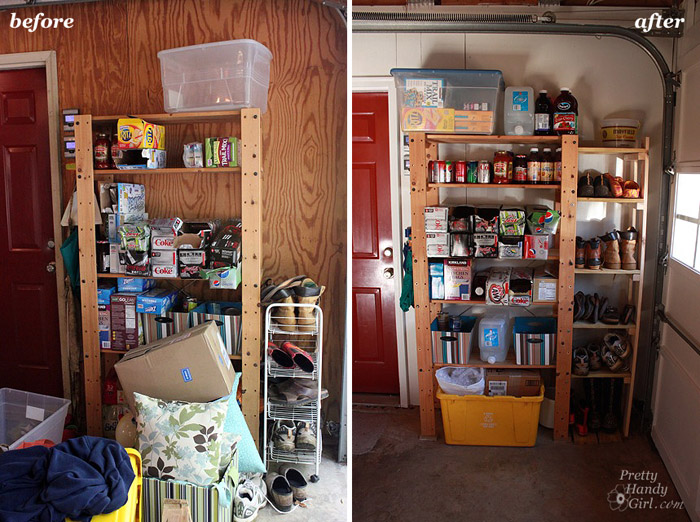
And that brings us back to the beginning.
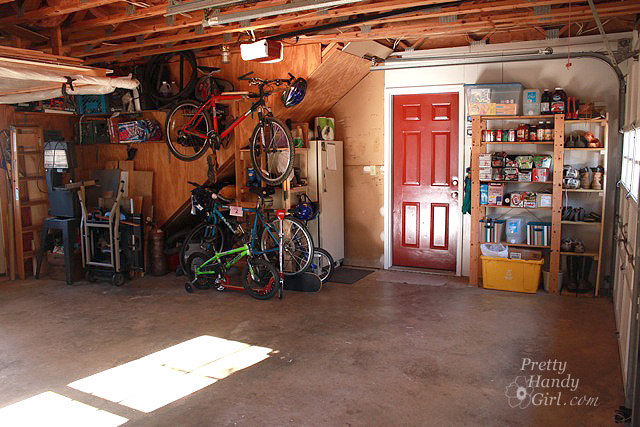
This is one useful garage once again.
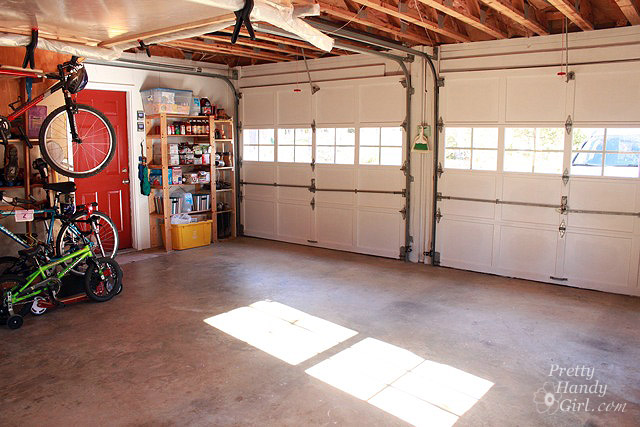
And Pretty Messy Girl has now reclaimed her title of Pretty Handy Girl! Woot!
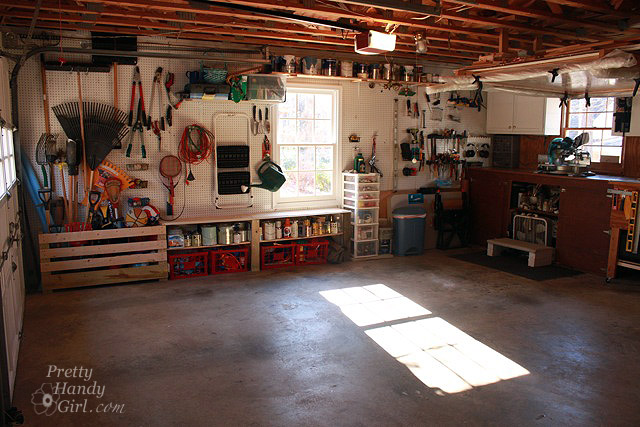
What do you think? Did you get any ideas for storage solutions? Is there anything that could work for your garage or workshop? If you need to clean out some serious “junk”, think about buying the Bagster. It is like a dumpster in a bag! For $29.95 you can purchase it at your local hardware or home improvement store. Pick up charges vary from about $79 – $159 depending on your location. It was really nice to be able to just toss the stuff inside and call a handsome young man to come haul it away!
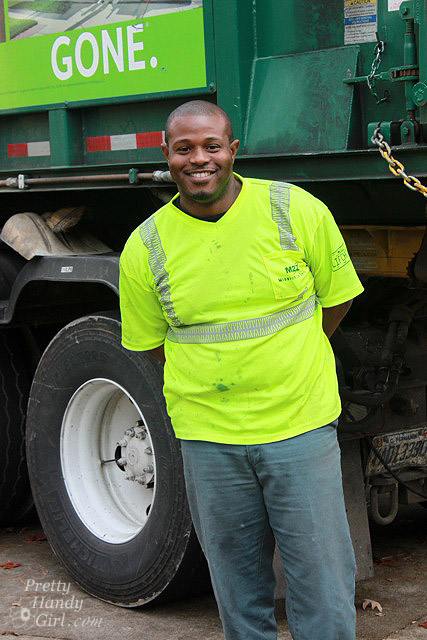
And the bonus comes when the truck arrives to provide entertainment for mom your children. Watching the crane arm pick up the Bagster is really really cool!
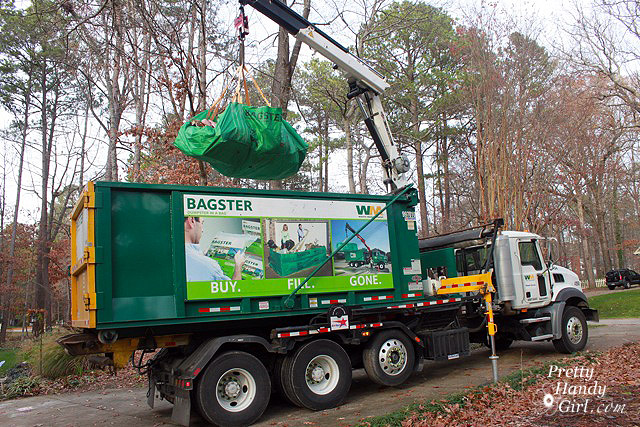
And now the moment y’all (well at least me) have been waiting for: a video of the Bagster Bag being lifted up and taken away by crane. Pretty Handy Girl says,
I am seriously such a geek, I was über excited to watch this. I even told Waste Management to have the driver call my cell phone so I could be there to watch. My 5 year old son had to hold my hand and keep me from jumping up and down. Eeeeeekkkk!
I almost forgot the best part: There is now room for Pretty Messy Mobile! I don’t think there is any hope for the car. Any mom knows that there is no such thing as a clean car when you have kids. Old cheerios and raisins have a final resting place in between the seats of this carpool vehicle.
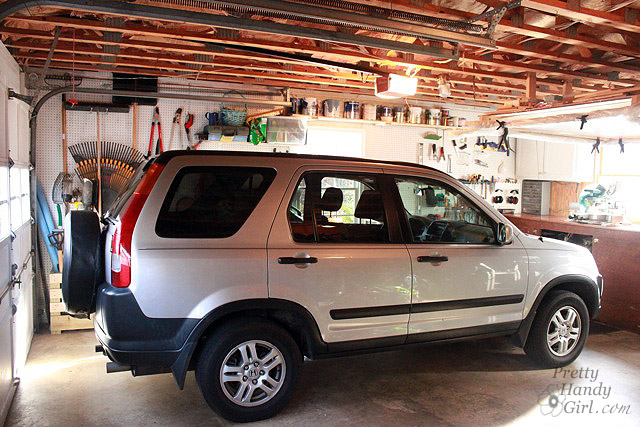
The End!

Here is a little more information about our superhero, The Bagster:
While households look for ways to save money, more homeowners are tackling projects themselves from bathroom remodels to flooring projects to spring cleaning. The Bagster® bag is an innovative, convenient and affordable solution for smaller home improvement projects.
The Bagster® bag is a highly durable, woven bag designed for disposing as much as 3,300 pounds of debris and is big enough to hold full sheets of plywood, doors and even a bathtub.
The Bagster® bag is a convenient choice for any home improvement project.
- – Often times construction debris can’t be picked up from the curbside, so consumer now have a great solution when a dumpster is too large for the project.
- – The Bagster® bag is ready when you are – great for last-minute projects or ones that need an extended period of time to complete.
- – Consumers can use the bag for as long as they like, then schedule a collection when the bag is full or their project is finished. The bag and collection service are always ready, putting consumers in control of their projects.
- – Collection can be scheduled online at www.thebagster.com or by calling 1-877-789-2247, and Waste Management will collect the bag within three business days.
The Bagster® bag is an affordable solution for homeowners and a great way to save money on do-it-yourself projects.
- – Bagster® bags cost just $29.95 and the flat rate collection fee ranges from $79 to $159 per bag, depending on your area – 50 to 70 percent less than a dumpster rental.
Waste Management has made the Bagster® bag a simple solution for waste and debris removal.
- – Consumers can purchase the lightweight bag at more than 2,000 locations across the country, use it for as long as they like, then schedule a collection online or over the phone whenever they are ready.
- – The Bagster® bag is sold at local home improvement and hardware stores, including participating The Home Depot, Lowe’s, Ace Hardware and True Value. To find a local retailer near you, visit www.thebagster.com.
* For more information, visit www.thebagster.com.

Disclosure: Waste Management partnered with bloggers such as myself to participate in its The Bagster® Bag Blogger Challenge. As part of the program, I received compensation. They did not tell me what to purchase or what to say about the products used for the The Bagster® Bag Blogger Challenge. Waste Management believes that consumers and bloggers are free to form their own opinions and share them in their own words. Waste Management’s policies align with WOMMA Ethics Code, FTC guidelines and social media engagement recommendations. You should know by now, that I will never write about a product that I didn’t like.