It’s true, I JUST took down the rest of the Christmas decorations. Yes — I know it is February — but honestly I’ve been a bit busy lately. I carved out a little time to spray paint a lantern and hot glue a new wreath. And that was all it took to put me in the mood to decorate for the season.

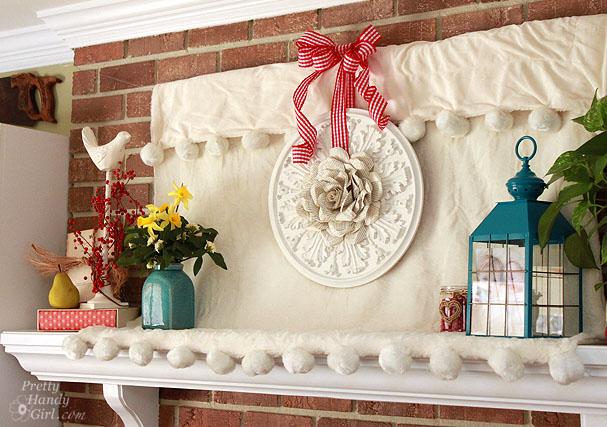
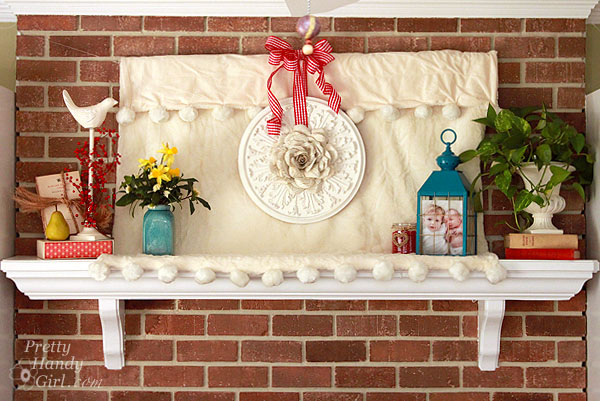
I wanted some cozy warmth and a little brightness on our mantle, so I hung a soft faux fur throw up. To avoid nailing into the brick, I used a wooden dowel rod that spans the width of the throw. I added two screw eyes in either end of the rod and fishing line that feeds through the eye hooks and wraps around nails that are secured into the crown moulding on either side of the fireplace.

I really like the softness of the throw.

A berry wrapped white bird on top of a paper wrapped book helps bring in a little more romantic red.

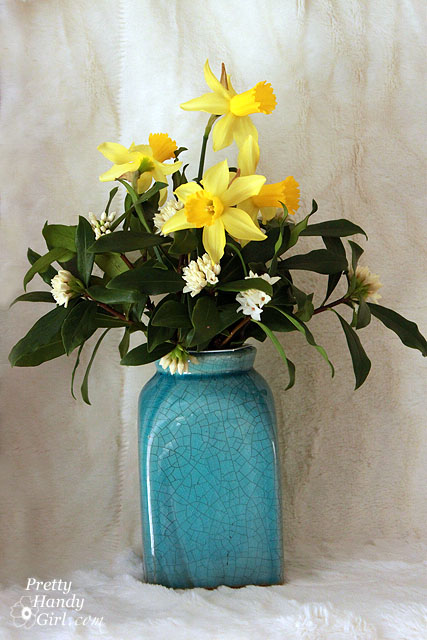
Michael’s has this crackle vase on clearance now, but be careful about filling it with water because it will leak. Inserting a small yogurt container inside made it possible for me to use it for fresh flowers.

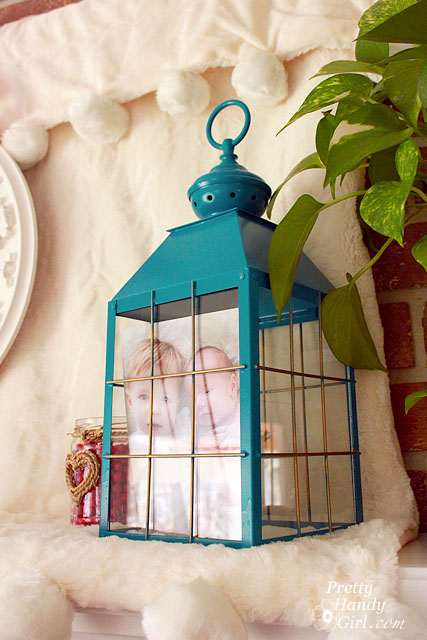
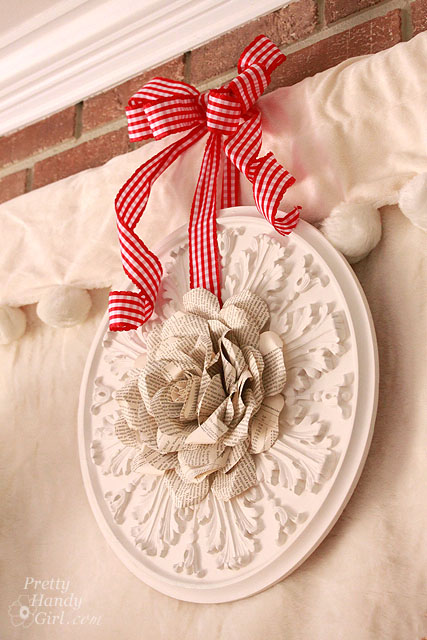
I am really excited about the book page wreath I made, but I think I’m more excited about that old light fixture that I revamped. One of my facebook fans thought it was from Pier 1. That was the ultimate compliment for something I paid $5 for at the Habitat ReStore!

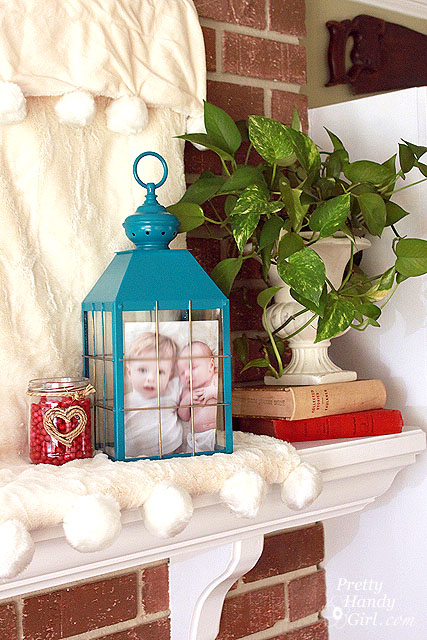
The paint color I used on the lantern is Rustoleum’s Lagoon, and it has sent me on a big aqua kick!

More books and a plant to balance the right side of the mantle.

I’ll have a tutorial for this book page wreath on Wednesday, so get busy finding an old book and a ceiling medallion!

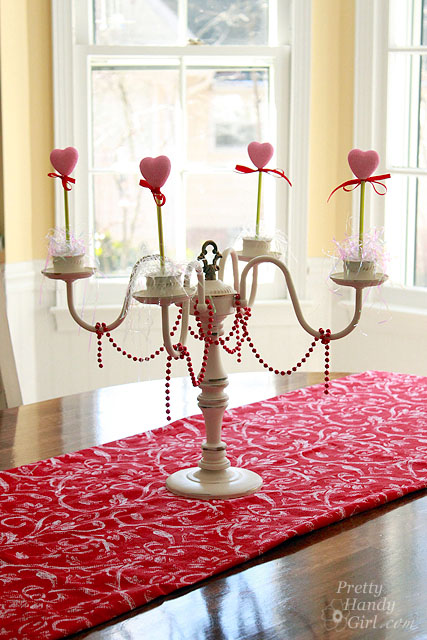
I used the chandelier turned candelabra to bring some Valentine’s whimsy to our kitchen table.

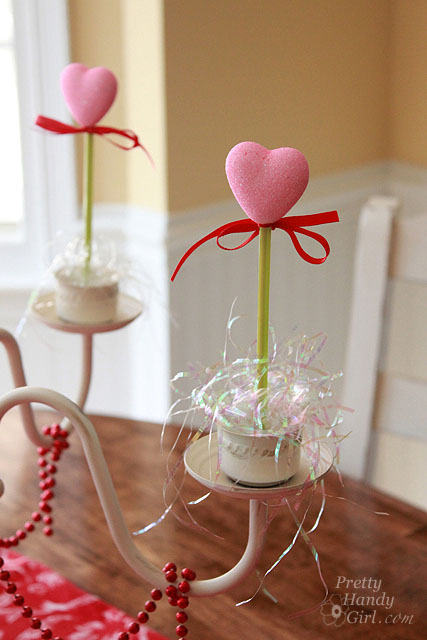
The hearts on a stick were purchased from the Dollar Tree, I just slipped green straws over the stems to beef them up a little.

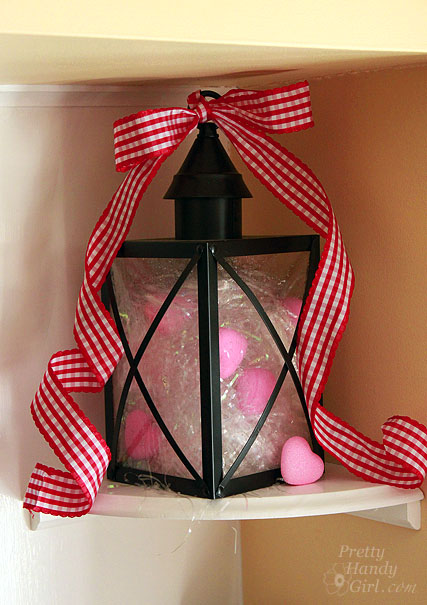
I did pull the stems off the rest of the hearts and piled them in this other lantern with some faux grass.

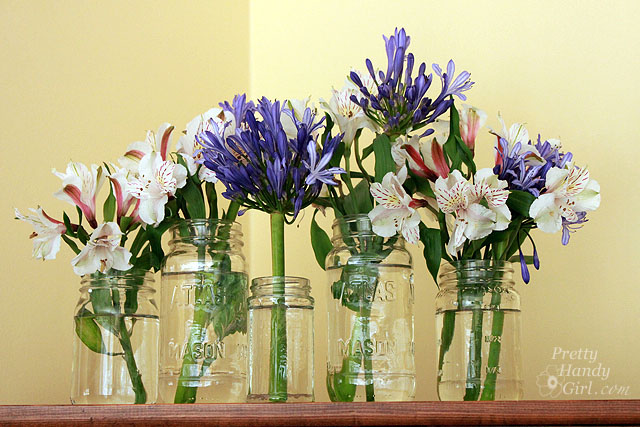
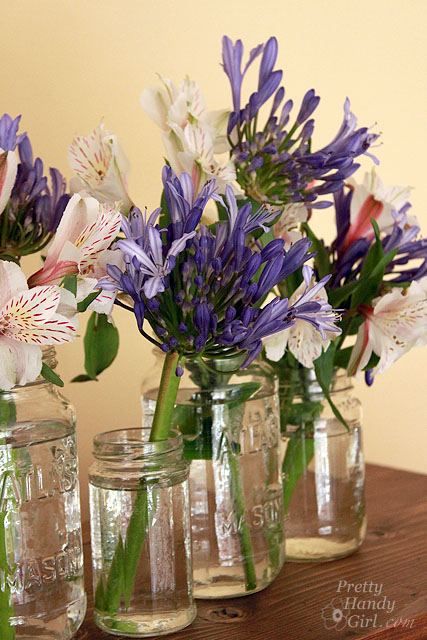
A few recycled jars pulled together make a crisp and clean flower arrangement. We have some flowers blooming in our yard already (only about one month early), but I picked up these agapantus and alstroemeria (peruvian lilies) from the grocery store.

 I think of my sister everytime I see agapanthus, because they grow right outside her front door! Lucky duck.

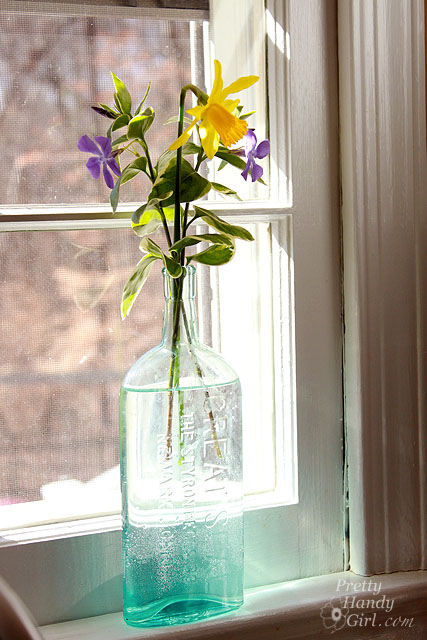
My friend, Leen the Graphics Queen will recognize this bottle from our antiquing trip to Southport, NC. I’d never been to Southport before, but I will definitely have to go again. It is a really neat little town by the sea.

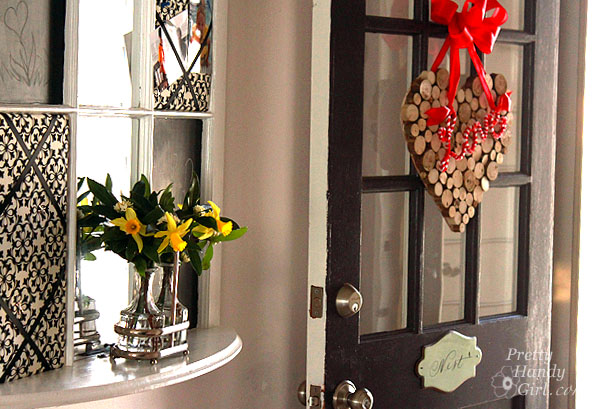
I couldn’t neglect the mudroom.  This is where my tree branch heart wreath hangs out.

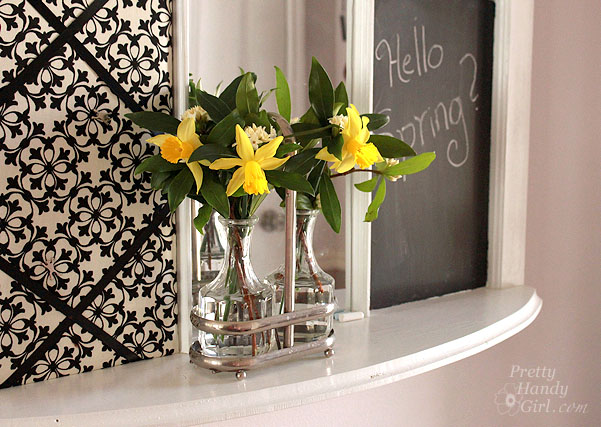
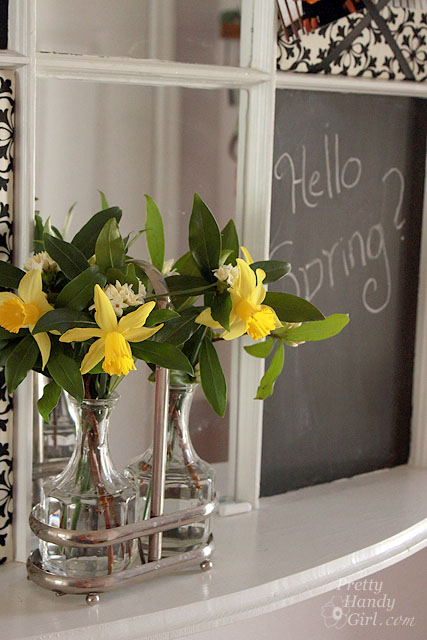
Because this is our family’s main entrance, I chose some sweet smelling daphne and daffodils to create a fragrant and colorful welcome home.

I couldn’t truly welcome spring yet (since technically it is still a month and a half away.) So, I scribbled “Hello Spring?” on the chalkboard.
I hope you have a fabulous February and a sweet Valentine’s Day.

 P.s. How many of you watched the SuperBowl (or at least the commercials and/or halftime show) last night? What were your favorite commercials? I have to say I really liked the VW, Doritos and E-Trade commercial. And my son and I were up off the couch and dancing with Madonna! I thought she rocked the halftime show.

Happy Day After Thanksgiving! I don’t know about you, but despite the week I had last week, I am very grateful and thankful for modern medicine and trained surgeons who can take all the broken pieces and put them back together again. Humpty Dumpty never had it so good!
My seven year old is thankful for something completely different. When asked yesterday morning what he was thankful for he said (very seriously), “My bottom.” I tried so hard not to laugh, and was able to utter a quick “Why?”. He replied, “So we won’t explode!” Oh the thoughts of a seven year old boy. ;-D

I hope everyone got their fill of food and family time! And most of all I hope you got a little R&R. You may be looking around wondering where Tool Tutorial Friday is. Well, I’m sorry to tell you that it is on break (no pun intended.) After all the stress from my son’s broken his arm last week, I decided to give myself a much needed reprieve from blogging. No worries though, Tool Tutorial Friday will be back next week as previously scheduled.

I hope you won’t be too mad and disappointed with me. But, seriously, you don’t want to sit here and learn how to use another power tool today! You want to take some time to unwind and enjoy your family, right?!

In the meantime, I do have the Tomboy Tools magnetic hammer winner: Roxanne Lucchesi!
She says, “I have been wanting to tell you how much I love your blog. And now I REALLY love it. It is so great that you are taking the time to post these tutorials. I cannot tell you how much I appreciate them. I recently added a table saw to my collection of tools. Mind you, I have never used a table saw, but have always wanted one. Now you have empowered me to actually get out there and use it. Thank you!”

Thanks so much Roxanne, comments like yours are what make all the efforts I put into my blog worth it!

And a big thank you to my sponsor:

Laura from Tomboy Tools, who graciously offers a hammer a week for the Tool Tutorial Friday series. Laura is a super sweet mompreneur who also wants to empower women to take on their own DIY project. If you get a chance, check out the other tools she sells!

And, for you reading pleasure and gift inspirations I leave you with the Handmade Holiday Decor eBook! This is a fabulous ebook put together by the even more fabulous Myra from My Blessed Life and Mandi from Life Your Way. Just think about it! One ebook with all your favorite bloggers and holiday decor tutorials in one spot! There are a few of my tutorials (pages 12 & 24) inside along with some other fabulous bloggers:  Pink and Polka Dot, Creative Kristi, SAS Interiors, The Country Chic Cottage, Ten June, The House of Smiths,  The Inspired Room, The Idea Room, Serenity Now, Infarrantly Creative, Mod Podge Rocks and MANY more!

If the preview above is not working for you, click here if you wish to download your own PDF version of the Handmade Holiday Decor eBook.

Happy Holidays, y’all! See you next week!

Today you have been invited to take a house tour at my friend Holly’s home. Holly is a good friend of mine, so luckily I didn’t have to beg too much for her to let us into her home. But, before we go in I want to tell you a little more about her. She wears many hats. She is a wife and mother of two boys first and foremost. But, she also runs Storywood Designs, a furniture refinishing business and Framed by Storywood, her Etsy Shop. She has a wonderful eye for color and design (which is evident in her furniture pieces and home décor.) When I first walked into her home, I knew I could live there and not have to change a thing.

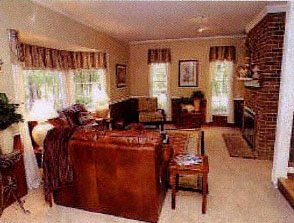
Holly and her husband bought their 1980 home a few years ago. There were plenty of touches from previous owners that she worked with or covered in a creative way. I scanned the real estate flyer (sorry about the quality) to give you an idea what their house looked like when they bought it. The changes they made are phenomenal and yet they didn’t break the bank to do it.

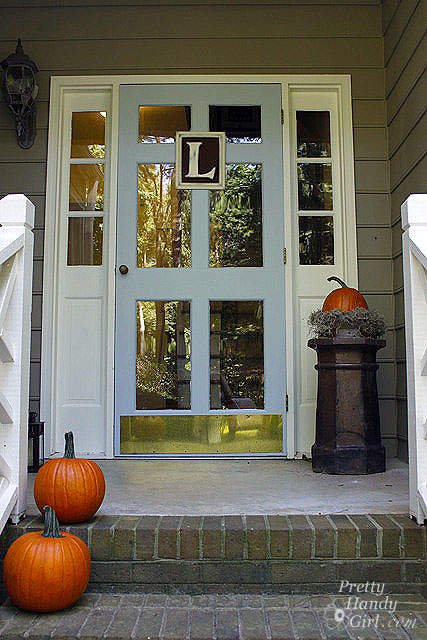
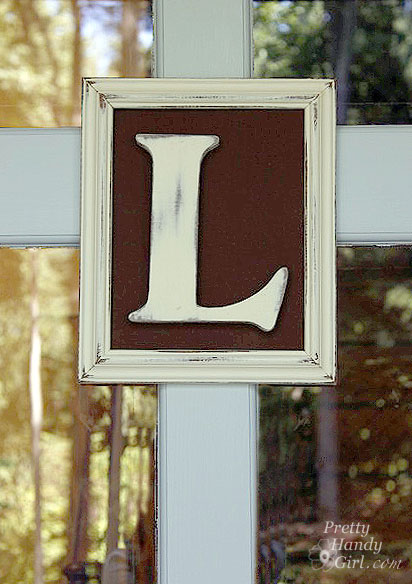
Are you ready for the tour? Wipe your feet and come on it. Do you like the initial on her door?

She sells them in her Etsy shop!

Here we are in the living room, but this is what the room looked like a mere 3 yrs. ago:

And here is the living room today!

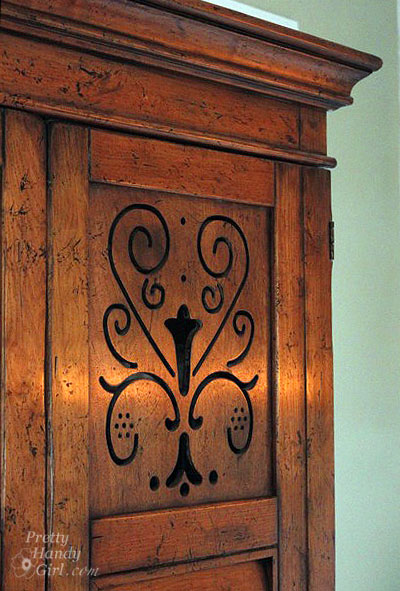
I know armoires are starting to go out of style, but this one is gorgeous with the cut out panels! If she ever tries to get rid of it, I’m grabbing it!

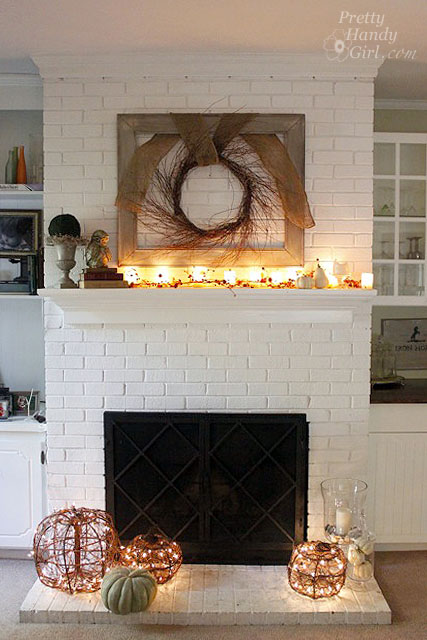
They painted the fireplace white and it really brightens up the room. See, I can appreciate a painted white fireplace, even though I repainted ours to look like brick.


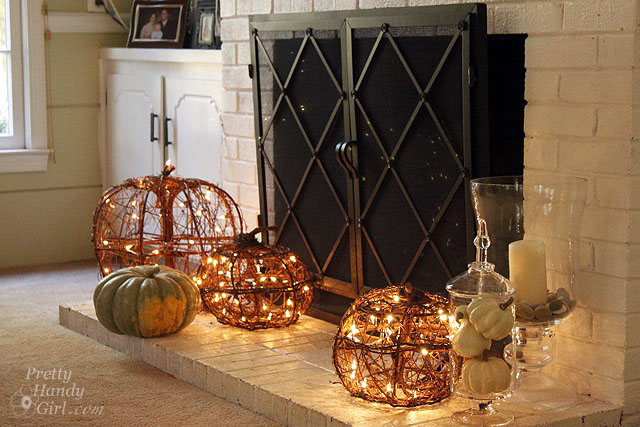
I love all her fall décor. Especially the lit pumpkins on the hearth.


Beside the fireplace are sweet built-in cupboards and cabinets with wood countertops. It adds charm to the small niche.


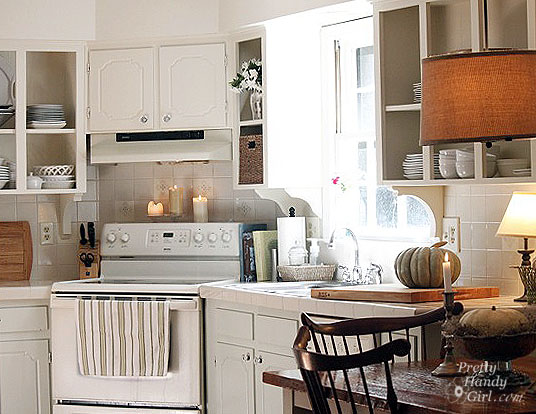
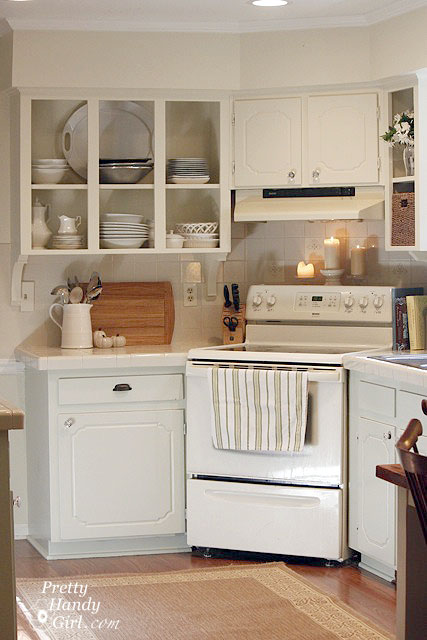
Now we make our way into her kitchen  — my favorite room and the most stunning transformation. This was the kitchen before:


Get ready to catch your jaw before it hits the floor.


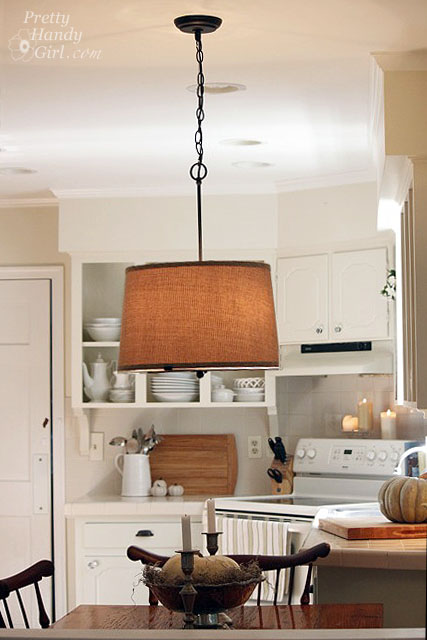
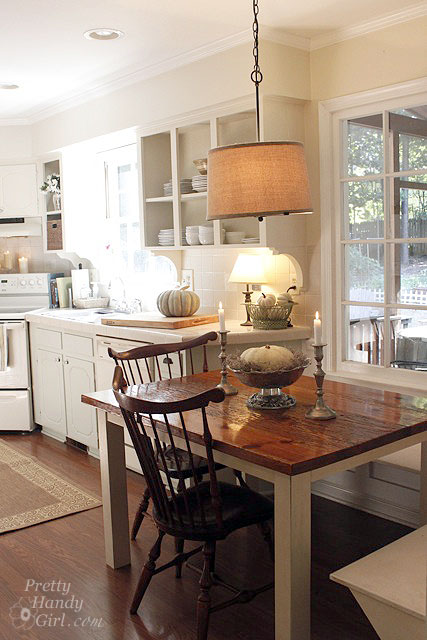
The pendant light adds lots of warmth and texture to the space.


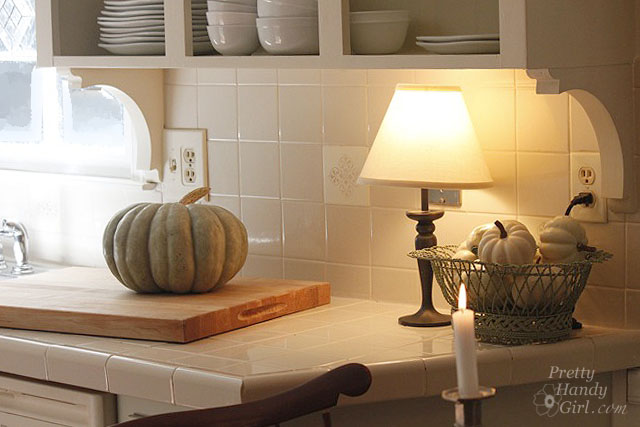
Adding corbels under the upper cabinets was a genius idea for adding instant charm. I am itching to do the same thing to our kitchen cabinets. When I do, you can be sure I’ll share a tutorial.


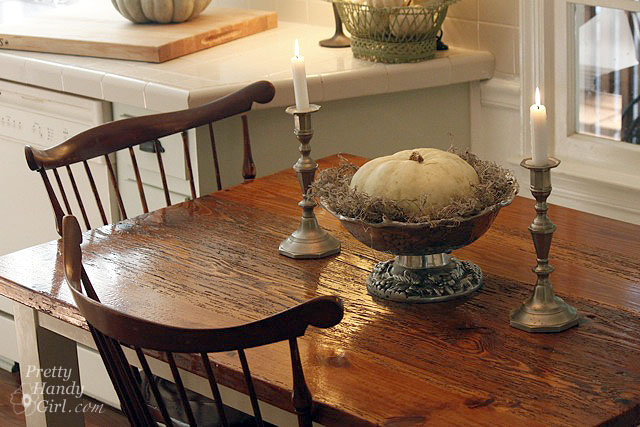
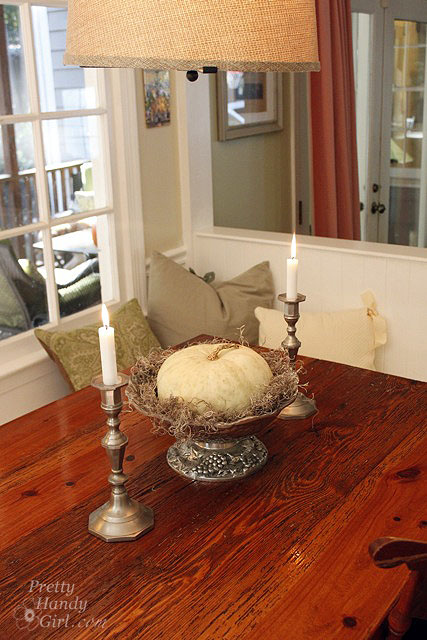
Holly and her husband made the kitchen table. The wood was whistling for my attention the entire time I was photographing the kitchen. And with lines like this, how could I help but stare?


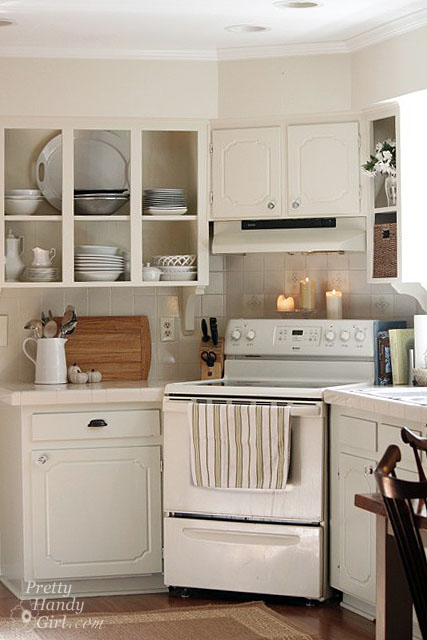
By removing many of the upper cabinet doors they made the kitchen feel larger and more airy.


Did you see those little decorative tiles? Would you believe that they had hideous country scenes before. Holly simply painted over the scenes and added a stencil! What a smart idea!


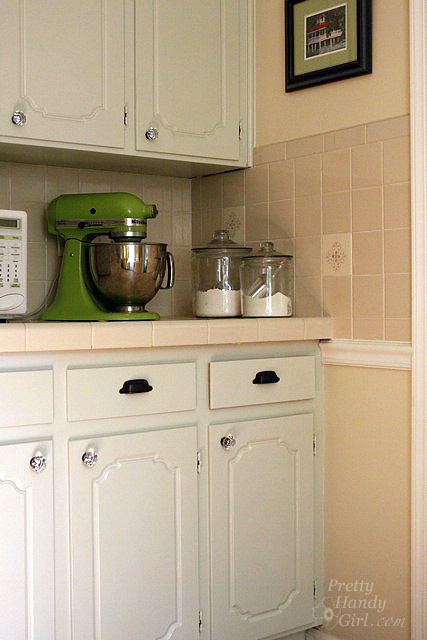
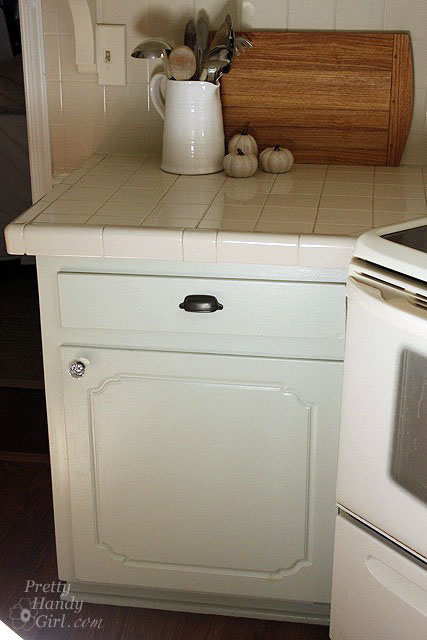
Just in case you wondered (because I definitely wanted to know), the base cabinets got a coat of white sage paint by Olympic. (Holly says that Olympic discontinued the color so Lowe’s had to custom mix it in their kitchen and bath enamel paint.) The top cabinets and walls are painted Benjamin Moore Lancaster White.


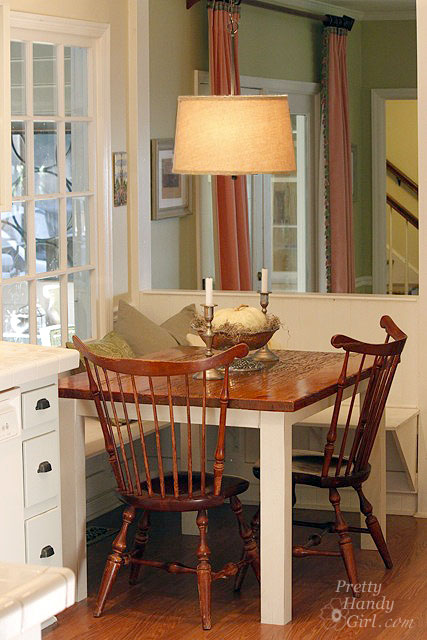
Setting out a little lamp adds some warmth to this corner of the kitchen.


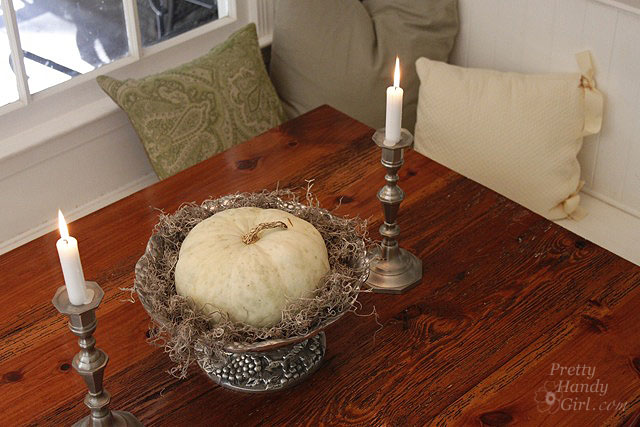
The breakfast area has built-in benchs on two sides. The pillows make the space feel cozy.


One of Holly’s frames turned into a chalkboard:


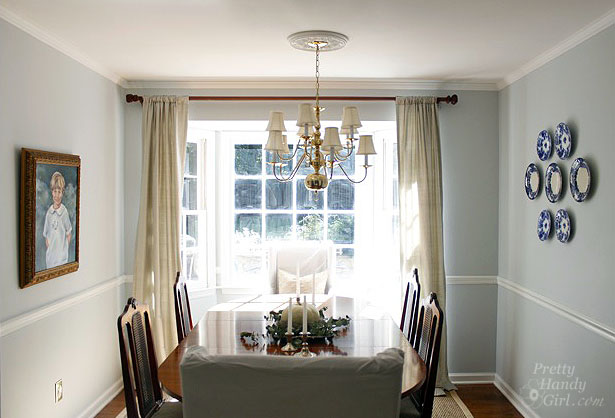
Okay, right this way to the dining room.


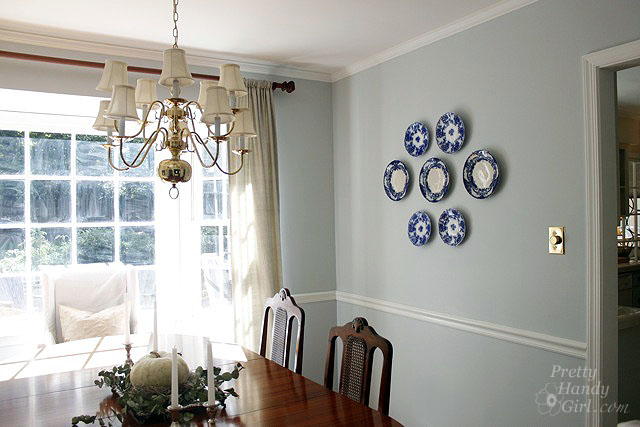
I really want to display my blue and white china like she has done on this wall.


Adjacent to the dining room is her sitting room. Here is the before picture of that room:


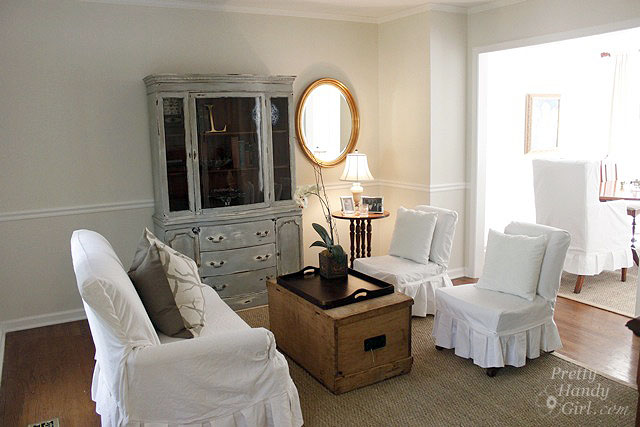
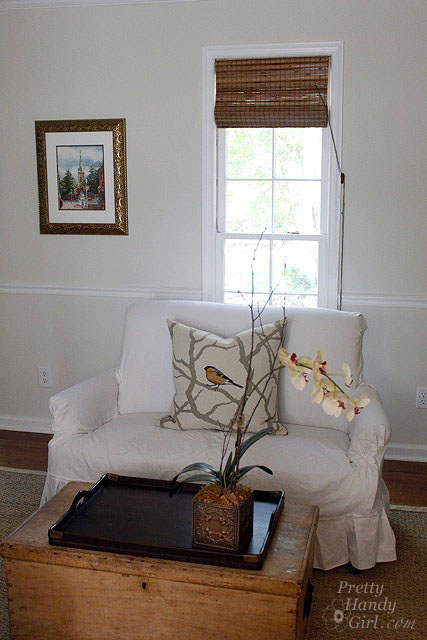
She and I (well mostly Holly) just repainted the room a very neutral gray. I can’t believe what a big difference it made.


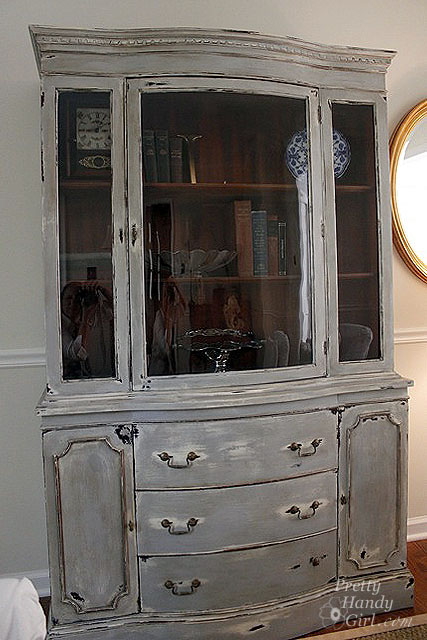
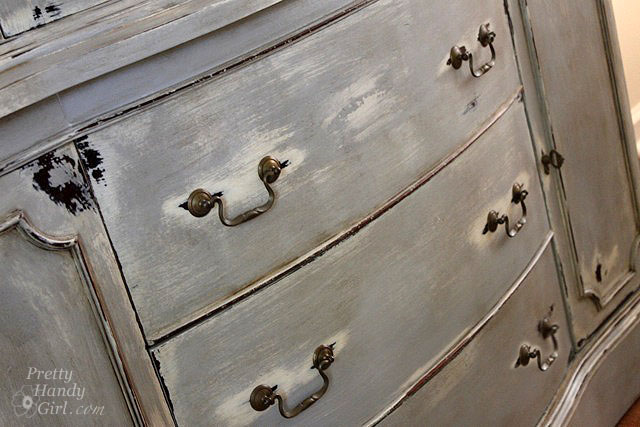
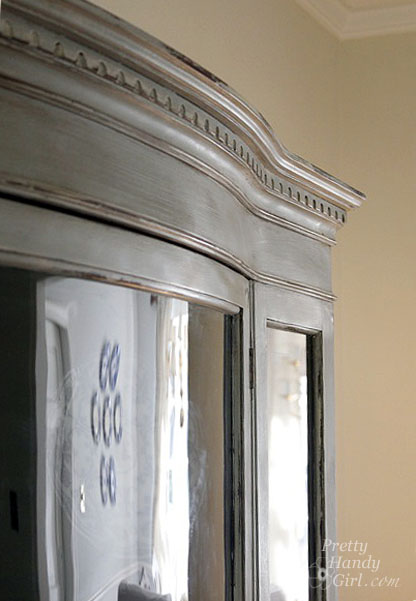
The china cabinet is a recent refinishing project that Holly just completed. The distressing on this piece is perfect!


Check out those layers of paint and glaze. Scrumptious!


And the bowed front and curved glass make this cabinet unique.


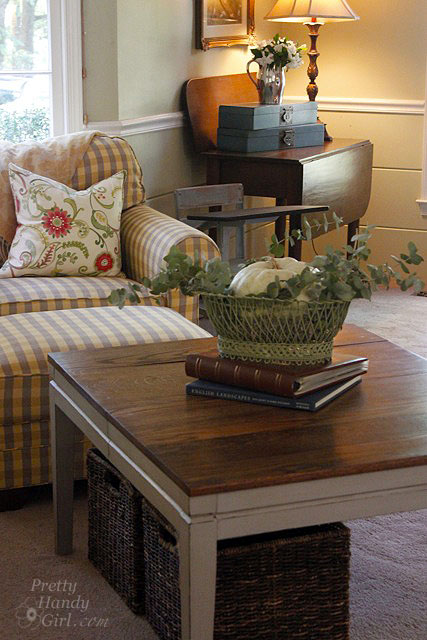
Speaking of distressing, here is another one of Holly’s tables that she refinished. This little table would make a perfect breakfast table or just a side table. It is for sale right now!

I’m jealous of her talent. Maybe I can convince her to take me as her understudy.


Thank you Holly and family for letting us tour your home. Your hard work really shows in your beautiful home.

2011 Fall Home Tour

Fall is here, fall is here! Finally the cooler temps are near!

I’m not sure about your area of the world, but this summer seemed a little too hot for my liking. My husband told me about the term “Global Weirding“. It seems fitting for all this nonsense Mother Nature is throwing at us lately.

Luckily fall seems to have come just on time. Fall is my favorite time of year. Maybe it is the painter in me that loves all the colors. Or maybe it is the nature lover in me that longs to be outdoors in the fresh crisp air. Whatever it is, I love FALL!

I spent some time this past week putting out some autumn inspired décor. Although I’m definitely self conscious about my decorating skills, I tried to abide by my words from last year about not striving for perfection. So, now I’m taking a big breath and pressing the publish button to share my home looking warm and cozy (in my opinion.)

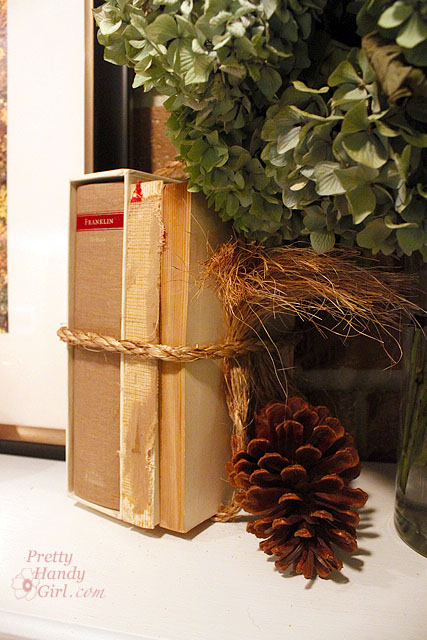
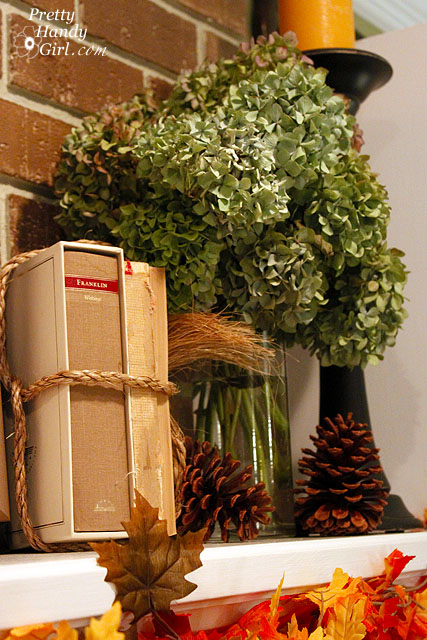
Antique books are my go-t0 decorating objects. I love books and I love those old linen covers. Even a torn and tattered book looks nice lassoed together with some friends.

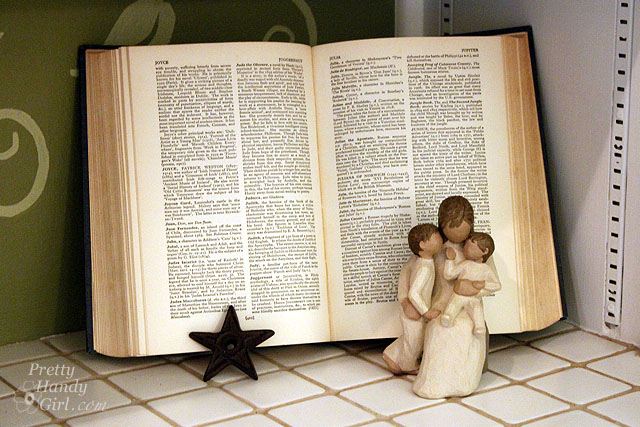
Sometimes, even an open book can look warm and inviting.

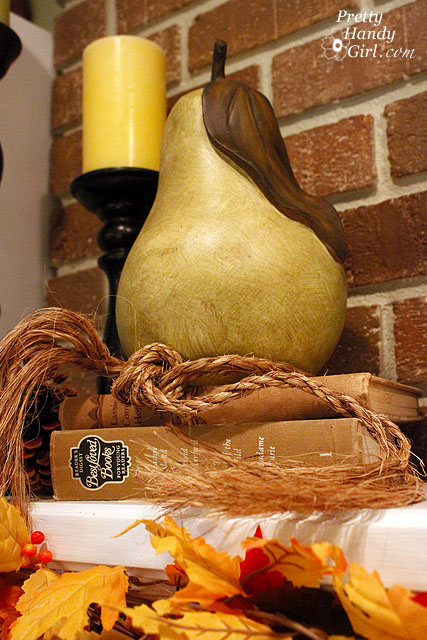
I was so happy to bring my Ballard knock off painted pear out of storage. He really looks handsome with the autumn colors.

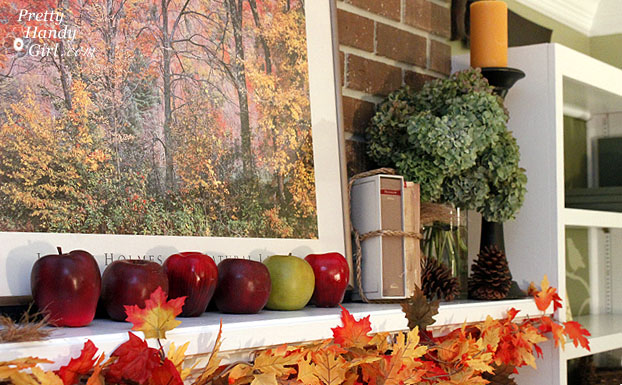
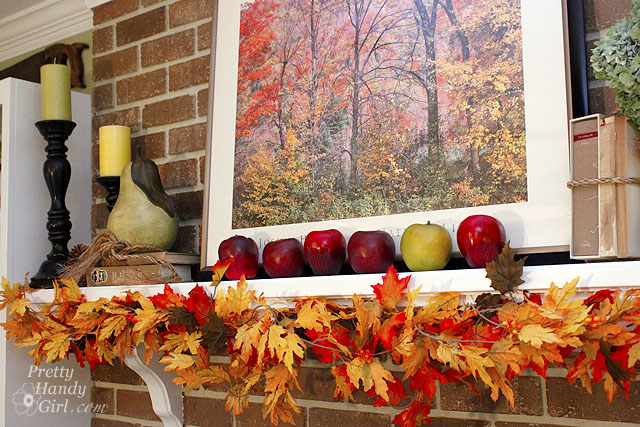
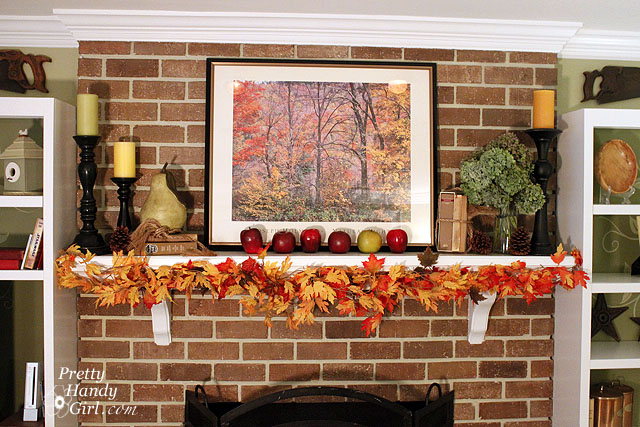
I love all the colors in this photo! I can’t imagine having a monotone autumn mantle.

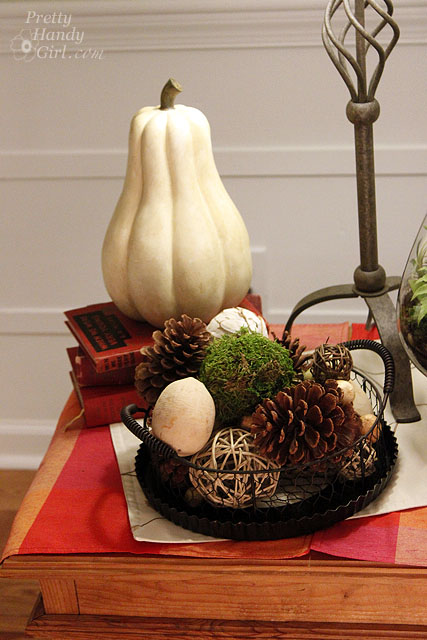
Of course, Mr. Gourd looks handsome too. (Shhh. I don’t want to hurt his feelings, but I do love the pear more.)

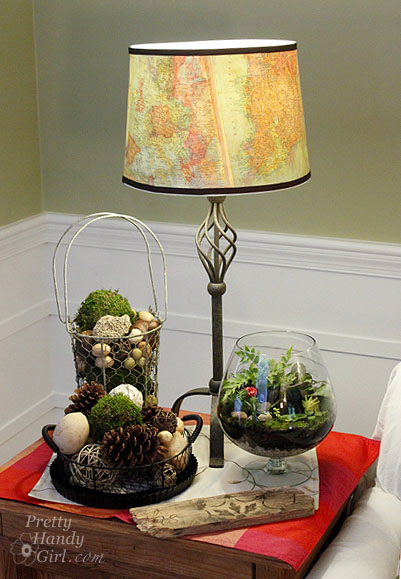
Yes, I’m still switching things in and out like a high school football coach. I actually like the gourd, so he’s back in but the chicken wire basket is out. However, I wanted to show you the vintage map lampshade I made. The tutorial will be served up before you know it! Hopefully I’ll have a new lamp by then. This one is just a substitute for one on injured reserve.

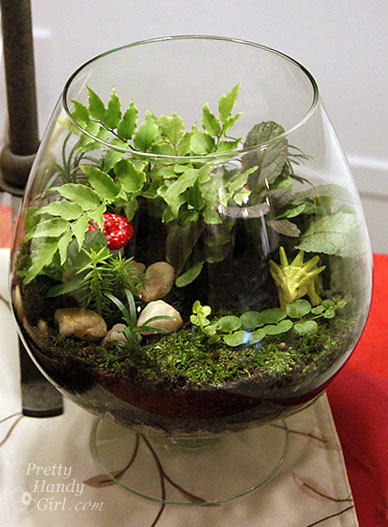
You may have noticed this little terrarium on the side table. I was inspired by some insanely expensive versions here. Never fear, I will have a tutorial so you can make your own soon!

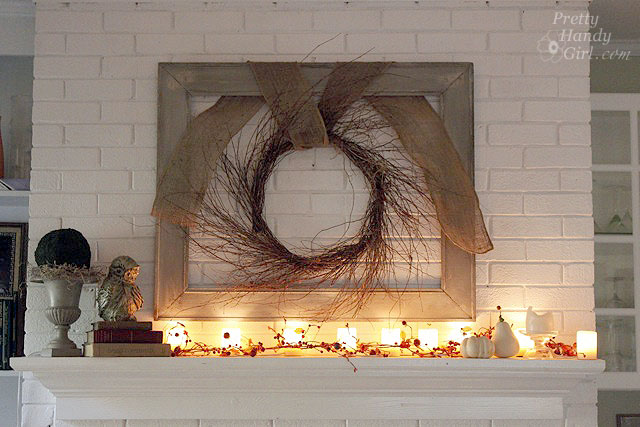
A full view of the mantle decorated. It is hard to believe that in a few months the stockings will need to be hung.

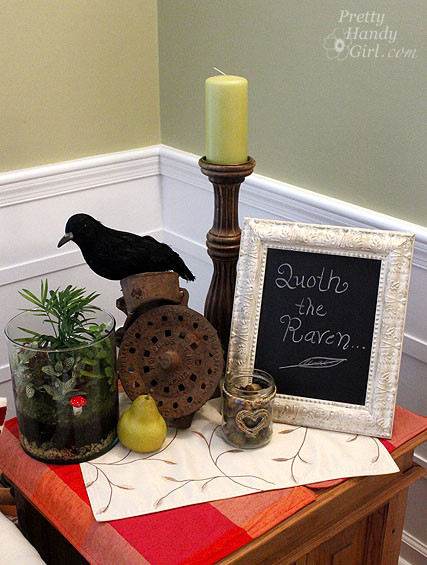
I had fun with this little vignette. A crow in an antique corn grinder? Now that is pretty silly. And another terrarium that makes me smile.

Quoth the Raven “Nevermore”

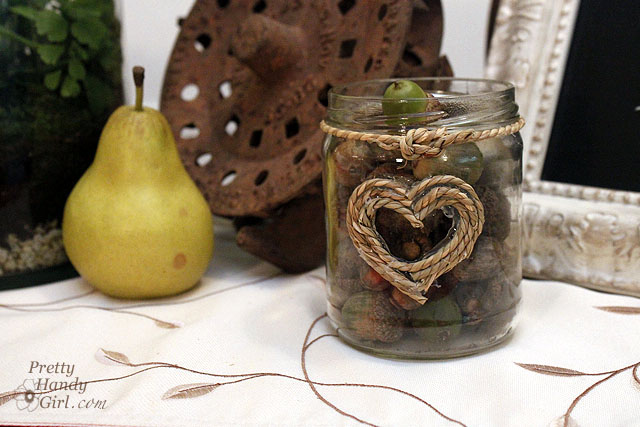
The acorn jar was an afterthought. It was just a quick little hot glue craft. Speaking of which, if you haven’t read my post about hot glue gun safety, it is a must! Your fingers will thank me.

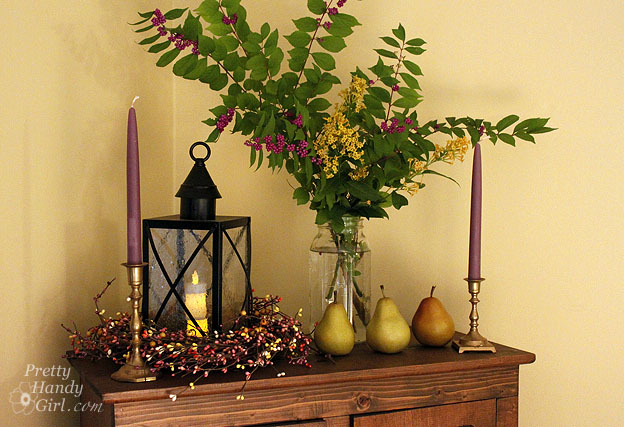
It is fun having another surface to decorate. The top of our armoire (also known as the family command center) has some pretty purples and greens.

My Pottery Barn knockoff lantern makes a re-appearance.

Beautyberry and Orange Peel Cestrum from our yard.

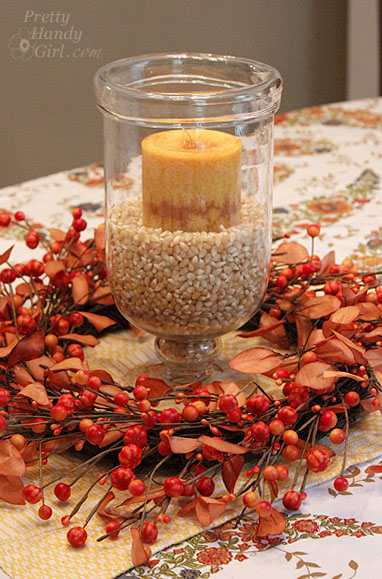
The dining room has a simple centerpiece made with corn kernels and a candle.

But, I might be switching it out once I get this beauty back from my friends at the Habitat ReStore. Can you guess what it used to be? I’ll give you a hint: Hollywood glam never looked so good.

Are you as nutso about paint chip projects as I am? I’m semi-worried that I might get arrested next time I’m pulling samples at my local paint department. Is there a law against taking too many?* Okay, so let’s just say that I have collected many samples over the years while contemplating room colors (which is true!)

*Paint chips may be free, but please use consideration when taking paint chips. Try not to take more than 2-3 of each color and definitely don’t take the last of a color. It might be a good idea to ask permission from the paint store employee if you need to take more than a dozen.

But, what do you do with all those left over paint chips once you have decided on your color? It seems a shame to throw them away, doesn’t it.

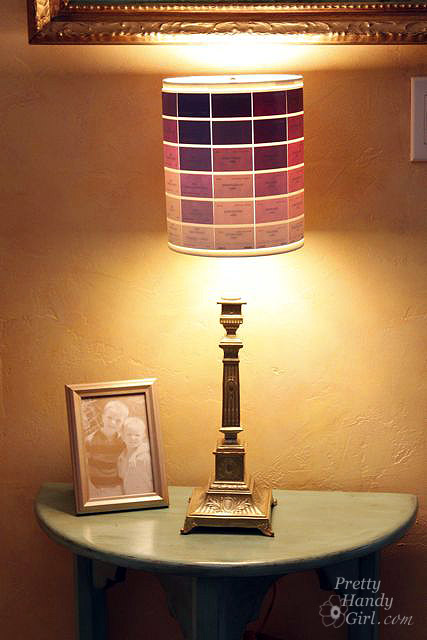
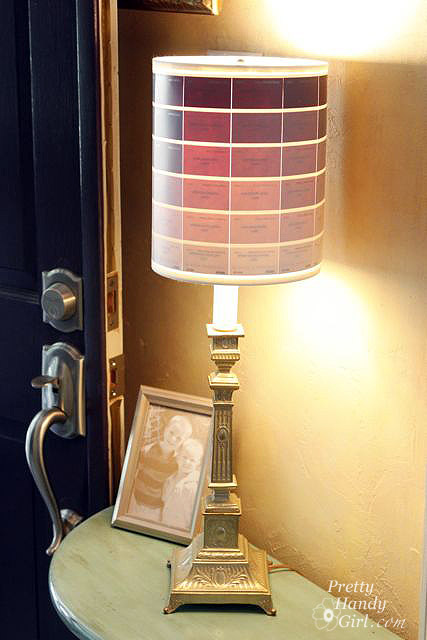
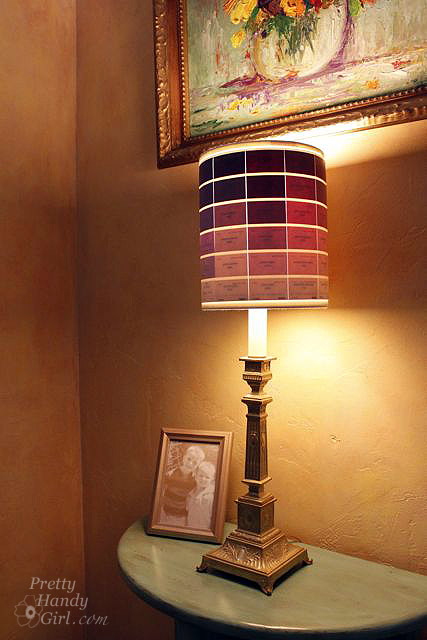
Why not use them to make a lamp shade?

I actually saw this lamp shade on JossandMain.com last week and thought, “Ooo Ooo Oooo! This gives me an idea of what to make with all those paint chips!”

Materials:


  • Lamp shade (best if it isn’t tapered)
  • Paint chips
  • Clear packing tape
  • White paper tape (low stick)
  • X-acto knife
  • Cutting surface
  • Metal ruler
  • Hot glue gun and glue sticks

Tutorial:

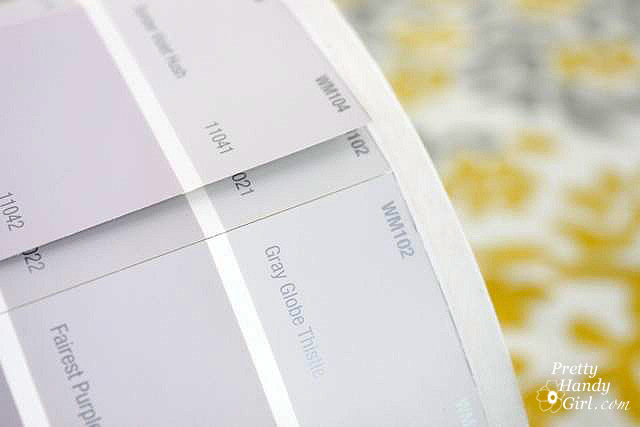
Start by laying out your paint chips side-by-side and organize them any way you like.

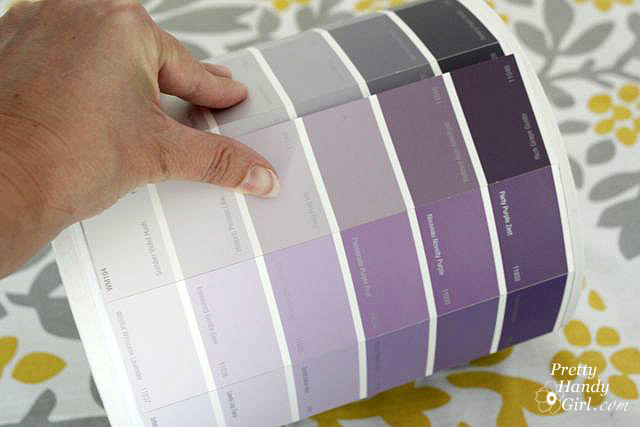
To judge how many strips you need, rest the seam of your lamp shade on the end of the paint chips and roll it until you reach the seam again. If you still have paint chips under your shade, then you have enough! I had one small gap leftover, so I added two of the same colored chips together so the small strip wouldn’t be as noticeable.

Butt the paint chip strips tightly together. Put paper tape on top of the chips to hold them together.

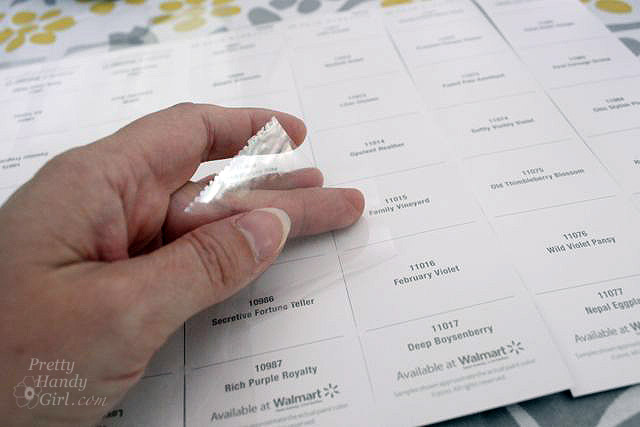
Gently turn them over and tape the seams with clear packing tape.

Once all the strips have been taped together, trim off the excess tape.

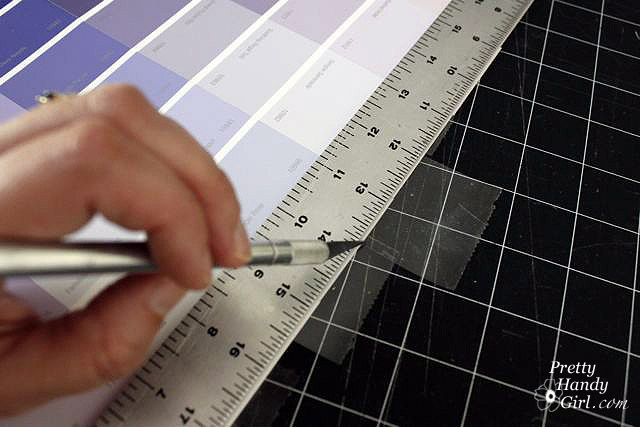
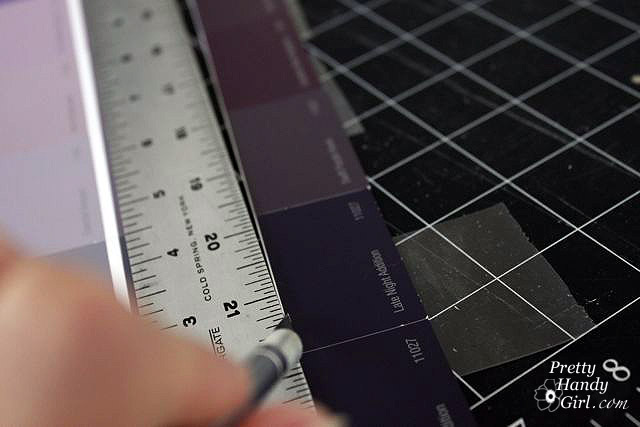
Measure the height of your lampshade and trim your paint chips to the same height.

Test fit your paint chip roll.

Use your hot glue gun to run a line of glue on the seam of your lamp shade. Glue the end of the paint chips to the shade.

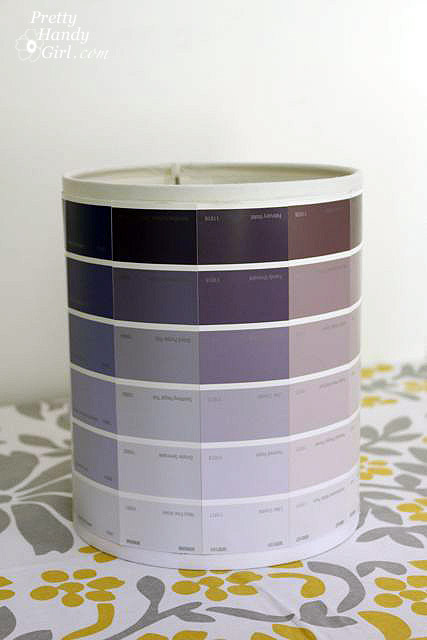
Run a line of hot glue on the top and bottom edges of the lampshade and roll the paint chips around the shade. Secure the end by hot gluing it to the shade.

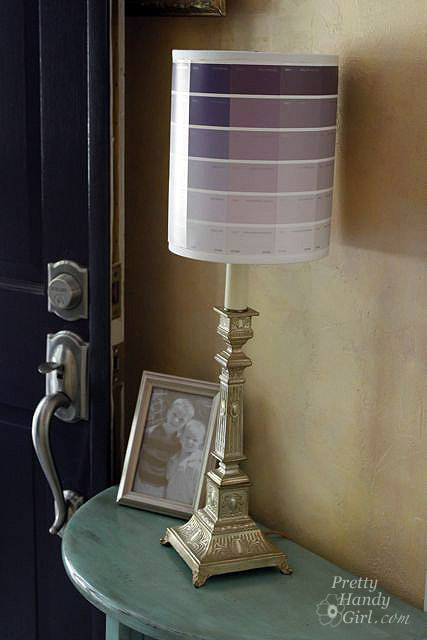
And that is it! A super easy and very colorful home decor project.

I think it is beautiful whether the light is off…

…or on.

When choosing the paint swatches you wish to use, try pulling colors from a painting or use colors that are compliments to your wall color.

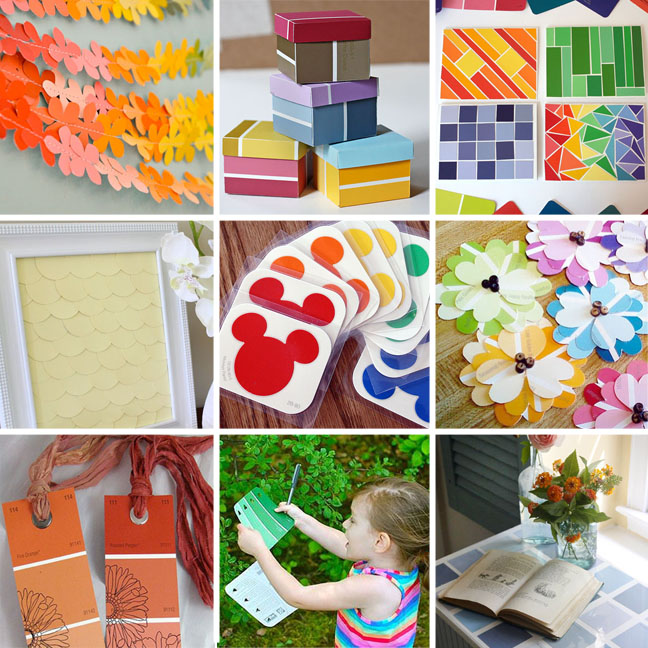
What?! You still want more paint chip home décor ideas?! How about a whole round up of them? Go ahead and scoot your index finger on over to Parentables for 11 Paint Chip Projects to see 9 more amazing paint chip projects:

I guarantee, you’ll never pass through the paint department without grabbing a few paint chips again!