how to stain an old basket

I admit it, I’m a basket addict!

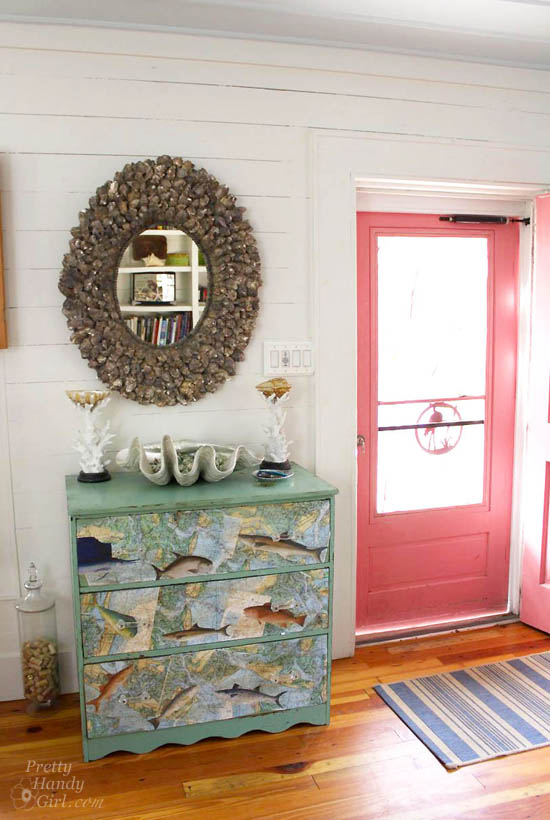
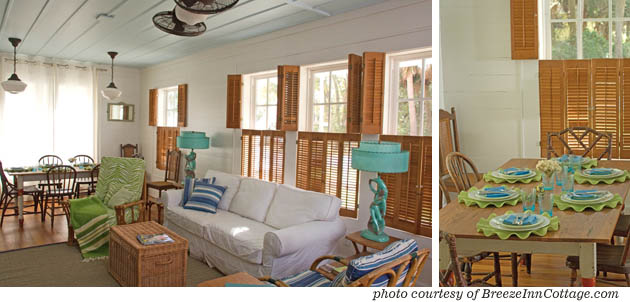
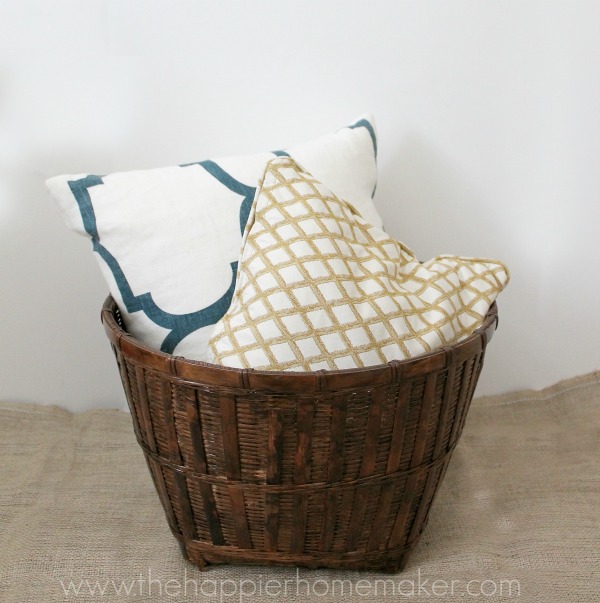
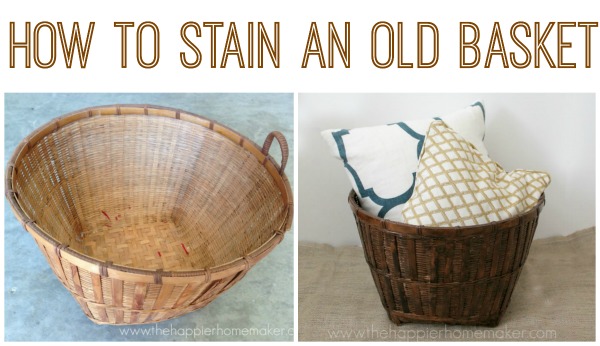
Baskets are one of the best ways to organize and accessorize your home but they can be very expensive when purchased new. Thrift stores are a great source of affordable baskets but they are often out-of-fashion colors and can have missing or broken pieces. Today I’m going to show you how to take those old, thrift store baskets and make them a beautiful accent piece for your home.
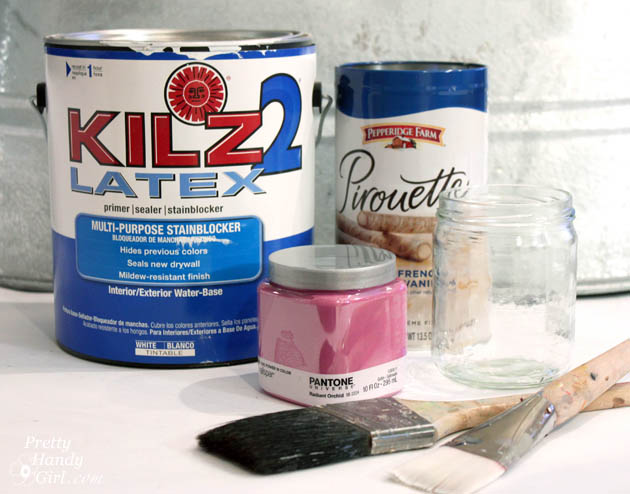
Materials:

  • super glue
  • hand broom
  • stain
  • paintbrush

Instructions:

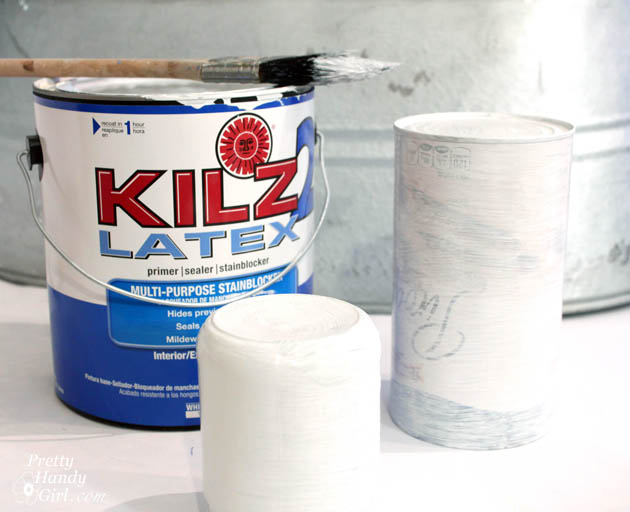
The first step in fixing up an old basket is to clean out any dirt or debris using a hand broom. Be thorough on both the interior and exterior.

before old thrifted basket staining

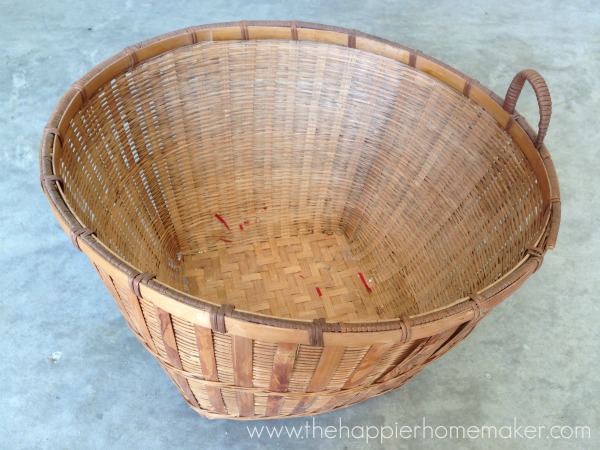
Next inspect your basket for any broken pieces. Use super glue to repair any areas that may need it. Read more

How to Recover a Butterfly Chair | Pretty Handy Girl

How to Recover a Butterfly Chair | Pretty Handy Girl

Happy St. Patrick’s Day! Do you have a butterfly chair that is sun-faded or has hideous fabric on it? I bet you thought it was a lost cause, right? Nope! With a sewing machine, some new fabric and a little spare time you can recover that ugly butterfly chair and have a new one. Okay, so I didn’t recover it with green fabric in honor of St. Patrick, but what could be greener than a good old upcycling project! Believe it or not, this was a much easier project than I had anticipated, so don’t get scared by the curves. You can “sew” do this! 😉

How to Recover a Butterfly Chair | Pretty Handy Girl

I stumbled upon this chair at Goodwill for $9.99. Normally I wouldn’t spend this much for a sun-faded chair, but because I was working on the school library makeover project — and we needed more comfortable seating — I bought it.  After all, we would have had to pay at least double for another comfy chair.

How to Recover a Butterfly Chair | Pretty Handy Girl

Luckily, I had some soft leftover fleece fabric that I could use to recover the chair. I wish I had measured how much I used, I think it was a little less than 2 yards.

Materials:

  • 2 yards of fabric
  • Coordinating thread
  • Pins
  • Scissors
  • Old butterfly chair + old cover

Instructions:

1. Remove the old cover from the butterfly chair frame. Lay it on top of your fabric (both right sides up.) Read more

Radiant Orchid Vases from Recycled Cans & Jars | #upcycling | Pretty Handy Girl

Radiant Orchid Vases from Recycled Cans & Jars | #upcycling | Pretty Handy Girl

There I was digging things out of the recycling bin again. Pretty Handsome Guy gave me a raised eyebrow, but he knew better than to question my motives. I had that idea bulb flashing over my head, and I was ready to transform some jars and tins. With Springtime just around the corner, it was time to force a little vibrant color into our home. I introduce to you the cheapest way to bring Radiant Orchid color into your décor! If you have recycled jars and tins, you are set!

(I’ve included affiliate links for your convenience. I earn a small percentage from a purchase using these links. There is no additional cost to you. You can read more about affiliate links here.)

Materials: 

Radiant Orchid Vases from Recycled Cans & Jars | #upcycling | Pretty Handy Girl

Optional: Gold vinyl stripes or washi tape

Instructions:

Clean out your jars, bottles or tins.

Coat the exterior of your recycled vessel with primer. Allow to dry.

Radiant Orchid Vases from Recycled Cans & Jars | #upcycling | Pretty Handy Girl

Paint each bottle and tin with radiant orchid paint. Allow to dry. You might need two coats depending on the coverage. Read more

Breeze Inn Cottage - Tybee Island | Pretty Handy Girl

Breeze Inn Cottage - Tybee Island | Pretty Handy Girl

I can’t wait to invite you in to tour this adorable Mermaid Cottage on Tybee Island, GA. Breeze Inn is full of charm, color and antiques. This beach cottage is owned by the fabulous fiction author, Mary Kay Andrews. Decorating and furnishing this cottage was a labor of love for Mary Kay. In fact, she told me that many of the things that you see in the cottage were collected for years before she owned Breeze Inn! Check out this Breeze Inn Cottage Tour – we love it!

Mary Kay was sweet enough to let me tour and photograph her cottage. Won’t you come on in and join me?!

Right inside the door is a one-of-a-kind decoupaged dresser with fun fish decorating the drawers! And I am crushing on the amazing shell framed mirror over it. The plank walls add that perfect relaxed coastal feel to this little house.

Breeze Inn Cottage - Tybee Island | Pretty Handy Girl

You enter directly into the cozy and comfortable living room. The dining room is part of the open front room of the cottage. I can imagine playing games at the table with the kids, while keeping up with conversations happening on the couch.

Breeze Inn Cottage - Tybee Island | Pretty Handy Girl

Just off the dining room is the kitchen. The sherbet green walls are fun and funky… Read more

wall chalkboard

Chalkboards are popping up everywhere (like Brittany’s DIY chalkboard calendar from last week) and you can easily make one, but how about upping the usefulness by making a chalkboard WITH a chalk ledge?  Jaime here from That’s My Letter to show you how easy it is to add a chalk ledge to your chalkboard.

chalkboard with ledge

You definitely need a place to put all that chalk (or chalk markers like we prefer).  This chalk ledge protudes a minimal  1 3/4″ from the wall but still has space enough to hold lots of chalk.

chalkboard with ledge 5

I also attached a galvanized pail for more chalk markers.

chalkboard with ledge 1

wall chalkboard 1

I installed this chalkboard near our back door mudroom area.  Unfortunately the key pad for our alarm system is nearly smack in the middle of that wall.  I simply cut out a square in my plywood using a jig saw to accommodate the key pad.  My kids love their new chalkboard and somehow the key pad isn’t quite so obvious once they start drawing around it.

chalkboard with ledge 2

Supplies:

  • 1/2″ plywood (cut to desired size)
  • 1×2 pine board (cut to length of plywood)
  • 1 3/8″ x 1/4″ thick flat trim moulding (cut to length of plywood)
  • black chalkboard paint
  • blue painters tape
  • stain
  • polyurethane
  • foam brushes
  • drill
  • Kreg pocket hole jig (not necessary but definitely easier if you have one)
  • 1″ pocket hole screws
  • wood glue
  • 3/4″ trim nails
  • countersink bit
  • 2 1/2″ toggle bolts
  • 5/8″ spade bit (check toggle bolt requirements)
  • pencil
  • level

Instructions:

Step 1: Cut your plywood to size, using your Kreg pocket hole jig make pocket holes every 8″ along bottom edge of plywood (on back side). (I used the portable base with automaxx clamp here, much easier that slipping a large piece of plywood into the jig.) Read more