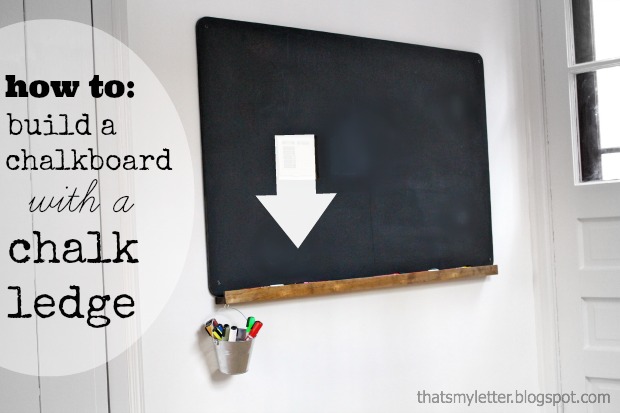
wall chalkboard

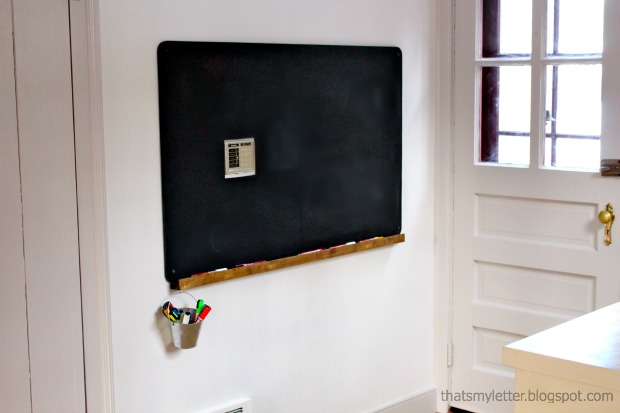
Chalkboards are popping up everywhere (like Brittany’s DIY chalkboard calendar from last week) and you can easily make one, but how about upping the usefulness by making a chalkboard WITH a chalk ledge?  Jaime here from That’s My Letter to show you how easy it is to add a chalk ledge to your chalkboard.
chalkboard with ledge

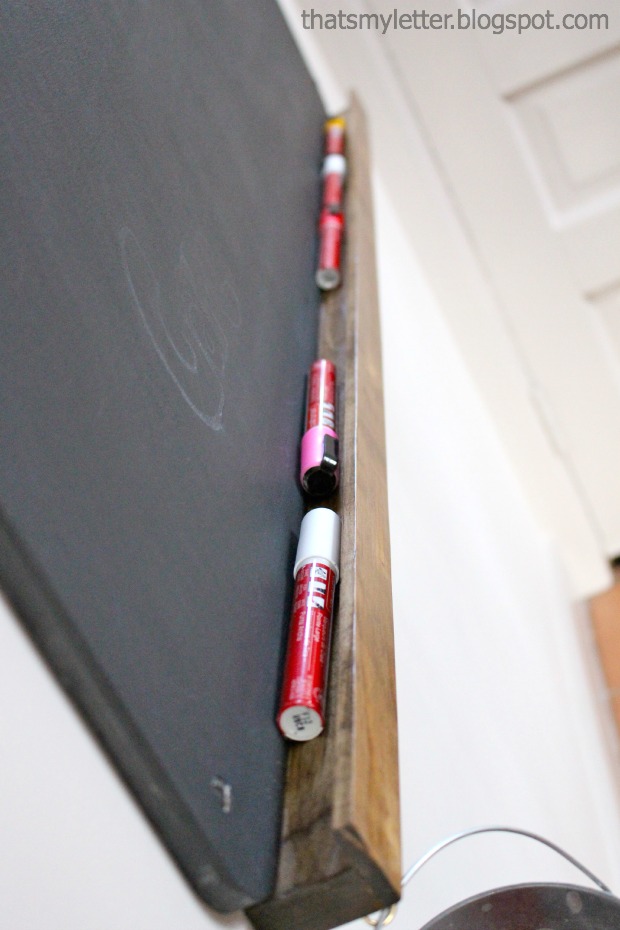
You definitely need a place to put all that chalk (or chalk markers like we prefer).  This chalk ledge protudes a minimal  1 3/4″ from the wall but still has space enough to hold lots of chalk.
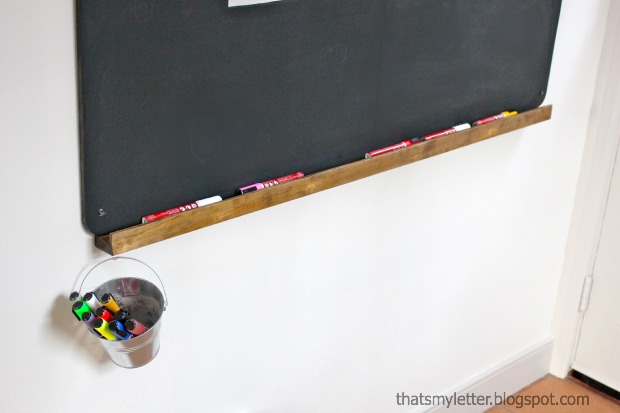
chalkboard with ledge 5

I also attached a galvanized pail for more chalk markers.

chalkboard with ledge 1

wall chalkboard 1

I installed this chalkboard near our back door mudroom area.  Unfortunately the key pad for our alarm system is nearly smack in the middle of that wall.  I simply cut out a square in my plywood using a jig saw to accommodate the key pad.  My kids love their new chalkboard and somehow the key pad isn’t quite so obvious once they start drawing around it.
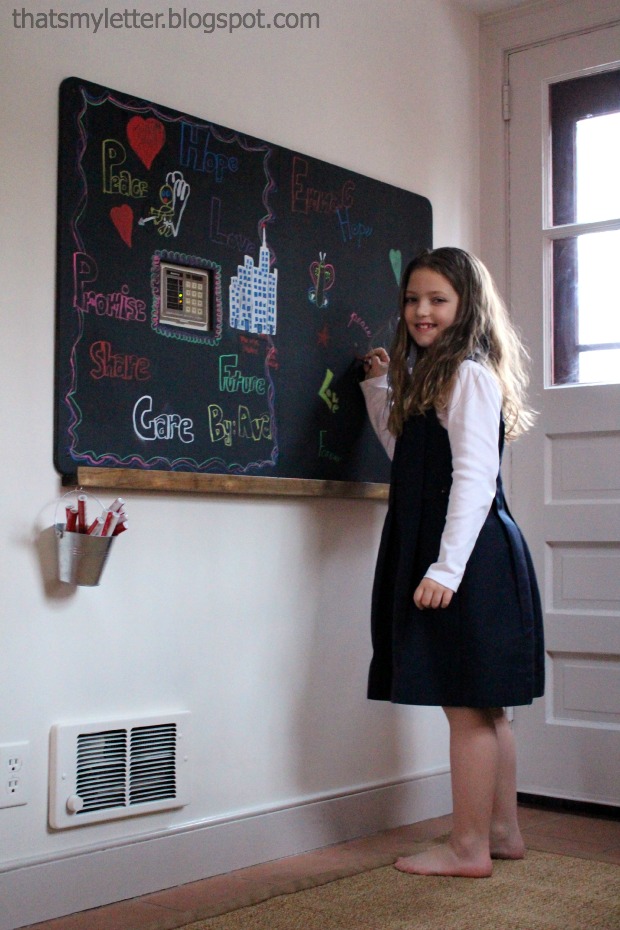
chalkboard with ledge 2

Supplies:

  • 1/2″ plywood (cut to desired size)
  • 1×2 pine board (cut to length of plywood)
  • 1 3/8″ x 1/4″ thick flat trim moulding (cut to length of plywood)
  • black chalkboard paint
  • blue painters tape
  • stain
  • polyurethane
  • foam brushes
  • drill
  • Kreg pocket hole jig (not necessary but definitely easier if you have one)
  • 1″ pocket hole screws
  • wood glue
  • 3/4″ trim nails
  • countersink bit
  • 2 1/2″ toggle bolts
  • 5/8″ spade bit (check toggle bolt requirements)
  • pencil
  • level

Instructions:

Step 1: Cut your plywood to size, using your Kreg pocket hole jig make pocket holes every 8″ along bottom edge of plywood (on back side). (I used the portable base with automaxx clamp here, much easier that slipping a large piece of plywood into the jig.) Read more
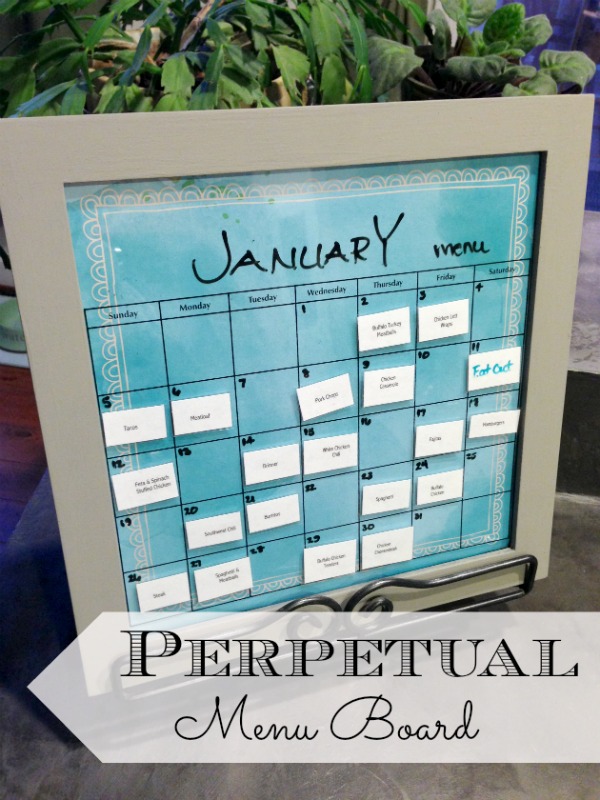
Reusable monthly menu board with magnetic meals - perpetual menu board

Reusable monthly menu board with magnetic meals - perpetual menu board

We were recently in North Carolina visiting with Matt’s family.  While we were there I took the time to visit an old dear friend of mine.  This girl has known me for years!  In fact I just realized it’s been 21 years since I first met her.  Needless to say it’s important to catch up with friends like this whenever you get a chance. While visiting her, I noticed she had an adorable menu board in her kitchen where she keeps track of all of her meals for the month.  Since “What’s for dinner?” is one of Matt’s favorite things to ask me, I knew I had to make one of these menu boards.

Materials:

  • 12×12 Frame
  • Clear Plastic Calendar Page
  • Scrapbook Paper
  • Magnets
  • Dry Erase Marker(s)
  • Printer Paper or Card Stock
  • Printer
  • Laminator or contact paper
  • Sheet Metal
  • Magnetic Paint
  • Tin Snips
  • Safety Glasses
  • Gloves

Instructions:

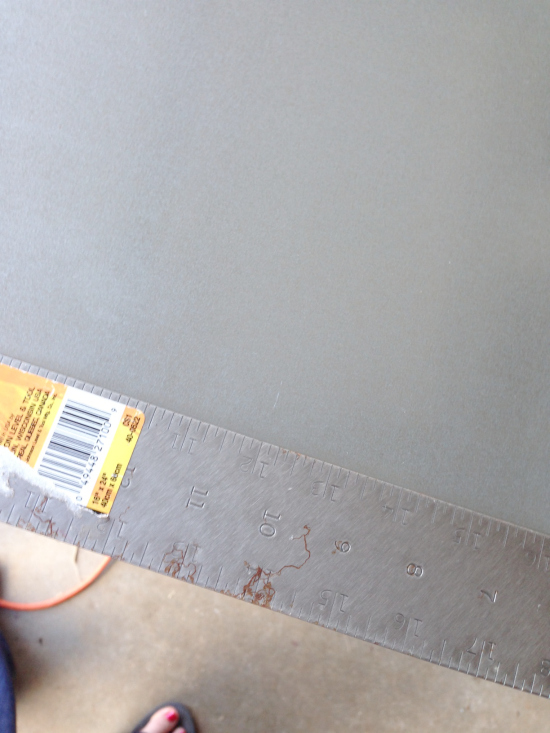
Start by measuring the inside of the frame.  (In my case that measurement was 12″ by 12″.)  Using a marker, mark a dot 12″ down from the edge onto your sheet metal.  Repeat this on the opposite side.

Reusable monthly menu board with magnetic meals - perpetual menu board

Use a straight edge (or carpenters square) lined up on the dots and draw a line.  This will be where you make your cut.

Read more

David Bromstad HGTV host

If I had to choose one HGTV host that I would like to meet in person, that would be a no-brainer. David Bromstad has always been my favorite designer with the transformation talent. With his “push the color envelope” attitude and ever present jovial (and often joking) nature, I think he’d be a blast to meet at a party or maybe collaborate on a DIY project for charity! (A handy girl can dream, right?) The other thing that gains David extra gold stars on my list of celebrities I’d like to meet, is the fact that he’s an artist too.

David Bromstad painting

I am in love with his short painting tutorials on Color Splash. He really knows how to empower others to try their hand at artistic expression.

David-Bromstad-painting_tutorial

You can imagine that I’d be super excited when I received an email asking if I wanted to interview David Bromstad. That email was replied to INSTANTLY! Of course I hoped it meant he was coming to Raleigh, NC and we’d have coffee together and chat. But, you know, that was a dream that didn’t happen this time. Instead, I interviewed David just before the holidays via a phone conversation.

Without further adoration and praise… I have with me (virtually) today: the one — the only — Color Splash host, David Bromstad! Jump on your couches, scream like the Beatles are playing at the Ed Sullivan theater and share my exuberance to have him on the blog today. Read more

All You Need is...Valentine String Art | Pretty Handy Girl

All You Need is...Valentine String Art | Pretty Handy Girl

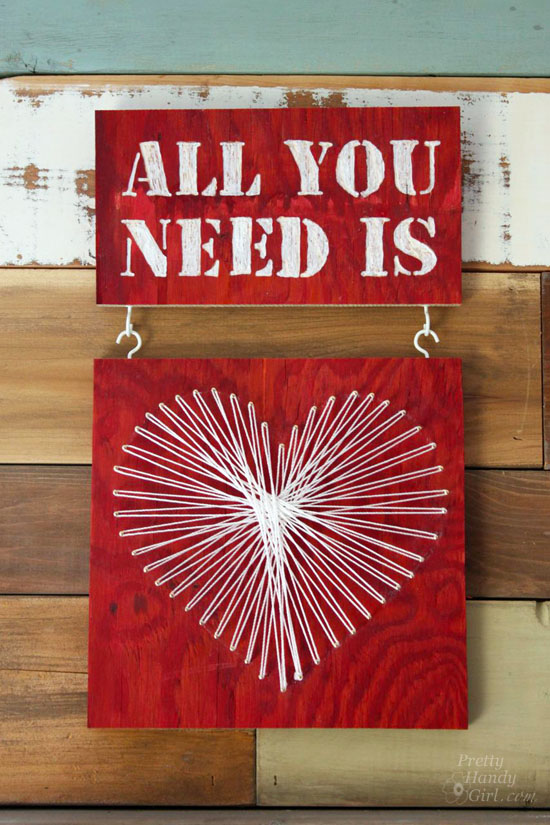
All you need is some scrap wood, and maybe a little string. And a few nails. And how about a gum wrapper? If you had all those you could be like MacGyver and build some kind of cool device that would catch fire. But, since I had everything except the gum wrapper, I decided to make a Valentine art project. Follow along and I’ll show you how easy it is to make your own heart string art and engraving art for Valentine’s Day. If you need any of the materials, you can pick up most of them at your local Lowe’s Home Improvement store (probably the same place MacGyver shops because they have gum at the registers.)

(I’ve included affiliate links for your convenience. I earn a small percentage from a purchase using these links. There is no additional cost to you. You can read more about affiliate links here.)

Materials:

Instructions:

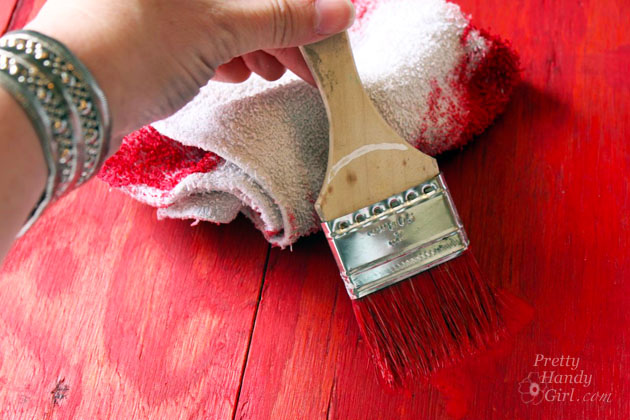
Start by painting your wood red.

All You Need is...Valentine String Art | Pretty Handy Girl

After the paint has dried, draw a heart with chalk. Read more

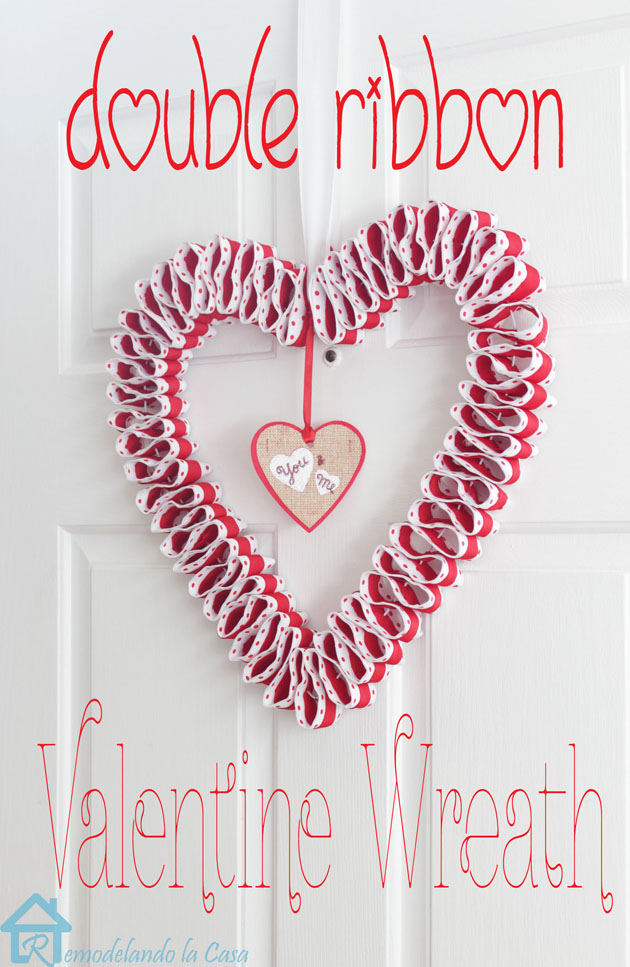
double ribbon heart wreath on door 1-l

Hi, this is Cristina from Remodelando la Casa, I’m so glad to be here once again, sharing with you a cute and easy project just in time for Valentine’s day.

While walking through Costco (it always happens there, you go for groceries but come back home with so many things that weren’t on your list!), I spotted some gigantic spools of ribbon that for only 8 bucks, so I grabbed one and my project began taking shape inspired by a wreath created by Jessica.

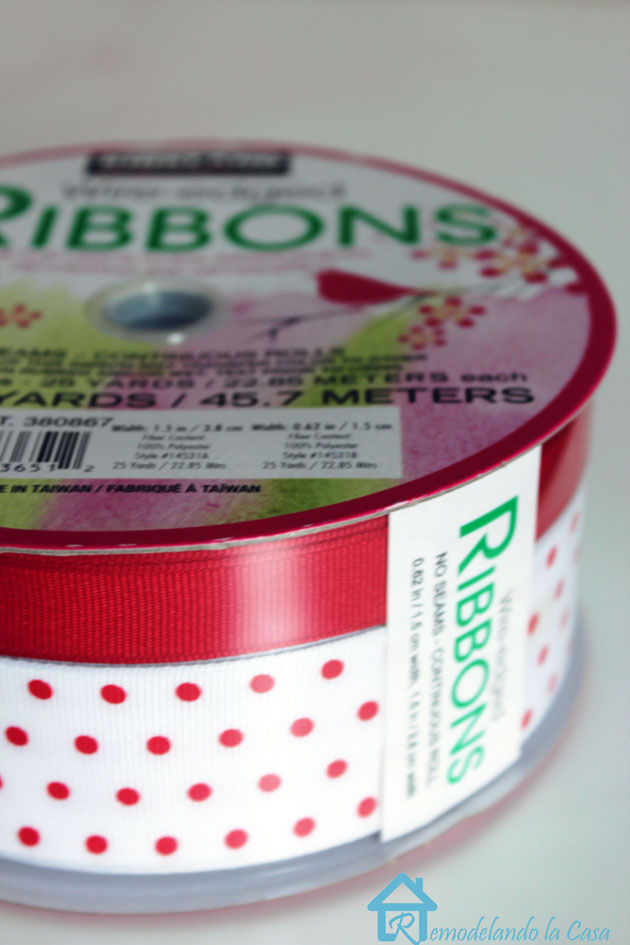
2 ribbon spool

Materials:

  • One wire hanger
  • 15 yd. wired edge ribbon (1.5″ wide)
  • 15 yd. wired edge ribbon (.62″ wide,  a contrasting color from the previous one)
  • Pliers
  • Awl
  • Small decoration to hang in the center of wreath
  • 2 yd. decorative ribbon to hang the wreath in place
  • Scotch tape or glue gun

Instructions:

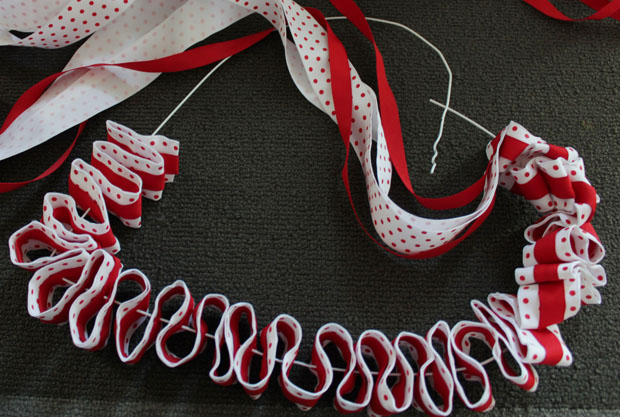
Using pliers, unravel the coil on the hanger.  Make a heart shape out of the hanger. Read more