Facelift for a Knotty Pine Dresser | Pretty Handy Girl

Facelift for a Knotty Pine Dresser | Pretty Handy Girl

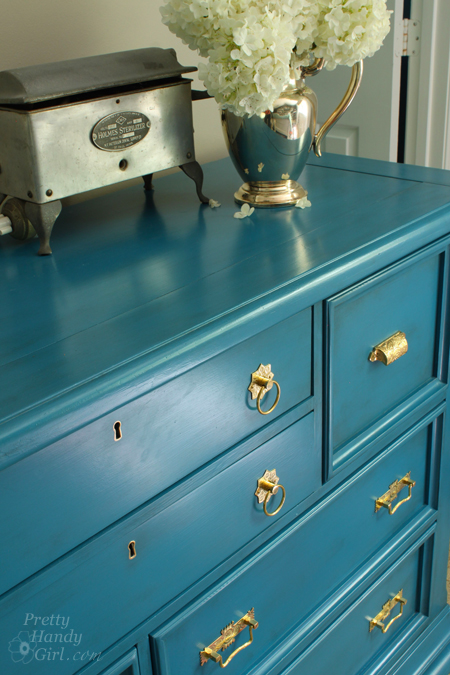
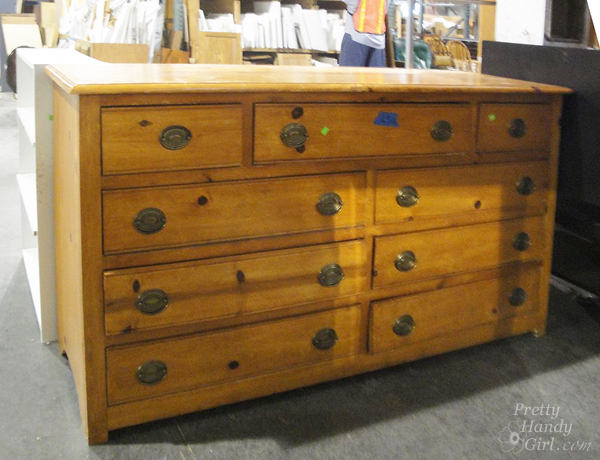
You know you’ve seen those knotty pine dressers from yesteryear. Their spotlight has faded and they are finding themselves at thrift shops, ReStores or worse yet…at the curb.
Facelift for a Knotty Pine Dresser | Pretty Handy Girl

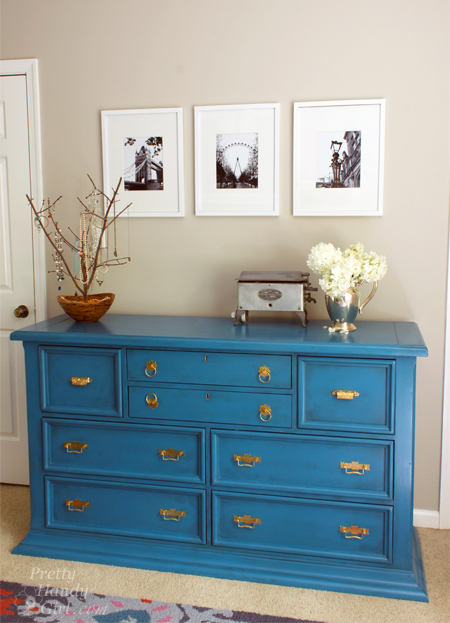
I’m begging you to let this knotty eyesore back into your home. It doesn’t have to be banished. It’s KNOT her fault she was built from cheap pine. All this dresser needs is a new coat of paint and some beautiful brass knobs and all her flaws and knots will be forgotten.
Facelift for a Knotty Pine Dresser | Pretty Handy Girl

Extra observant points to anyone who realized that this blogger forgot to take a good before picture! She looked very similar to the knotty pine dresser shown above, except she had wooden circle knobs and an unfortunate set of bun feet. I did remove the bun feet from the dresser when I first brought it home. Mama ain’t got no need for buns in this oven (or on my dresser.)

Here are the details on how to refinish a knotty pine dresser and give it a complete makeover!

Materials:

  • Sandpaper
  • BIN primer
  • Damp rag
  • Paint brush
  • Foam paint roller
  • Quart of Benjamin Moore Advance paint (Deep Ocean)
  • Valspar asphaltum glaze
  • Brass hardware (I bought mine from House of Antique Hardware)
  • Drill with bits
  • Screwdriver
  • Level

Instructions:

This tutorial will be fairly brief, if you need more photos and explanation, you can view my previous dresser painting adventure.

Begin by removing all the drawers and knobs. Lightly sand the dresser and drawer fronts. Wipe off any sanding dust. Read more
How to Paint an Ombre Wall Technique | Pretty Handy Girl

How to Paint an Ombré Wall Technique

How to Paint an Ombré Wall Gradient | Pretty Handy Girl

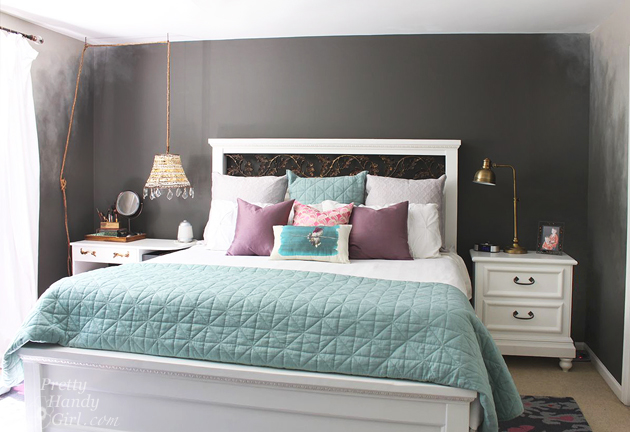
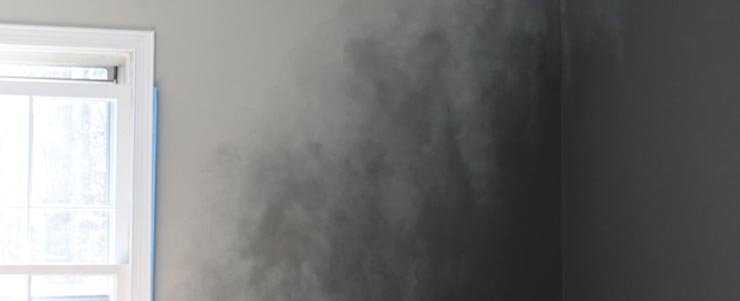
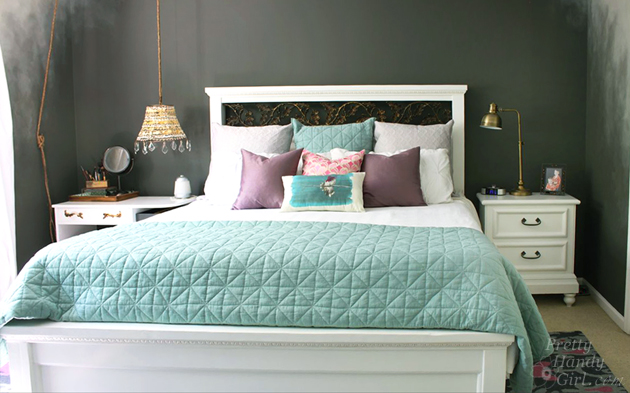
Ombré painting is EVERYWHERE. Clothing, home décor and even wall paint techniques. An ombré wall is the paint technique I chose to create a misty and ethereal look in our master bedroom. It started when I fell in love with Kendall Charcoal by Benjamin Moore but didn’t want to make our entire bedroom too dark (I have a hard enough time waking up in the morning.) I decided a good solution was to use the dark charcoal gray color on a focal wall behind the headboard. But, I didn’t want to stop the color in the corners and create a sharp line.

How to Paint an Ombré Wall Gradient | Pretty Handy Girl

Instead, I wanted a softer edge that would make us feel like we were being hugged by the room.

How to Paint an Ombré Wall Technique

How to Paint an Ombré Wall Gradient | Pretty Handy Girl

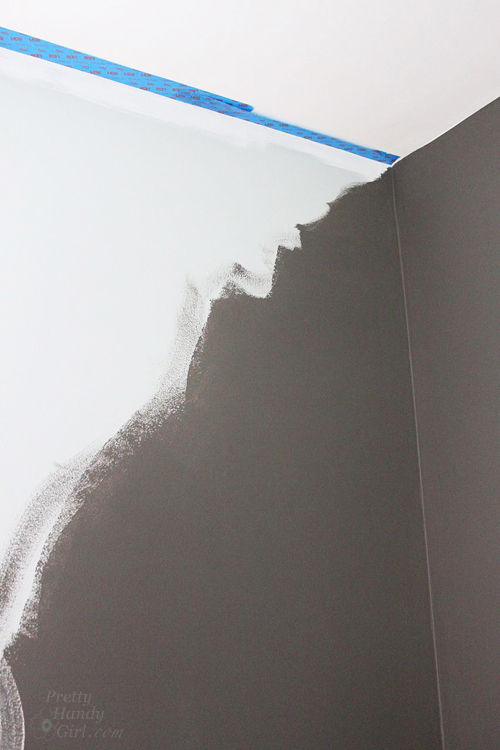
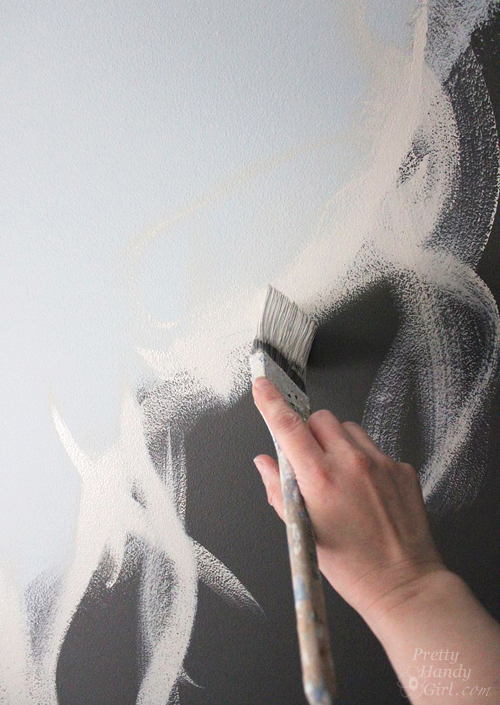
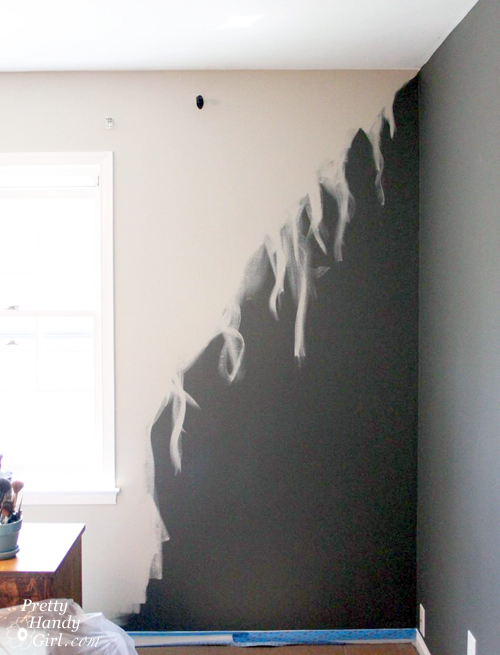
I used Revere Pewter by Benjamin Moore to paint the other three walls in the bedroom, but created a random ragged edge where the two colors meet.

How to Paint an Ombré Wall Gradient | Pretty Handy Girl

This is how the side walls look in preparation for the ombré wall technique.

How to Paint an Ombré Wall Gradient | Pretty Handy Girl

Materials:

  • Dark latex paint color (Kendall Charcoal by Benjamin Moore)
  • Lighter latex paint color (Revere Pewter by Benjamin Moore)
  • A small container with a mixture of the two colors to create an in between gray
  • Paint brush
  • Dry brush
  • Water-filled spray bottle
  • ScotchBlue Painter’s Tape
  • Damp car wash sponge
  • Rubber gloves
  • Wet wipes or wet rag

Instructions: Read more

DIY Button Pendant Light | Pretty Handy Girl

DIY Button Pendant Light |Pretty Handy Girl

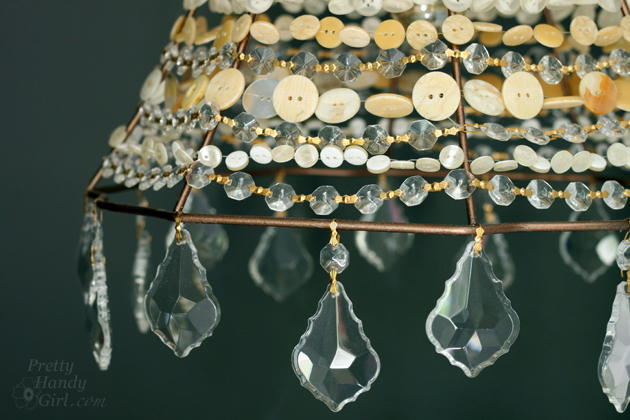
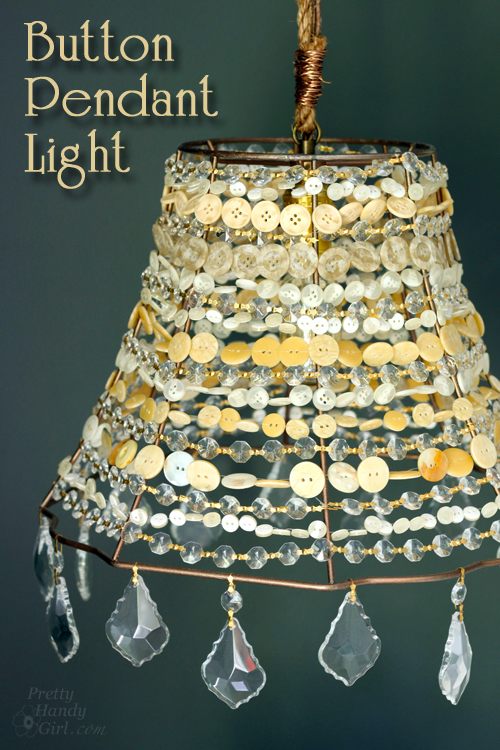
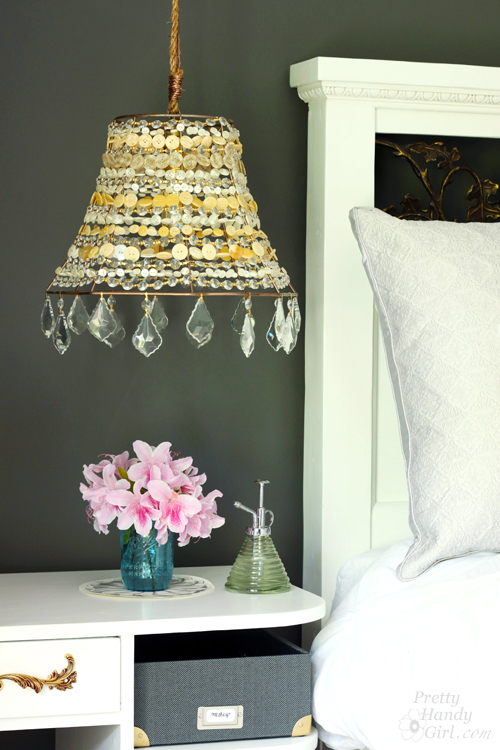
While I was house touring on Tybee Island and having  fun antique and salvage shopping in Savannah, I spied some bare lamp shade frame hanging lights. They immediately inspired me to design a DIY Button Pendant Light for over my bedside table in our master bedroom. Part of the desire was born out of the necessity to have more space on my bedside because the table actually doubles as my makeup vanity.

DIY Button Pendant Light | Pretty Handy Girl

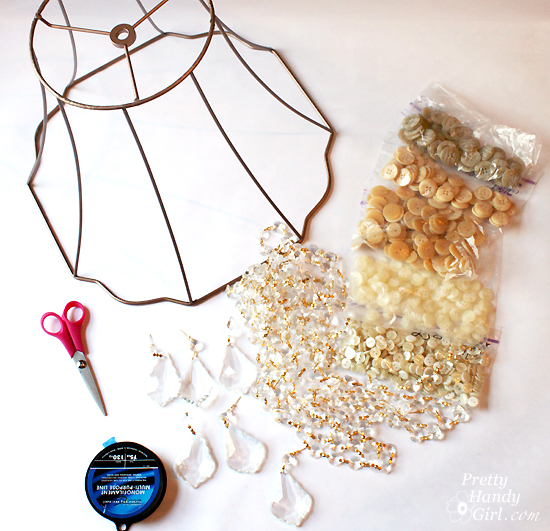
Making a Button Pendant Light is an easy DIY project, but you’ll need some patience while threading the buttons. I’ll also show you how to wire a lamp socket and lamp plug! Ready to get started?

(I’ve included affiliate links for your convenience. I earn a small percentage from a purchase using these links. There is no additional cost to you. You can read more about affiliate links here.)

Materials:

DIY Button Pendant Light |Pretty Handy Girl

Optional:

Instructions: Read more

milk jug side table

Jaime here from That’s My Letter sharing a DIY repurpose project that works great outside or inside.

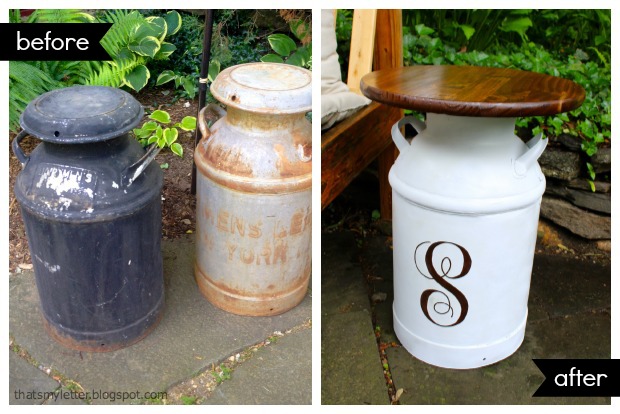
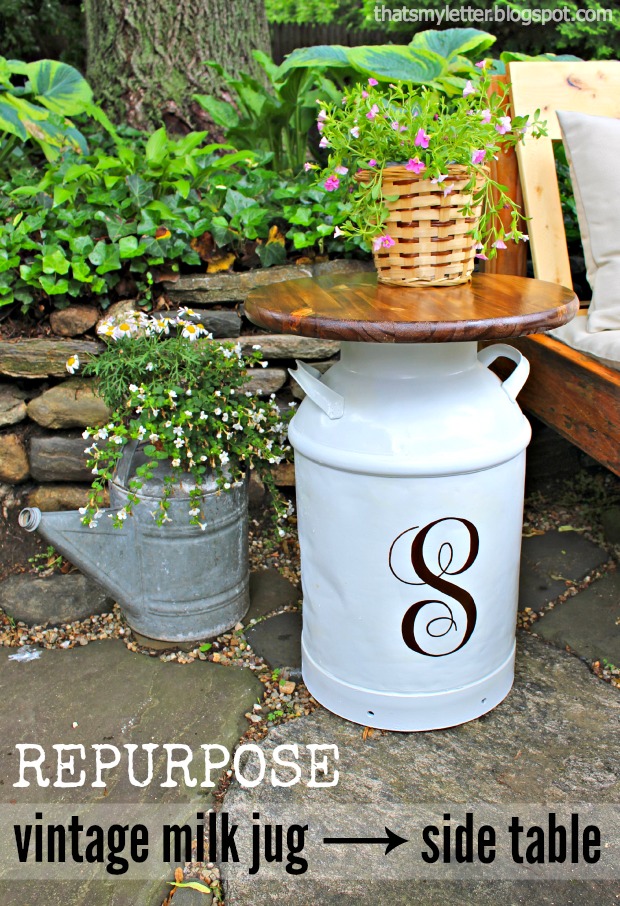
Take a vintage milk jug, add a pre cut circular wood top and you have a functional and stylish side table.  If you want to get fancy I’ll show you how to add the personalization too!

milk jug side table before after

I started this project with some crusty old milk jugs that really serve no purpose these days and after a little paint and adding a wood top we have a beautiful and useful piece of furniture.

milk jug side tables 1

Together the two milk jugs make a great pair on either side of our diy outdoor sofa but ‘S’ is not my last name, these milk jugs will be going to a friend’s home.

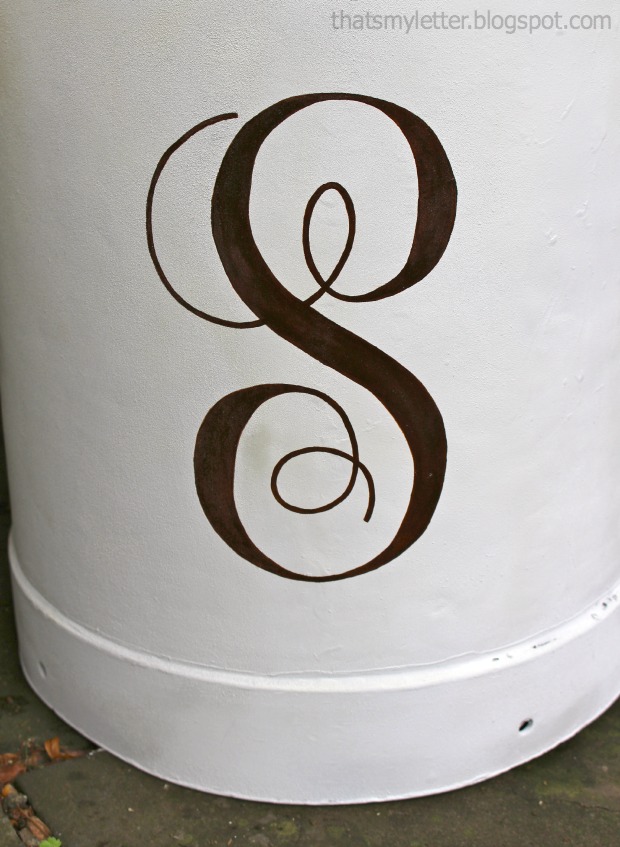
milk jug side table 3

The personalization is icing on the cake, if you have a steady hand you can add any letter in nearly any font you desire. Ready to get started? Read more

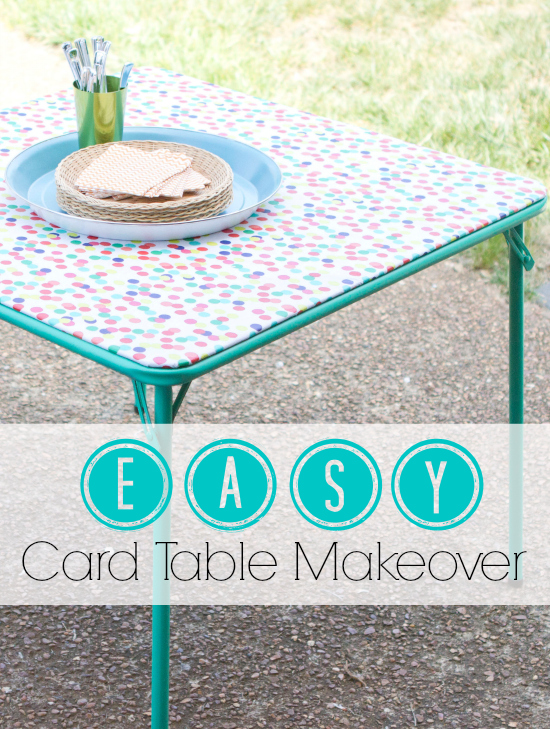
Super easy card table makeover
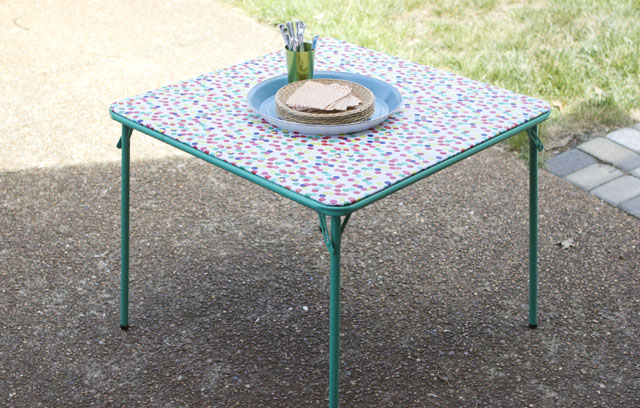
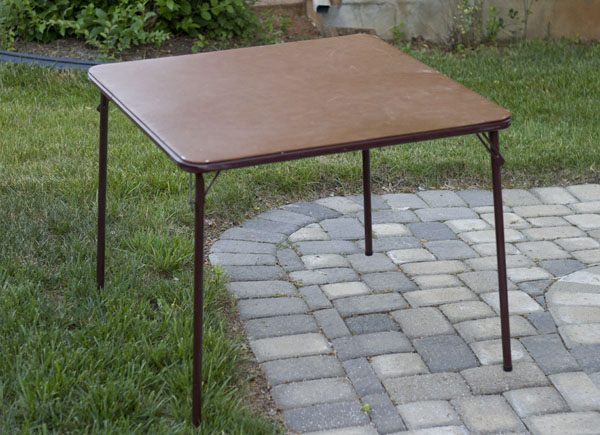
I can only imagine that Matt and I are not the only family in America with a less than stellar card table.  In fact both of ours were hand me downs from grandparents and though they may have been fabulous in the 80’s, now they are really lacking in the attractive decor department.  A few years go I picked up some vinyl table clothes with hopes of breathing new life into our sad card tables and once again life got in the way and I never recovered them.  I recently came across the table clothes and decided it was time to move on with my project but there was a small problem, I no longer liked the table clothes I had previously picked out.  Have no fear, after a quick trip to Target I was back in business and ready for my amazing, fabulous, incredible card table makeover!

Materials:

  • Card Table (old or new)
  • Damp rag for cleaning
  • Ratchet with socket
  • Vinyl Tablecloth
  • Drop Cloth
  • Spray Paint
  • Sand Paper – 180 grit
  • Drop Cloth
  • Hot Glue Gun
  • Hot Glue Sticks
  • Scissors

Instructions: 

Card Table

Give the table a good wipe down with a damp rag to remove any dust or possible cobwebs that may be lingering on the underside of the table.

Table

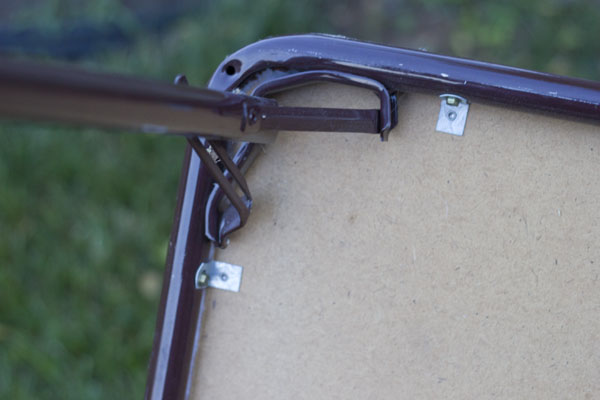
Remove the top of the table from the frame and legs. (Be sure to store your screws in a safe place because you will need them later.)  Most tables will be attached with a few hex screws that can easily be removed using a ratchet and socket or a socket wrench.

Read more