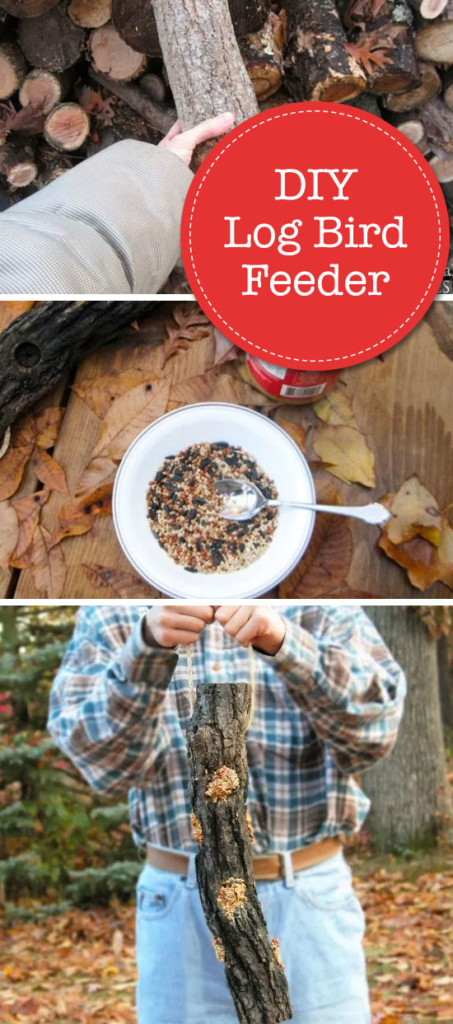
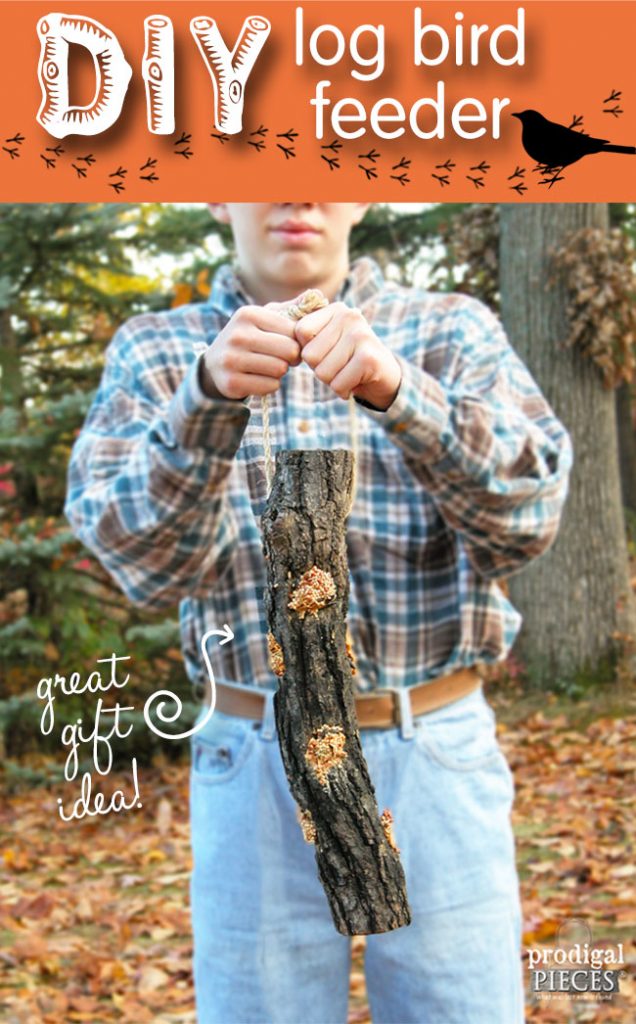
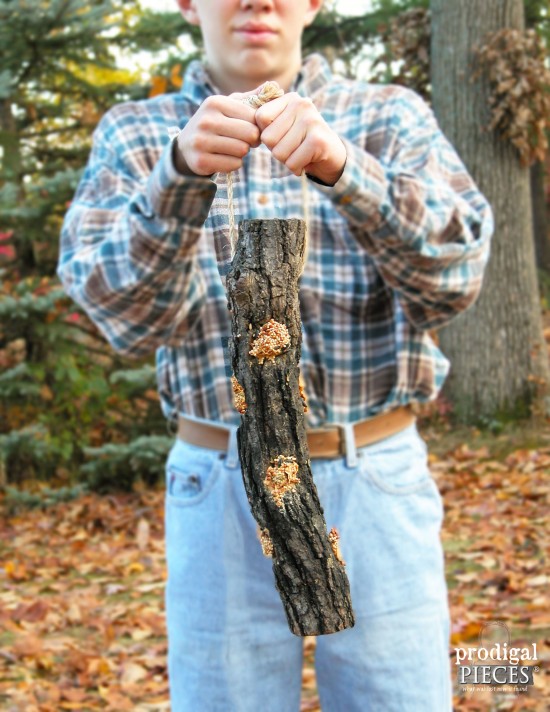
Give your feathered friends a treat from spingtime through winter. Make this easy-peasy DIY log bird feeder with one tool and a few basic materials by Prodigal Pieces for Pretty Handy Girl www.prodigalpieces.com #prodigalpieces

Hello readers, I’m Larissa coming to share with you a nature-inspired DIY project. Today, we’ll learn how to create a special DIY Log Bird Feeder treat for our feathered friends. The best part is that this can be a family fun activity to do AND to give as a gift for anyone who loves bird watching.

Give your feathered friends a treat from spingtime through winter. Make this easy-peasy DIY log bird feeder with one tool and a few basic materials by Prodigal Pieces for Pretty Handy Girl www.prodigalpieces.com #prodigalpieces

DIY Log Bird Feeder

We are avid bird lovers in our home and were delighted when a friend of mine gave us this bird feeder made from a piece of firewood and rope. How easy is that?

Give your feathered friends a treat from spingtime through winter. Make this easy-peasy DIY log bird feeder with one tool and a few basic materials by Prodigal Pieces for Pretty Handy Girl www.prodigalpieces.com #prodigalpieces

What a delight it is to see our tree clinging birds (nuthatches, tufted titmice, and woodpeckers) come for a visit and see their excitement at the treat they’ve found, especially the birds that overwinter. Did you know that migratory birds will remember your home the next time they’re passing through and will come back again year after year if you continue to provide nourishment for them? It’s like a reunion each spring and winter. Fun!

So, let’s grab some materials and get ready to create a DIY log bird feeder!

Give your feathered friends a treat from spingtime through winter. Make this easy-peasy DIY log bird feeder with one tool and a few basic materials by Prodigal Pieces for Pretty Handy Girl www.prodigalpieces.com #prodigalpieces

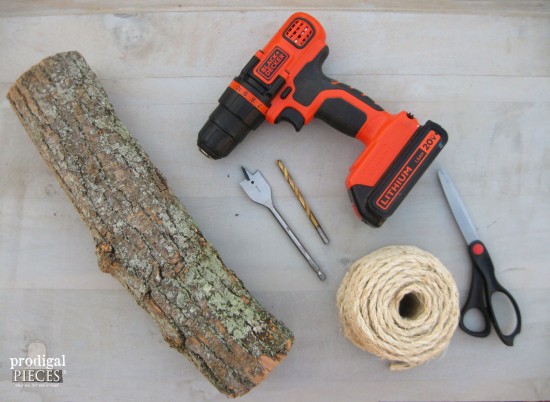
Materials:

(I’ve included affiliate links for your convenience. I earn a small percentage from a purchase using these links. There is no additional cost to you. You can read more about affiliate links here.)

Picking Your Log:

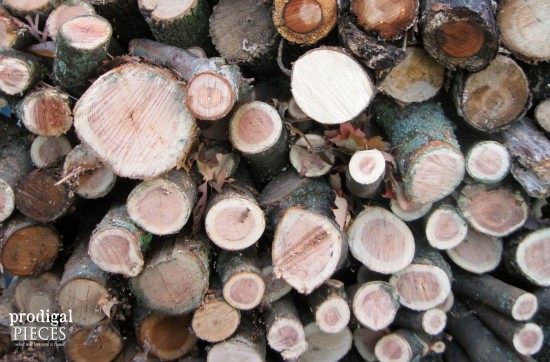
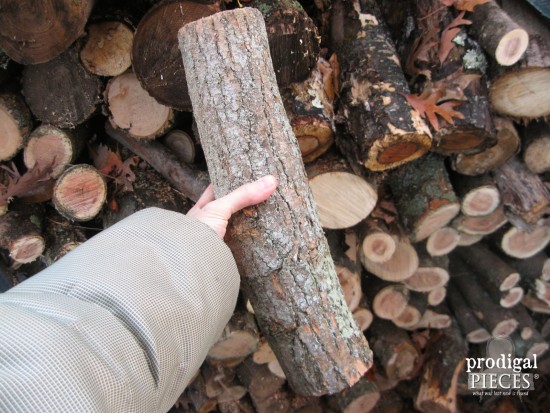
We are blessed to have a fireplace, so we always have a stash of firewood on hand. For your log, you can use a downed branch or head to your own stash to grab a piece of wood.

Give your feathered friends a treat from spingtime through winter. Make this easy-peasy DIY log bird feeder with one tool and a few basic materials by Prodigal Pieces for Pretty Handy Girl www.prodigalpieces.com #prodigalpieces

The tree-clingers prefer a chunky bark, but any tree variety will do.

Give your feathered friends a treat from spingtime through winter. Make this easy-peasy DIY log bird feeder with one tool and a few basic materials by Prodigal Pieces for Pretty Handy Girl www.prodigalpieces.com #prodigalpieces

Instructions:

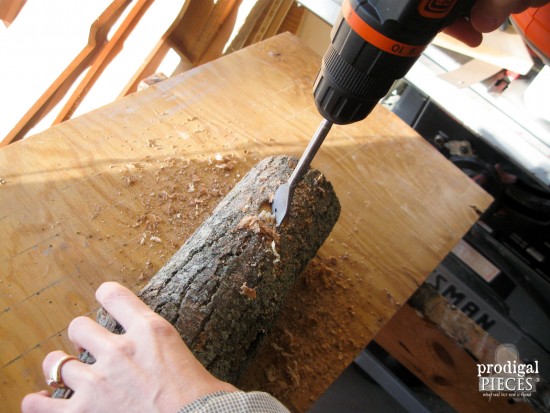
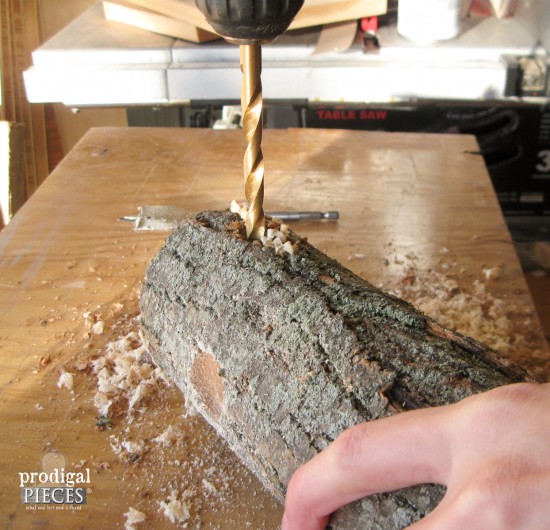
Clamp your log and keep your hand clear from the drill bit. Wear appropriate eye protection.

Give your feathered friends a treat from spingtime through winter. Make this easy-peasy DIY log bird feeder with one tool and a few basic materials by Prodigal Pieces for Pretty Handy Girl www.prodigalpieces.com #prodigalpieces

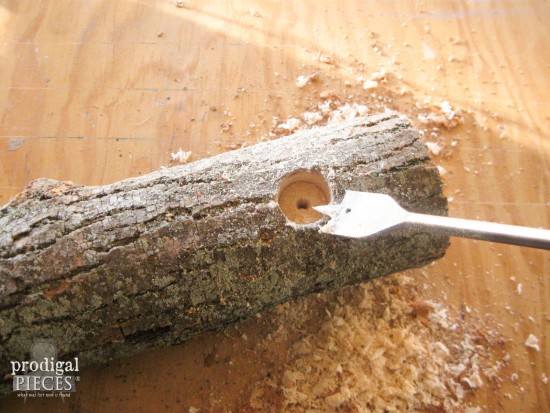
To start, use a 1″ spade bit to drill a hole approximately 1/2″ deep, 2 inches down from the top.

Give your feathered friends a treat from spingtime through winter. Make this easy-to-build DIY log bird feeder with one tool and a few basic materials.

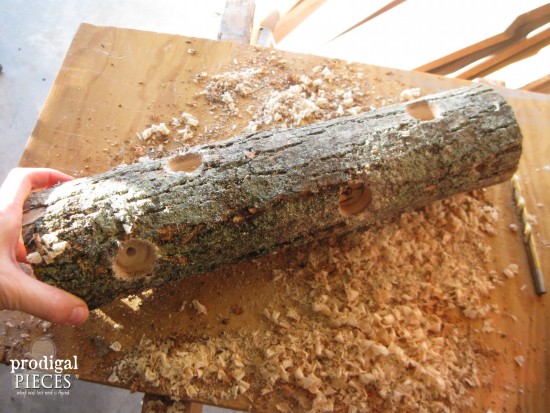
Drill a second hole on the same face about 6″ below the first.

Roll the log a quarter turn and drill in the next face starting with the first hole about 5″ from the top and then a second hole 6″ below that one. (This does not have to be exact and gives a more rustic feel when randomly chosen.)

Give your feathered friends a treat from spingtime through winter. Make this easy-peasy DIY log bird feeder with one tool and a few basic materials by Prodigal Pieces for Pretty Handy Girl www.prodigalpieces.com #prodigalpieces

Repeat those steps until you have two sets of matching faces on opposing sides.

Drill your rope hole using a 5/16″ bit. Starting on the face that has the first hole 5″ down, drill your rope hole 2″ from the top, making sure to go completely through the log.

Give your feathered friends a treat from spingtime through winter. Make this easy-peasy DIY log bird feeder with one tool and a few basic materials by Prodigal Pieces for Pretty Handy Girl www.prodigalpieces.com #prodigalpieces

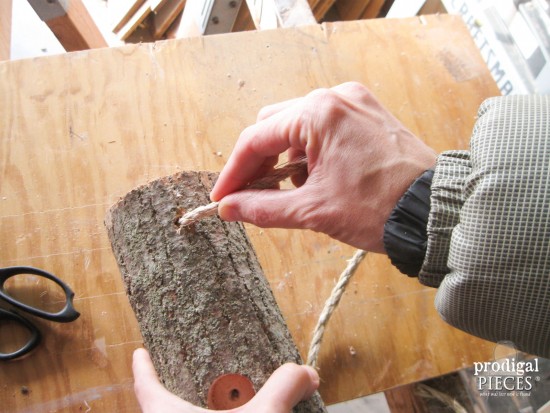
Cut a 2′ or longer piece of rope and thread it into the hole. If you turn the rope in the direction of the braid (counter-clockwise) while inserting it, that will help the rope go through smoothly.

Give your feathered friends a treat from spingtime through winter. Make this easy-peasy DIY log bird feeder with one tool and a few basic materials by Prodigal Pieces for Pretty Handy Girl www.prodigalpieces.com #prodigalpieces

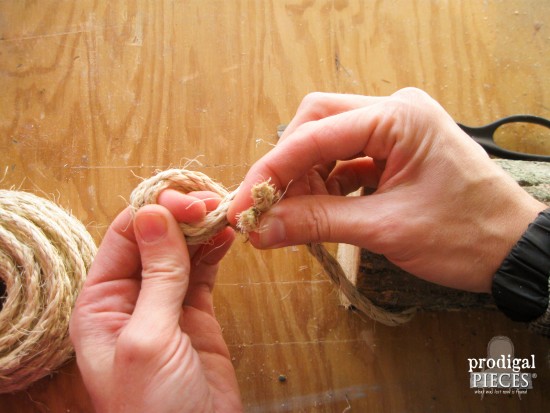
Once through, tie the rope ends together using a basic knot.

Give your feathered friends a treat from spingtime through winter. Make this easy-peasy DIY log bird feeder with one tool and a few basic materials by Prodigal Pieces for Pretty Handy Girl www.prodigalpieces.com #prodigalpieces

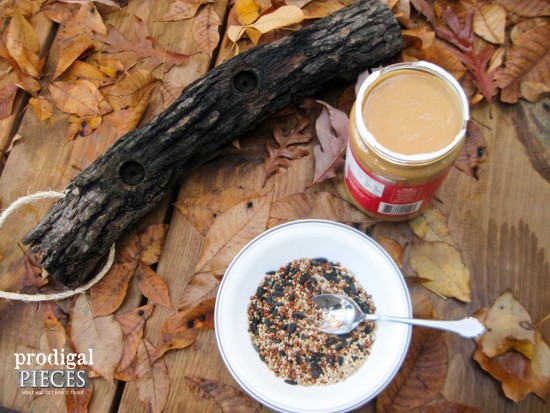
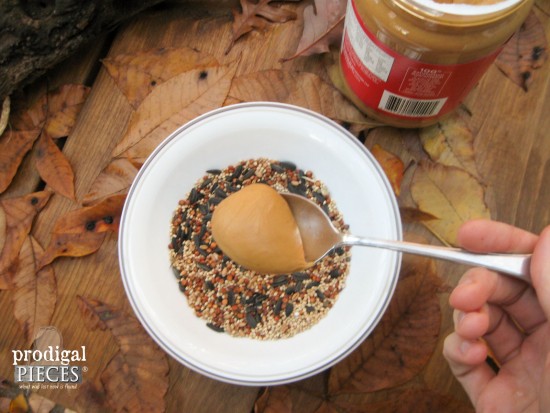
On to the fun part! Birds burn a ton of protein flitting about, so they need to store up as much as they can. We prefer to use chunky peanut butter and then roll it in seeds like this.

Give your feathered friends a treat from spingtime through winter. Make this easy-peasy DIY log bird feeder with one tool and a few basic materials by Prodigal Pieces for Pretty Handy Girl www.prodigalpieces.com #prodigalpieces

Grab a tablespoon of peanut butter and place it in a bowl of birdseed.

Give your feathered friends a treat from spingtime through winter. Make this easy-peasy DIY log bird feeder with one tool and a few basic materials by Prodigal Pieces for Pretty Handy Girl www.prodigalpieces.com #prodigalpieces

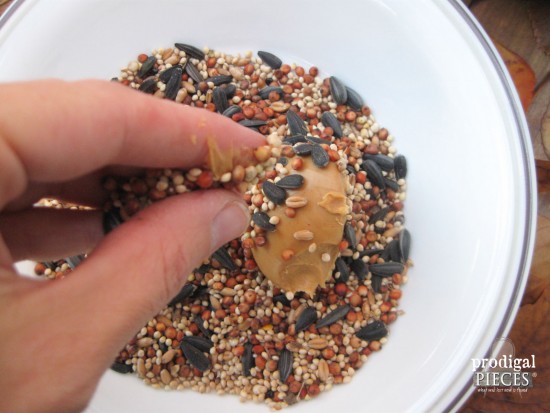
Then sprinkle the peanut butter with seed.

Give your feathered friends a treat from spingtime through winter. Make this easy-peasy DIY log bird feeder with one tool and a few basic materials by Prodigal Pieces for Pretty Handy Girl www.prodigalpieces.com #prodigalpieces

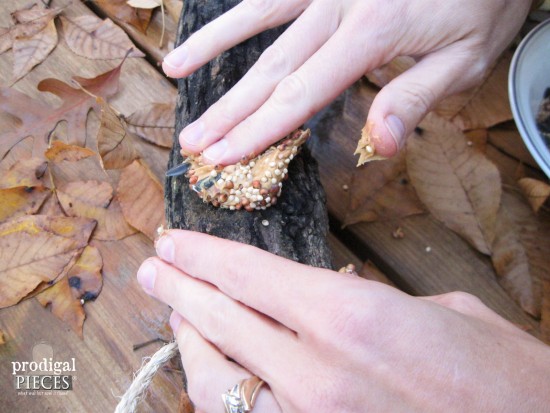
After coating with the seed, press the mixture into the holes using the back of a spoon, or if you’re nutty like me (catch the pun?) it’s more fun to use your fingers.

Give your feathered friends a treat from spingtime through winter. Make this easy-peasy DIY log bird feeder with one tool and a few basic materials by Prodigal Pieces for Pretty Handy Girl www.prodigalpieces.com #prodigalpieces

The kids love this part!

Give your feathered friends a treat from spingtime through winter. Make this easy-peasy DIY log bird feeder with one tool and a few basic materials by Prodigal Pieces for Pretty Handy Girl www.prodigalpieces.com #prodigalpieces

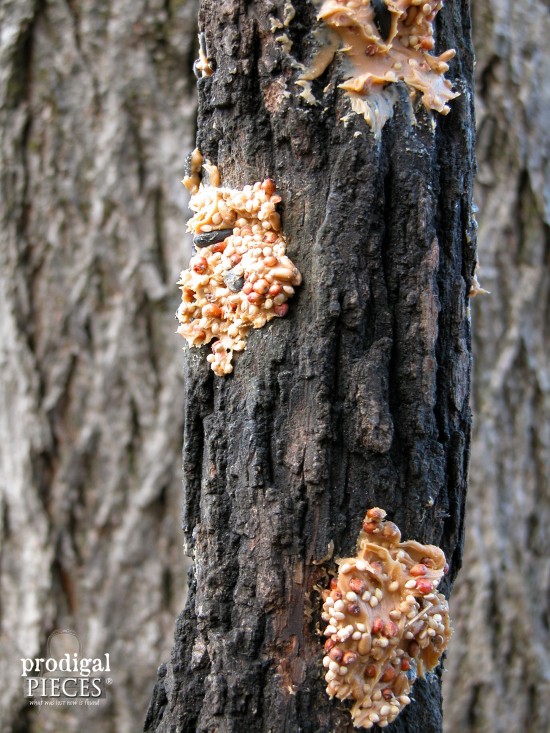
You’re done and it’s ready to hang. Yay!

Give your feathered friends a treat from spingtime through winter. Make this easy-peasy DIY log bird feeder with one tool and a few basic materials by Prodigal Pieces for Pretty Handy Girl www.prodigalpieces.com #prodigalpieces

For a fun twist, and if you’re feeling handy, you could also add dowels for other species to be able to roost at each hole, but for this project I kept it simple.

Got questions? Please feel free to ask.

If you enjoyed this project, do pin and share!

blog signature copy

Pin this project for later!

DIY Log Bird Feeder Pin Image


Liked this project? Then you’ll love these birdhouses:

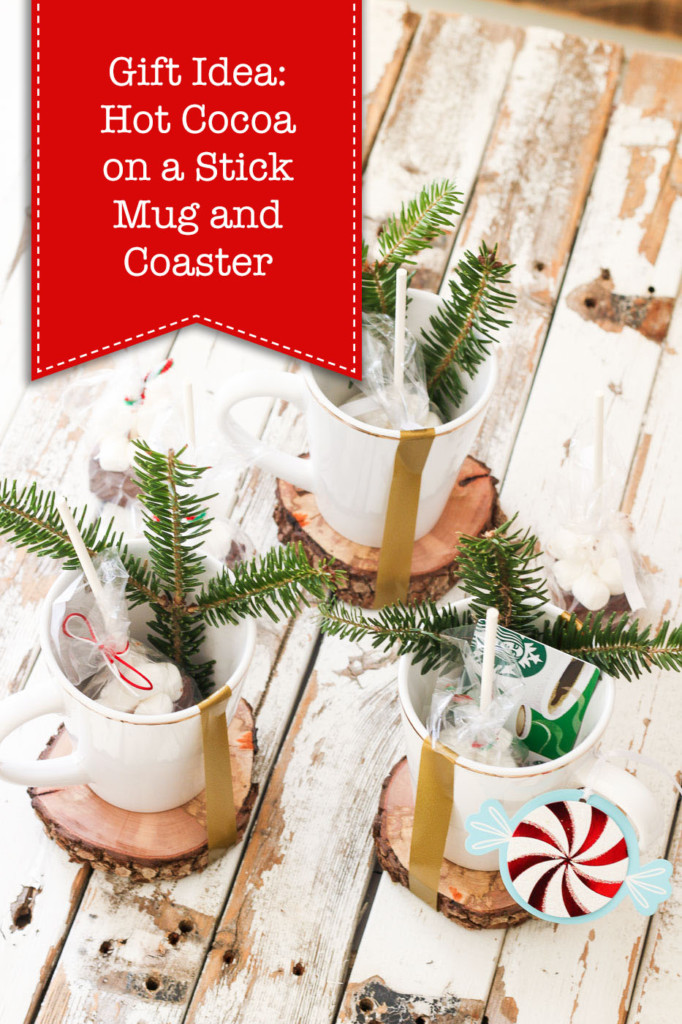
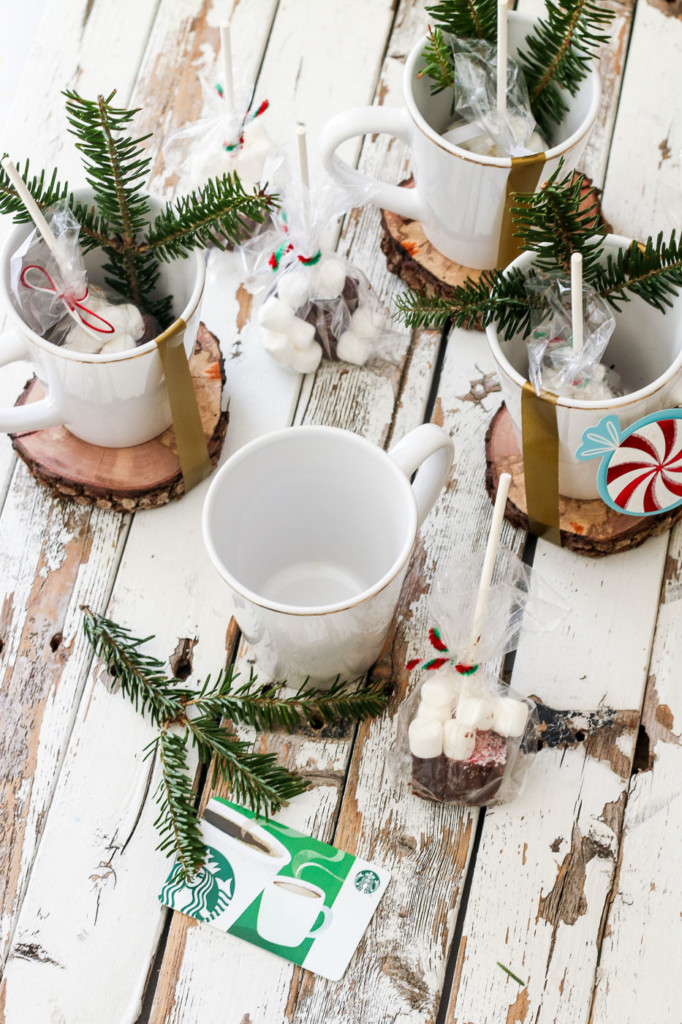
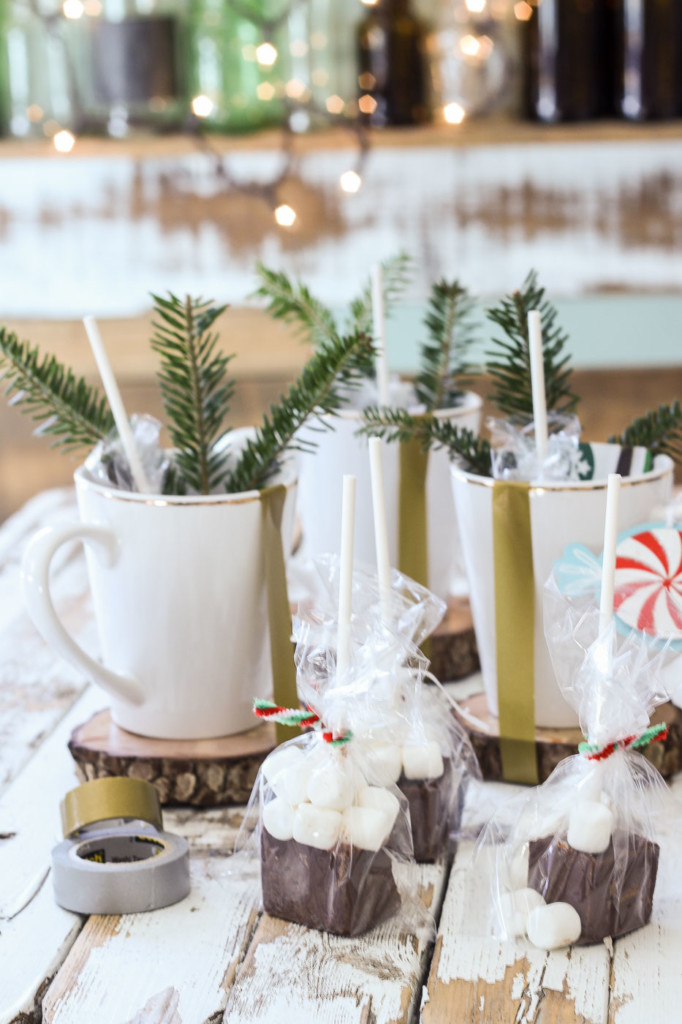
Every year I try to come up with a simple and inexpensive gift idea for teachers and service providers in my life. But, I don’t want the gifts to look cheap. This year I put together these simple Hot Cocoa on a Stick Gift Mugs. They look festive and provide a nice warm treat for anyone on your “I really should get them a little something” list. Read on to learn how to make these simple gift mugs.

Holiday Gift Idea: Hot Cocoa on a Stick

There are a variety of hot cocoa on a stick recipes. But, the recipe I used for the hot cocoa on a stick can be found on the King Arthur Flour website. The mug and coaster gift idea can be put together quickly and efficiently to make several for a last minute gift idea.

Materials:

Instructions:
Are you ready for the quickest and easiest tutorial on the Pretty Handy Girl website? Set that stopwatch, because once you have all the materials this Holiday Gift Idea aka Hot Cocoa on a Stick is going to solve your small gift-giving dilemma.

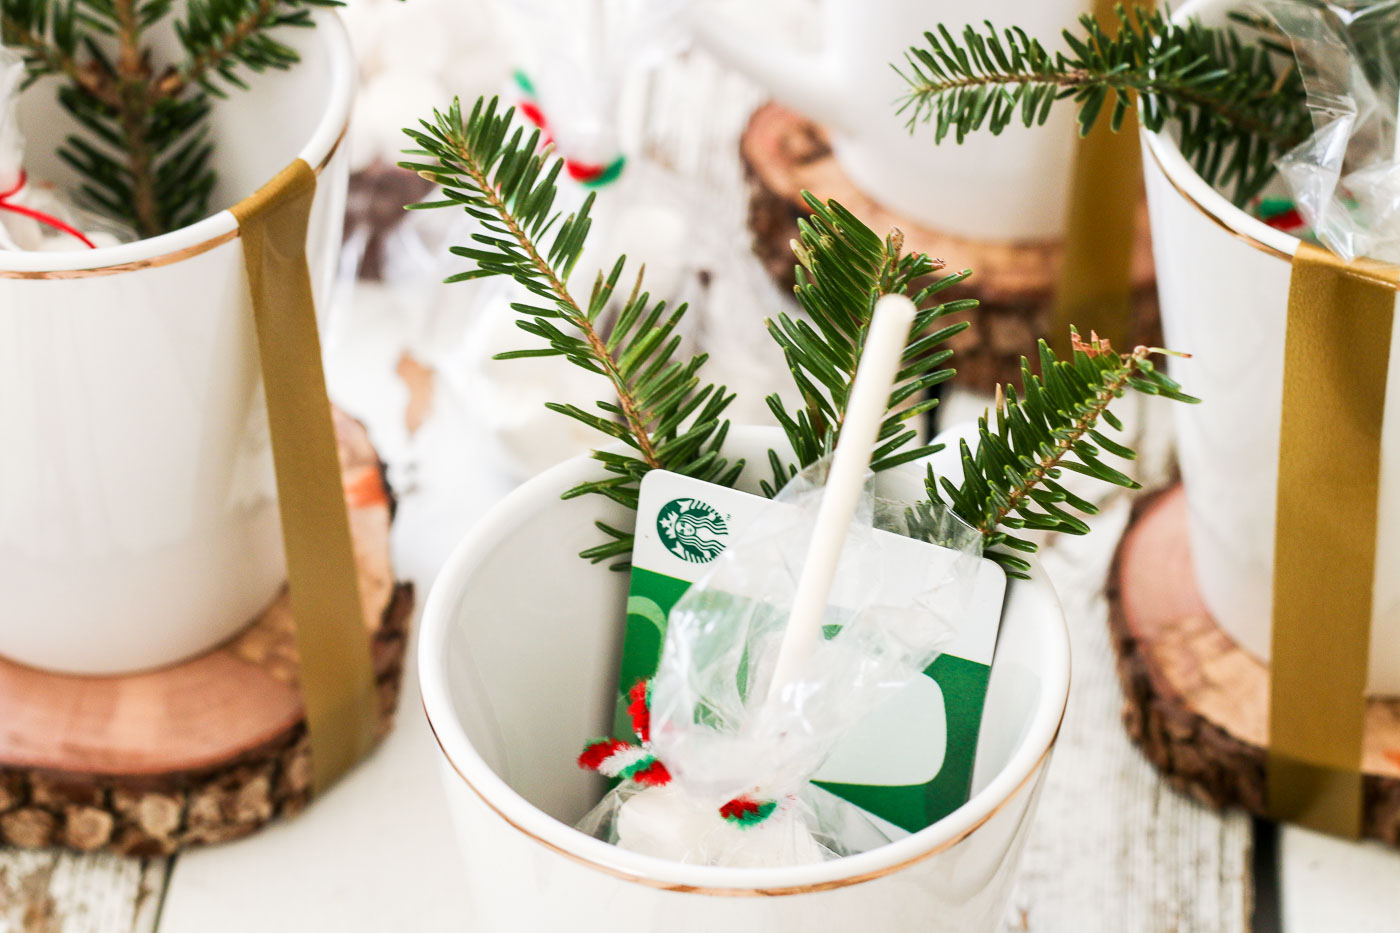
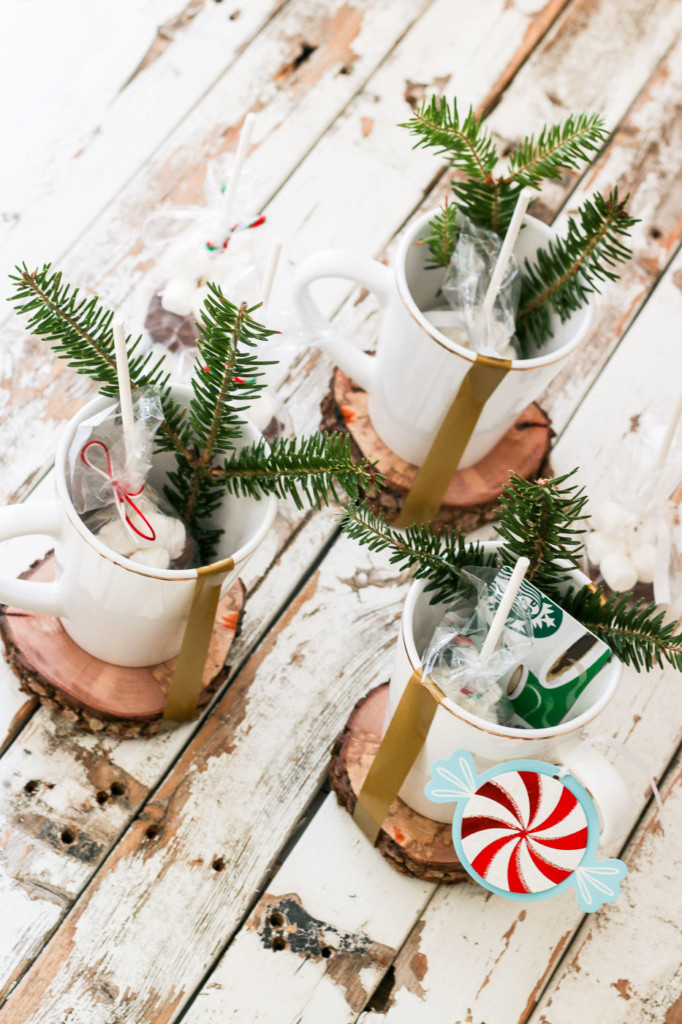
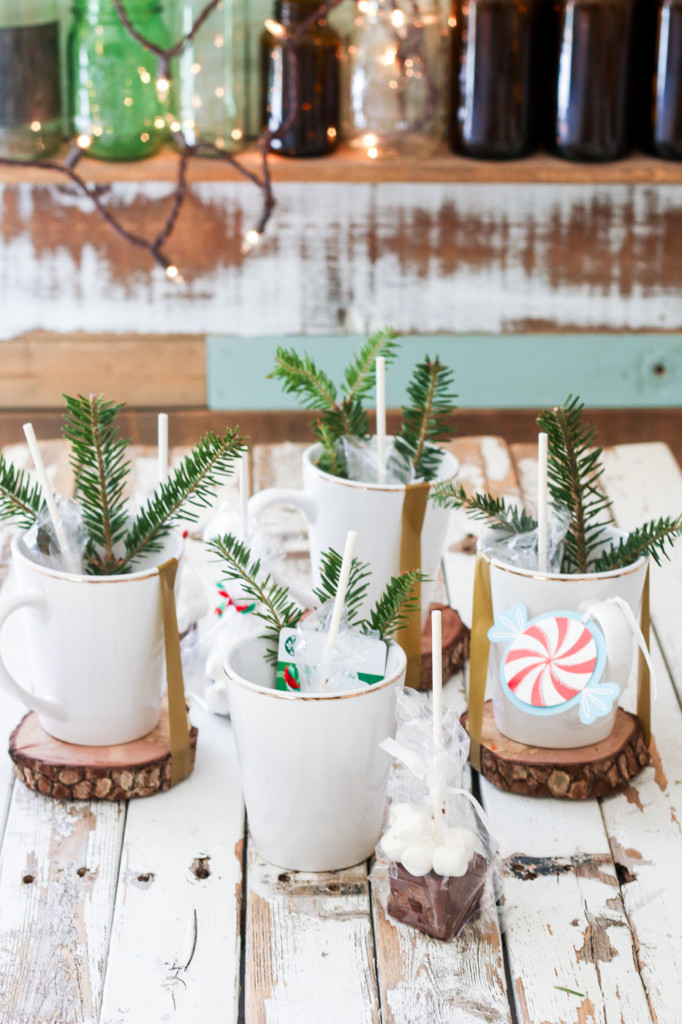
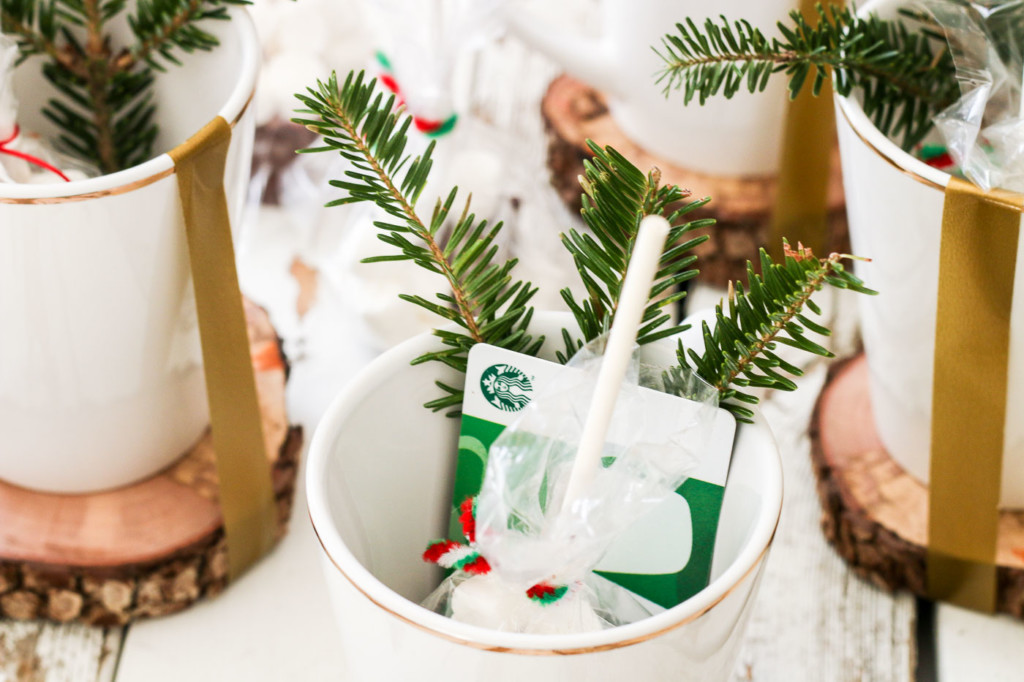
Ready. Set. Go! Put the pine bough, hot cocoa on a stick, printed directions, and (if you’re feeling extra generous) add a gift card. Insert all items neatly into the mug. Center your mug on the wood slice coaster.

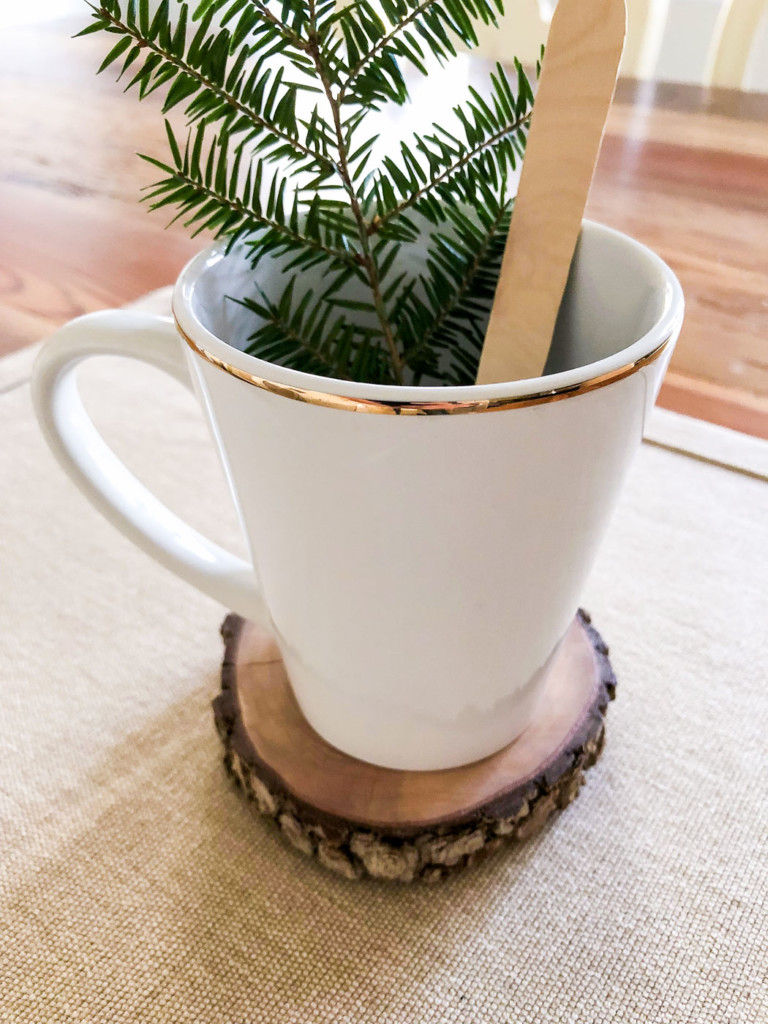
Use washi tape to secure the mug to the wood slice coaster. (Overlap at least an inch or two of the washi tape inside the mug rim. Use one continuous piece of washi tape going from one side of the mug, under the coaster, and back up the opposite side of the mug.) Use caution when handling the mugs as the washi tape can rip if jostled too much.

Add a gift tag if you like. Or set them on a tray to deliver in person or put them out as holiday party favors.

What do you think? Easiest holiday gift idea every? I’d love to hear if you have ideas or variations on this holiday gift idea.

In the meantime, I’ll be sipping on a fresh mug of hot cocoa on a stick! Yum!

P.s. Looking for more last minute DIY Gift Ideas? I have an entire Pinterest board full of DIY Gift Ideas here.

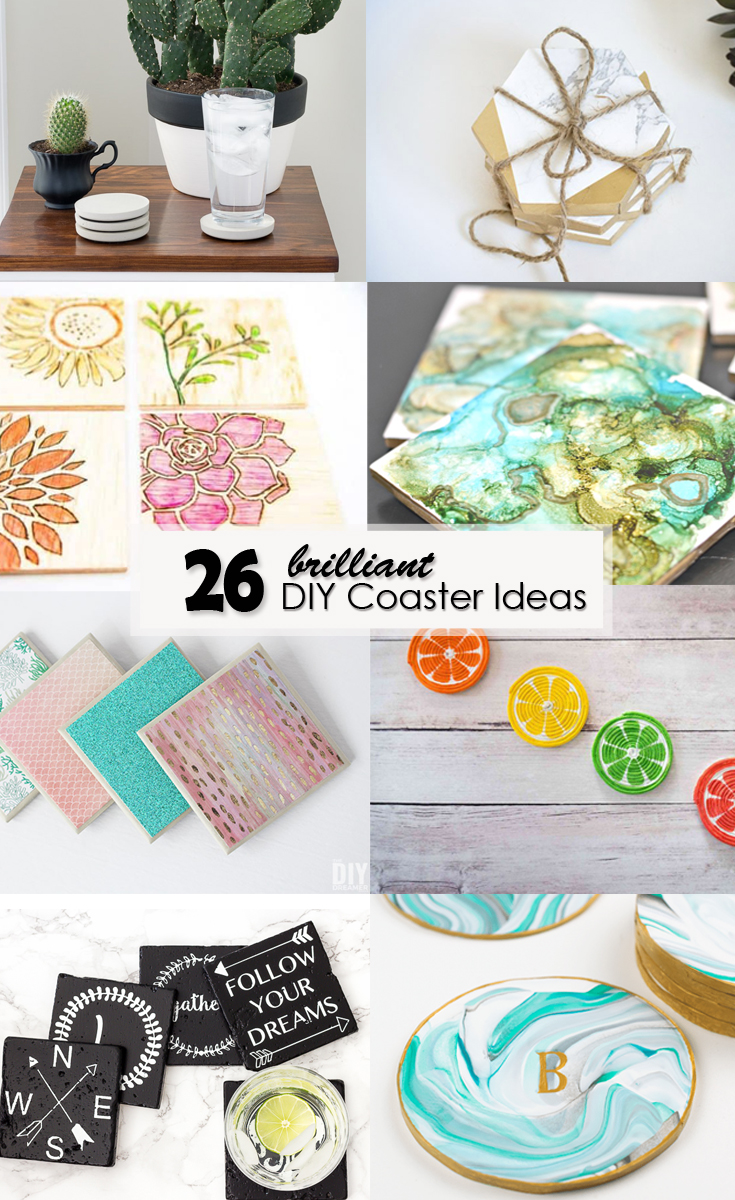
26 brilliant DIY Coaster Ideas square image

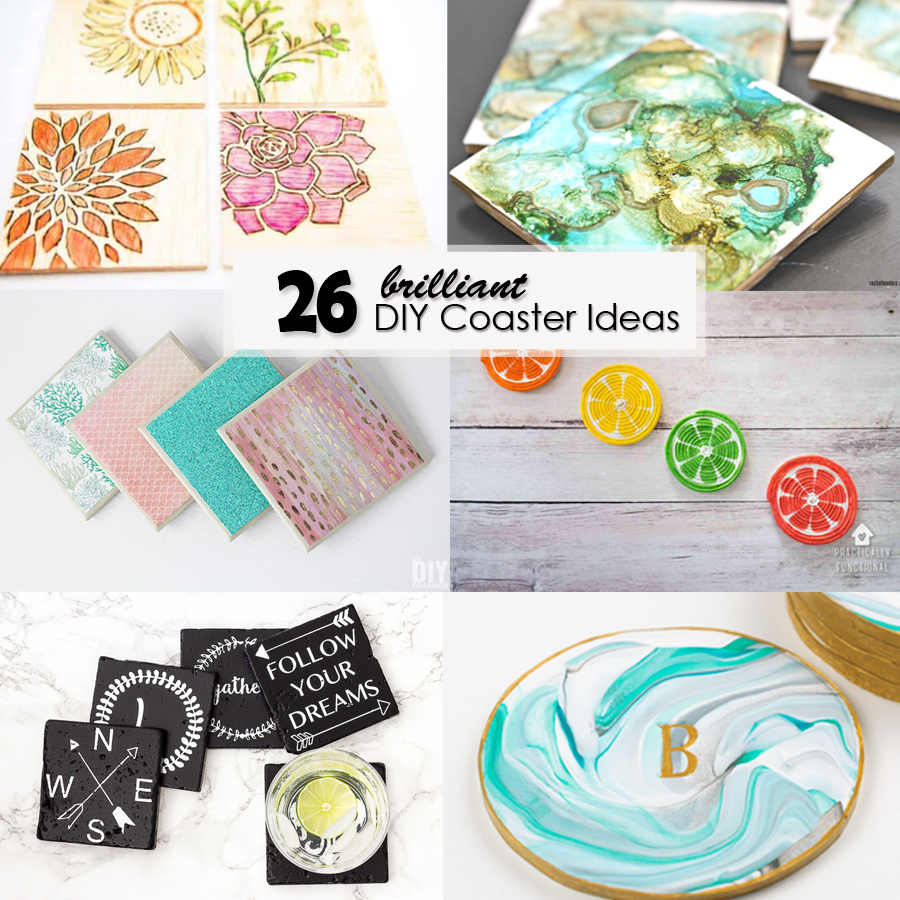
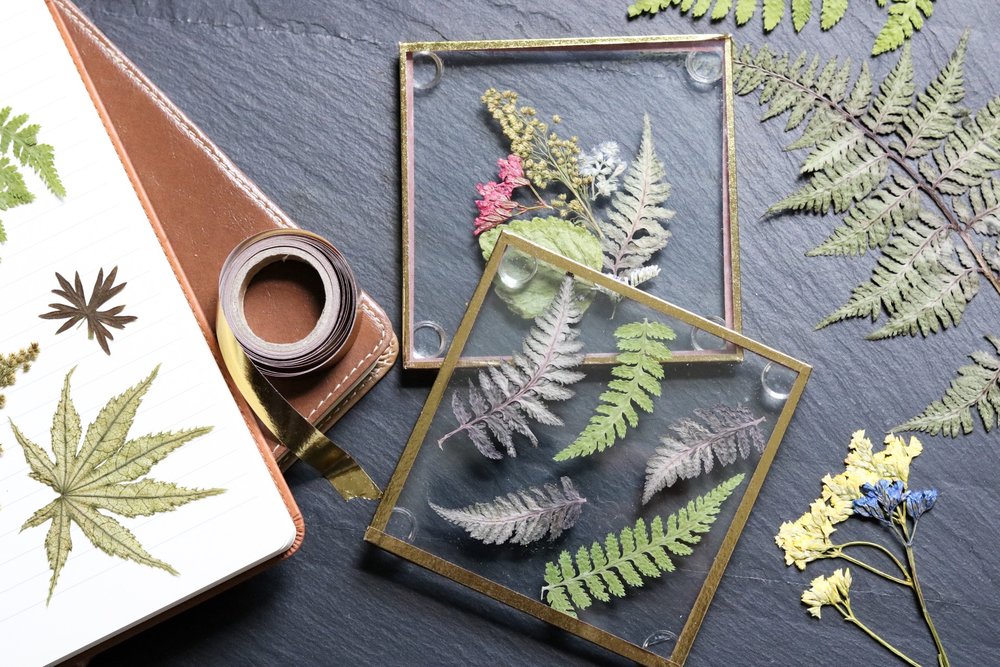
26 brilliant DIY Coaster Ideas square imageAdd some personality to your home and prevent those awful rings on your tabletops by making some coasters to place under every drink! Here are 26 brilliant DIY coaster ideas to inspire you and show how you can use a variety of materials to create some really cool coasters in any decor style.

26 DIY Coaster Ideas

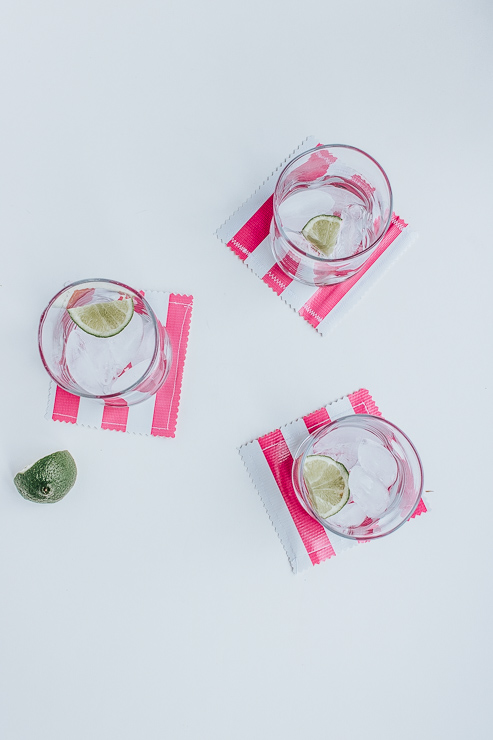
diy oilcloth drink coasters by pretty handy girlLearn how to make these DIY Oilcloth Drink Coasters that you can use both indoors and outdoors.


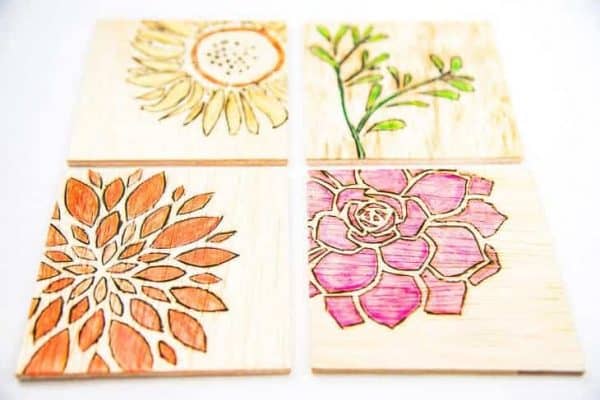
diy woodburned trivets and coasters by pretty handy girlUse cork and stencils to create these awesome Woodburned Coasters for your table.

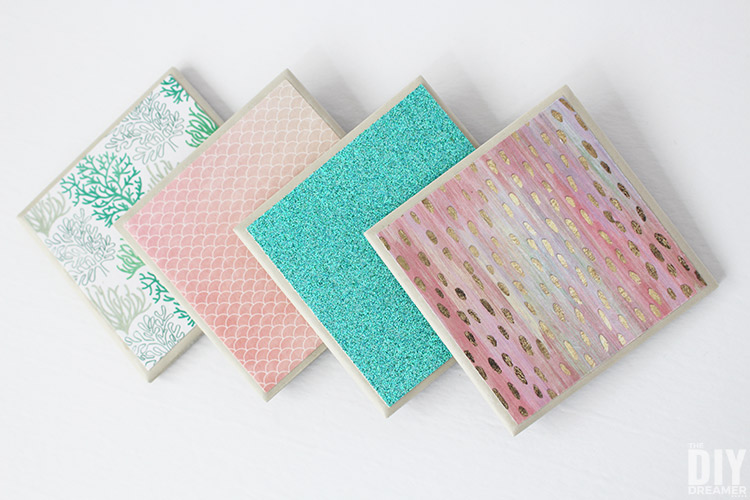
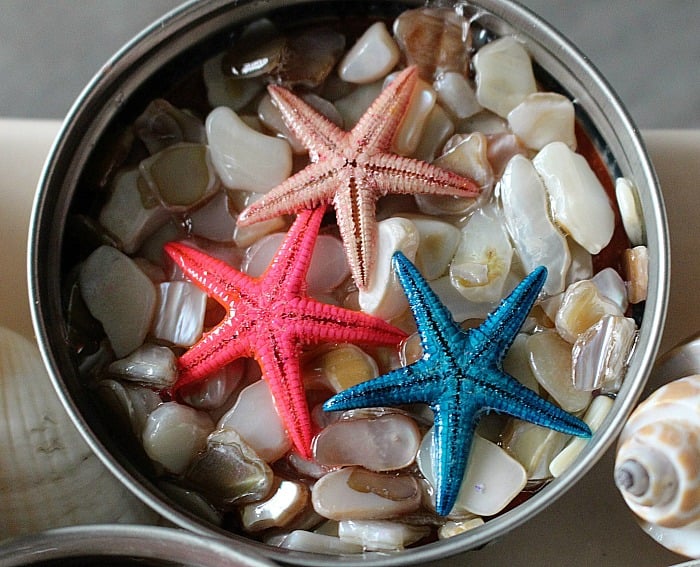
diy mermaid tile coastersIf you love beach or mermaid themed decor, make these magical DIY Mermaid Tile Coasters.

diy watercolor wooden coasters from the handymans daughterLearn how to make these DIY Watercolor Wooden coasters to add some beautiful color to your room.

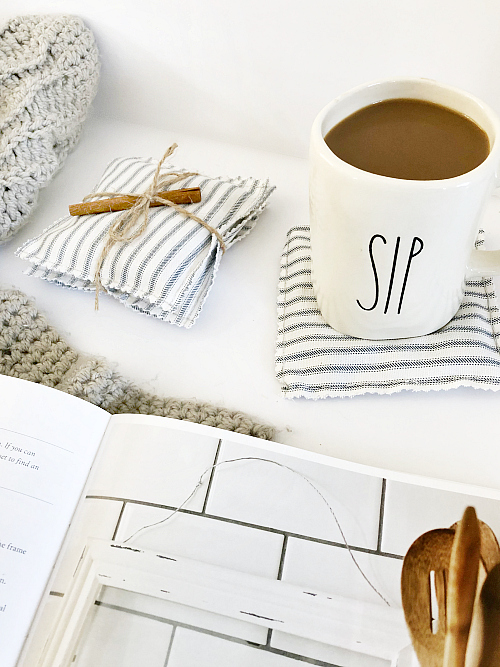
fabric wood coasters by pretty handy girlAdd some patterns to your room with these fun DIY Fabric Coasters.

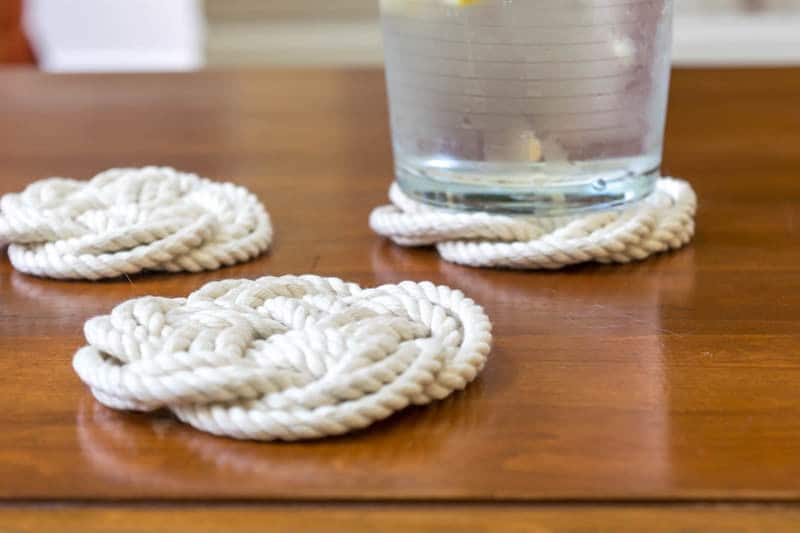
turk head knot coasters by nourish and nestleUse some cotton rope to make these amazing Turks Head Knot Coasters.

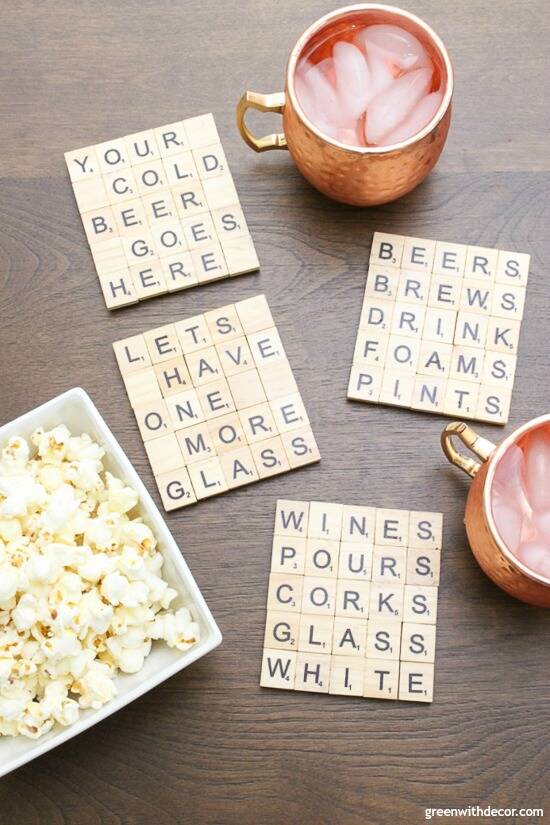
scrabble diy tile coasters by green with decorDo you love words? Create these Scrabble Tile DIY Coasters for your next gathering.

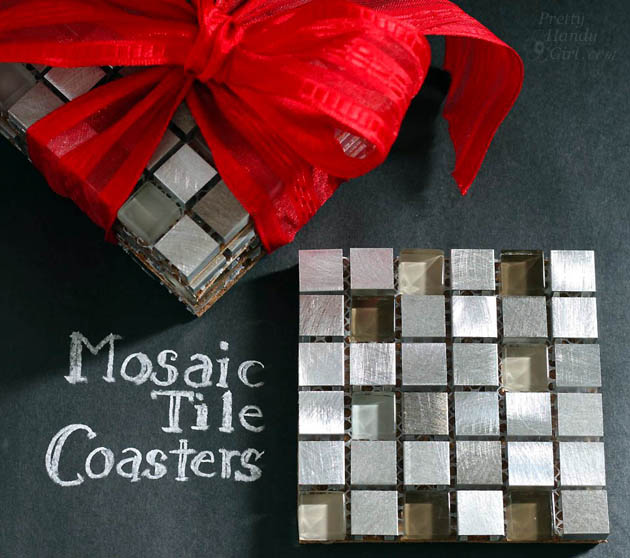
mosaic glass coasterUse small glass tile mosaics to create these modern easy-to-make Mosaic Tile Coasters.

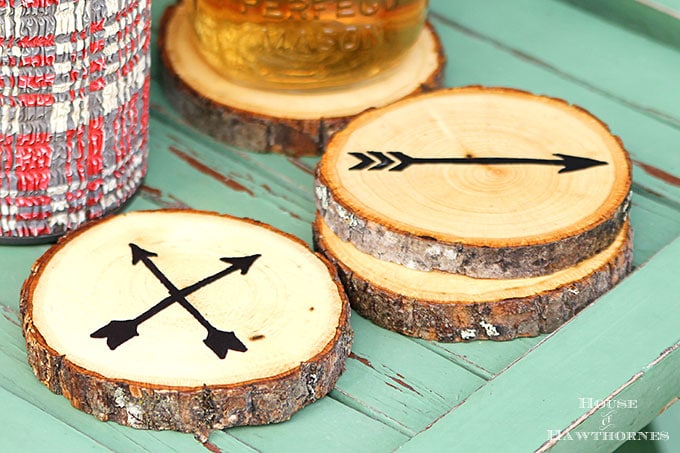
diy arrow wood slice coasters by house of hawthornesPersonalized Rustic Wood Slice Coasters would be so fun for your next dinner party.

map tile coasters by hazel and gold designsMake note of places that you’ve lived or loved with these Geographic Map Tile and Resin Coasters.

gold and marble coasters by pretty handy girlGold and Marble Coasters would make a gorgeous addition to your modern space.

diy arrow wood slice coasters by house of hawthornesA fun rustic option would be these DIY Arrow Wood Slice Coasters.

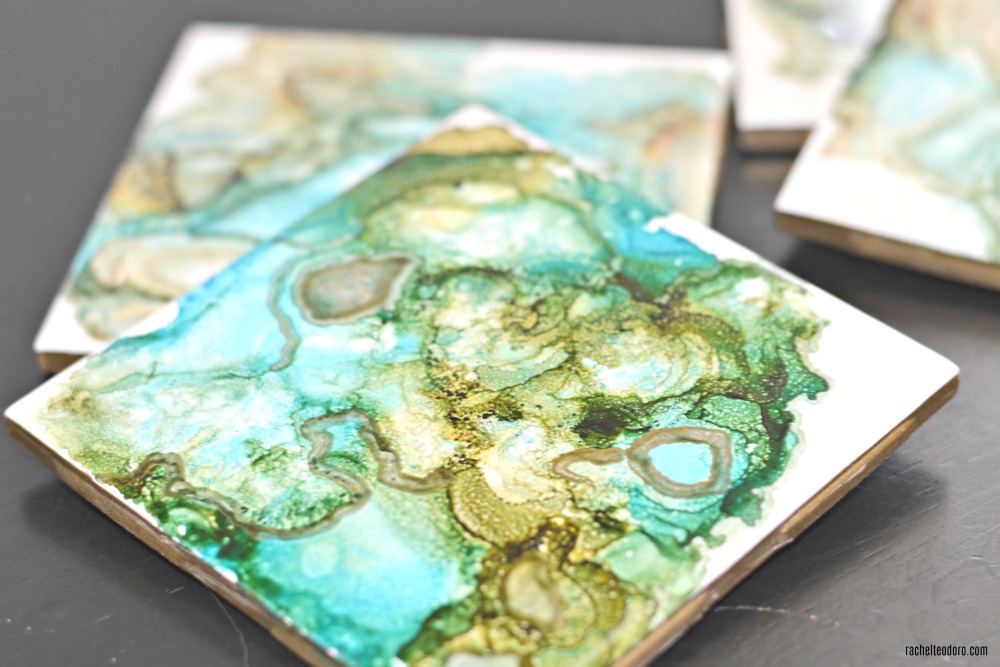
diy agate look ceramic tile coasters by rachelteodoroMake these natural looking Faux Agate Tile Coasters with alcohol inks.
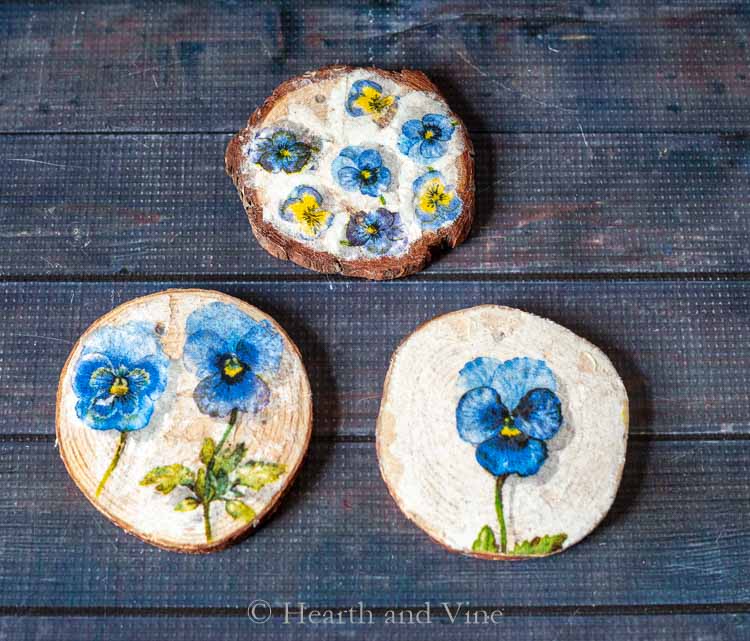
decoupage coasters by hearth and vineUse some old paper or napkins to make these beautiful Decoupage Coasters.

diy scented coastesr by lemons lavendar and laundryMake some clever DIY Scented Coasters using essential oils.

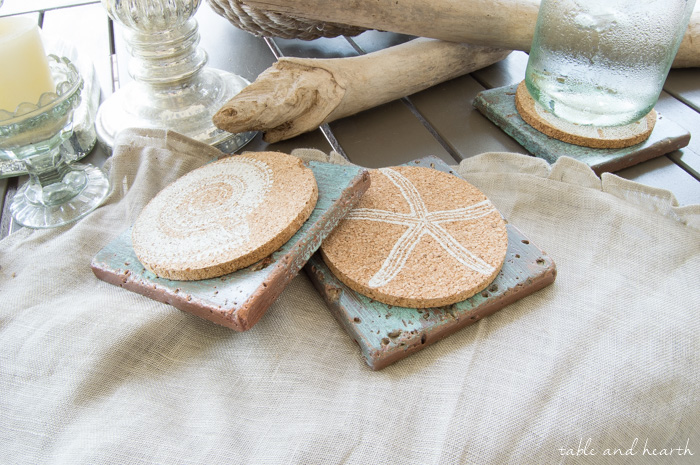
coastal tile coasters copper patina by table and hearthIf you love coastal style, these Copper Patina Tile Coasters would be perfect for your space.
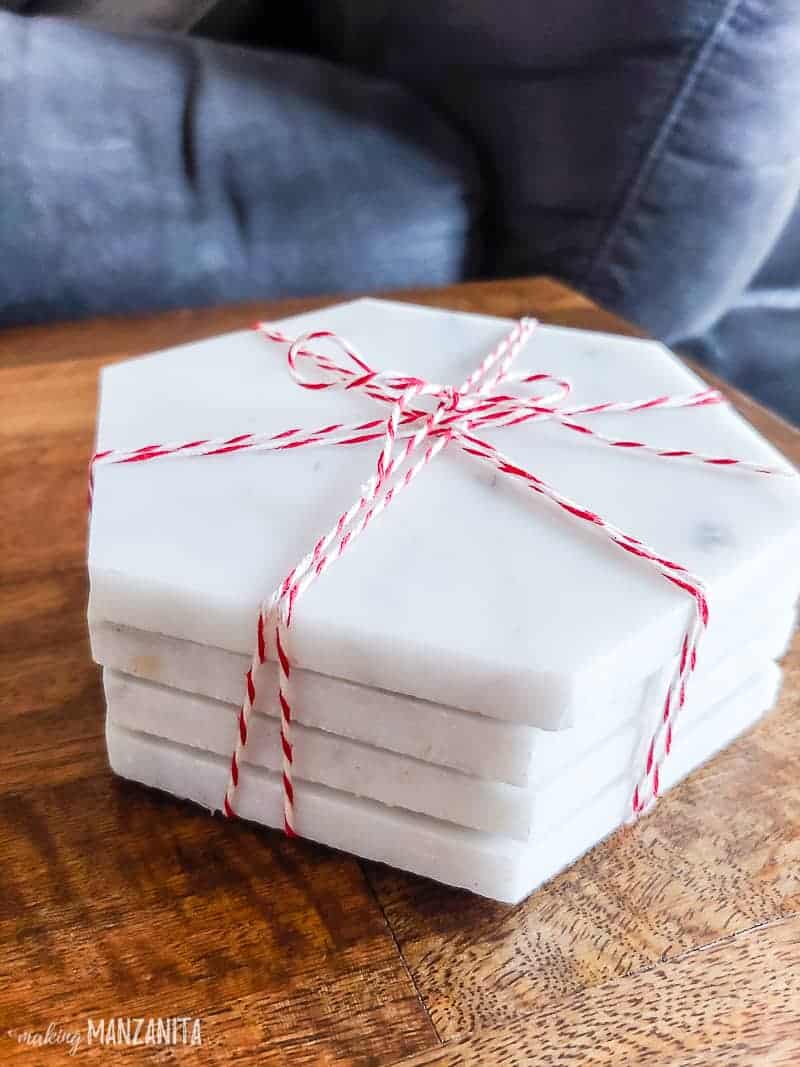
marble coastersIf you have extra tiles lying around, make something like these DIY Marble Coasters.

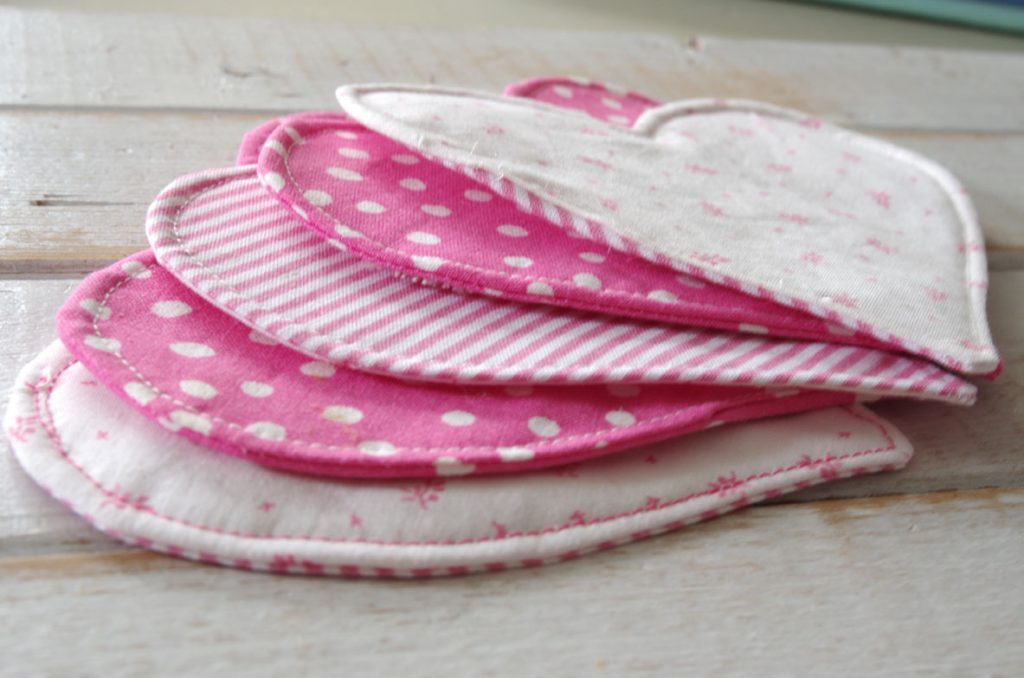
heart shaped fabric coasters by create and babbleThese Easy to Make Fabric Heart Coasters are a perfect way to use up some small fabric panels.
Dollar store flower coasters by crafty lumberjacksCreate these elegant glass Dollar Store Flower Coasters.

make metal washer coasters by smart fun diyCreate something unique by making these Metal Washer Coasters.

beach themed coasters with mason jar lidsUse some gloss glaze to adhere these awesome pieces and create a Beach Themed Mason Jar Lid Coaster.

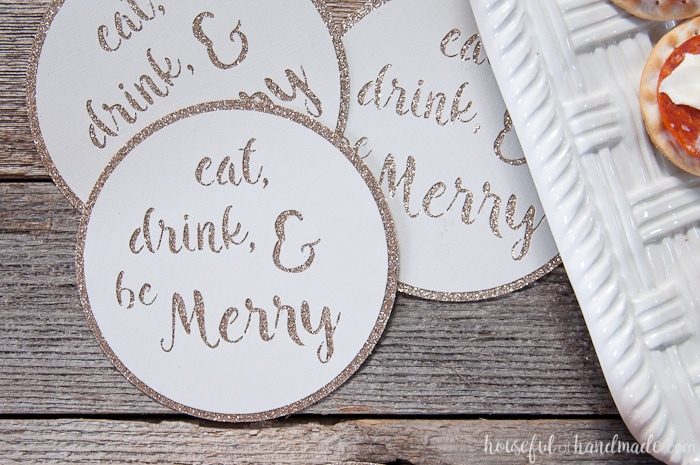
quick and easy diy drink coasters Make these quick and easy DIY Drink Coasters for your next cocktail party.

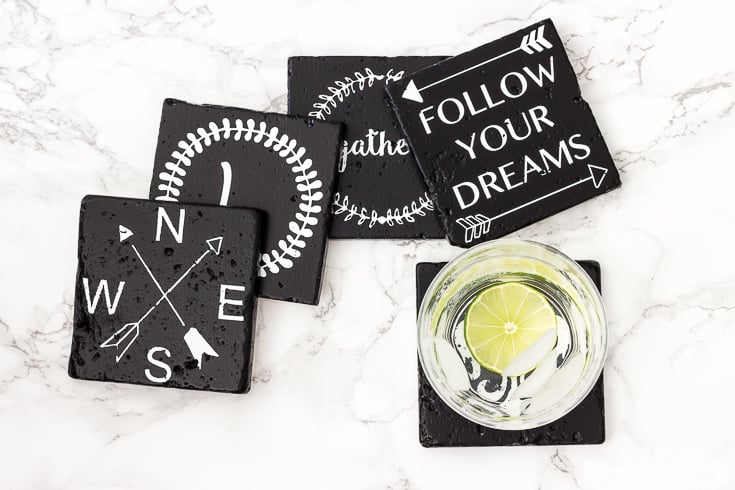
diy farmhouse style coasters by a home to grow old in Tiles and black paint make the perfect canvas to make these DIY Farmhouse Style Coasters.
diy marbled clay coasters by craving some creativityMake these DIY Marbled Clay Coasters with any color combination you want.
concrete coasters by Brittany GoldwynYou will not believe how simple it is to make these chic Concrete Coasters.
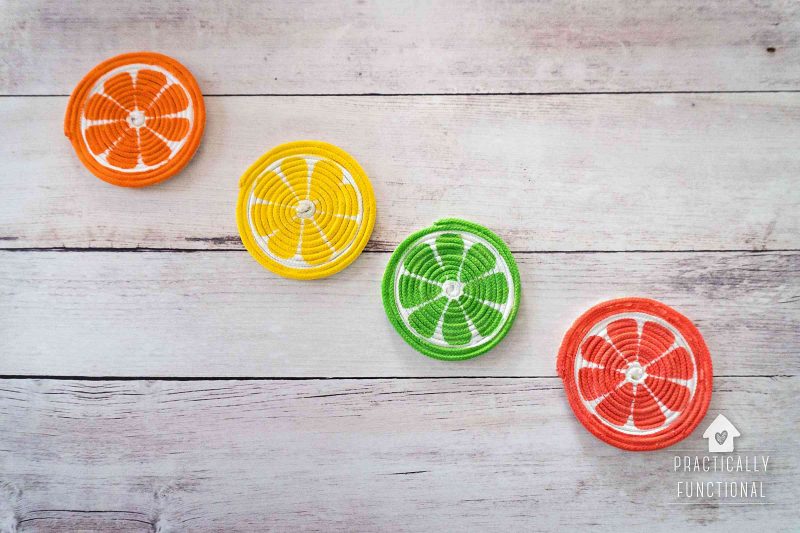
diy painted rope coasters by practically functionalUse some rope to make these fun DIY Painted Rope Coasters for your summer parties.
 

I hope you found some helpful ideas in this roundup of DIY Coaster Ideas to help add some functional beauty to your room or next party. Remember to click over to each site for the full tutorial. Please pin this image on Pinterest to share with your friends!
26 brilliant DIY Coaster Ideas Pinterest image

Hi, I’m Sheri from Hazel + Gold Designs. Here are a few fun stats about me: I like love chocolate and peanut butter (together of course.) If you like stats, I have been crocheting for about 16 years, crafting for 20, and woodworking for about 4 years. I found a passion in making and being creative and began documenting my projects online at Hazel + Gold Designs.

When not working on projects, I enjoy spending time with my husband, four children, perfect dog, and ornery cat. You can find me on Facebook, Pinterest, Instagram and Twitter.

Read all of Sheri’s tutorials.

~Find more of Sheri’s projects here ~


diy wooden bath tray

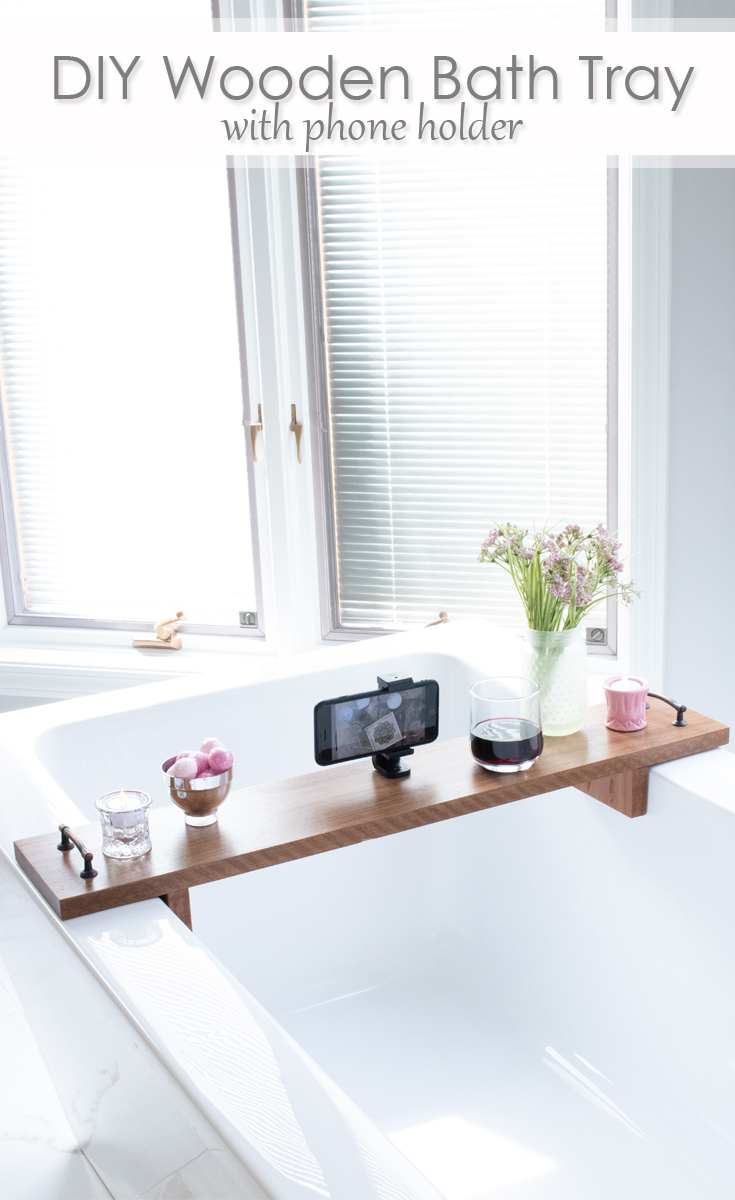
DIY Wooden Bath Tray with phone holder Pinterest imageDIY Wooden Bath Tray with Phone Holder

Are you looking to add some beautiful functionality to your bathroom? This DIY Wooden Bath Tray (with Phone Holder) is the perfect addition! It turns a plain bath tub into the perfect place to relax and unwind.  I’m Sheri from Hazel + Gold Designs, and I am excited to share this DIY Wooden Bath Tray with you today. The best part about this tray is the added mount to secure your phone (so you can browse the web or watch a video while you’re relaxing.) Keep reading for all the details on how to make this bath tray yourself!

Materials:

(I’ve included affiliate links for your convenience. I earn a small percentage from a purchase using these links. There is no additional cost to you. You can read more about affiliate links here.)

Instructions:

1. Prep the wood

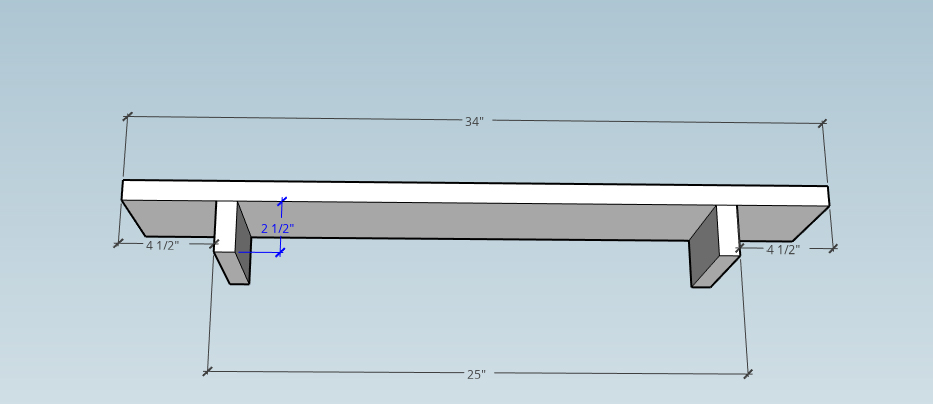
The first step in this project is to cut your wood pieces. This diagram shows the measurements for my bath tub tray, but you will need to measure your tub and adjust the measurements accordingly.

DIY bath tray woodworking plan

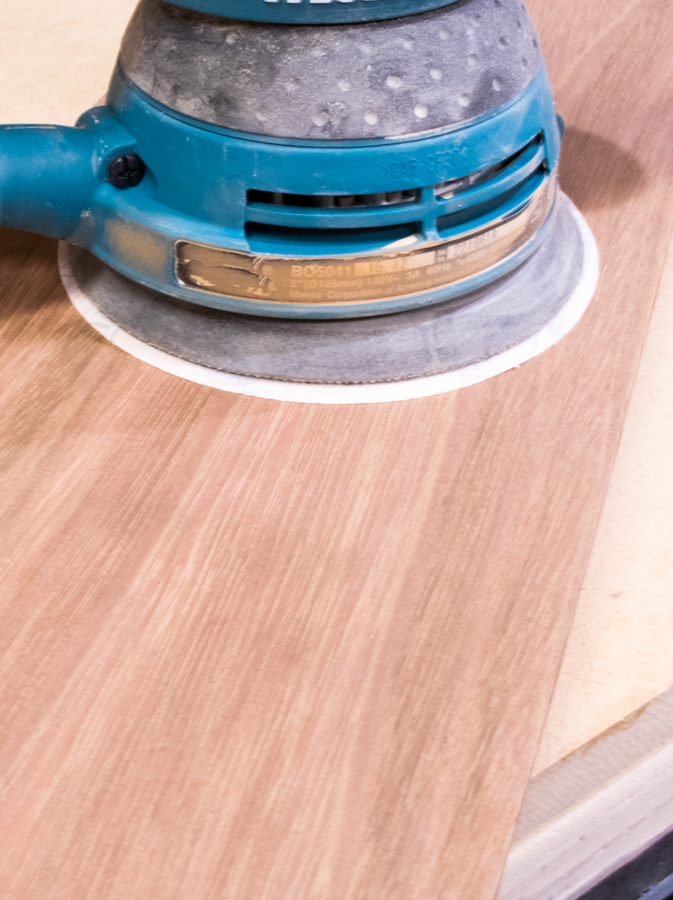
Next, sand your wood pieces. If your wood is fairly smooth you can use a 180 grit then 220 grit. For rougher wood, use a coarser grit sandpaper first.

sand all boards2. Drill holes

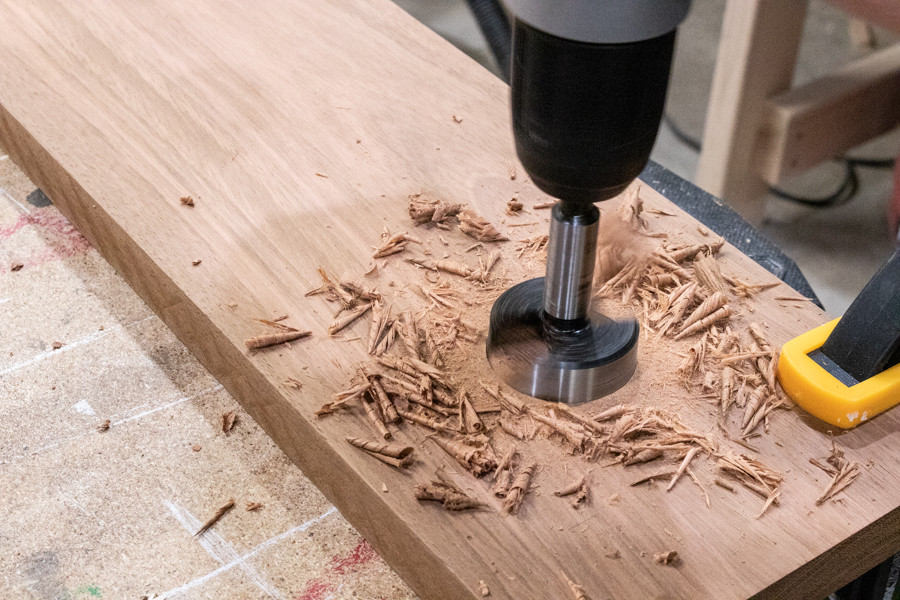
Use a forstner bit to drill shallow holes the size of tea light holders. The candles will sit into the groove making them less likely to slide off the tray.

drill shallow hole with forstner bit

drill shallow circle with forstner bit

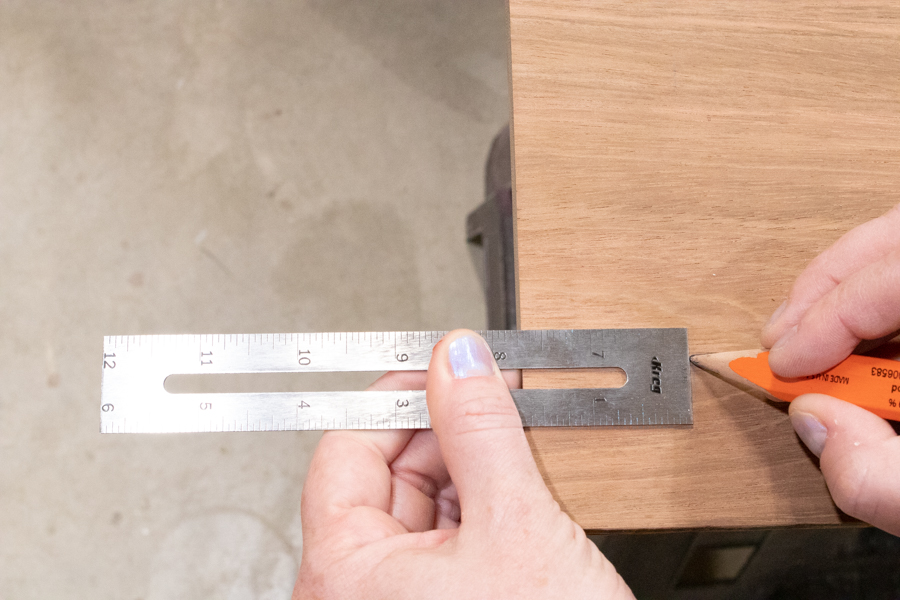
Use a ruler to mark where you will place the handles.

measure and mark where handles will go

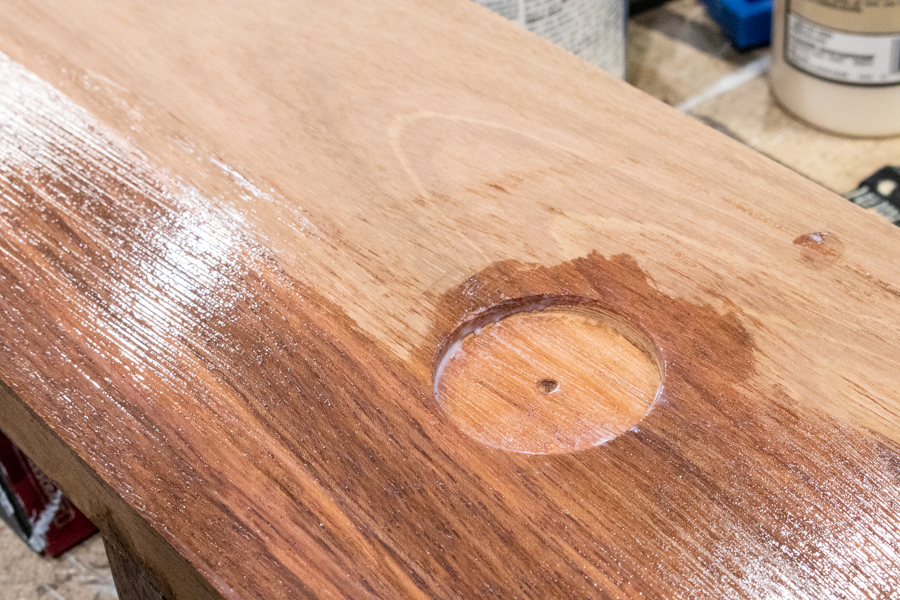
Use a drill bit the size of your drawer pull screws and drill your holes as marked.

drill holes for attaching handles

Next, take your two small pieces and drill pocket holes into one side. This is a quick and easy way to attach the bottom pieces of your tray. If you don’t have a pocket hole jig you could use other methods of joinery.

cut two small pieces and drill pocket holes

Attach the bottom boards to the bottom of your tray with wood glue and pocket screws. Be sure you size these to fit just inside each side of your tub. This will prevent the tray from sliding anywhere.

apply wood glue

Attach small pieces to bottom with pocket screws

3. Finish with polyurethane

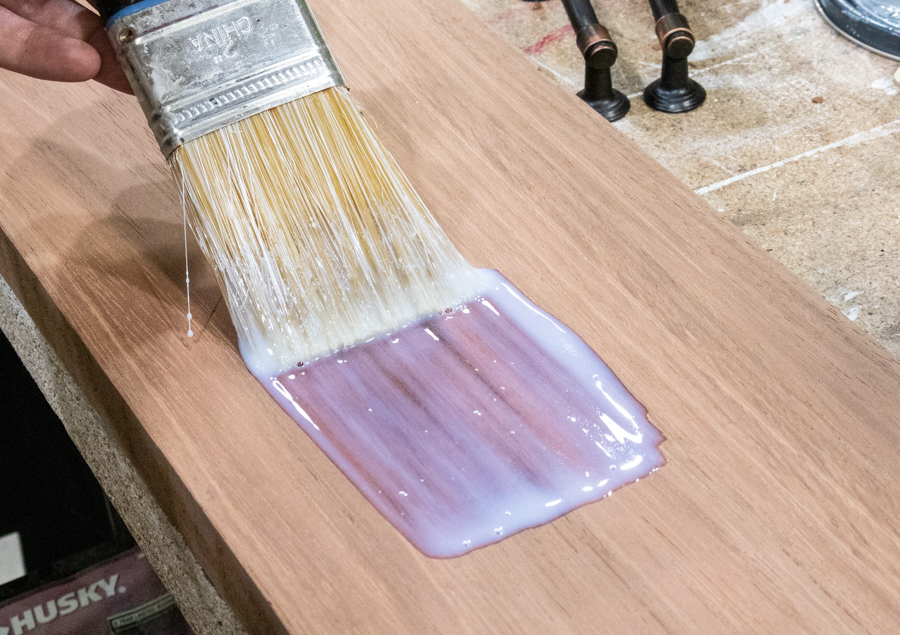
Finally, finish the entire DIY bath tray with polyurethane. You may want to use a poly that is made for exterior environments because you need a strong water-resistant finish. I applied three coats, letting each dry completely and sanding lightly with 220 grit sandpaper in between each layer. This gives you a beautiful smooth finish.

Coat with polyurethane that is water resistant or waterproof

Coat with polyurethane that is water resistant or waterproof

4. Add Handles and Phone Holder

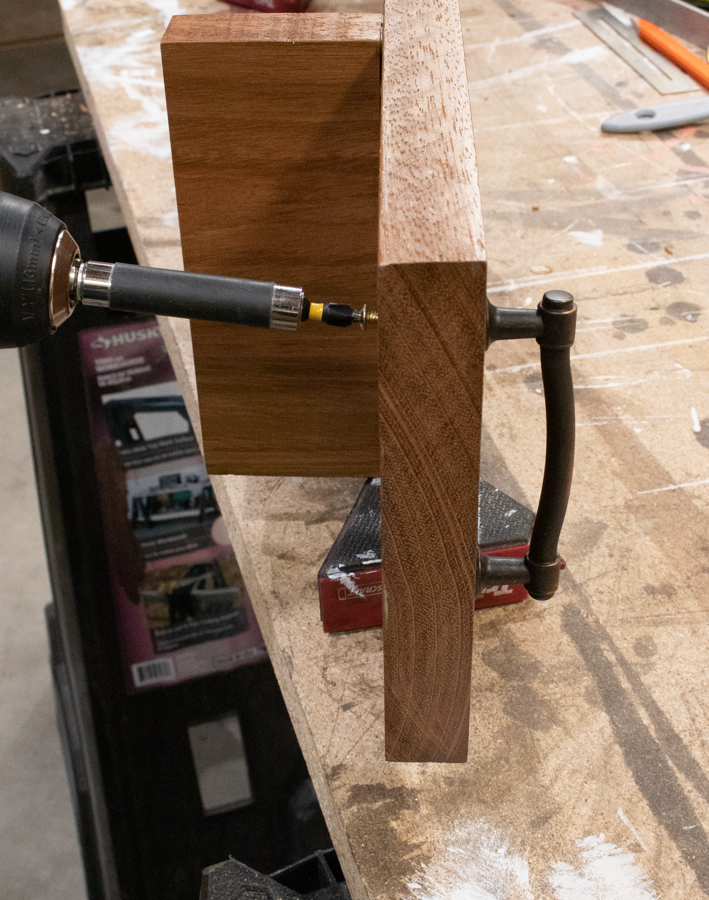
Use your drill to attach the handles.

Attach handles through drilled holes in tray

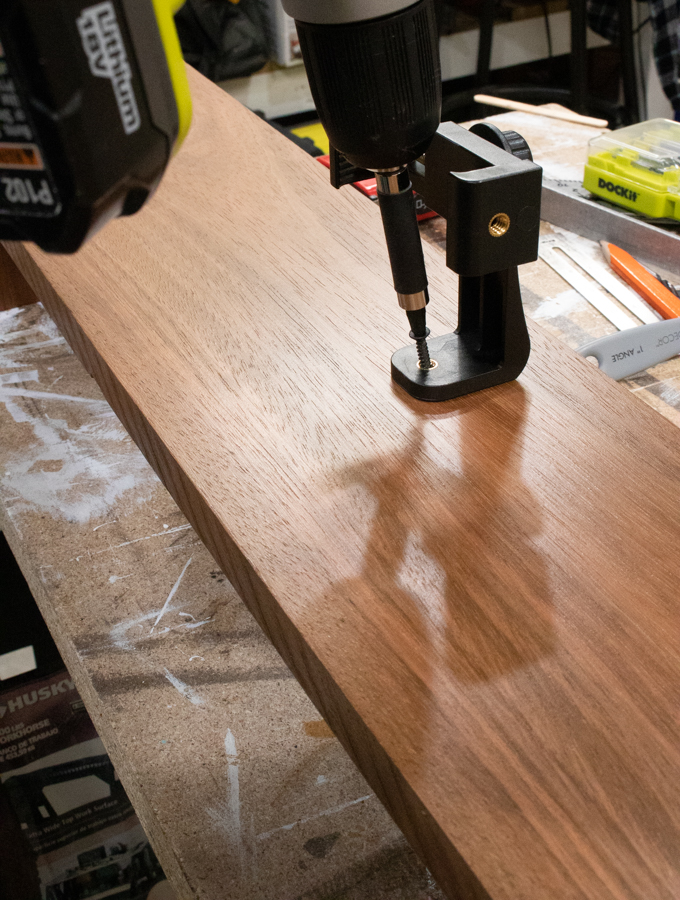
Attach the cell phone tripod adapter to the center of the tray with one screw.

drill tripod phone holder to DIY bath tray

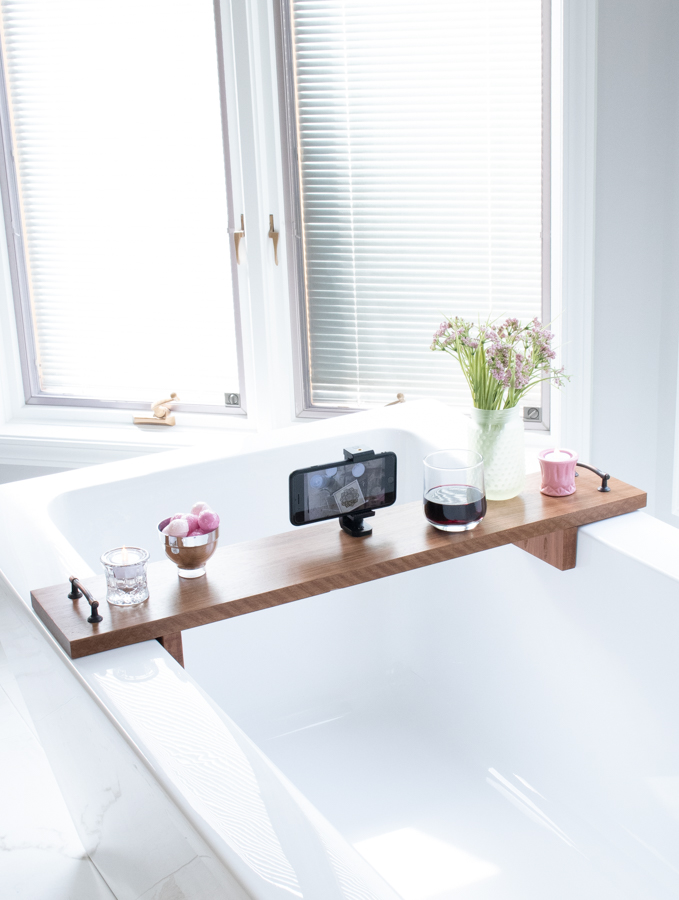
Completed DIY Bath Tub Tray

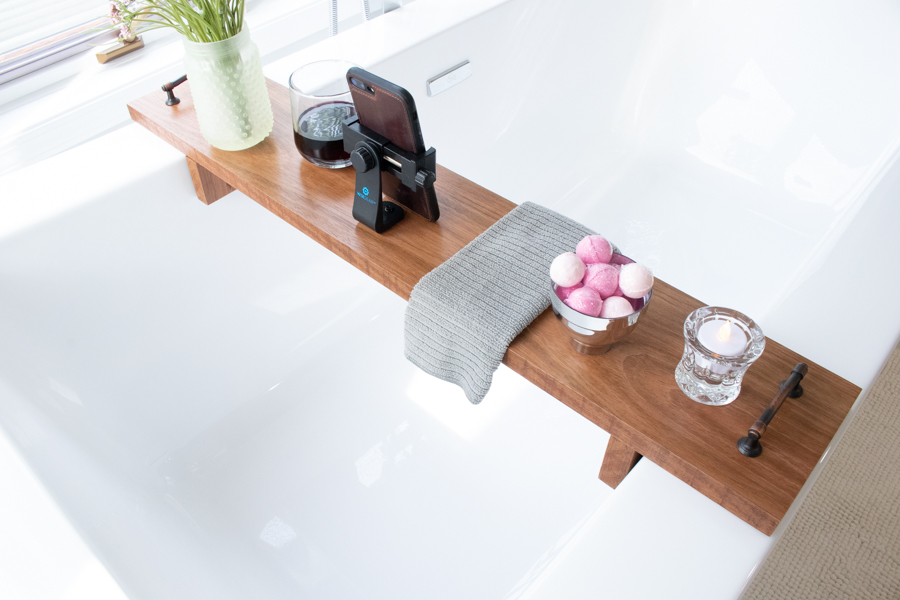
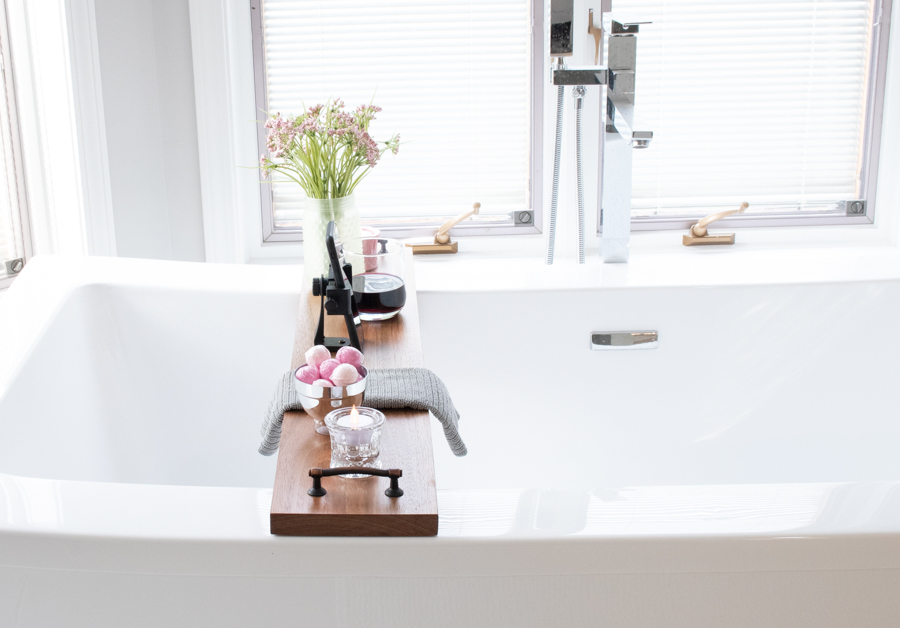
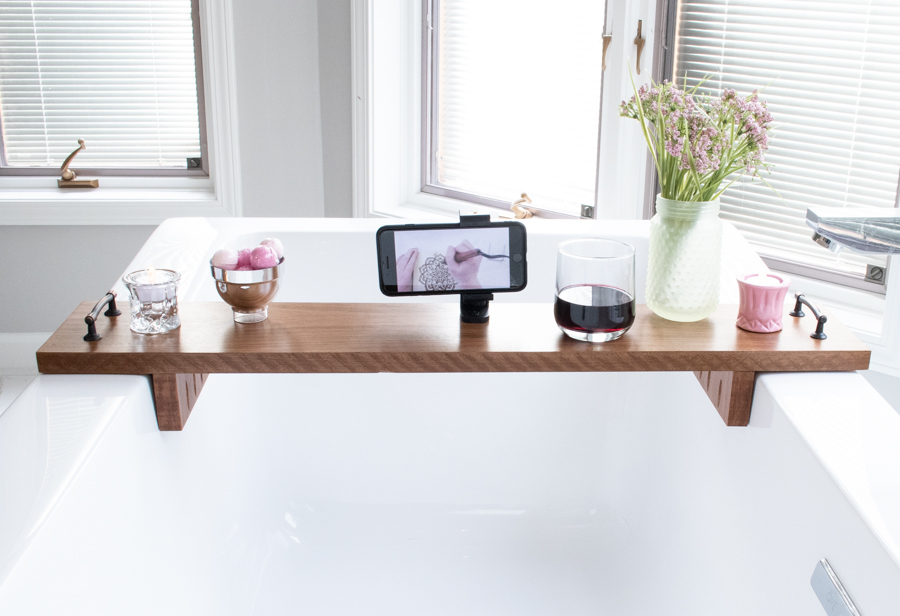
Your project is finished! Add a washcloth, flower, candles, bath bombs and a glass of wine! They tray turned out so beautiful you’ll want to take a relaxing bath immediately.

diy bath tray closeup

Be forewarned your bath times may extend longer than normal.

Finished DIY bath tray with phone holder back angle photo

This DIY Wooden Bathtub tray was easy to make! You should build one for yourself immediately.

diy bath tray from side angle

Bonus: Your phone holder can turn so you can view things vertically or horizontally! Netflix binge watching? Bring it on.

diy bath tray from front view

If you like this project, please share it on Pinterest so others can enjoy it too. Thank you for reading!

DIY Wooden Bath Tray with phone holder Pinterest image

Hi, I’m Sheri from Hazel + Gold Designs. Here are a few fun stats about me: I like love chocolate and peanut butter (together of course.) If you like stats, I have been crocheting for about 16 years, crafting for 20, and woodworking for about 4 years. I found a passion in making and being creative and began documenting my projects online at Hazel + Gold Designs.

When not working on projects, I enjoy spending time with my husband, four children, perfect dog, and ornery cat. You can find me on Facebook, Pinterest, Instagram and Twitter.

Read all of Sheri’s tutorials.

~Find more of Sheri’s projects here ~

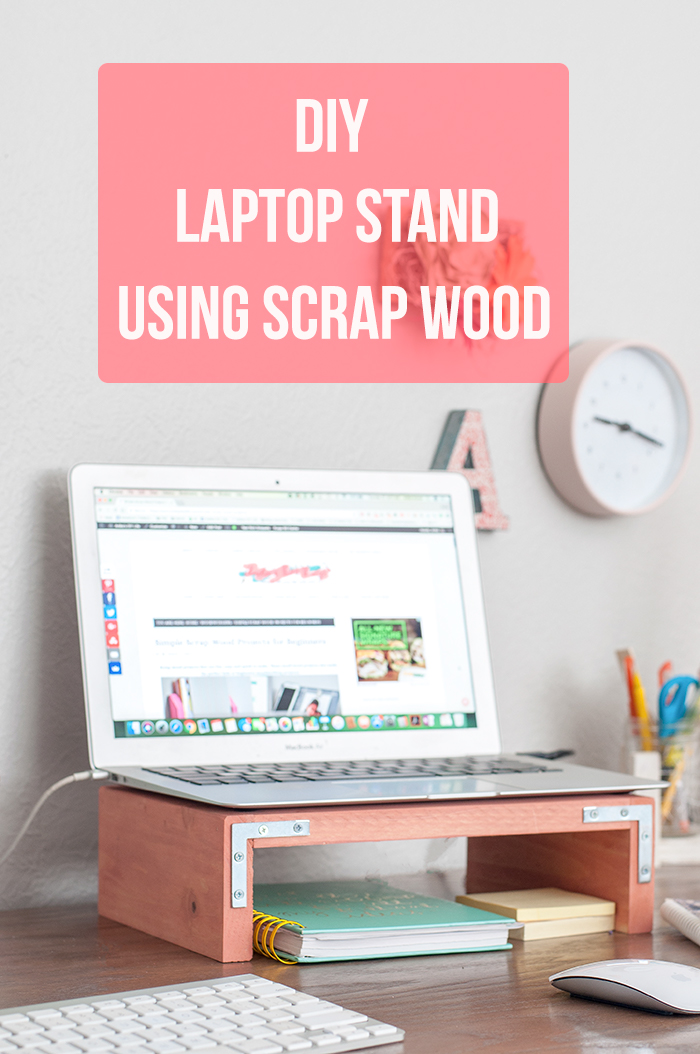
Liked this project? If so, you’ll love this DIY Scrap Wood Laptop Stand:

How to build a laptop stand using scrap wood.

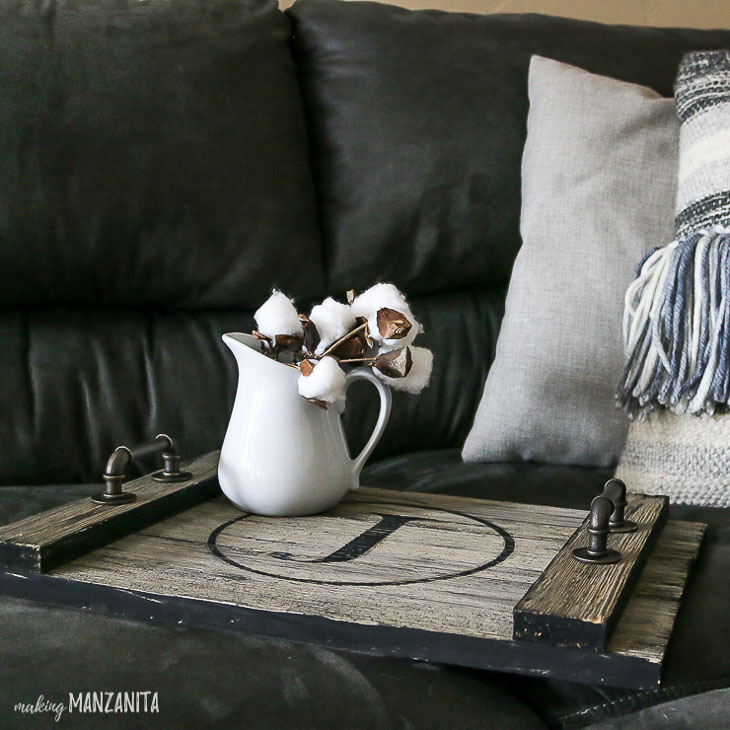
Or this DIY Farmhouse Style Serving Tray:

Farmhouse rustic wood serving tray on couch

Tutorial for making these DIY oilcloth, water resistant drink coasters for Summer!

DIY Drink Coasters - Water Resistant fabric and perfect for Outdoor Use and Summer Parties!

DIY Oilcloth Drink Coasters

Hi there!  I’m so thrilled to be back today with this super quick and easy project.  The weather in Seattle has been totally amazing lately and it’s got me thinking about summer.  And, summer entertaining is on the brain! This project will look great on your patios and outdoor spaces. Bonus, it’s totally water resistant too. Let’s take a mini-break and learn how to make these adorable DIY oilcloth drink coasters for gifting or entertaining.

What in the world is Oilcloth?

Oilcloth is a type of fabric.  It has vinyl on one side and kind of a soft mesh of cotton on the other side.  Vinyl has a slippery and plastic-like feel to it. The best part about vinyl is you can wipe it clean and it’s water resistant! This makes oilcloth a perfect fabric choice for outdoor items like tablecloths, COASTERS, beach bags etc.

The other great thing about oilcloth is that it just happens to be made in a multitude of funky patterns and bright colors.  This fabric was made for Summer!  When you get a minute – run a google search for ‘oilcloth fabric’ and you’ll see what I mean.  Such pretty patterns!

So this is the perfect little accessory for all those Summer fiestas and BBQ’ s you have in the works.  Or even for gifting away as little favors.  Tie a cute burlap string around them and presto! You have a lovely handmade housewarming gift.

Perhaps you own a pool or live near the beach?  Or know someone who does?  These coasters make a fantastic DIY gift idea for them.

Here’s the best part: these stylish oilcloth coasters took me 10 minutes to make – start to finish.

Materials:

(I’ve included affiliate links for your convenience. I earn a small percentage from a purchase using these links. There is no additional cost to you. You can read more about affiliate links here.)

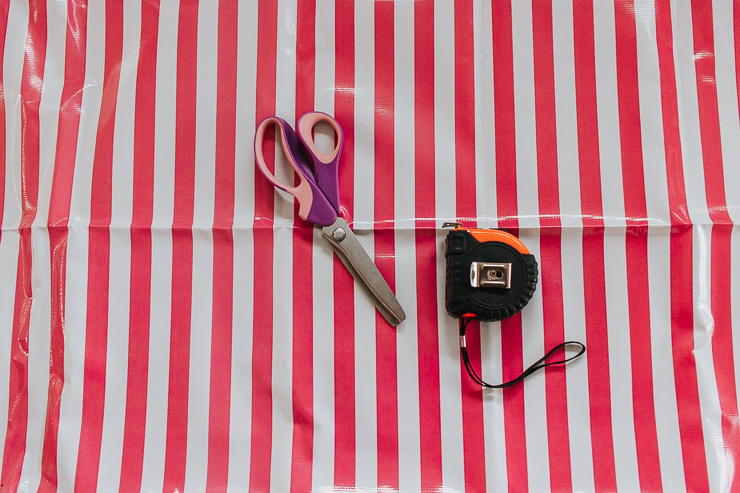
Gather materials needed to make oilcloth drink coasters

  • Oilcloth Fabric – I chose these hot pink stripes from Fabric.com
  • Sewing Machine
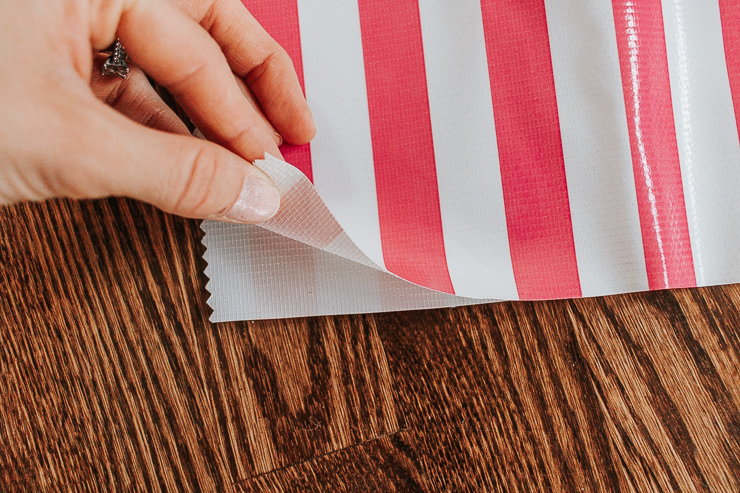
  • Pinking Shears – these are simply scissors with a serrated edge.  They are used to cut a zig zag pattern in fabric to prevent fraying.
  • Tape Measure (for measuring your coasters to a perfect square)

Instructions:

Start by folding your oilcloth in half.  We need two exact squares to make one coaster (both front and back will be the vinyl, water-resistant side).

Fold your oilcloth fabric in half

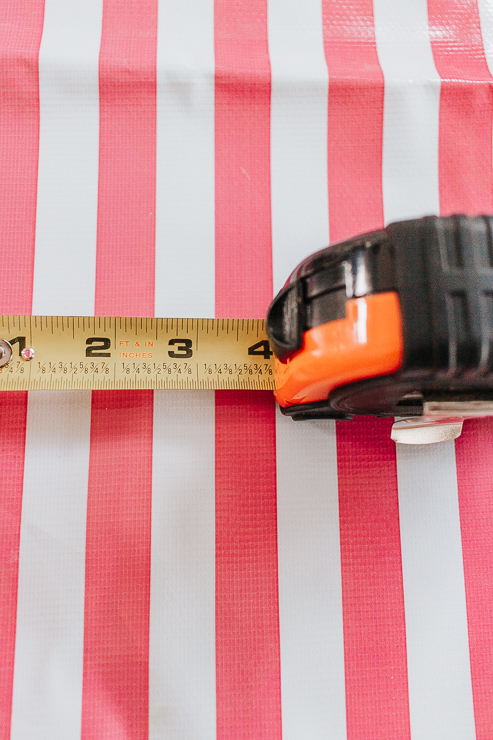
Step 1:  Measure out a perfect square on your oilcloth fabric.

measure out your coasters using a tape measure or ruler

I measured approximately a 4 inch square coaster.  (It’s totally up to you on sizing. Most drink coasters are between 3-5 inches square.  For fun you can also cut circles instead of squares. Use a bowl or circle template to make a perfect circle.)

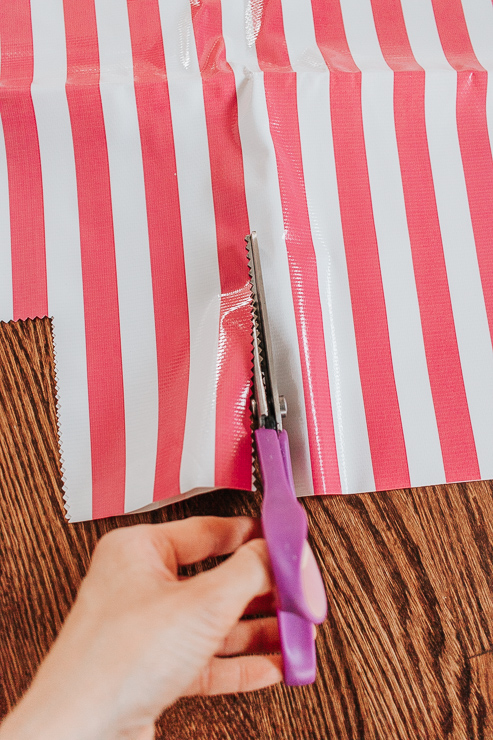
Step 2 :  Use your pinking shears to cut out your measured square.

Cut out the two squares of oilcloth fabric that you previously measured

Since your fabric is folded in half – you can pretty much cut two squares at once.  You can also use regular scissors here and even them with pinking shears after sewing.

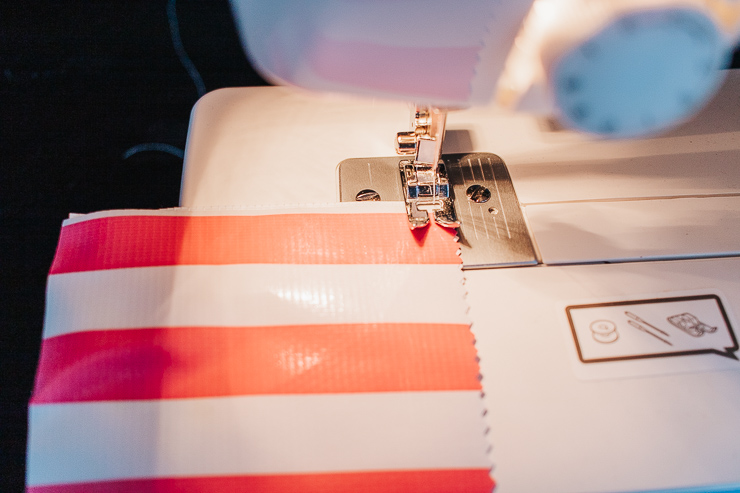
Step 3:  Line up your two squares and sew them together vinyl sides out.

sew both layers or oilcloth fabric together

Use use small binder clips (another little sewing trick I use a TON) to hold your two pieces of fabric together while sewing.  I wouldn’t suggest using pins because the holes will be visible even after removing them.

A straight stitch is fine, but feel free to try something fun like a zig zag stitch.

Tips for sewing and working with oilcloth fabric :

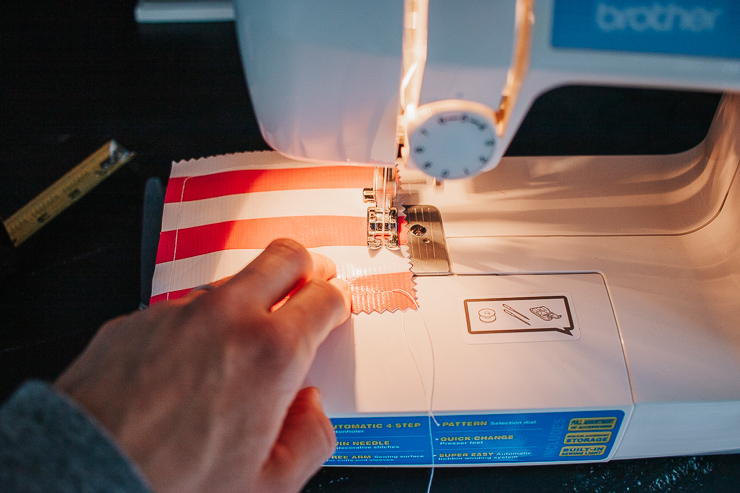
Gently feed oilcloth through your machine so it doesn't stick to the presser foot

  • Because oilcloth is vinyl and kind of plastic feeling, it will stick under your presser foot.  To combat this,  use two hands to feed the coaster through.
  • An alternative is to purchase a Teflon presser foot – they are fairly inexpensive and won’t stick to the vinyl fabric as easily.
  • DO NOT IRON OILCLOTH.  It will melt and the mess won’t be pretty.  If your oil cloth is wrinkled, lay it out and throw some heavy books on top for a few days. This usually presses the wrinkles out.  Oilcloth also “releases” more wrinkles when warmed up a bit.  Therefore you can try laying it by a sunny window.  Don’t microwave your oilcoth. 🙂

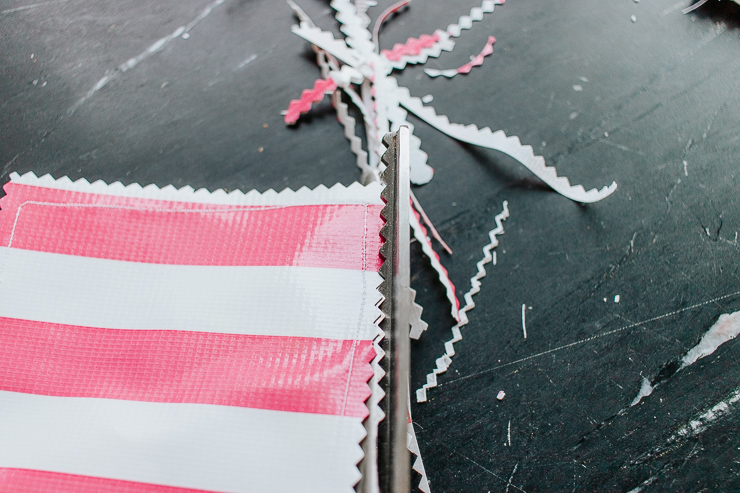
Step 4:  Use your pinking shears to clean up the edges of your coasters

Even up the edges of your newly sewn coasters with your pinking shears

Simply snip along the edge without cutting through the seam to straighten and clean up the ends.

Guess what?  All done!  See how fast it was making these DIY oilcloth drink coasters?

These coasters look so cute and are perfect for Summer! Pin this image to share with a friend:

Tutorial for making these DIY oilcloth, water resistant drink coasters for Summer!

I don’t know about you, but I may need to mix up a batch of margaritas tonight.  I hope you guys enjoyed this tutorial!

Tutorial for making these DIY oilcloth, water resistant drink coasters for Summer!

If you enjoyed this tutorial, you might want to check out my tutorial on DIY frayed napkins.  They also make a nice gift and pretty setting for your tables.  And for even more inspiration – be sure to check out Brittany’s amazing backyard and patio reveal, what a beautiful space!

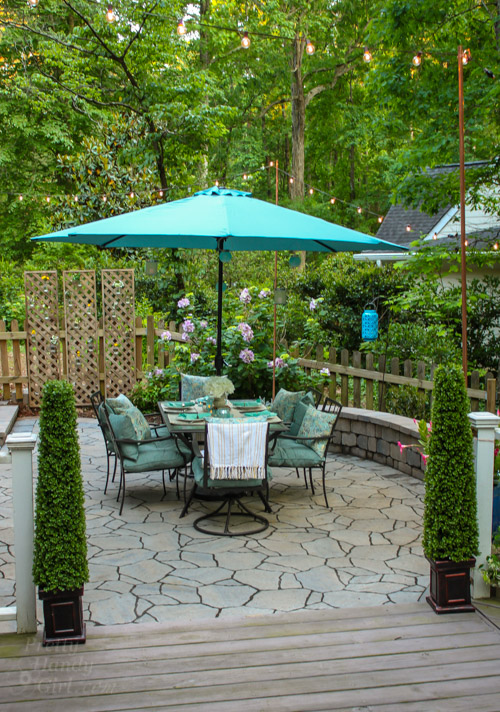
Outdoor Garden Patio Party Decorating Ideas | Pretty Handy Girl

You may also like this tutorial for making mosaic tile coasters

Mosaic Tile Coasters | Pretty Handy Girl

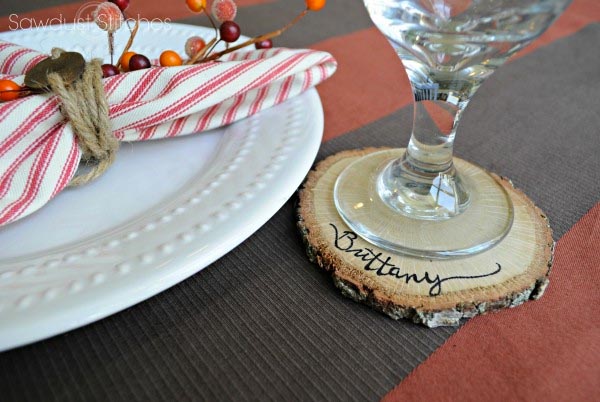
…or DIY personalized wood slice coasters.

I’ll be back here next month and I’m looking forward to connecting with you all again soon.

karen signature

~ See More of Karen’s Tutorials ~


karen from decor hintHello!  I’m Karen, the creator of the Home Decor and DIY Blog: Decor Hint . I’m a Native of the East Coast, but I currently live in beautiful Seattle with my hubby, our two wonderful children and our spunky wheaten terrier.

You can usually find me with some sort of craft in one hand and a coffee in the other. And I’m always rearranging furniture or moving lamps from room to room. I have a passion (read: obsession) for decorating, DIY, and gardening. In short, I love making my house into a home.

Like many, I’m inspired by what I see in home decor magazines, but I’m not so inspired by the price tags.  Consequently, I love finding and creating beautiful budget-friendly home decor items. In a head to head competition, I bet you’d never know the difference between the designer items and my DIY creations!  Many of my DIY projects focus on sewing, crafting, upcycling and organizing. Some of my favorite projects have been making pretty wreaths , sewing my own tassel hand towels, and crafting these trendy wood bead garlands . I can’t wait to inspire you and spark your creativity through my DIY projects.

You can always connect with me on Pinterest , Twitter or Instagram.