How I Re-Built My Own Kitchen (after a leak) | Pretty Handy Girl

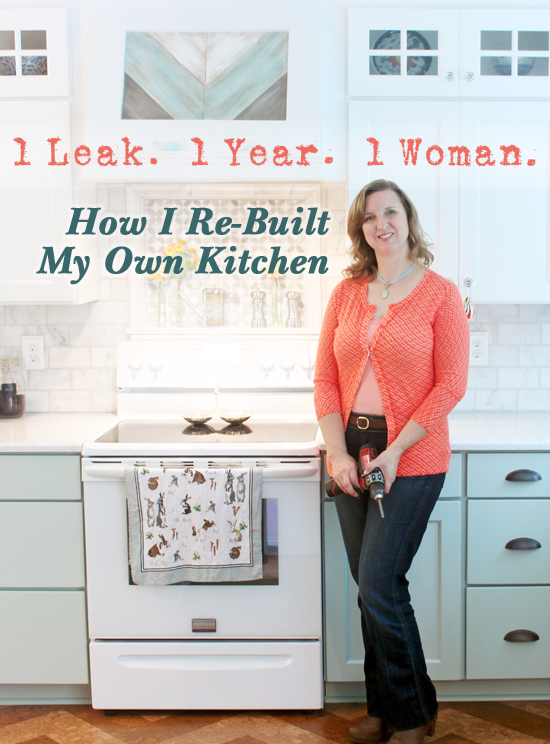
2013 Could be called the year of the kitchen renovation in our house. Or the year that nearly killed me. Or the luckiest year of our lives. I’m still debating the title. What I do know is that, I decided to take on my biggest DIY project to date. I re-built my own kitchen from bare studs and subfloor.

It started one morning as I was confronted with a foul odor. It’s only describable as that odor that usually lives in the high school gym locker room. I thought my 9 year old son’s feet were starting to stink. Unfortunately a stinky pair of shoes wasn’t the culprit, it turned out to be a very minor leak that turned into a very big kitchen renovation. We persevered through 45 days without a washer and dryer and many months without a kitchen. But, it was like being a contestant in Survivor. I lasted the year of construction; the set backs and sore muscles; and in the end I was rewarded with a brand new kitchen!

Today, I walk into our beautiful kitchen and I know it was all worth it! It was worth all the sweat equity, the daily Advil doses, and the tree falling on the house. If you want to reminisce with me as I recap my kitchen renovation of 2013, here’s your ticket to all the tutorials and posts: Read more

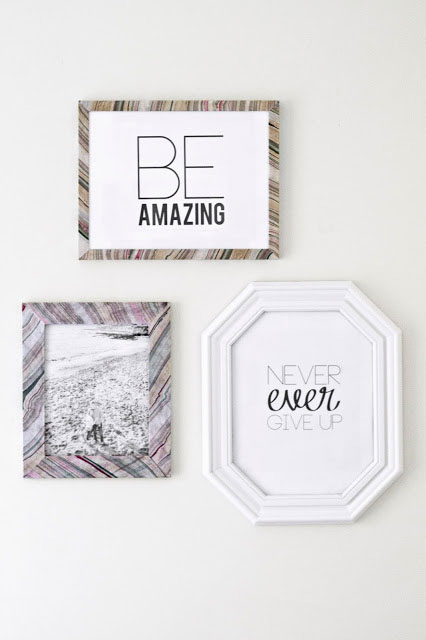
Today I am so excited to have the very talented Sarah joining us with a fabulous très frugal DIY gift idea. Sarah is the creative genius behind Sarah M. Dorsey Designs. I am in love with her design style in her home. The coolest thing about Sarah’s designs is that she achieves them on a super frugal budget. Today she’ll show us how to make marbled picture frames in no time for only a few bucks.

page_break_2

Hi PHG Friends!! This is Sarah from Sarah M. Dorsey Designs. I’m so excited and honored to be here sharing a simple DIY gift idea.

Today may be Black Friday, but instead of buying a gift, think about making a gift. Handmade gifts mean so much more (at least to me 🙂  Plus you’ll save yourself the aggravation of crowded stores. A win win!

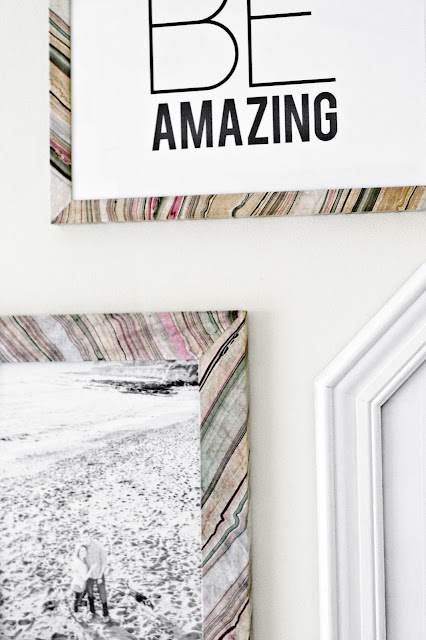
I love the variety of marble paper – adding that to a plain picture frame truly makes them one of a kind! Here’s how I did it.

Materials:

  • 1 sheet of marble paper (available at paper source and blick art supply)
  • Mod Podge
  • Frame (recommend straight front and sides) ** Tip: check your local thrift store for frames, I was able to these for about $1 each
  • Brush
  • Cutting supplies: scissors, cutting mat, xacto knife, metal ruler

Instructions: Read more

coffee_serving_tray_map

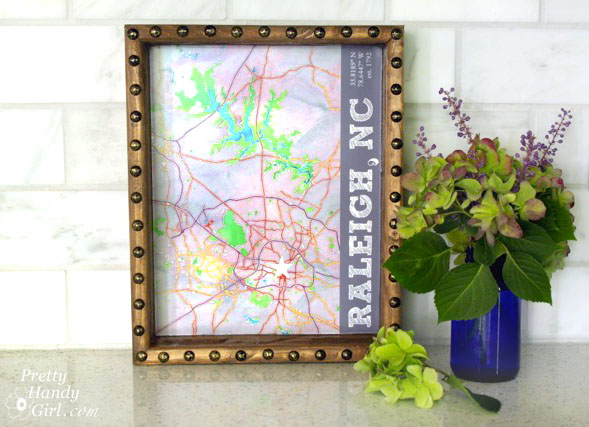
Whether you are looking for a quick and easy gift idea or want to make this for yourself, this DIY State Capital Rustic Tray was fun to make and easy to create!

coffee_serving_tray_map

DIY State Capital Rustic Tray

Are you proud of your hometown? Want to create a personalized gift tray for someone you love. Today I have a special project you’re going to love!
City_map_shadow_box

Materials:

(I’ve included affiliate links for your convenience. I earn a small percentage from a purchase using these links. There is no additional cost to you. You can read more about affiliate links here.)

Optional: Scrap of pegboard

Instructions to Make DIY State Capital Rustic Tray:

Visit Maps.Stamen.com that turns maps into works of art! Simply enter your city, state or favorite location and watch as it instantly turns into a watercolor drawing! When you have the view you want, download the graphic to your computer.

If you wish, you can play with the hue and saturation of your image in your photo editing software.

raleigh_watercolor_map

For fun and more graphic interest, I added “Raleigh, NC” (using Sketch Block font) and the global coordinates for my capital city. Plus, the date Raleigh was founded. (All available at Wikipedia.)

raleigh_nc_graphic_map

Print your map onto paper and use the x-acto knife and metal ruler to cut out the map.
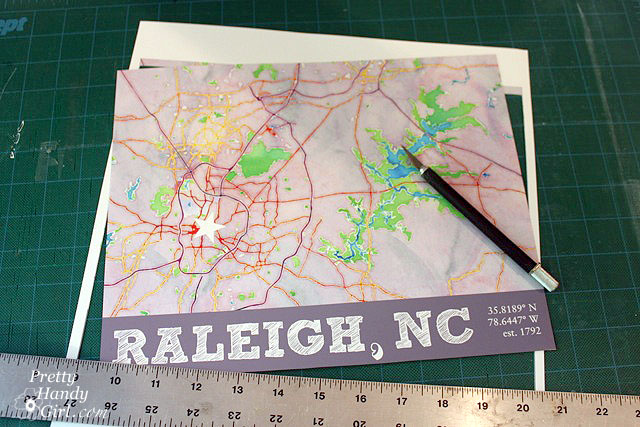
print_out_raleigh_map

Cut out a piece of plywood (or board) the same dimension as your map. (I used a circular saw and the Kreg Rip Cut, but you can use a table saw, jig saw, or have Lowe’s cut a board for you.) Sand the board to remove any splinters.
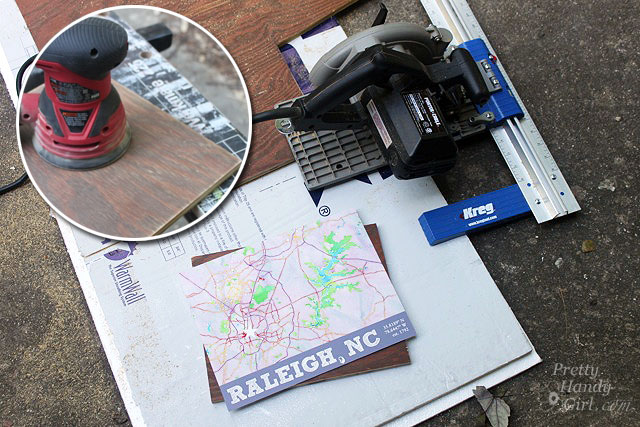
kreg_rip_cut_sand_base

Check your map printout against the base and trim the map if needed.
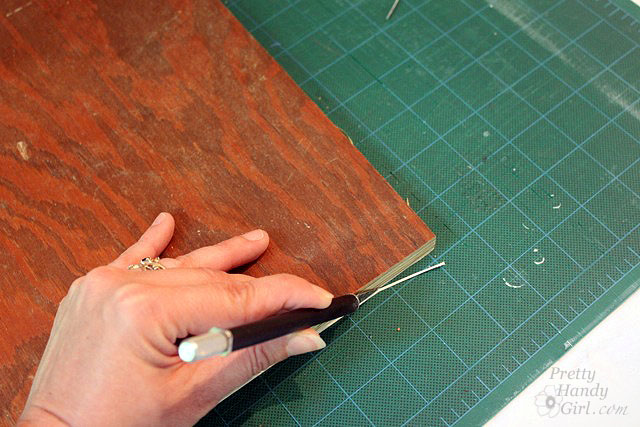
trim_map_to_base

Cut one end of a 1×3″ board at a 45 degree angle using the miter saw. (Never used a miter saw before? Watch this video tutorial to learn how to use a miter saw.)
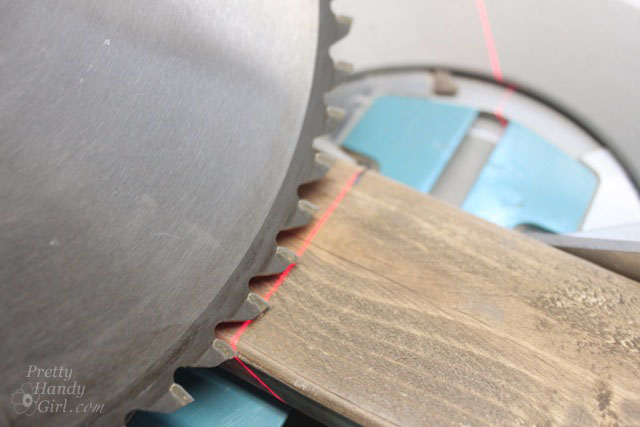
cut_mitered_45_end

Line the board up against the plywood base. (Line up the inside of the 45 degree angle at one corner.) Make a mark where the other corner meets the 1×3.
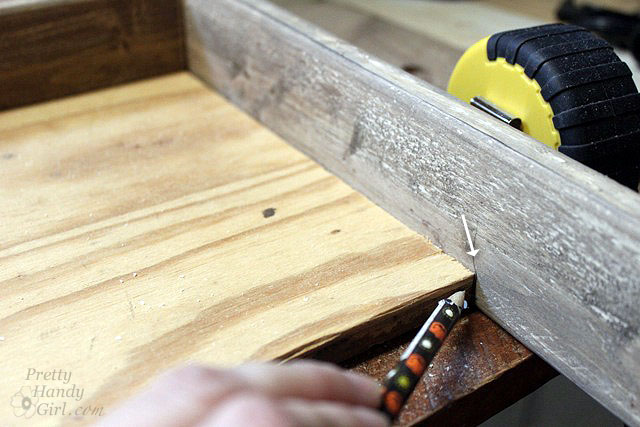
mark_wood_side

Cut the 1×3 at an opposing 45 degree angle, lining up the saw with your inside angle mark. Continue marking and cutting your 1×3 boards to create the sides of your tray.

miter_cut_ends

Dry fit the sides against the base. Make any adjustments to get a tight fit. Run a line of wood glue along the ends of the 1×3’s.
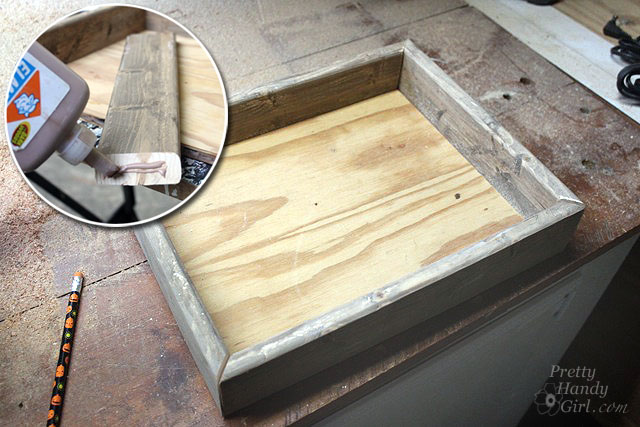
glue_corners

Run a bead of glue along the sides of the base piece.
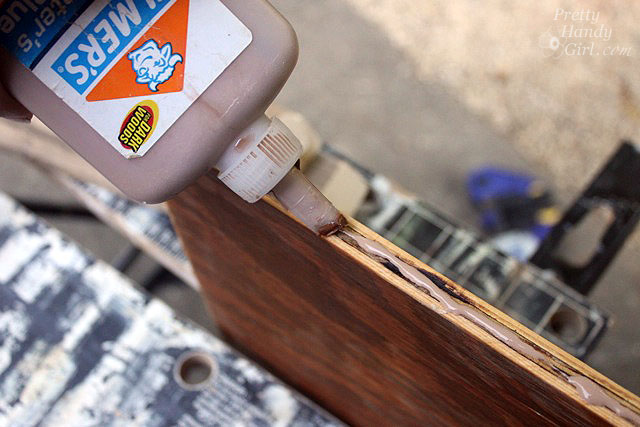
glue_tray_base_perimeter

Clamp the tray together making sure the base is flush with the bottom and all the sides meet.
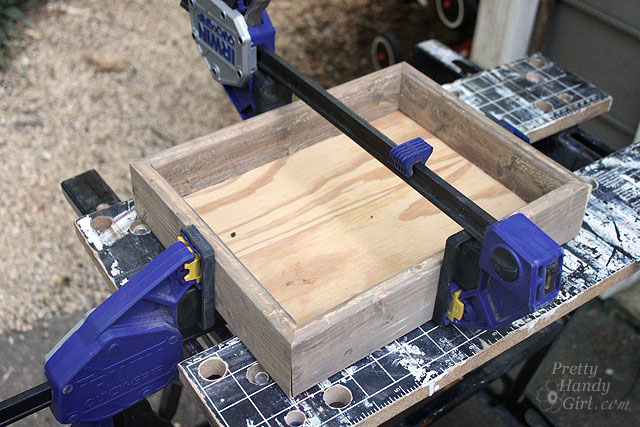
clamp_box_frame

Use the finish nailer to shoot 1.25″ finish nails into the corners of the tray. Then secure the base to the sides by shooting more nails through the sides into the base.
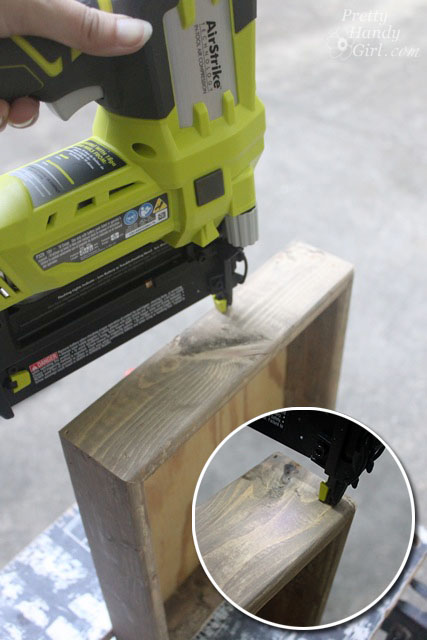
secure_tray_trim_nails

Stain the tray and base with a foam brush. Wipe off any excess with a dry rag or paper towels.
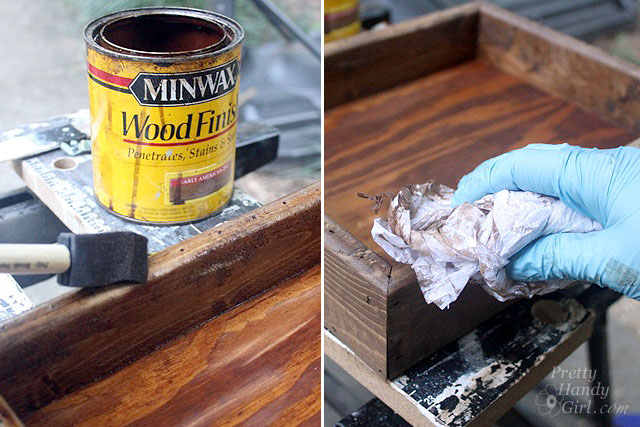
stain_tray_wipe_off

After the tray dries, use the pegboard scrap to mark even spots along the tray edge for the nailhead trim. Hammer nail heads into the edges of the tray. (If the wood is hard, you might have to pre-drill holes.)
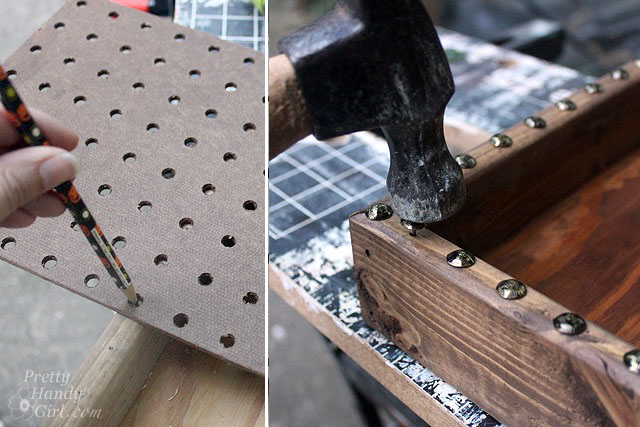
space_hammer_nailhead_tacks

Test fit your glass to make sure it fits in the bottom of the frame. Clean off the glass with window cleaner. Wipe off any lint.

wipe_glass_clean

Set your map print on the bottom of the tray. Lay the glass on top of the map.
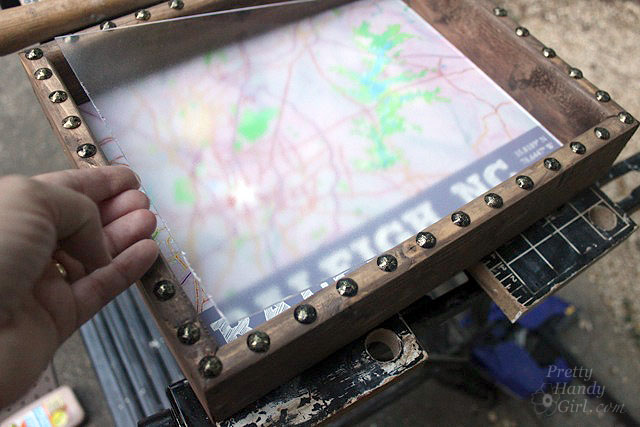
drop_glass_inside_frame

Run a line of clear caulk along the edge of the glass. Wipe the caulk with a wet wipe to smooth and remove excess caulk.

caulk_around_glass

Let the caulk set and then feel free to fill your tray! I use my tray in the kitchen to neatly hold our coffee supplies.

coffee_serving_tray_map

But, you could also add D-rings to the back of the tray and hang it as art!

City_map_shadow_box

I’m curious, where are you from? Or where do you call home? Don’t you think this would make a fabulous present for someone who is proud of their hometown?

PHGFancySign

Fall Decor in a Rustic Farmhouse Kitchen | Pretty Handy Girl

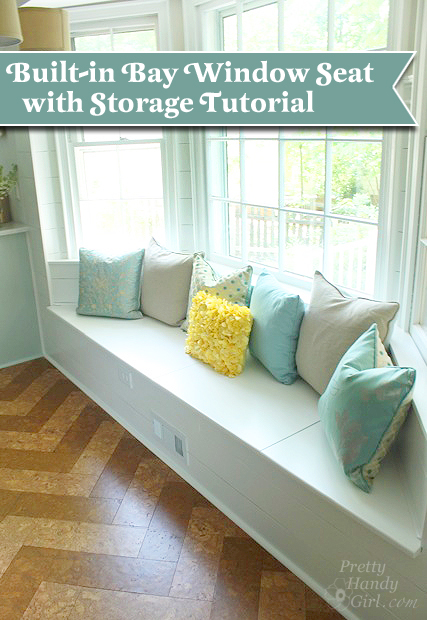
built in bay window seat with storage tutorialBuilding a Window Seat with Storage in a Bay Window

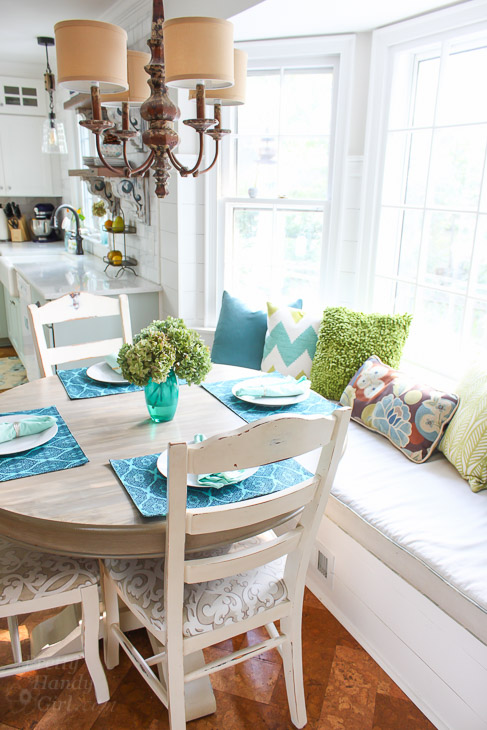
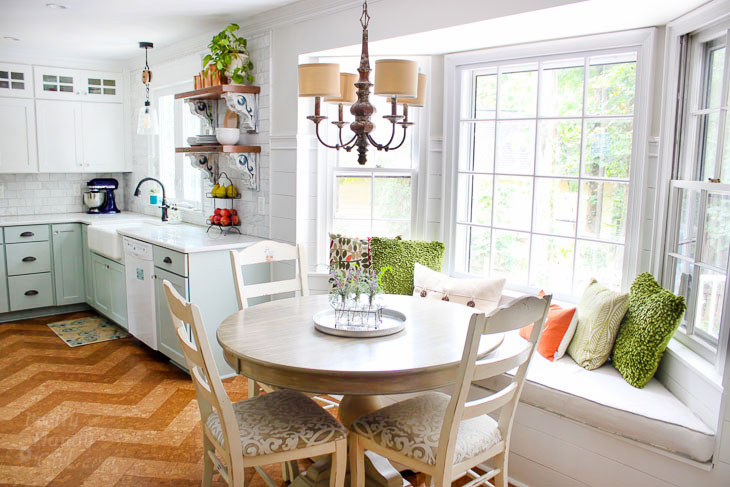
You know when you dream about the finished product on something that you’ve been planning for a long time? And then you finish and your dream becomes a reality? And you think to yourself, am I still dreaming? All those sentiments and more have been going through my head since I finished the building this built-in window seat with storage in our bay window. This window seat is divine! In fact, I’ve begun calling it the Queen’s seat in the hopes that it will deter any male folks from claiming it in our household.

Love this kitchen decorated for fall. You have to see the rest!

Several of you have asked for the tutorial to build the window seat. I have that for you, but I want to mention that this is a slightly more advanced project. Halfway into writing this tutorial, I realized there was no way I could show you each and every cut, step, and trick without this being the world’s longest blog post/tutorial. If you have some basic carpentry skills (you know how to hammer, nail, use some power tools and you know how to attach a 2×4″ securely to a wall), you should be able to handle this. With that being said, I do want to offer any help if you should have any questions during the process of building this bench, please feel free to email me and I will do my best to help you.

I also want to mention that I did have to move the HVAC vent forward so it came out the front of the window seat. Here’s the tutorial to move a floor vent. I do want to caution you against building over a vent. We have a bookcase that was built over the register and the wood inside grew mold because there wasn’t enough force to blow the air and moisture out the front of the bookcase. Just a warning, don’t take the easy way out.

Basics for Building a Built-in Window Seat in a Bay Window: Read more

DIY Beadboard Picture Frames

DIY Beadboard Picture Frames

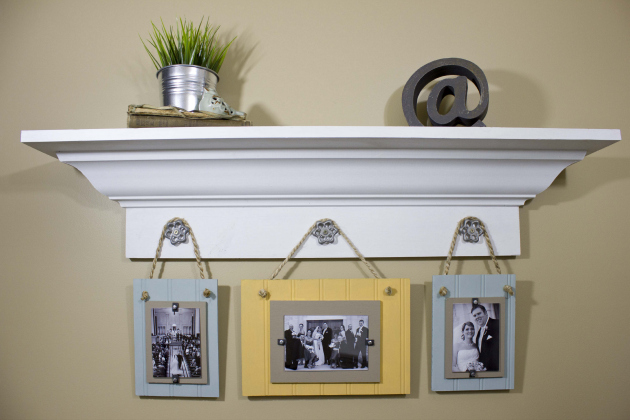
Last month Matt showed you all how to build a decorative shelf with crown molding for our half bath. The shelf is perfect for the space and I love it. Unfortunately something felt like it was missing from the shelf. After some thought I decided that our shelf needed picture frames! Beadboard picture frames to be exact.

DIY Beadboard Picture Frames

Today I am going to show you how to DIY your own beadboard picture frames! Read more