vacuum out your dryer duct | Pretty Handy Girl

31 Days of Handy Home Fixes | Pretty Handy Girl

Welcome to Day 8 of my 31 Days of Handy Home Fixes. Today I have a VERY IMPORTANT tip to prevent a fire from starting in your laundry room.  I’m going to show you how to replace your flexible foil or plastic dryer vent duct with a much safer semi-rigid ductwork. Before we go any further do you know what type of dryer duct hose you have? Go run and check. I’ll be waiting right here when you get back.

Day 8: Replace Plastic or Flexible Foil with Semi-rigid Dryer Duct:

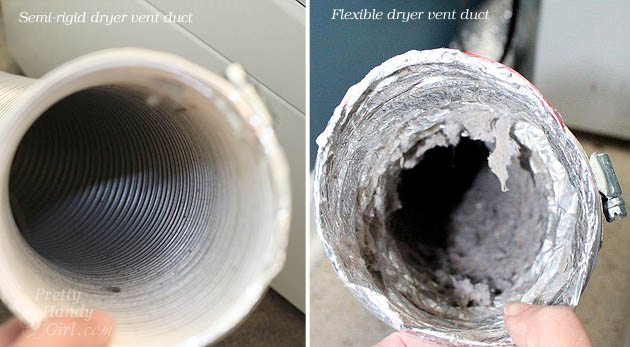
Does your vent hose look like this semi-rigid type:
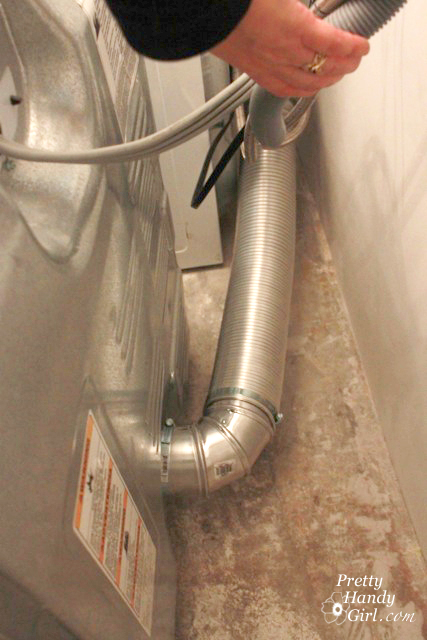
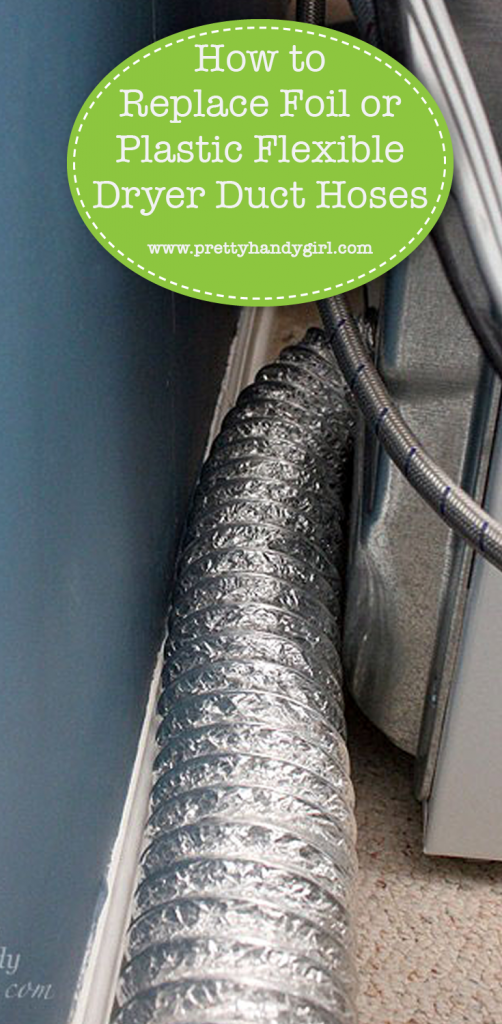
Or the shiny foil flexible type:
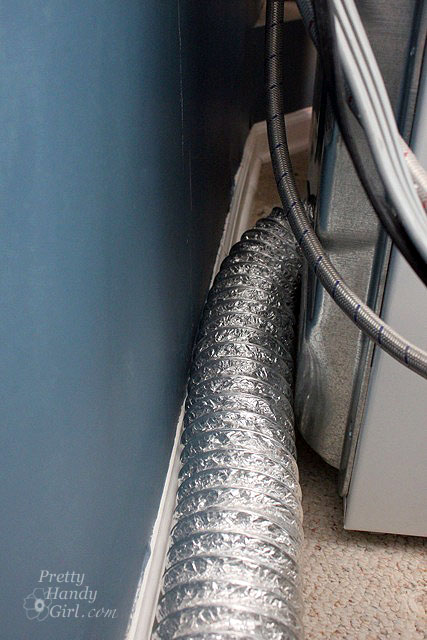
Which do you have? If your dryer ductwork is semi-rigid or solid metal ductwork you can skip the rest of this post and come back tomorrow.

What’s the difference? Well, let me show you what each of these ducts look like after one year of use:

Semi-rigid vs. flexible dryer duct | Pretty Handy Girl

Which one do you think is safer? Exactly! The semi-rigid doesn’t collect lint as easily as the flexible duct! Therefore, you have less of a chance of the lint catching fire.

To replace the duct hose, measure the length of ductwork you need to replace. You can order semi-rigid flexible aluminum duct from Amazon or head to your local home improvement store to purchase it. Be sure to pick up any dryer vent adjustable elbows and hose clamps you might need as well.

Remove the flexible duct and replace it with the new semi-rigid. For more detailed directions you can follow my tutorial for installing semi-rigid dryer hose.

How to Replace Your Flexible Dryer Hose | Pretty Handy Girl

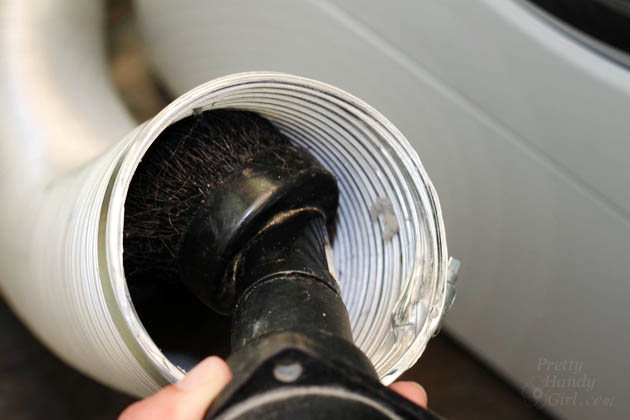
Don’t forget to continue to clean out your dryer vent ducts 1-2 times a year! It’s an easy maintenance task you can do yourself (once you get the dryer out from the wall…which may be the hardest task.)

vacuum out your dryer duct | Pretty Handy Girl

PHGFancySign

Pin for later!

dryer foil replacement


I’m participating in Nester’s 31 Days Challenge. Check out all the other bloggers who are participating!

31 Day Writing Challenge

Don’t miss a single tip! Sign up to get all the tips in your email:


Sign Up for Email Subscription


Other tips in the 31 Days of Handy Home Fixes series:


31 Days of Handy Home Fixes | Pretty Handy Girl

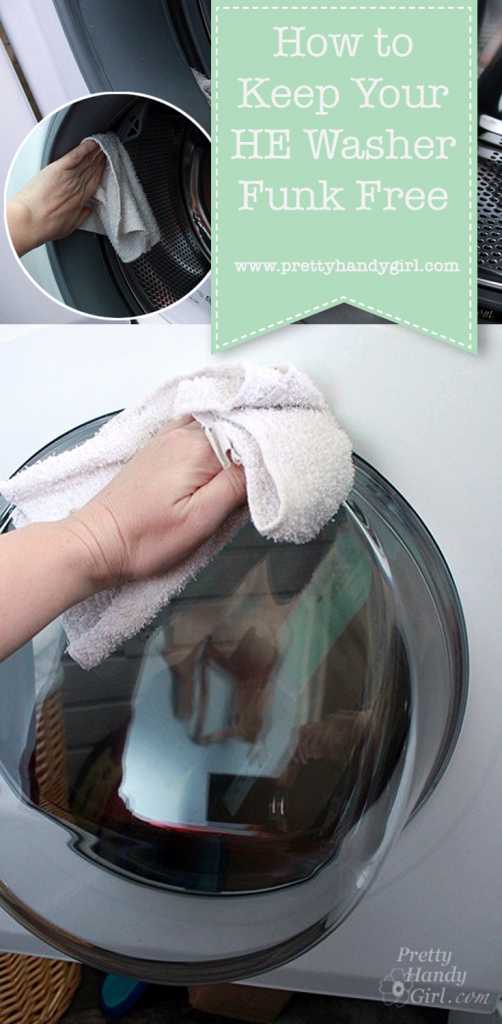
Welcome to Day 6 of my 31 Days of Handy Home Fixes. So you finally upgraded to an HE washer. You have to be careful because if you don’t take care of it you’ll have a stinky funky mess. Funky music = good. Funky washer = bad! The HE washers (front load especially) are air tight, which can be the perfect environment for growing mold.

Have no fear, this tip will take 30 seconds of your time! Keeping your HE washer funk free and like new is super easy.

Day 5. How to Keep Your HE Washer Funk Free

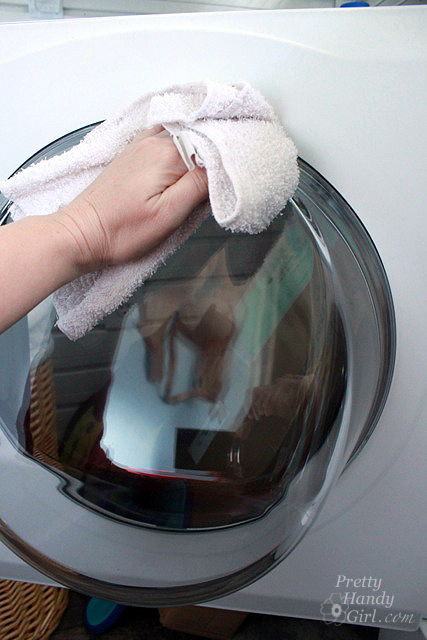
After each wash load,  grab a dry wash cloth or rag and wipe off the door.

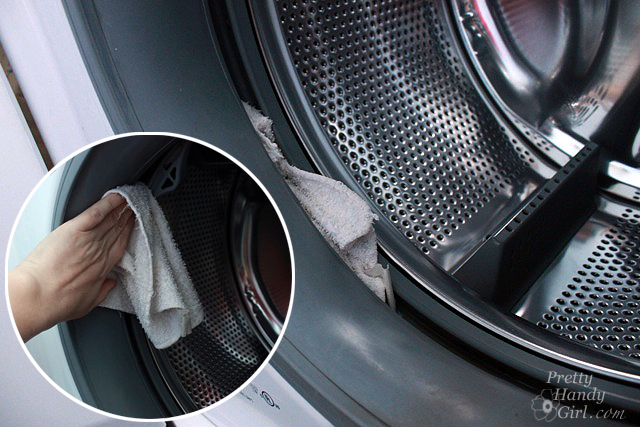
Then wipe out the gasket (top to bottom) to remove any water and moisture. This is the main area that will get mildewy first. Gently pull the gasket towards you to get into the fold.

Open the detergent dispenser drawer and wipe out any visible moisture. Finally, leave the detergent drawer and washer door open to thoroughly air out your washer.

If you are already stuck with a funky washer, follow these tips for cleaning it out and eliminate any odors. Be sure to read the comments because my readers have a bunch of tips to help keep your washer clean!

PHGFancySign

Pin for later!


I’m participating in Nester’s 31 Days Challenge. Check out all the other bloggers who are participating!

31 Day Writing Challenge

Don’t miss a single tip! Sign up to get all the tips in your email:


Sign Up for Email Subscription


Other tips in the 31 Days of Handy Home Fixes series:

Adding Foam Weatherstripping | Pretty Handy Girl

31 Days of Handy Home Fixes | Pretty Handy Girl

Welcome to Day 5 of my 31 Days of Handy Home Fixes. Winter is fast approaching and now is a good time to assess your doors and windows. Do you feel a draft by your window when the wind kicks up outside? Can you see daylight seeping through your door?

Adding Foam Weatherstripping | Pretty Handy Girl

If you answered yes to either of those questions, you are throwing away money on heating and cooling your home. Today I’ll show you a super quick fix to make your home more energy efficient and weather tight.

Day 5. Add Weatherstripping to Doors and Windows

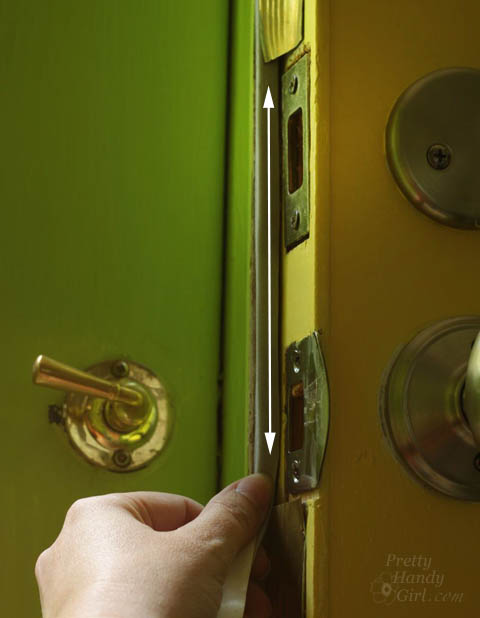
The photo above is a picture of the gap between our front doors. We were losing heat and letting the cold air inside through this gap. The solution is as simple as buying a roll of foam weatherstripping.

Adding Foam Weatherstripping | Pretty Handy Girl

Peel off a section of weatherstripping. Press it onto the door jamb. Peel off the protective paper. Test your door by closing it and look again for light.

Adding Foam Weatherstripping | Pretty Handy Girl

No drafts will be sneaking in here! You can also use the same weatherstripping on the bottom of your old windows.

PHGFancySign

31 Days of Handy Home Fixes | Pretty Handy Girl

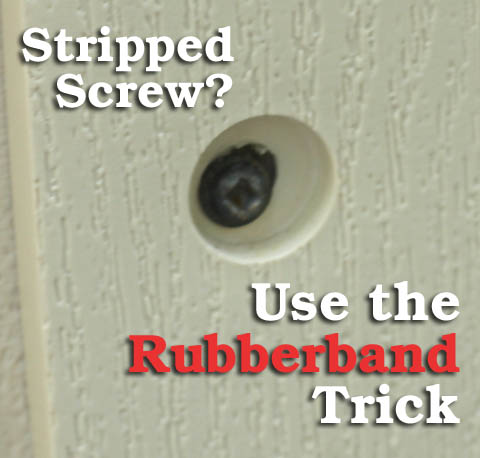
Welcome to Day 4 of my 31 Days of Handy Home Fixes.  What happens when you strip a screw head just enough that the screwdriver won’t get a good grip? Or the screw has been painted over so many times that you can’t get the screwdriver head in the hole? Ahhh, well, I have two quick tips for solving this problem!

Grab a thick rubberband, your screwdriver and a hammer.

Day 3. Removing a Stripped (or painted) Screw

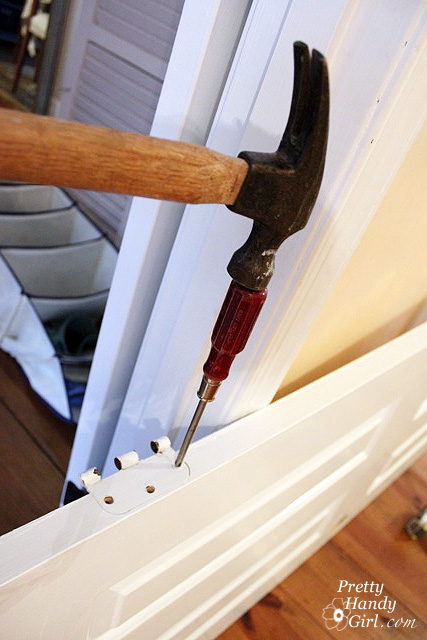
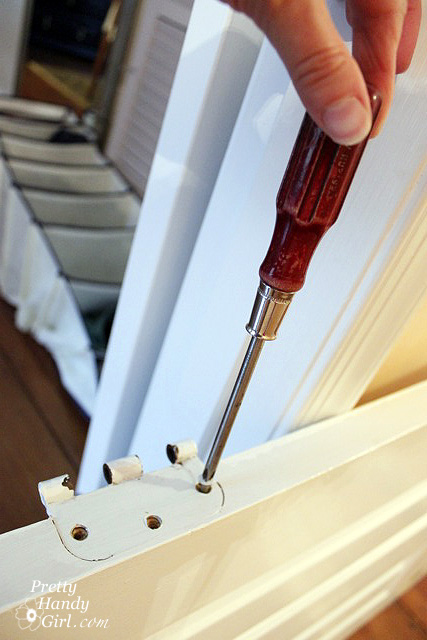
If your screw is painted over, this tip will probably work for you. Set the screwdriver in the screw head (be sure to line up the grooves in the screw with the screwdriver cross. Use the hammer to give the screwdriver one good whack.

The pressure will either crack the paint or set the screwdriver in just enough to get a grip on that stubborn screw.

Need a plan B? Use a rubber band!

Stripped Screw? Use the Rubberband Trick | Pretty Handy Girl

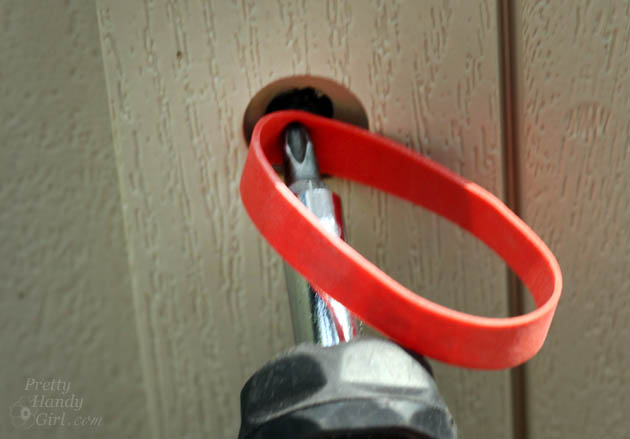
Slip a thick rubber band over the end of the screwdriver. Insert it into the screw head.

Stripped Screw? Use the Rubberband Trick | Pretty Handy Girl

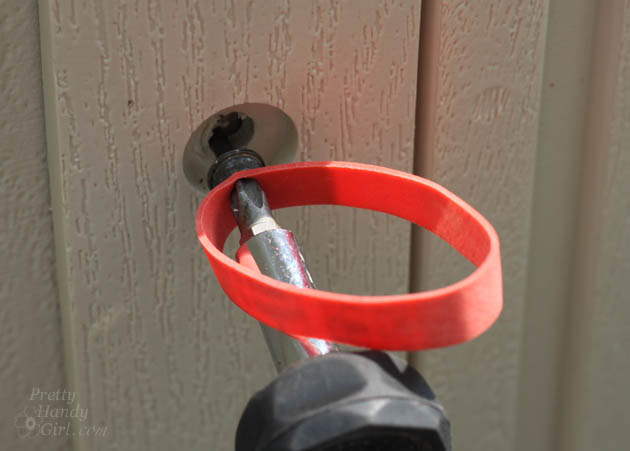
Turn to remove the screw. The rubber band will fill in the hole and give some gripping power while turning the screw.

Stripped Screw? Use the Rubberband Trick | Pretty Handy Girl

Uh oh, the screw still won’t come out? Here’s plan C: Use a dremel to get the screw out!

PHGFancySign

Also check out other participants in Nester’s 31 Days Challenge.

31 Day Writing Challenge

For the entire month of October I’ll be bringing you tips and fixes you can do to protect your home, save money and save time. Stick around to learn more tips tomorrow. Sign up to get all the tips in your email:


Sign Up for Email Subscription


Other tips in the 31 Days of Handy Home Fixes series:


How to Fix Stripped Holes in Wood | Pretty Handy Girl

31 Days of Handy Home Fixes | Pretty Handy Girl

Welcome to Day 3 of my 31 Days of Handy Home Fixes.  Have you ever tightened a screw 1,485 times before you finally admit that the hole is stripped? Procrastinate fixing that stripped hole no more!

Grab some wood glue and tooth picks and we’ll fix that hole in a jiffy.

Day 3. Fixing a Stripped Screw Hole

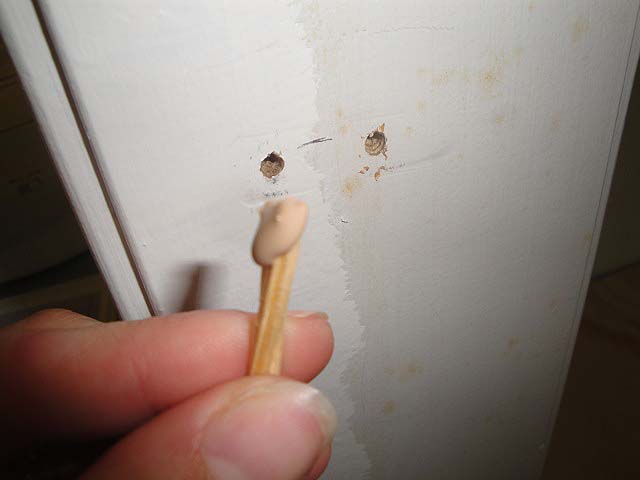
Remove the screw. Squeeze some wood glue into the hole. Add a little more on the end of a toothpick.

How to Fix Stripped Holes in Wood | Pretty Handy Girl

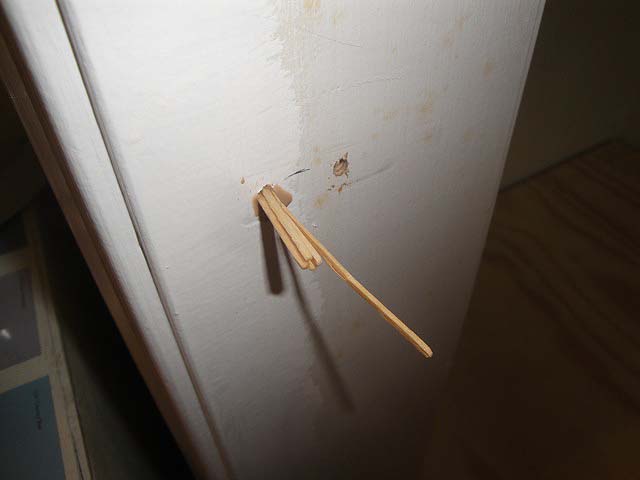
Shove as many toothpicks as you can into the stripped hole.

How to Fix Stripped Holes in Wood | Pretty Handy Girl

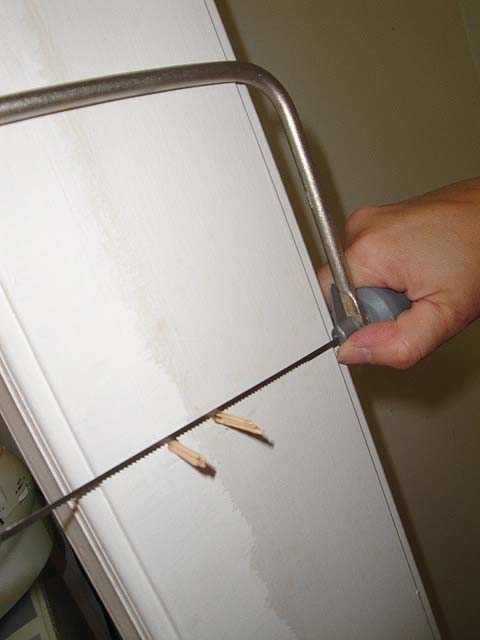
After the wood glue has dried, snap or cut the toothpicks off with a hand saw.

How to Fix Stripped Holes in Wood | Pretty Handy Girl

Drive your screw into your newly fixed hole!
PHGFancySign

Also check out other participants in Nester’s 31 Days Challenge.
31 Day Writing Challenge

For the entire month of October I’ll be bringing you tips and fixes you can do to protect your home, save money and save time. Stick around to learn more tips tomorrow. Sign up to get all the tips in your email:


Sign Up for Email Subscription


Other tips in the 31 Days of Handy Home Fixes series: