Rustic Pallet Serving Tray | Pretty Handy Girl

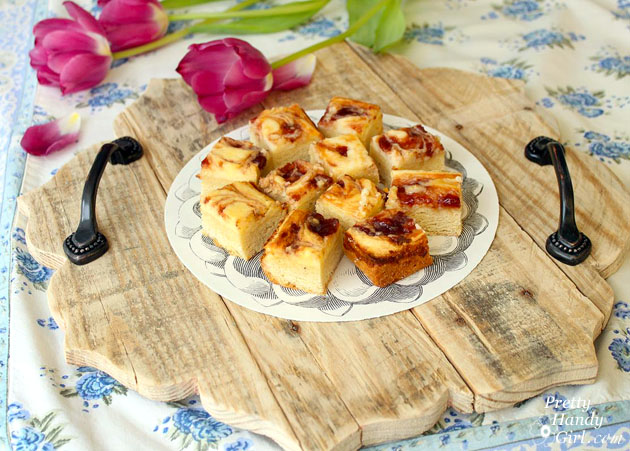
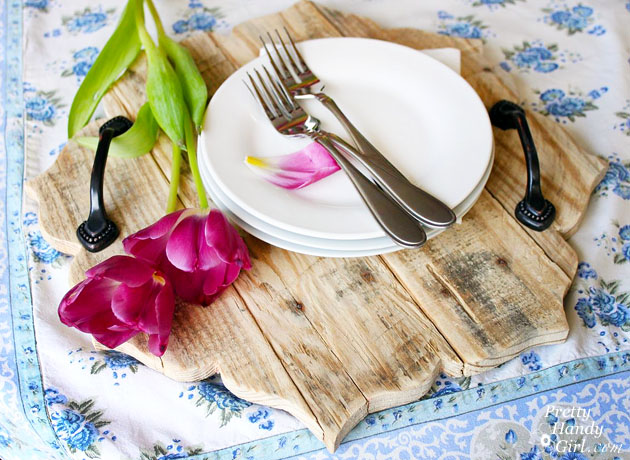
It’s amazing how serving food on a rustic tray can elevate your standard meal or dessert into an elegant occasion. This simple decorative rustic pallet serving tray is a simple project anyone can do!

Rustic Pallet Serving Tray | Pretty Handy Girl

Rustic Pallet Serving Tray

When I worked on a deck makeover with my sister, Caitlin (of Symmetry Designs), we shopped for a lot of the accessories ahead of time. She wanted me to find the perfect Bali-esque tray. Unfortunately I was coming up empty-handed. But, sometimes, you just have to DIY it! This Rustic Pallet Serving Tray was the brainchild of my sister, but I took her idea and ran with it.

Here’s how to make one for yourself.

Materials:

(I’ve included affiliate links for your convenience. I earn a small percentage from a purchase using these links. There is no additional cost to you. You can read more about affiliate links here.)

Instructions:

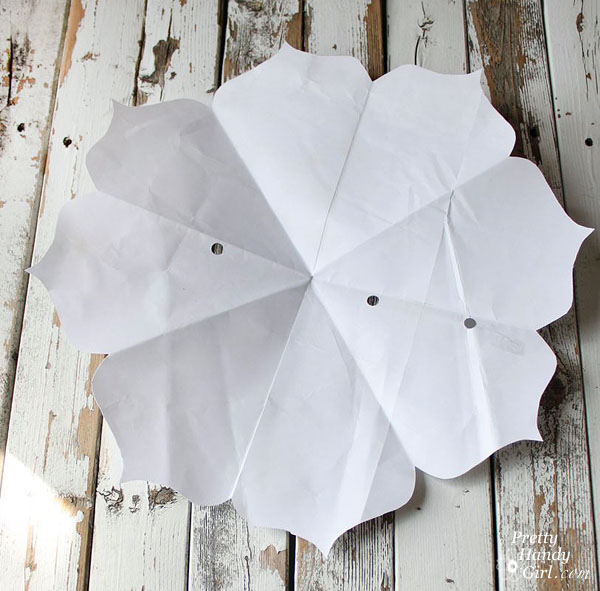
Fold a piece of paper into eights. Cut a design along the edge. (I used a simple scallop shape like this “}”.)

Rustic Pallet Serving Tray | Pretty Handy Girl

When you unfold the paper, you should have a paper template to use for tracing.

Rustic Pallet Serving Tray | Pretty Handy Girl

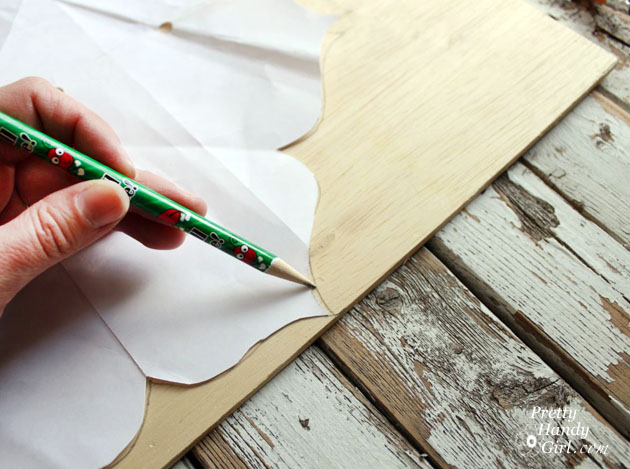
Trace the template onto a piece of thin plywood.

Rustic Pallet Serving Tray | Pretty Handy Girl

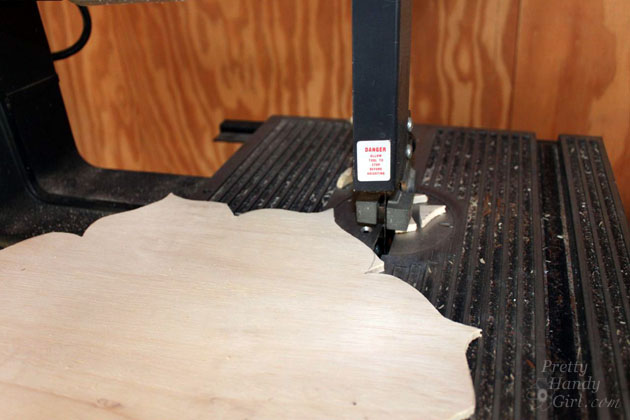
Use a jigsaw or band saw to cut out the shape. You might find this tutorial helpful for cutting out intricate shapes.

Rustic Pallet Serving Tray | Pretty Handy Girl

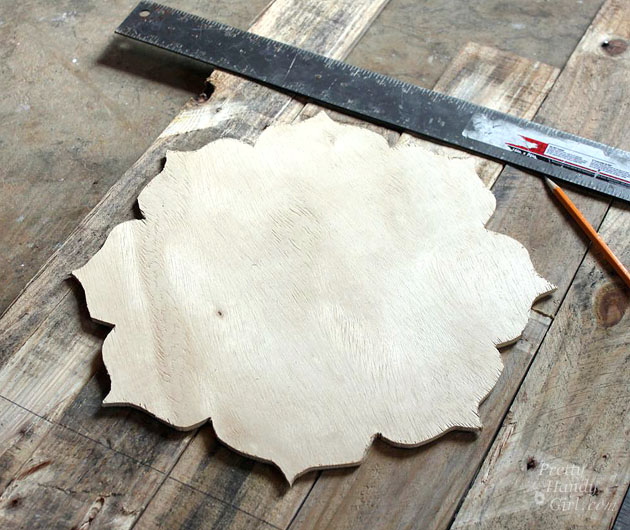
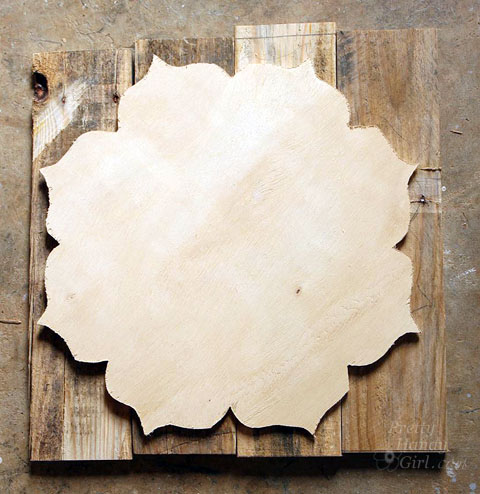
Lay your plywood shape on top of the rustic boards. Move the boards around until you like the sections that will make up the tray. Mark a square around the shape with a ruler.

Rustic Pallet Serving Tray | Pretty Handy Girl

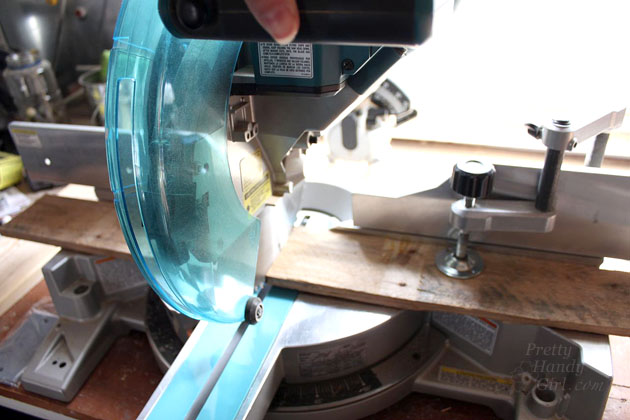
Cut the boards down to size using the pencil mark as a guide.

Rustic Pallet Serving Tray | Pretty Handy Girl

Dry fit the boards together on the plywood shape.

Rustic Pallet Serving Tray | Pretty Handy Girl

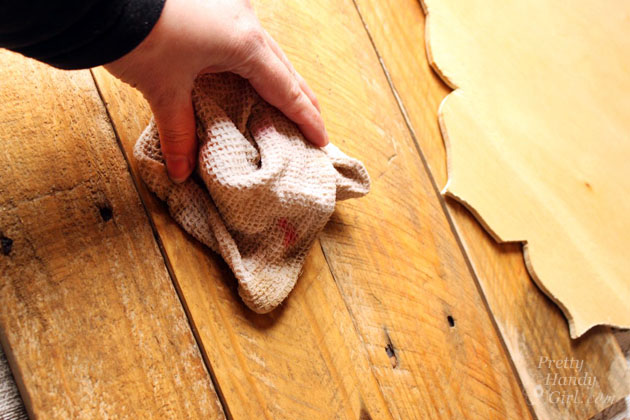
Wet both the plywood shape and the boards with a damp rag.

Rustic Pallet Serving Tray | Pretty Handy Girl

Apply Gorilla Glue to the plywood shape.

Rustic Pallet Serving Tray | Pretty Handy Girl

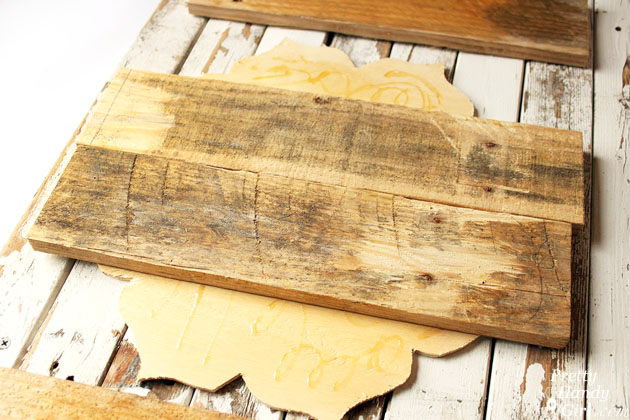
Set the rustic boards into the glue on the plywood shape.

Rustic Pallet Serving Tray | Pretty Handy Girl

Weigh the boards down with weights or heavy books.

Rustic Pallet Serving Tray | Pretty Handy Girl

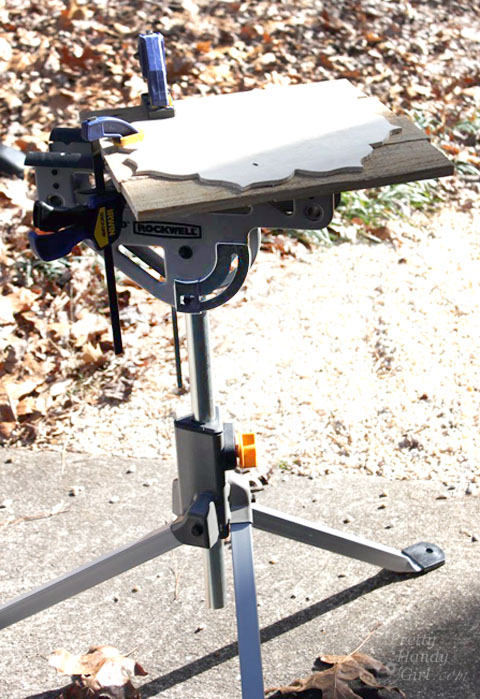
Allow to dry for at least an hour. Remove the weights and clamp the boards onto a work surface (with the area needing to be cut hanging over the edge. Make sure there is clearance for the jig saw blade. You’ll need to cut half the boards and then turn and re-clamp to cut the entire circumference. The Rockwell JawStand works beautifully for this task.

Rustic Pallet Serving Tray | Pretty Handy Girl

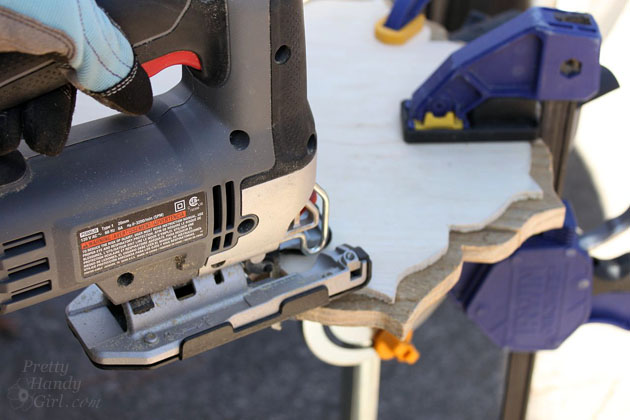
Draw a pencil line 1 inch out from the plywood shape. Cut around the pencil line with a jig saw.

Rustic Pallet Serving Tray | Pretty Handy Girl

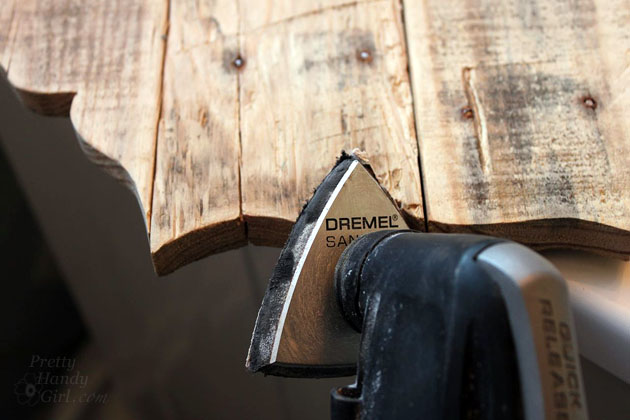
Sand edges and grooves with sandpaper or Dremel Multi-Max.

Rustic Pallet Serving Tray | Pretty Handy Girl

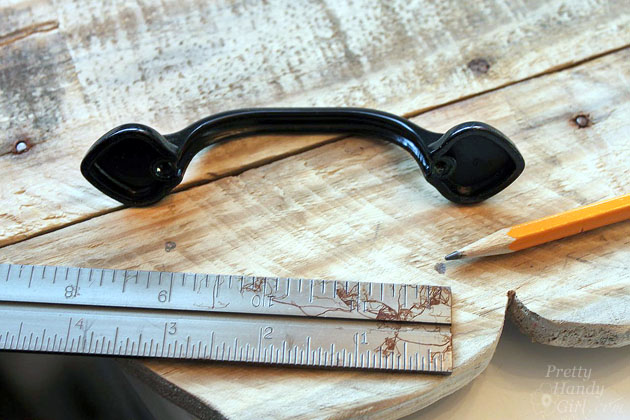
Measure and mark the location of the handles on the tray.

Rustic Pallet Serving Tray | Pretty Handy Girl

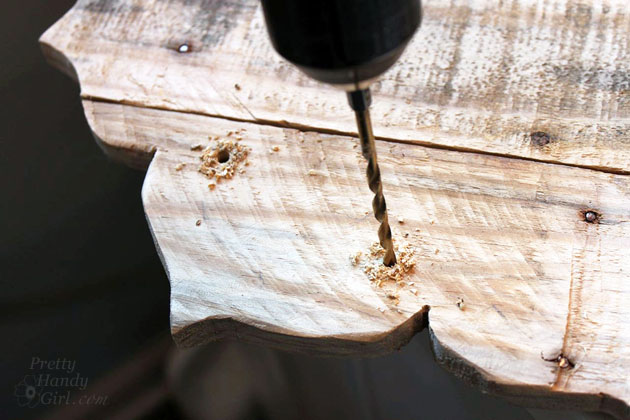
Pre-drill holes using a bit that is the same size as the handle screws.

Rustic Pallet Serving Tray | Pretty Handy Girl

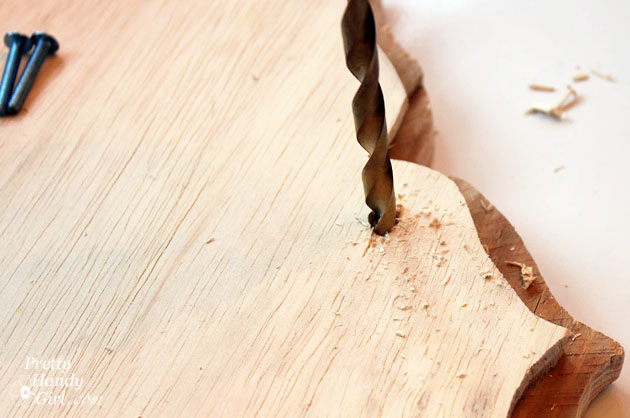
Flip the tray over and drill countersink holes with a larger drill bit.

Rustic Pallet Serving Tray | Pretty Handy Girl

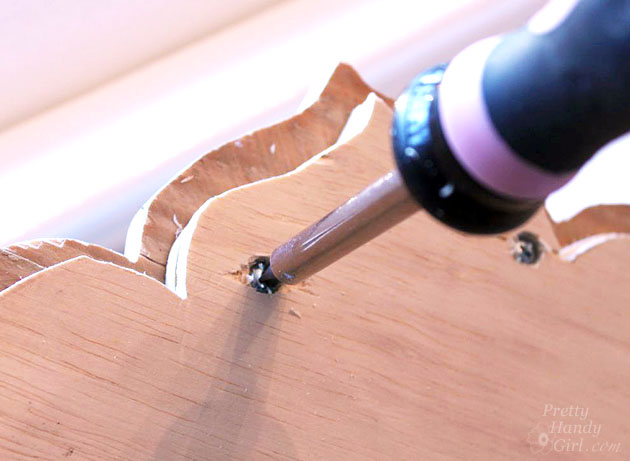
Attach the handles with the screws. The screw heads should sink into the plywood.

Rustic Pallet Serving Tray | Pretty Handy Girl

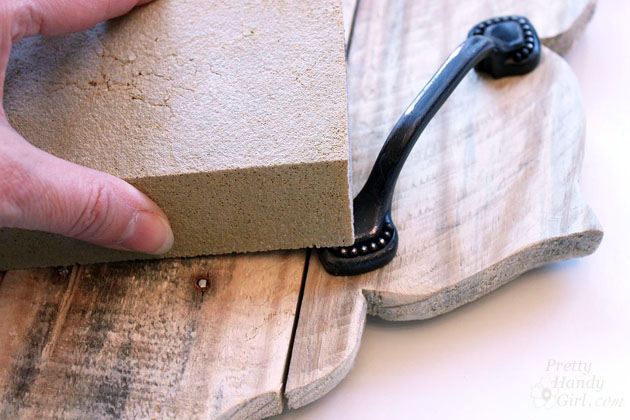
If you want a truly rustic look, lightly sand your handles.

Rustic Pallet Serving Tray | Pretty Handy Girl

If you are going to use your tray for food, use a plate or doily under the food.

Rustic Pallet Serving Tray | Pretty Handy Girl

What do you think? Do you like this beautiful rustic tray? Think you could make one? I bet you could!

Rustic Pallet Serving Tray | Pretty Handy Girl

You can see this tray and our Bali-inspired deck makeover here.

PHGFancySign

Pin for later!

This DIY Rustic Pallet Serving Tray is easy to create with a cutout pattern | Plank serving tray | Pretty Handy Girl #DIY #woodworking #DIYtray #servingtray #rustichomedecor

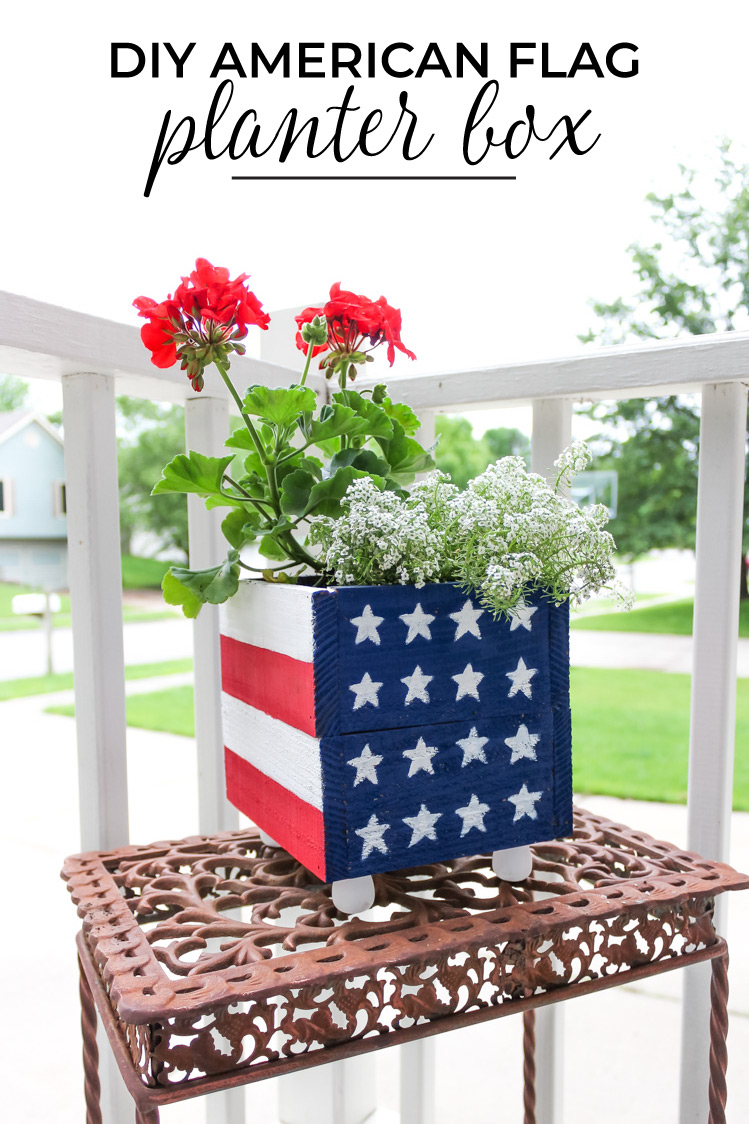
DIY American Flag Planter Box

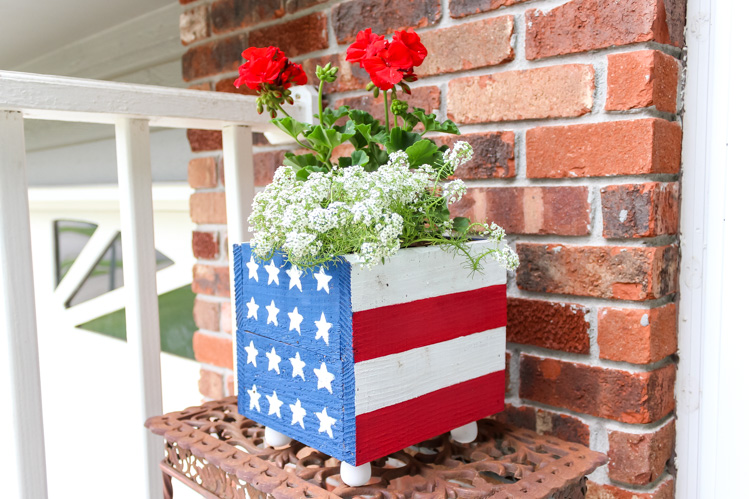
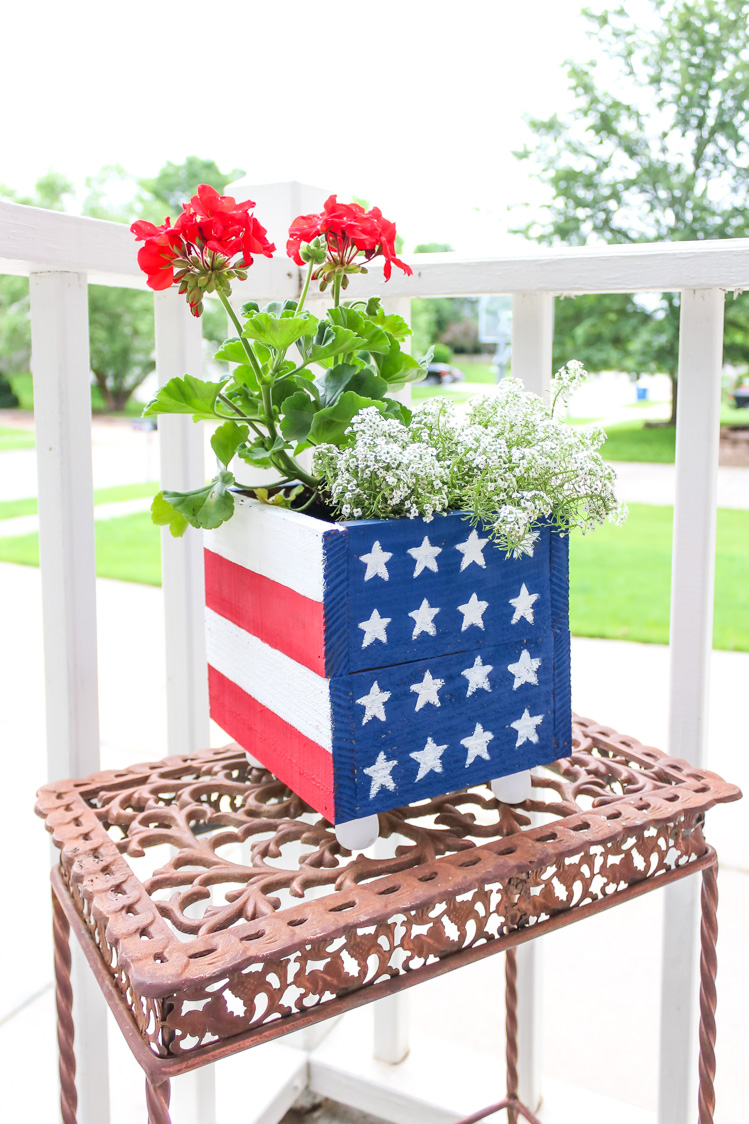
Want to add a little bit of a patriotic flair to your Summer porch or patio? This DIY American Flag planter box is so simple to make from start to finish, you can easily create one for yourself.

DIY American Flag Planter Box

DIY American Flag Planter Box

I hope you all enjoyed the Make It May series. I leave you with this adorable Americana planter Amanda created and hope you’ll make one too for your porch.

I’ve been slowly adding patriotic pieces, like this Americana plant stand, to my porch decor over the years. With a few extra fence pickets left over from a previous project, I decided to whip up this planter box to add some extra red, white, and blue to my Summer porch.

Materials:

(I’ve included affiliate links for your convenience. I earn a small percentage from a purchase using these links. There is no additional cost to you. You can read more about affiliate links here.)

Instructions:

1. Cut the wood pieces

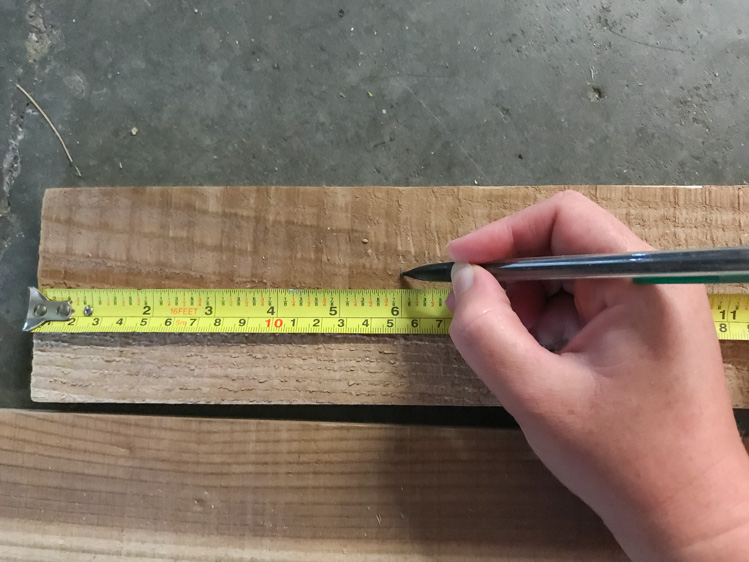
Measure 6″ from the end of one fence picket and mark with your speed square. Use the miter saw to cut the fence picket at the marked line. Repeat this step until you have six boards cut to 6″ each.

Measure cuts for planter box

Measure 8 ¼” and mark with speed square. Use the miter saw, cut the wood at the mark you just made. Repeat this step until you have four boards cut to 8 ¼” each.

2. Assemble the planter box

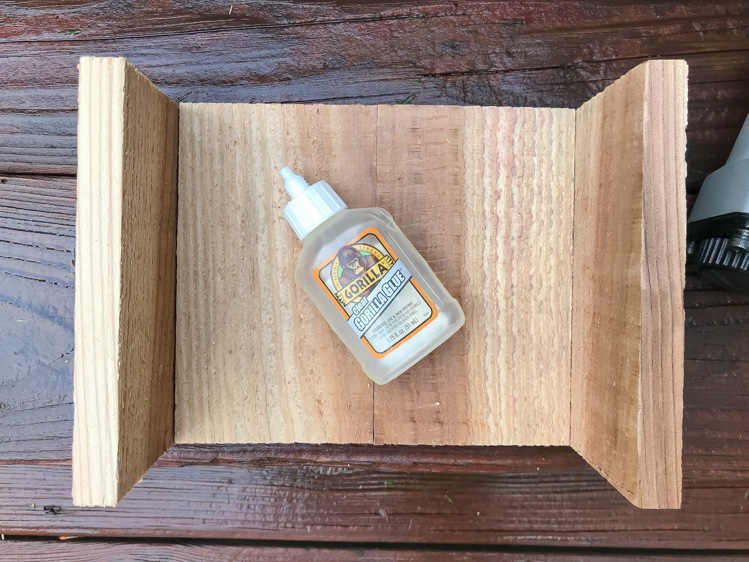
Apply glue to the edges of each board where they will connect with each other. This step makes your box extra secure.

Assemble the base of the planter box

Use the nail gun to attach the boards together to create the base.

use nailer to assemble planter box

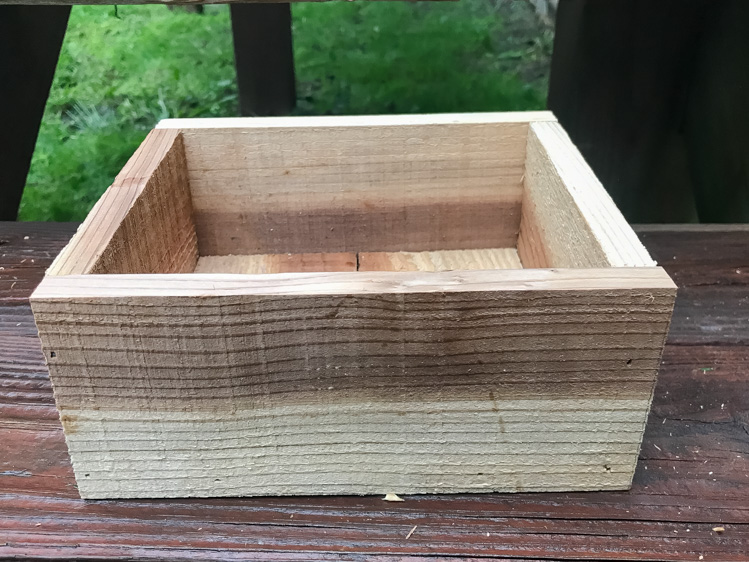
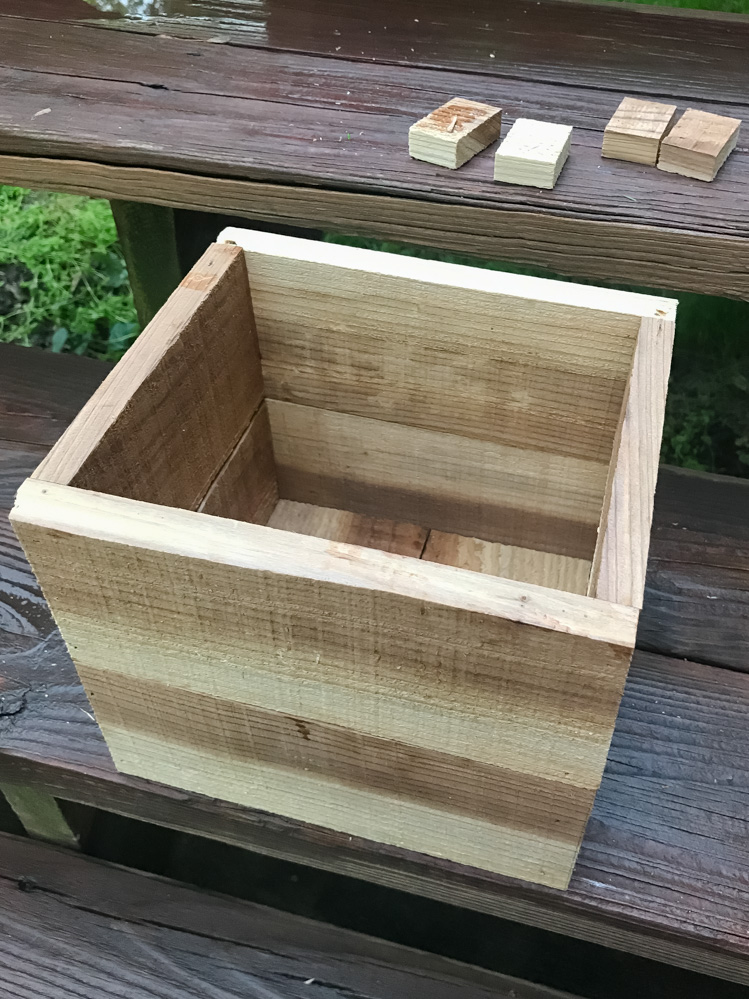
Continue nailing until the bottom tier of the DIY planter box is complete.

DIY planter box assembly bottom tier

Repeat the steps for the second tier of the planter box. Apply wood glue to the bottom of the second tier and place it on top of the bottom tier. Use clamps to hold both tiers in place and allow to dry for 12 hours.

DIY planter box assembly top tier

3. Paint the American Flag Planter Box

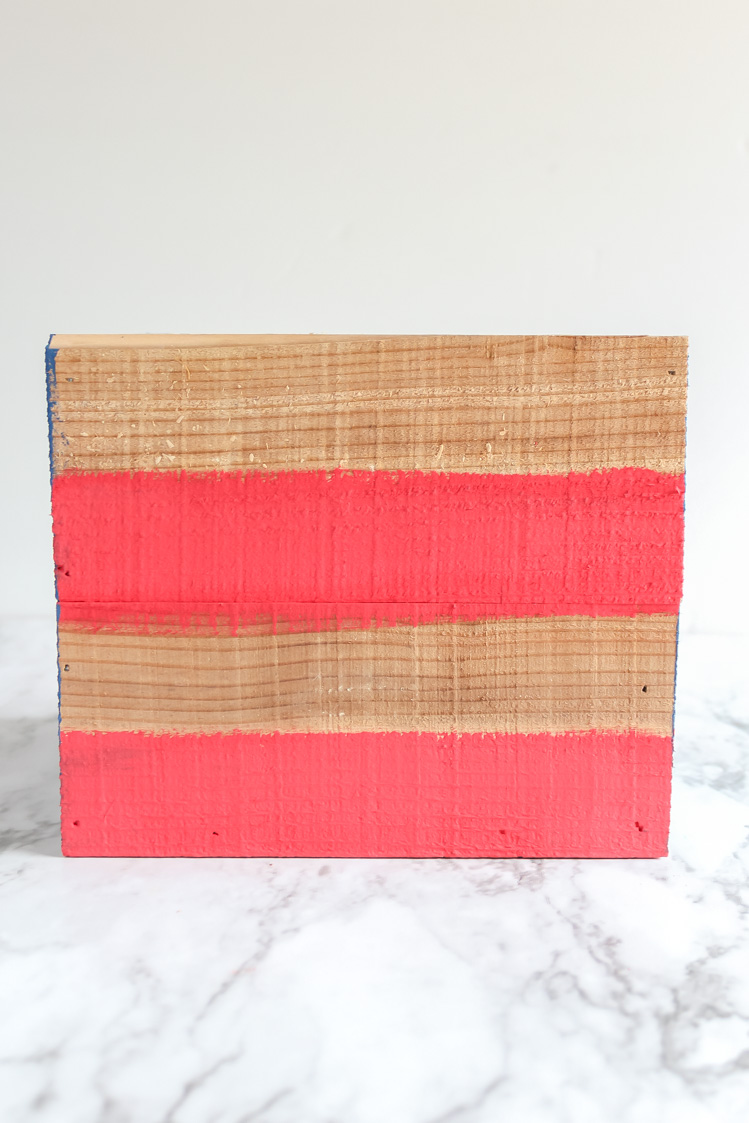
Paint stripes on the longer sides of the planter box with red chalky paint. Use painters tape to create straight lines (or just free hand it like I did).

DIY American Flag Planter Box

Fill in the rest with white chalky paint stripes.

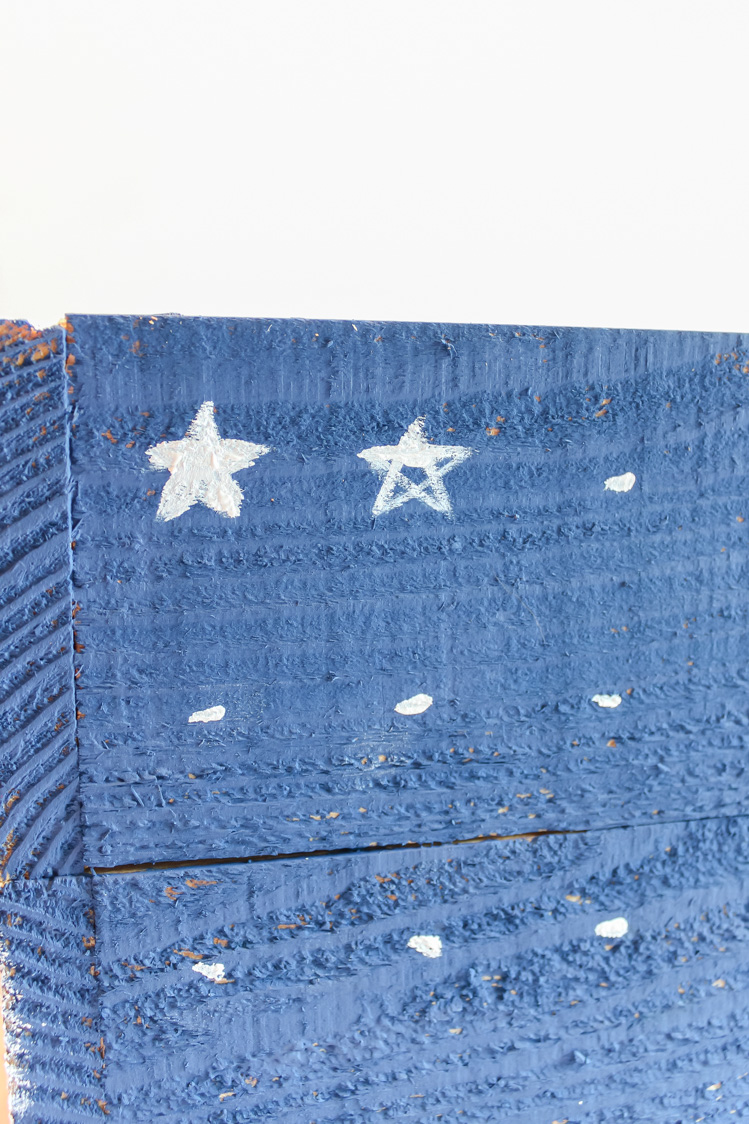
Paint the shorter sides with blue chalky paint. When it’s dry, free hand white stars or use a stencil. In my opinion, freehand painting gives this American Flag planter box a nice rustic touch!

DIY American Flag Planter Box

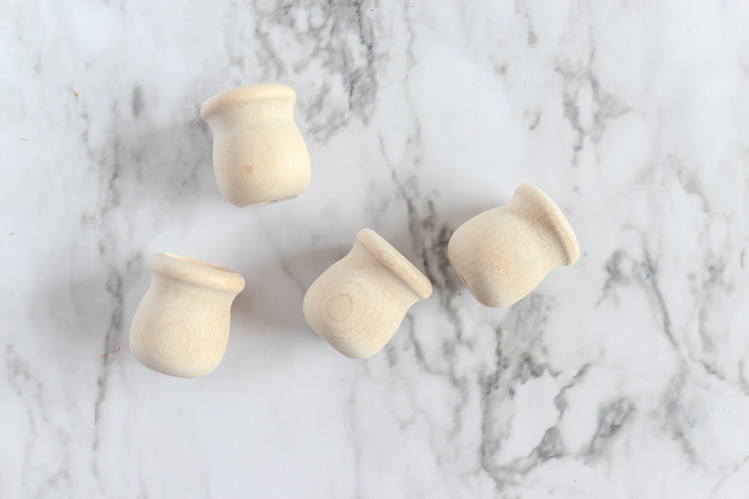
Add little feet if desired to the bottom of the planter box using wood glue.

Add little feet to the planter box

Fill with potting soil and add flowers! You could also skip the soil and set a pre-planted 6″ flower pot inside the planter box.

DIY American Flag Planter Box

Red Geraniums and white Alyssum look great in this DIY American Flag Planter Box. The red and white combo really completes the patriotic look.

DIY American Flag Planter Box

If you build this planter box, what flowers would you try?

I’m Amanda, and I am the creator and voice behind the food and DIY blog, Domestically Creative. What started as a place to share updates with friends and family after we moved from Illinois to Tennessee and then to Texas, turned into a passion for finding creative and frugal ways to feed us and decorate our homes.

I have always had the “make it myself” attitude and I’m not afraid to bust out the power tools or get creative when it comes to decorating our home on a budget. You can usually find me scouring the local thrift stores, garage sales and estate sales looking for my next makeover (like this litter box cabinet), or dreaming up ways to make our new house feel more like home. My most recent project was giving my home office a much needed facelift. Some of the plans included creating a fun inspirational accent wall and adding pegboard to store my craft hoards.

I currently call Missouri home, where I live with my husband, dog, and 2 cats in a pretty dull, late 90’s split level. My husband and I both love to travel the U.S and recently purchased a small travel trailer to tag along in our journeys. In our free time together we can usually be found working together on a home project, exploring a new place, or just lounging with our pup, Delilah.

I’d love for you to connect with me on social media via Facebook, Instagram, Pinterest and Twitter!

diy track saw jig for circular jig

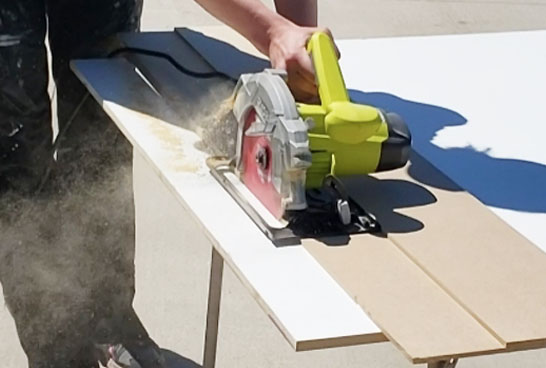
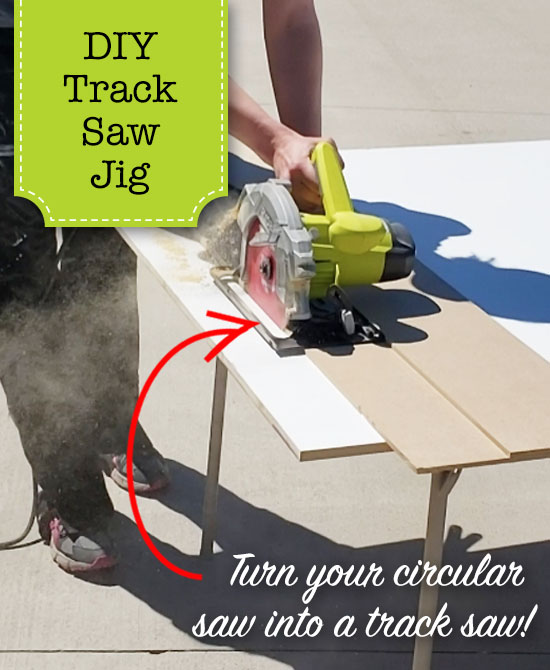
Making large and small rip cuts doesn’t have to be a difficult or calculated process.  With this inexpensive and easy to make DIY track saw jig, you will be making rip cuts quickly and easily with your circular saw!

diy track saw jigDIY Track Saw Jig for your Circular Saw

Hi! It’s Kristen, from In Her Garage, and today I am going teach you how to make a DIY Track Saw Jig for your circular saw. It’s basically a super simple circular saw cutting guide to make rip cuts much easier for you.  No more accounting for the saw’s base plate width or spending a ton of money on fancy, brand name guides. This will be an easy drop and clamp design that is foolproof! Let’s make it!

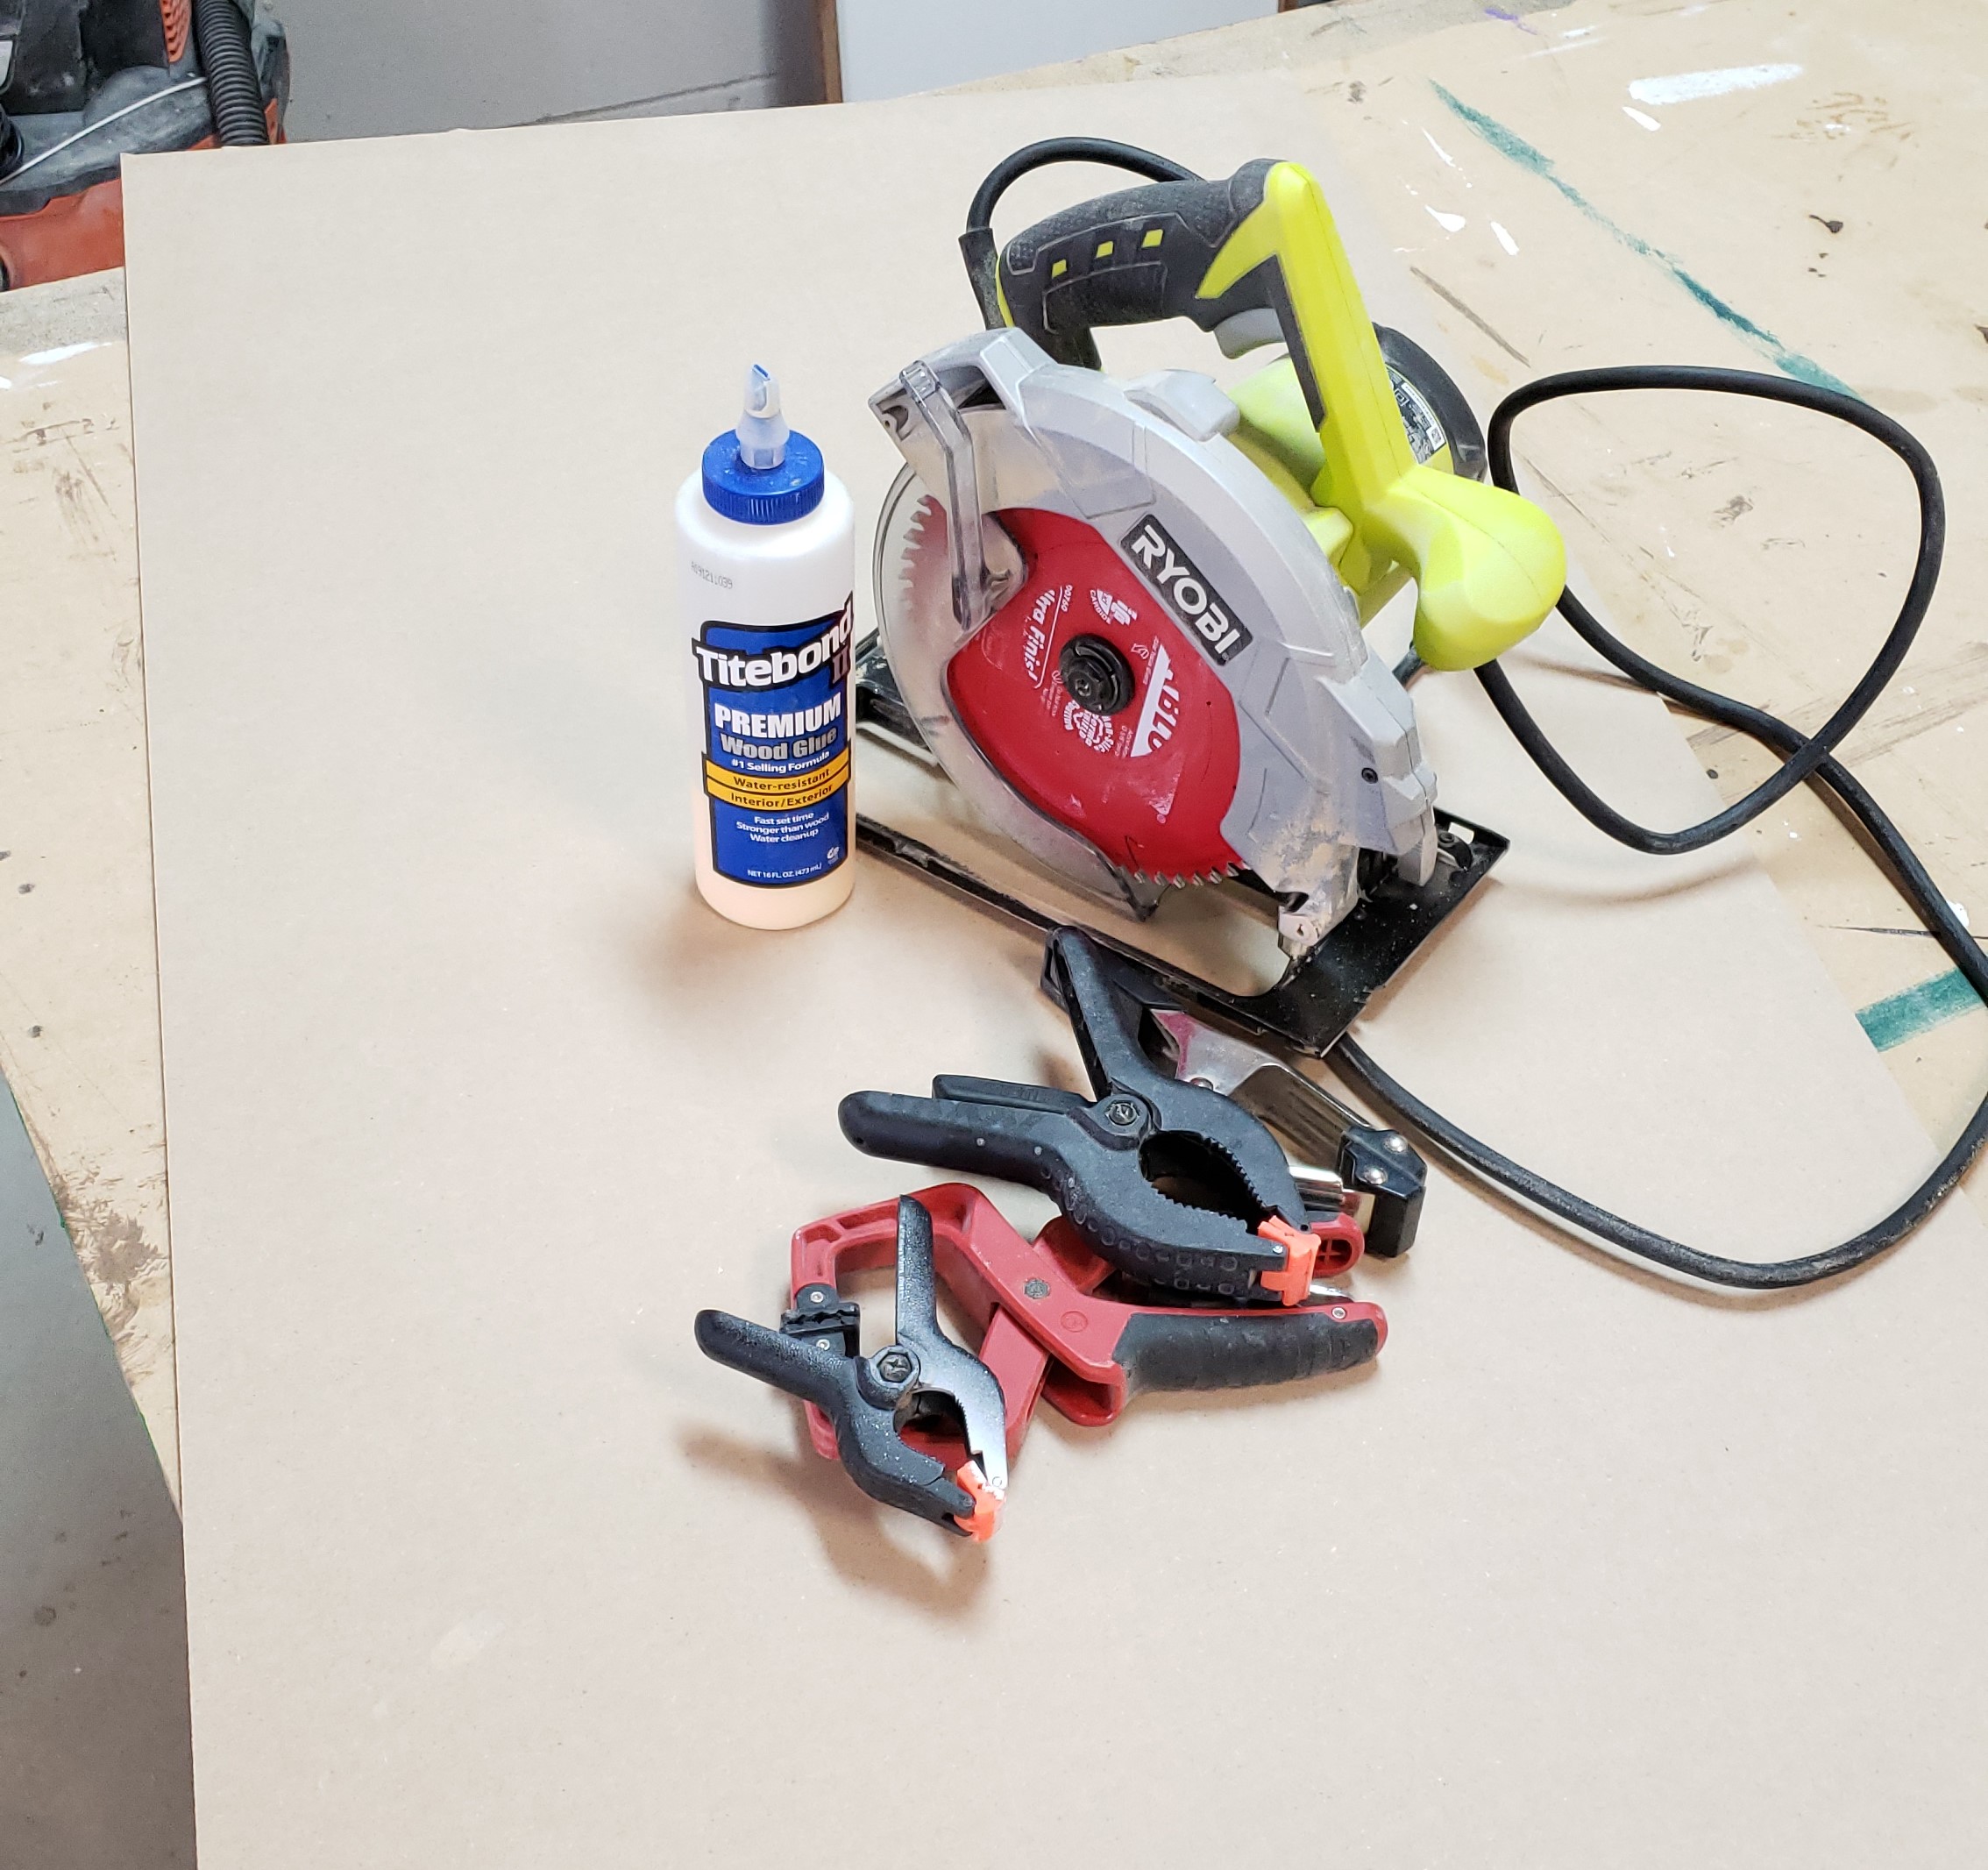
Materials:

(I’ve included affiliate links for your convenience. I earn a small percentage from a purchase using these links. There is no additional cost to you. You can read more about affiliate links here.)

Instructions:

1. Measurements for the track saw base panel

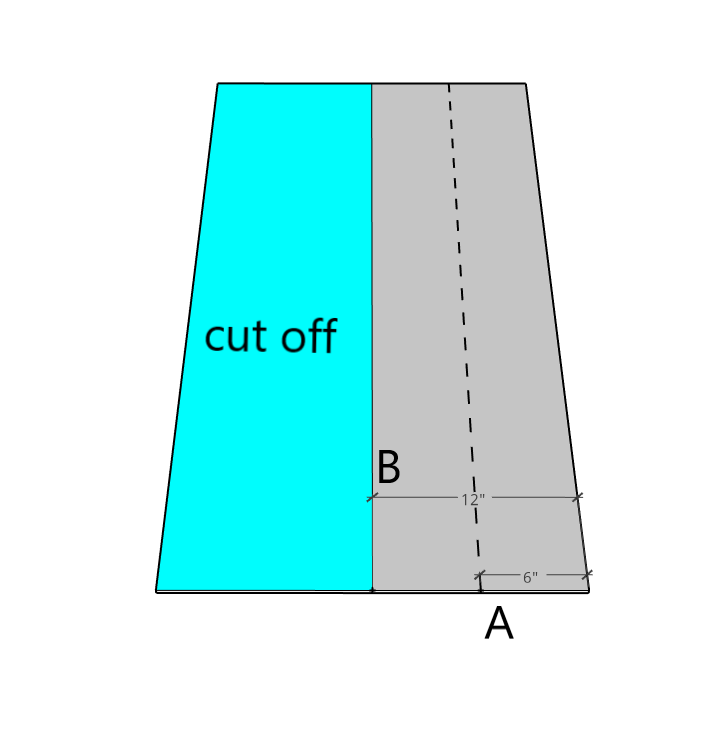
Create 2 lines running the length of the hardboard panel and label them “A” and “B” as indicated in the diagram below.

  • “A” measures 6″ from the edge – this measurement is approximately the width of most circular saw baseplates
  • “B” measures 12″ from the edge – this measurement is approximately the width of the entire circular saw and will be the end width of the track saw jig.

2. Cut the excess off of the base panel

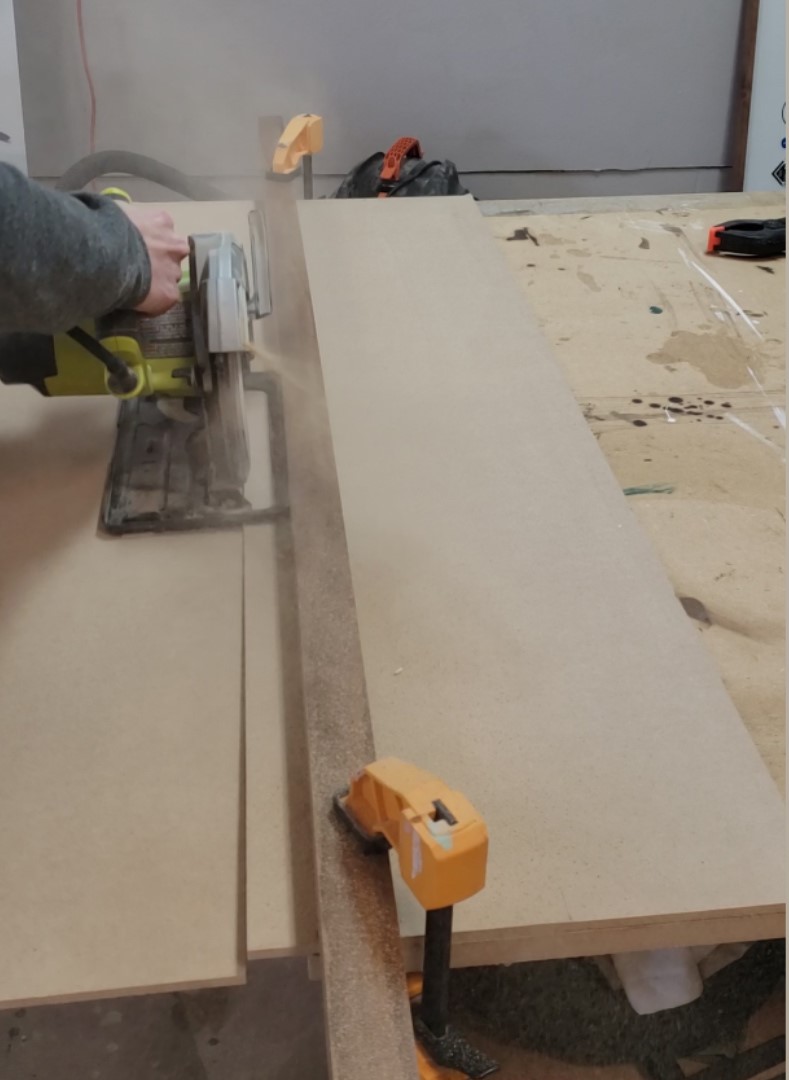
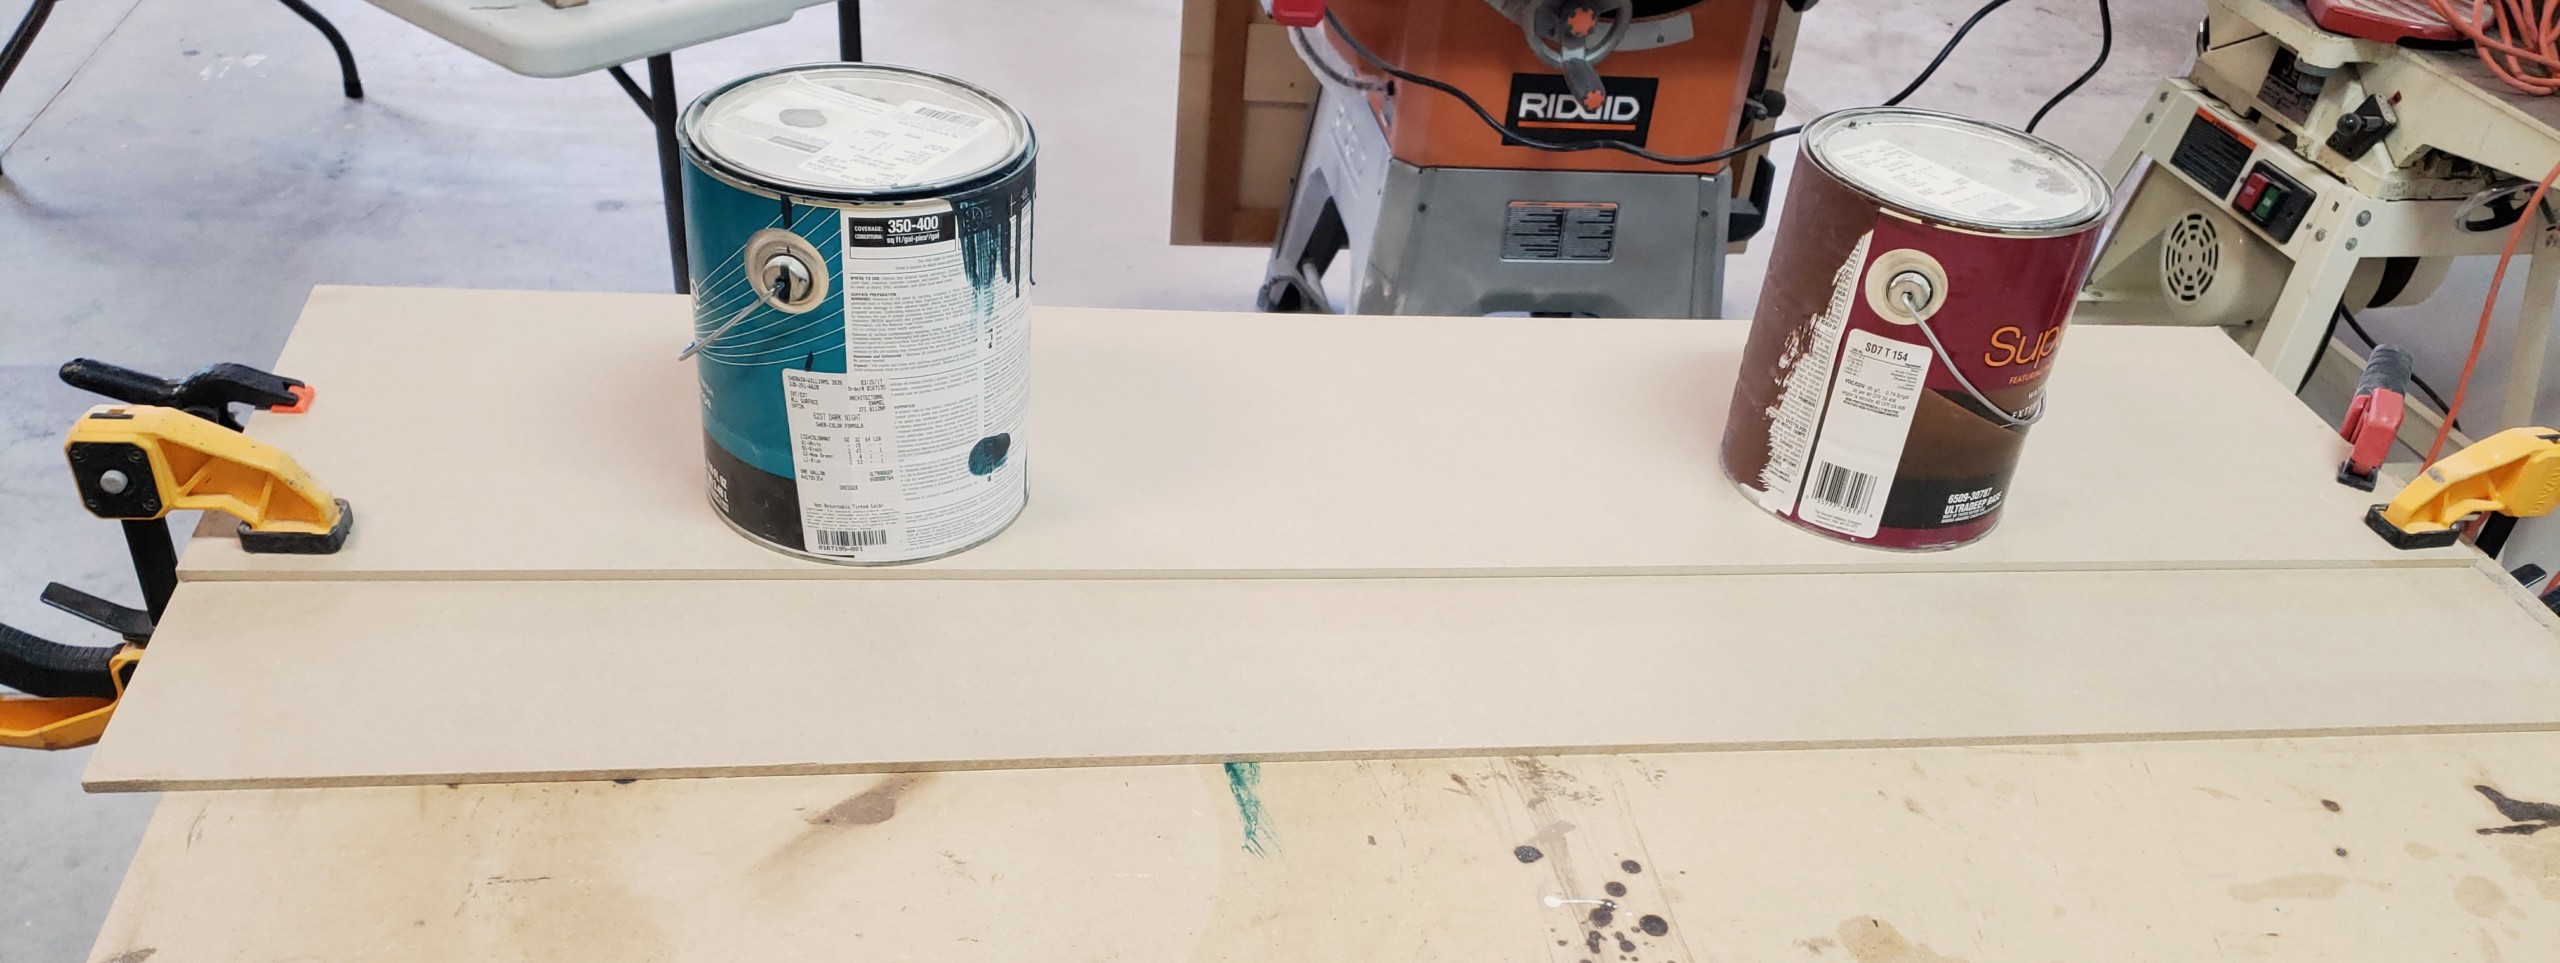
Clamp a straight edge (or any straight piece of scrap board) lined up against line “B”. Set your circular saw base plate against the straight board and cut along the length of the hardboard to cut this excess off. You will use the freshly cut edge of the excess in the next step.

3. Creat the track saw cutting guide

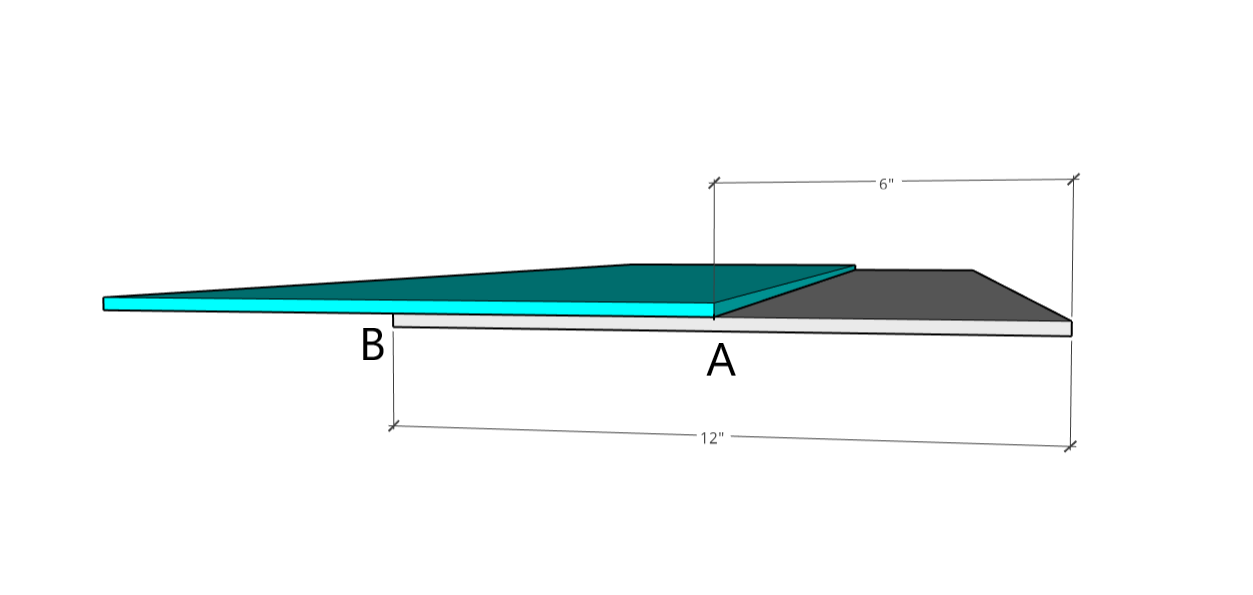
Apply wood glue between lines A & B of the track saw base panel (as shown above.) Do not apply the glue too close to line “A” or the glue will squeeze-out in the next step. Collect the excess piece of hardboard you just cut off and align the freshly cut edge up to line “A” of the base panel.

Clamp and apply weight over the top of the two panels. Wait approximately 15 minutes for the glue to cure and adhere the two pieces together.

4. Cut the straight edge guide

Position your panel so the 6 inch “A”  section overhangs off the edge of your work surface (this is the edge you used to measure lines “A” and “B” from.)

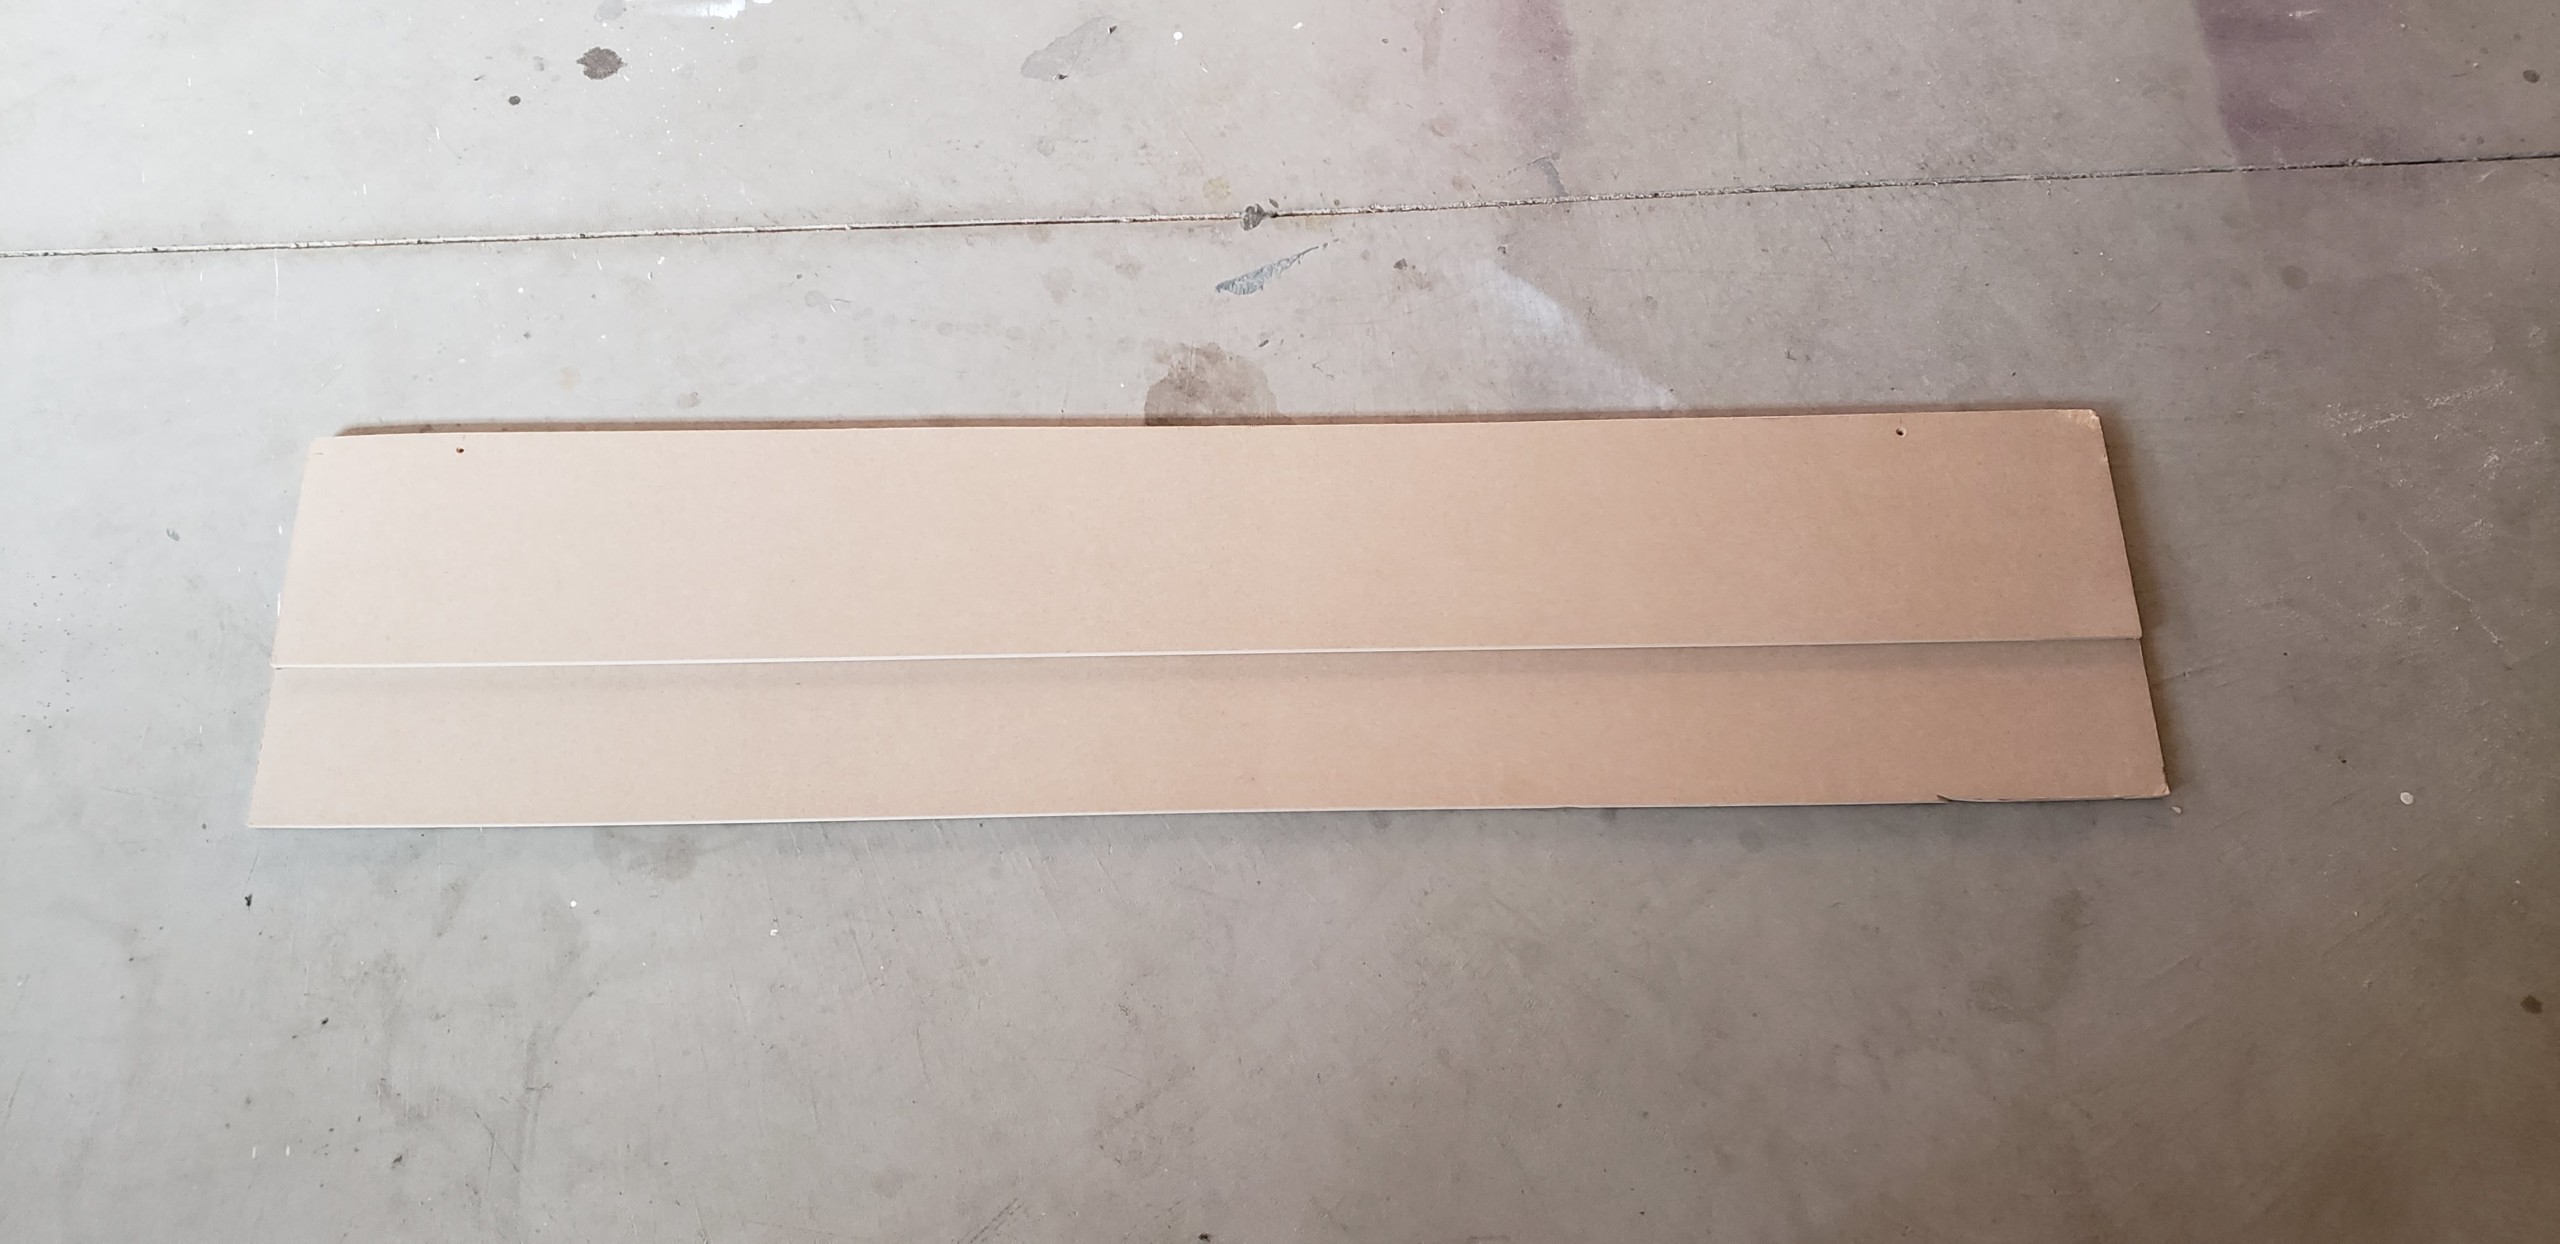
Rest your circular saw’s base plate against the top glued piece using it as a straight guide.  Make sure your saw blade will avoid your work surface when cutting. Now cut along the length of your panel.

This will create an edge that is exactly the width of the inside base plate to the inside of the saw blade.

5. Cut off the excess from the back of the jig

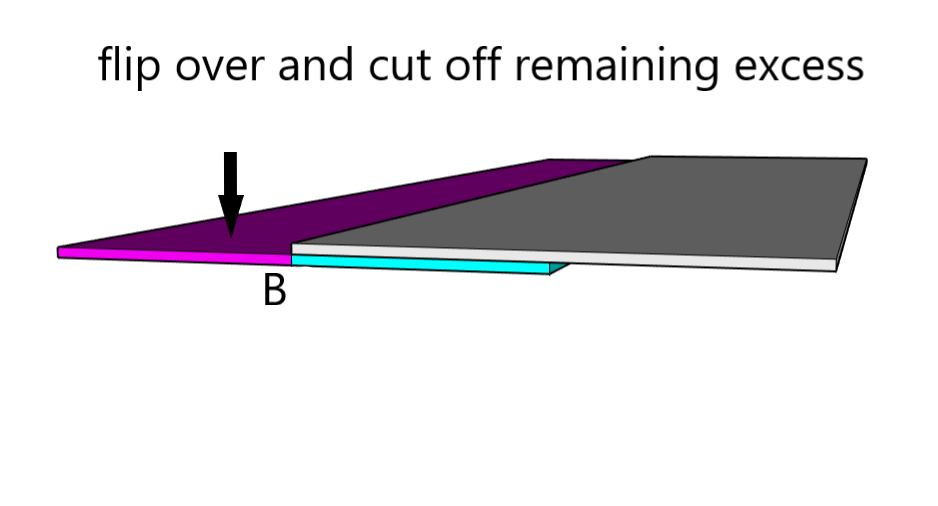
Flip the jig over and cut off the excess material that extends beyond line “B” shown below.

Do not cut any further into the jig than line “B” because your DIY Track Saw Jig well be too narrow. You will need this extra width to clamp the jig to any material you plan to cut. If your jig is too narrow, the saw’s motor will catch on the clamps.

Now you have your own DIY Track Saw Jig for your circular saw! How easy was that?

Using the jig is even easier. All you need to do is measure and mark the surface you plan to cut. Then align the edge of the track saw jig with these marks and clamp down.  You’ll have a perfectly straight guide for the circular saw to travel along.  Just be sure to take into account which side of your measurement you want the saw blade to cut on and position the jig accordingly.

Great Job!!! Now just store this jig in a place that is easily accessible because you will use it A LOT!!

Helpful tip from the Pretty Handy Girl: Buy a panel of foam insulation from a big box store and cut your plywood on top of it.  The foam panel provides a firm surface for the entire piece of plywood and eliminates any falls, pinches, or board balancing you may need to do.

If you enjoyed this tutorial check out my DIY Toy Chest and 1 Drawer side table.  The DIY Track Saw Jig will come in really handy for making these gorgeous pieces.

About Kristen:

Hi! I’m Kristen, from In Her Garage, and I am a self-taught woodworker and DIY fanatic from Minnesota where I live with my husband and our two daughters. Between being a wife, mom and, registered nurse, I try to make as much time for DIY as possible. My love for building came after our family built our current home in 2015. After we moved in, we needed furniture and instead of spending massive amounts of money to order the pieces we wanted I decided that I would build them myself. I started with a buffet table plan from the fabulous Ana-white and quickly set out to remodel my entire home office.

Since then I have started a side business building furniture for the people in my community. I love hearing my clients talk about the pieces they wish they had whether it be a rustic buffet table, a one drawer side table, or a toy box and then making it a reality for them. While starting my small business it made perfect sense that I would document my building journey so I simultaneously launched the In Her Garage blog and I love sharing my plans, tips and tricks.

Making something beautiful with your own two hands through a little preparation and determination is an amazing feeling and I hope to bring inspiration and know-how to those looking to tackle a big or small project.
I am so glad that you found me here and please feel free to connect with me on PinterestInstagram, Facebook, and Youtube to see what I am working on right now.

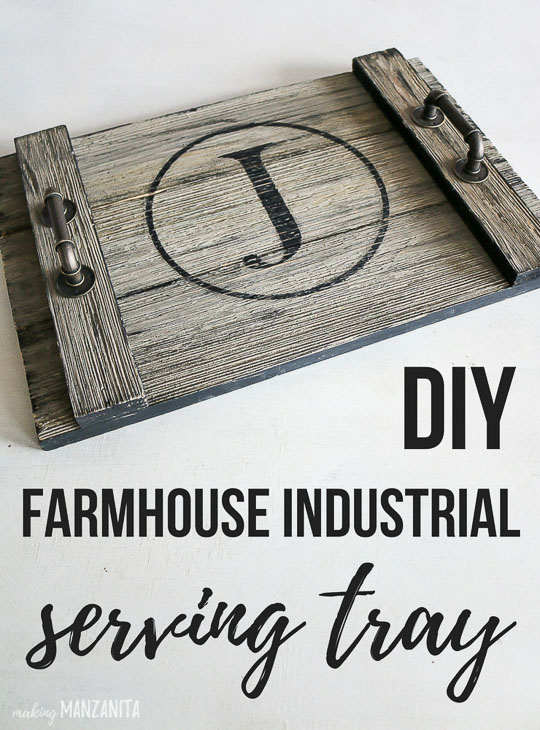
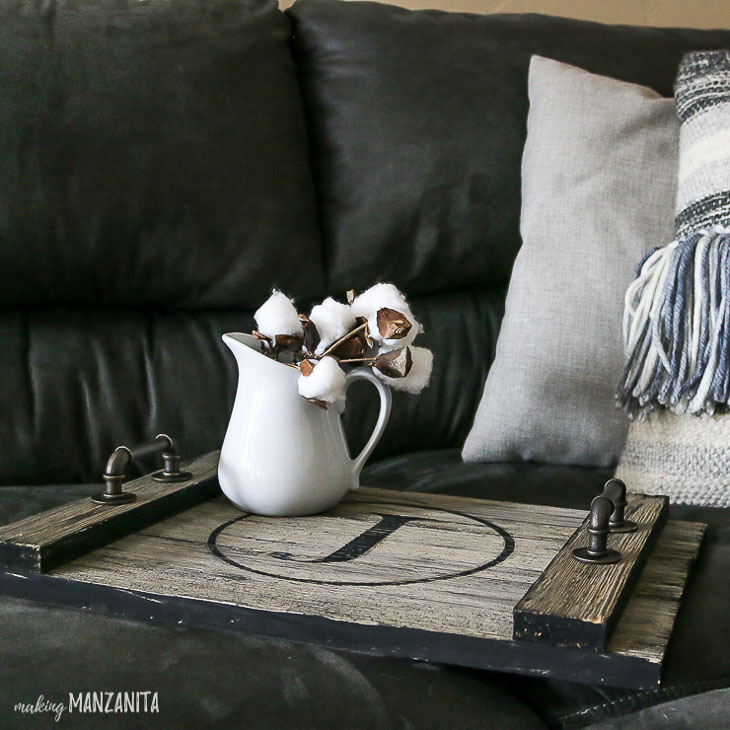
farmhouse serving tray close up view. Letter J Monogram

A common decor item with farmhouse style is a wood serving tray. Trays are an easy way to add style and function. This DIY Farmhouse Style Serving Tray with handles is so easy to create, I can’t wait to show you how it’s done!

DIY Farmhouse Industrial Serving TrayDIY Farmhouse Style Serving Tray

Hi there! Chelsea here from Making Manzanita, where it’s all about making your house a home! I’m so excited to be with you today. I love renovating and incorporating farmhouse style decor into our home. One of the easiest ways to decorate is with a serving tray. You can set it on a coffee table to protect surfaces from drinks, use it to style with a plant and a candle, or use it for serving!

Let’s get busy making this super easy DIY Farmhouse Style Serving Tray!

Materials:

(I’ve included affiliate links for your convenience. I earn a small percentage from a purchase using these links. There is no additional cost to you. You can read more about affiliate links here.)

Instructions:

Step 1: Paint edges of wood

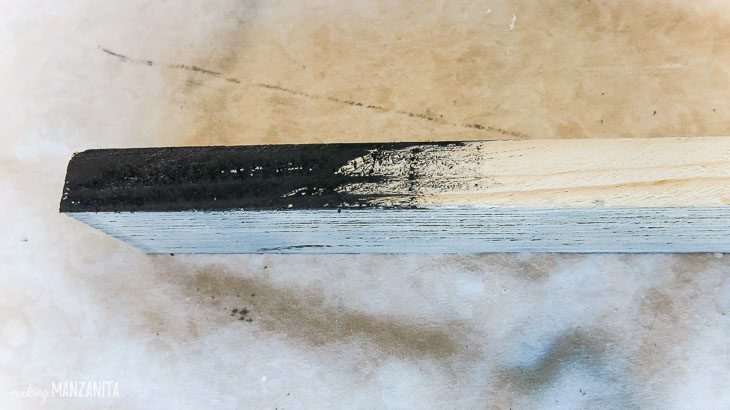
Using a foam brush, paint the edges of your wood with black acrylic craft paint. You may be wondering why this is the first step. I didn’t love the freshly cut raw edges of the wood I used. To give the serving tray a distressed industrial farmhouse feel, I painted the cut ends and corners with black paint.

painting wood slats with black paint

Step 2: Emphasize the texture of the wood to add character

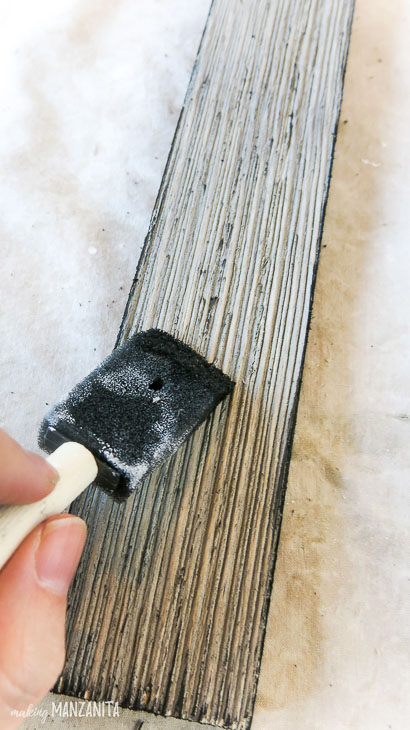
If the wood you use for your farmhouse wood tray has a raised wood grain, dip your paintbrush into the black paint and lightly run over the top for a rustic look. This step enhances the rustic texture of the wood.

foam dry brushing black onto wood siding

If your wood has a smooth surface, you can get a similar look by using a dry brush technique with a bristle brush. This works best if you use an old, ratty-looking bristle paintbrush. You put a little bit of paint on the brush and then wipe most of it off on a rag or paper towels, so the brush is essentially dry. Then lightly run the paintbrush over the top of the wood. The result is an enhanced grain pattern and a distressed farmhouse look!
Step 3: Assemble farmhouse wood tray

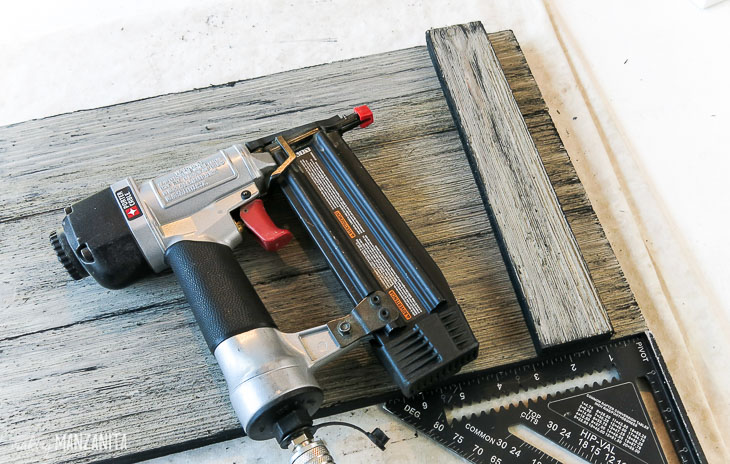
Once the paint has dried, it’s time to assemble your farmhouse wood tray. Start by laying out the three larger pieces of wood horizontally. Next lay the smaller pieces of wood on top vertically at each edge. Allow about 1 inch from the edge of the tray.

brad nail gun laying on top of assembled wood tray

Before you start nailing, make sure everything is square. Use a nail gun to nail the smaller pieces of wood into the larger from the top of the tray with a couple of nails into each board.

Step 4: Add handles

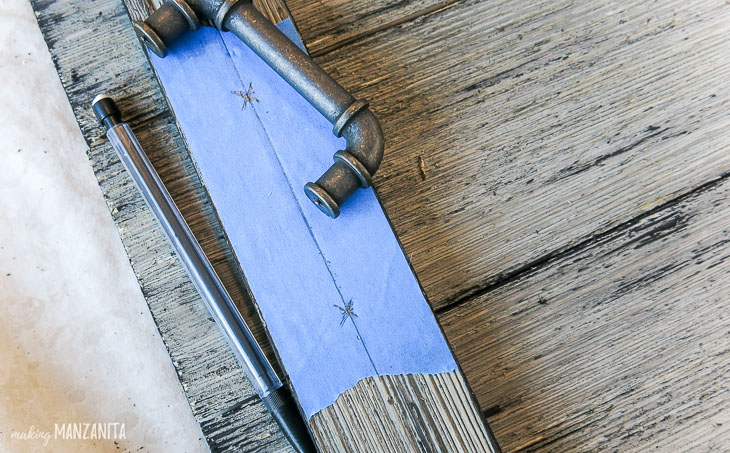
Measure the center of the vertical pieces and lay painter’s tape on top of them. Measure the width of your cabinet pull and mark where the holes should be drilled on top of the tape. The painter’s tape helps you see the marks on darker wood.

mark handle sides centered on tray

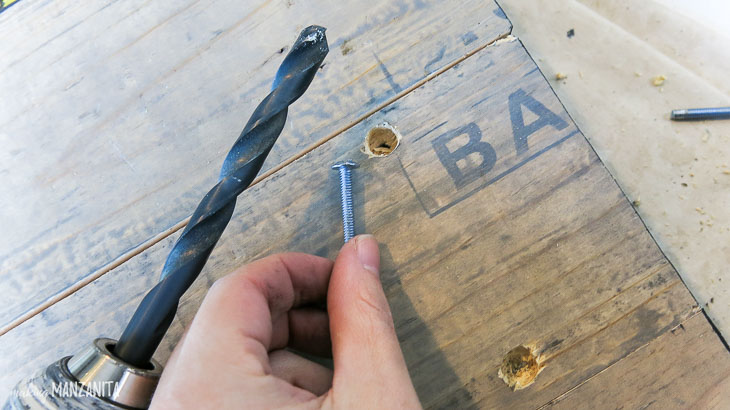
Line up your drill bit (match the diameter of the bit to the handle screws) on the marks and drill holes through both pieces of wood on your serving tray.

To get a flat surface on the bottom of the farmhouse wood tray, use a countersink bit on the underside of the tray. (If you don’t have a countersink bit, use a larger drill bit to create a recess for the screw heads to sink into. This helps protect any surfaces you set the wood tray on from getting scratched.

Countersink drilled into wood tray bottom

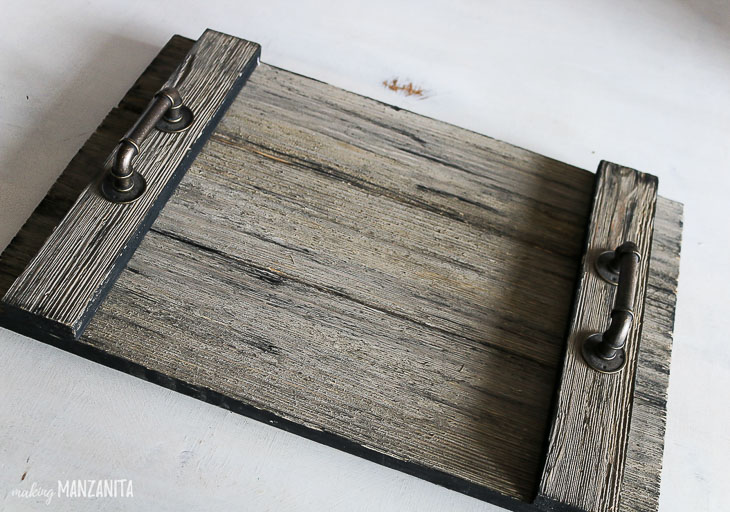
Flip the tray over and admire your new farmhouse style industrial serving tray.

rustic gray painted wood farmhouse tray

You can stop here, but to add a monogram, keep reading.

Step 5: Cut stencil

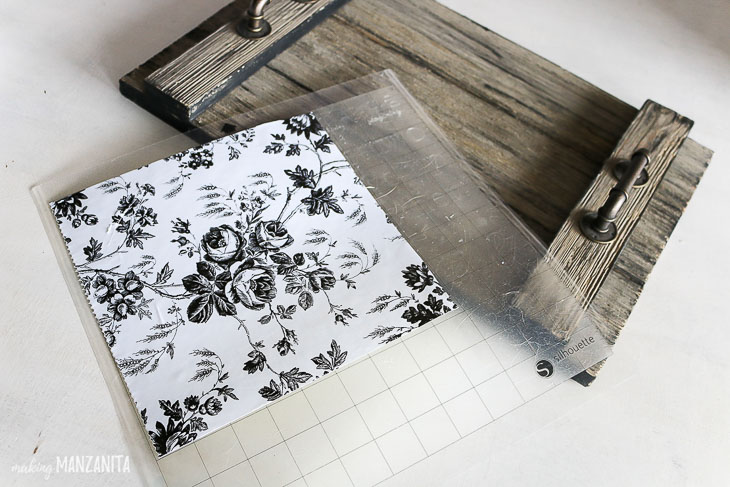
Using a vinyl cutting machine, design your monogram and cut your stencil.

Budget Tip: Use contact paper from the Dollar Tree as a cheap one-time-use stencil material.

adhesive shelf paper for vinyl stencil

To recreate a monogram like mine with an industrial farmhouse style, here are the details:

  • Font: Baskerville Old Face
  • Font Size: 489
  • Circles were created by drawing two circles with the shape tool around the letter
Step 6. Apply stencil

Cut and apply transfer tape to fit over your stencil. (Using transfer tape will help keep everything lined up and centered as you’ve designed it.)
weed excess vinyl from letter J stencil

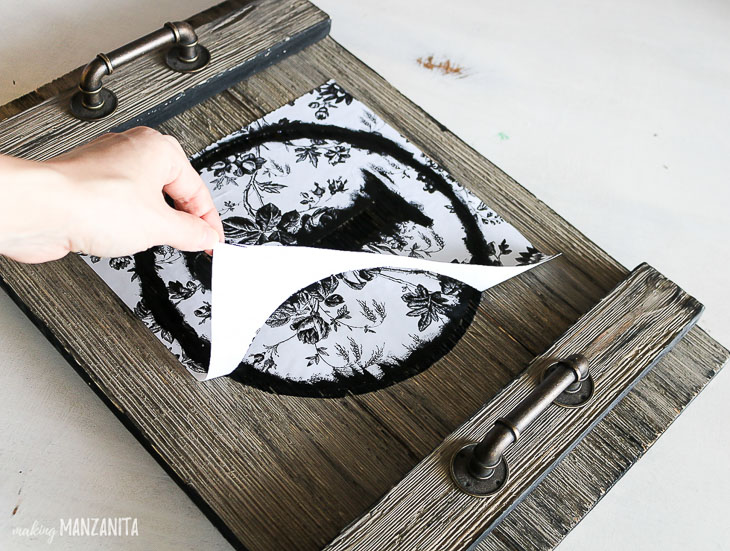
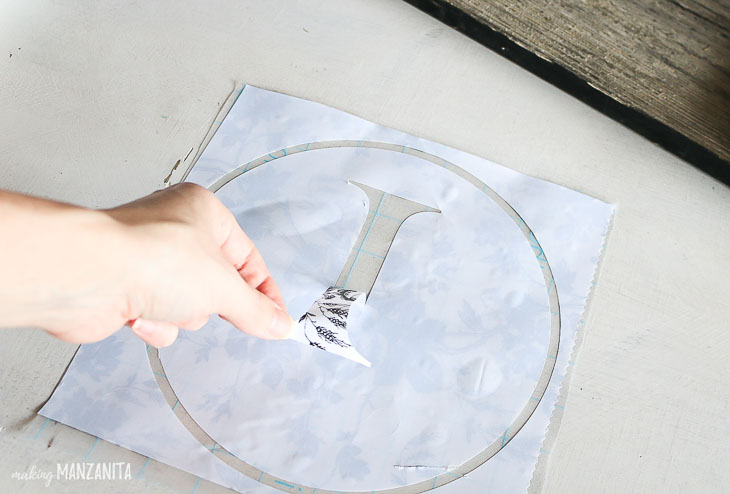
Peel the stencil and transfer tape off the backing and remove the part of the design that you would like painted (in my case, this is the circle border and the letter).

remove transfer paper from adhesive stencil

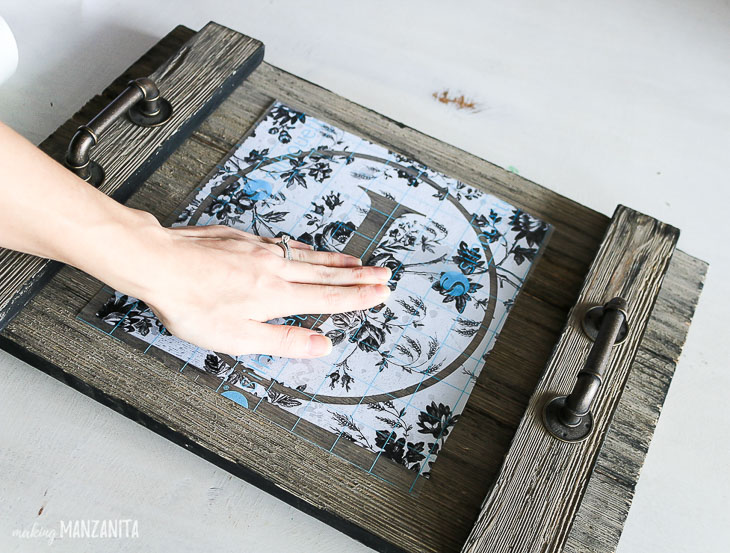
Measure the center of your serving tray and press down your stencil. Carefully peel the transfer tape away from the stencil. (I found that the ghost wood I was using didn’t really “grab” the stencil very well, so this part was kind of tricky for me. If you’re using a smoother wood, it should be a little easier.)

center adhesive stencil on tray

Step 7: Seal stencil

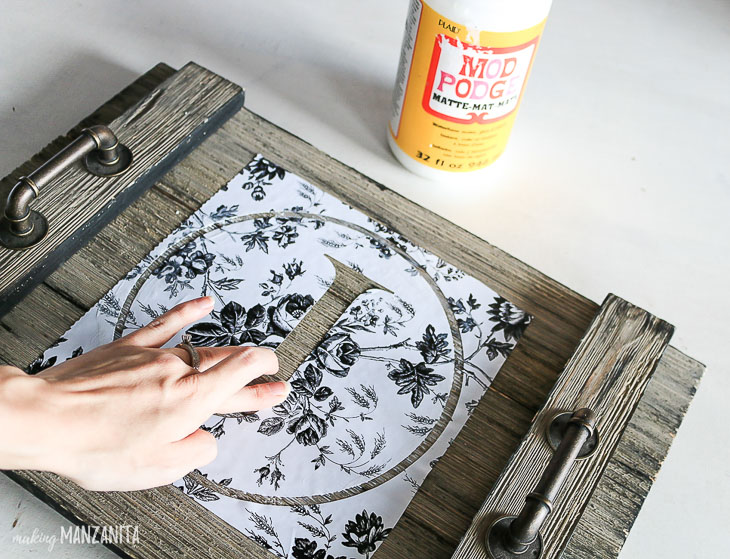
There’s a magic step that I use for all of my wood signs and stencil projects that prevent stencils from bleeding. Before painting the stencil, seal it with Mod Podge. Rub a little Mod Podge over the stencil edges once it’s adhered to your wood. Wait for it to dry to the touch before painting (usually about 15-20 minutes).

seal edges of stencil with mod podge

You can read more here about this awesome hack for how to stencil on wood. (I did find that this rough ghost wood required more Mod Podge than normal because of the grooves in the wood and the stencil not sticking as well as it normally does.)

Step 8: Paint over stencil

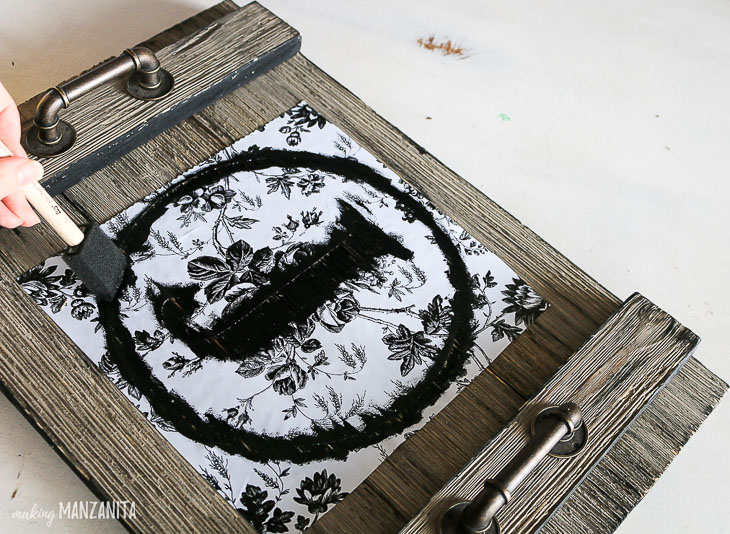
Once the Mod Podge is dry, paint over the stencil with acrylic craft paint using a foam paintbrush. Blotting the paintbrush up and down many times rather than brushing across the stencil will prevent the paint from bleeding under the stencil.

painted letter j on tray

Step 9: Remove stencil

When you’re done painting, you can peel up the stencil immediately except in areas where there are small intricate details that may smudge. In those cases, wait until the paint is dry to the touch before removing the stencil entirely.

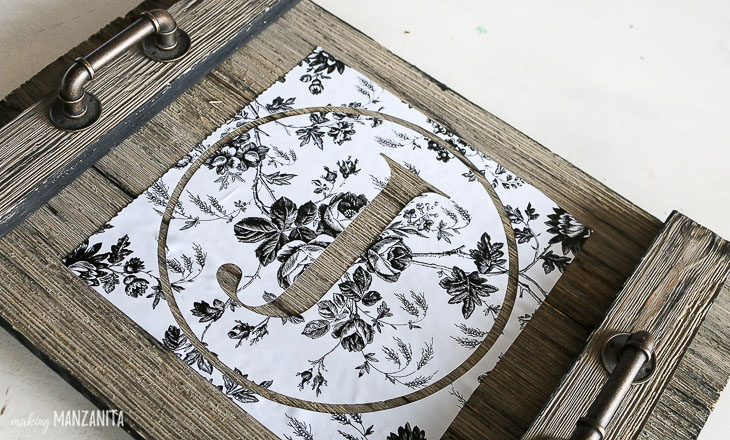
remove stencil

Look at those nice crisp paint lines! So pretty!

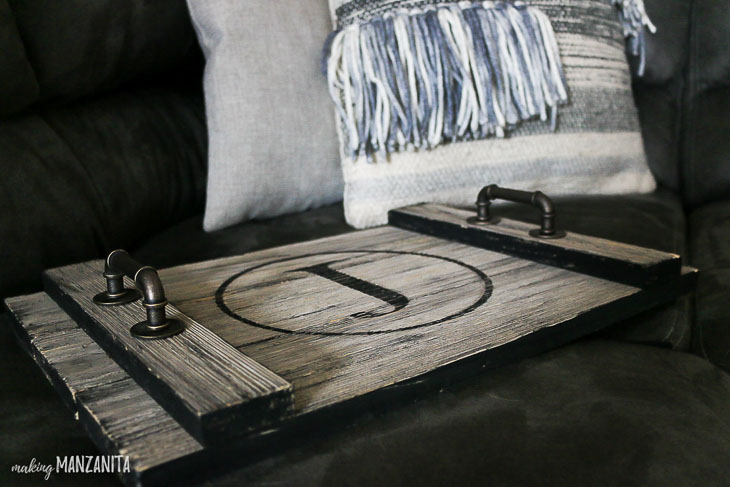
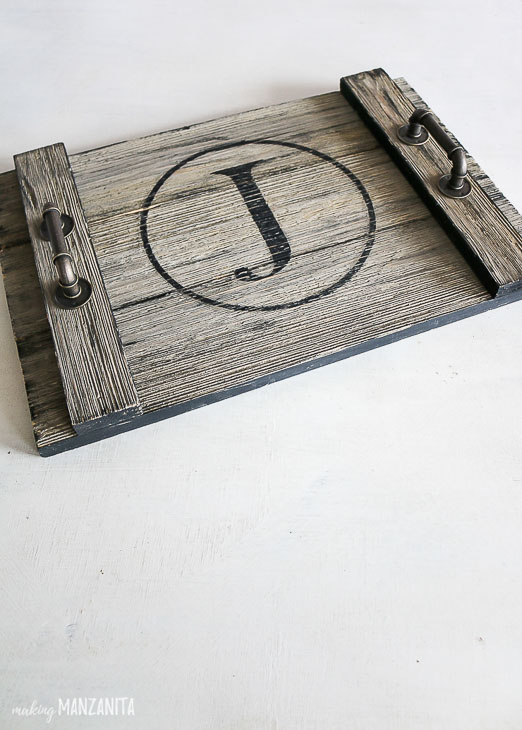
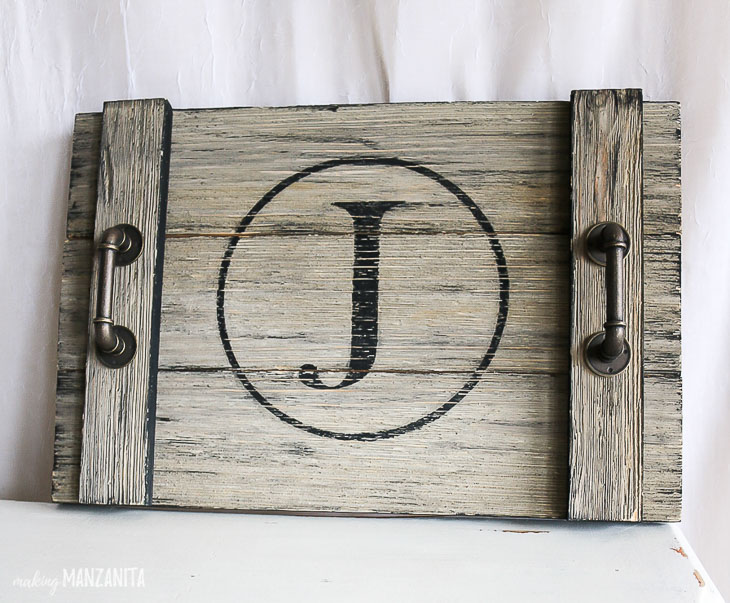
finished rustic wood serving tray with J monogram in circle

Step 10: Seal serving tray

To protect your serving tray, seal it before use with 2-3 coats of a spray sealer.

J Monogram Rustic wood serving tray

There you have it! A DIY Farmhouse Style Serving Tray with handles that adds style and function to your decor!
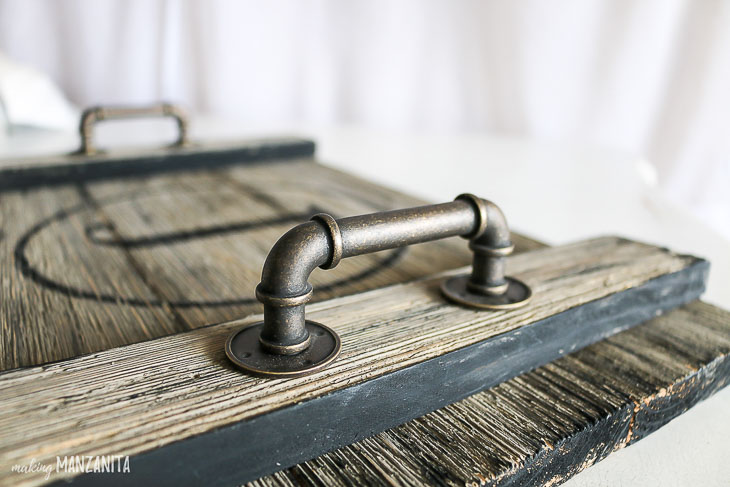
Industrial pipe handles on serving tray

I love the industrial vibes that the handles and the gray textured wood bring to this serving tray.

The best part about this wood farmhouse tray is that no one else will have one exactly like it (just one of the many reasons I love making my own home decor).

farmhouse serving tray close up view. Letter J Monogram

Next time a friend comes over for a cup of coffee, you can grab this serving tray with handles to serve up coffee and snacks.

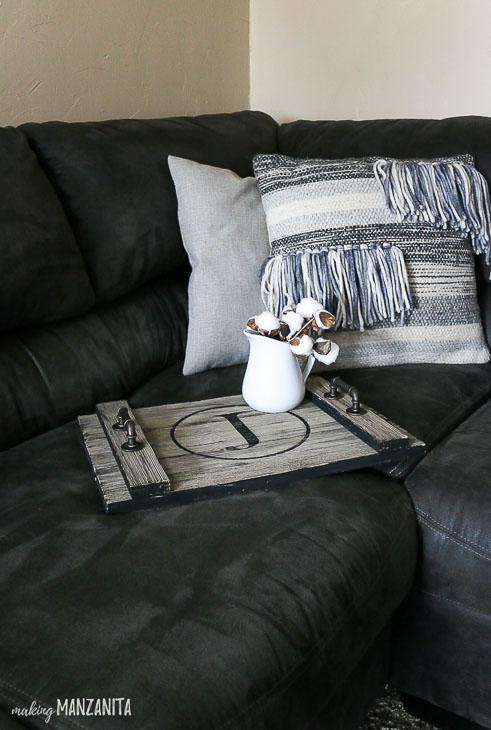
Farmhouse rustic wood serving tray on couch

She’ll surely ask where you got such a cute wood tray. You’ll answer proudly that you made it yourself!

rustic wood serving tray on black couch, pillows in background

Thanks for joining me today while I showed you how to make this DIY Farmhouse Style Serving Tray.

Chelsea - Making Manzanita

My name is Chelsea and I am the founder of Making Manzanita (www.MakingManzanita.com). I’ve found that many women don’t know how to start decorating or updating their homes, which is why my passion is helping others make their house a home they love. At my blog, Making Manzanita, my readers enjoy decor inspiration, craft & DIY tutorials written in plain English and simple homemaking advice to run their homes more efficiently. One of the things my readers love most is my perspective of working with what you have because your house doesn’t have to be perfect to feel like home.

I’m mama to the most adorable little man (with a little baby girl coming soon!) and wife to my DIY partner. We love our life in the beautiful Central Oregon as we continue our journey to renovate our 2nd fixer upper. We love to inspire others with budget-friendly renovation projects, like our faux shiplap wall and wood air conditioner cover made with pallets.

You can connect with me on Instagram, Facebook or Pinterest.

What a great tutorial! If you like this DIY farmhouse tray, I know you’ll also love these other DIY trays:

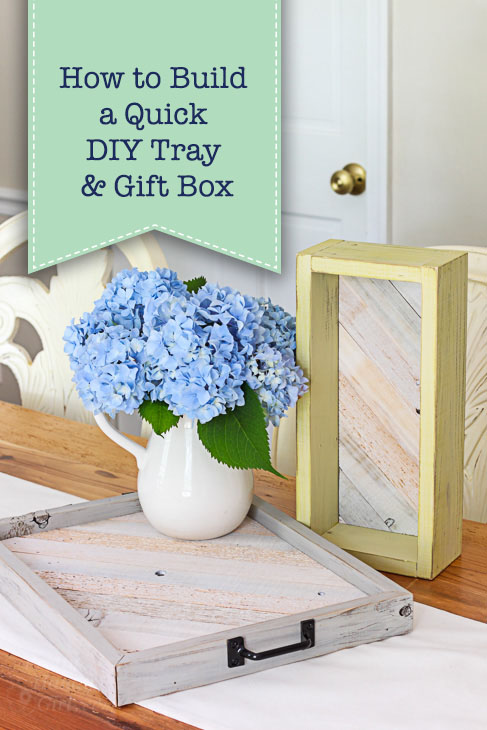
How to Build a Quick DIY Tray & Gift Box | Pretty Handy Girl

DIY Wood Slat Tray and Gift Box


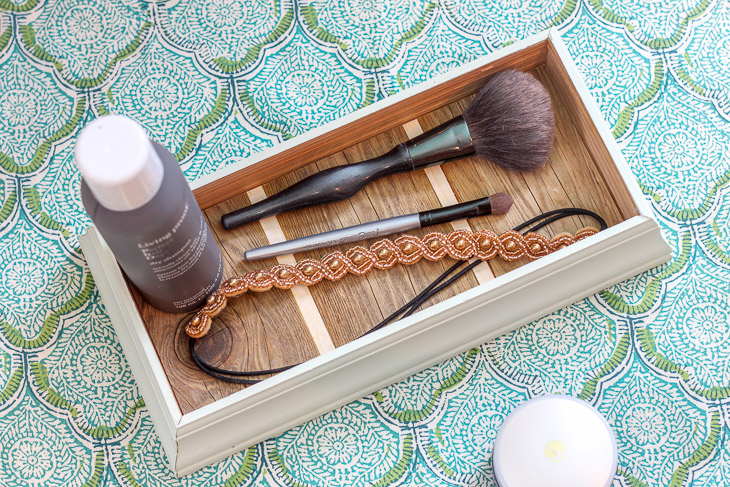
DIY Scrap Moulding Trays | Pretty Handy Girl

DIY Scrap Moulding Tray


Rustic Pallet Serving Tray

Rustic Pallet Serving Tray

raised garden bed with cucumber trellis

It’s spring-time and the perfect time to start a garden. Build this raised garden bed with or without a cucumber trellis and start gardening tomorrow!

Raised planter bed and cucumber trellisHow to Build a Raised Garden Bed with a Cucumber Trellis

Is there anything better than vegetables grown in your garden? They are hard to top! Cucumbers are very easy to grow, but do best if you give them a little extra care. When we decided to build a second raised vegetable garden, we decided to plan in advance to make it a strategic cucumber garden with a raised wooden trellis. We’re excited to show you how to build a DIY raised cucumber garden.

Hey y’all! We are Morgan & Sean McBride, and we blog at CharlestonCrafted.com where we are crafting our first home into our dream home and empowering you to try DIY. We share with our readers a variety of projects aimed at helping new homeowners make their homes their own. Some highlights include: our completely DIY coastal kitchen makeover; our tropical hammock oasis; and our budget laundry room refresh! Our most recent big project was our DIY concrete stone-look patio, which we are obsessed with. I’m likely to be found sharing behind the scenes and lots of laughs over on Instagram Stories, so pop over and say hey!

How to select a location for your cucumber garden:

raised garden bed with cucumber trellis

The number one thing to remember when selecting a location for your cucumber garden is to make sure it receives plenty of light. At least five hours of morning sun is ideal, and afternoon sun on top of that is good too. You also need to be prepared to water your cucumber garden a lot because they need a lot of water, plus they are growing in the summer, when it is hard to keep these things hydrated.

Materials:

(I’ve included affiliate links for your convenience. I earn a small percentage from a purchase using these links. There is no additional cost to you. You can read more about affiliate links here.)

Instructions:
Build your garden upside down. Start by cutting your 4″x4″ into four equal pieces one foot long each using a miter saw.

Cut your 8-foot-long 2″x8″ in half with a circular saw or miter saw.

Lay out your 10′ boards with your now-4′ boards on either end and place your 4″x4″ pieces in the corner. (It helps to lay a small piece of scrap wood in each corner to keep the 2″x8″s raised a half inch or so, but make sure the posts stay on the ground.)

Attach your four posts to the inside of each board keeping corners flush using the decking screws.

Dig four post holes in your garden location and install your flipped over, constructed raised bed by placing the long ends of the posts in the holes.

How to build a cucumber trellis:

Materials:

  • Three- 2″x2″x8′ boards
  • One- 2’x8′ lattice
  • Brad nailer
  • 1″ brad nails
  • Circular saw

Instructions:
A cucumber trellis is super easy to build. First, build the frame by cutting two 4-foot-long pieces out of one of the boards and three 3-foot-long boards out of the other two.

Use your nailer to attach the three foot boards to the inside of the four foot boards with two lining up on the outside edges and one exactly in the center.

Next, lay your lattice down on the frame and cut it along the edge with your circular saw. It should be 3 feet, 3 inches. Do that again with the excess to create a second piece for the other side.

Lay the two pieces of lattice down on the frame, marrying them next to each other in center. Use your nailer to go around and nail down the lattice to the frame.

Now, cut two 2-foot-long boards with a 45 degree angle from the remains of the 2″x2″ to serve as your legs.
Finally, position the two legs on the back of the frame and nail the frame down to the legs.

Add garden soil to fill your raised bed about 3/4 of the way full and then add the cucumber trellis on one side. You want to pick a spot that is accessible from the side so that you can easily reach under the trellis.

We are so excited to plant cucumbers in this garden this spring. The trellis will keep them off the ground and give the cucumber plants the support that they need to grow successfully. As a bonus, we also plan to plant lettuce under the shade of the cucumber trellis, where they should thrive out of the direct summer sun.

Thanks for having us and be sure to come visit us at CharlestonCrafted.com.

You can also connect with us on facebook, instagram, pinterest, youtube, twitter, and etsy.

A Note from Pretty Handy Girl:

I love this project that Morgan and Sean built, especially with spring right around the corner. It’s definitely time to start preparing your garden for the growing season.

You may have noticed that the lumber used for the raised planter bed and trellis is pressure-treated lumber. You should know that there is some debate over whether it is safe to use pressure treated lumber for an edible garden. Personally I like to use Cedar or other naturally rot-resistant materials to prevent the chemicals from leaching into your food. You can also choose to prime or line the inside of the bed. I’ll leave the decision up to you.

You may also like this tutorial for building a rot resistant raised planter bed:

How to Build a Rot-Resistant Raised Planter Bed | Pretty Handy Girl