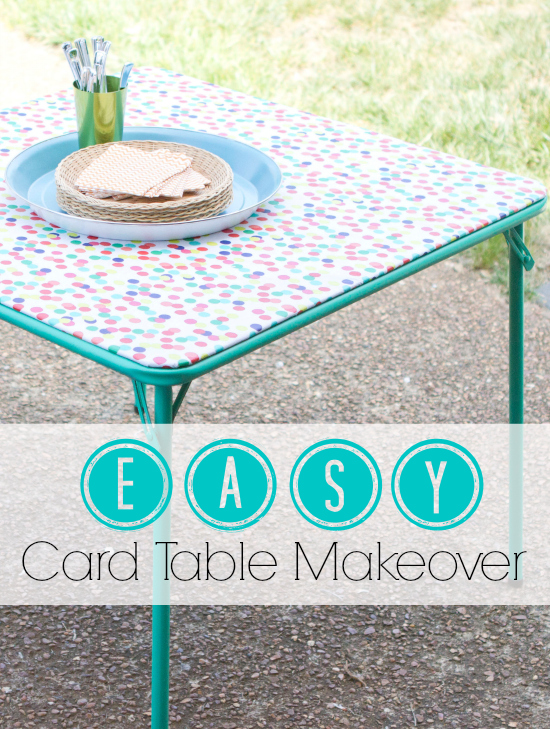
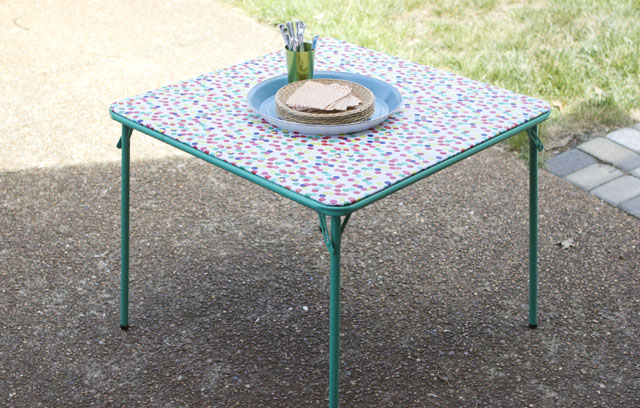
Super easy card table makeover
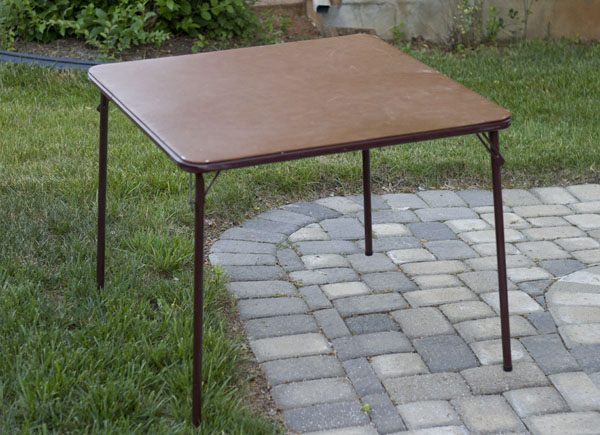
I can only imagine that Matt and I are not the only family in America with a less than stellar card table.  In fact both of ours were hand me downs from grandparents and though they may have been fabulous in the 80’s, now they are really lacking in the attractive decor department.  A few years go I picked up some vinyl table clothes with hopes of breathing new life into our sad card tables and once again life got in the way and I never recovered them.  I recently came across the table clothes and decided it was time to move on with my project but there was a small problem, I no longer liked the table clothes I had previously picked out.  Have no fear, after a quick trip to Target I was back in business and ready for my amazing, fabulous, incredible card table makeover!

Materials:

  • Card Table (old or new)
  • Damp rag for cleaning
  • Ratchet with socket
  • Vinyl Tablecloth
  • Drop Cloth
  • Spray Paint
  • Sand Paper – 180 grit
  • Drop Cloth
  • Hot Glue Gun
  • Hot Glue Sticks
  • Scissors

Instructions: 

Card Table

Give the table a good wipe down with a damp rag to remove any dust or possible cobwebs that may be lingering on the underside of the table.

Table

Remove the top of the table from the frame and legs. (Be sure to store your screws in a safe place because you will need them later.)  Most tables will be attached with a few hex screws that can easily be removed using a ratchet and socket or a socket wrench.

Read more

How to Tile a Small Table Top

How to Tile a Small Table Top

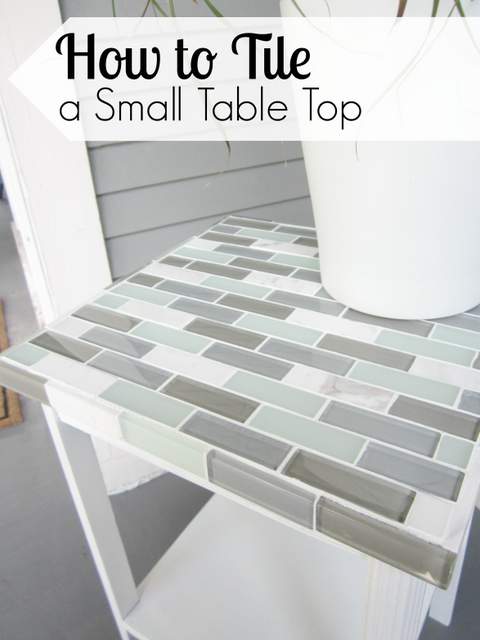
Hello and happy summer pretty handy readers. It’s Jessica from Decor Adventures. With the weather getting warmer, I’m completing lots of outdoor projects these days. One DIY adventure I’ve never actually tackled is tiling, but I’ve always wanted to. Today I’m going to show you how to tile a small table top. It’s easier than you think and is perfect for the outdoors too.

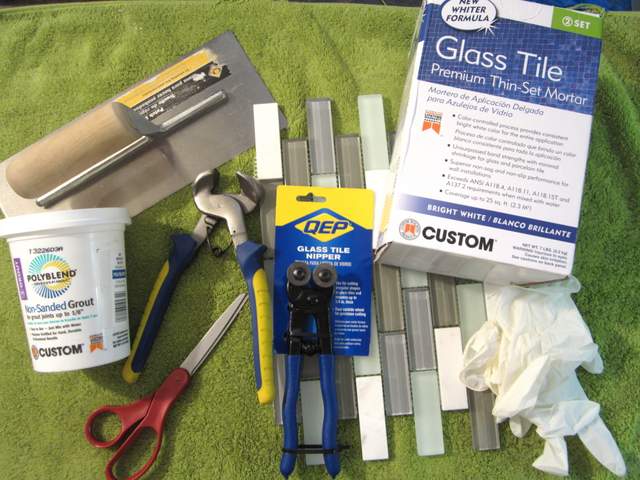
Tile a Small Table Top Materials:

How to Tile a Small Table Top

  • Small table
  • Tile adhesive (also called mortar or thinset)
  • Tile (enough to cover the top of the table)
  • Notched trowel
  • Rubber float
  • Grout
  • Grout sponge
  • Tile cutters
  • A bucket
  • Paint for the table (optional)
  • Water
  • Plastic gloves
  • Eye protection


Tile a Small Table Top Instructions

First, prepare your table. The small table I’m using was the one we used for my pet parrot when I was little! His name was Woodstock, and no he didn’t talk. I guess my mom taught me and my sister to talk instead :-). The table had sentimental value, so I knew I wanted to create something special with it.

Read more

Seaside Theme Bathroom Refresh #LowesCreator | Pretty Handy Girl

Seaside Theme Bathroom Refresh #LowesCreator | Pretty Handy Girl

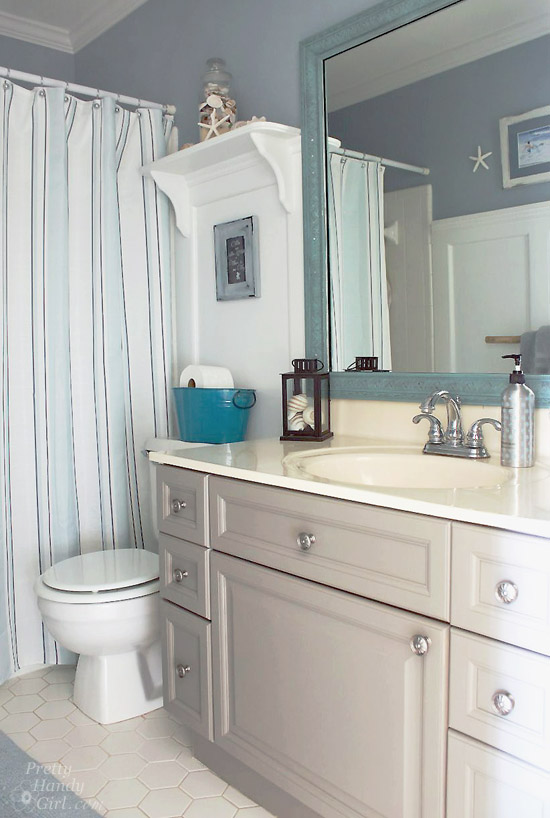
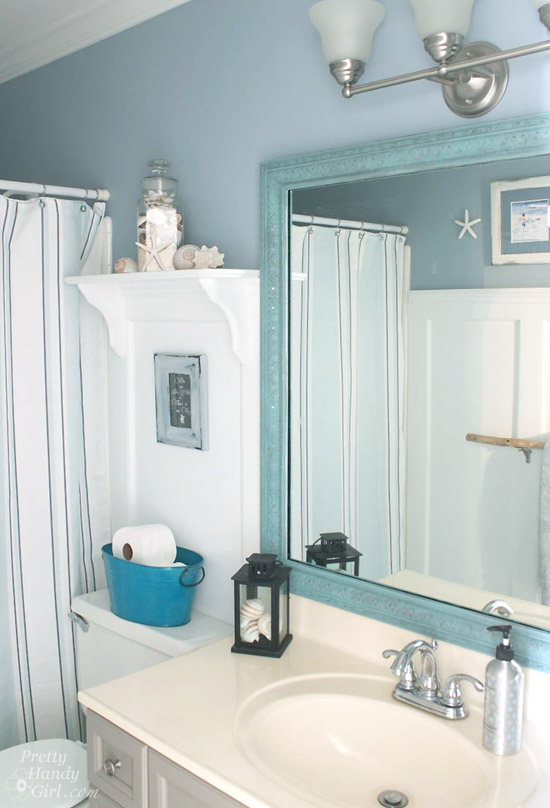
You know those projects that you complete 80% of the room and think to yourself, “This is good for now. I’ll do the rest in a day or two.” Yup, the boy’s bathroom was one such 80 percenter. I finally took the time to finish the last 20 percent of this bathroom makeover by giving it a refresh with some paint and new knobs.

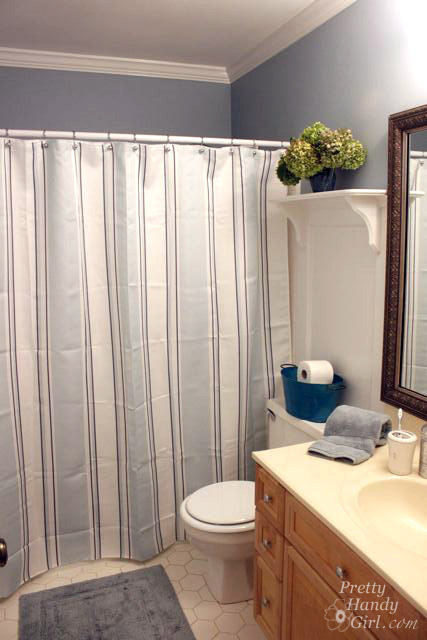
The bathroom used to look like this:

Seaside Theme Bathroom Refresh #LowesCreator | Pretty Handy Girl

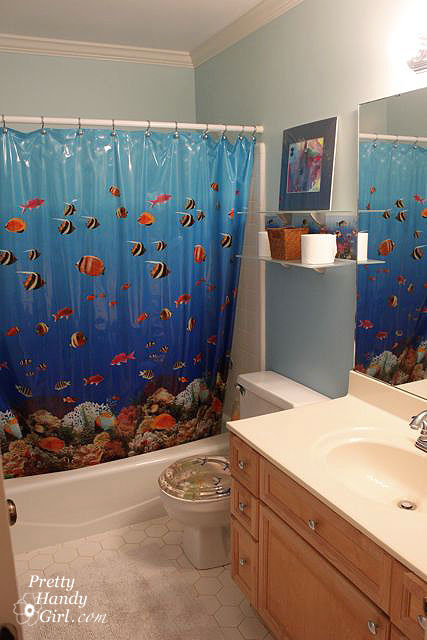
But, before that, it looked like this:

I find it comical that I took an underwater themed bathroom and gave it a seaside retreat feel. I guess you could say I pulled this big whopper from within the ocean and laid it out on the beach. LOL.

Let’s break it down now. Here’s how to paint a bathroom vanity so it will withstand the abuse of two young boys: Read more

Boy's Red, White & Blue Themed Room | Pretty Handy Girl

Boy's Red, White & Blue Themed Room | Pretty Handy Girl

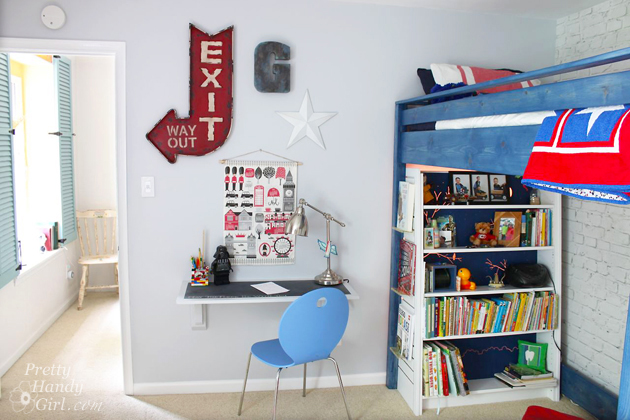
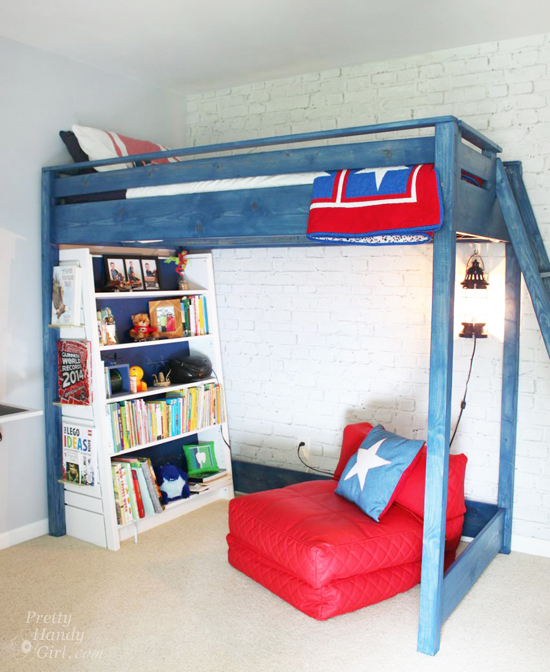
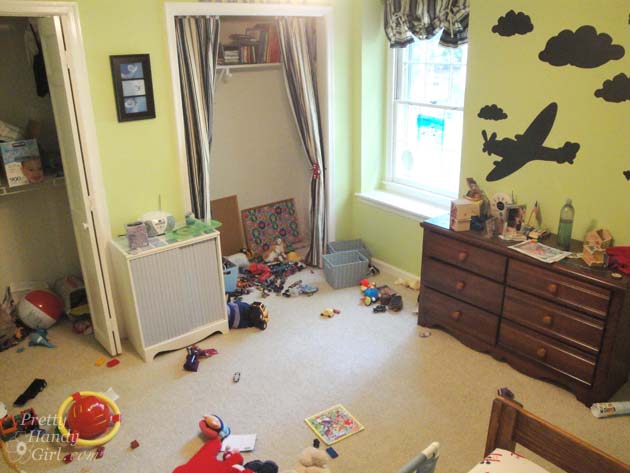
Happy Friday!!! I finally finished my son’s room makeover. Poor kid has been asking for over two years when I was going to work on his room.

Boy's Room Before | Pretty Handy Girl

It feels so good to be done and be able to share the final reveal with you. The theme started four years ago when I converted his extra closet into a reading nook. The blue, white and red work beautifully together.  Read more

Easy Added Color to a Dresser | Pretty Handy Girl

Easy Added Color to a Dresser | Pretty Handy Girl

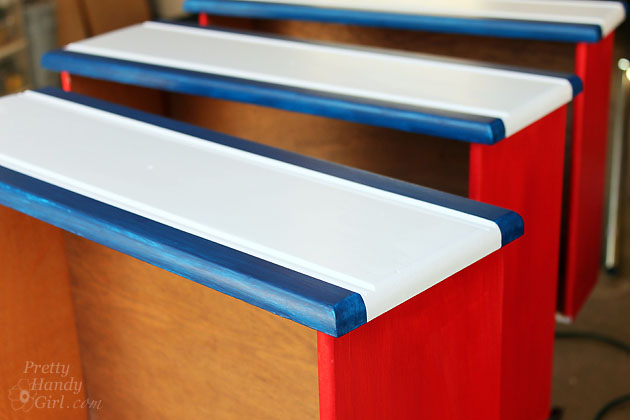
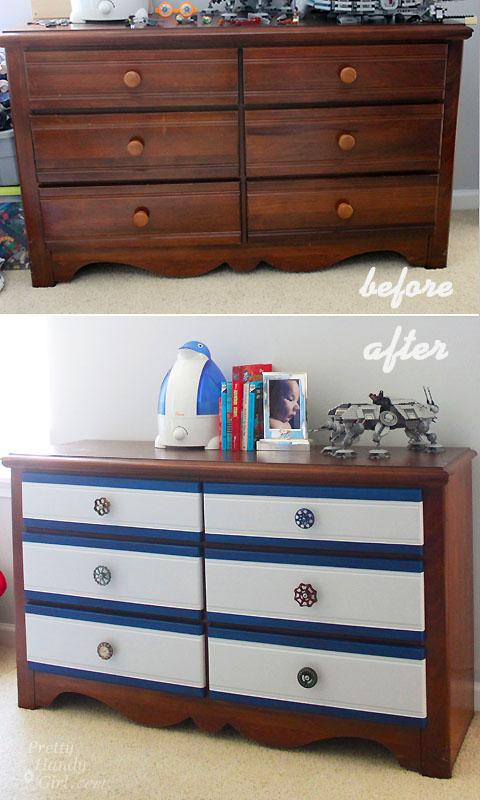
Adding color to dresser drawers is definitely an easy way to add a pop of color to an otherwise boring piece of furniture. Add some new knobs and your dresser will look like a new piece of furniture! (Tutorial for creating custom knobs coming soon.)

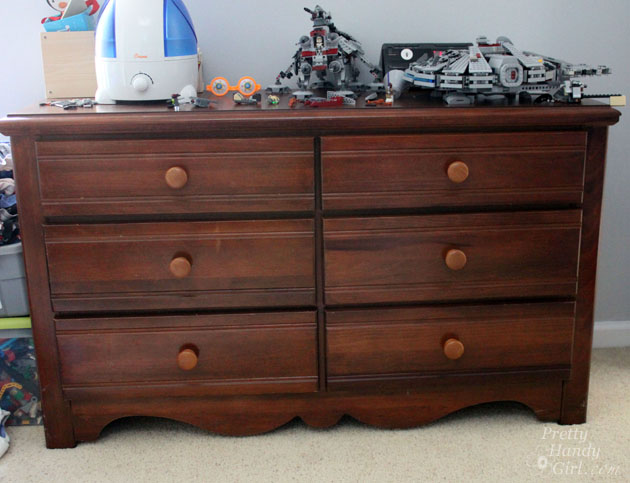
You could say that I finally got that Kick in the Pants I needed to start working on my son’s room. One makeover I had in mind was giving his dresser a pop of color.  The top and sides of the dresser were in great shape and it has a tough laminate top. Instead of painting the entire dresser, I decided to paint only the drawers because — knowing my little guy — he would have it scratched up in no time.

Easy Added Color to a Dresser | Pretty Handy Girl

Materials:

Instructions:

Start by removing clothing from the drawers. Then firmly pull the drawers all the way out. Some drawers have a clip at the end, just pull straight toward you. Others may require you to lift up on the front to release the drawers from the track. Mark the inside of the drawer so you know which slot to return it to.

Read more