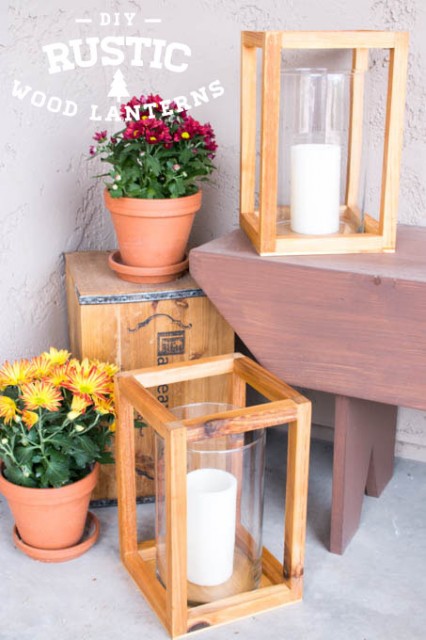
DIY Rustic Wood Lanterns

Lanterns are the perfect way to add warmth into your decorating. Today on the Rockstar DIY stage is Katie, with the tutorial to create these beautiful DIY Rustic Wood Lanterns.

Rockstar DIY Series

You probably already know this Rockstar, because Katie is part of the Pretty Handy Girl rockin’ group. She is also the phenomenal DIY creator at Addicted 2 DIY. This girl doesn’t just build small lanterns, she also builds gigantic workshop garages from the ground up! She’s one bad ass DIYer.

katie-contributor-headshot

I hear the rat-a-tat-tat of the nail gun, so she must be ready to take the stage. Take it away Katie!

page_break_2

Rustic Wood Lanterns

Hey everyone!  It’s Katie again.  I’m back to show you how to make these simple, DIY rustic wood lanterns.  I love wood lanterns and have been wanting some for quite some time, but they can be pretty pricey.  With some square dowels, a little plywood, and some nails, I was able to create these gorgeous lanterns in no time at all.  I made mine from cedar boards that I ripped down into square sticks, but square dowels will work just fine.  The sizes of these are based on 10″ x 6″ hurricane vases I bought at Michaels, but these can be easily customized to fit whatever size vase you have, or no vase at all!

Rustic Wood Lanterns Materials:

  • 3 – 4′ long x 3/4″ square wood dowels (6 if you’re making two)
  • 1/4″ plywood or hobby board*
  • 1 1/4″ brad nails
  • 5/8″ brad nails
  • wood glue
  • wood sealer (I used Thompson’s WaterSeal Timber Oil in Natural)
  • hurricane vases (optional)
  • candles (optional)

*NOTE:  I used scrap 1/4″ plywood for the bottoms.  You can purchase small pieces of plywood or even 1/4″ hobby board at your local home improvement store.  It’s not absolutely necessary to use 1/4″ thickness.  If you happen to have 1/2″ or even 3/4″ plywood lying around, I’d definitely use that.  It makes this project even cheaper and everyone loves that!

Rustic Wood Lanterns Instructions:

Let’s get started assembling the lanterns.

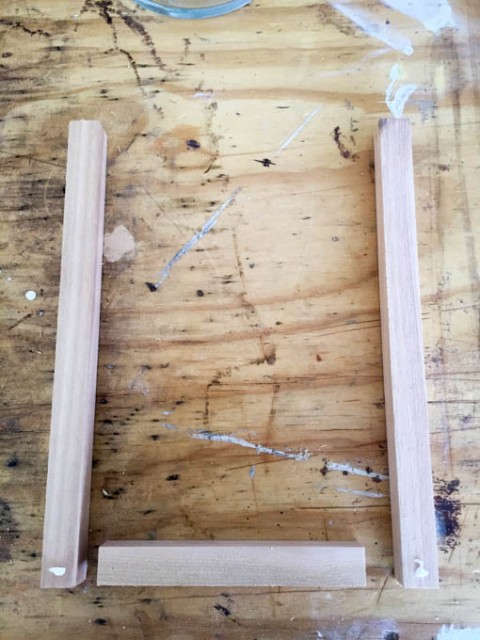
For each lantern, cut 4 – 12″ sticks of wood and 8 – 6.5″ sticks.  Cut the base of the lantern into an 8″ square.

cut-wood-for-lanterns

Assemble the frame of the lanterns using wood glue and 1 1/4″ brad nails.
IMG_0756

Clamp the frame to hold the frame square while you shoot the nails into the wood.  Read more

Easy Fall Wreath Tutorial

Easy Fall Wreath Tutorial

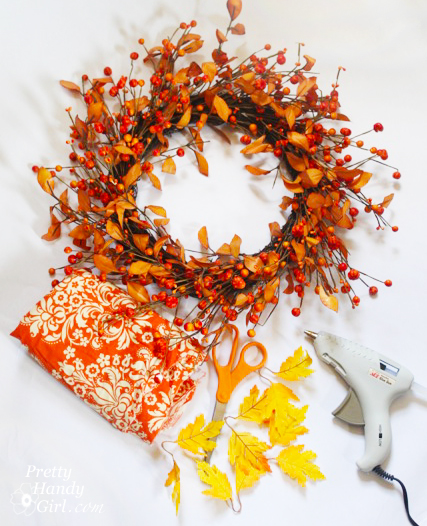
Who’s too busy to spend more than 5 minutes creating a new wreath for Fall? {Raising my hand high!} Well, I’m about to give you the Easiest Fall Wreath tutorial…EVER!

Do you have one of these store bought wreaths? Pretty, but maybe a little lacking in color. Or maybe you’re just sick of looking at the same store bought wreath going on ohhhh six years now?

Easy Fall Wreath Tutorial

Quick! Go grab these five things:

Easy Fall Wreath Tutorial Read more

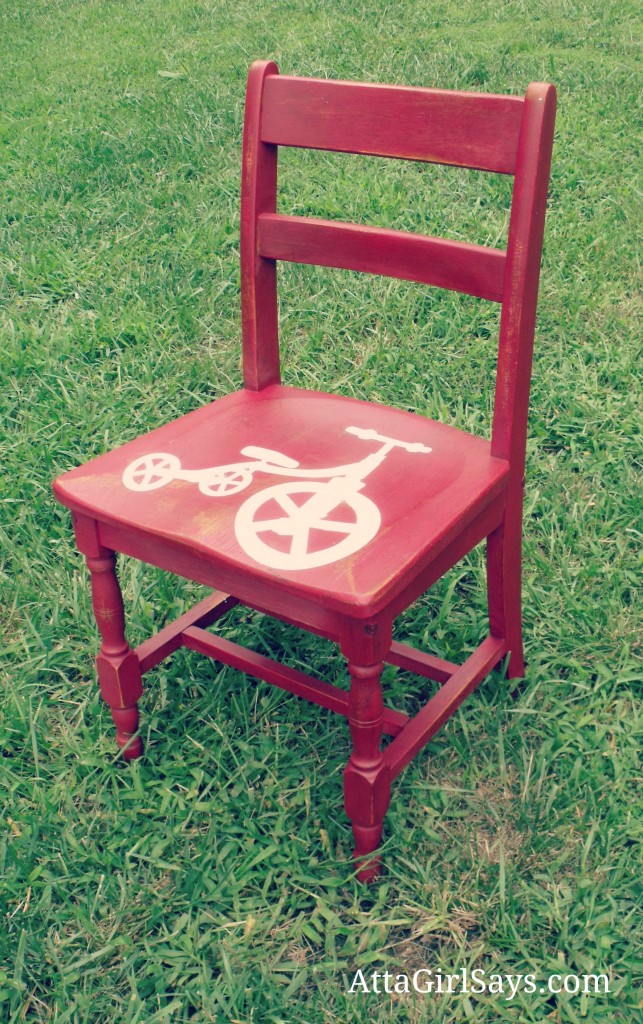
Last month, I was a little nervous to try a new power tool. I know…I know…shock and disbelief! But, y’all came to my rescue and helped share all your tutorials for using the Silhouette and other craft cutters. You really have to see all the wonderful projects that were linked up, like Atta Girl’s Tricycle Chair:

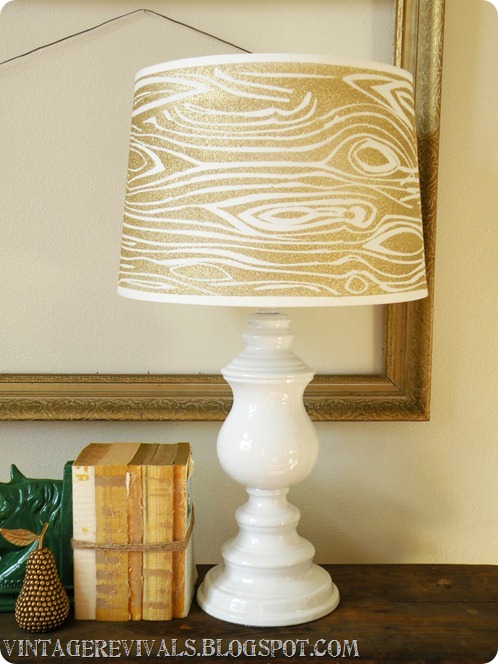
And Vintage Revival’s Wood Grain Lamp:

and I yelled “Stick a Fork in Me I’m Done Procrastinating!” when I laid eyes on All Things Thrifty’s Knife and Fork curtains:

After reading all your project tutorials, I was able to get a handle on my fear of the unknown and try out the Silhouette. Read more

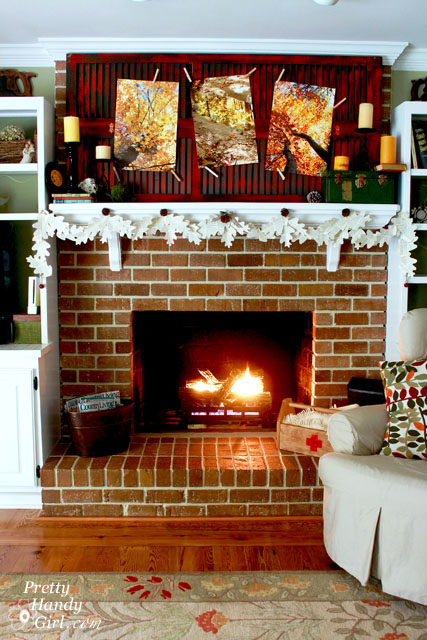
You got a peek at my living room fall décor when I showed you how to make the book page oak leaf garland. As promised, I’ll let you see the rest of the room and how I decorated for Fall.

Before I invite you in, I have a confession to make. Read more
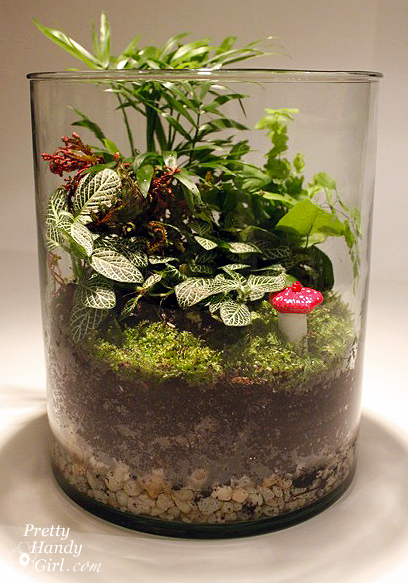
Make Your Own Terrariums


Terrariums are making a comeback in home décor. Gone are the octagonal mirrored terrariums. They have been replaced by sleak apothecary jars, tall cylinders and lidded glass vessels (to name just a few shapes.)

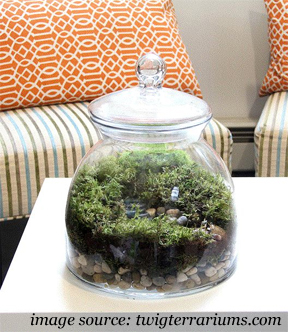
Twig Terrariums has an amazing array of beautiful ready made terrariums or DIY kits for sale! Some of them have stunning details, right down to a little miniature person inside the lush world. The terrarium below sells for $200.

If you want to create your own version that is a little more budget friendly, it isn’t hard to do. In fact you can get some plants from a local nursery or as close as your own backyard!

Materials:

  • Glass container (with or without a lid)
  • Small decorative pebbles or pea gravel
  • Potting soil
  • Live Moss
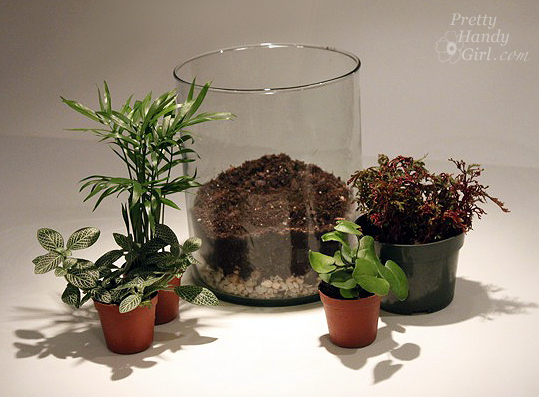
  • Terrarium plants (small shade loving plants)
  • Potting shovel
  • Water

1. Clean your glass container with soap and water and dry it.

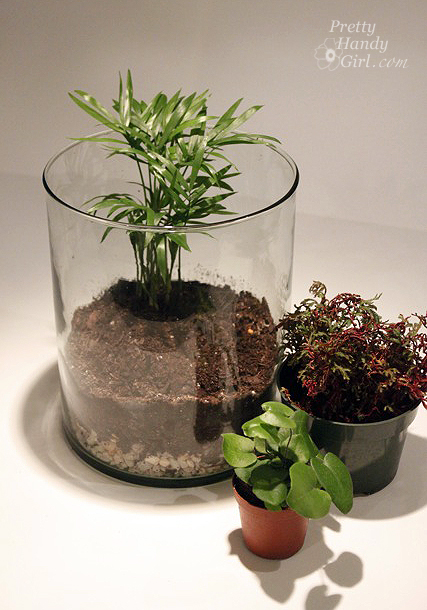
2. Add a layer of gravel or decorative pebbles to the bottom of your glass container.


3. Add a layer of potting soil. No need to level it.


4. Collect your plants and think through the plant placement in your head.


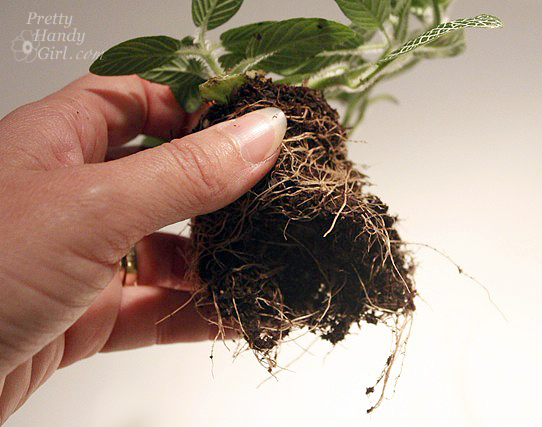
5. Gently remove a plant from the pot.

If it is root bound (all the roots are wound tightly around the bottom) gently tease some of the roots free and break apart the roots at the bottom of the plant.


6. Insert your plants into the soil.

Put taller plants at the back and the shorter ones in the front so you can see all the plants.


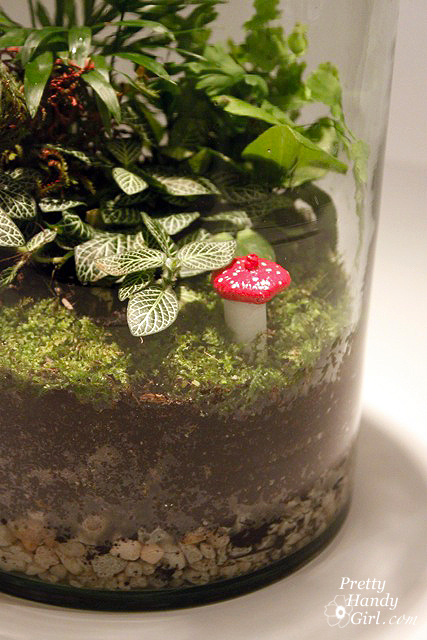
7. Cover the soil with moss. You can cut or tear pieces to fit flush with the edge of the terrarium.

8. Fill your terrarium and let the water soak in. The water should reach the top of the rocks. Check the water level a few times a week and be sure to refill when the water gets low. If your terrarium has a lid you won’t have to water as often as a lidless variety.


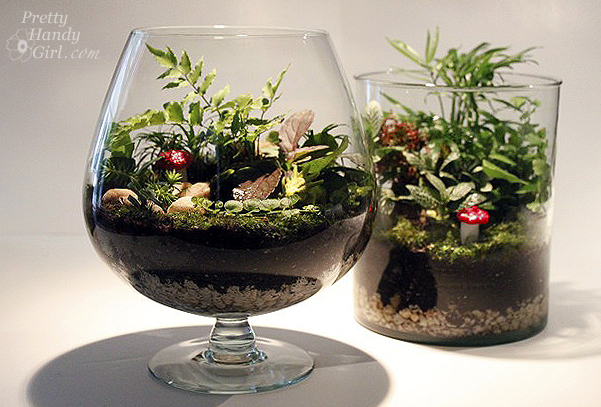
9. Add any decorative embellishments like these faux mushrooms (tutorial HERE)…

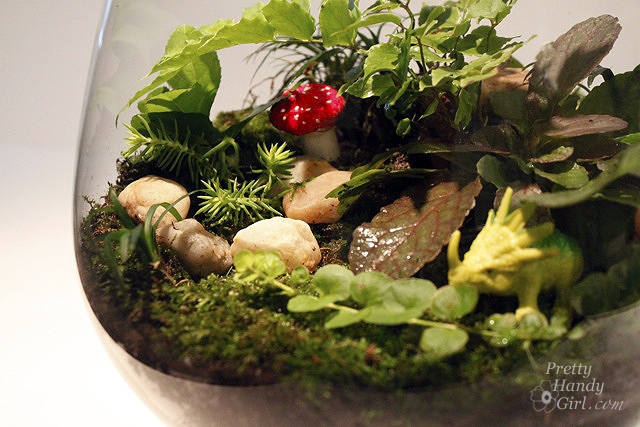
…or my sons’ favorite, a little plastic dinosaur!

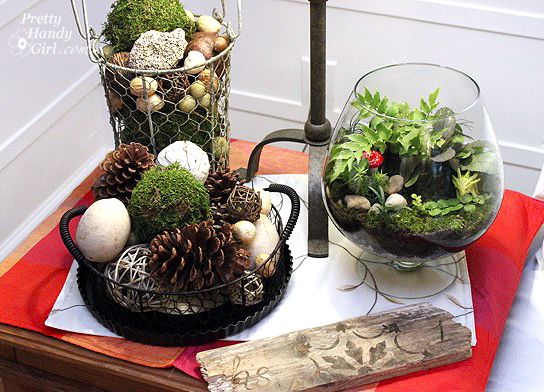
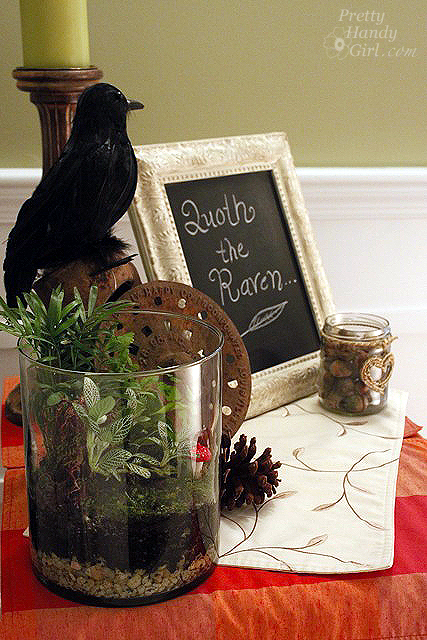
Terrariums make the perfect year round accessory. I have them prominently featured in my living room along with some other natural elements.

This version was made entirely with plants that I have growing in my shade bed. Small ferns, arugula and creeping ground covers. Plus, I added a few round pebbles for visual interest.

I might pick up a tiny person or two at a hobby shop next time I’m near one. Anyone seen any that look like the characters in “Land of the Lost” heh, heh, heh!


In the meantime, I’m loving my cost effective terrarium. Yes, terrarium singular, because the cylinder terrarium was a gift for our friends who dog sat for us.


I almost wouldn’t be surprised to see a fairy take up residence in one.

I’ve been busy working on some more projects to show you, so hang tight and check back soon! 😉 In the meantime, I hope you have a fabulous weekend and are enjoying Fall!