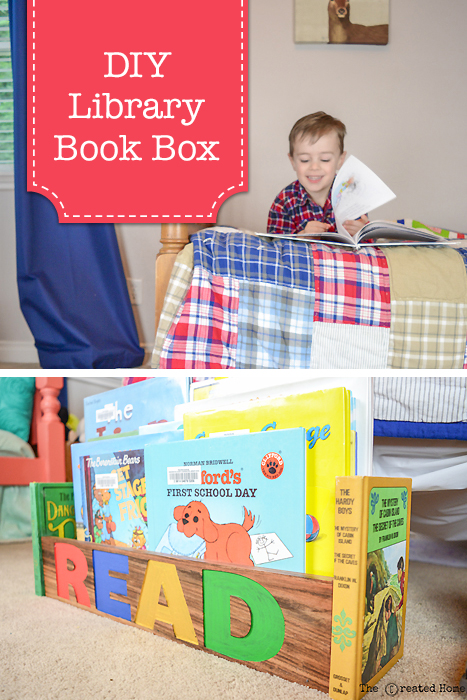
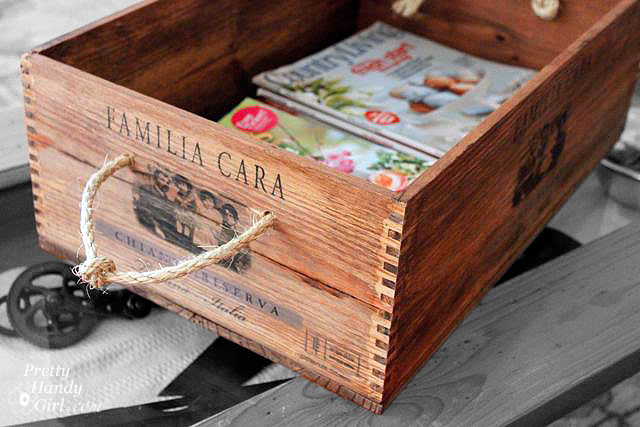
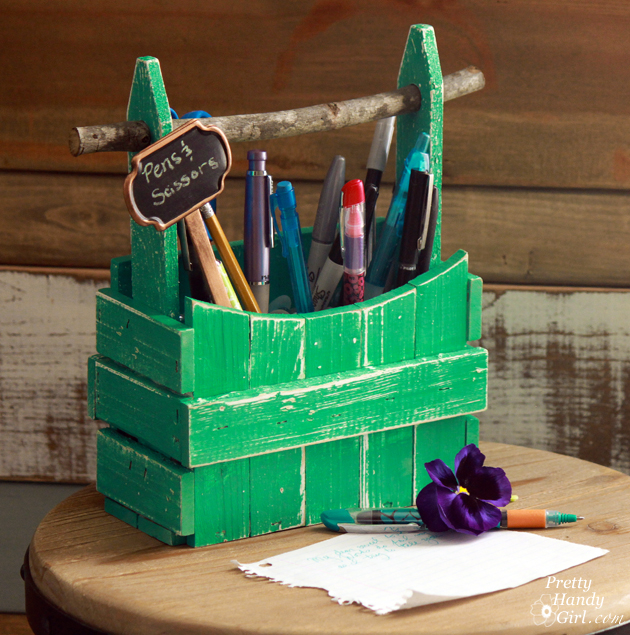
 DIY Library Book Box
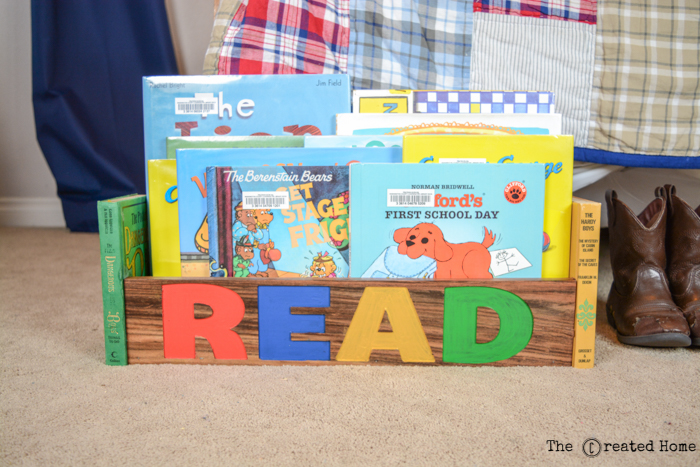
Hello Pretty Handy Girl readers! Sarah here from The Created Home to share with you a fun solution for housing library books: A Library Book Box!
Recently I had to cough up $10 to our local public library for a missing book — which sort of kills me since I have turned our home upside down looking for it. I mean, it’s Curious George, and those things are bright yellow! Has this ever happened to you? Even if it hasn’t, it is helpful to have a designated spot for library books. After all, we want to encourage reading, not get frustrated about trying to find them. Right?!
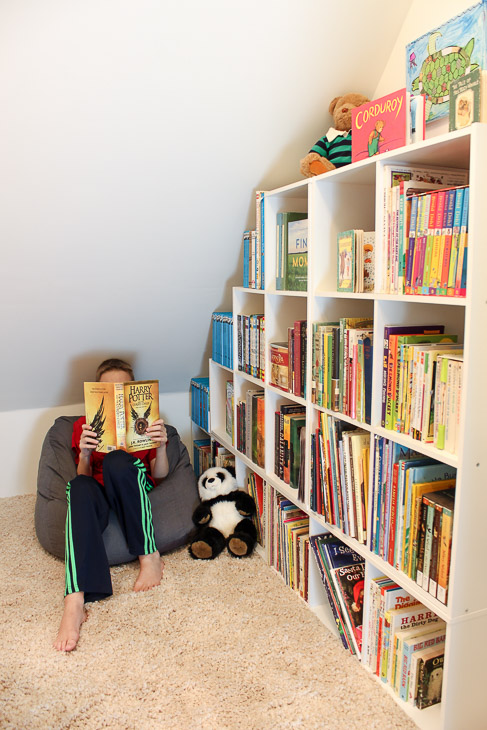
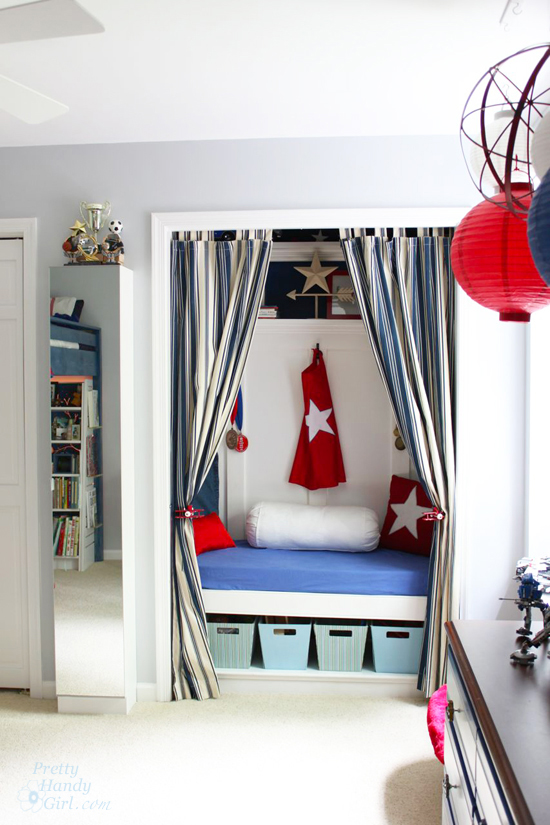
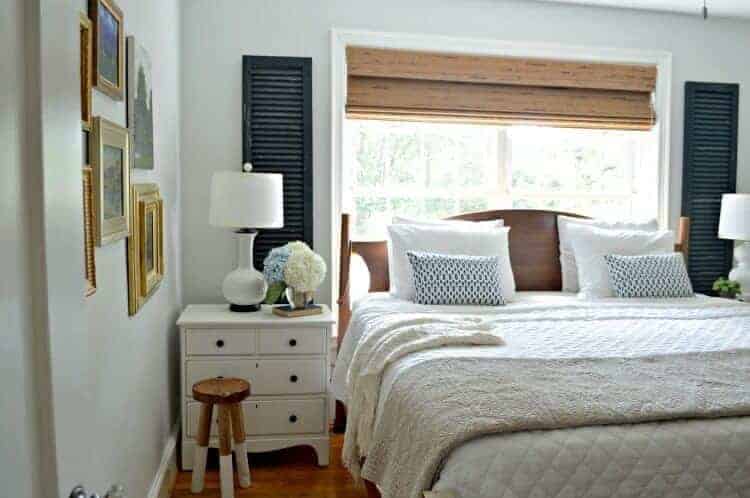
We love books around here. In fact, I built two reading nooks to support my own little readers. This elevated version in our playroom features bookshelves that double as a secret stairway. And this one is built right into my kids’ closet. Not ready for a full reading nook? This book box is a simple way to bring some reading fun into your home!
Materials:
- Wood for box frame (We will talk about lengths in a bit)
- Wood inserts for books
- Wood glue
- Finish nails
- Brad nailer
- 2 books
- Acrylic paint (optional)
- [amazon_textlink asin=’B000BZZ3S8′ text=’Varnish’ template=’ProductLink’ store=’prett-wp-001-20′ marketplace=’US’ link_id=’ca82d0cd-c9af-11e7-a2c5-03ec0e36f2f5′]
Instructions:
Step 1
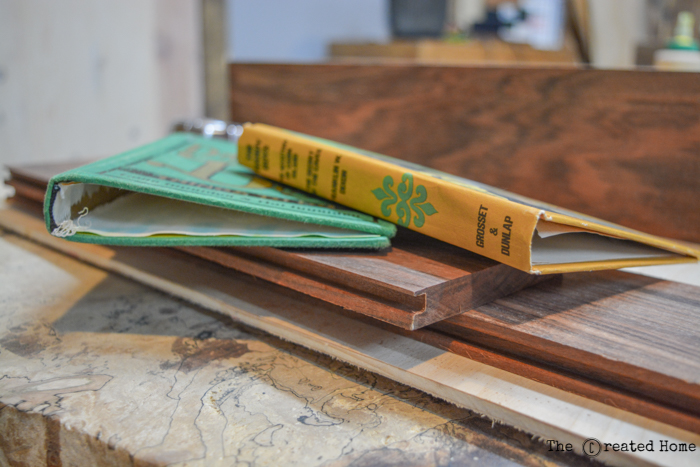
You’ll need a couple of books that you don’t mind deconstructing. Check your local thrift store to pick up some great vintage looking hardbacks or get creative with whatever look you like! The books will need to be the same dimensions for this project. Remove all of the pages from the books, leaving only the hard covers.
Trace two pieces of wood to fit inside the books. 3/4″ scraps worked perfect for this purpose.
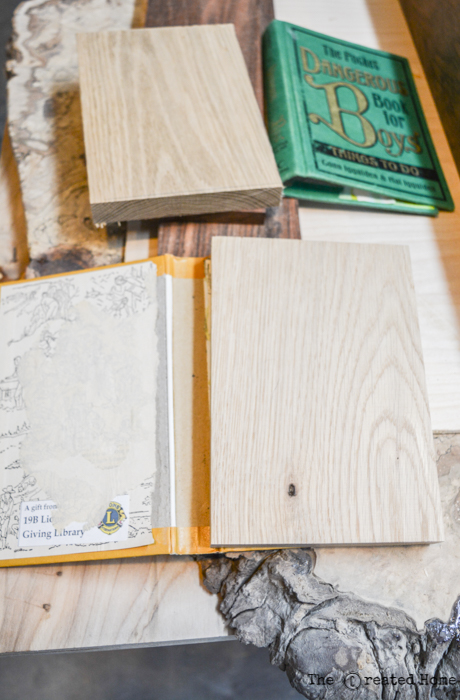
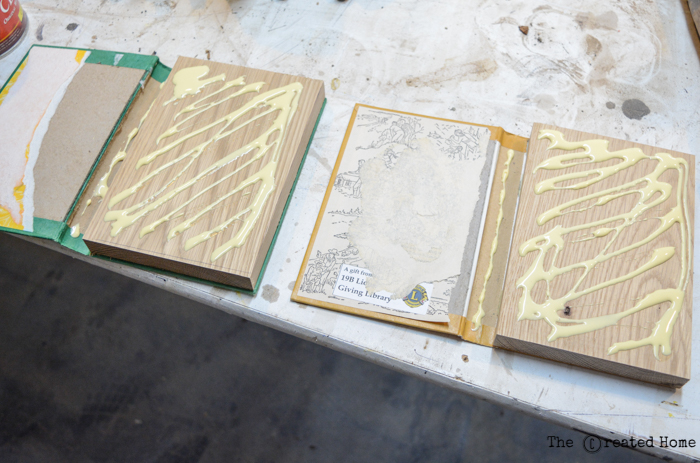
Glue the wood into the book covers, leaving the outside cover free on both. This is for when you put them against the box you can open the cover and nail into the box sides through the wood. I didn’t do this with mine because I realized it would be a good idea too late.
Step 2
Make the box. This is an excellent scrap wood project! You can make the book box as long as you like, though 18″ seems to work well for us. My pieces are scrap flooring from a friend’s business, so they are approximately 4″ tall (1×6 would work just as well). The width of the box is determined by the width of your books, since they are the box sides. Your bottom piece of wood will need to be the width between the front and back pieces.
You can choose to simply glue and nail the pieces of wood together with a finish gun, or you can get fancy and use your router to dado a groove in the wood for the bottom to sit in. Either way works fine!
Step 3
Attach the book sides. As with the other parts of this book box, you’ll want to use both glue and nails to ensure stability. Nail right through the inner part of the “books” into the box sides. Be careful to line the nails up correctly so they don’t go through the box and out the side. Then glue the book cover closed to hide the nail holes.

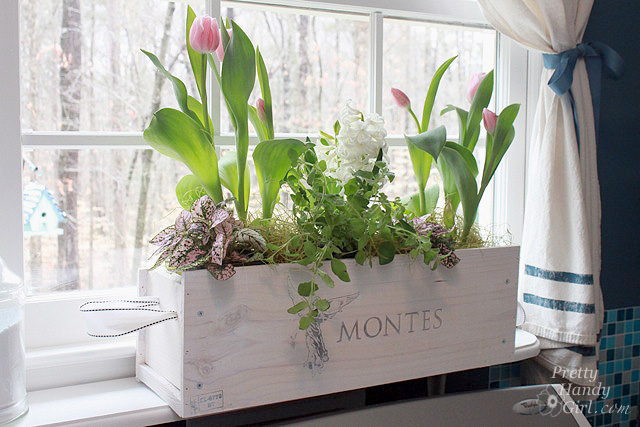
Step 4
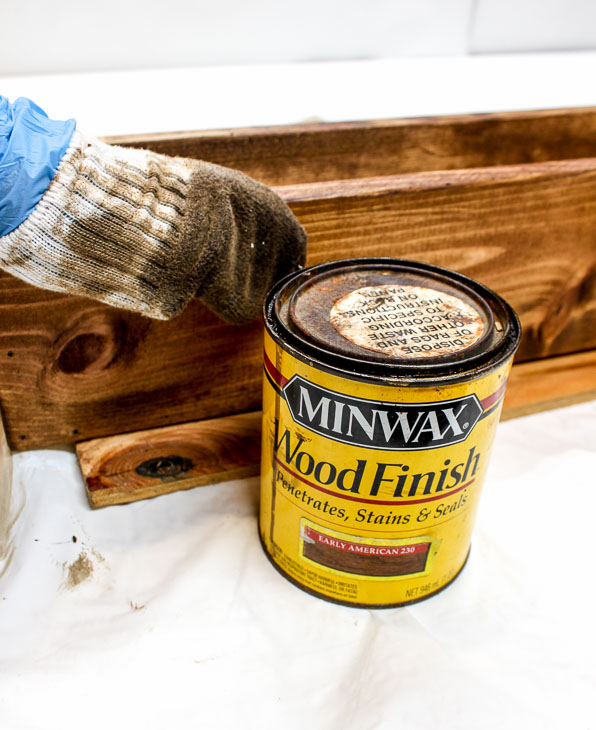
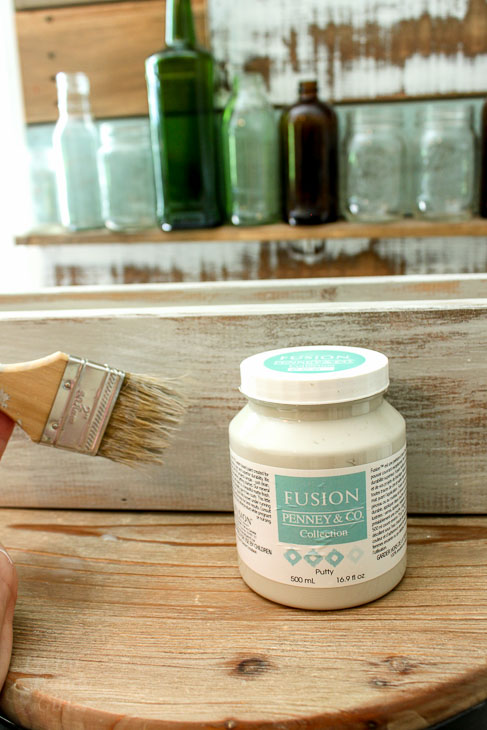
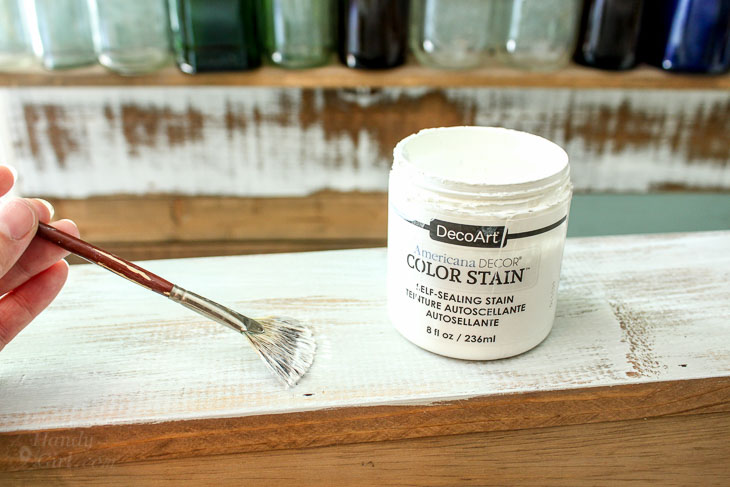
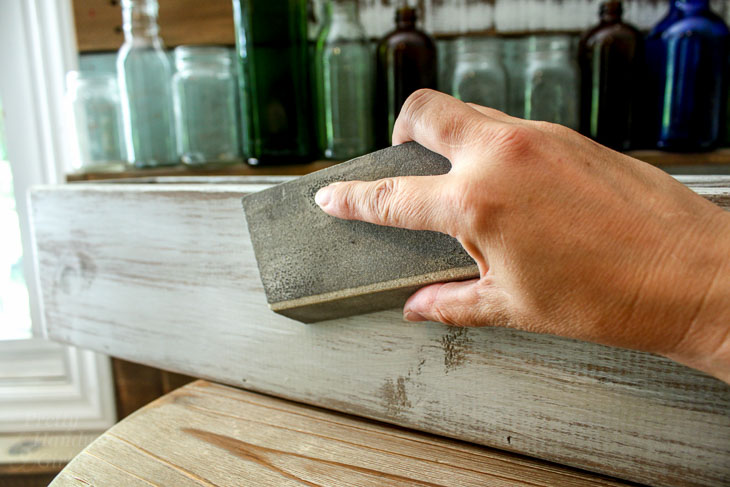
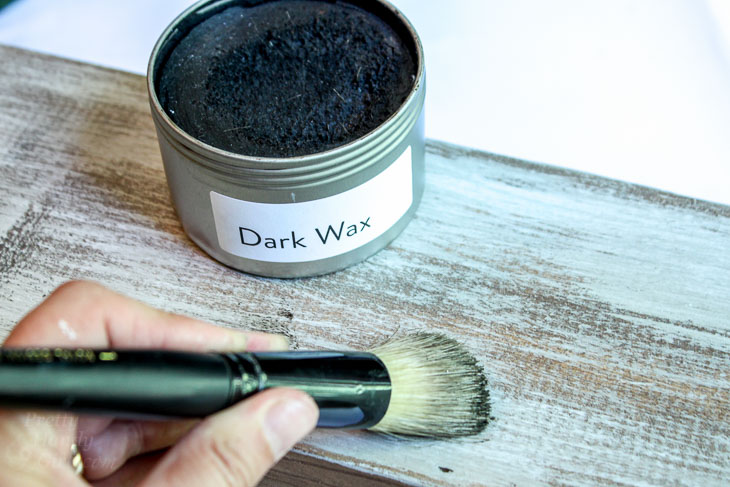
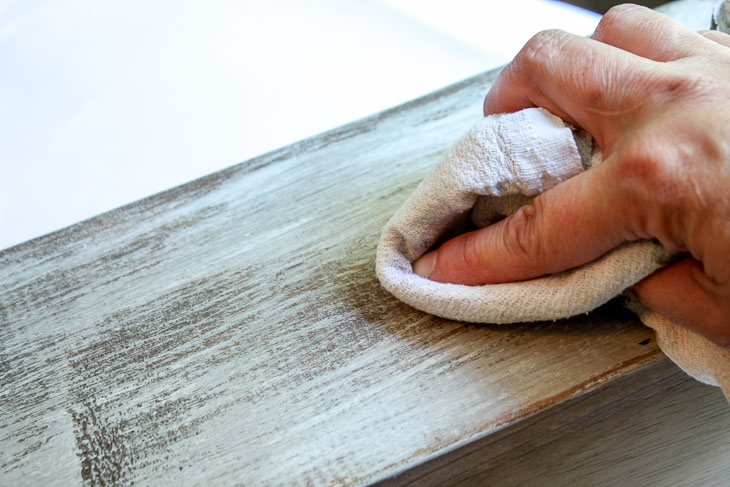
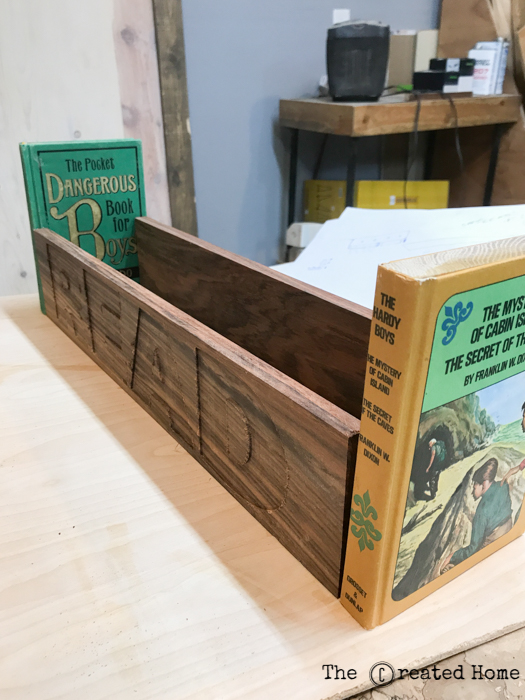
Add decorative touches and finish. Stain the wood if you like, or simply add varnish. You can choose to add lettering as well – a name or simply “READ” works well. I painted them fun colors because it is for my kids.
Step 5
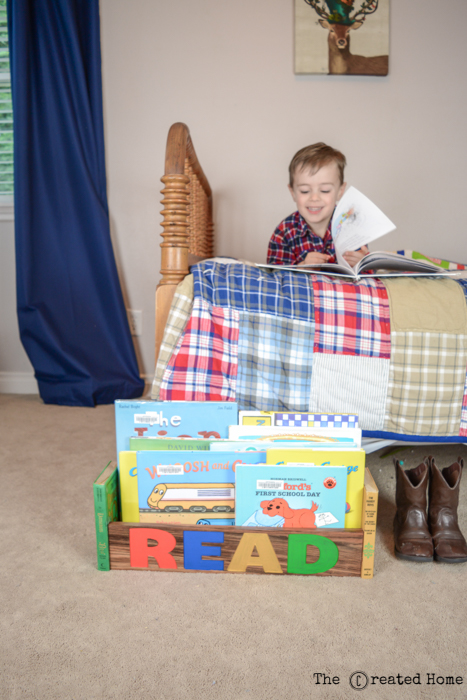
Load it up! A box about this size holds somewhere around 20 children’s books. If I did it again I might go a bit larger. Another option is to put this on wheels, which would look great. (But, my kids have a tendency to turn everything into skateboards, so I left it grounded!)

That’s it! Hopefully this simple solution will keep your library books corralled and your account happily fine-free. If you make one be sure to share a photo, and happy reading!

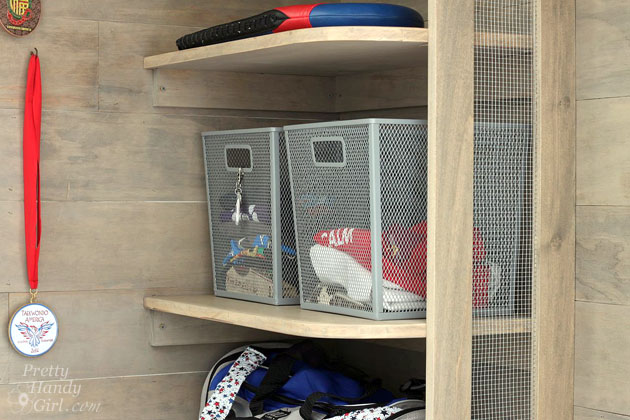
Like this idea? Be sure to check out this awesome closet library Brittany built.
or the reading nook she built in her son’s bedroom:


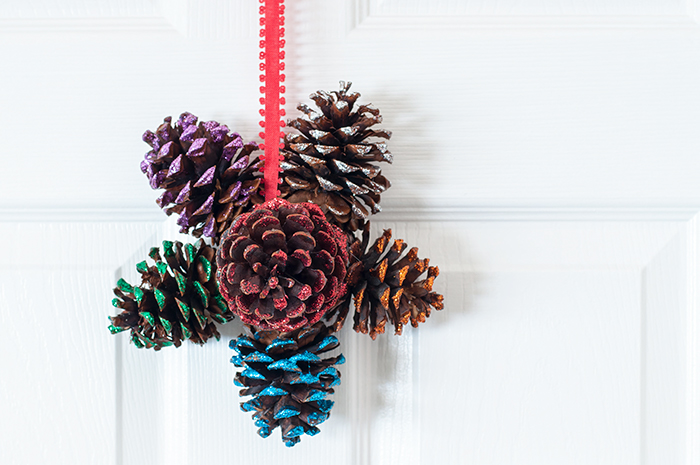
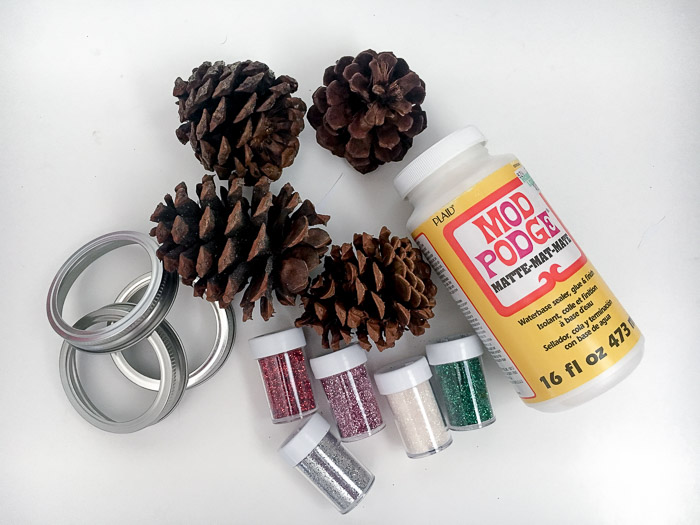
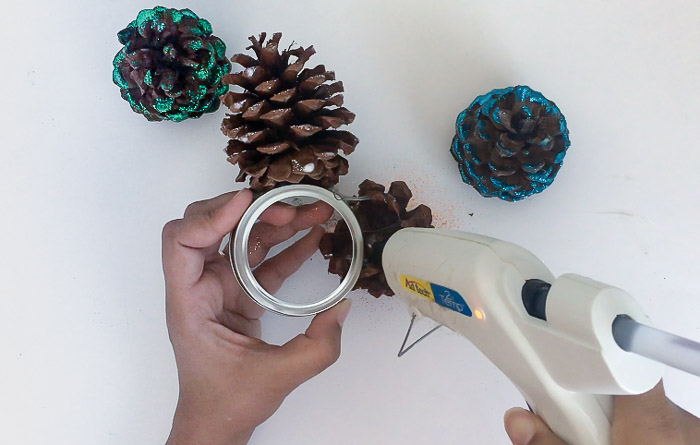
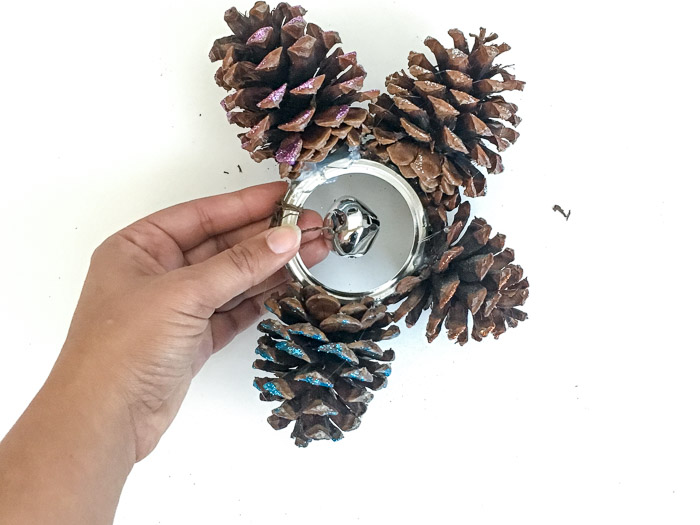
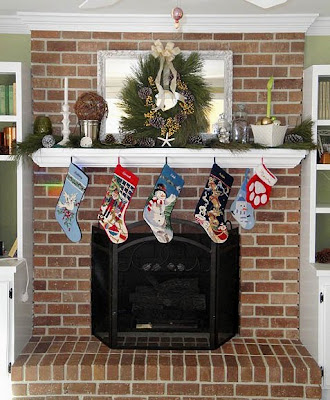
 Easy Glittered Pinecone Door Hanger
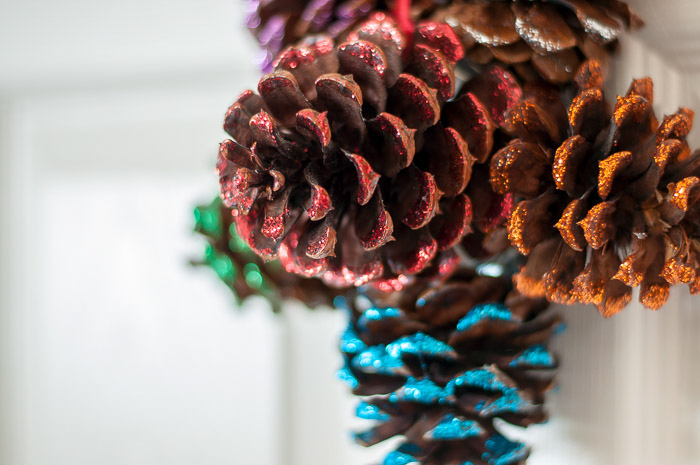
 ~ View more of
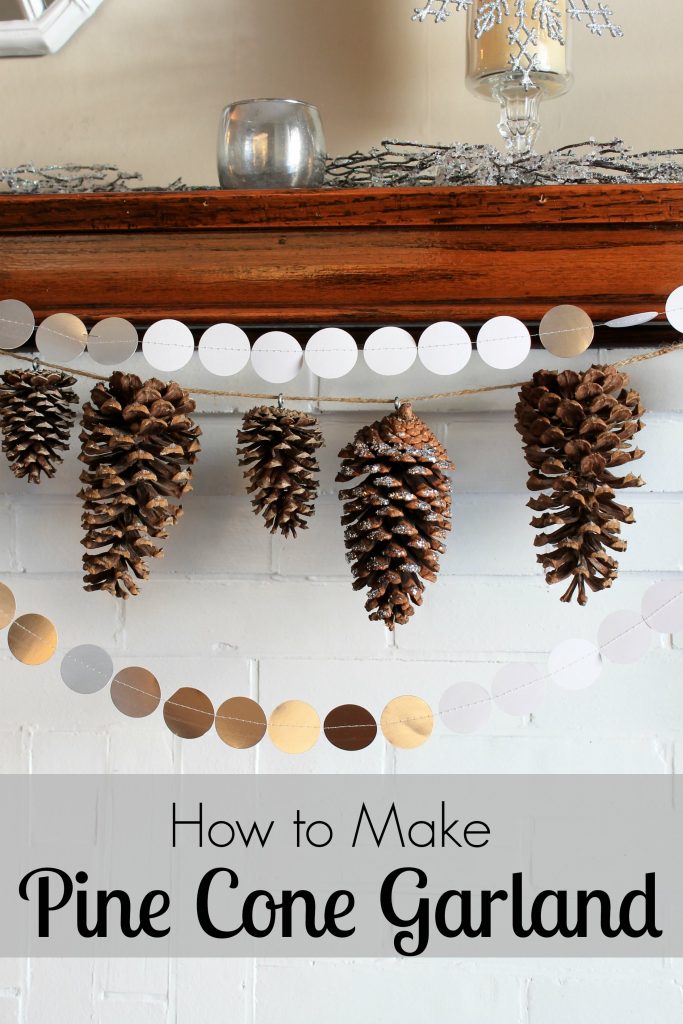
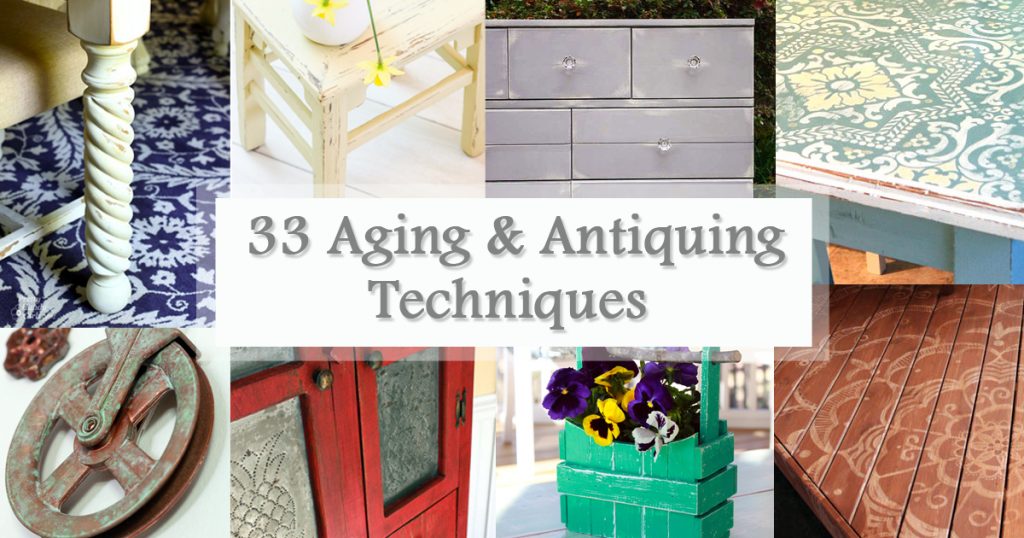

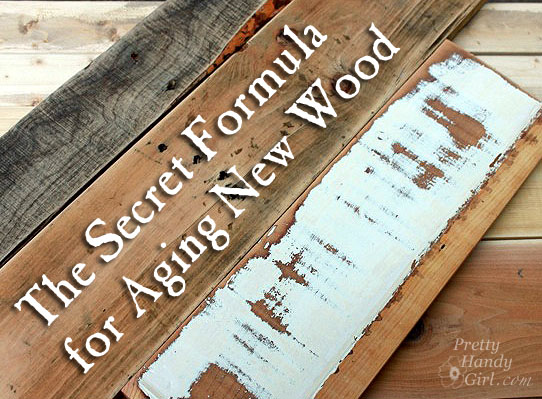

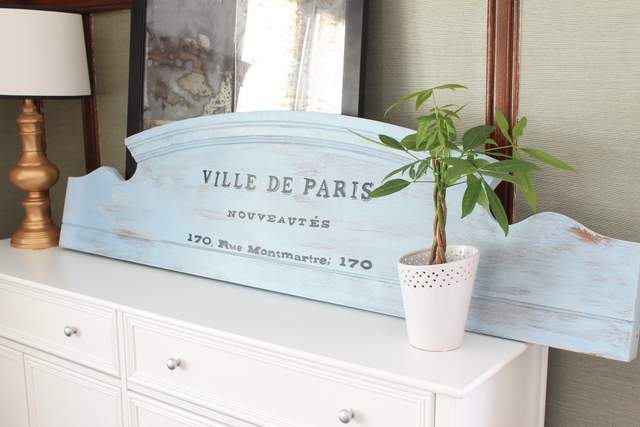
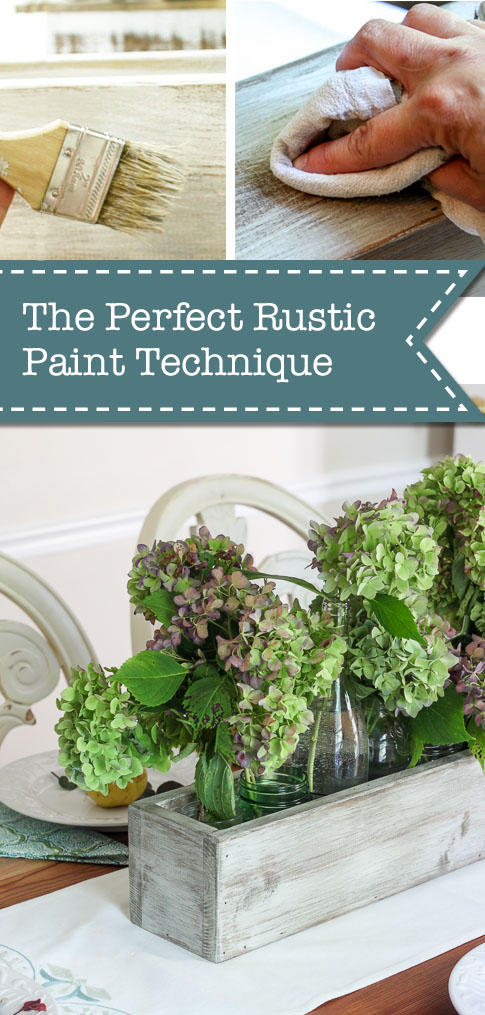 The Perfect Rustic Paint Technique {with Video Tutorial}