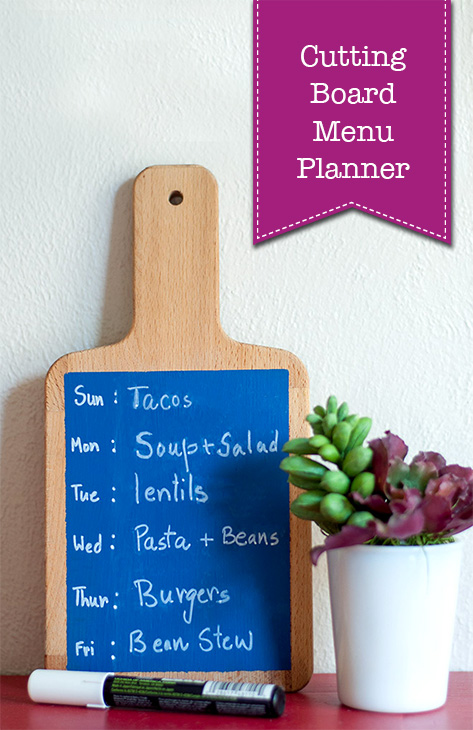
 A Quick Cutting Board Makeover for Meal Planning
Hello, it’s Anika here from Anika’s DIY Life. I hope you had a great start to your new year!
One of my New Year’s resolutions is to get better with planning meals. I’ve really struggle with planning meals ahead of time. In the past, I have tried many systems (from worksheets to online applications) but most seem to fall through after a few days or weeks.
After a lot of brainstorming, I realized it was because I was making the entire process much more complicated than it needed to be. I set out with a simple plan: create a menu for the week in the kitchen where I can see it at all times.
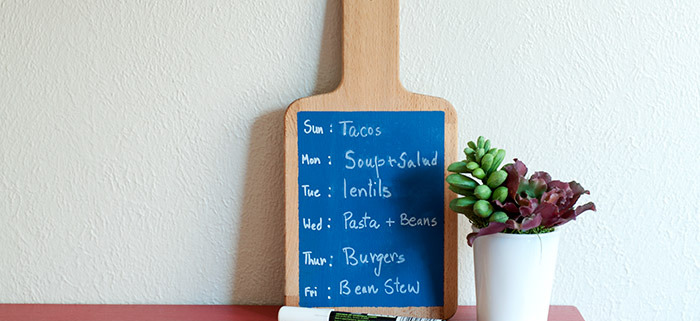
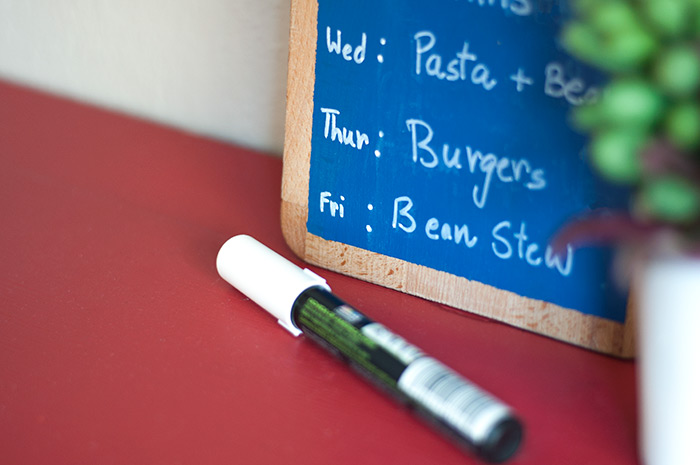
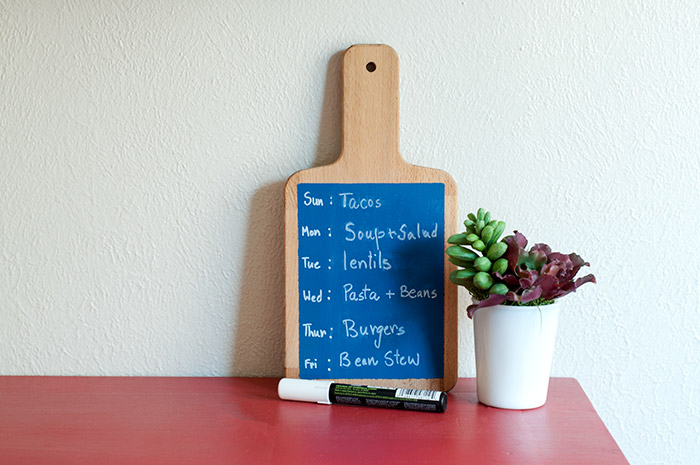
An old Ikea cutting board ended up working out perfect for the job of meal planner!
Materials:
(I’ve included affiliate links for your convenience. I earn a small percentage from a purchase using these links. There is no additional cost to you. You can read more about affiliate links here.)
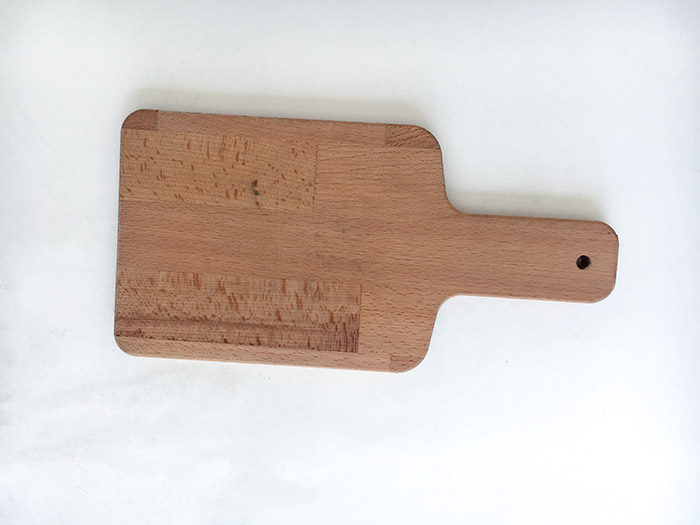
- Old cutting board (a new one would be fine too)
- Painter’s tape
- Chalkboard paint in the color of your choice
- Chalk pen
Instructions:
Step 1 – Clean the cutting board to remove any food or dirt. Let the board dry completely before proceeding.
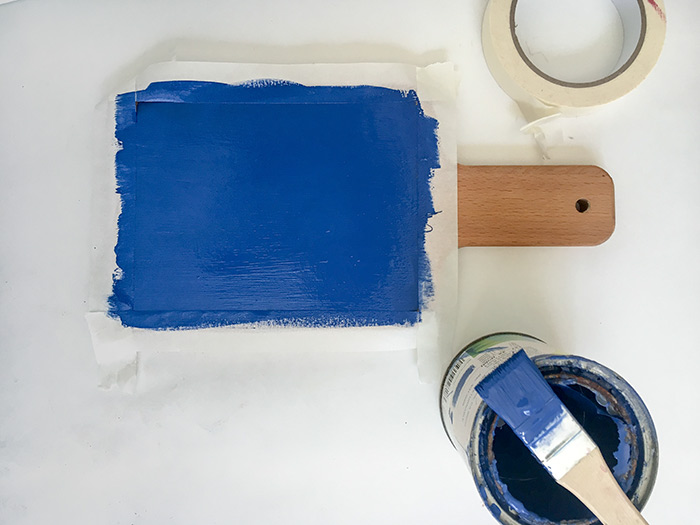
Step 2 – Measure ½” from the edge of the cutting board and tape on all 4 sides.
Step 3 – Paint the middle of the cutting board using chalkboard paint.
Did you know you can make your own chalkboard paint using Plaster of Paris by following this recipe? Or use Brittany’s recipe that uses unsanded tile grout instead:
Step 4 – Remove the tape while the paint is still wet. Once the paint dries, rub a piece of chalk on its side over the entire painted area to season the chalkboard before using.
This simple project has made a big difference in my productiveness around cooking. We sit down as a family every Sunday and plan out the menu, grocery shop accordingly, and take care of any meal prep.
I think one of the biggest changes this menu board has made is in helping manage the kids’ expectations. The board sits next to the kitchen in my little command center. The kids know what’s for dinner and there is no more “I didn’t feel like eating that” at the dinner table. Mom win!
How do you tackle meal planning? Until next time!

~See more of Anika’s tutorials~
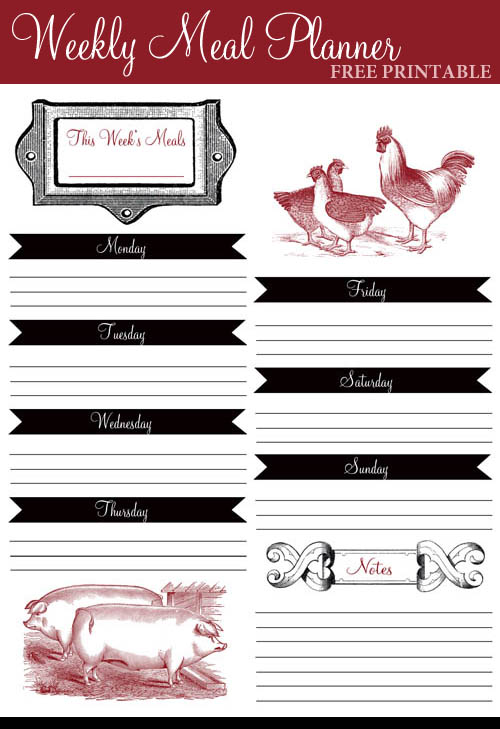
Did you like this tutorial? You might also like Brittany’s Free Weekly Menu Planner printable:


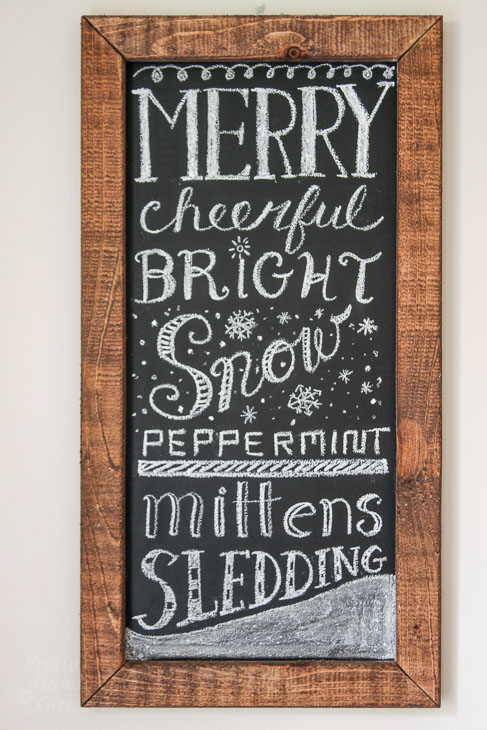
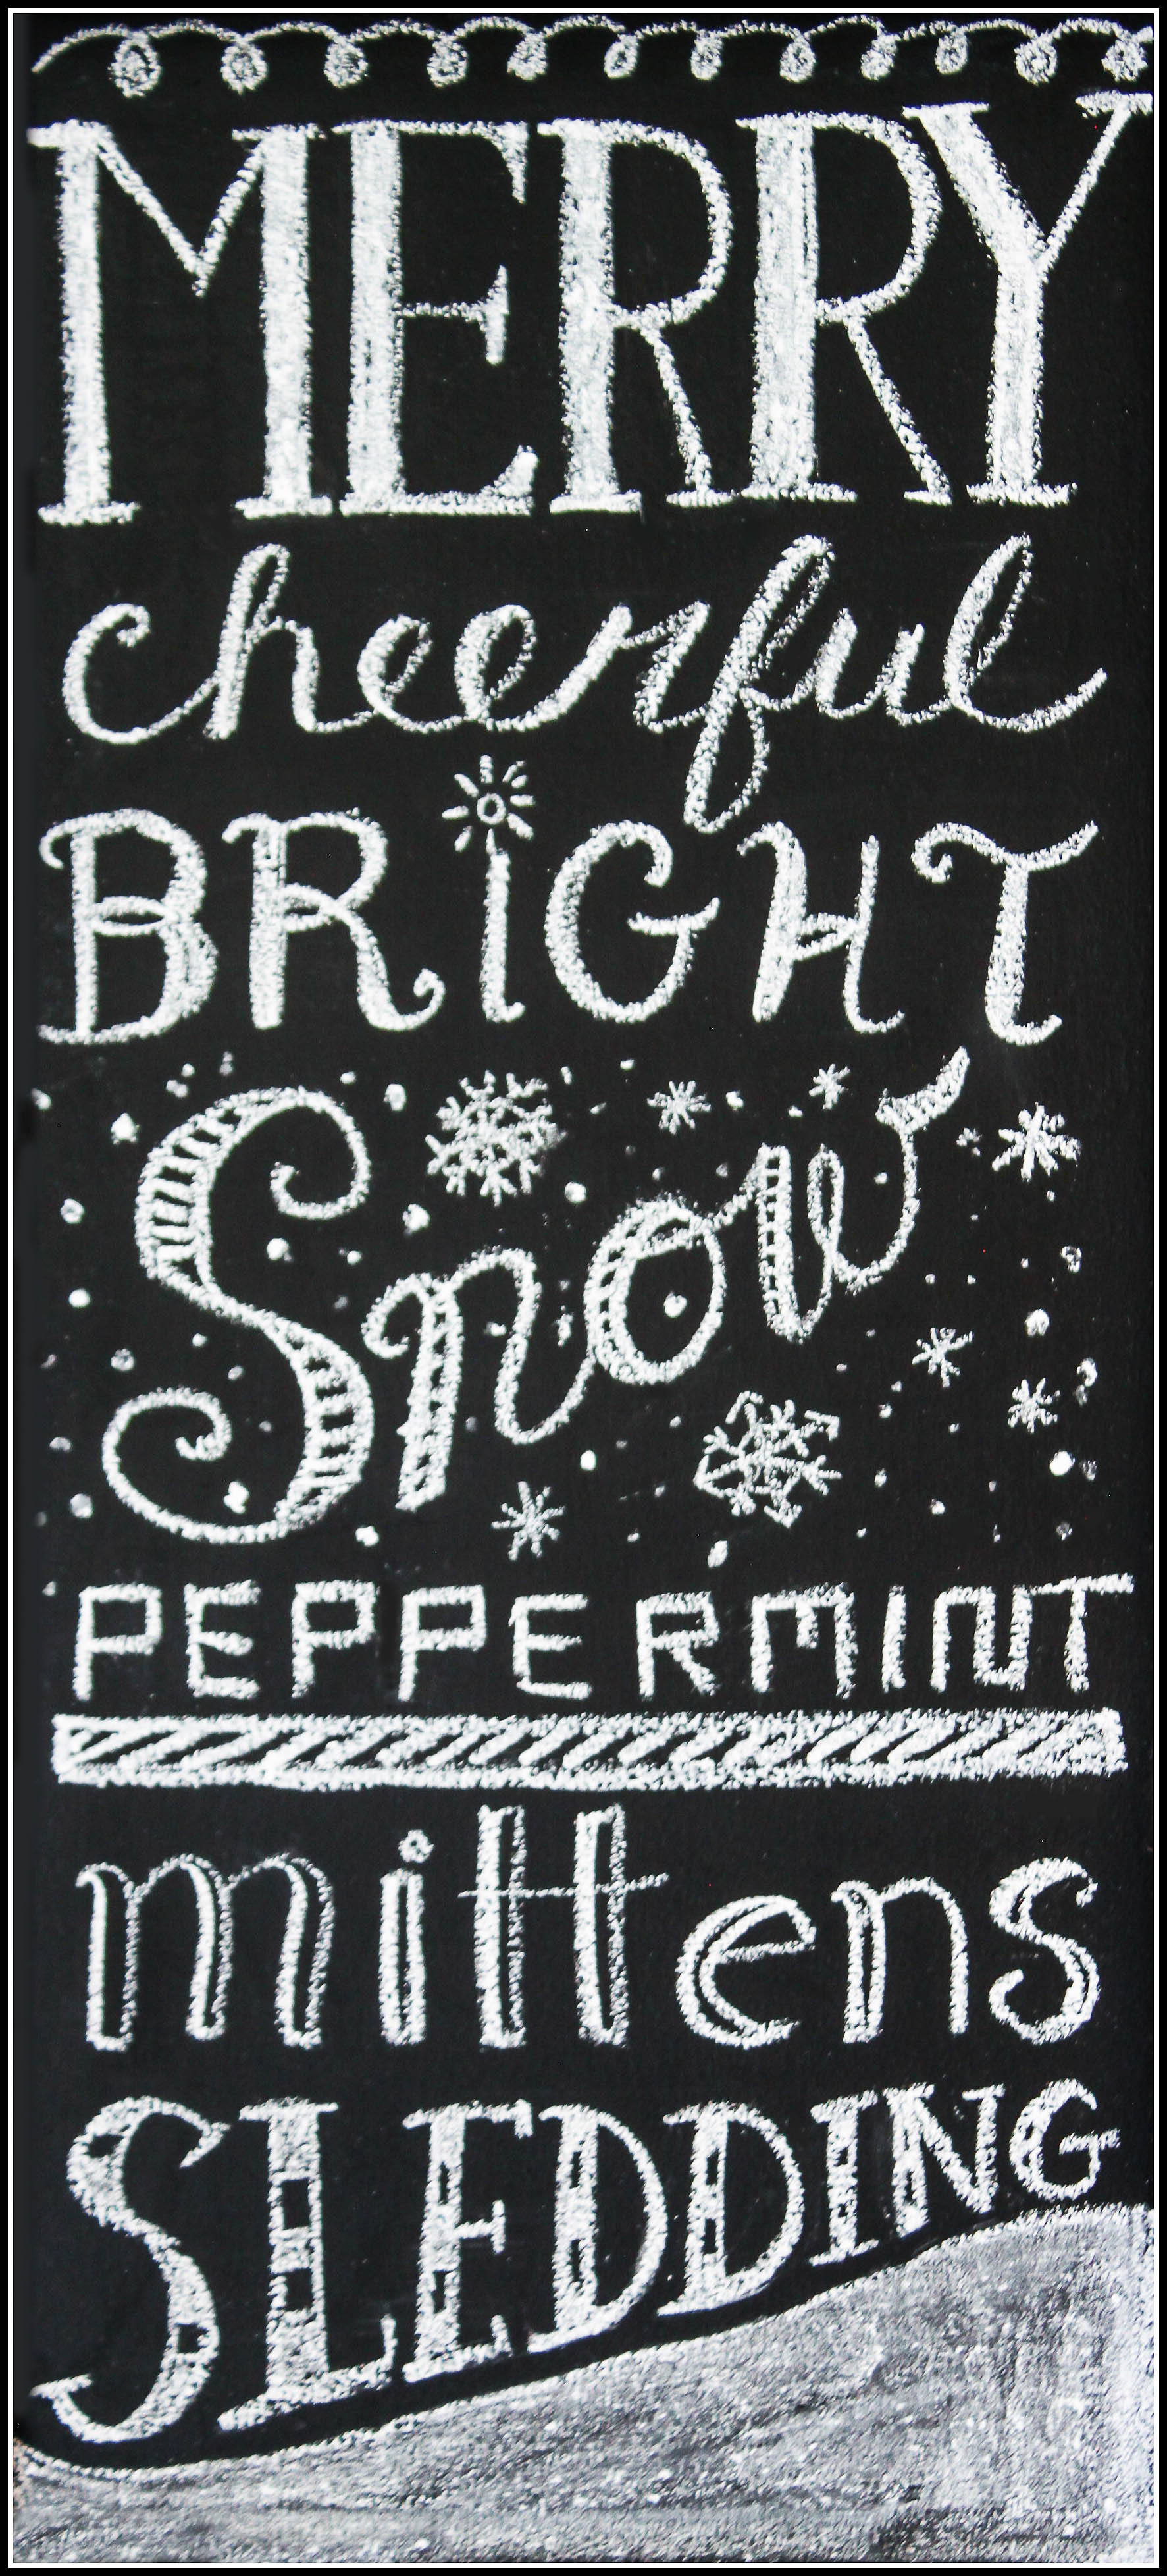
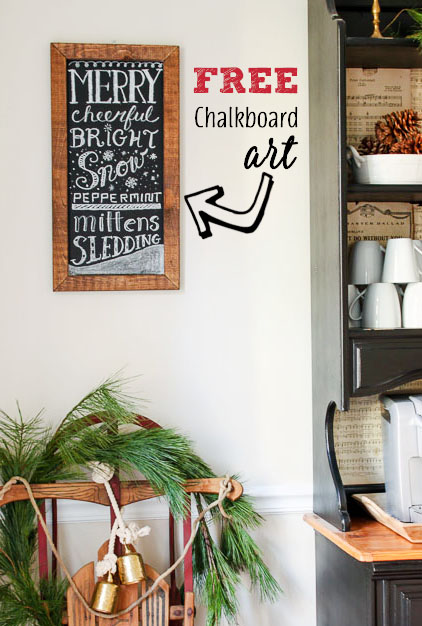 Free Winter Chalkboard Art Printable