Happy Thanksgiving! I hope you get your fill of food and family time today. I need to give a big congrats to the Silhouette Portrait Giveaway winner, Kelly Crumpler Kelly! Woo Hoo, you’ll be making all your gifts with the Silhouette Portrait this year, won’t you Kelly?! Speaking of making your own gifts, I’m on a bit of a DIY art kick lately. I think creating your own art is creative, frugal and fun! Today I have a tutorial for creating this laundry quote canvas art, but frankly you can use your own favorite quote! Or create personalized name art for one of the kids on your gift list! The easiest way to create quote artwork is using a Silhouette craft cutter to cut your letters out. You can use the Silhouette for so much more than you ever imagined. I use mine a lot for cutting letters like I did for the laundry sign.
But, you can also use it for creating custom temporary tattoos, fabric and cardstock shape cut outs, flocking iron ons, stenciling on wood, glass etching, faux pen & ink etching, 3-D paper projects, printable foil labels and much much more!

Today we’ll focus on the tutorial for creating your own quote canvas art! (I’ve included affiliate links for your convenience. I earn a small percentage from a purchase using these links. There is no additional cost to you. You can read more about affiliate links here.)
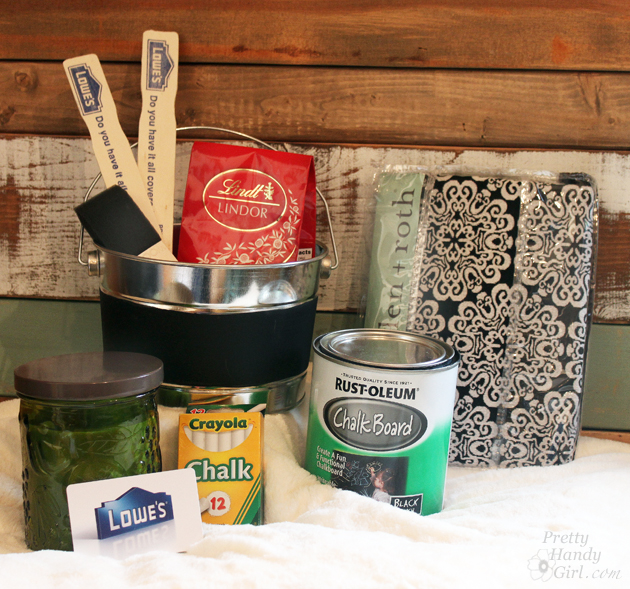
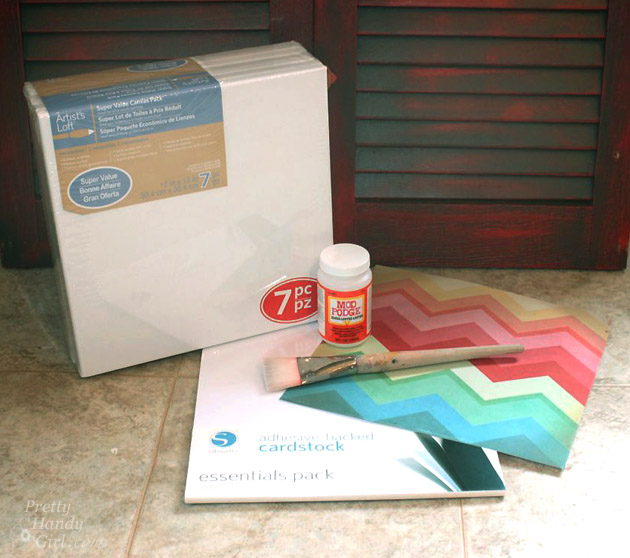
Materials:
Instructions:
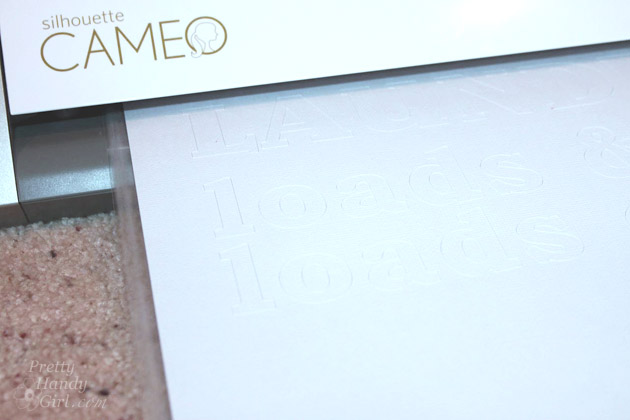
Type out your quote in the Silhouette studio software. Send the art to cut on adhesive backed cardstock using your Silhouette.
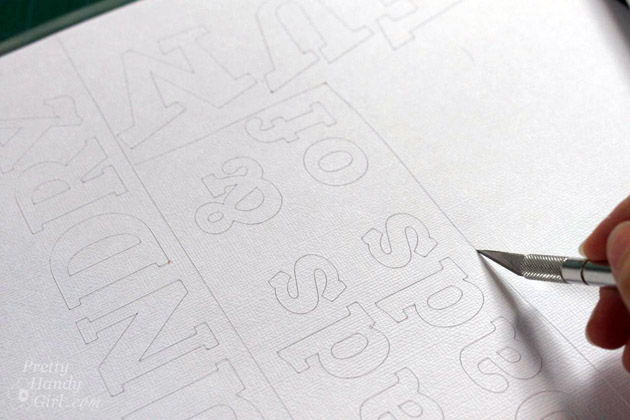
Separate the phrase into sections by scoring around them with an x-acto knife.
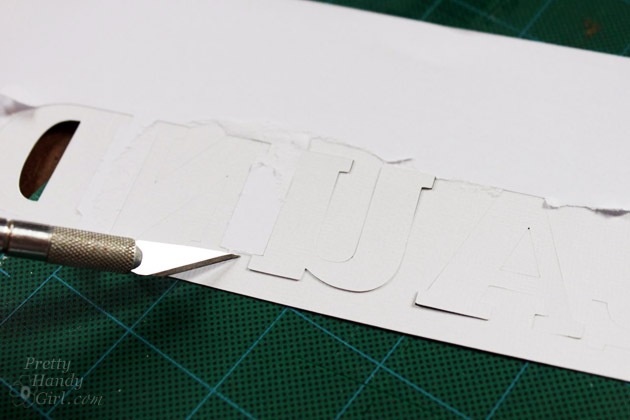
Flip the cardstock over and remove the backing on just the letters (if you can keep the rest of the backing in tact it will help with positioning.)
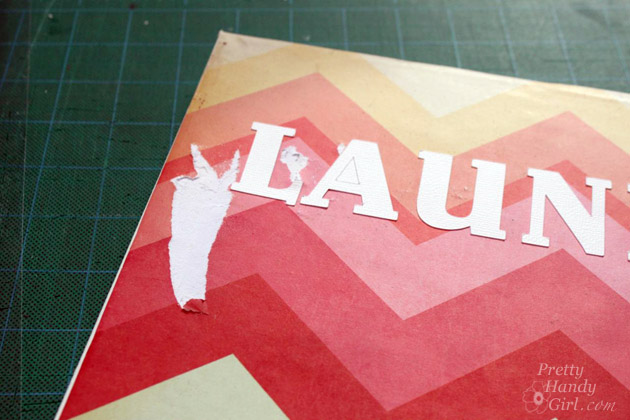
I had big plans to show you how to make your own DIY canvas art using scrapbook paper as the background. Everything was moving along swimmingly after I adhered the scrapbook paper to the canvas using mod podge. But, I neglected to let it dry (too impatient) and this happened. Whomp wah…craft fail!
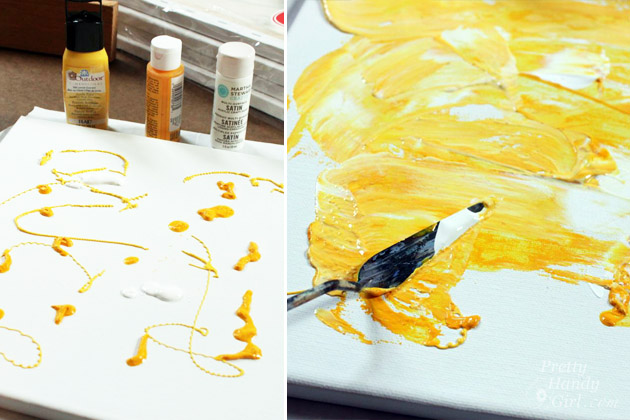
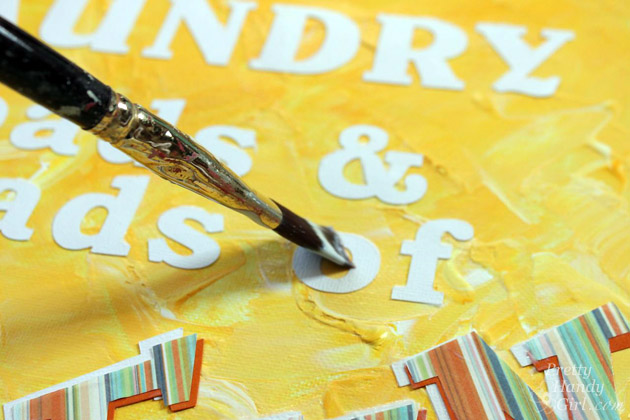
But, I wasn’t about to be deterred. So, I created a fun painted background instead. Drizzle paint onto the canvas. Use a palette knife to spread the paint. Be careful not to overly mix the paint. Streaks in the paint give it texture, dimension and interest.
Let the painting thoroughly dry! (Must have patience.)

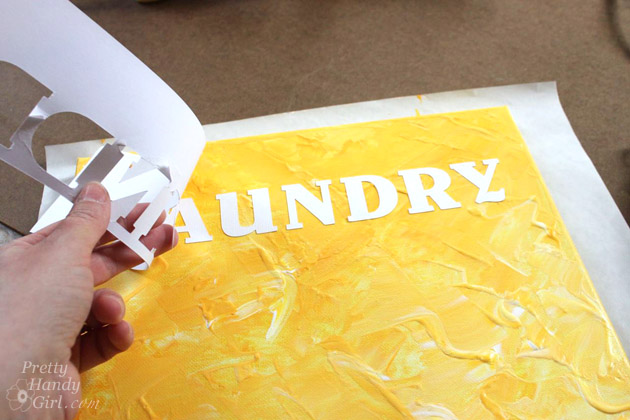
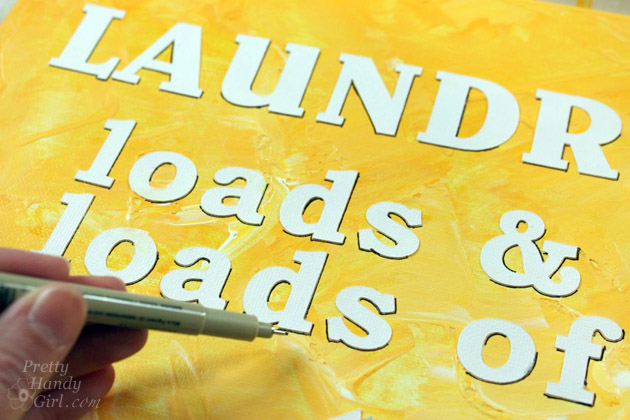
Carefully lay your words onto the canvas one section at a time.

Press the letters in place and gently peel up the backing.
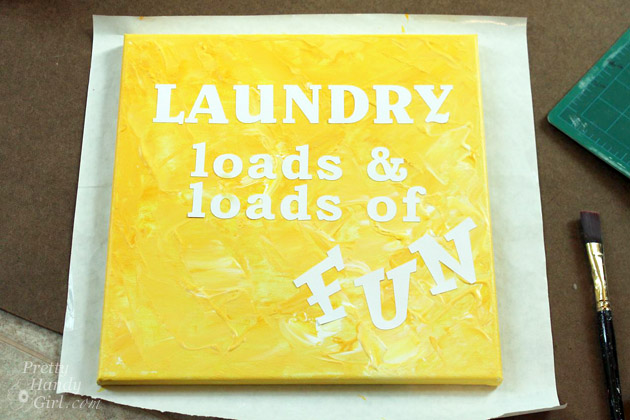
Repeat for the rest of your quote.
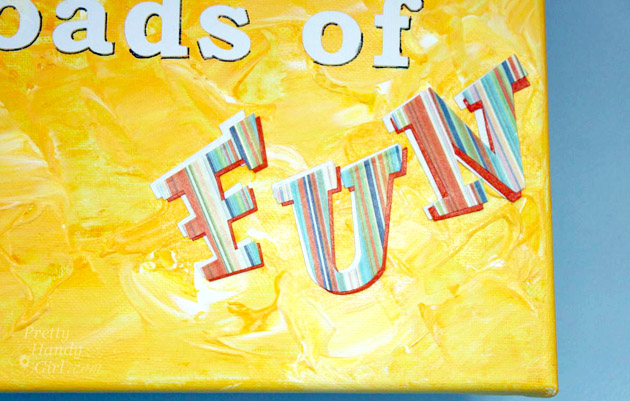
Here’s the FUN part! I used my Silhouette CAMEO to cut out the word “FUN” in orange card stock and striped scrapbook paper. Then I layered the word FUN to make it stand out. Creating a layered word: 1. Apply a thin coat of mod podge to the back of the orange letters. 2. Lay them slightly offset onto the white letters. 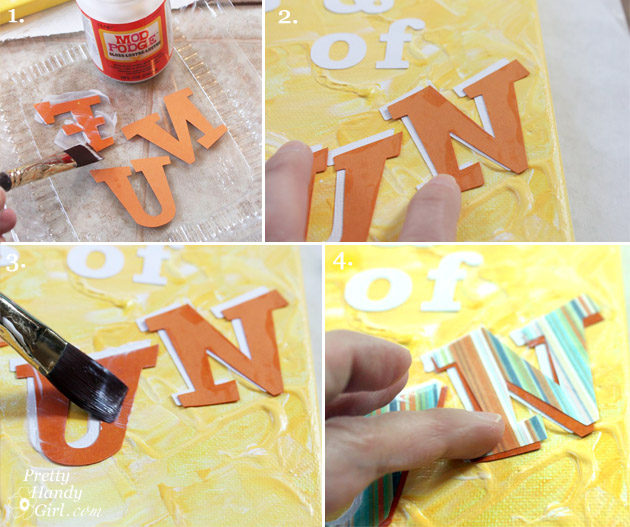
3. Apply more mod podge on top of the yellow letters. 4. Press the striped letters into the wet mod podge, offsetting them from the orange letters. Seal all the letters by brushing mod podge over the letters.
To create a shadow, use the fine tipped permanent marker to underline the right and bottom sections of each letter.
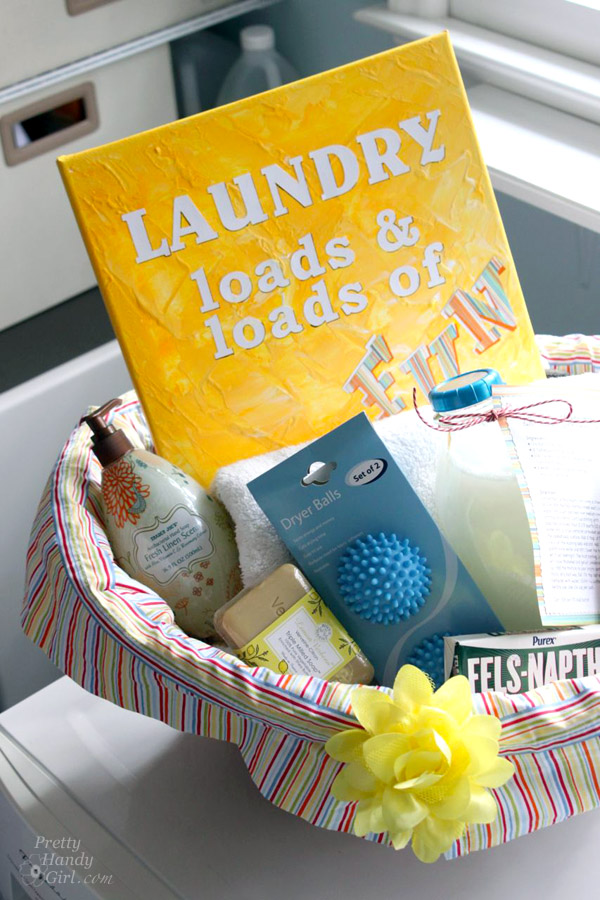
And, that’s it! Loads & loads of FUN don’t you think?!
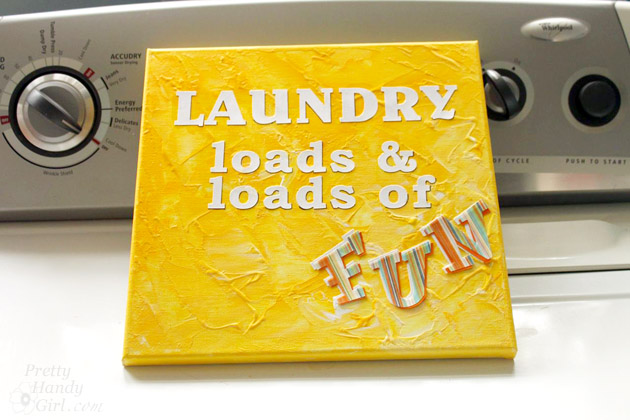
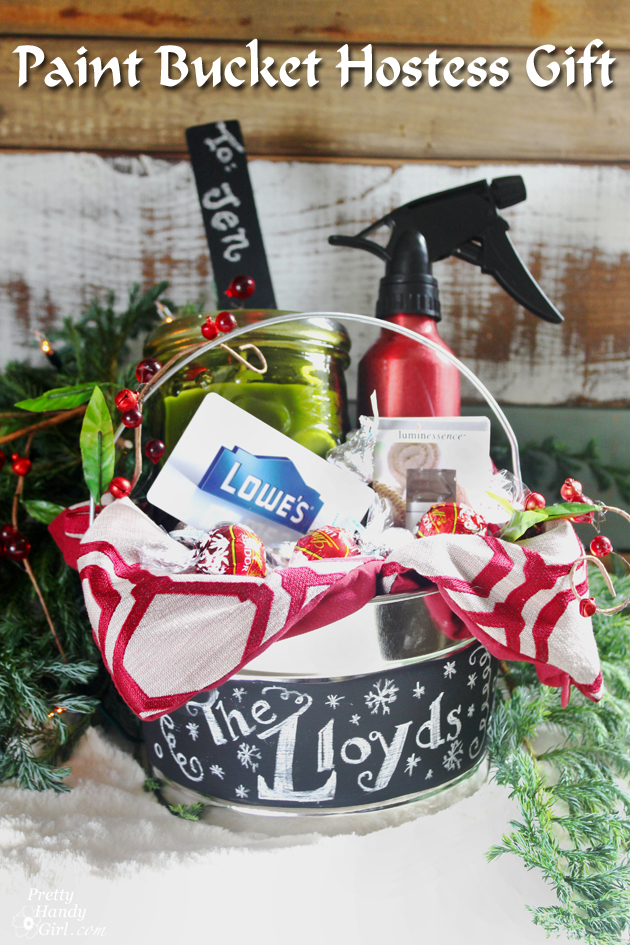
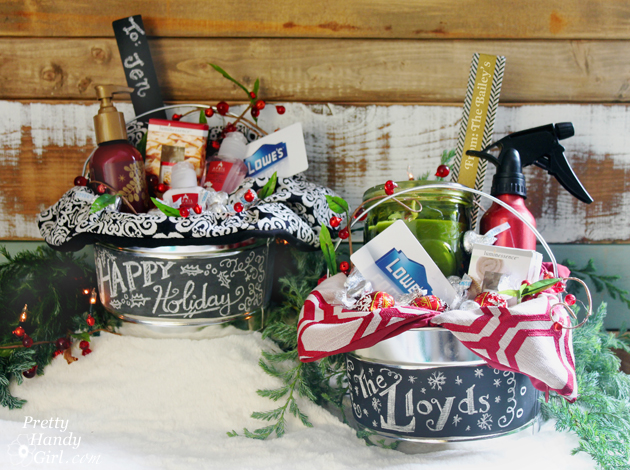
I created this artwork to be included in the laundry themed gift basket, but how fun would it be to create personalized art with a child’s name layered like I did with the word “FUN.”

All the Très Frugal DIY Gift Ideas can be seen here.