Tips for Choosing Paint Colors | Pretty Handy Girl

Tips for Choosing Paint Colors | Pretty Handy Girl

Choosing paint colors can be a daunting task. Looking at small paint chips at your local Lowe’s Home Improvement store can be a bit overwhelming. Especially because there are so many colors to choose from! (That can be a good thing too ;-).)

Luckily I have two tips to help you choose the paint color that’s right for you:

1. Use Valspar paint. Finding a paint color you love is easier with Valspar. If you don’t love the first color you choose, you can have another on them. It’s as easy as, love your color, or change your color. That’s the Valspar Love Your Color Guarantee. And it certainly helps alleviate the stress of choosing the right paint color for your room.

2. Create larger paint chips. Looking at tiny paint chips won’t help you conceptualize that color over the entire wall. Making large paint swatches using foam board and sample paints is easy and can save you time when choosing the ideal paint color. I put together this short video to show you how we selected the final color for the school library.

I knew if I could create big paint chips and let the librarian live with the large chips for a few days, she’d be better prepared to make a final decision. As you saw, she was much more comfortable choosing this way.

The winning color was Montpelier Wedgewood by Valspar. And, luckily after we began painting, we all fell in love with the color she chose.

Here’s how we tackled painting the school library (acoustic ceiling tiles and all!):

Before removing the ceiling tiles, we created a map of the tiles on a sheet of paper and numbered each square. Then we marked the number on the back of each tile as we took them down (team work really helped with this task.) Why the map and numbering? It made it easier when it came time to re-install them (especially if some were cut to fit.)

Tips for Choosing Paint Colors | Pretty Handy Girl

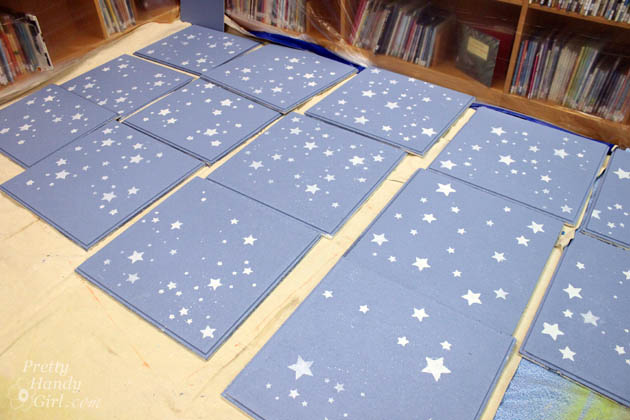
After removing the ceiling tiles, they were all wiped down with a wet rag. Then we used a medium nap roller to paint all the tiles. A paint brush was used to paint the sides as well. Then they were left to dry.

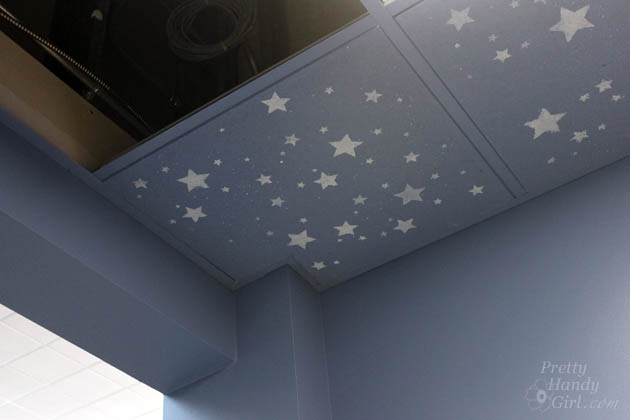
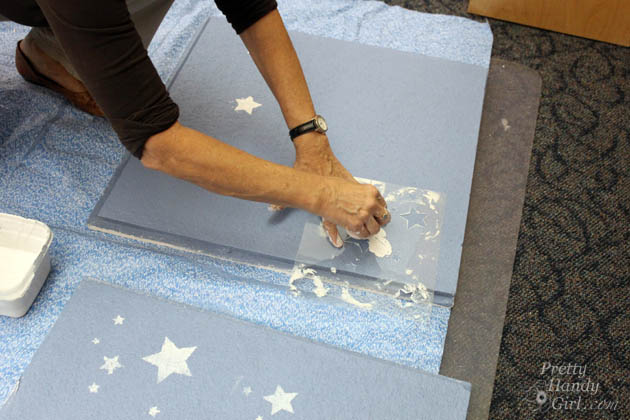
Meanwhile, I mixed a sample of white paint (mixed with some shimmering craft paint) to stencil the stars. I created a star stencil using my Silhouette cutter and a sheet of acetate, but you can also cut one by hand with an x-acto knife.

Luckily we had loads of volunteers to help stencil oodles of stars. Parents and children alike all chipped in to help.

Tips for Choosing Paint Colors | Pretty Handy Girl

By the end, I was seeing stars. LOL.

Tips for Choosing Paint Colors | Pretty Handy Girl

The ceiling tile grid had to be painted with a paint brush. This is where I was really glad that we bought the Valspar Paint & Primer in one paint. It definitely saved this project from being a literal pain in the neck.

Tips for Choosing Paint Colors | Pretty Handy Girl

The two tiles we couldn’t remove were painted and stenciled in place.

Tips for Choosing Paint Colors | Pretty Handy Girl

After the paint was completely dry, we returned them to their appropriate location. Thank goodness for the map!

Tips for Choosing Paint Colors | Pretty Handy Girl

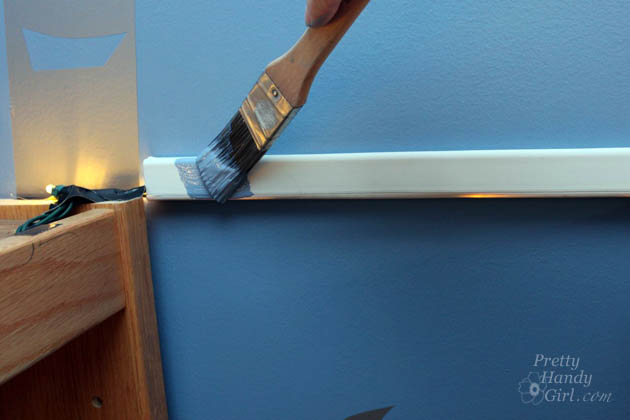
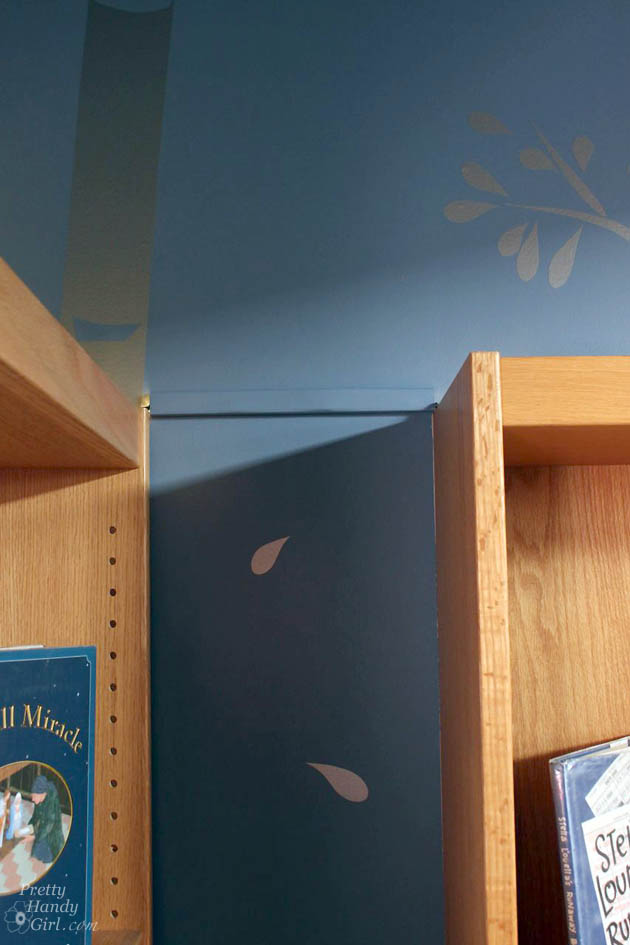
I put a fun surprise on top of all the bookcases, but I wanted to hide the cords. It was as simple as purchasing some adhesive cord covers at Lowe’s and painting them the same color as the wall.

Tips for Choosing Paint Colors | Pretty Handy Girl

See, much less noticeable now!  Oooooo, sneak peek!

Tips for Choosing Paint Colors | Pretty Handy Girl

Next week I’ll show you how we added the final surprise elements to the library. In the meantime, is there a room you’ve been putting off painting? What do you think about choosing paint colors now that you know these tips. Ready to choose your color?

PHGFancySign

Disclosure: This is a sponsored post for Valspar Paint. I was compensated for my time writing this post. Valspar was also kind enough to donate the paint for the school library project. All ideas and words are my own. 

(I’ve included affiliate links for your convenience. I earn a small percentage from a purchase using these links. There is no additional cost to you. You can read more about affiliate links here.)

How to Cut in Without Using Painter's Tape

How to Cut in with a Paint Brush

I’m back with another great video from my friend Lindsay. She’s going to be giving us a ton of tips on how to cut in with a paintbrush in today’s post.

Lindsay from Makely School for Girls

She worked with Glidden to create a series of short videos to help DIYers like yourself tackle your own paint projects.

Painting a room like a professional means having straight lines where the wall meets doors, windows, ceilings and baseboards. To achieve crisp lines you can tape around all these spots.

How to Cut in with a Paint Brush

Anyone who has ever taped a room knows it takes FOR-EV-ER! Have you ever wondered how the pros can paint around doors and windows without using painter’s tape? Well, wonder no more. Lindsay is here to save the day (and your time) with tips to cut around your trim with a paintbrush.

Looks pretty easy, right? Next time you have to paint a room, you should try it for yourself. Hey, if worst comes to worst, just have a damp rag nearby to wipe the paint off. Speaking of saving time, you might want to head over to Glidden’s My Colortopia and learn more tips from Lindsay with 5 Tips for Speeding Up the Painting Process!

Get more tips, tricks and tutorials for your next painting project at Glidden’s new Show Me How website!

Disclosure: This is a sponsored post for Glidden brand paint. I was compensated for my time to write this post but the thoughts and opinions expressed are my own.

how-to-pick-paint-colors

How to Pick Paint Colors

Do you know Lindsay? Makely Home Lindsay (the rockstar blogger formerly known as Living with Lindsay?!)

lindsay - Makely Home

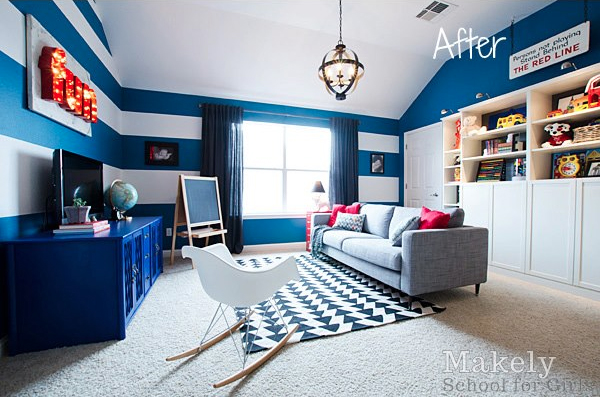
The gal who is so bold with color that her playroom looks like this!

Makely Home Playroom

Well, I have the honor of saying that Lindsay is a friend of mine. But, she is also my idol when it comes to choosing colors. She literally has no fear when it comes to buying paint! When ever I find myself being too safe with color, I think to myself “What Would Lindsay Choose?” And this, my virtual friends, is how I push myself out of my comfort zone.

Glidden has partnered with Lindsay to create some really great Show Me How videos. Check out this short video to learn how Lindsay picks out her beautiful vibrant and daring colors for her home. It’s a great way to be sure before you paint:

If you’re still uncertain, you can try out your color by using this virtual room painter tool at Glidden’s Show Me How site.

Just remember, if you want to push yourself out of that builder’s beige comfort zone, ask yourself “What Would Lindsay Choose?” And you’re halfway done.

Get more tips, tricks and tutorials for your next painting project at Glidden’s new Show Me How website!

PHGFancySign

Disclosure: This is a sponsored post for Glidden brand paint. I was compensated for my time to write this post but the thoughts and opinions expressed are my own.

How to Clean Your House Exterior without a Pressure Washer or Ladder

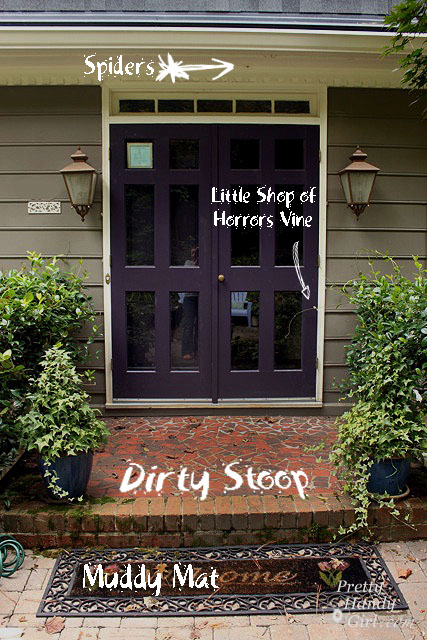
Is your home ready for Halloween? I don’t mean decorating. I mean is it so grimy and dirty that you don’t need to decorate to scare off the trick or treaters?

How to Clean Your House Exterior without a Pressure Washer or Ladder

Umm, yup, that was my house. But, a few weeks ago I was introduced to my new CBFF (Cleaning Best Friend Forever.)

Krud Kutter Exterior Clean Up

Krud Kutter Original - My Cleaning BFF

Seriously, you can ask my sister and stepmom! I was toting around a bottle of Krud Kutter this past weekend while working on renovating a VERY dated beach condo. What? You didn’t know I was doing that?!

Pretty Handy Girl Instagrams from Topsail

Well, you NEED to follow me on Instagram to get the latest deets of my DIY life!

Anyway, back to Krud Kutter. The folks at Krud Kutter couldn’t believe I’d never used their products before. So, they offered to send me some to try. But, before I agreed, I checked with a few DIY friends like Holly.  And, they all agreed, “Oh yeah, that stuff ROCKS!” Holly says she uses it to clean grimy furniture before painting it. I figured if she likes it, I might.

Within a few days, a box containing some Krud Kutter Original and Krud Kutter House Wash showed up on my VERY dirty doorstep. I’m sure my UPS driver thinks our stoop is a disgrace. I had contemplated buying a pressure washer to clean it.

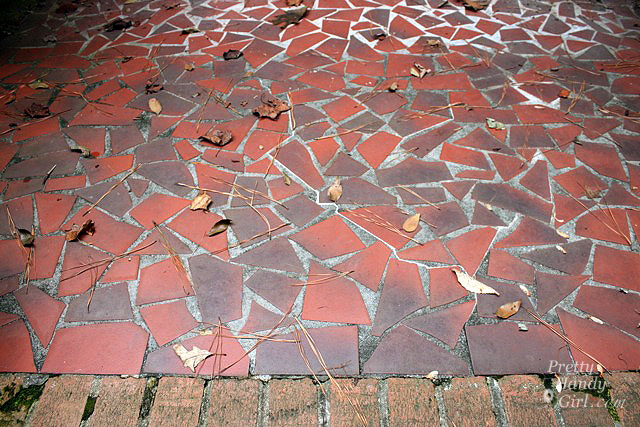
How to Clean Your House Exterior without a Pressure Washer or Ladder(That white grout you see at the top of the picture was protected under the door mat for years.)

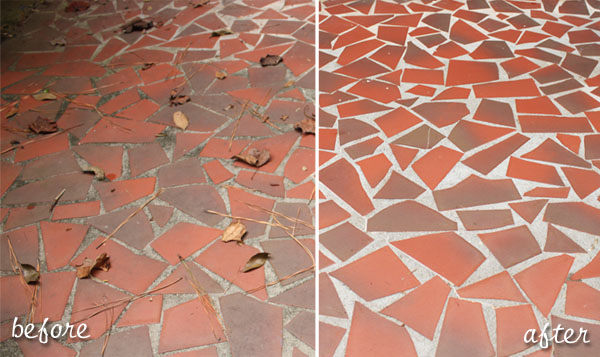
You can imagine my skepticism that a little plastic bottle could do the same job as a pressure washer.  But, I was shocked at what happened next.

Read more

How_to_Install_Lutron_Maestro_Sensor

Teaching kids to turn off the lights in a room they are no longer in is a tough job. No matter how many times I try to explain that leaving the lights on wastes electricity, it just doesn’t seem to sink in. In their defense, they are like little wind up tops flitting from room to room playing with trains in one; reading in another and barely stopping to use the toilet in the bathroom (putting the lid down is a whole other issue! Ugh.)

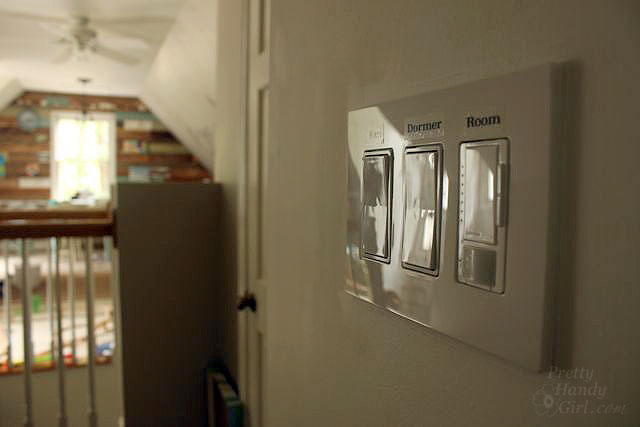
When Lutron approached me about giving my kids a helping hand with the lights, I was immediately intrigued. It turns out that Lutron has just introduced the Maestro occupancy sensor dimmer that can be easily installed in place of an existing light switch. (Single pole switches are easiest. Dual or Multi-location switches may require a little more wiring and programming to work properly.) After some thought, I decided to try the Maestro in our art & craft studio. This is the room that we least notice when the bulbs are burning (it is over the garage and is separated by our guest room from the rest of the house.)

Follow along to see how to install your own. Your attentive nature may be rewarded at the end. 😉 Read more