egg placecards

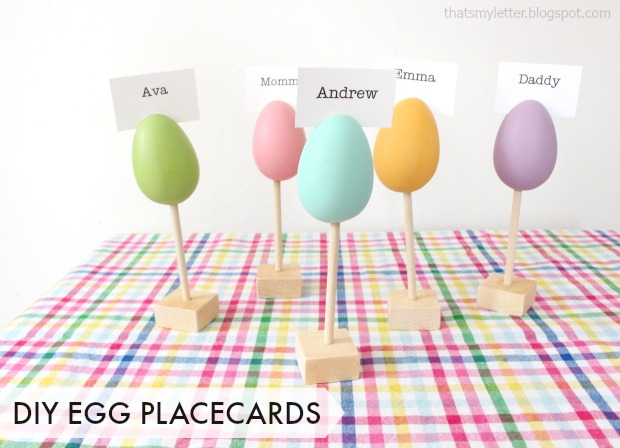
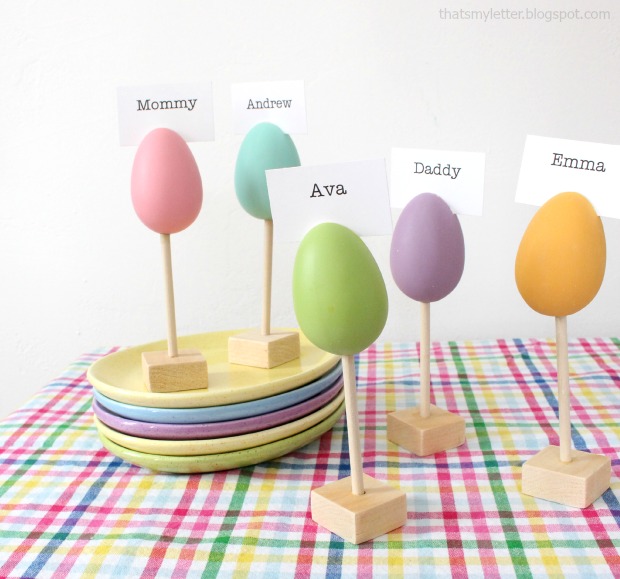
Finally Spring is on the way!  Hello Pretty Handy Readers, I’m Jaime from That’s My Letter here to share a simple DIY project for your Easter table: DIY Egg Place Cards.

Or as my kids like to call these: eggs on a stick.  These egg place cards add a touch of Easter charm to your place settings with a little height and color to boot.

egg placecards 2

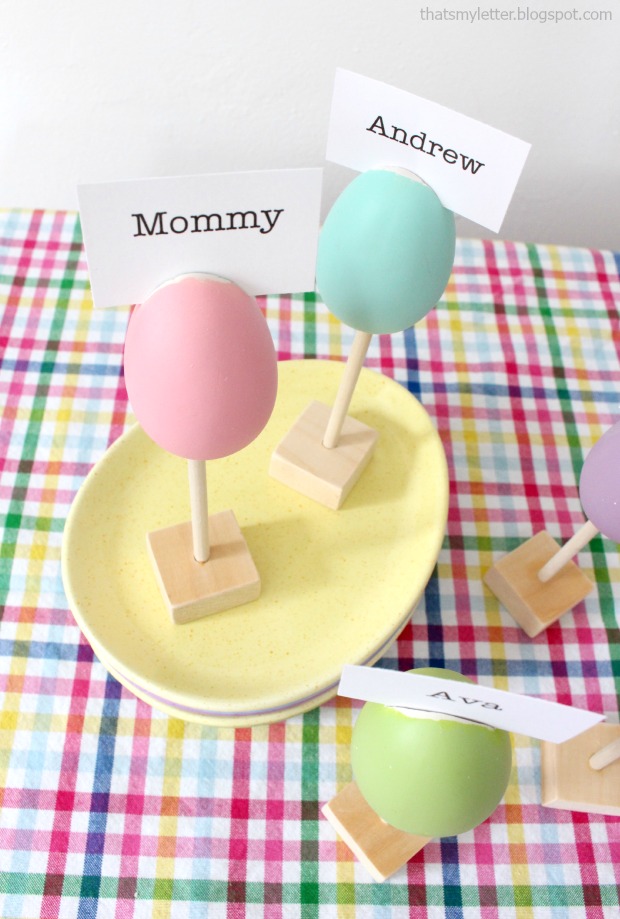
You can simply print the names onto heavy white cardstock and cut them into small rectangles to fit into the eggs.

egg placecard name slot

Follow along to see how to make these egg place cards with a few simple tools.

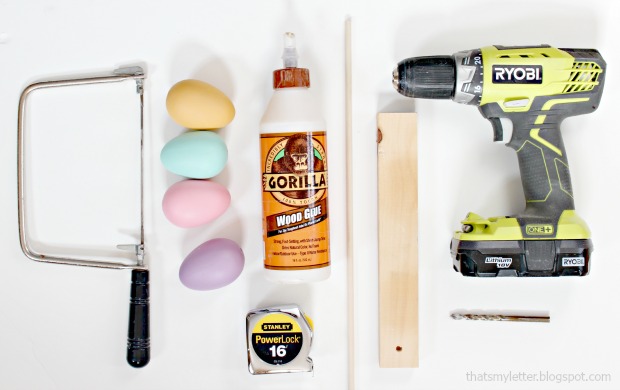
Supplies:

egg placecards supplies

  • craft eggs (I used ceramic painted eggs.)
  • 1/4″ wood dowel (4″ per place card)
  • 1 x 2 pine board cut @ 1 1/2″l (per each place card)
  • drill and 1/4″ drill bit
  • sandpaper
  • measuring tape
  • pencil
  • wood glue
  • coping saw or other small hand saw

Instructions:

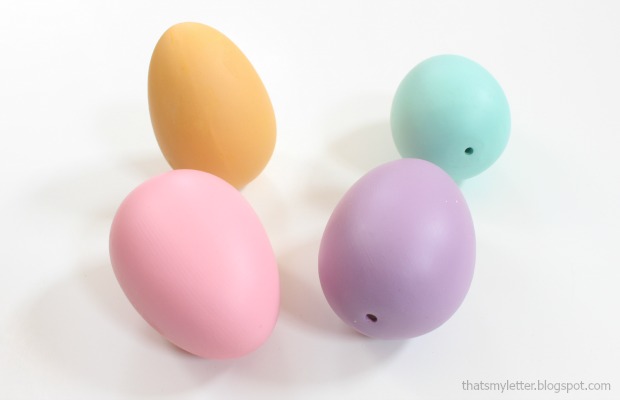
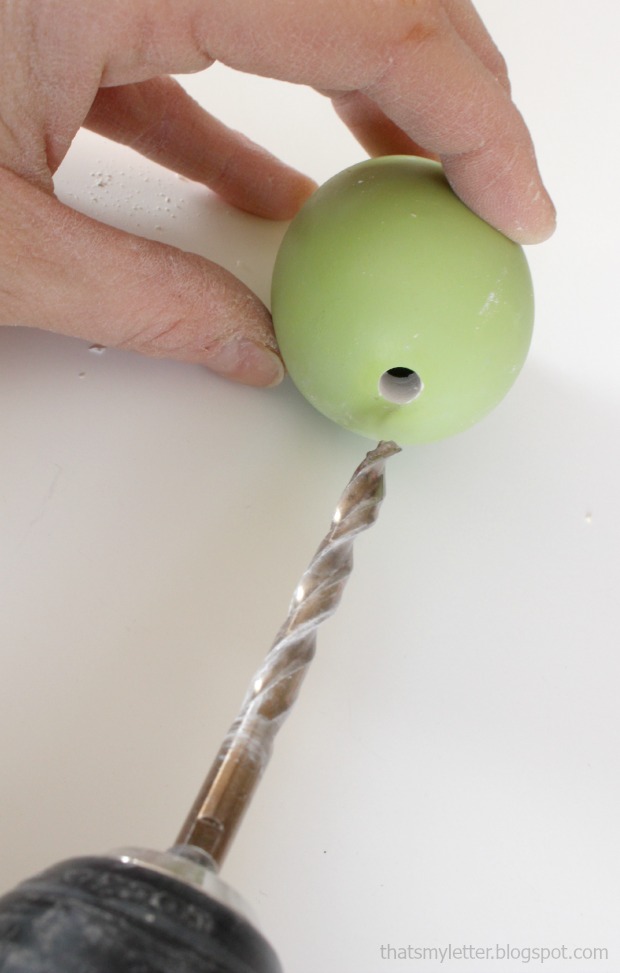
Step 1: The ceramic eggs I used already had a small hole in the bottom but not big enough to fit the wood dowel.

egg placecards eggs

Using gentle pressure enlarge the hole to 1/4″ with the drill bit.

egg placecards step 1

Step 2: Make the slot for the cardstock in the top of the egg with a coping saw.  Because my eggs are ceramic they did chip a tiny bit. Not a big deal, just sand smooth. Read more

Shur-line Paint Edger Review | Pretty Handy Girl

Shur-line Paint Edger Review | Pretty Handy Girl

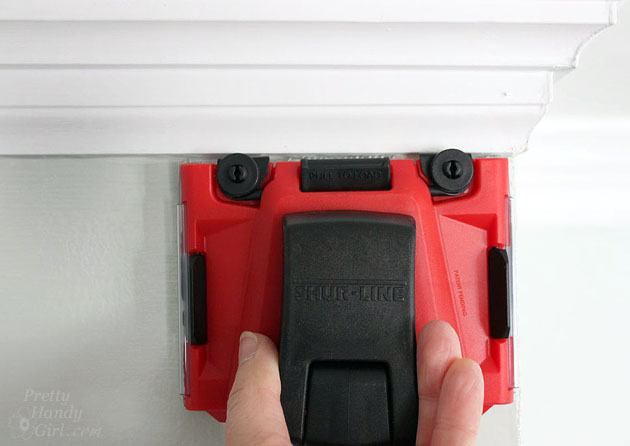
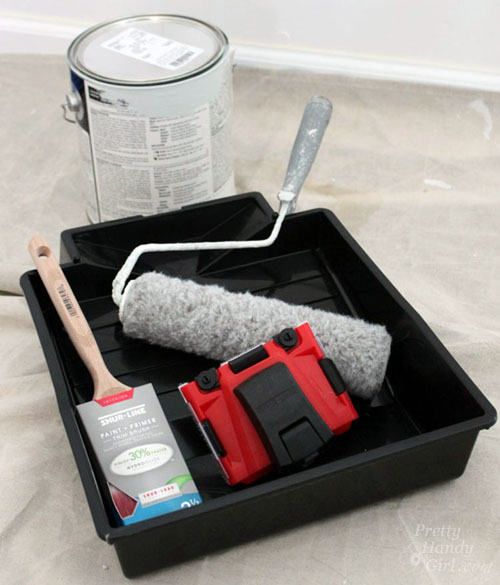
Last month I received a little care package from Shur-line. I opened the kit and assessed the products with speculation. As you probably remember, I don’t generally like new painting gadgets. I have my tried and true painting tools that I use and I rarely find new ones that I like better. As I was getting ready to re-paint the living room, I grabbed for the Shur-line Pro Paint Edger. Having been a fan of our old Shur-line edger, I really didn’t think that they could have improved much on the design.

Well, I was wrong, and this is my new favorite paint edger.

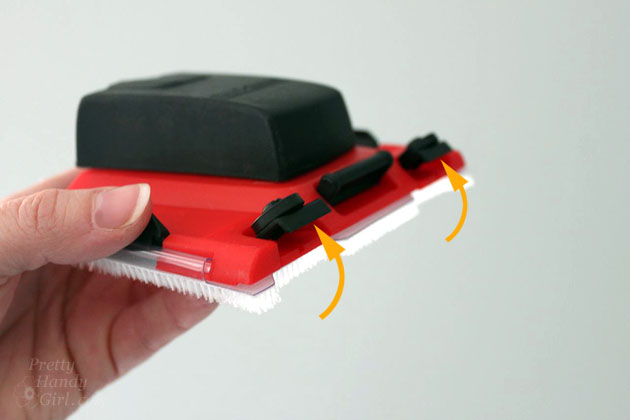
The biggest change they made was to add flip up edge guards. Why would you want this?

Shur-line Paint Edger Review | Pretty Handy Girl

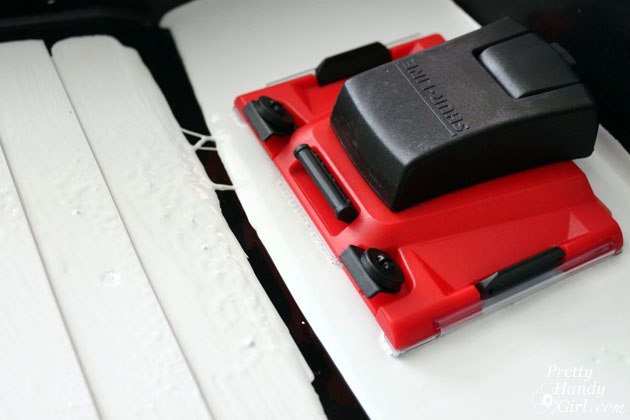
It protects the wheels and the edge guard from getting paint on it when you reload the paint! Brilliant.

Shur-line Paint Edger Review | Pretty Handy Girl

In the past, I had to be careful not to dip the wheels in the paint when re-loading. And, I inevitably had to wipe off the wheels with a damp rag when I did. Now, they flip up and out of the way when you raise the little handle between the roller wheels. After the paint is loaded, flip the handle down and the wheels and edge guards are ready to edge. Read more

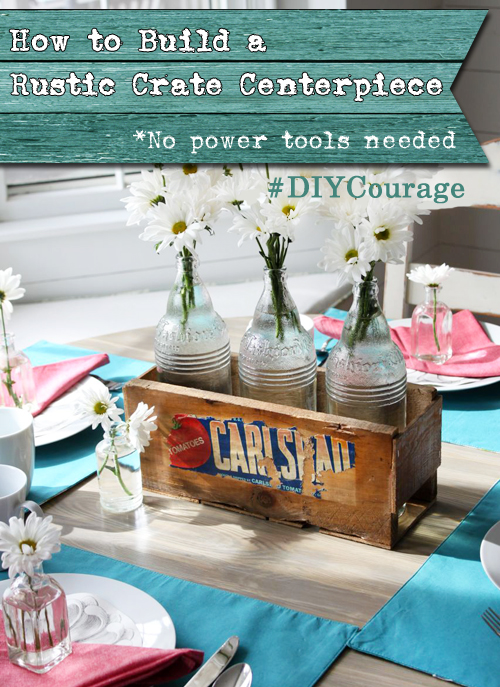
How to Build a Rustic Crate Centerpiece (No Power Tools Needed!) #DIYCourage | Pretty Handy Girl

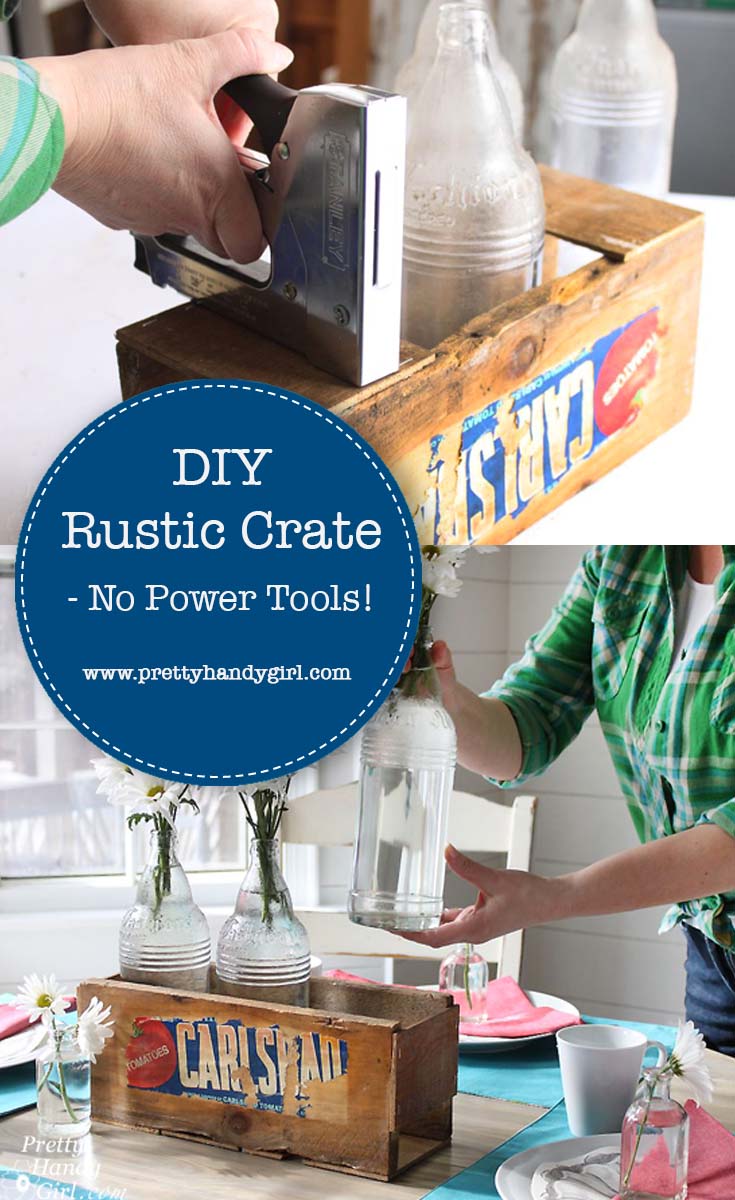
It occurred to me the other day that many woodworking projects may deter people simply because they don’t have power tools or they don’t know how to use them yet. For that reason, I created this tutorial to help you Build a Vintage Produce Crate Centerpiece using no power tools!
How to Build a Rustic Crate Centerpiece (No Power Tools Needed!) #DIYCourage | Pretty Handy Girl

Build a Vintage Produce Crate Centerpiece – No Power Tools!

Many people are turned off by DIY projects because they fear using a power tool. Although I can tell you, I know you can learn how to use power tools safely, let’s go ahead and skip them today so you can get your hands busy creating a beautiful crate. This little vintage produce crate can be used anywhere in your house on display. Use it as a centerpiece, or in the office to hold files or utensils, or fill it with flowers or small items to give as a gift.

Regardless of how you use this little vintage crate, you’re going to love making it.

Materials:

(I’ve included affiliate links for your convenience. I earn a small percentage from a purchase using these links. There is no additional cost to you. You can read more about affiliate links here.)
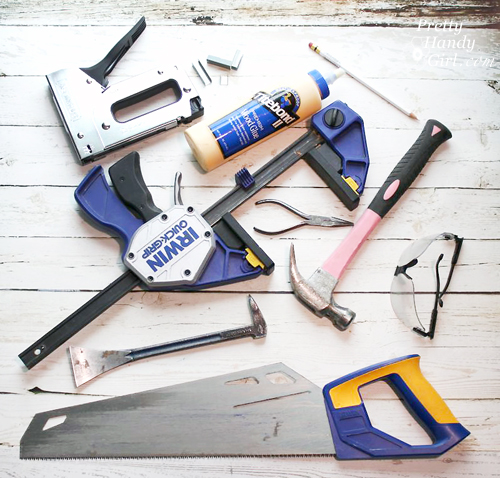
How to Build a Rustic Crate Centerpiece (No Power Tools Needed!) #DIYCourage | Pretty Handy Girl

Optional: 

Instructions:

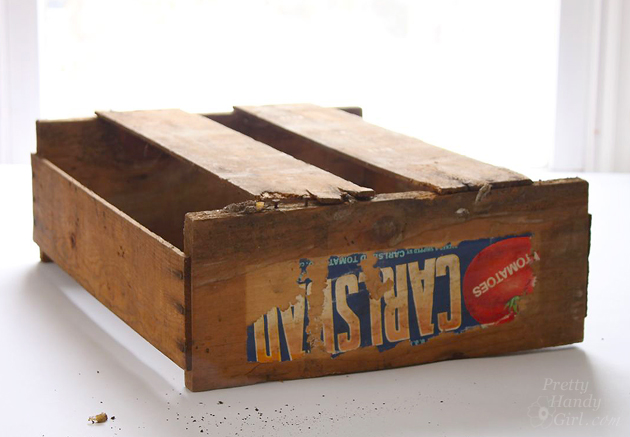
I happen to stumble across this vintage produce crate and vintage bottles that a neighbor was giving away. If you don’t have a neighbor who periodically gives away vintage produce crates, you can ask your local grocery store for produce crates you can salvage. Or you can purchase a produce crate on Amazon. Or look for thin slats at the hardware store to use for this crate. (Then you can learn how to fake the Aged Wood Look yourself.)
How to Build a Rustic Crate Centerpiece (No Power Tools Needed!) #DIYCourage | Pretty Handy Girl

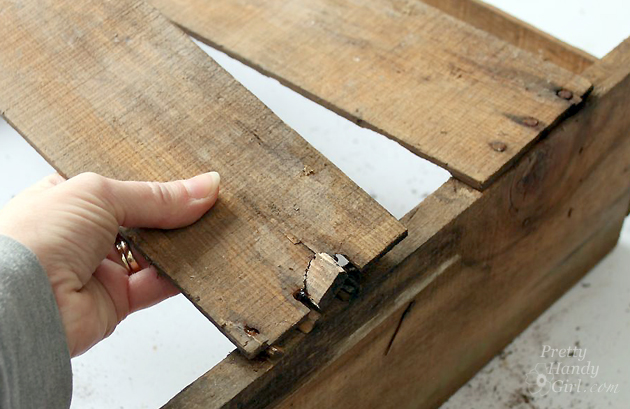
The crate I had was very rustic. So rustic, that I was able to pull the bottom slats off the crate with my bare hands. (In hindsight, I should have been wearing my gloves to avoid splinters.)
How to Build a Rustic Crate Centerpiece (No Power Tools Needed!) #DIYCourage | Pretty Handy Girl

If you want to spare your hands, use a handsaw to remove the slats. Set them aside for use later.
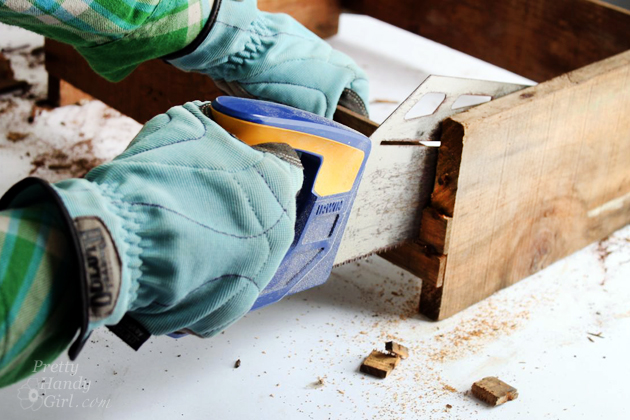
How to Build a Rustic Crate Centerpiece (No Power Tools Needed!) #DIYCourage | Pretty Handy Girl

After removing the slats, pry up the nails with a prybar. Be sure to wear gloves to protect your hands. Stubborn nails can usually be wiggled out with the needle-nosed pliers.
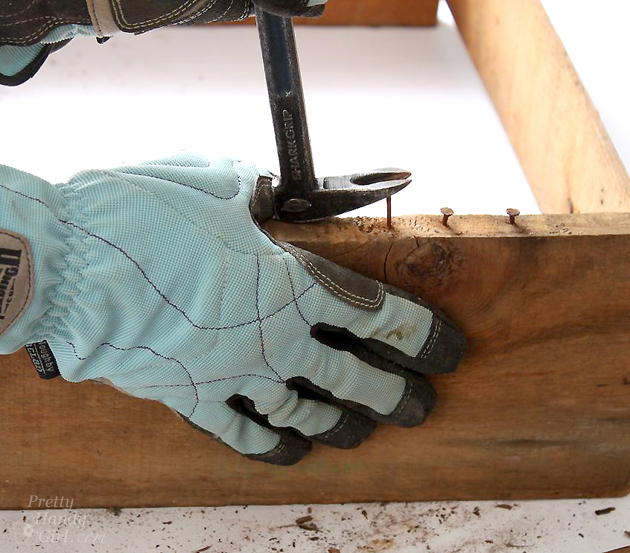
How to Build a Rustic Crate Centerpiece (No Power Tools Needed!) #DIYCourage | Pretty Handy Girl

Any nails that are too rusty to remove can be hammered into the wood.
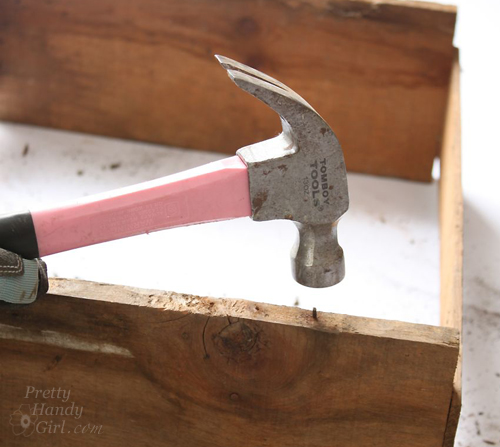
How to Build a Rustic Crate Centerpiece (No Power Tools Needed!) #DIYCourage | Pretty Handy Girl

Align the front and back of the produce crate with the bottles or vases you will display in your crate. Or use 5″ as a general measurement from the outside front to outside back. Measure the distance to cut your sides, or just lay one of the slats next to the front and back and mark where to cut it with a pencil.
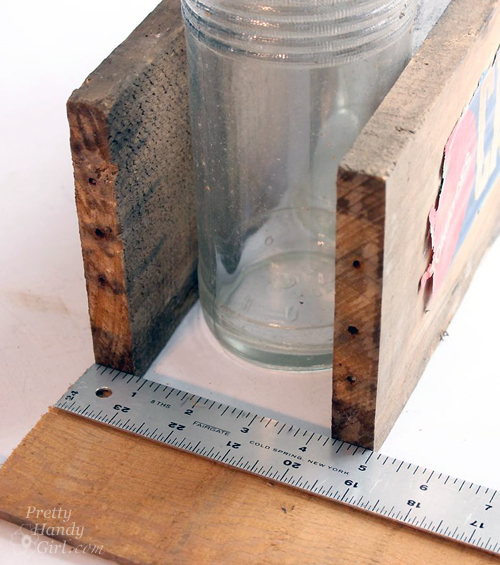
How to Build a Rustic Crate Centerpiece (No Power Tools Needed!) #DIYCourage | Pretty Handy Girl

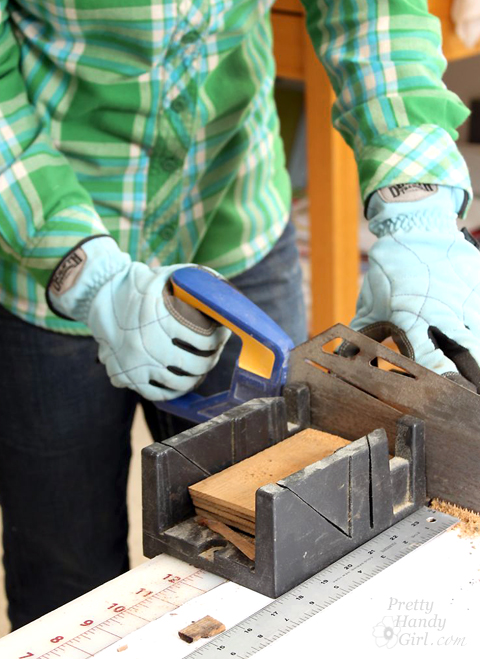
Cut down the salvaged slats to 5″ widths (or your own bottle measurement). Using a miter box will help keep your cuts square.
How to Build a Rustic Crate Centerpiece (No Power Tools Needed!) #DIYCourage | Pretty Handy Girl

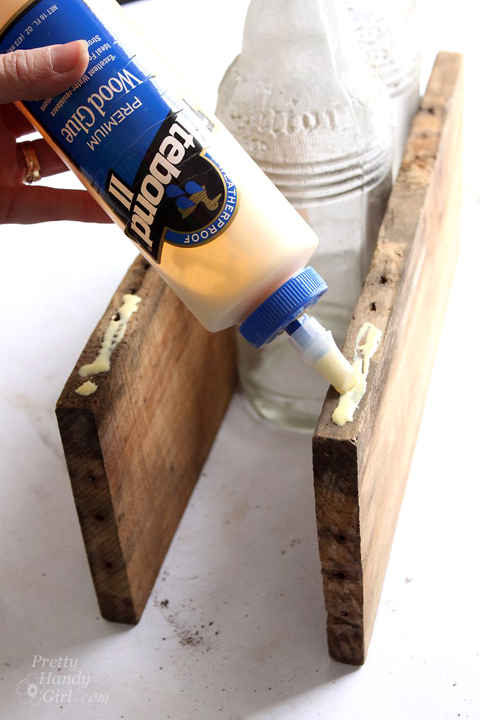
Squeeze wood glue onto the bottom of the produce crate front and back pieces.
How to Build a Rustic Crate Centerpiece (No Power Tools Needed!) #DIYCourage | Pretty Handy Girl

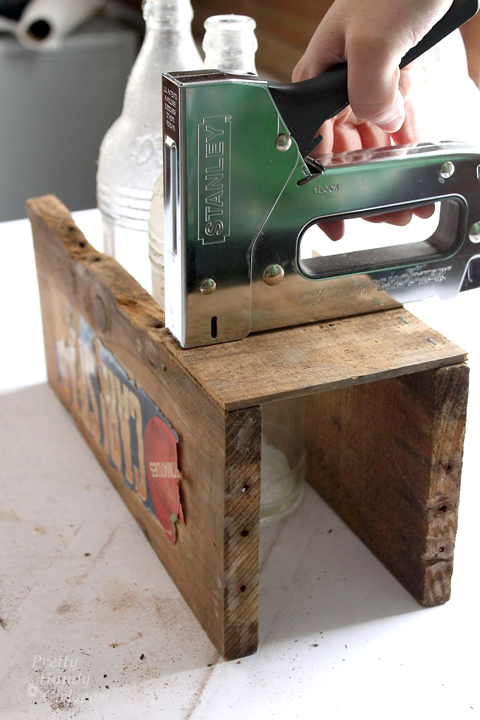
Set one of the 5″ slats into the glue and staple the slat into the crate front and back. Three staples per side should hold the slat while the glue dries. If the slat doesn’t lie flush with the crate, you might need to clamp the slat while the glue dries.
How to Build a Rustic Crate Centerpiece (No Power Tools Needed!) #DIYCourage | Pretty Handy Girl

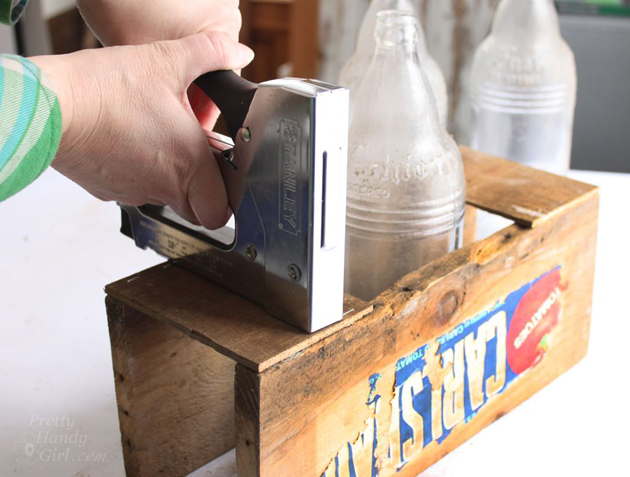
Repeat for the opposite side by stapling the slat to the bottom. Continue working toward the center of your crate.
How to Build a Rustic Crate Centerpiece (No Power Tools Needed!) #DIYCourage | Pretty Handy Girl

Attach one slat to the sides of the crate with wood glue and staples.
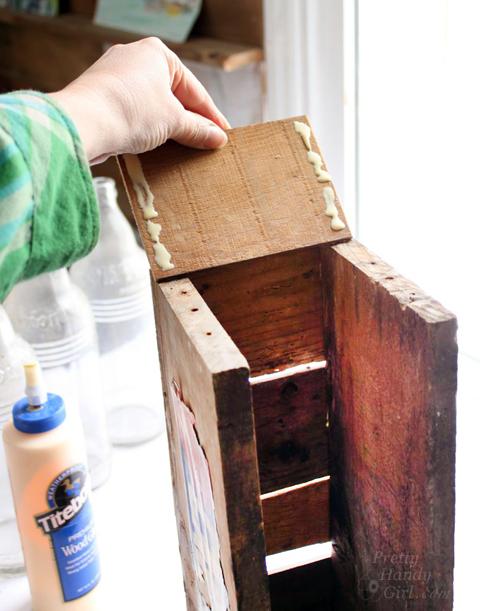
How to Build a Rustic Crate Centerpiece (No Power Tools Needed!) #DIYCourage | Pretty Handy Girl

You’ll notice I left spaces between the slats for that vintage produce crate look. If you want, you can butt the slats tight up against one another. Clamp your crate as the wood glue dries.

If you have a true vintage produce crate, you might need to secure what is left of the label. Gently wipe the crate and label with a damp rag.
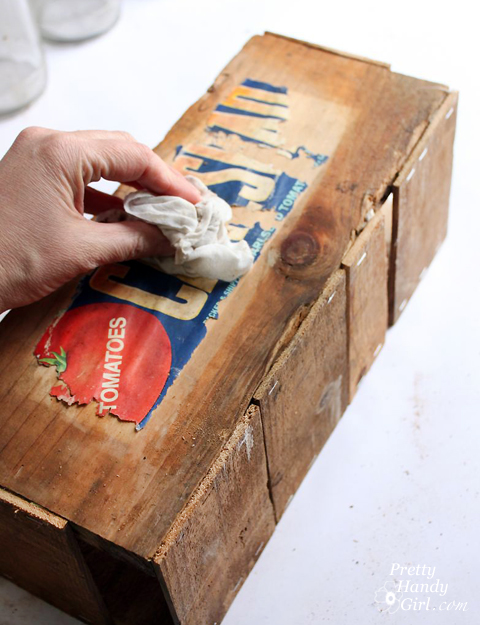
How to Build a Rustic Crate Centerpiece (No Power Tools Needed!) #DIYCourage | Pretty Handy Girl

Apply a coating of Mod Podge to the underside of any parts of the label that are peeling up. Then apply a second coat of mod podge over the entire label to seal it to the crate.
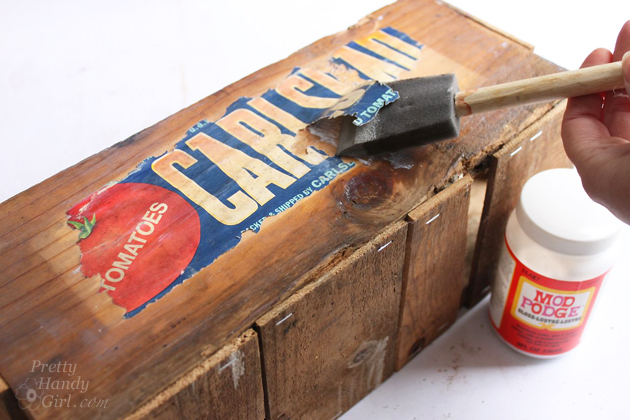
How to Build a Rustic Crate Centerpiece (No Power Tools Needed!) #DIYCourage | Pretty Handy Girl

When the crate is dry, load it up with vintage bottles filled with fresh flowers.
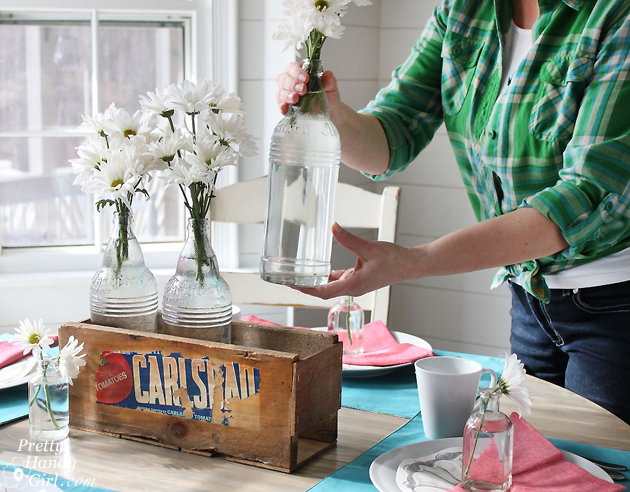
How to Build a Rustic Crate Centerpiece (No Power Tools Needed!) #DIYCourage | Pretty Handy Girl

Place it on your table and invite a friend for lunch.
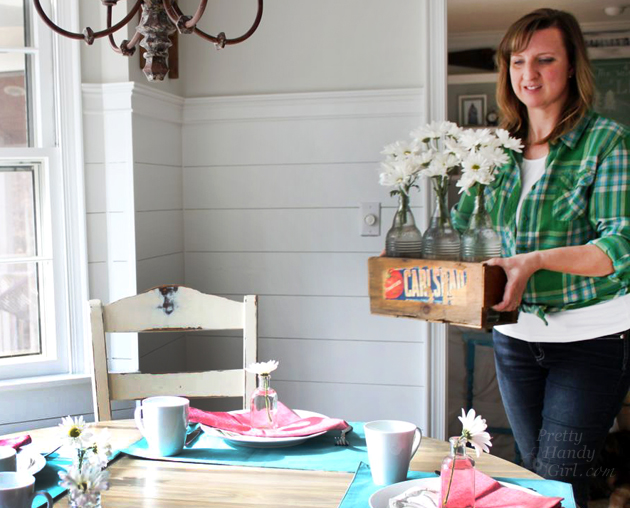
How to Build a Rustic Crate Centerpiece (No Power Tools Needed!) #DIYCourage | Pretty Handy Girl

The conversation will surely turn to your Rustic Produce Crate Centerpiece you made yourself.
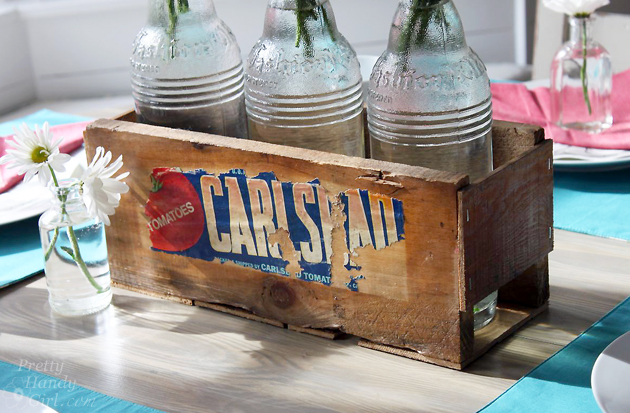
How to Build a Rustic Crate Centerpiece (No Power Tools Needed!) #DIYCourage | Pretty Handy Girl

Which you can proudly say you made…by hand…without any power tools.
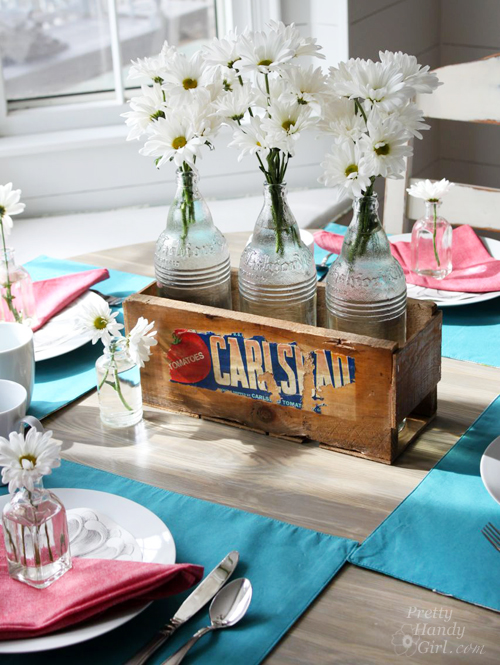
How to Build a Rustic Crate Centerpiece (No Power Tools Needed!) #DIYCourage | Pretty Handy Girl

Want to know where I got my shirt? The Duluth Trading Company Crosscut Performance Flannel Shirt is super comfortable. It’s like wearing your PJs all day. The flexible gussets in the back give you more freedom of movement while working. FYI, the crosscut flannel shirt is on clearance right now. If you don’t see the color you want, check back in early fall to snag your favorites (but don’t wait, they go fast.)
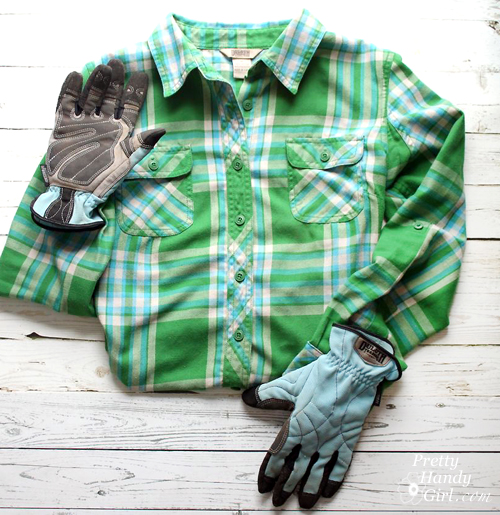
How to Build a Rustic Crate Centerpiece (No Power Tools Needed!) #DIYCourage | Pretty Handy Girl

PHGFancySign


Pin for later!

Build a Vintage Produce Crate Centerpiece using no power tools whatsoever! | Pretty Handy Girl #DIY #rusticcrate #DIYcrate
How to Mount Antlers

How to Mount Antlers

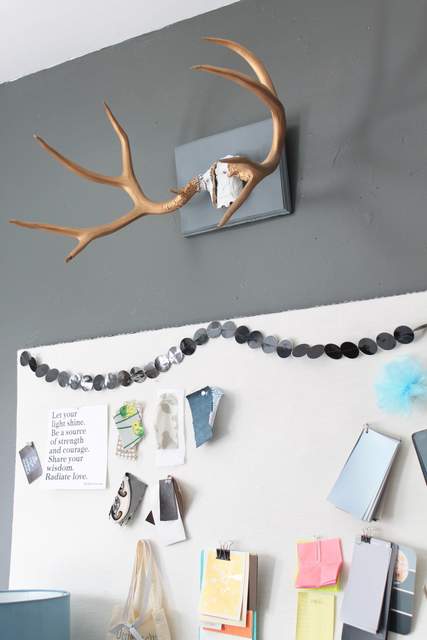
Hello! It’s Jessica from Decor Adventures.  One very popular home decor item that we are going to get pretty handy with this month is antlers. If you love rustic or outdoor style, this project is perfect for you. You’ll see all kinds of animal antlers on walls or holding jewelry or scarves. They can be both functional and practical. Antlers can be found at flea markets or second hand stores if you are lucky. They come in all sizes and shapes, plus you can paint them any color to match your style.
It’s much easier than you think to mount antlers on your own. You don’t need a degree in Taxidermy or any special tools, a drill will do!

Materials

  • Antlers
  • Long bolts
  • Nuts to fit bolts
  • Drill and drill bits
  • Hanging hardware
  • Paint (optional)
  • MDF or wooden board

Instructions

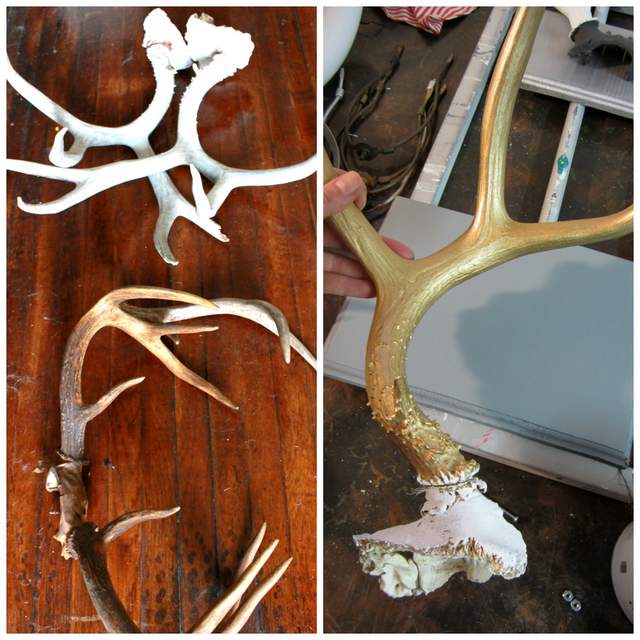
I mounted two sets of antlers that I got at a yard sale. One was a one-piece set and the others were two separate pieces. Most antlers you get will have some of the bone attached to the end of the antler. This is the part you will attach to a board to mount them. If you find them second hand they may already have holes drilled in them from when they were previously mounted.

One set I painted white and the other gold. It’s easy to spray paint antlers, so pick your favorite color or leave them natural if you like.

How ot Mount Antlers1. First, prepare the board you’ll mount the antlers on. These can be found at craft stores or you can cut your own from MDF. It should be slightly larger than the base of the antlers you’ll mount. You can paint the board if you would like. The silver one below already had the mounting holes drilled in it when I took this picture, but you can get an idea of the size board you need.

Read more

Cute Sock Snowmen | Pretty Handy Girl

Cute Sock Snowmen | Pretty Handy Girl

I have a very special guest for you today. This woman is a very talented artist and art instructor in Northern Virginia. She is the one responsible for my artistic genes and half the equation for my DIY passion. This woman is my fabulous mother, Shari! (She’s also affectionately referred to as Grammy Mac in our household.)

grammy-mac

Please give my Mom a warm welcome here. She was kind enough to put together her first blog tutorial showcasing these cute sock snowmen that she made with her students (she teaches private art lessons after school.)

Take it away, Mom!

page_break_2

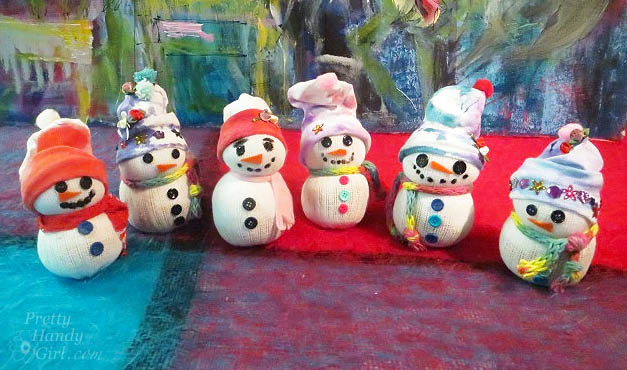
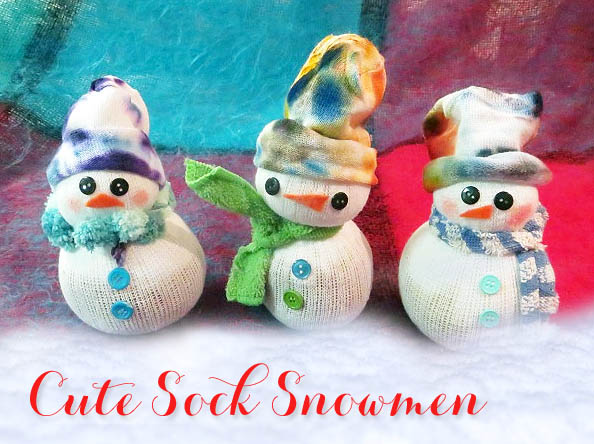
Snow Days! Here in Northern Virginia we have already had too many! The most disappointing part about this is that we haven’t had enough snow to make a snowball let alone a real snow person. In an attempt to make the kids happy, we headed to my studio to make snow people from tube socks. Perhaps if we make enough of them, they will bring on the real deal!

Materials:

(Shopping at the dollar store makes this project much more economical.)

  • 1 White tube sock (Adult Size 9-11)
  • Rubber bands
  • Rice (1/2 to 3/4 cup per person)
  • Polyester fiberfill stuffing
  • Buttons, pompoms, sequins, orange felt
  • Tacky glue
  • Brown pipe cleaners (to make stick like arms)
  • Black acrylic paint
  • Acrylic paint in your favorite colors for tie-dye hats and scarves
  • Cotton Swabs (a good tool for painting dots for smiles)
  • Faber-Castell Gelato pigment stick Bubblegum Shade  (if you can’t find this, you can use watered down pink craft paint)

Optional: 

  • Kitchen towels, fabric or ribbon cut into strips to make the scarves

Instructions:

Tie Dying the Hat & Scarf:

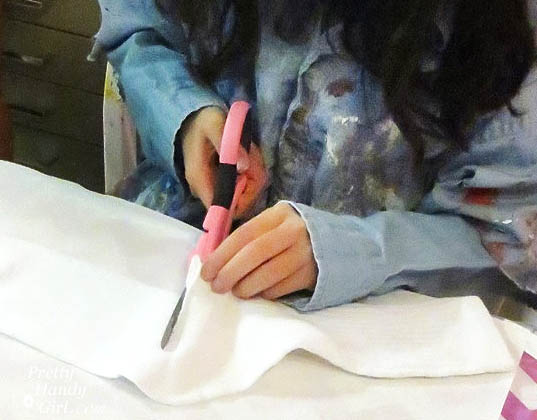
Cut the foot off your sock. (This will be the hat.) You may leave this white, or paint it.

Cute Sock Snowmen | Pretty Handy Girl

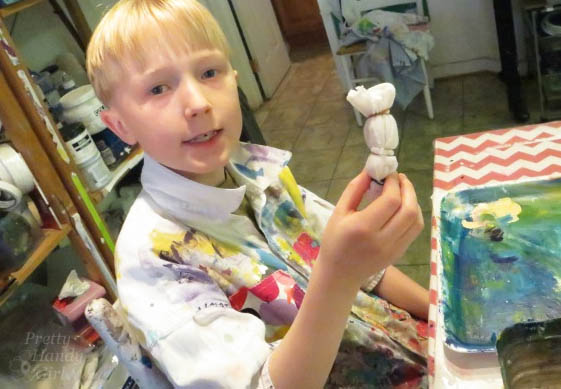
Fold the foot part of the sock accordion style, like a fan. Secure the folds with three rubber bands.

add-rubber-bands-to-accordian-sock

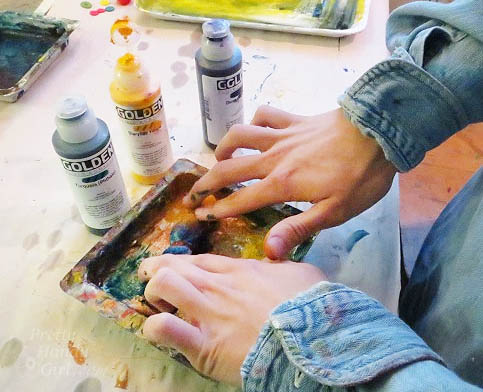
Pour your acrylic paints into a small tray or paper plate. Water the paints down slightly. Wet the wrapped sock in water, and roll it into two or three of your favorite colors.

Cute Sock Snowmen | Pretty Handy Girl

Let dry. Unroll the sock to reveal the beautiful colors. Cut off a 1” piece of the raveled end of the sock to make a matching scarf. Read more