DIY Table Saw Stand and Collapsible Out Feed Work Table
Today I want to share with you my new workshop configuration that has a DIY Table Saw Stand and a collapsible out feed (or work) table. I’ve struggled for years to find a workbench that meets my need to spread out while building and assembling projects. And I wanted this table to act as an out feed table for my table saw. I’ve looked at many options, but ultimately I needed something that could collapse and store away quickly in case we needed to park our car in the garage (for ice storms, hurricanes, tornados, or blizzards.)
At first I was impressed with Ron Paulk’s plans for a portable workbench that could be disassembled. But, I didn’t have the time to take on another build project. I wanted the instant gratification of having a work table immediately. Around the same time I purchased an investment house and started looking at folding work stands that could transport back and forth to the job site. That’s when I realized I could have my cake and eat it too. I could use a collapsible work stand both in my garage and at the job site.
Best of all, there was no building required for the out feed table, and minimal building for the table saw stand. If you are looking for a similar set up, stick around and I’ll show you how to make your own table saw stand and out feed table in an hour or less!
DIY Table Saw Stand
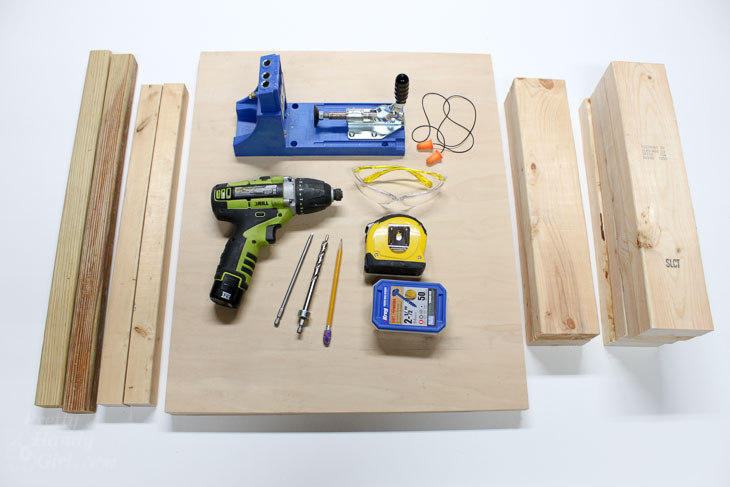
Materials:
(I’ve included affiliate links for your convenience. I earn a small percentage from a purchase using these links. There is no additional cost to you. You can read more about affiliate links here.)
- 4′ x 8′ sheet PVC panel
- 4′ x 8′ sheet of rigid foam insulation (optional)
- 1 – 2″ x 4″ x 8′ lumber
- 1 – 2″ x 2″ x 8′ lumber
- 8 – 2″ wood screws
- 12 – 2 ½” wood screws
- 8 – 2 ½” pocket hole screws
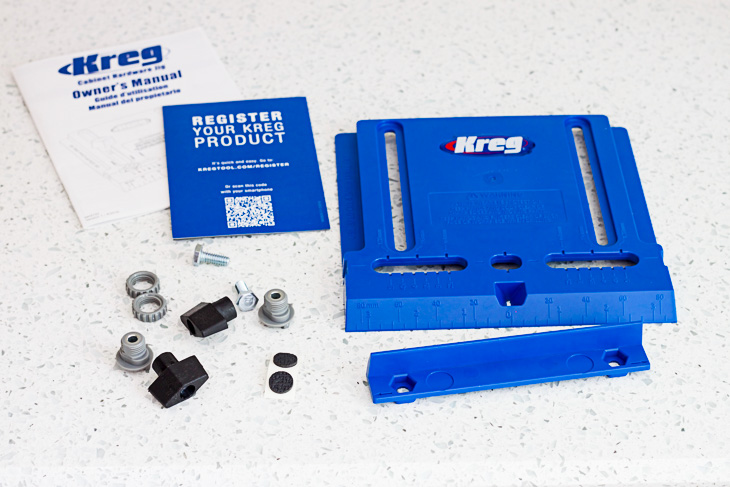
- Kreg Jig
- Miter Saw
- Drill
- 1/8″ drill bit
- Wood shims
- Ear plugs
- Safety glasses
- Tape measure
- Pencil
Cut List:
- 2 shelves – 3/4″ plywood cut to 20″ x 24″
- 2 leg supports – 2″ x 4″ x 17″
- 2 shelf supports – 2″ x 2″ x 24″
- 2 top supports – 2″ x 2″ x 21″
- 4 legs – 2″ x 4″ x _?*
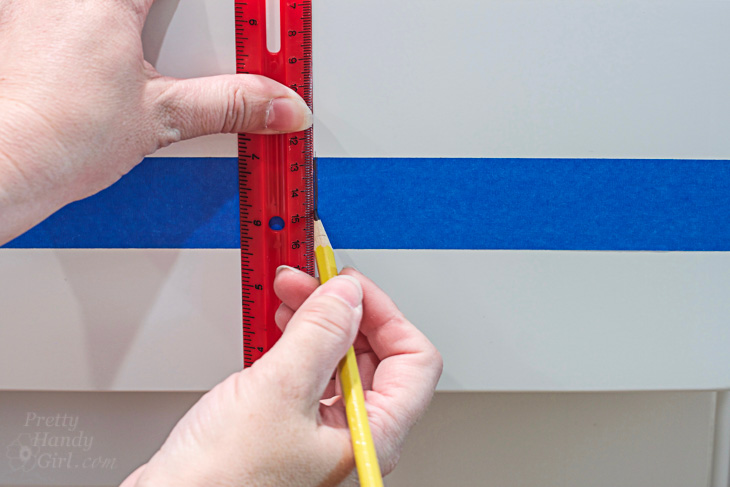
* The height of your saw stand legs will be determined by your saw and table heights. I recommend doing a little math and check it with a ruler. (Take the height of your out feed table subtract the height of your table saw. Now subtract 3/4″ for your plywood thickness from this measurement. This is the height your table saw stand legs need to be cut. If you want to be precise, you can subtract an additional 1/8″ and use shims under the table saw to get the perfect height.)
Instructions:
Start by drilling two pocket holes into the ends of the 4″ face of your 2″ x 4″ x 17″ leg supports.
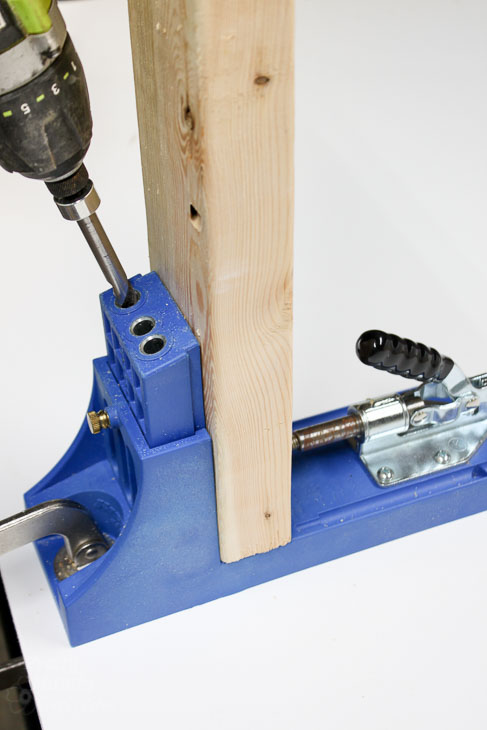
Connect two table legs by driving 2½” pocket hole screws into the 17″ leg supports as shown below. Repeat for the other side.
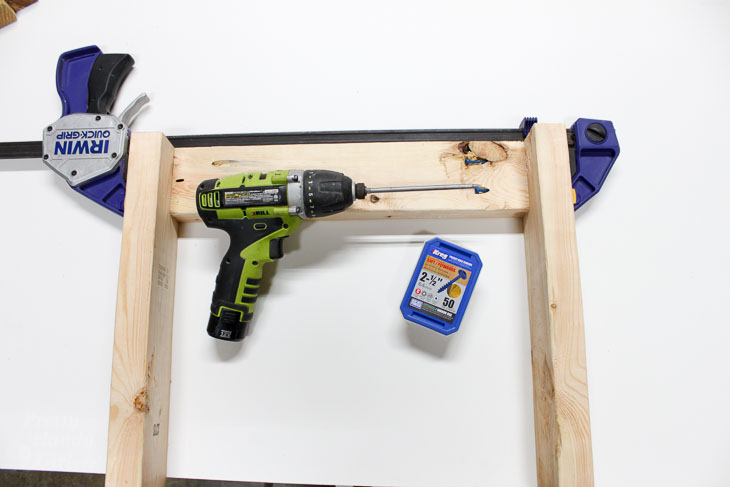
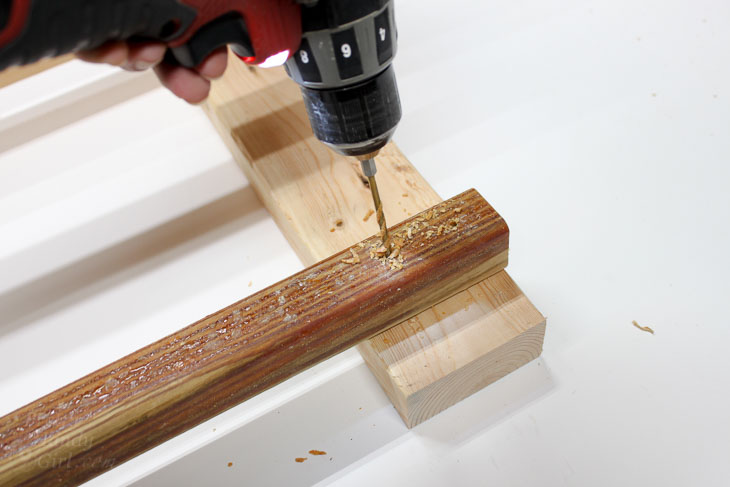
Pre-drill one hole into each end of the 2″ x 2″ x 21″ top supports.
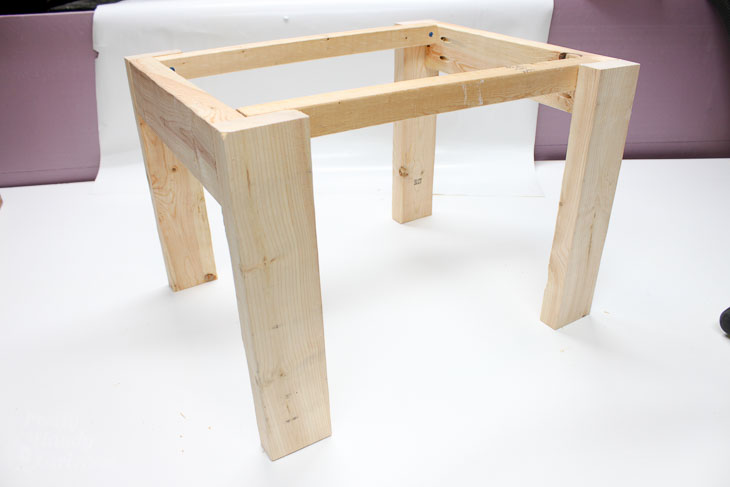
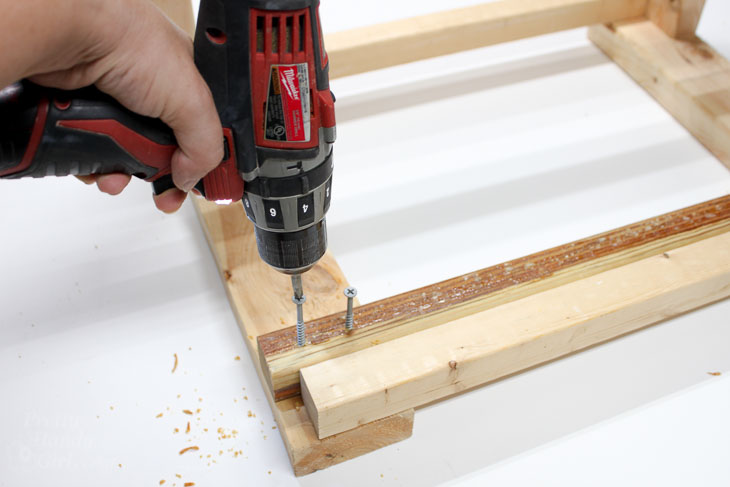
Connect the two leg assemblies with the 2″ x 2″ x 21″ top supports using two 2 ½” wood screws as shown below:
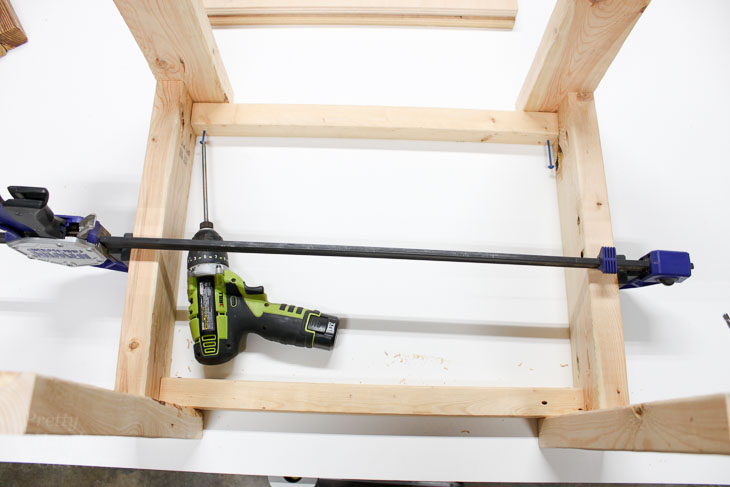
Repeat for the other side. Your table base should look like this:
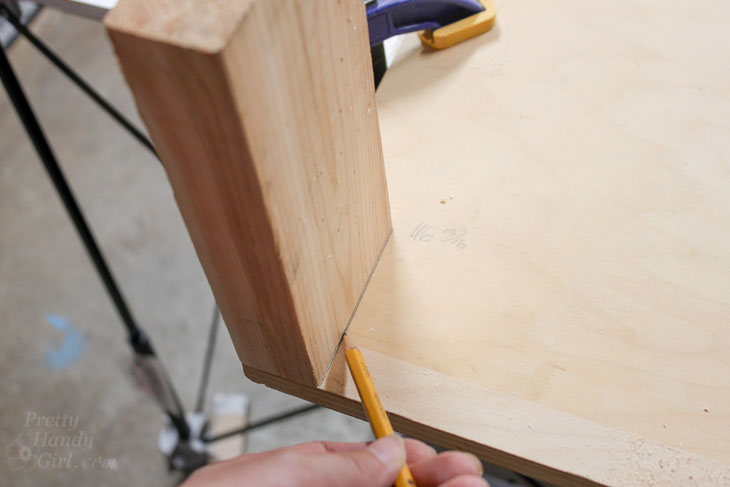
Trace the legs on each corner of one of the 3/4″ plywood shelves.
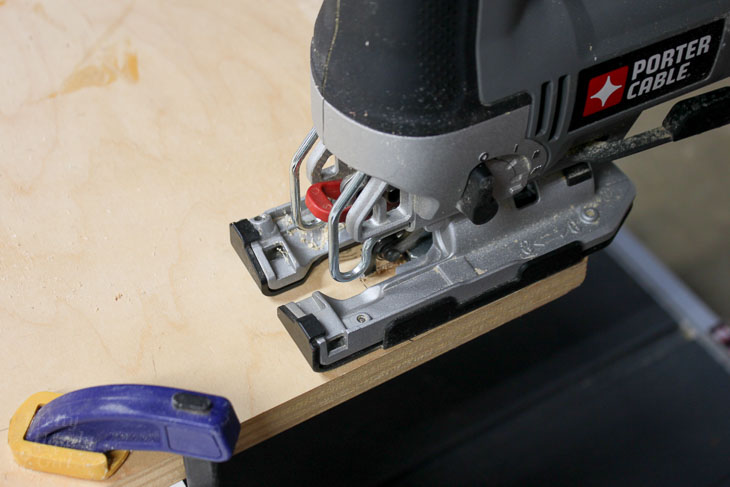
Cut out the corner leg shapes you traced.
Place the shelf in between the leg assemblies. (I made the mistake of trying to add the shelf after adding the shelf supports.)
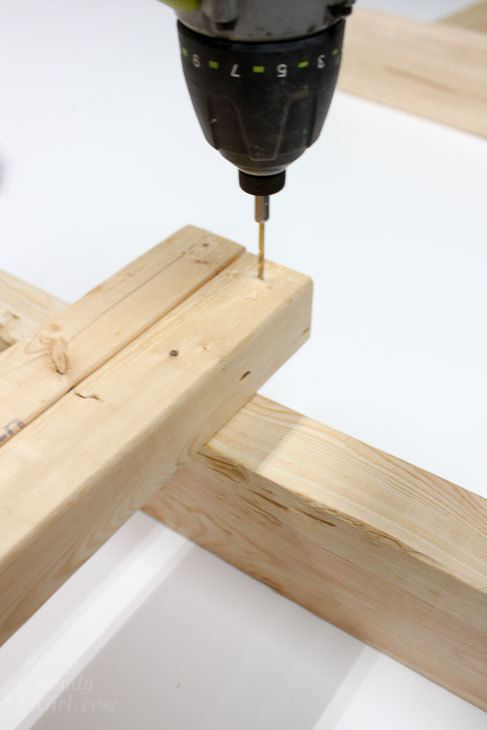
Pre-drill holes at the ends of the 2″ x 2″x 24″ lower shelf supports.
Secure the lower shelf support 1 ½” up from the base of the table saw stand with two 2 ½” wood screws per leg.
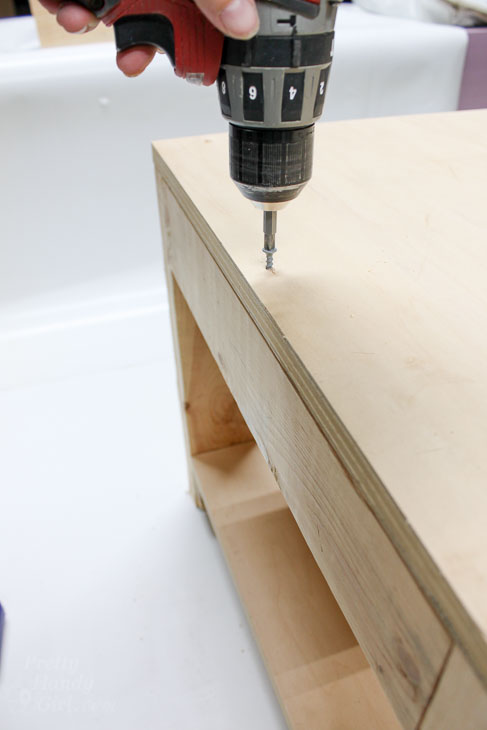
Place the bottom shelf on top of the lower shelf supports. Then center the top shelf on top of the base and pre-drill holes around the perimeter. Place one screw at each corner and four in between the corners.
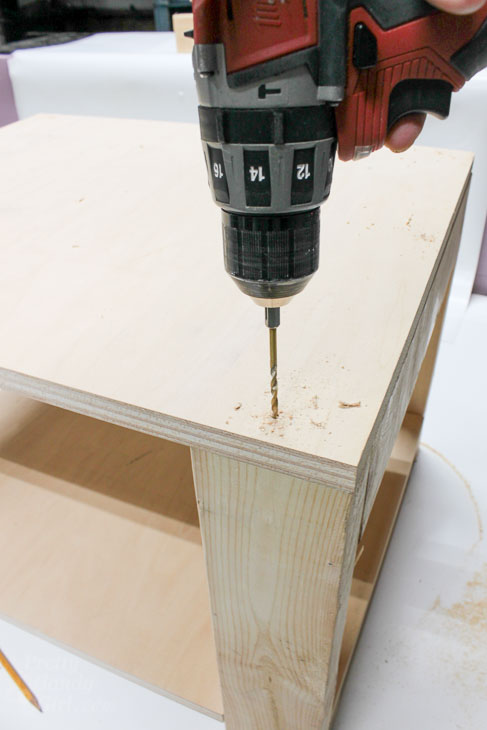
Drive 2″ wood screws into the plywood top.
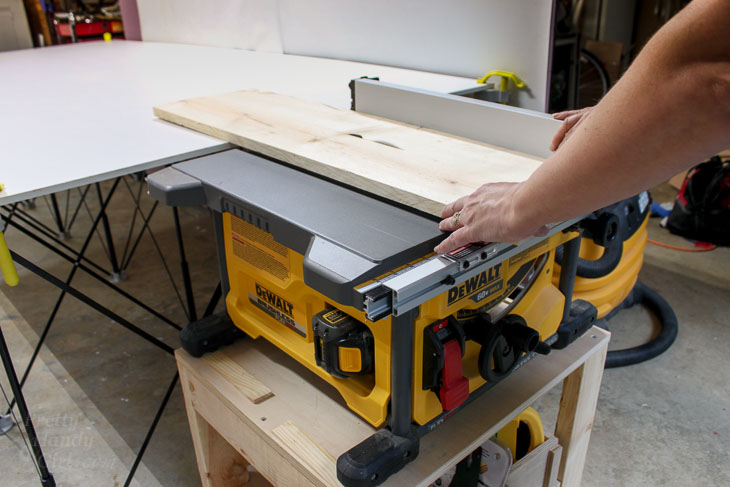
Set your table saw on your new stand. Use shims to raise the table saw and level if needed.

Slide your table saw stand up to the out feed table and start making some sawdust!
Collapsible Out Feed Table:
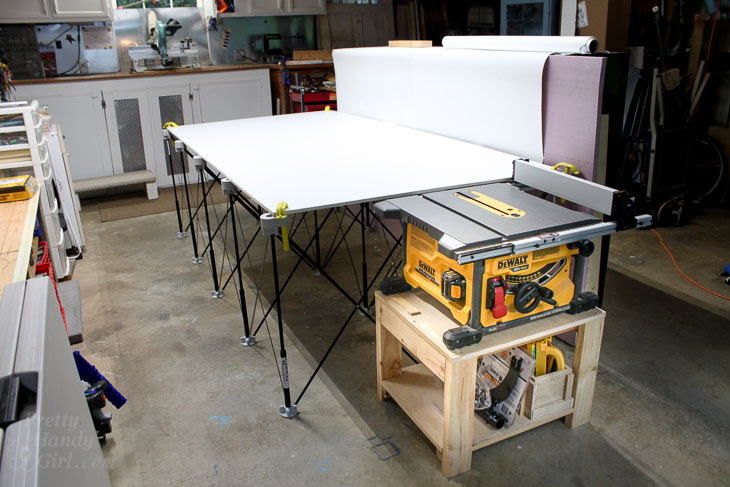
As I mentioned earlier, I was looking for a set up that could collapse easily should I need to pull my car into the garage. That’s how I discovered the Centipede collapsible work table. The Centipede is lightweight but strong, especially when you lay a sheet of plywood on top to distribute the weight.
It’s incredibly easy to set up as you can see from my Facebook Live video I took when I set up the Centipede for the first time:
After setting up the Centipede (which took less than a minute), I laid a 4′ x 8′ x 3/8″ PVC sheet on top of the Centipede for a work surface. The choice to go with the PVC sheet was two-fold. 1) I wanted something that was lighter weight than a piece of plywood (to keep things simple when I’m working on my own). 2) And the second reason I chose the PVC sheet over plywood was to have a nice smooth and clean surface for photography. So far the PVC works great. It has a few scratches on it now, but still works well as a back drop.
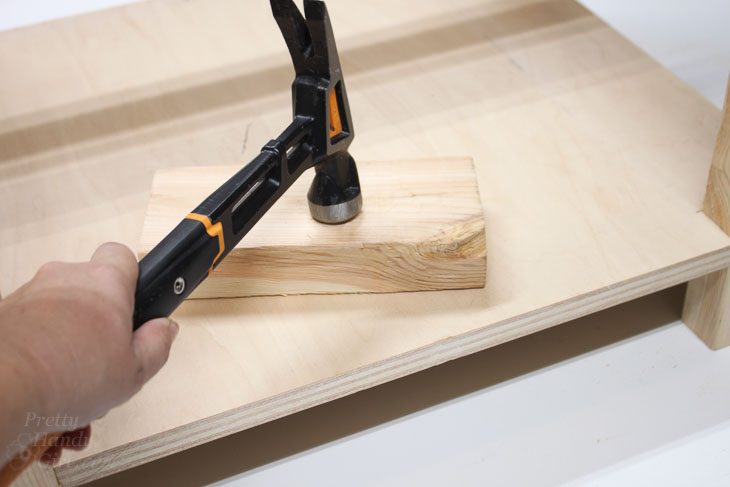
After using this set up all summer, I only found one drawback. The 3/8″ PVC sheet is stable but has some flex in it, so I can’t necessarily hammer on it without some bounce. But, I also purchased a large sheet of rigid foam insulation to use for cutting into when using a circular or track saw. I may try to put the rigid foam insulation sheet under the PVC sheet and see if that helps. Of course, I’ll have to raise my table saw a little, but it would be worth it to have a more stable surface.
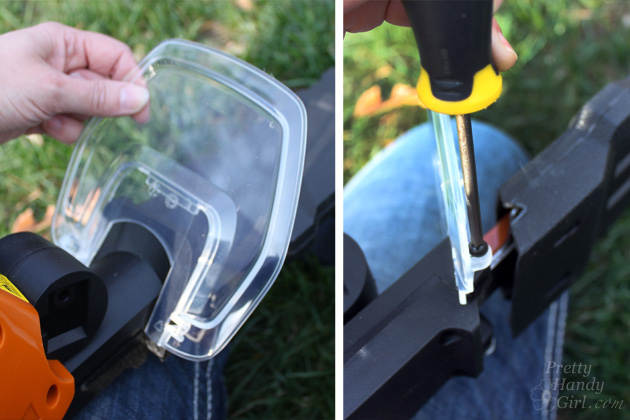
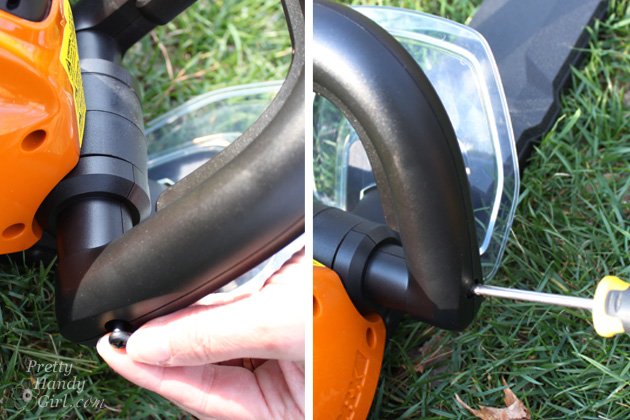
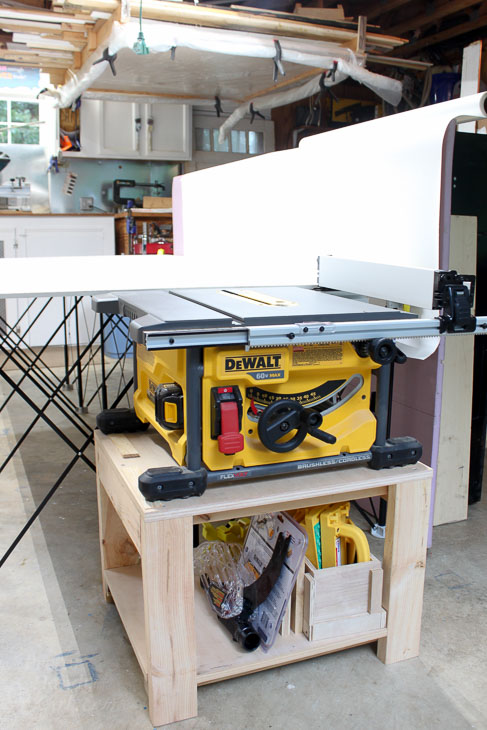
Table Saw Review:
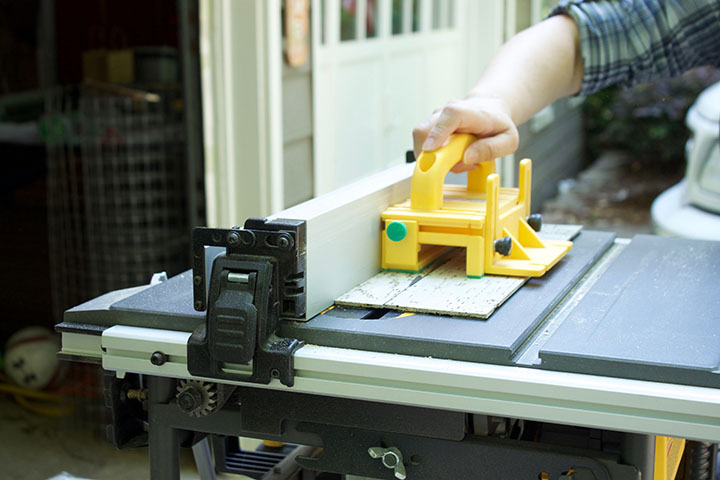
If you have an eagle eye, you may have noticed that there are not power cords coming from that table saw! That’s because, it’s a DeWalt FlexVolt Cordless Table Saw. DeWalt sent the tool to me to review and I honestly didn’t expect to like the saw as much as I do. I have been using the saw for over a year now and I LOVE IT! It’s completely portable so I can bring it with me on job sites. There are no cords, which frees up valuable electrical outlets in my shop.
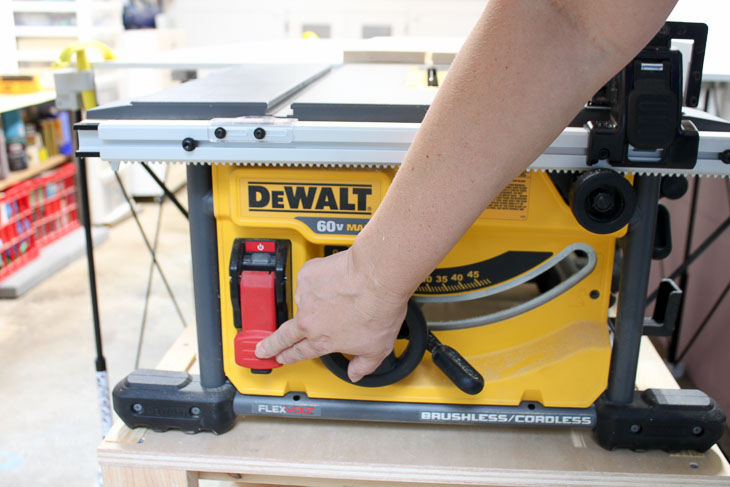
The saw is definitely quieter than my old table saw. I love that the blade stops very quickly when the red stop button is pushed. (This could potentially reduce the severity of an injury, but not prevent it all together.)
The cuts it makes are very precise and smooth. Although it is battery powered, I haven’t noticed a difference in power between the FlexVolt and my corded table saw. I’ve used it to cut through plywood, pressure treated lumber and masonite. The only difference I have noticed is the blade will spin a little slower when the battery is almost drained. It won’t continue to decrease speed, instead when the saw senses the low battery it won’t allow you to continue making cuts without charging the battery.
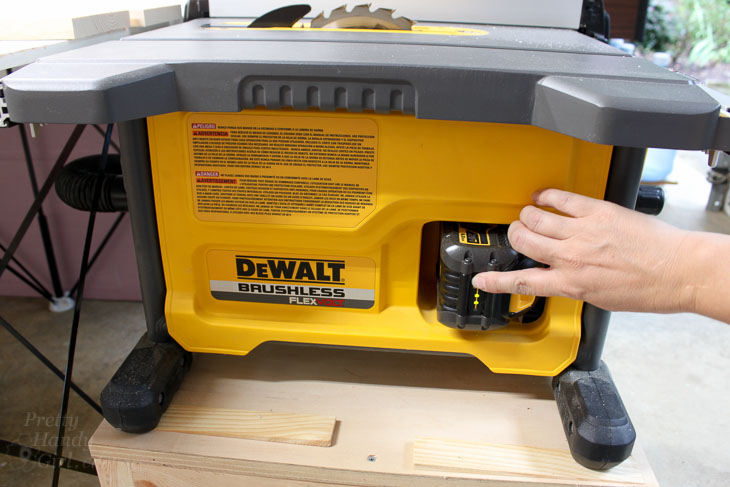
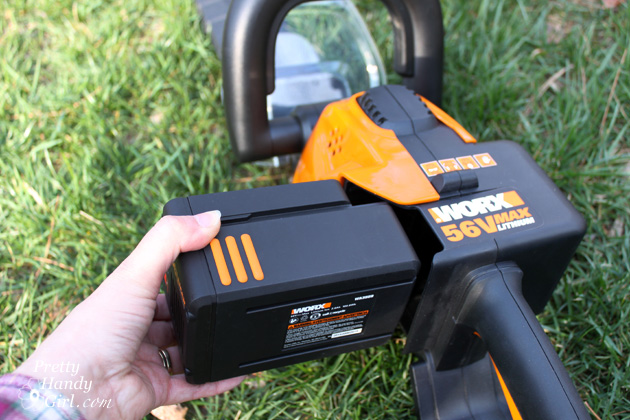
You can keep an eye on the charge on the FlexVolt batteries by pressing the button on the charge indicator. I do recommend purchasing two FlexVolt batteries so you can always keep one charged. The length of time this saw will run on one battery is unbelievable. I expected much less out of the battery life, but I cut an entire pantry’s worth of plywood and still had plenty of juice left for another project.
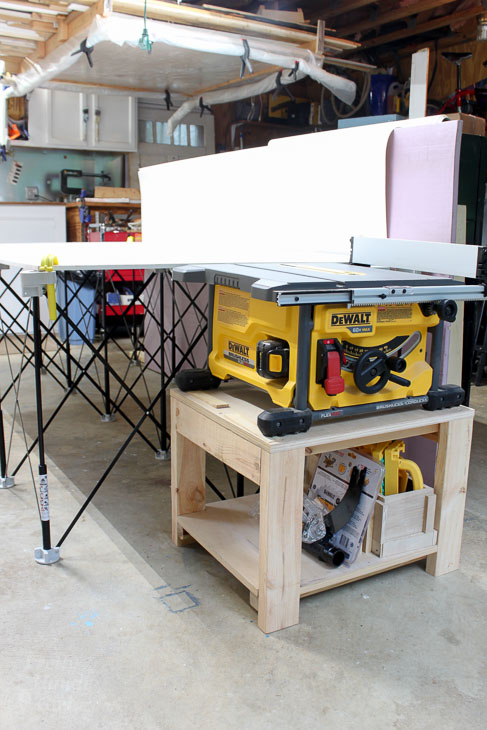
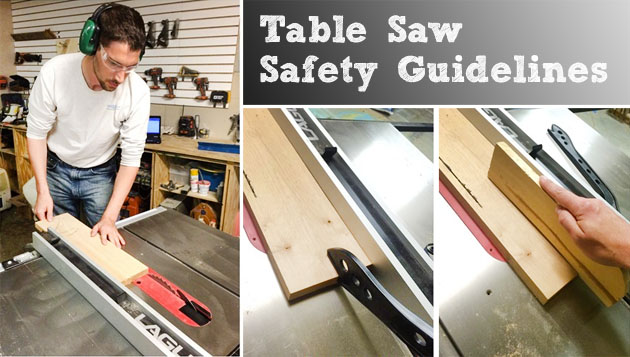
This little set up is working out perfectly for my small shop. The DIY Table Saw Stand has storage underneath for extra blades, batteries and for the GRR-RIPPER 3D Push blocks (that I highly recommend for use with any table saw. They have changed the way I work with my table saw for the better.)
Let me know if you have any questions in the comment field. I’m happy to answer them.
![]()
Disclosure: The Dewalt FlexVolt Table Saw was sent to me for product review. I was not told what to write or paid for my review.