DIY Marble Toss Game | Pretty Handy Girl

DIY Marble Toss Game | Pretty Handy Girl

The summer is dragging on and the kids don’t have any summer camps for the next few weeks. That means: 1) I need to find a way to keep the kids entertained. 2) I need to keep them from pushing me over the brink of insanity. 3) I need to keep them from pushing each other off a cliff.

engraved-marble-toss

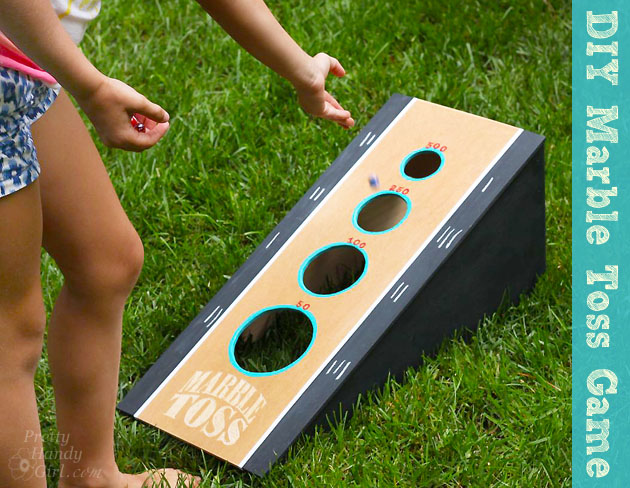
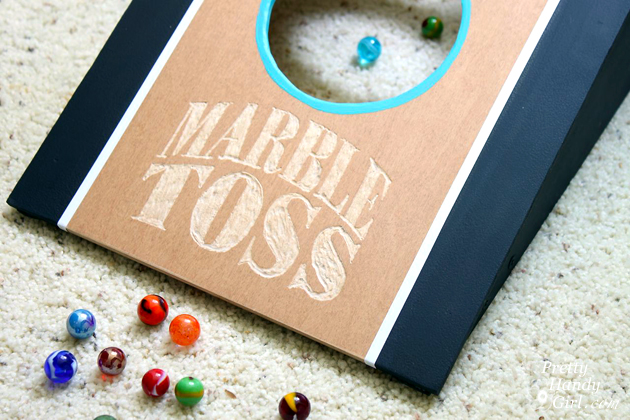
I came up with a fun marble toss game that will keep them busy. It was an easy game to make and I used some of the scrap wood laying around my workshop. Feel free to substitute materials and make modifications.

I enjoyed using the Dremel Fortiflex to carve the intricate letters and numbers. I have to admit I’m enjoying working as a brand ambassador for Dremel and testing their tools.

Let’s get your marble game face on!

(I’ve included affiliate links for your convenience. I earn a small percentage from a purchase using these links. There is no additional cost to you. You can read more about affiliate links here.)

Materials:

Optional: White pin stripes

Cut list:

  • 1 – 1/4″ x 10.5″ x 24.5″ plywood (face)
  • 1 – 1/2″ x 23″ x 9.25″ plywood (for side supports)
  • 2 – 1×3″ cut to 8.5″ (for base supports)
  • 1 – 2×4″ cut to 8.5″ (for upper support)

Tools Used:

Instructions:

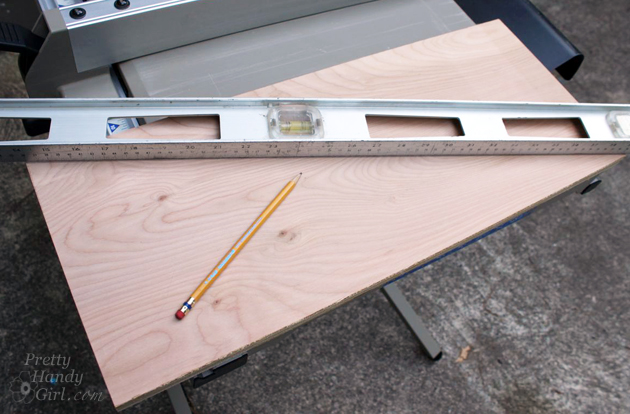
Begin by drawing a horizontal line across the 1/2″ plywood.
mark-triangle-half

The angle will be approximately 22˚degrees.

22-degrees

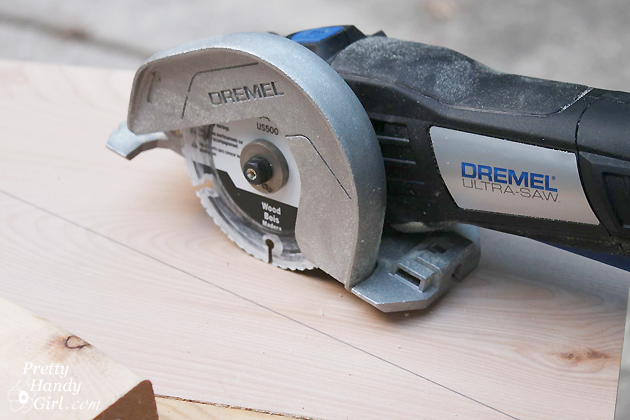
Use the Dremel Ultra-Saw (jig saw or circular saw) to cut your plywood board in half diagonally.
cut-on-line-ultra-saw

You should have two identical triangles for the side supports. Read more

How to Trim Closet Doors with Dremel UltraSaw | Pretty Handy Girl

How to Trim Closet Doors with Dremel UltraSaw | Pretty Handy Girl

I have a friend named Holly. She and I live in the same neighborhood and we help each other out with DIY projects. Last week she asked me to help her come up with a solution to hide her dirty laundry.

How to Trim Closet Doors with Dremel UltraSaw | Pretty Handy Girl

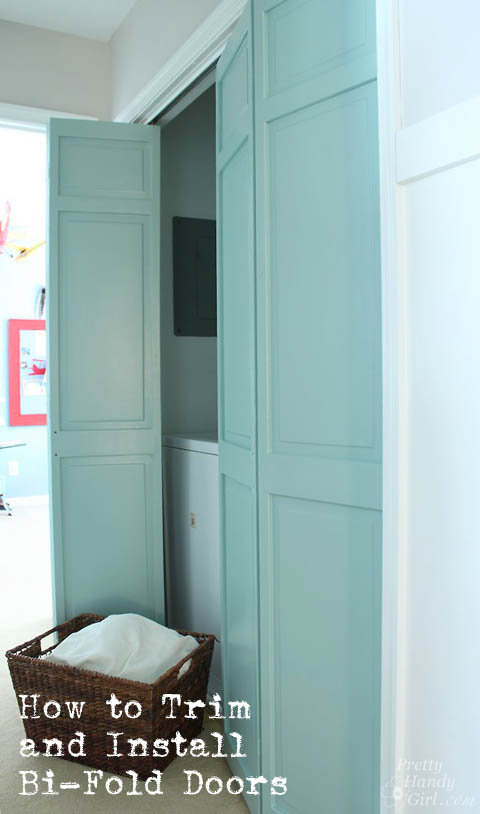
Holly and I were trying to figure out how to replace her sad laundry room door(s). The right side door had broken off and was unusable. We floated several ideas, originally thinking about creating inexpensive sliding barn doors. But, we scaled back that idea after realizing that inexpensive pipe hardware (spanning over 8 feet) was still too expensive for the budget. We began discussing buying cheap bi-fold doors and dressing them up. However, even new bi-folds aren’t super cheap. I mentioned she “might” have luck going to the Habitat ReStore to find the exact size doors. We both knew that was a slim chance. Then an idea hit me like a bi-fold door falling off its hinges! Among the multitude of things I have stored in my attic, were two sets of closet doors! One that used to be on my son’s reading nook closet. And the second set used to be on the pantry.

Would it be fitting that the only before pictures I have of the pantry doors are these gems?

How to Trim Closet Doors with Dremel UltraSaw | Pretty Handy Girl
The Streaker

How to Trim Closet Doors with Dremel UltraSaw | Pretty Handy Girl
The Goofball

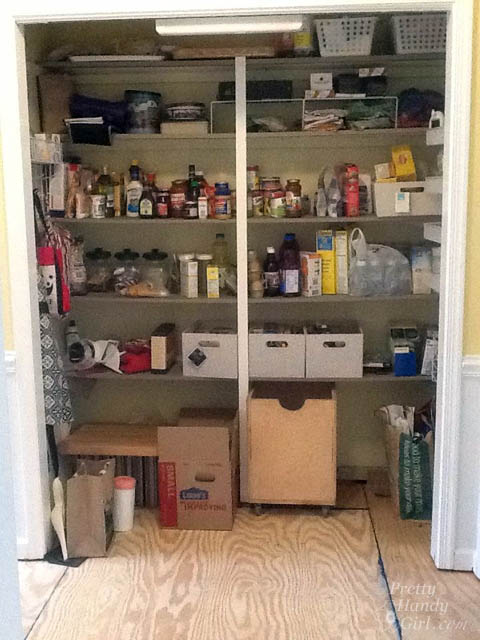
You get the picture. They are ordinary bi-fold doors. After the doors were removed from our pantry I liked how open it was. Although sometimes I wonder if I am just too lazy to open and shut the doors every time I want food.

How to Trim Closet Doors with Dremel UltraSaw | Pretty Handy Girl

Regardless, I liked the open concept, but not necessarily our food being constantly ON DISPLAY. I have plans to add built-in cabinets and shelving to the pantry, similar to what my friends The DIY Village created, but for now we just have it open.

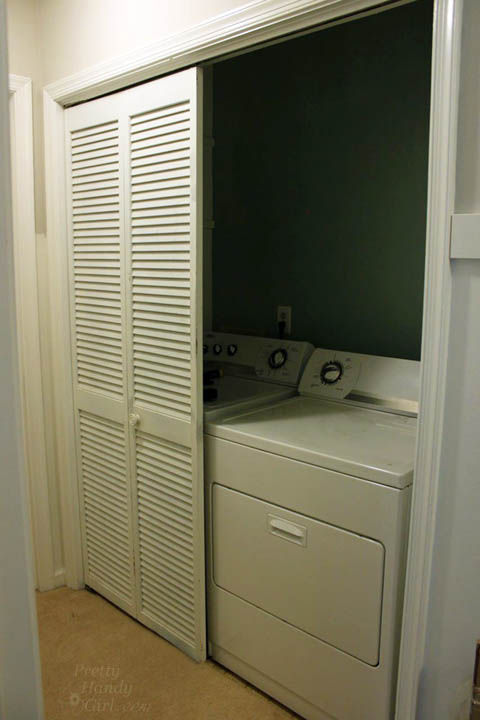
I ran home to dig through the attic and find the two sets of doors that might work for Holly. I held my breath (partly because the attic was stifling hot) as I measured the doors. My son’s closet doors were…too narrow. Whomp wah. The pantry doors were… a perfect width!!! But, they were 2″ too tall. No worries, I knew I could trim them down.

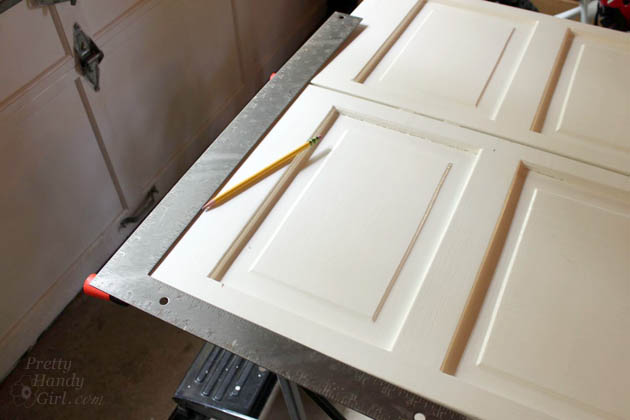
Here’s how to remove (and install) closet doors and cut them down to size using a Dremel Ultra-Saw:

Read more

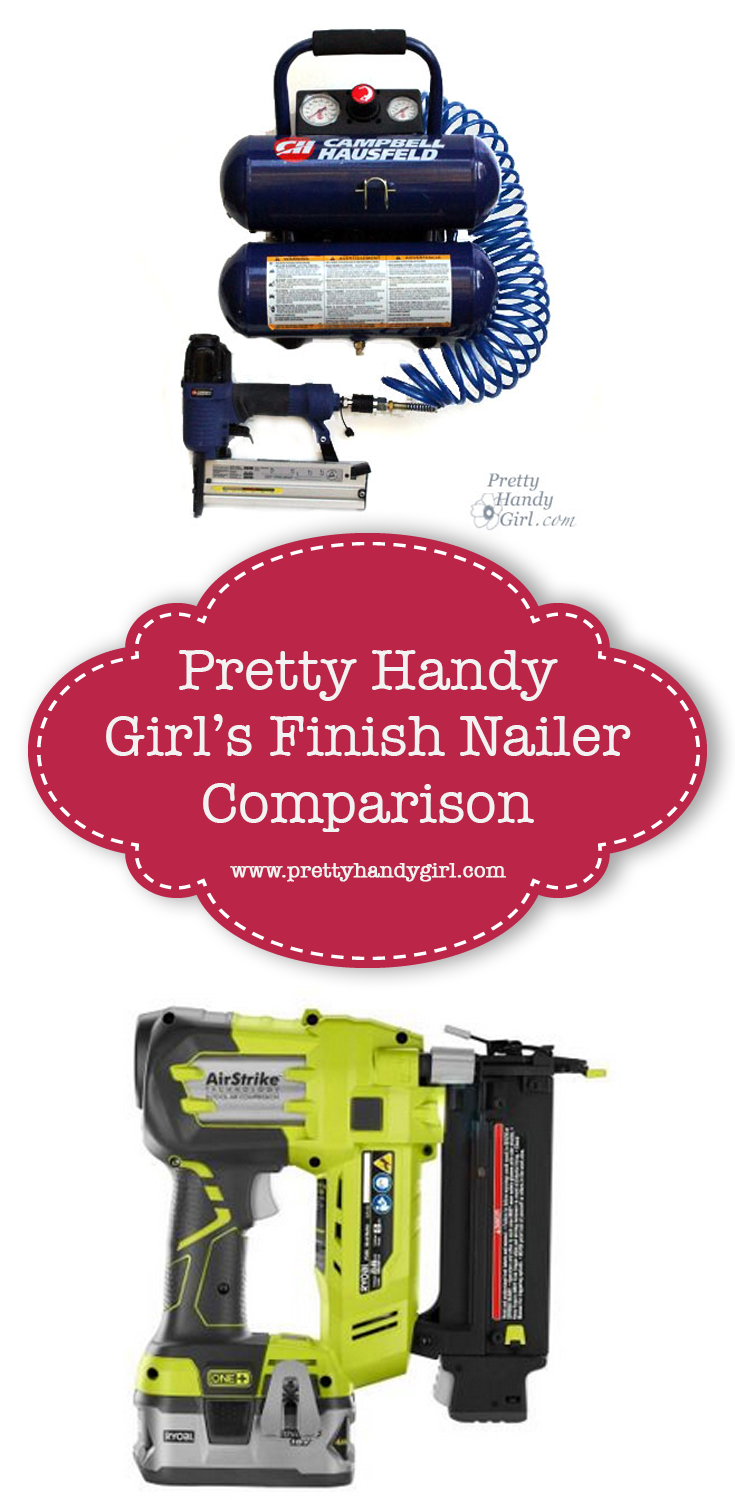
finish-nailer-comparison

A finish nailer is a great tool to have in your workshop.  It’s great for small projects, installing moulding, wall planking and more. After using both types of finish nailers for many projects, I wanted to break down the pros and cons of each.
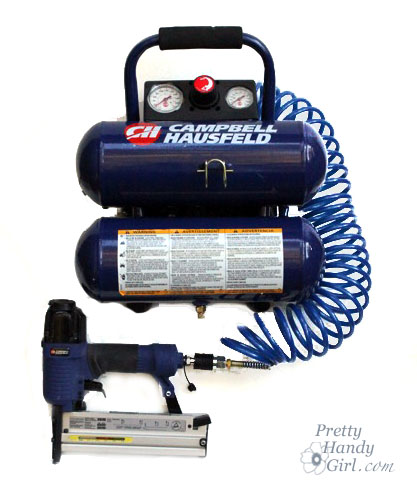
Compressor_finish_nailer_combo_kitI was able to score this Campbell-Hausfeld nailer and compressor combo around Father’s Day at Lowe’s for $69! (Normal MSRP is $99.) I’ve used the compressor-powered nailer for many years on an assortment of DIY projects (like my Art & Craft Studio scrap wood wall.)  I haven’t had any problems with it. It’s reliable, lightweight and can fire a variety of length finish nails and U-staples. For the value, you can’t go wrong. The cons of the Campbell Hausfeld are mostly related to the compressor. It is very loud when the air tank is recharging. It’s a little bulky to store and haul around. You are limited to the length of your air hose and a power source. And you must empty the tank and maintain it periodically.

PostBreakblue

Ryobi-nail-strike

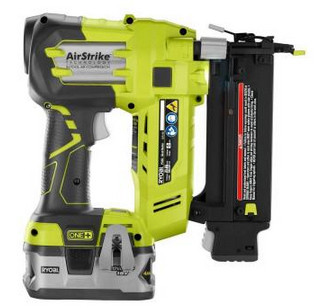
In all the ways that the Campbell-Hausfeld fails, the Ryobi Air Strike excels. It doesn’t take up as much room to store. No compressor needed because it is essentially built into the tool. As long as the battery is charged you are ready to fire nails on a moment’s notice. The light helps illuminate in dark working areas. You aren’t tethered to an air hose or compressor. This allows you the freedom to wander anywhere with the nail gun. And it is quiet (with the exception of the bang when firing the nail.)

The downsides are it doesn’t shoot U-staples. The gun itself is heavier to hold because of the battery and size of the gun. If you lose charge in the battery you have to wait a while for it to charge. Finally, the price is slightly higher than the MSRP of the Campbell-Hausfeld at $129.

Update: I’ve had a few occasions where my Ryobi Air Strike has quit firing. Usually I can get it working again by unlatching the front of the gun and checking it for jams or reloading with new nails. Recently at a DIY conference, I learned that I’m not the only person who has had this problem. So far the nail gun still works, hopefully it will continue to do so.

2nd Update: After another winter of the Ryobi Air Strike refusing to fire after every other nail, I’ve finally decided to pitch it. I’m in the process of testing a Porter-Cable 18 gauge 20 volt brad nailer and a DeWalt 16 gauge Angled Finish Nailer.

I hope this comparison helps you select your own finish nail gun.

PHGFancySign


Want to learn how to use a finish nailer? Check out my tool tutorial videos and more!


Pin for later!


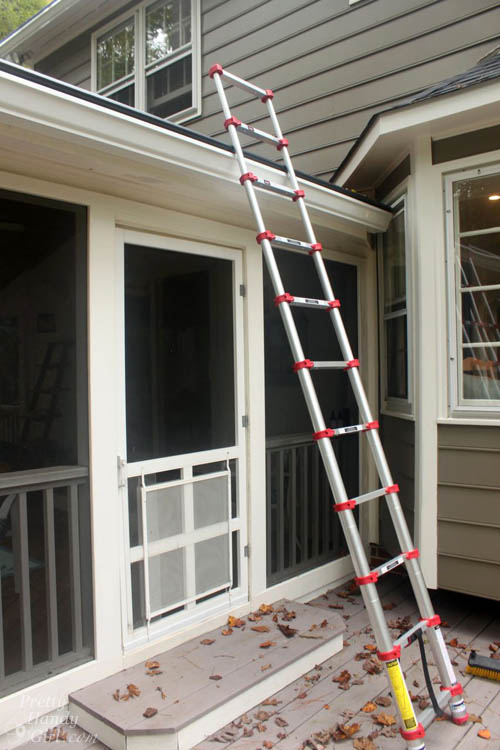
Xtend + Climb Telescoping Ladder Review | Pretty Handy Girl

Xtend + Climb Telescoping Ladder Review | Pretty Handy Girl

A few months ago I got an email asking me if I wanted to test an Xtend + Climb telescoping ladder. I said I’d be happy to try it, but I couldn’t promise I’d blog about it. I try lots of products, but only the ones I love get mentioned on the blog. The litmus test is if I would recommend it to a close friend. If I would, then I share it with you (because y’all are like friends I just haven’t met yet.)

Xtend + Climb Telescoping Ladder Review | Pretty Handy Girl

The 760P Xtend + Climb ladder arrived in a compact box. When it arrived, I doubted that it really contained a 14.5ft ladder. But, sure enough inside was the telescoping ladder. Over the course of three months, I truly gave it a work out. I used it to clean the gutters and… Read more


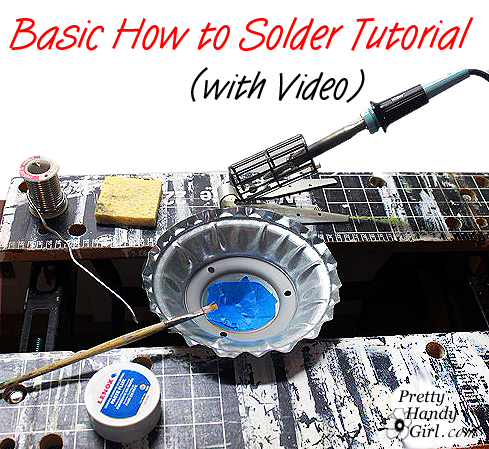
Wheee, it’s another episode of Tool Tutorial Friday! Do y’all miss TTF? I do too, but this handy gal only has so many tools in her toolbox. I added a new one a few weeks ago, a soldering iron. Let’s learn How to Solder Metals Together!

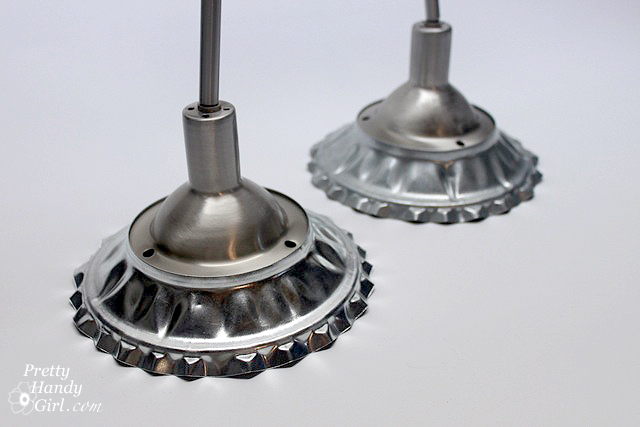
When I was in college, I took a stained glass elective (one of the benefits of going to art school.) I really enjoyed the course, but once the semester was over I didn’t pick up a soldering iron again. That was 20 years ago. Just this month, someone in our neighborhood posted online that they were selling a soldering iron. I immediately jumped on the chance. But, this time I didn’t have stained glass in mind, I had these DIY farmhouse lights on the brain!

As promised, here is the tutorial on how to solder. Read more