Install Cabinet Handles the Easy Way
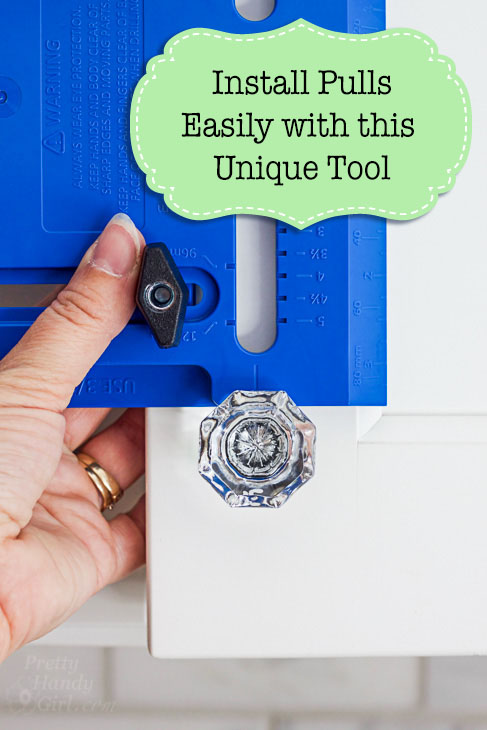
After installing my fair share of cabinet knobs and handles over the years, I’ve made my own templates out of cardboard or scrap wood. But, after trying this new gadget, I can honestly say this is how you too can Install Cabinet Handles the Easy Way.
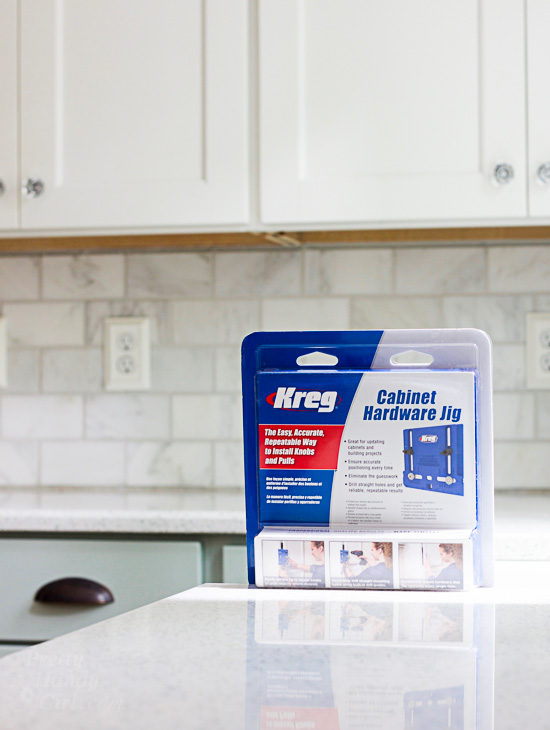
I was given the Kreg Cabinet Hardware Jig (affiliate link) to test last year, but I never opened it until now. I’m so glad I finally tried this puppy out. Just so you know, Kreg may have given me the jig, but I was not paid to write about it. I’m sharing this with you because I really liked this tool.
When you use this jig, not only will you install cabinet knobs and pulls easily, but each handle will be perfectly lined up with the others guaranteed!
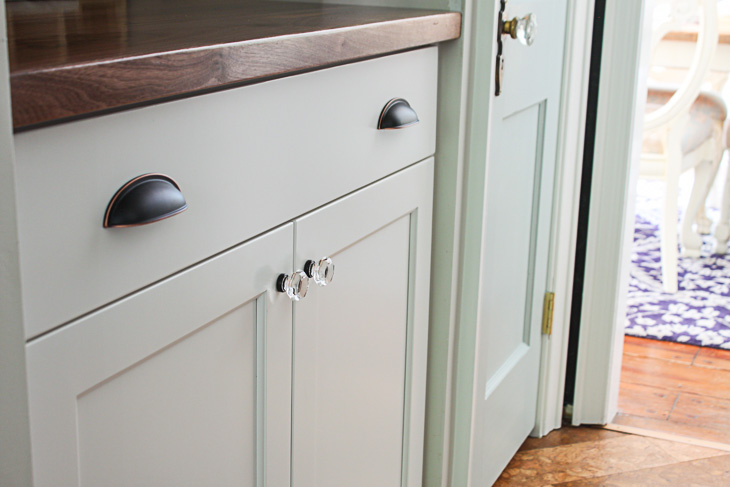
If you have knobless cabinets in your home, now is the time to update them immediately. Grab a few things and meet me back here in a minute.
Materials:
(I’ve included affiliate links for your convenience. I earn a small percentage from a purchase using these links. There is no additional cost to you. You can read more about affiliate links here.)
- Drill
- 3/16″ Drill bit
- Painter’s tape
- Kreg Cabinet Hardware Jig
- Ruler
- Pencil
Assembling the Kreg Cabinet Hardware Jig:
Remove the pieces from the packaging.
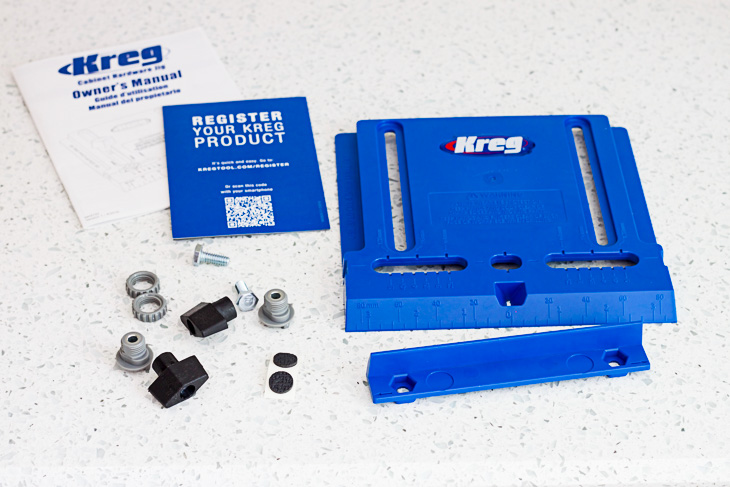
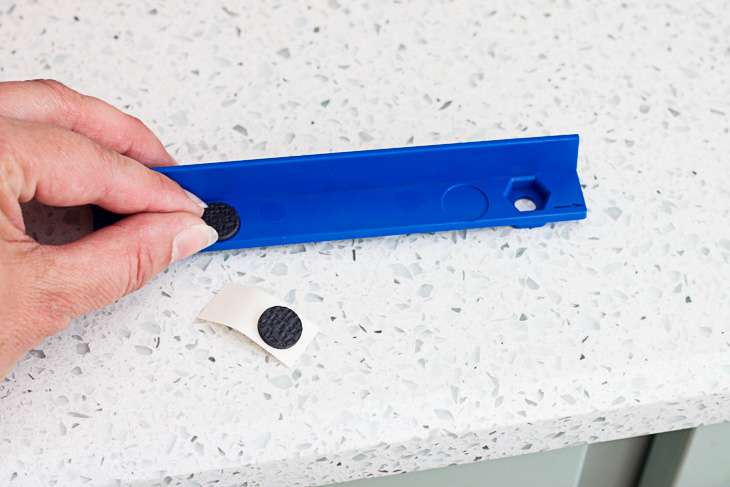
Add the non-slip pads to the edge guide. (Locate the indented circles and place pads here.)
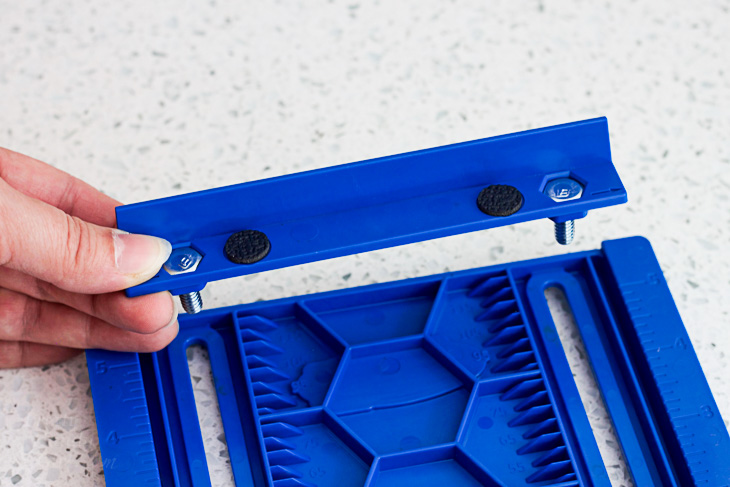
Feed the hex head bolts into the edge guide and insert into slots on the jig.
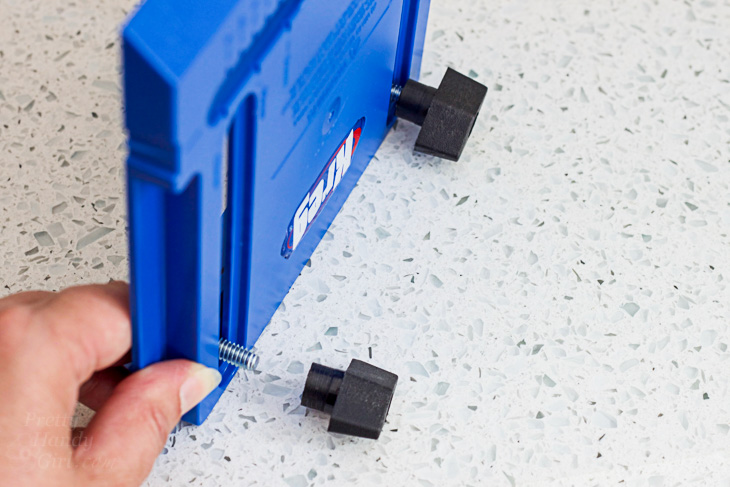
Thread the knobs onto the front side of the Kreg Cabinet Hardware Jig.
Insert the drill guides into the slots on either side of the center hole window as shown below. Line up the drill guides with your handle posts. If you only have one post knobs to install, insert it in the center hole.
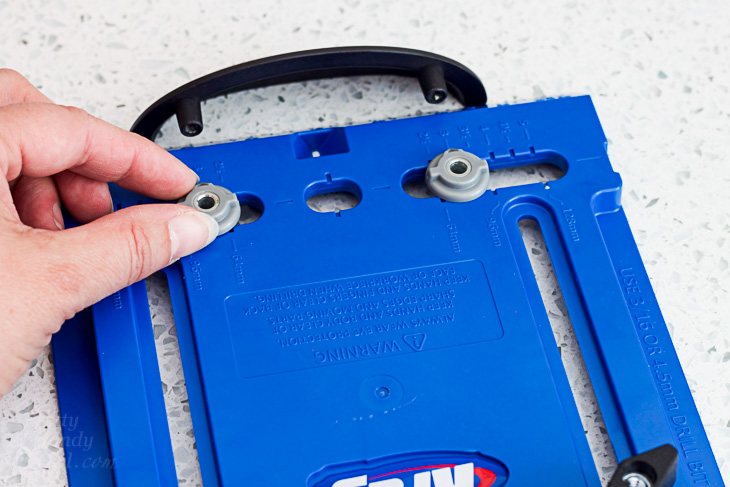
Flip the jig over and secure the drill guides with the provided nuts.
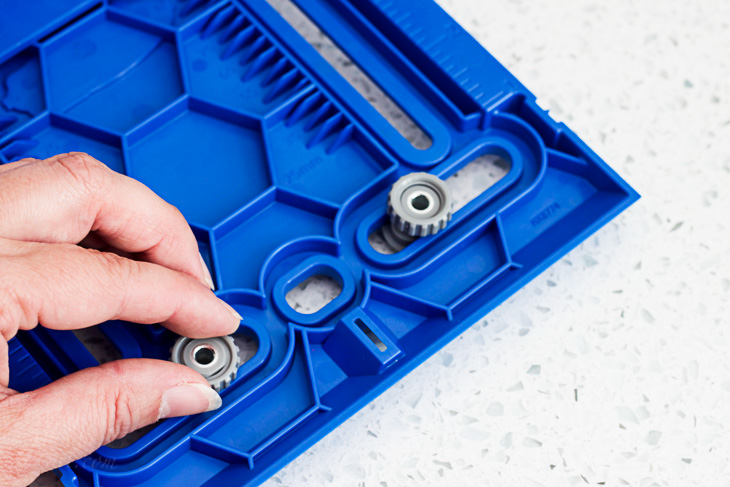
Now you’re ready to Install Cabinet Hardware the Easy Way.
Instructions:
Line up the drill guides with your handle posts making sure the numbers match on both sides. (Or insert the drill guide in the center hole for single post knobs.)
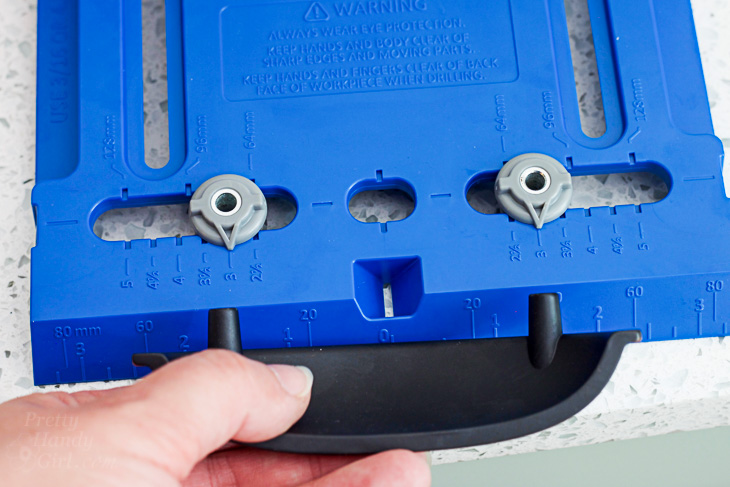
Hold your handle up to the location you wish to install it. Secure a strip of painter’s tape to the cabinet door in the same location.
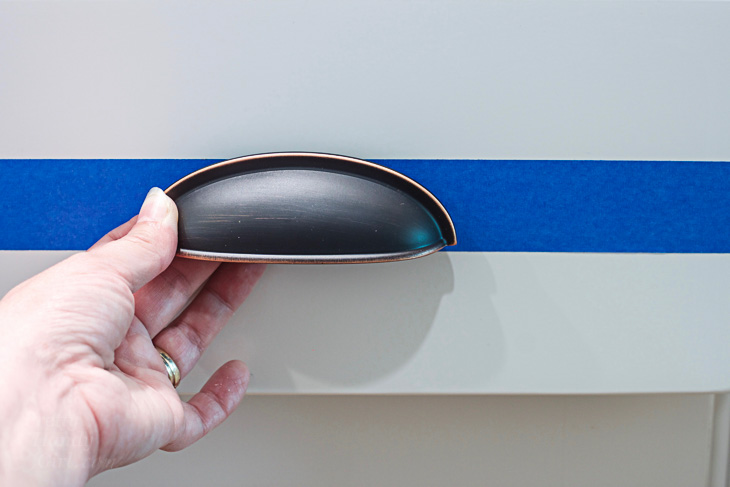
Mark the center of the handle on painter’s tape on your cabinet drawer (or door.)
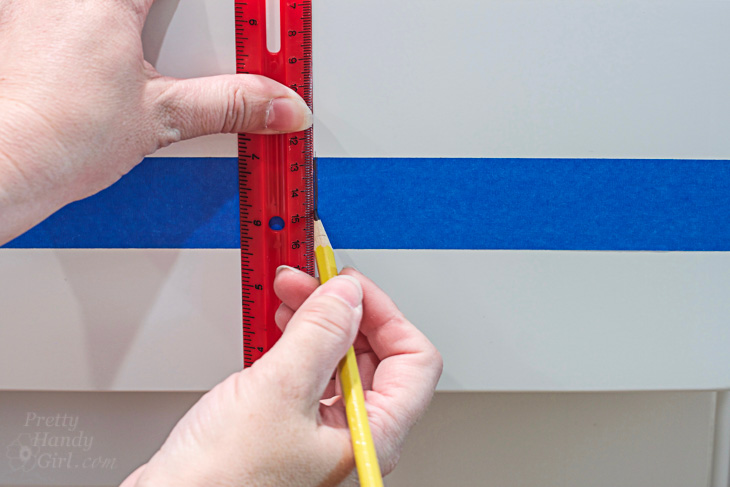
Line up your jig over the center line.
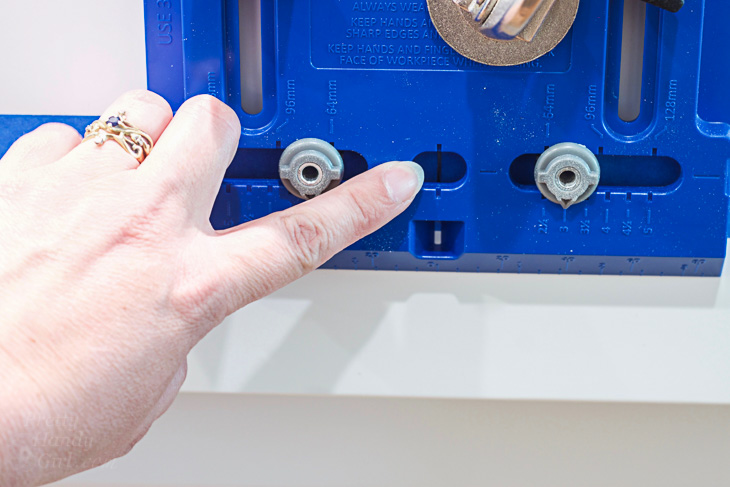
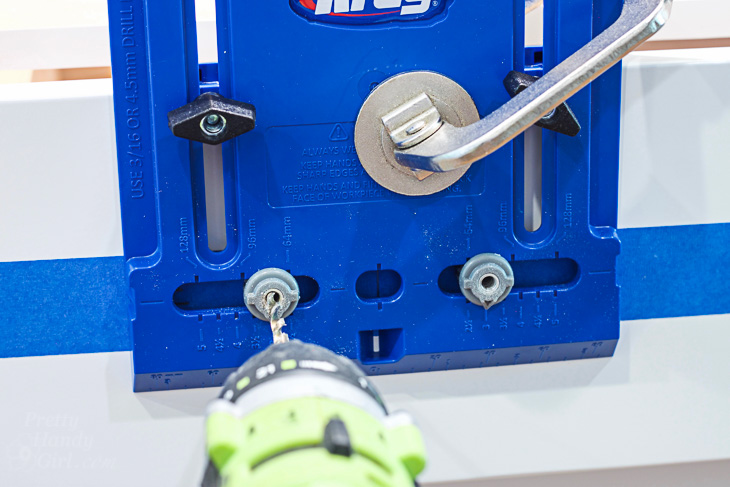
Set the edge guide to the desired depth from the top of the drawer. Clamp the jig in place. Feed a 3/16″ drill bit into your drill and drill through the two drill guides.
If your pulls are thicker than 3/16″, measure the depth of the pull posts and transfer that measurement onto a larger bit. Mark that depth with a painter’s tape “flag”.
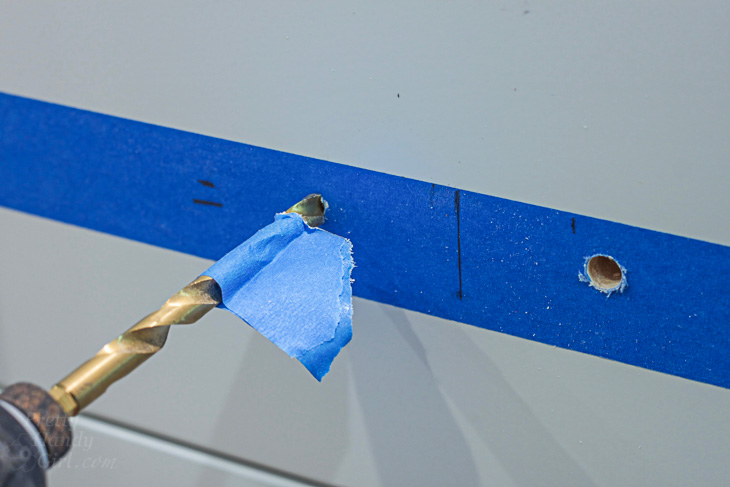
Drill to the painter’s tape flag for an exact depth.
This jig works the same for cabinet doors with a single knob. The difference being you will line up the edge guide on the side of the cabinet door and only one hole is drilled.
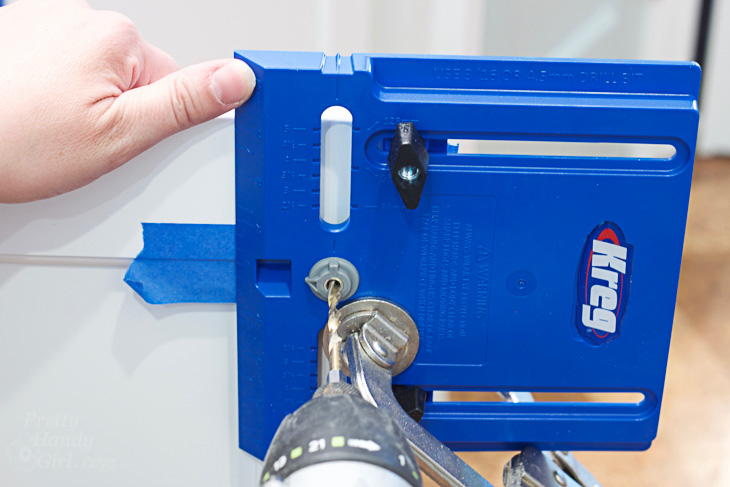
After your hole is drilled, remove the painter’s tape from your cabinet. You should have a nice clean hole with no splinters.
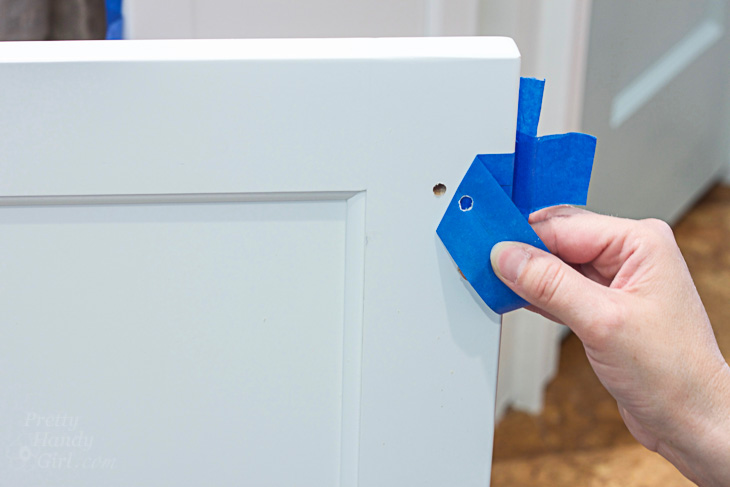
Secure your knob or pull to the door and admire your handy work.
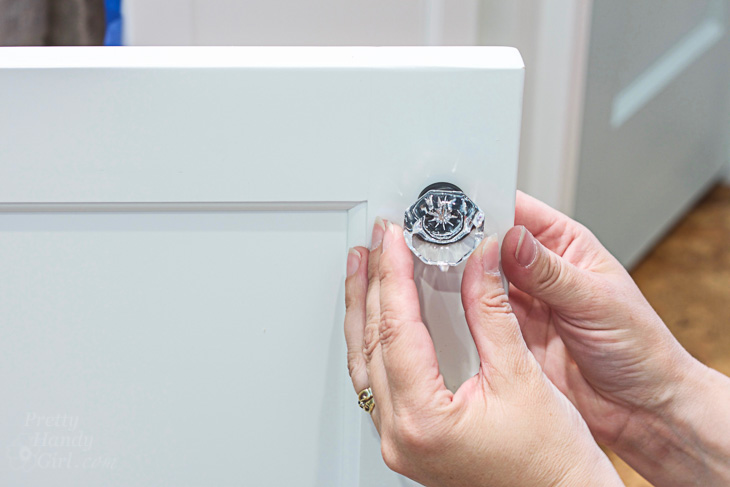
If you run into a situation where the screw is too long, I have two ways to deal with that long screw.
![]()
Disclosure: This is a product review. I was given a complimentary Kreg Hardware Jig to try. I was not paid to mention Kreg or told what to say. I will always let you know if you are reading a sponsored post or product review.

Love the knobs! Where did you get them?
http://www.dlawlesshardware.com/
A woodworker friend of mine made one for me & it was incredibly handy. This I have not seen but I’ve got to keep this in mind for the next time.
I could have used this last week when I was changing out the hardware on our built in cabinet! I had to drill a new hole and messed up the first time 🙂
Thank you for this wonderful step by step tutorial on how to put together and how to use this new tool. We nee this badly, because I finally got my hubby Togo out and buy a kreg for drilling holes, we still do not know how to use it. ???
Fabulous! I am currently planning kitchen remodel, so this is helpful!