As promised, I created a tutorial to show you how you too can paint a giant abstract ocean painting. The easiest way for me to show you how was to share the video of the process. If you are viewing this post in your email, you will need to click on the link to view the video.
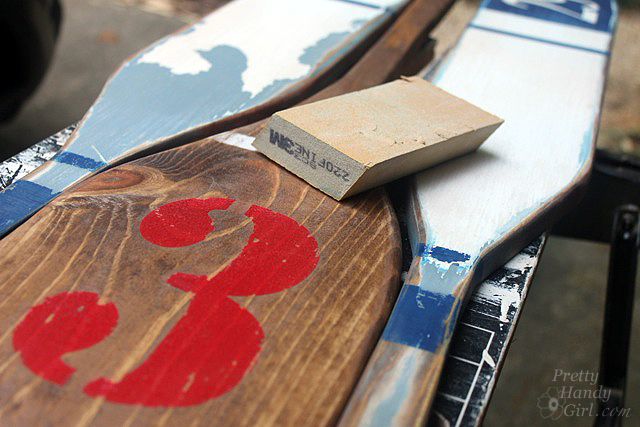
Vintage painted oars are nostagic objects for me. They bring back memories of camp and watching crew teams rowing along the Schuylkill River in Philadelphia. So, when my sister wanted to find some oars to decorate the beach condo with, I jumped at the opportunity to make some. If you follow me on Instagram or Facebook you know that my sister Caitlin (of Symmetry Designs in San Jose, CA) and I have been renovating Diane Chamberlain’s Topsail Beach condo. The condo is a great size (three bedrooms) and located ocean front. That’s where the pros ended. Sadly the condo was stuck in the 80’s: teal carpeting, orangey wood trim and cabinet doors that were falling off. We converged on the property back in September to start the renovation process.
Before the trip, I whipped out these fun painted oars. They were easy to make, you could sooo do this!
(I’ve included affiliate links for your convenience. I earn a small percentage from a purchase using these links. There is no additional cost to you. You can read more about affiliate links here.)
Clamp your 1″ x 6″ board to a work surface. Trace out the oar shape onto your board. You can use rulers and rounded paint cans or plates to trace the curves.
Put on your safety glasses, ear plugs and grab the jig saw.
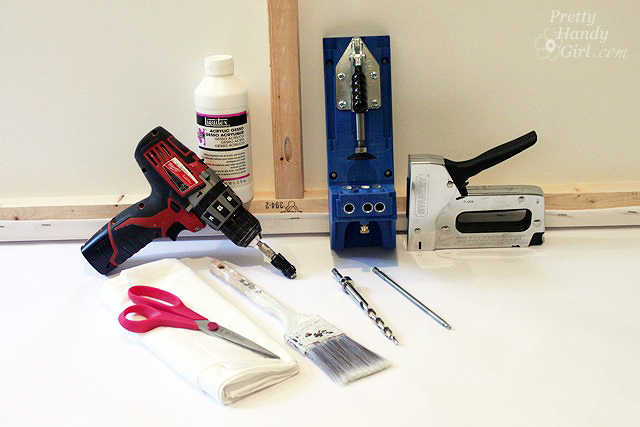
Have you ever yearned to own a giant piece of artwork but the cost was prohibitive? Or you knew you could create some awesome abstract paintings, but buying large canvases would cost too much. Well, for those hesitant artists, I have this quick tutorial for building your own GIANT canvas!
Materials:
2×2″ boards for frame supports (two sides, top, bottom and center support)
Kreg Jig and pocket hole screws
Drill
White fabric (canvas material would be best, but use what you have)
Staple gun and staples
Paint brush
Gesso (if you don’t have gesso, primer would probably work fine)
Instructions:
Cut your 2×2″ lumber down to size. Cut your top and bottom the full widths. Cut the two sides and the center support 3″ shorter to accommodate the height of the added top and bottom pieces. Note, if your canvas is portrait (instead of landscape), your support will be a center horizontal brace instead of vertical as shown. Read more
https://prettyhandygirl.com/wp-content/uploads/2013/10/How-to-DIY-a-GIANT-canvas.jpg354538Brittany Baileyhttps://prettyhandygirl.com/wp-content/uploads/2021/07/PHG-logo-tagline-2020-1030x211-R.jpgBrittany Bailey2013-10-14 07:00:002021-08-17 02:09:08DIY a GIANT Artist Canvas
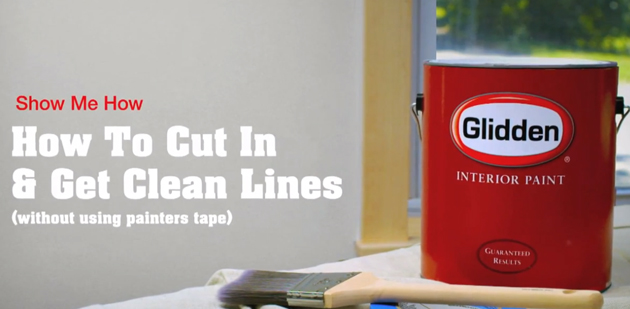
Painting a room like a professional means having straight lines where the wall meets doors, windows, ceilings and baseboards. To achieve crisp lines you can tape around all these spots.
Anyone who has ever taped a room knows it takes FOR-EV-ER! Have you ever wondered how the pros can paint around doors and windows without using painter’s tape? Well, wonder no more. This is a fabulous video that shows you how to cut in along ceilings, doors, etc.
Looks pretty easy, right? Next time you have to paint a room, you should try it for yourself. Hey, if worst comes to worst, just have a damp rag nearby to wipe the paint off.
https://prettyhandygirl.com/wp-content/uploads/2013/10/How_to_cut_in_no_painters_tape.jpg309630Brittany Baileyhttps://prettyhandygirl.com/wp-content/uploads/2021/07/PHG-logo-tagline-2020-1030x211-R.jpgBrittany Bailey2013-10-11 10:00:002026-01-19 22:15:58How to Cut in with a Paintbrush
I found a cute nightstand at an antique mall a while back. As usual it sat in the garage for some a few years time and then I decided it was time to re-finish the piece.
The nightstand had been painted multiple times and needed some paint stripping.
Rather than use any chemicals I opted for a heat gun and it worked great …
…until I got to the delicate trim on the front of the nightstand drawers. Every time I would try to get the paint off it would gouge the trim. I knew that I had two options: try and repair the damage or replace the trim with new trim that wasn’t caked with 40 years of paint. I had a few trial runs with various trims and various cutting methods but rather than dwell on wasted time I’ll just tell you all about what worked best for me!
https://prettyhandygirl.com/wp-content/uploads/2013/10/Replace-Decorative-Trim.jpg809600Jacque Knowltonhttps://prettyhandygirl.com/wp-content/uploads/2021/07/PHG-logo-tagline-2020-1030x211-R.jpgJacque Knowlton2013-10-09 07:00:002016-03-24 12:51:16How to Replace Decorative Trim on Furniture