 Rustic Wooden Caddy with a Branch Handle
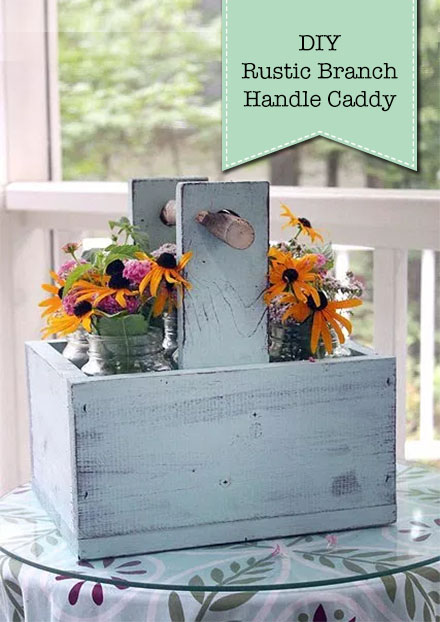
Spring is right around the corner and I’m itching to cut some fresh flowers to bring inside. I love displaying them in jars placed inside rustic wooden caddies. Making a little caddy or tote out of salvage wood and branches can be an easy beginner DIY project. But, it’s also satisfying for experienced woodworkers looking to use up some old scraps or upcycle an old wooden box. Here’s how to elevate a simple wooden box into something more quirky and special by adding a branch handle.

Materials:
(I’ve included affiliate links for your convenience. I earn a small percentage from a purchase using these links. There is no additional cost to you. You can read more about affiliate links here.)
- Old wooden box (Don’t have one? Make your own wooden box with this tutorial.)
- Thick branch
- Pry bar
- Pliers
- Clamps
- Wood screws
- Drill
- Hand saw (coping or hack saw)
- Spade bits
- Paint
- Sandpaper
I happened to be browsing through a yard sale and spotted a sad little box begging for me to buy it and give it a new life:
 How could I say no! It was only $3. I couldn’t leave it at the yard sale in its sad burgundy dust-covered state. I brought it home so it could sit in my garage collecting more dust. (This happens more often than I’d like to admit. It’s a sickness I have.)
Using the pry bar and pliers, I pulled off the lid of the box and removed any nails.

Then I had a basic box to work with. You can use this tutorial to create a simple box if you don’t have one.
Instructions:
Cut upper handle supports out of 1×3 or other scraps. Clamp them inside the box.

Pre-drill holes and drive wood screws through the sides of the box and into the vertical supports.

Now it the time to finish the wooden caddy using your choice of paint or stain. (I like to create a rustic look using a relatively dry brush and by letting some of the wood grain show through your brush stokes.)

While the paint is drying, use a hack or coping saw to remove any bumps or burrs from your branch.

Measure the ends of your branch and select the spade bits that are closest in diameter to your branch (you want the holes to be equal to or wider than the branch.)

Drill a hole into each side of the vertical handle supports.

Insert the branch into the side of the caddy. You might have to experiment with which direction to install the branch.

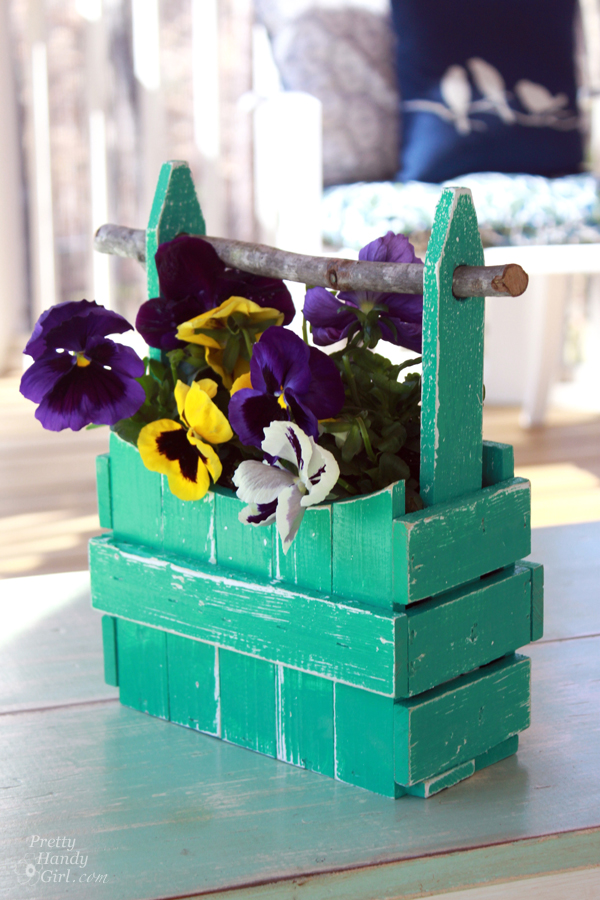
Fill some jars with flowers and set them inside the crate.

Set it out in a prominent spot in your home.

Enjoy your shabby chic crate, caddy, tool box, or whatever you like to call it.

Personally I can’t get enough of this branch handle:

I’m curious, would you have bought that little dusty box too?!
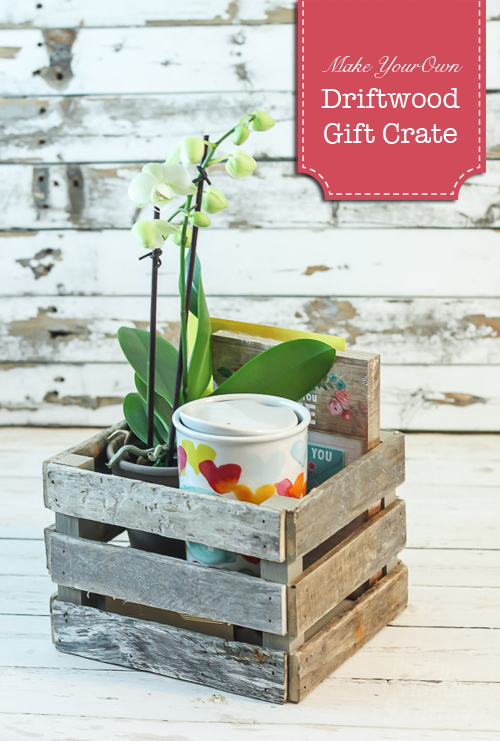
 If you liked this tutorial, you’ll love these other easy DIY Projects:


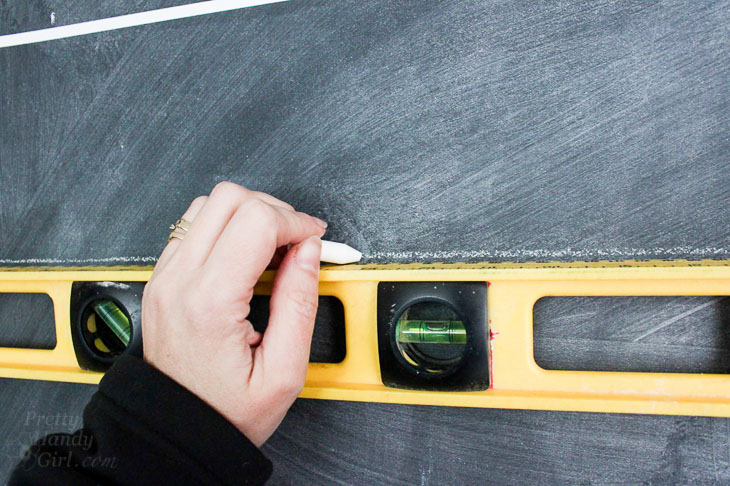
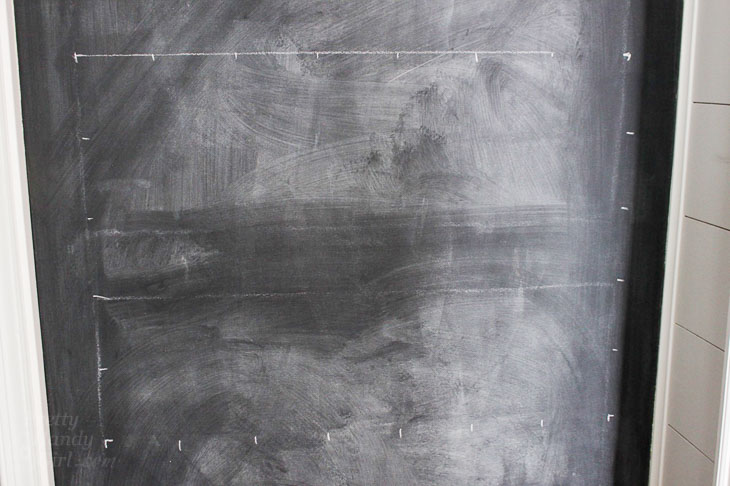
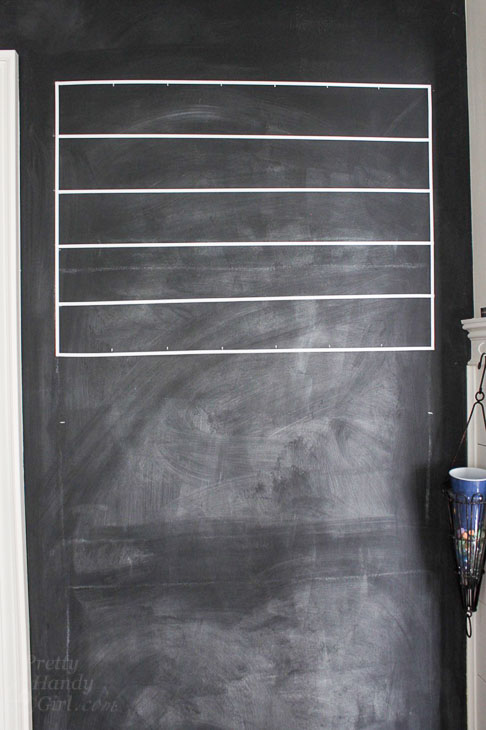
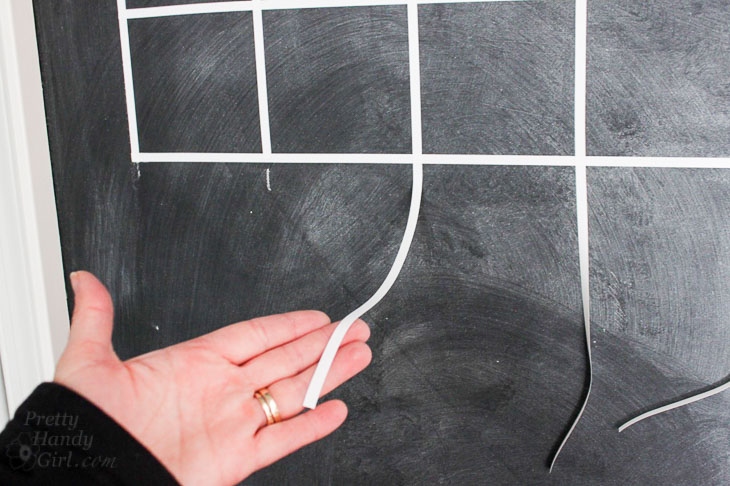
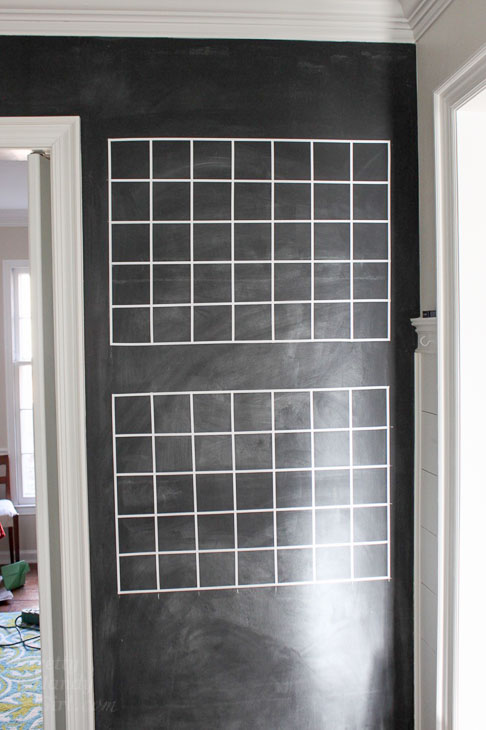
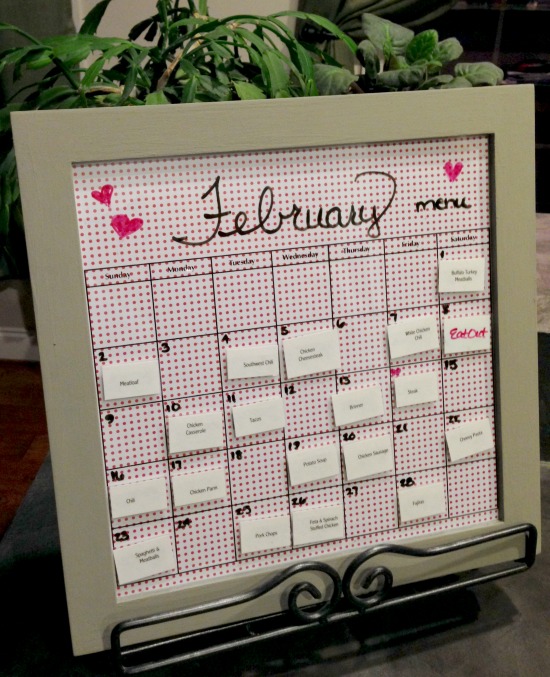
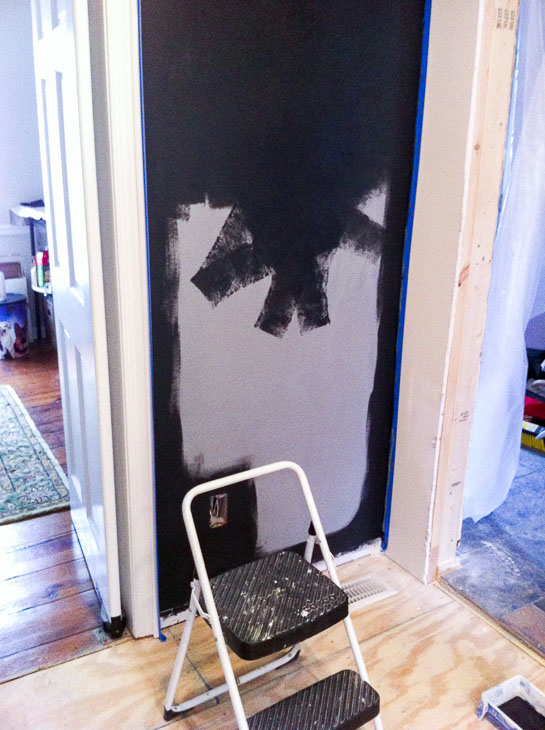
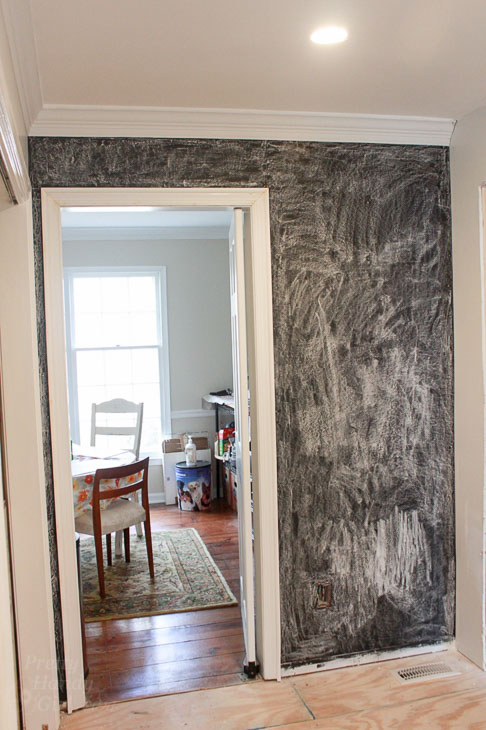
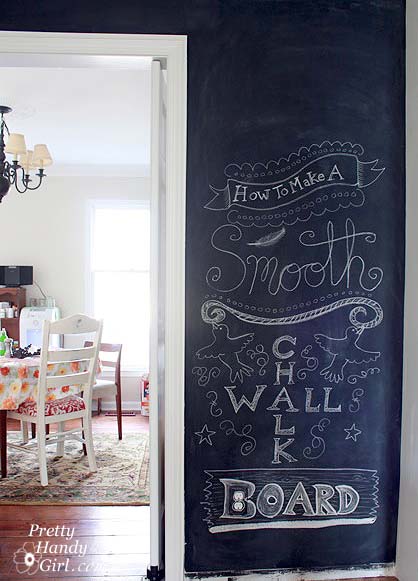
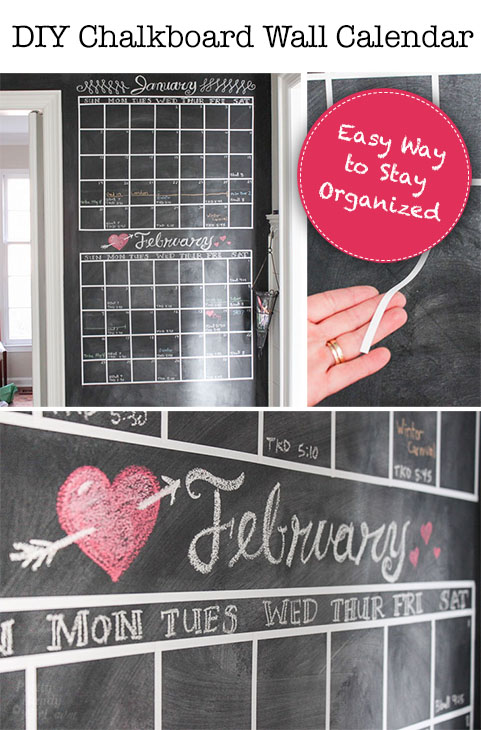 DIY Chalkboard Wall Calendar
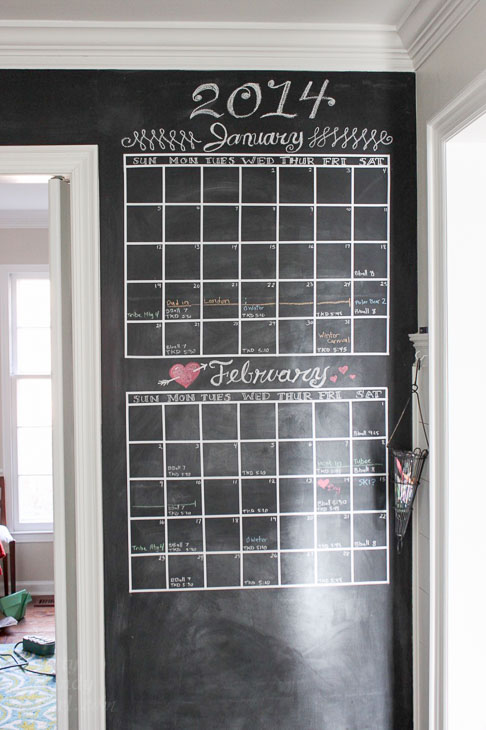


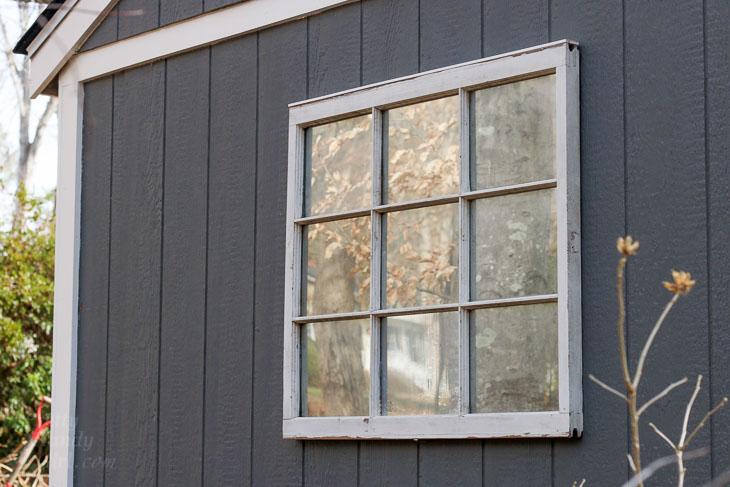
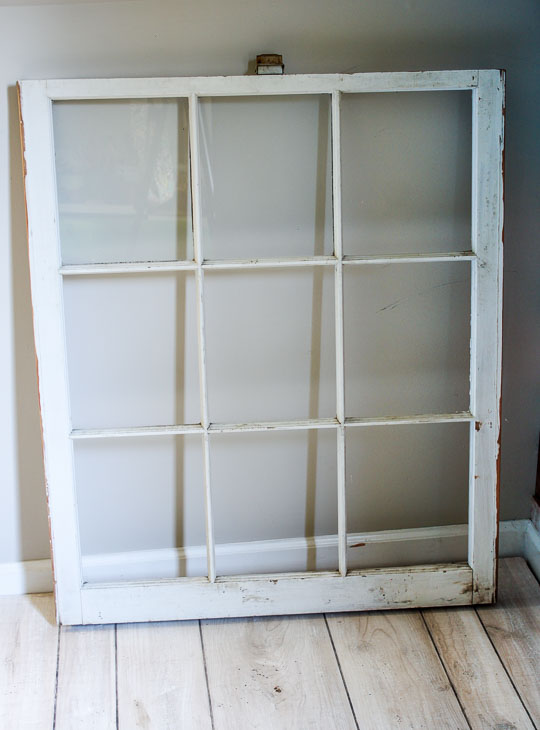
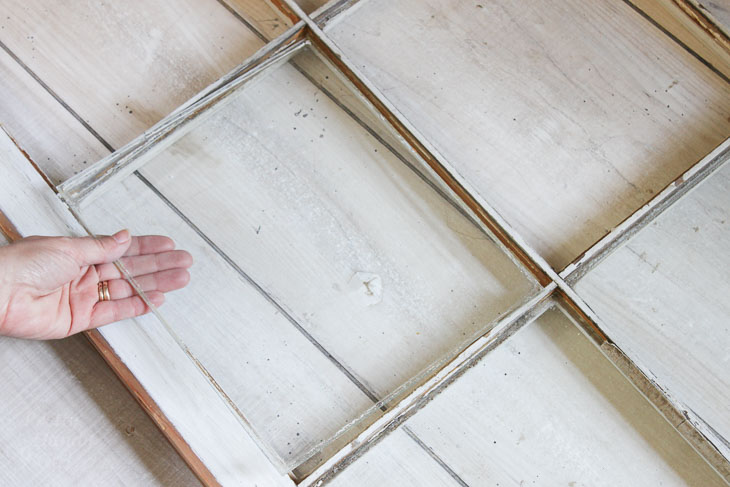
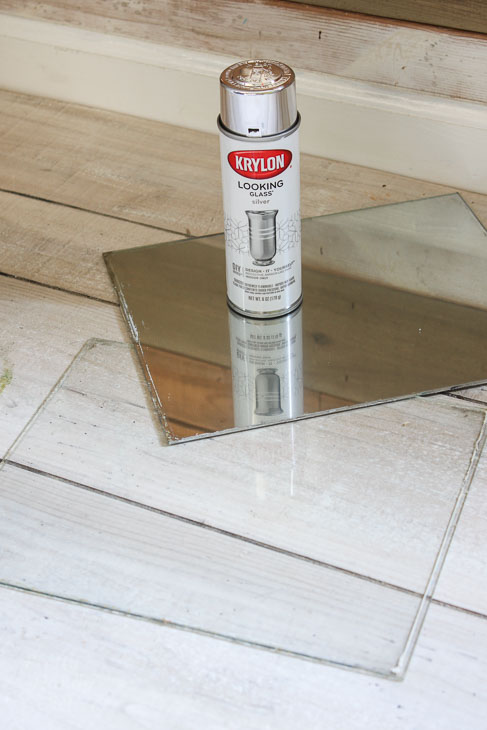
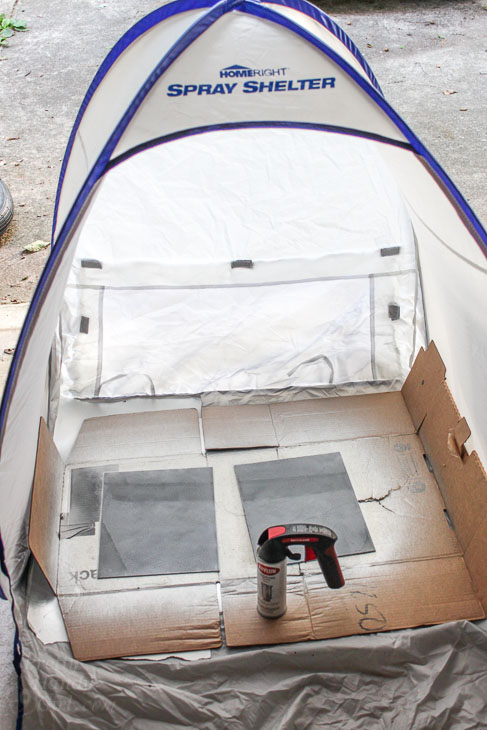
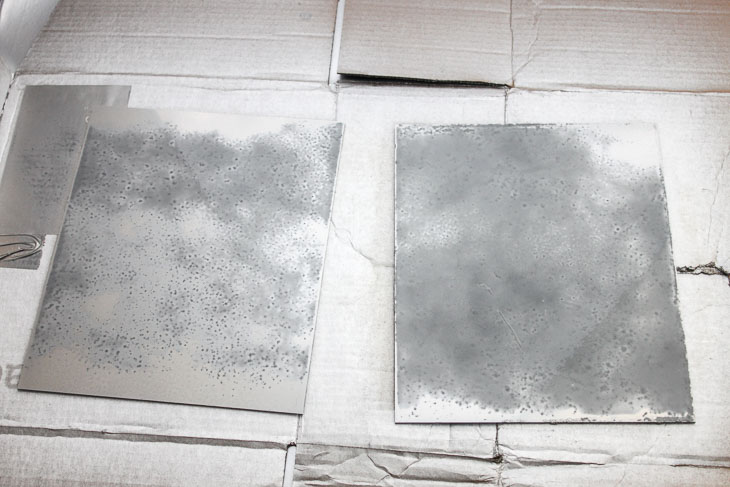
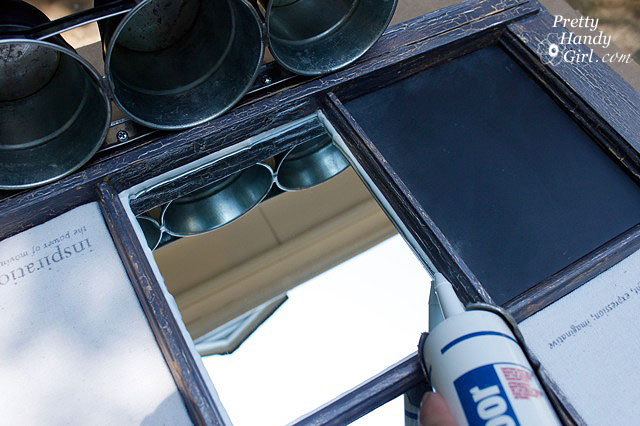
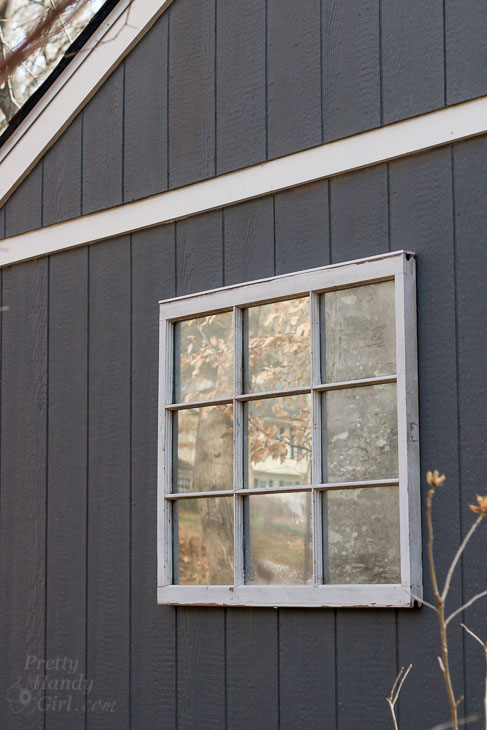
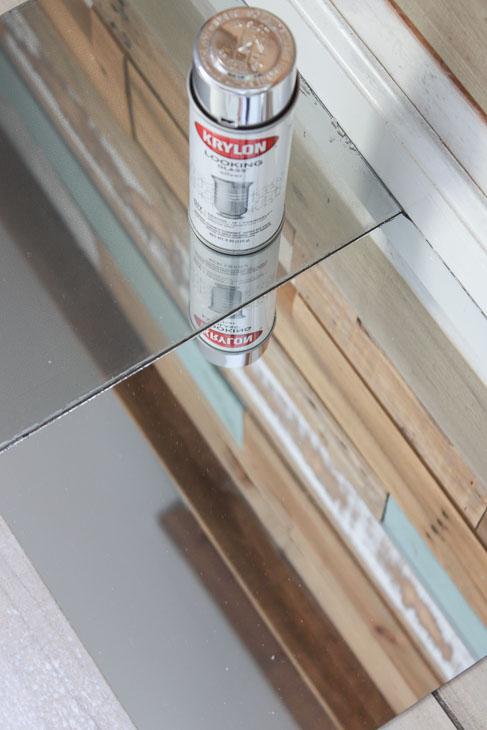
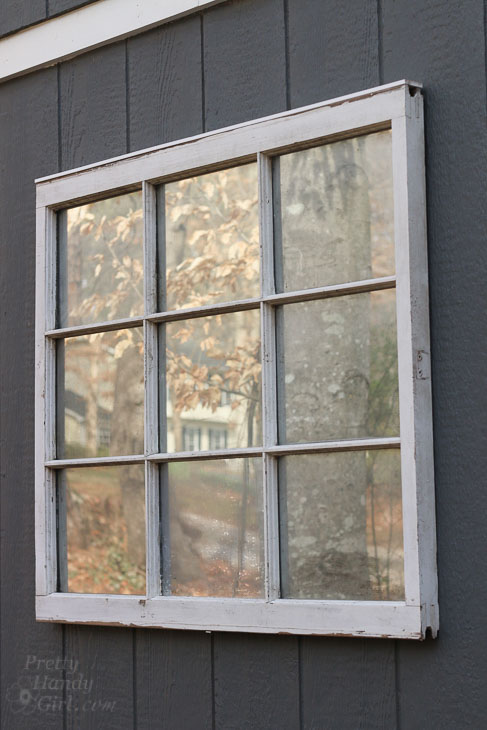
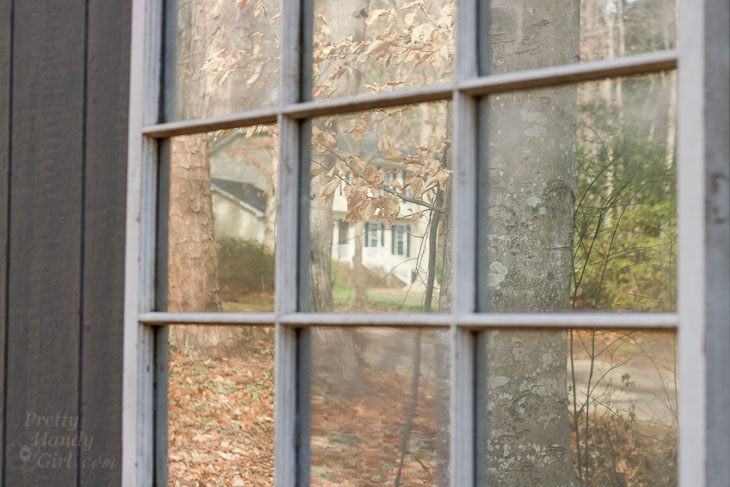
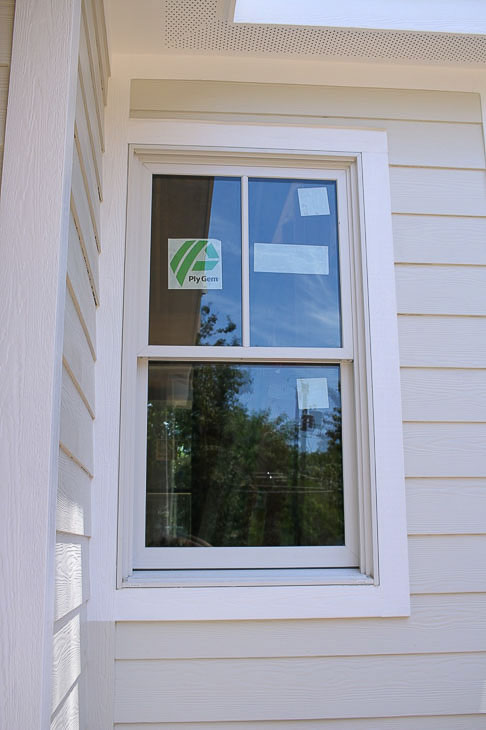
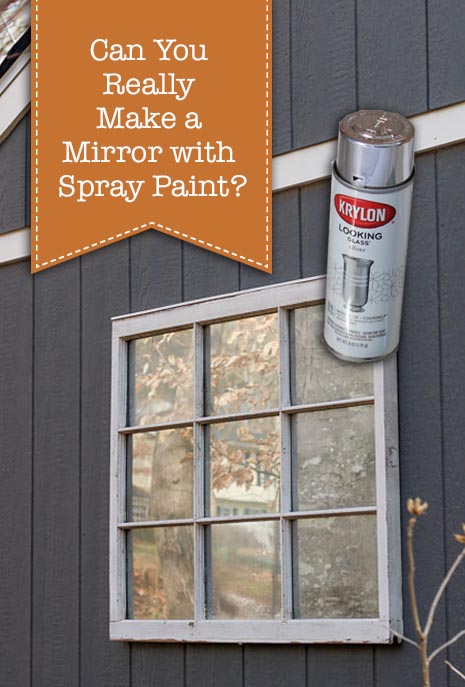 Can You REALLY Make a Mirrored Window with Spray Paint?