How to Make New Wood Look Old, Weathered and Rustic
I have a confession to make. All the wood that you saw on my art studio wall is not exactly old or salvaged. Will you forgive me if I share with you the Secret to Make New Wood Look Old, Weathered and Rustic?
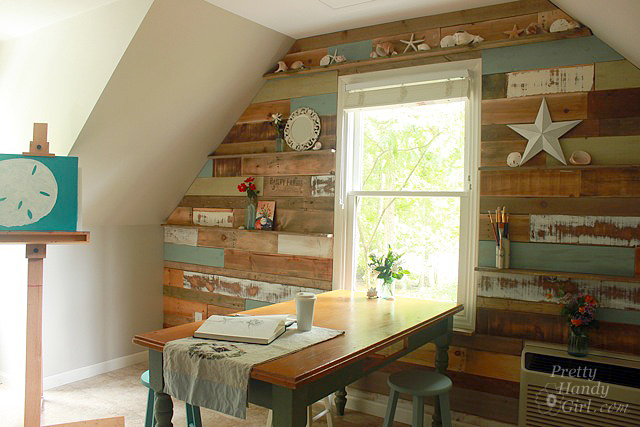
In order to have enough wood, I had to buy some new pine boards off the shelf at Lowe’s. I actually chose furring strip boards because they are already chewed up and imperfect.
But, I also grabbed a few other supplies:
Optional: General Finishes Flat Out Flat Top Coat to protect furniture.
(I’ve included affiliate links for your convenience. I earn a small percentage from a purchase using these links. There is no additional cost to you. You can read more about affiliate links here.)
The Secret of Weathered Boards:

Old rustic boards are gray and have enhanced grain and plenty of dings and character. Replicating that look can be tricky unless you have the right tools, glazes, and a few tricks up your sleeve.
I wrote another post about aging and antiquing that shares some other techniques, but today I’ll focus solely on making new lumber look old.
Weathered boards have a warm gray color. To create this color I stained the boards with Rustoleum sunbleached. Then wiped off the excess.

Next I added a little Minwax Early American and wiped it off.

The results are the blue-gray weathered look. For more dimension and detail try adding the glazing technique described below.

My Secret Rustic Glaze Formula:
UPDATE: Valspar stopped making the products I originally used. I’ve tried a lot of alternatives, and settled on General Finishes Van Dyke and Pitch Black glazes to get the same look. The good news is that you don’t need the additional clear mixing glaze.
There is nothing in this world more beautiful to me than rustic barn wood. Those dark chocolate timbers that look like they’ve been gathering dirt for decades are gorgeous in my eyes.
To fake this look I created a glaze that works wonders when wiped over new lumber.
Mix 2 parts Van Dyke glaze and 1 part Pitch Black glaze.
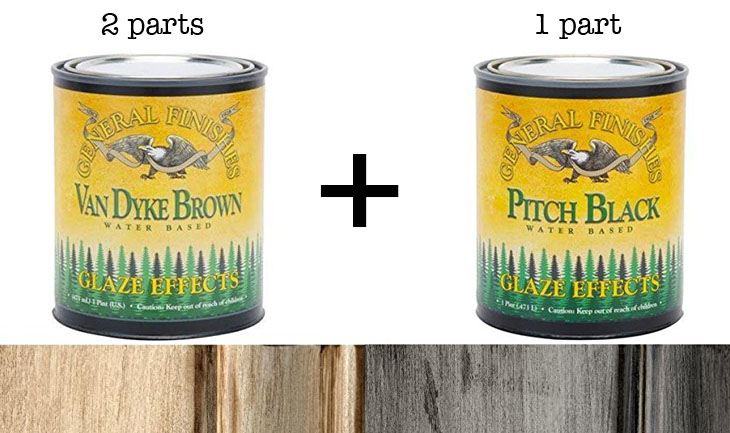
Mix thoroughly. The resulting color should be a very dark chocolate color. Adjust your color by adding more VanDyke or more Pitch Black.

Dip your flat brush into the glaze and drag it over the wood. The glaze really accentuates the grain in the wood.

Shake or tap the brush on a stick to give your lumber age freckles.

For more uniform color, brush the glaze over the entire board (don’t forget the ends of the wood.)

Rub the glaze into the wood and wipe off any excess.

Take a look at the difference:

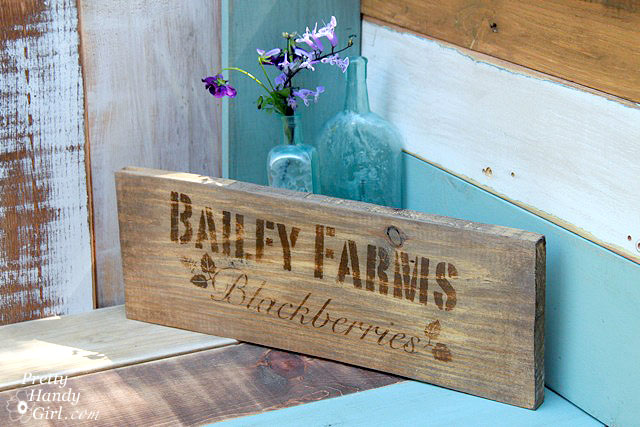
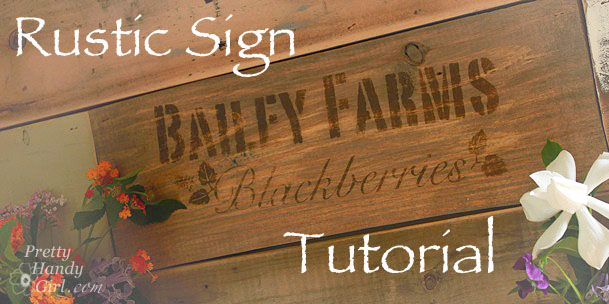
Not bad, did you know this farm crate sign is brand spankin’ new?

I hope I fooled you. Here’s the tutorial for making the farm crate sign.
In the meantime, have fun aging those new boards! I’d love to hear if you try these techniques and how they worked for you.