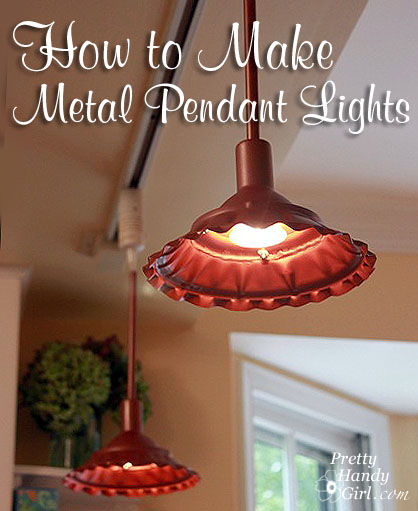
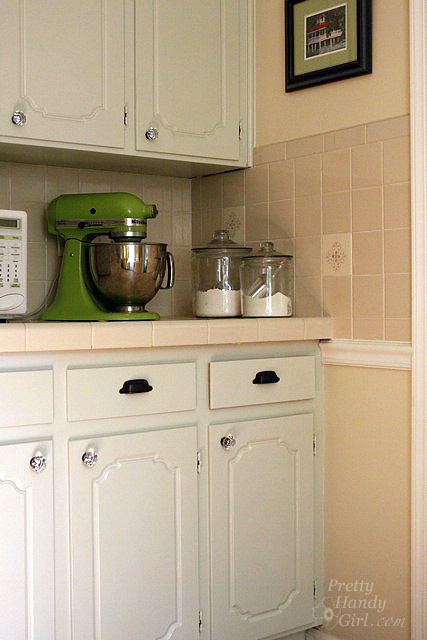
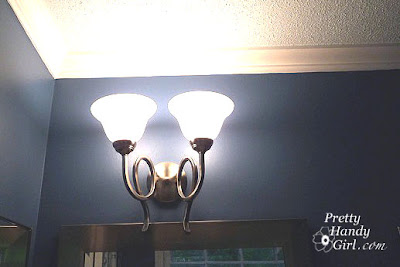
I admit it, I believe in UFOs. I’ve seen them, honestly! I even captured a picture of two of them, see:

Yup, we have two UFOs that are frequently seen in our kitchen. Why did I purchase and install them when we first moved in? I’ll never know. Don’t get me wrong, they aren’t horrible, but they just don’t go with the casual country vibe I want in my kitchen. Read more

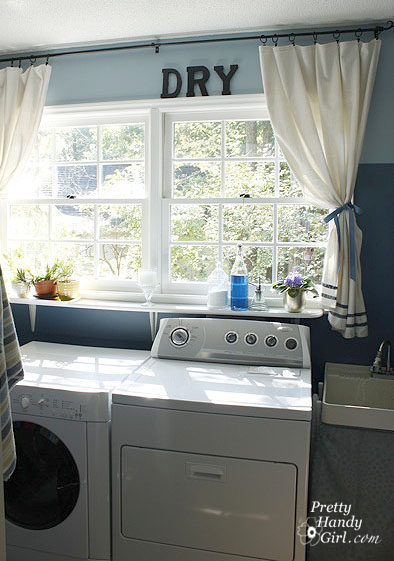
You know that beautiful laundry room I showed you last year? Yes, this one:

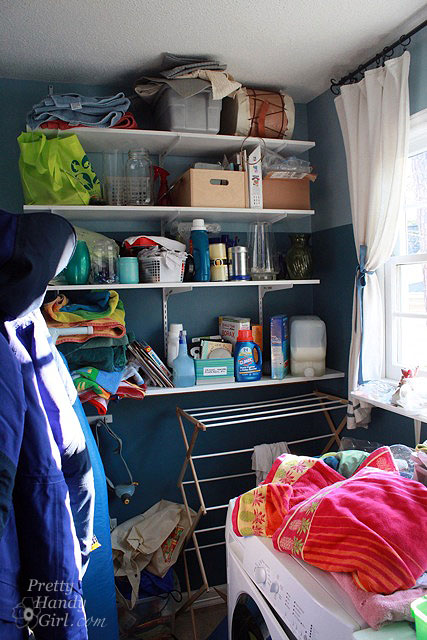
Well, it isn’t so pretty right now, and honestly I strategically didn’t photograph the ONE wall in the laundry room that isn’t….so….pretty. Can you blame me?!

But, that is all about to change! I’ve been working with a Flow Wall System representative to come up with a plan for my laundry room wall.

Flow Wall Garage and Home Storage Solutions

Within half an hour of sending him my measurements (of my laundry room, not my body measurements – LOL), he sent back multiple possible configurations for our room.

I can’t even begin to tell you how fantastic it is to turn over the planning to someone else for a change! Of course, being the planner that I am, I had to tape up a few paper templates to help visualize how they would work in my space.

The Flow Wall System looks like it is going to be a snap to install (and I will definitely let you know for sure!) Here is a short 60 second video to show you a little more about Flow Wall System:

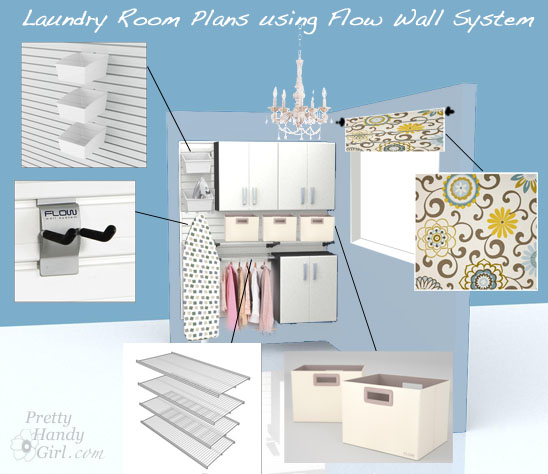
Here are my beautiful plans for the laundry room using the Flow Wall System sketches as inspiration.

1. Flow Wall medium wall mounted storage bins to hold the iron and ironing supplies

2. Flow Wall small storage hook to hang ironing board on

3. Flow Wall white coated wire shelves for extra storage and drying clothes

4. Flow Wall jumbo decor bins in cream to corral detergents, spot cleaners, etc

5. Waverly Pom Pom Play Spa fabric for a faux roman shade

6. Spray painted brass chandelier inspired by Modern Parsonage

7. Flow Wall cabinets to hide my unsightly mess

What do you think? Do you like the design? I’m probably going to scrape the ceilings and repaint in there too. The exact wall color will have to wait until I get the fabric. I’m particular about color like that. More on my color snobbishness next week. Until then, I hope you have a great weekend.

Disclosure: This is a sponsored post for Flow Wall Systems. I have been compensated for my time and will be receiving some complimentary products. However, the ideas and words are all my own. I was not told what to write or what products to write about. I believe you have the right to know when a post is sponsored. Regardless of whether a post is sponsored or not, I believe in honesty, truthfulness, and complete transparency in my posts.

Today you have been invited to take a house tour at my friend Holly’s home. Holly is a good friend of mine, so luckily I didn’t have to beg too much for her to let us into her home. But, before we go in I want to tell you a little more about her. She wears many hats. She is a wife and mother of two boys first and foremost. But, she also runs Storywood Designs, a furniture refinishing business and Framed by Storywood, her Etsy Shop. She has a wonderful eye for color and design (which is evident in her furniture pieces and home décor.) When I first walked into her home, I knew I could live there and not have to change a thing.

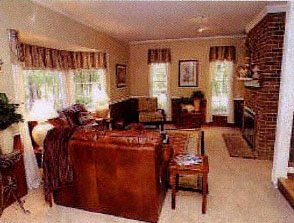
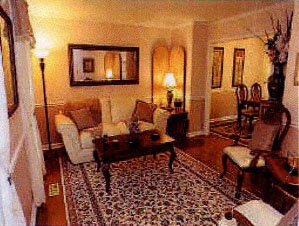
Holly and her husband bought their 1980 home a few years ago. There were plenty of touches from previous owners that she worked with or covered in a creative way. I scanned the real estate flyer (sorry about the quality) to give you an idea what their house looked like when they bought it. The changes they made are phenomenal and yet they didn’t break the bank to do it.

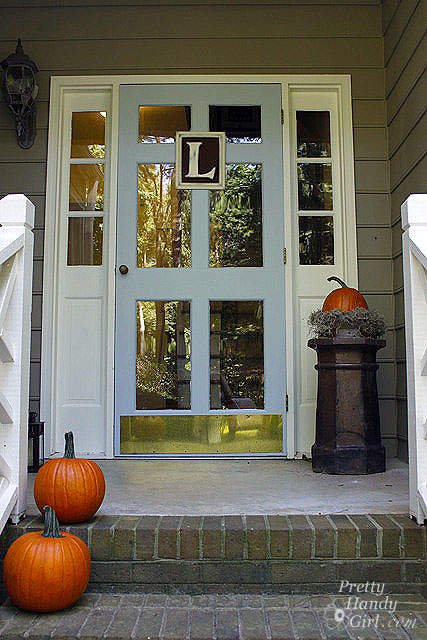
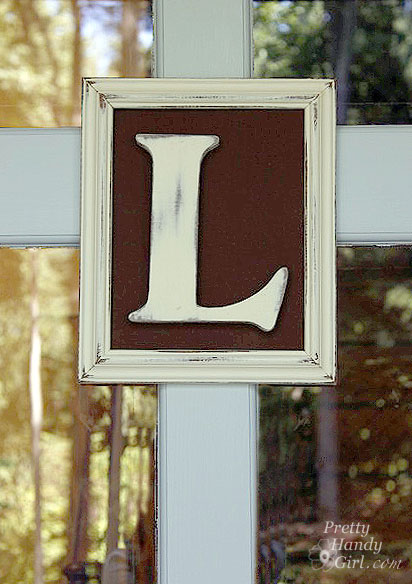
Are you ready for the tour? Wipe your feet and come on it. Do you like the initial on her door?

She sells them in her Etsy shop!

Here we are in the living room, but this is what the room looked like a mere 3 yrs. ago:

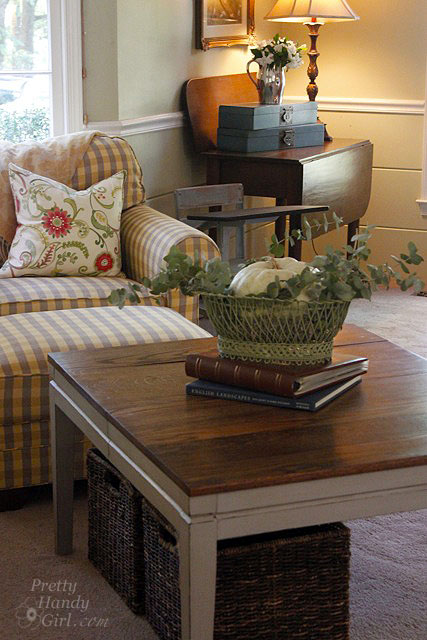
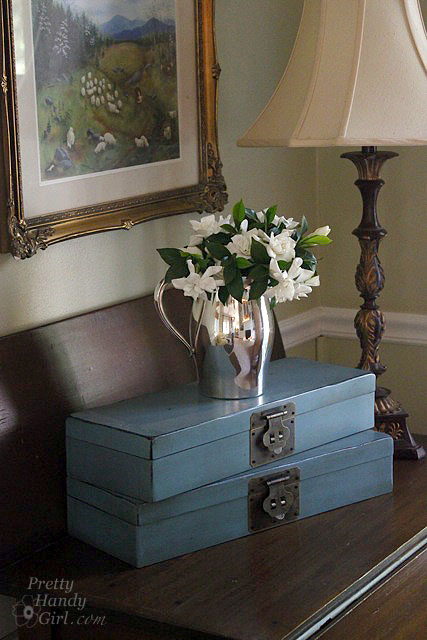
And here is the living room today!

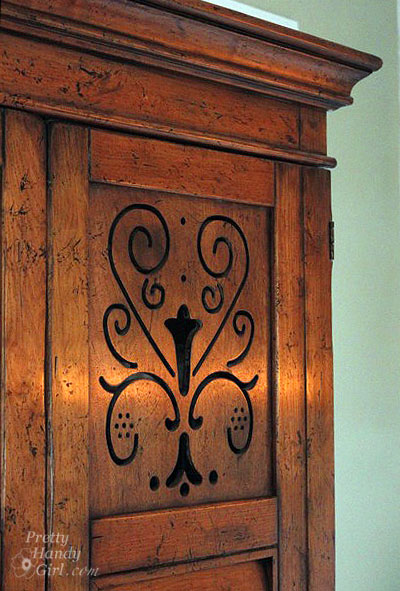
I know armoires are starting to go out of style, but this one is gorgeous with the cut out panels! If she ever tries to get rid of it, I’m grabbing it!

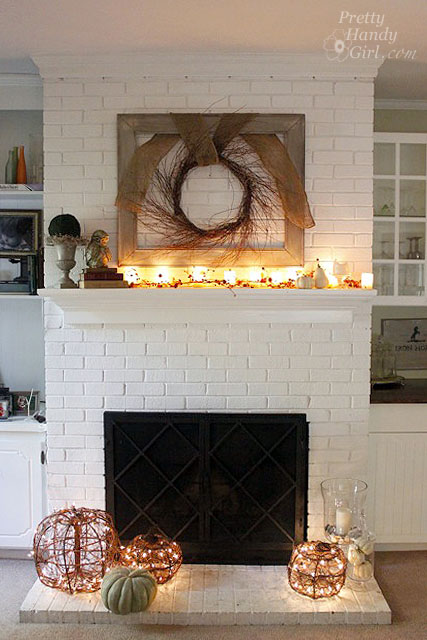
They painted the fireplace white and it really brightens up the room. See, I can appreciate a painted white fireplace, even though I repainted ours to look like brick.


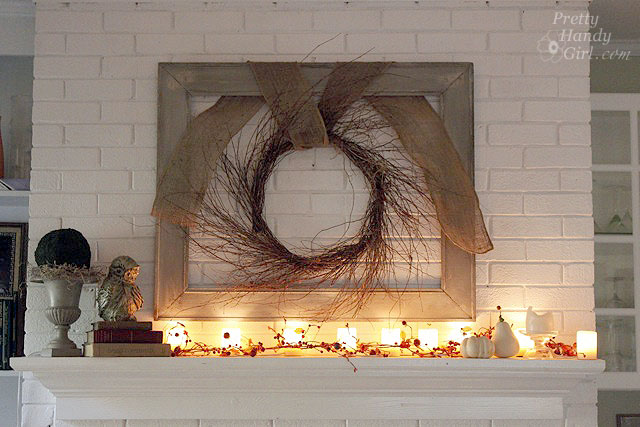
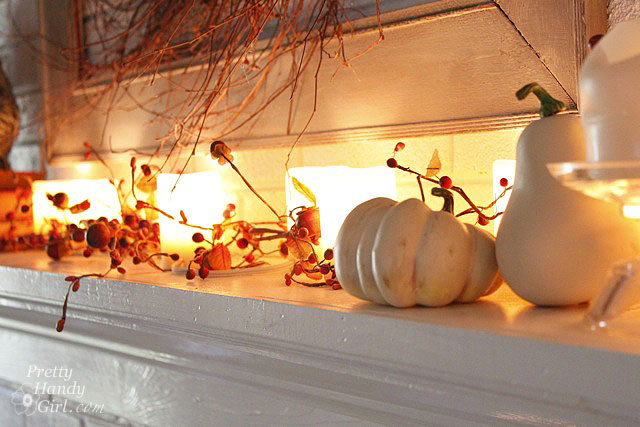
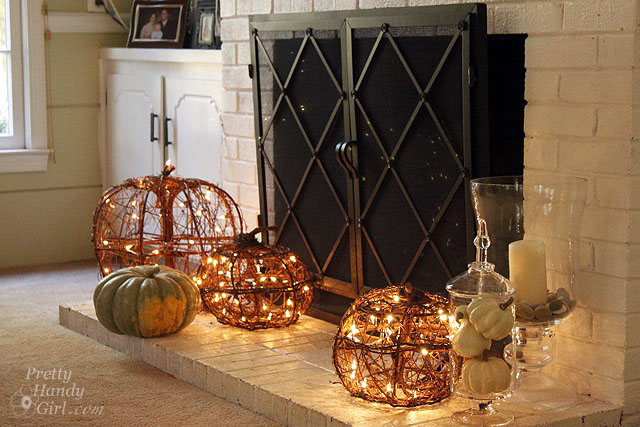
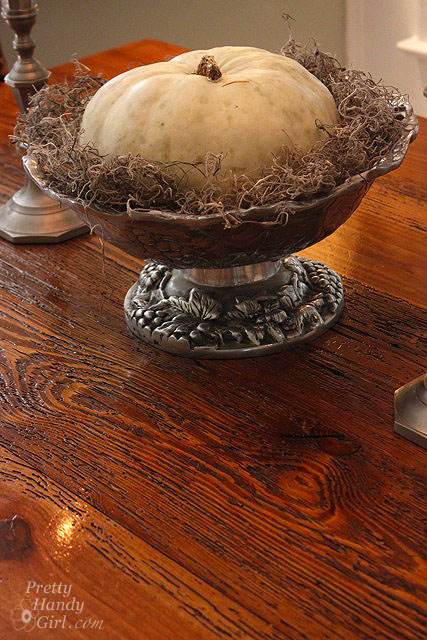
I love all her fall décor. Especially the lit pumpkins on the hearth.


Beside the fireplace are sweet built-in cupboards and cabinets with wood countertops. It adds charm to the small niche.


Now we make our way into her kitchen  — my favorite room and the most stunning transformation. This was the kitchen before:


Get ready to catch your jaw before it hits the floor.


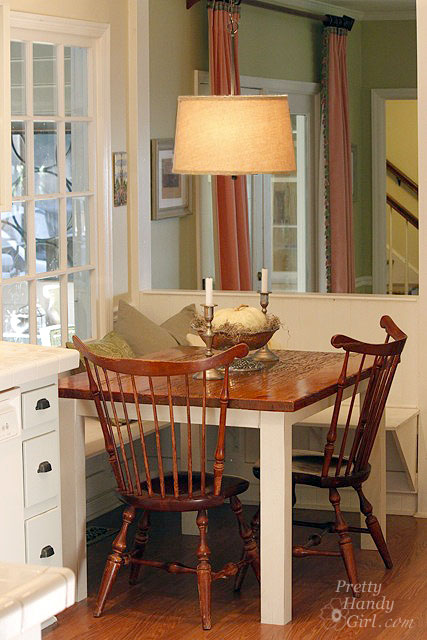
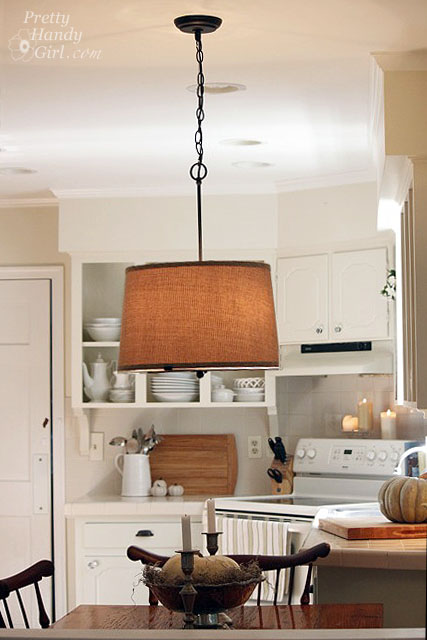
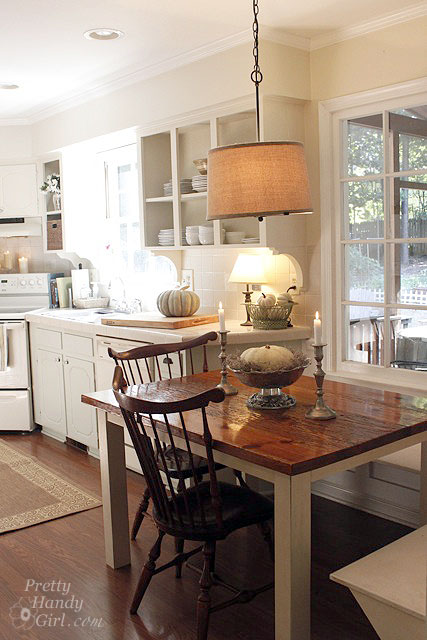
The pendant light adds lots of warmth and texture to the space.


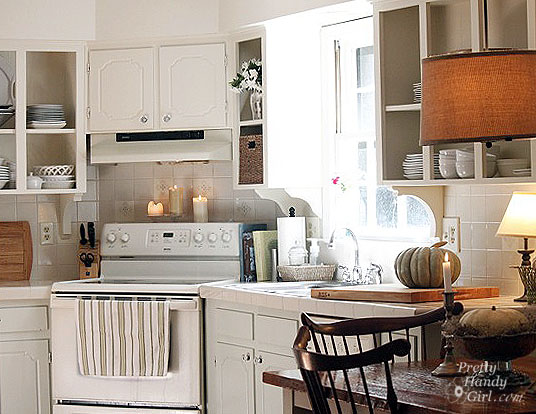
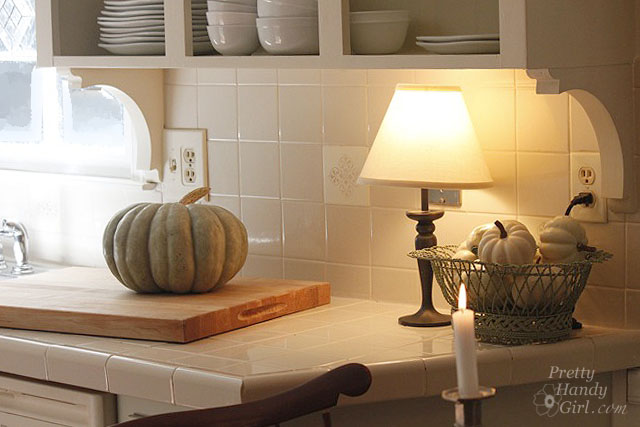
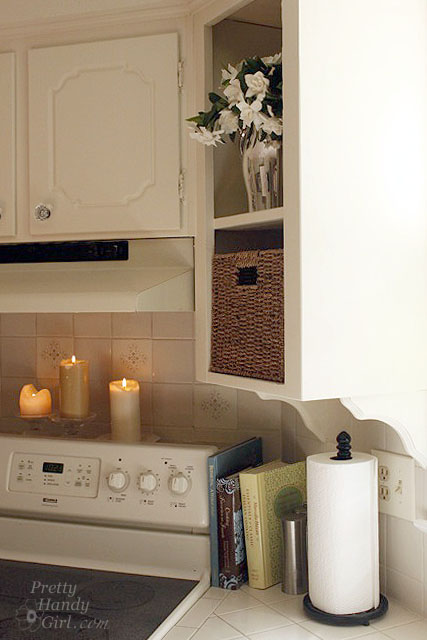
Adding corbels under the upper cabinets was a genius idea for adding instant charm. I am itching to do the same thing to our kitchen cabinets. When I do, you can be sure I’ll share a tutorial.


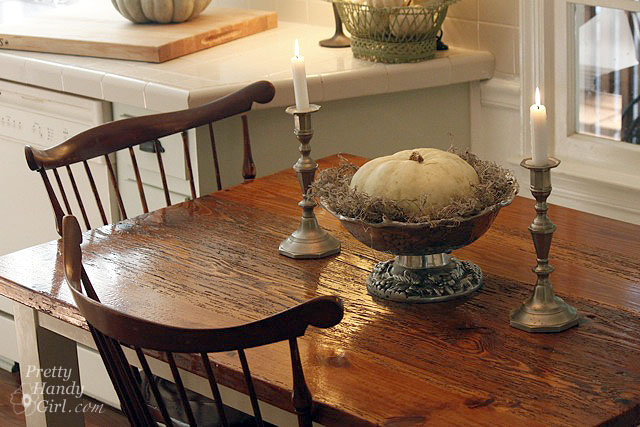
Holly and her husband made the kitchen table. The wood was whistling for my attention the entire time I was photographing the kitchen. And with lines like this, how could I help but stare?


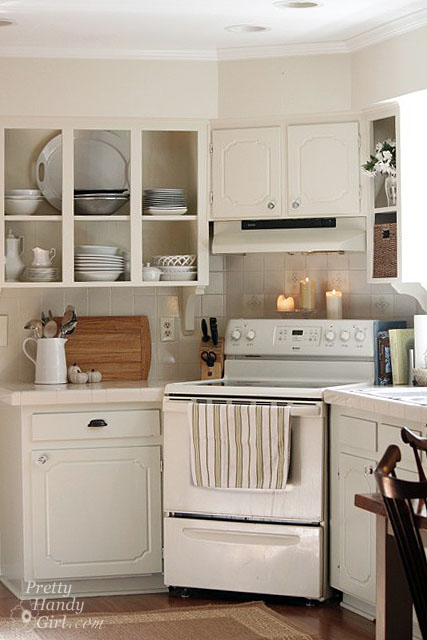
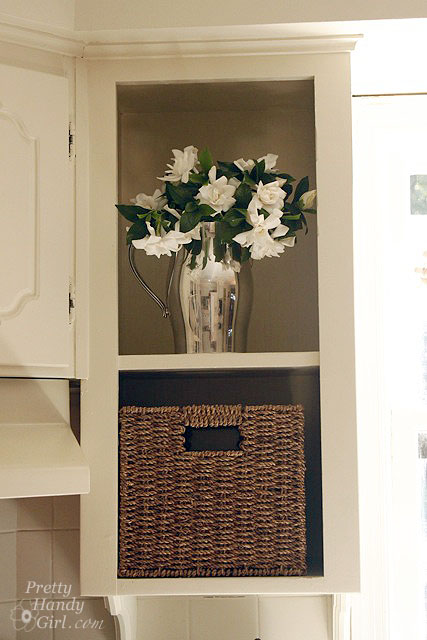
By removing many of the upper cabinet doors they made the kitchen feel larger and more airy.


Did you see those little decorative tiles? Would you believe that they had hideous country scenes before. Holly simply painted over the scenes and added a stencil! What a smart idea!


Just in case you wondered (because I definitely wanted to know), the base cabinets got a coat of white sage paint by Olympic. (Holly says that Olympic discontinued the color so Lowe’s had to custom mix it in their kitchen and bath enamel paint.) The top cabinets and walls are painted Benjamin Moore Lancaster White.


Setting out a little lamp adds some warmth to this corner of the kitchen.


The breakfast area has built-in benchs on two sides. The pillows make the space feel cozy.


One of Holly’s frames turned into a chalkboard:


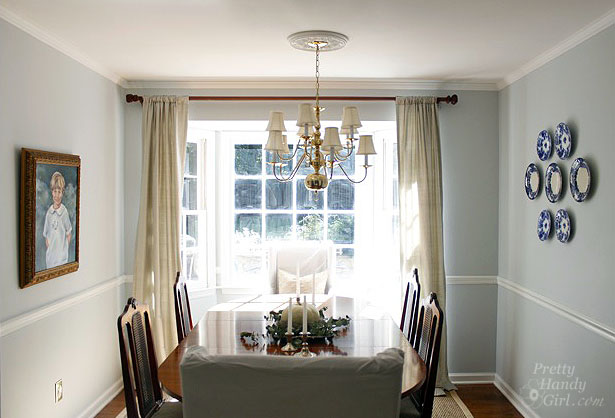
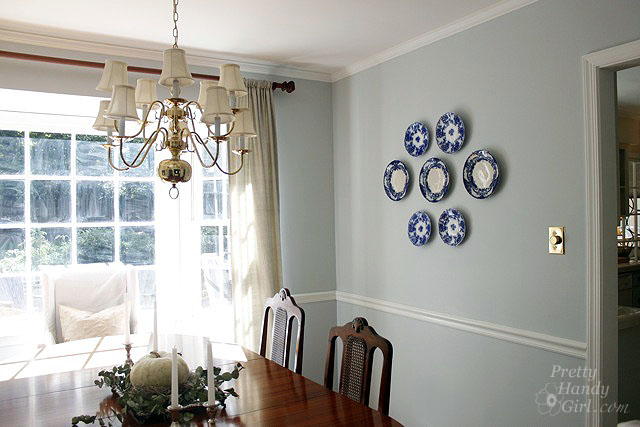
Okay, right this way to the dining room.


I really want to display my blue and white china like she has done on this wall.


Adjacent to the dining room is her sitting room. Here is the before picture of that room:


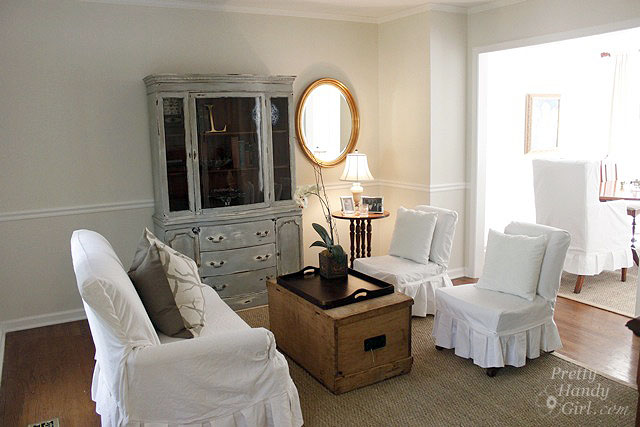
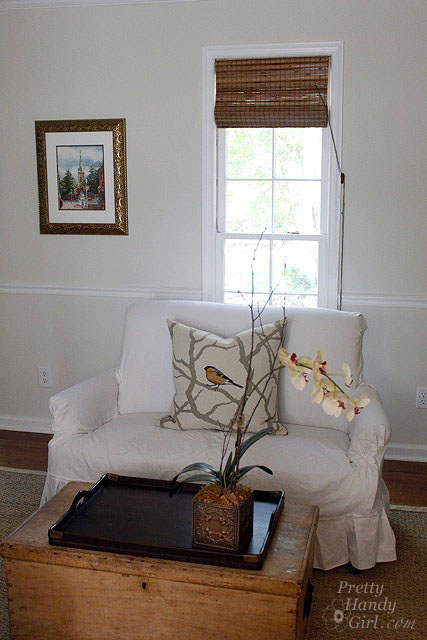
She and I (well mostly Holly) just repainted the room a very neutral gray. I can’t believe what a big difference it made.


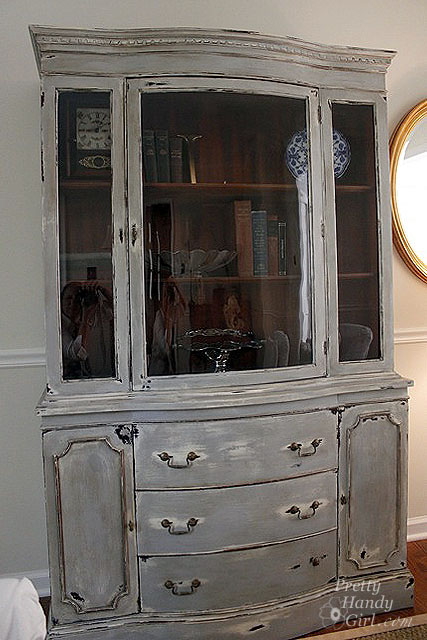
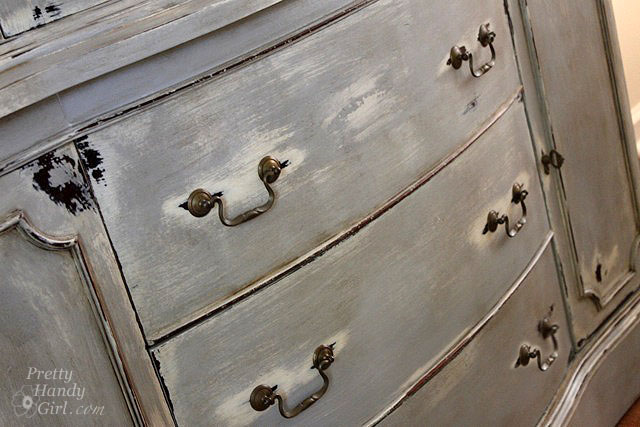
The china cabinet is a recent refinishing project that Holly just completed. The distressing on this piece is perfect!


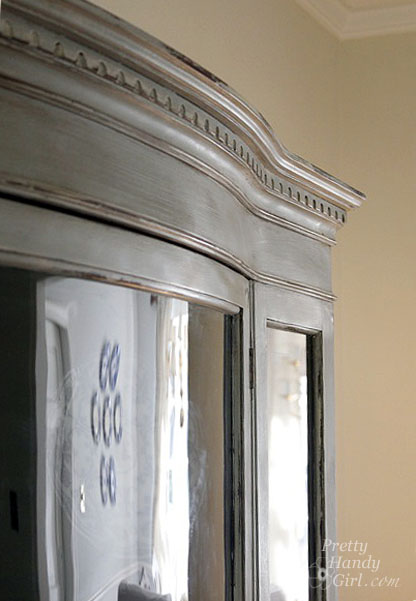
Check out those layers of paint and glaze. Scrumptious!


And the bowed front and curved glass make this cabinet unique.


Speaking of distressing, here is another one of Holly’s tables that she refinished. This little table would make a perfect breakfast table or just a side table. It is for sale right now!

I’m jealous of her talent. Maybe I can convince her to take me as her understudy.


Thank you Holly and family for letting us tour your home. Your hard work really shows in your beautiful home.

Earlier in the “Falling in Love with Your Home”series, we talked about increasing natural light. Today I will be expanding on the topic, but this time I’m talking about the man-made type of lighting!

As I mentioned in my previous post, in the quest to fall in love with our home, we have painted almost every room in our home, but I have also replaced almost all of the light fixtures as well!

There is no excuse for putting up with dated, dim, or just plain ugly light fixtures! (Although, I will accept “but, I have 25 foot ceilings” as an excuse.)

I know that sounds like it would cost a fortune, but honestly the average cost I’ve paid per light fixture is $30. I’ve paid as little as $5 and at most I paid $125 for the drum shade pendant in my office.

My sources for lighting are: Craig’s List, Habitat ReStore, Overstock.com, eBay and friends! A new source you might also try is DiggersList.com, it is kind of like a Craig’s List for building supplies.

One day’s haul from the Habitat ReStore!
$20 Semi-flush light fixture from Craig’s List.

And, you do not to spend money hiring an electrician. Removing and rewiring a light fixture should not stop you “Dead in Your Tracks.” Sorry, bad pun, I know. But, seriously, it isn’t rocket science. As long as you are safe and Turn Off the power (flip the circuit breaker) that your fixture is on, you should be able to replace your own light fixture.

Here is a good instructional video for replacing a ceiling light fixture:


Note: They mention you will need a helper in the video. I’ve only needed help when removing a heavy fixture (for example a ceiling fan.)

Still a little scared? Well, think of it this way, all you are doing is unscrewing screws, paying attention to how the light that you are removing is installed. Then repeat the same set up when installing the new. Easy peasy. Oh, and I don’t use the circuit tester (although I should). I turn the light on before I flip the circuit breaker. That way I can see when it is off.

To view another tutorial from Pretty Handy Girl for replacing wall mounted fixtures, CLICK HERE.

Now let the lighting parade begin:

In our foyer I wanted an open glass hanging fixture to light up the small space.

Before: Foyer Brass Light

But, I hated the brass light so much that I settled on a Costco semi-flush light that I paid $45 for.

Interim Foyer Light

Little did I know that I would find the perfect fixture a year later at our Habitat ReStore. A little Oil Rubbed Bronze spray paint and I was in love with my new foyer light.

$10 Spray-painted Habitat Light Fixture. Tutorial HERE

We have all seen the hideous Hollywood style strip lights in a bathroom. That is exactly what we had in our master bathroom. I ended up finding this temporary fixture on Craig’s List.

Brushed Nickel wall mounted sconce from Craig’s List.

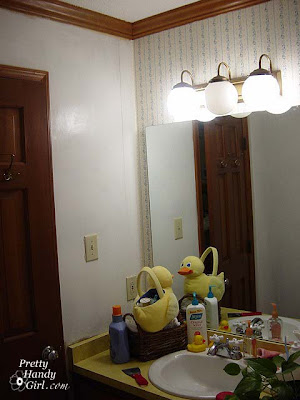
You have to love to hate this dated 1970’s fixture. Antique Brass and globes as big as duckpin bowling balls make for an interesting bathroom fixture.

An inexpensive wall mounted light fixture from Lowe’s really brought this bathroom into this decade (not to mention some paint and other updates. Details HERE.)
This shiny brass chandelier was the last of our light fixtures to be converted. I knew what I wanted here, but couldn’t find an affordable black chandelier.
Before: Dining Room Shiny Brass Chandelier
As luck would have it, I saw this baby hanging from a friend’s ceiling and remarked how much I liked it. Right there and then he told me I could have it. I’m only kicking myself for not installing it months sooner!
After: Black Chandelier
(FREE because it wasn’t a friend’s style! I know – seriously – don’t hate me.
Because I would if your friend gave it to you for free!)

When we moved into our home, the light fixture over the kitchen table was a dim 60 watt bulb fixture that really left me craving more light.

Before: Kitchen Brass & Glass Pendant Light

Okay, I really hesitated to post this next picture, but I refuse to hide any of my flaws from y’all. Well okay, maybe just a few.

I bought this light fixture off of Craig’s List hoping to improve the light on our table. BIG MISTAKE! It was such a harsh and direct light that I turned around and sold it a month later.

Interim Light: Modern Glass & Brushed Nickel.
“Ummm, Mr. Spielberg, I have something you might be interested to see in my kitchen.”
WHAT WAS I THINKING?

A few keystrokes on the keyboard brought me to this little gem for our kitchen. I just love the quaintness of this light fixture that I found on Overstock.com. Small, whimsical, yet not too cutesy. To center the chandelier over our kitchen table, I installed a ceiling toggle style hook and sewed a swag cover to hide the chain.

After: Rustic Bronze and Silver Leaf Chandelier $65 from Overstock.com

Chandeliers aren’t just for your dining areas. I’ve seen them in laundry rooms, bedrooms, and even mudrooms!

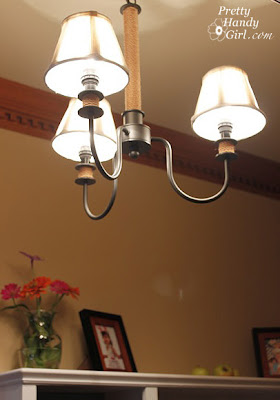
Black iron & rope 3-arm Chandelier.
Renee’s $10 Habitat ReStore light that we installed in her mudroom.

Don’t neglect your exterior lighting. These wall mounted lights were so small and looked very weathered.

Before: Dirty Brass & Shiny Black Exterior Lights

I finally found some beautiful old world lanterns at Lowe’s for $24 each! SCORE!

After: Copper Wall Mounted Exterior Lights. Installation Tutorial HERE.

Light fixtures don’t have to be hard wired. Some ambient lighting in our home comes from plug-in style lighting. Like these pendant lamps I made from minnow (fish) traps:

They started life as a $5 fisherman’s trap.
And now they have a new life on our screened porch.
$3 Thrift Store Lantern retrofitted with a plug in light kit.
Perfect for reading stories in Pretty Handsome Son #1’s bed.

I saved my favorite light for last. This star light hangs in our upstair’s hallway. The light is on a timer and gives off just enough illumnation for our little late night sleepwalkers.
Paper star light plugs into nearby outlet and is set on a timer.

So how about your home? Do you have any light fixtures you detest? Have you scoured Craig’s List? Be sure to check weekly for new postings.

I’ve been super busy this weekend finishing up some projects. I’m very excited and can’t wait to show you some of them.

However, because several of them are tutorials (which take a little longer to write up), I decided to share with you a guest bathroom makeover from our old house.

This poor bathroom had an identity crisis.

With its 1970’s light fixture, 
 
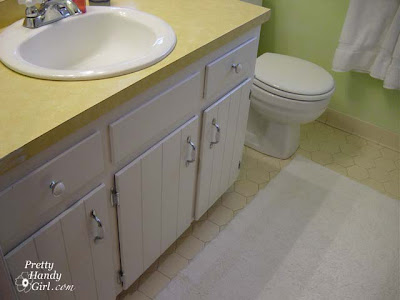
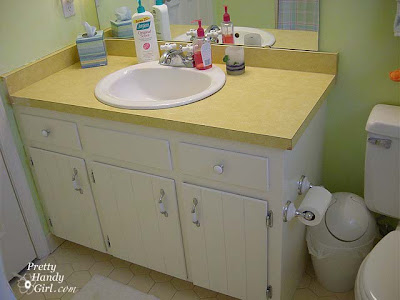
Harvest gold laminate counter top and dark wood vanity,
 
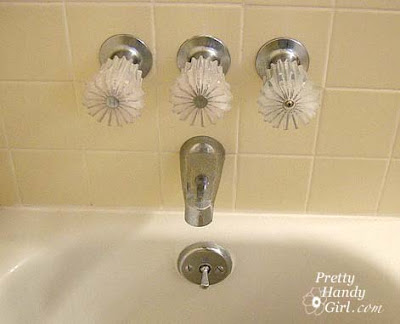
Sunburst shaped handles that hurt your hands to use them,


and Laura Ashley style wallpaper.

The first thing we did was strip the wallpaper in this room. If you have never stripped wallpaper, there are two types of wall paper stripping projects. The easy ones and the hard ones! Luckily we had an easy one.

Awww, doesn’t Pretty Handsome Guy look happy?!  

The walls had been primed before the wallpaper was attached (as opposed to gluing the wallpaper on top of the drywall (or sheetrock as some people call it.)
Forget the steamer, forget the chemicals, we used these tools:

  • Cheap, cheap, cheap pink fabric softener mixed 1:1 with water
  • Spray Bottle to pour your fabric softener mixture in
  • Paper Tiger or wall scoring tool
  • Wallpaper scraper – We really liked the Piranha shaver since it has a razor sharp blade
  • Or Wallpaper Trim Tool

You start by scoring the wall with the Paper Tiger or similar tool. The more holes the better, so put on some dancing music and get busy.

Then you spray the walls with your fabric softener mixture. Really saturate them! Wait 15 minutes, then spray them again. Now, use your scraper to start peeling. I truly hope your sheets come off in nice big sheets like ours did. If not, you may have to have your walls re-skimmed with spackle or joint compound.

Or, I hate to mention this, but you could paint over the wallpaper. We have two rooms in our current home that this was done in (we know for a fact that the wallpaper was glued to the drywall without priming first.) If you take this route, I want to let you in on two secrets:

  1. Use an eggshell or satin finish paint (it will not show the edges or imperfections as easily.)
  2. Take the time to make sure all the wallpaper seams are glued down and then spread some joint compound or spackle over the seams and sand it smooth. This will get rid of the tell-tale seam lines when you paint over wallpaper.

After you have removed all the wallpaper you need to wash your walls really well to remove the glue. We saturated the walls again with the fabric softener and then cleaned it off. Finally, we used TSP cleaner (available at any home improvement or hardware store) to get the walls perfectly cleaned.

Then I painted the walls a bright Nickelodeon slime green. I kid you not, but I didn’t take a picture of it in that state. My friends thought I had flown the cuckoo’s nest. But, I went back with a creamy lemon glaze and ragged it on top. The result was a beautiful lime sherbert color (perfect for a little boy or girl’s bathroom.)

Next, the light fixture had to go, and it went quickly!

 I replaced it with a four light chrome fixture.
Then, I had to paint over that ugly vanity cabinet:
 
Now that is looking better! I added new chrome/porcelain pulls.

But, that harvest gold vanity would not stop shouting “groovy dude” whenever I saw it. So, it had to go too. Unfortunately, we were on a limited budget, so I had to get creative.

 
I fixed the chipped corner and seams with wood putty.
Then I sanded and primed the countertop with Zinser Oil based primer
(A necessity to get the  surface prepped with a super adhesion coat of primer)
so I could do this:
 
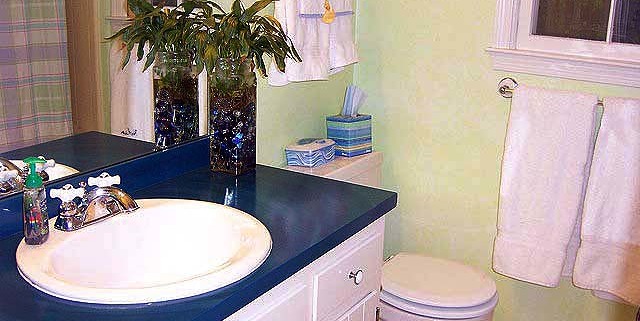
 Beautiful blue water reflections
I painted the vanity top and then added five coats of polyurethane to seal it. I recently had the opportunity to visit our old house and couldn’t wait to see how the vanity top held up over the years. It really held up better than I expected. There was some slight chipping where the back of the sink met the back splash. I should say that our neighborhood has very hard water and this is where the splashed water would hide and sit. So, for the cost of paint, we had a new vanity top that has held up to use for over three years so far.
 
So, are you ready to see the final reveal? Here it is:
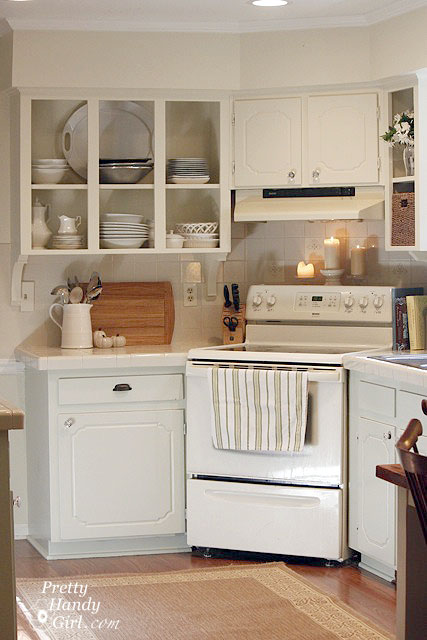
Before: 
After: 
In case you are wondering what ever happened to those sunburst tub faucet handles:
Yes, that is me, installing new valve stems at 8.5 months of pregnant bloated-ness. 
That was also THE day I went into labor!
Anyone else have some crazy last minute pregnancy stories?