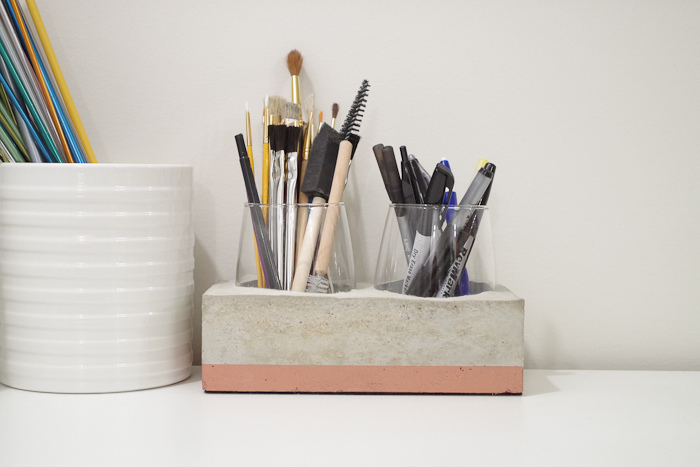
DIY Concrete Desk Organizer- finished photo horizontal

DIY Concrete Desk Organizer

Hi! It’s Sheri from Hazel + Gold, and I’m excited to share this DIY Concrete Desk Organizer tutorial with you! This organizer was born from necessity.  Do you have a jar or cup-like pen holder? Have you ever knocked it over reaching for a pen or pencil? I did this all the time!
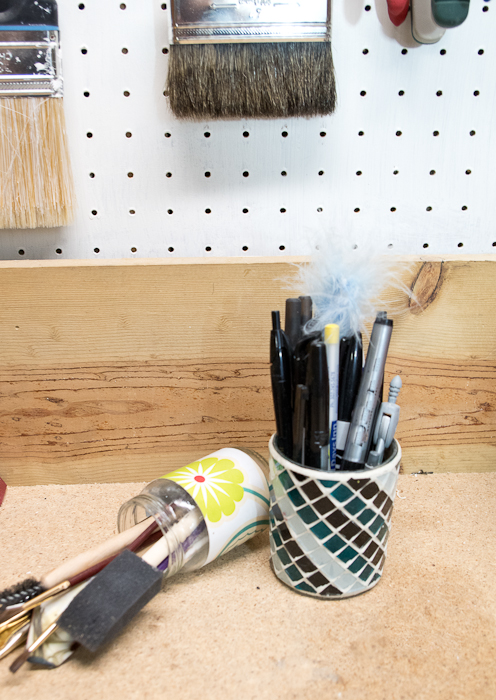
DIY Concrete Desk Organizer- old pen jar tips over

One reason they tip is because they aren’t big enough to hold all my items. The other reason is these containers aren’t weighted enough. I knew there must be a better way and I’ve been itching to use concrete for a project. It dawned on me I should make something out of concrete to store my pens, pencils, and paintbrushes. Fellow pen and utensil tippers, want to learn how to create this awesome DIY concrete desk organizer? Then let’s do it!

Materials:

(I’ve included affiliate links for your convenience. I earn a small percentage from a purchase using these links. There is no additional cost to you. You can read more about affiliate links here.)

Instructions:

Cut scrap wood to create the box mold for the organizer. A rectangle is space saving and easy to create.

Use three pieces at 8 ½” x 4 ½” and two pieces  5″ x 4 ½”.
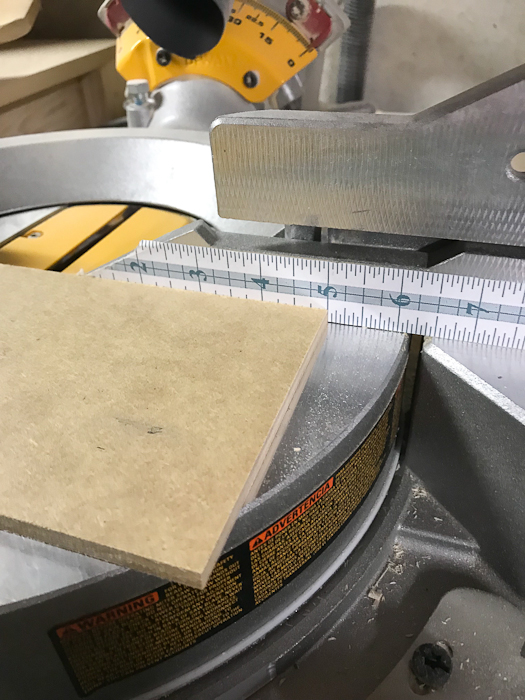
DIY Concrete Desk Organizer - cut two pieces 5" long

The longer pieces will make the bottom and sides, while the two smaller pieces create the ends. Spread wood glue along the joints. (Wood glue holds great but allows the box to be easily removed later on.)

DIY Concrete Desk Organizer - use wood glue to assemble box mold

Use clamps to assemble and secure the mold while the glue cures.

DIY Concrete Desk Organizer - use wood glue and clamps to assemble box mold

Let the glue dry for an hour. Then your box mold is ready for casting!

Prepping Mold and Adding Concrete:

To prevent the concrete from adhering to the wood, apply a thin layer of petroleum jelly on the inside of the box mold.
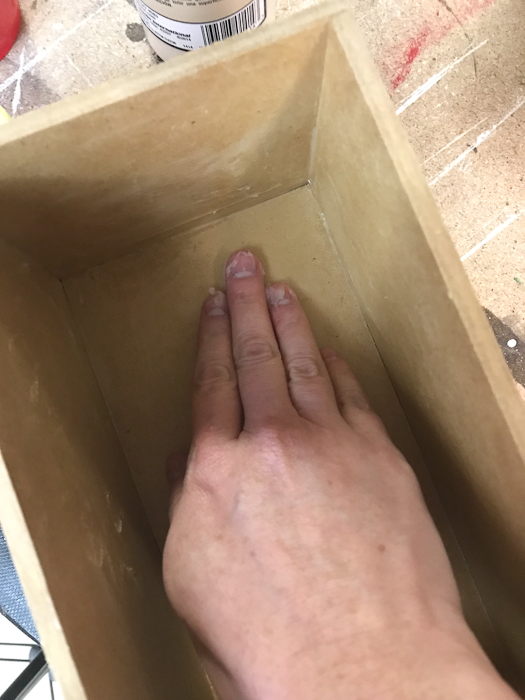
DIY Concrete Desk Organizer - use petroleum jelly

Collect your wine tumblers, concrete mix, water, and stir sticks. (I used large plastic cups to mix the concrete and ended up having to mix three different batches. If you have a larger container you can make one large batch.)

Mix the concrete according to the instructions on the package. You may have to do a bit of math because people typically use larger quantities of concrete and every concrete is different. I mixed it to a milkshake consistency and it came out perfect.

Pour the concrete into the mold, allowing room for the wine glasses.

Set the wine tumblers into the concrete. Make sure they are level, then use masking tape to hold them in place. Pour in more concrete until it reaches the height that you desire. Make sure the widest part of the glasses are submerged in the concrete to hold them securely.
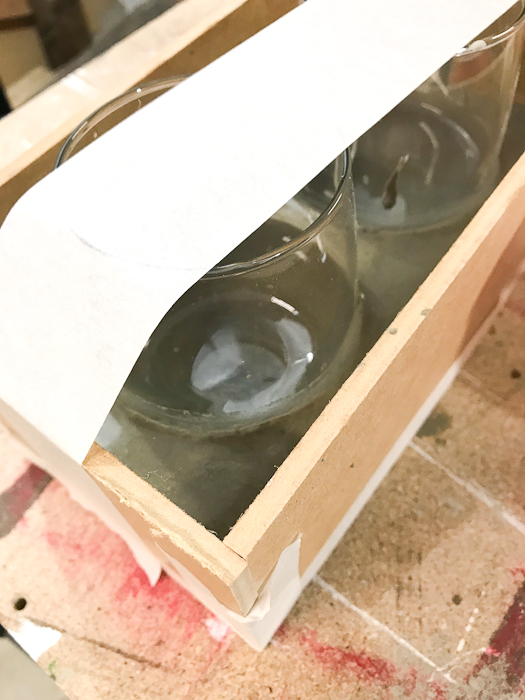
DIY Concrete Desk Organizer - use tape to secure the tumblers in place then pour concrete around them

Remove the mold:

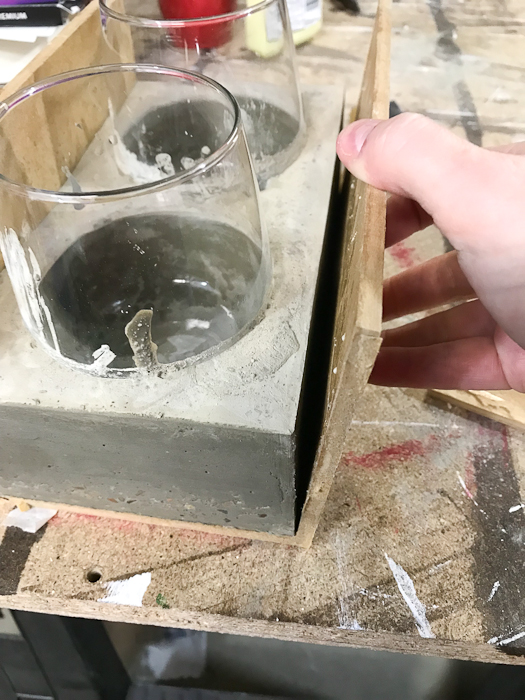
Once the concrete cures (mine only took one day) remove the box mold. Use a knife to pry the sections apart at the joints.
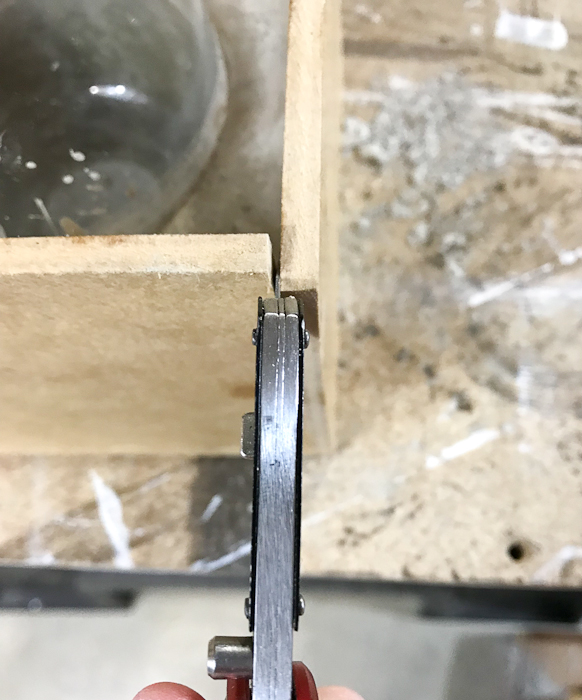
DIY Concrete Desk Organizer- use a knife to pry the wood apart

They should come apart easily.

DIY Concrete Desk Organizer- remove all sides of the mold

The sides may still look dark, but it will lighten up.

Clean up and Paint:

Clean off all the splatter marks from the glasses. Use a retractable knife to lightly scrape the residue off. Follow up with a soft cloth to clean the glasses. They should clean up easily!
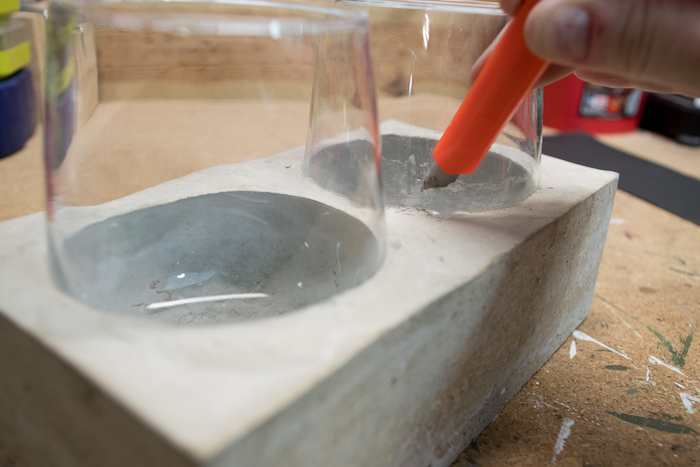
DIY Concrete Desk Organizer- use retractable knife to clean off glass

Time to make it pretty! Use some masking tape to mask off a line.
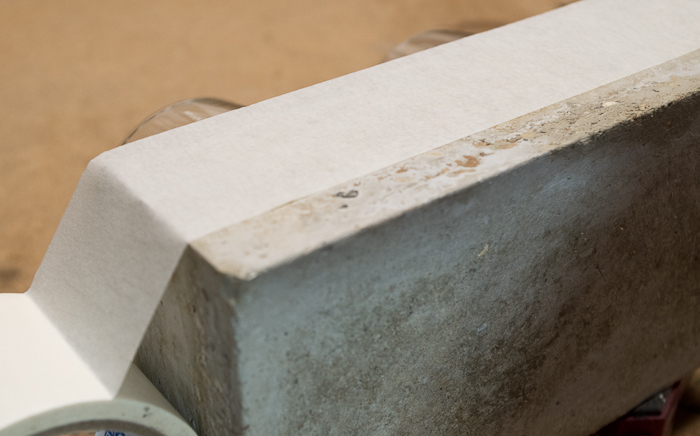
DIY Concrete Desk Organizer - use masking tape to mark where to paint

Paint the bottom section (or wherever you prefer) with metallic copper paint.
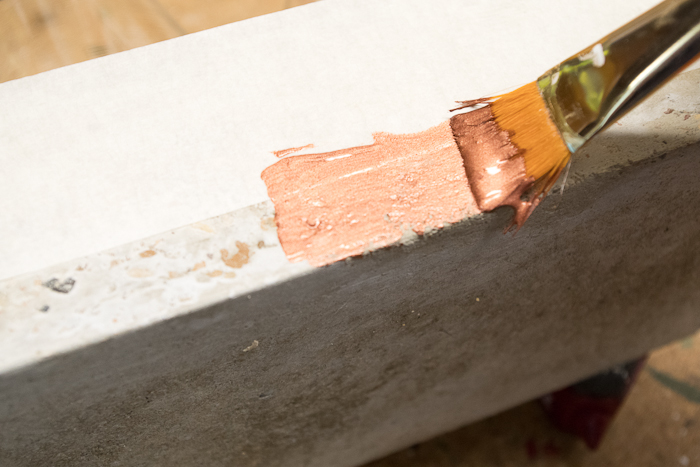
DIY Concrete Desk Organizer- paint bottom section with copper paint

Add a piece of felt to the bottom to prevent your organizer from scratching the surface it sits on. 

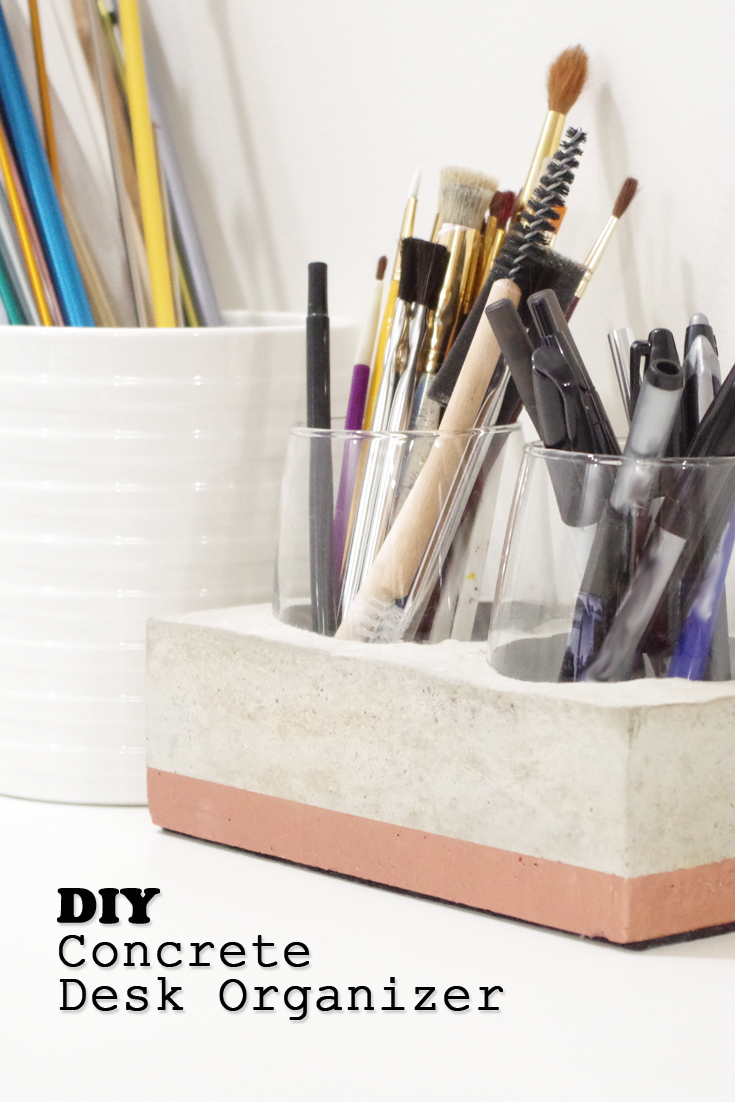
Your modern DIY Concrete Desk Organizer is finished!
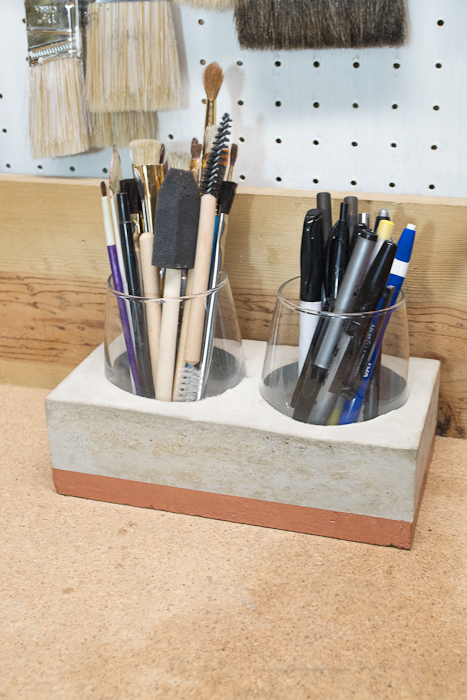
DIY Concrete Desk Organizer- finished photo in the shop

You can use it in your shop, the kitchen, your office, or anywhere you desire!

DIY Concrete Desk Organizer- finished photo horizontal

Wait until you see the huge number of supplies it will hold without tipping over!
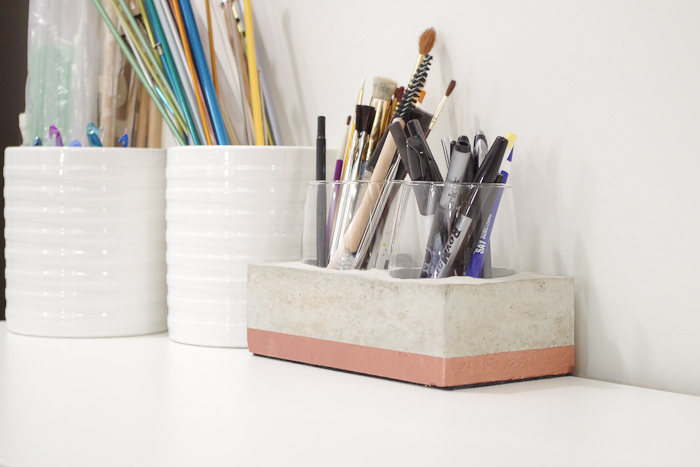
DIY Concrete Desk Organizer- finished photo from right side

What do you think? Would you make one of these DIY Concrete Desk Organizers? Share your thoughts in the comments below and remember to pin this image to Pinterest so no one has to suffer with tipping containers ever again!

Thanks for reading! Come on over to Hazel + Gold and say “Hi!”

Hi, I’m Sheri from Hazel + Gold Designs. Here are a few fun stats about me: I like love chocolate and peanut butter (together of course.) If you like stats, I have been crocheting for about 16 years, crafting for 20, and woodworking for about 4 years. I found a passion in making and being creative and began documenting my projects online at Hazel + Gold Designs.

When not working on projects, I enjoy spending time with my husband, four children, perfect dog, and ornery cat. You can find me on Facebook, Pinterest, Instagram and Twitter.

Read all of Sheri’s tutorials.

~Find more of Sheri’s projects here ~

plugged in devices in desktop organizer charging station

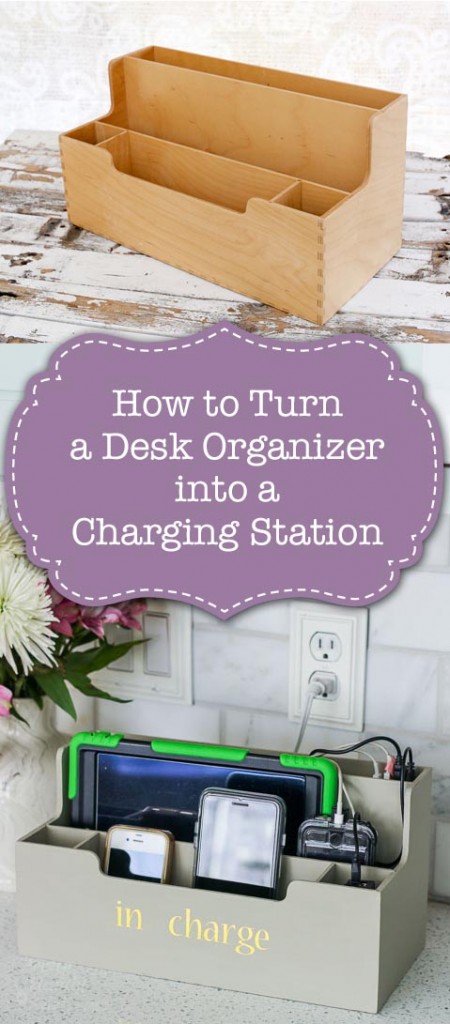
How to Turn a Desk Organizer into a Charging StationHow to Turn a Desk Organizer into a Charging Station
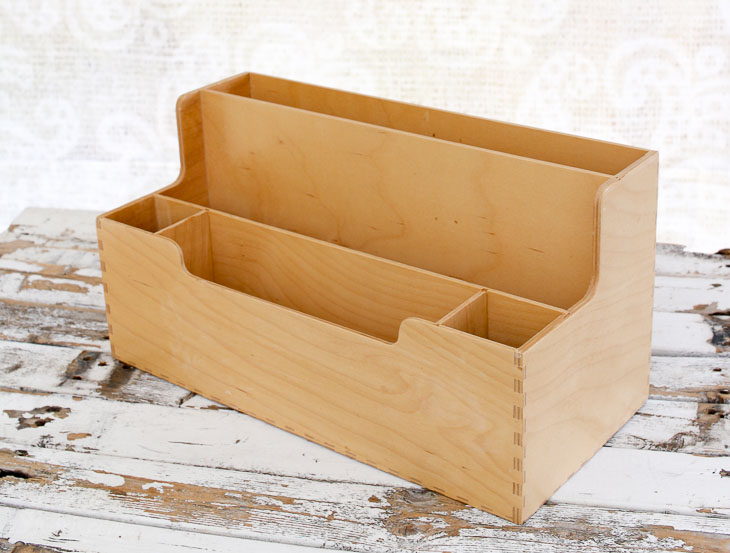
Do you have multiple devices that need charging every day, but they are cluttering up your counter or table? Luckily I have the answer to that problem and it involves this simple desk organizer.

empty wood desktop organizer

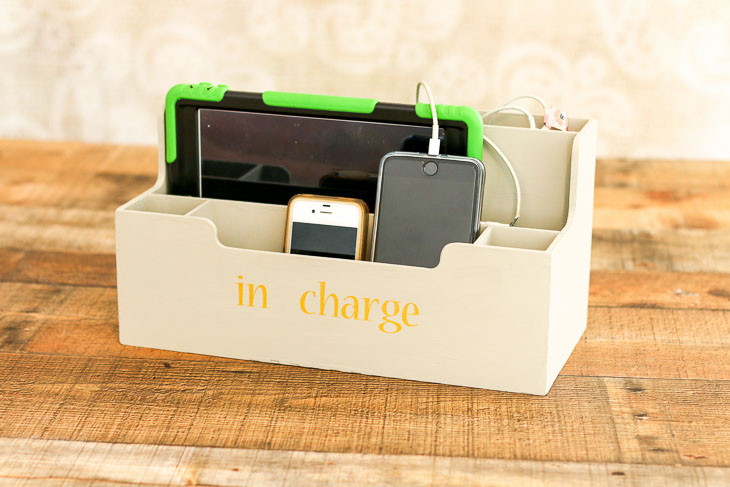
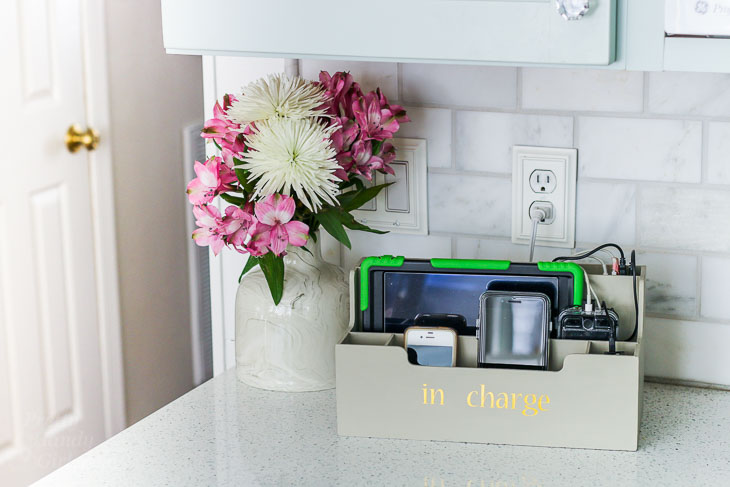
Would you believe that wooden organizer is now a stylish charging station!

plugged in devices in desktop organizer charging station

Here’s what a typical desk organizer holds. Functional? Maybe, but by thinking outside the box I came up with an even more useful option for our home.

Plain wood desktop organizer

Materials:

(I’ve included affiliate links for your convenience. I earn a small percentage from a purchase using these links. There is no additional cost to you. You can read more about affiliate links here.)

Optional:

(I’ve included affiliate links for your convenience. I earn a small percentage from a purchase using these links. There is no additional cost to you. You can read more about affiliate links here.)

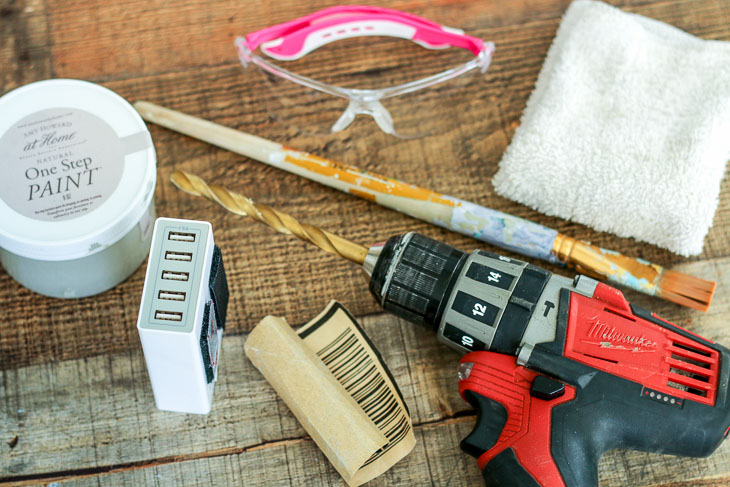
Supplies to make desktop charging station

Instructions:

Follow this simple video tutorial (or read below for the step-by-step instructions.)


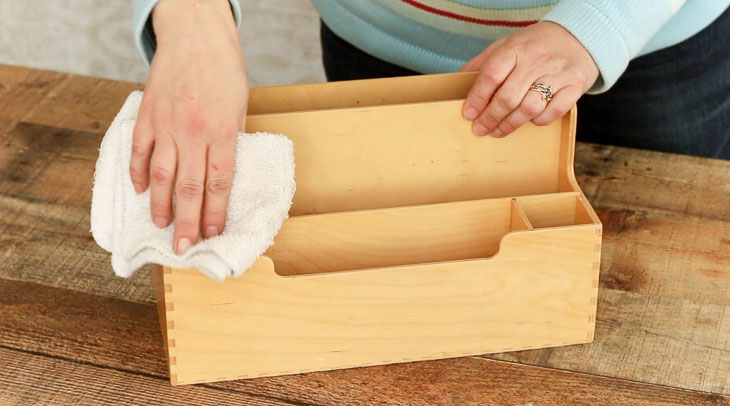
Start by giving your organizer a good cleaning. Make sure there is no dust or dirt.

Wipe out Desk Organizer

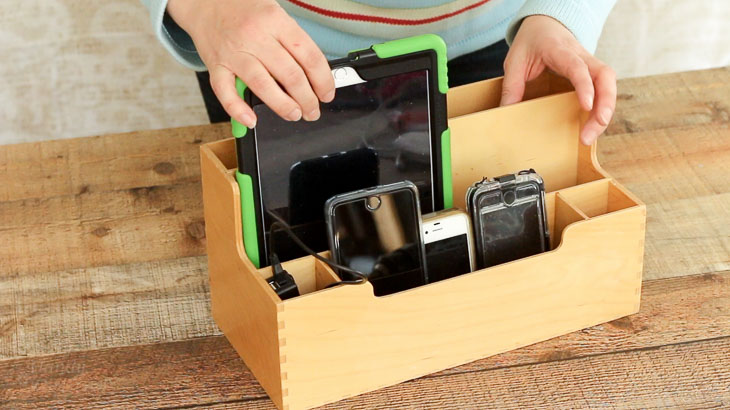
Place all your devices into the organizer to determine where you want them to rest when charging. Next, plan where you want the USB charger to go.

Test fit devices

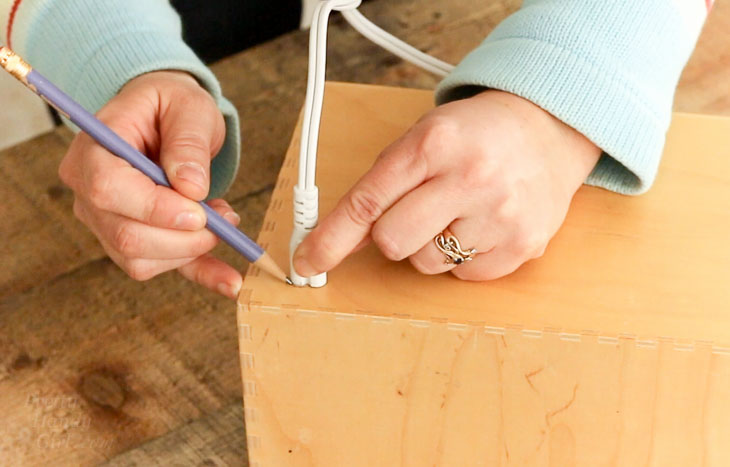
Mark the spot where the charger cord will need to come through the back of the organizer by tracing around the plug end.

draw around plug end of cord

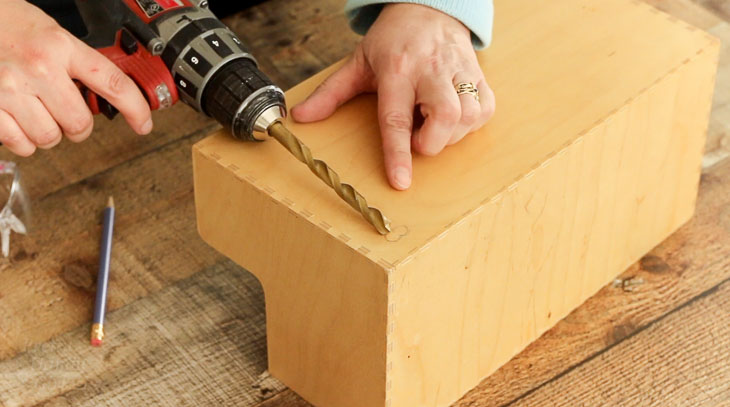
Determine the size of bit you need to create the holes for the plug. You want it to be about the same size as the width of the plug. (Depending on the shape and size of your plug, you may need to drill two holes next to one another.)

Choose drill bit the width of one of the plug holes.

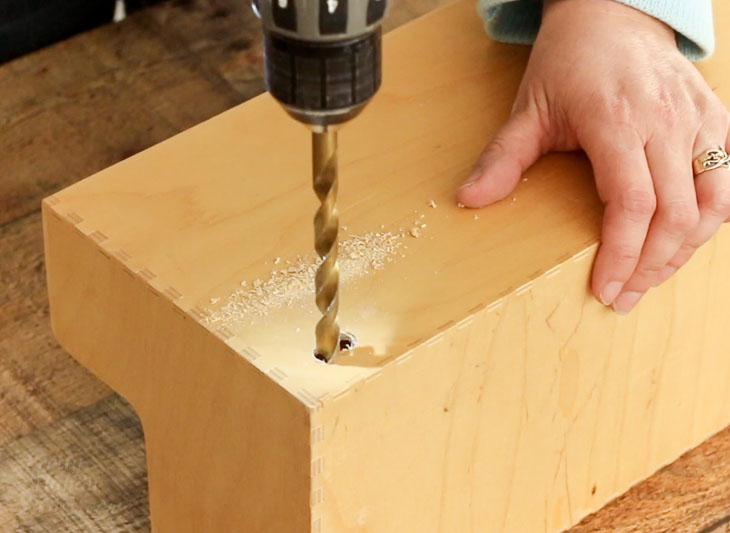
Put on your safety glasses. Drill the plug hole. Be careful not to let the bit sink too deep into the organizer to prevent damage to the other sections.

Drill through back of organizer for plug

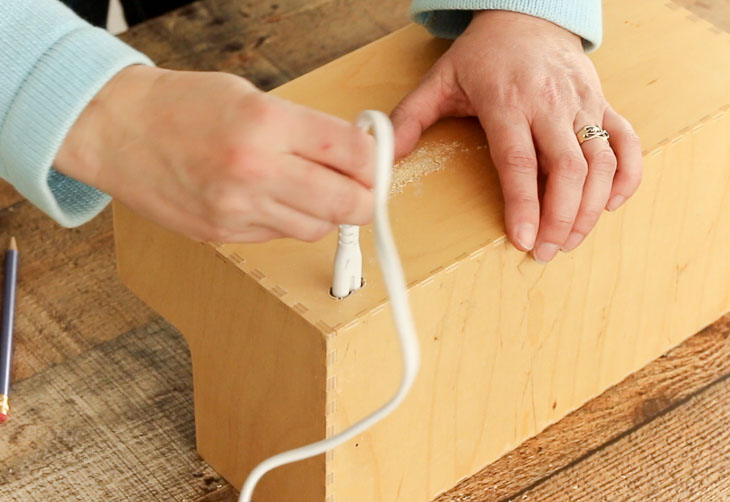
Insert your USB charger cord into the hole to make sure it fits. Wipe off any sawdust and sand any rough edges.

Test fit plug in newly drilled hole.

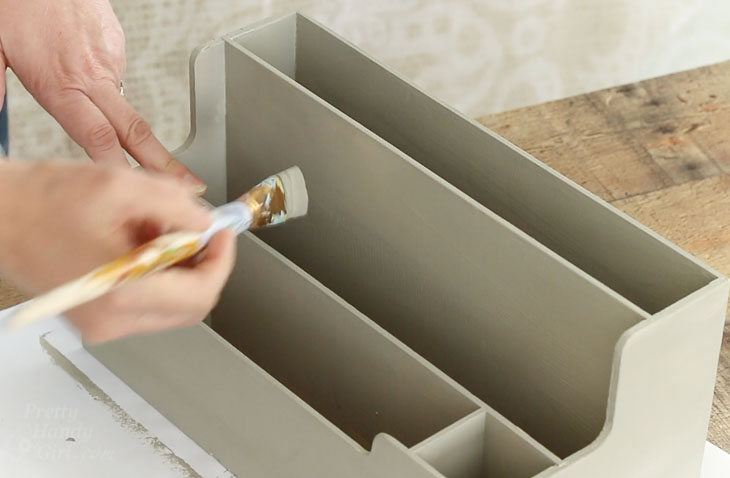
Paint your organizer any color you desire. I highly recommend using at least two coats of paint.

paint organizer if desired

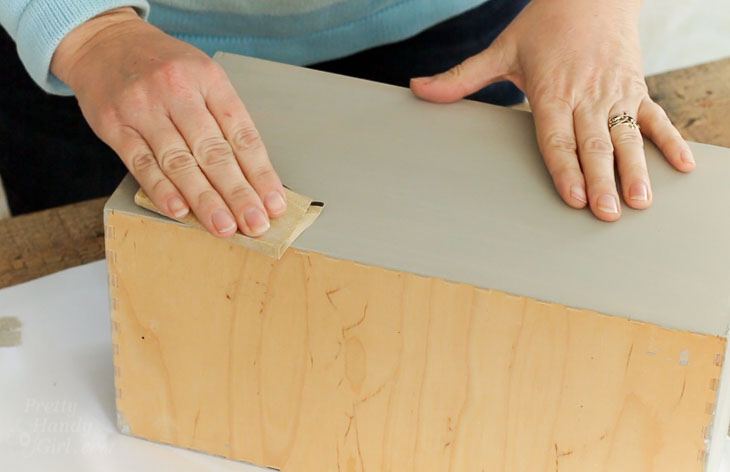
After the first coat of paint dries, lightly sand it before applying the second coat.

Lightly sand between coats

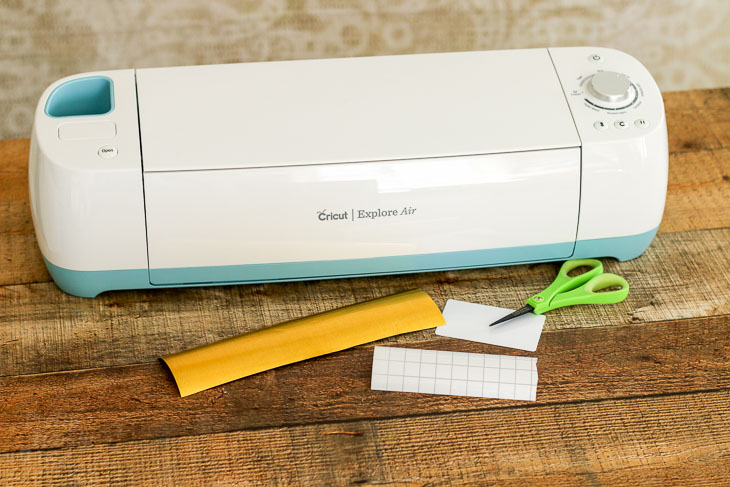
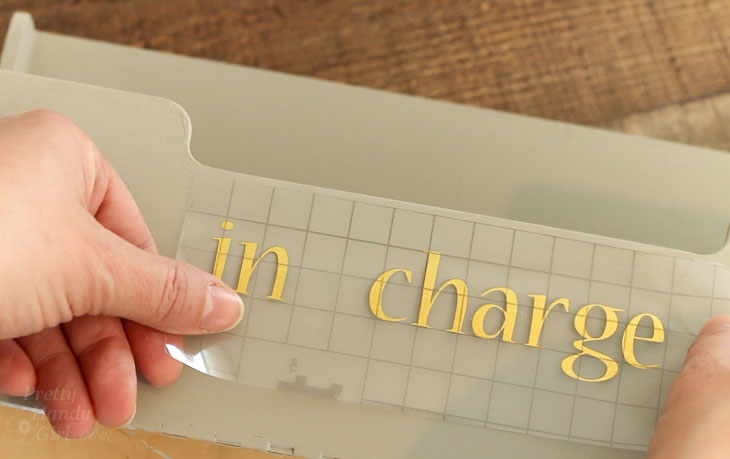
Optional: You may wish to use a vinyl cutter to create some fun lettering for your charging station.

Cricut vinyl cutter supplies

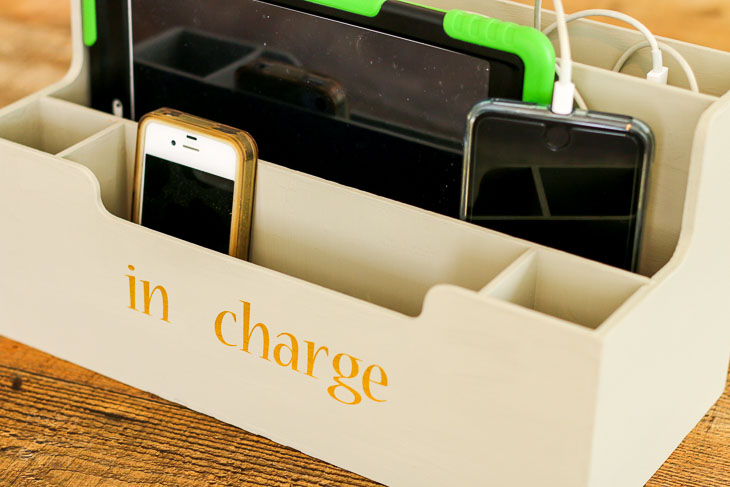
Add vinyl lettering "in charge"

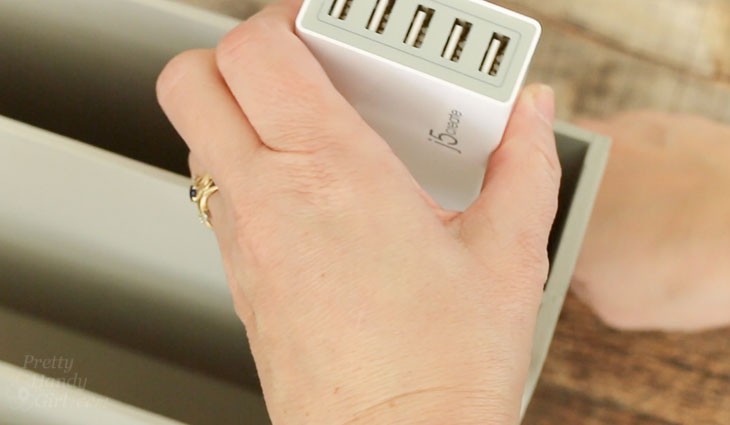
Place your USB charger into the organizer. Insert the cord through the back and plug it into the charger.  Use adhesive velcro to attach the charger to the inside of the organizer.

Slide charger into slot and adhere with double sided velcro.

Time to plug in all your devices and get them powered up!

devices sitting in desk top charging organizer

plug in devices

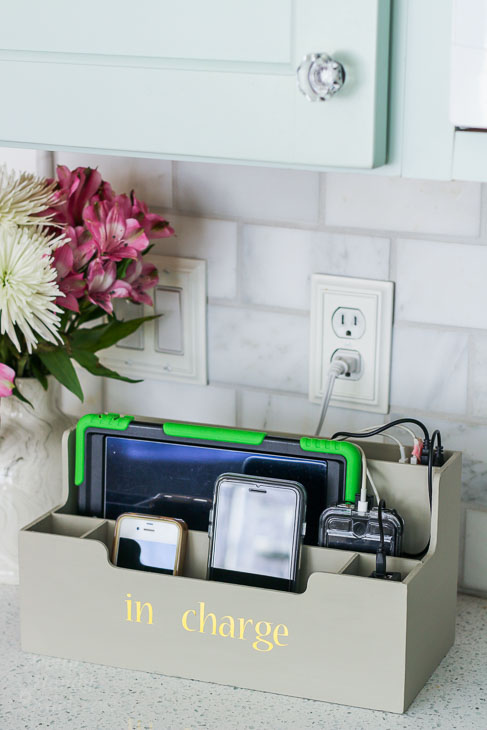
Now you have a beautiful and stylish charging station to organize your devices and keep them from cluttering your kitchen counters.

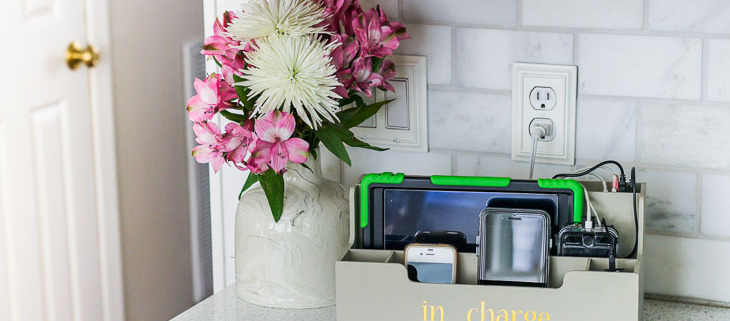
plugged in devices in desktop organizer charging station

I hope you love this charging station as much as I do.

"In charge" Gray Charging Station on kitchen counter
I’m curious where you charge your devices? Is the kitchen where they all get deposited or have I been doing this all wrong?

signature

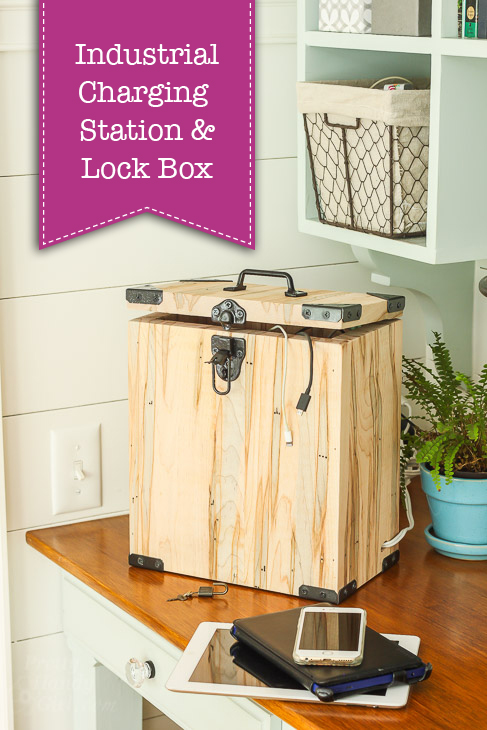
If you like this tutorial, you might also like this Industrial Charging Station & Lock Box.

Industrial Charging Station and Lock Box | Pretty Handy Girl
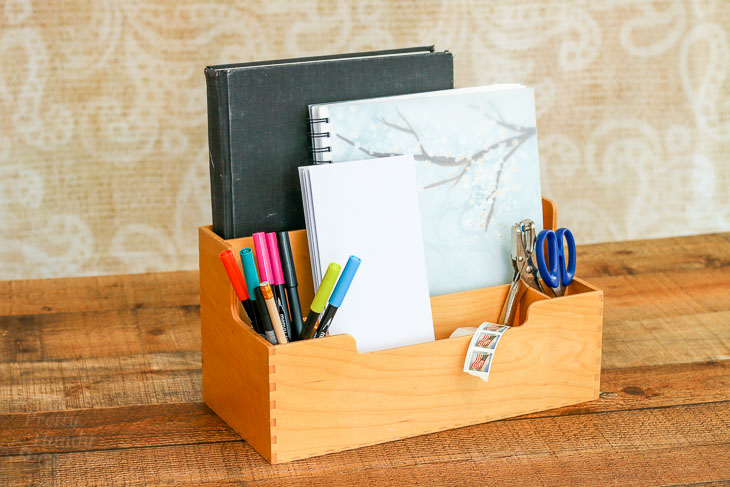
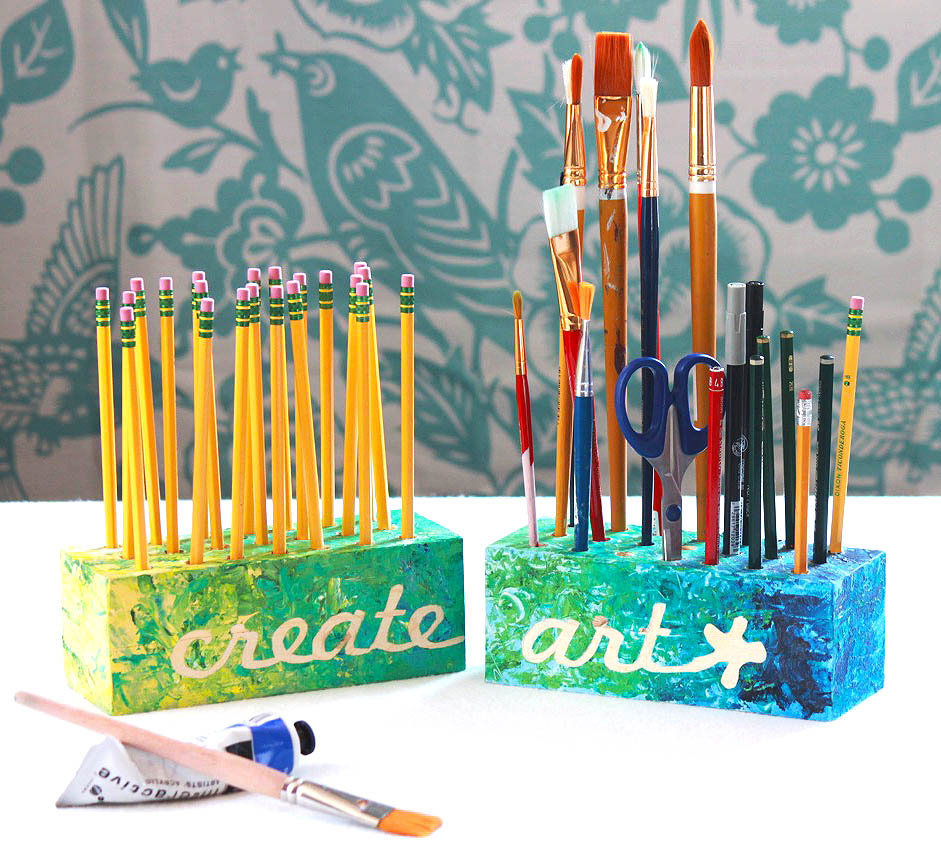
Or these creative paint brush or pencil holder using scrap 2×4’s:

Create Art Utensil and Pencil holders


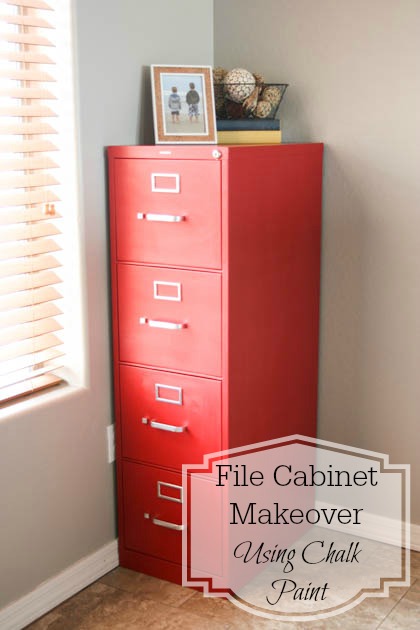
File Cabinet Makeover Using Chalk Paint

Hey there everyone!  I’m working in my craft room to give it a major overhaul and make it a much more functional and creative space.  It also doubles as an office that I share with my husband.  It’s not always the easiest thing to do, partly because of a lack of organization. One of the biggest projects we’re taking on is completely making over the closet.  I’ve already replaced the closet doors with curtains and I love how much easier it has made it to get to things in the closet.

File Cabinet Makeover Using Chalk Paint

edited-8164

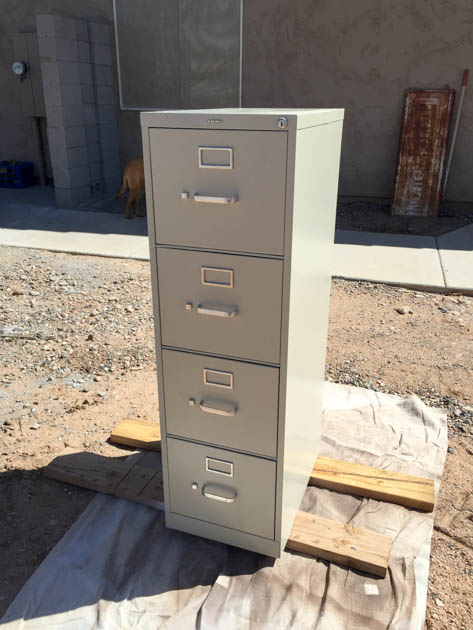
This file cabinet is one of the things that goes in that closet.  When we finish making over the closet, it will be moved to a more prominent location that will be more visible, especially if the curtains are left open.  Because of that, I decided that the boring beige color had to go and I gave it a quick and SUPER cheap makeover!

Here’s what you’ll need to do this project yourself!

File Cabinet Makeover Using Chalk Paint Materials:

File Cabinet Makeover Using Chalk Paint Instructions:

Unless you plan on painting it, you want to remove all of the hardware off of your file cabinet.  I wasn’t quite sure how this would go, but it was extremely easy to remove everything.  Just a couple of bolts and I was pretty much done!

edited-8166

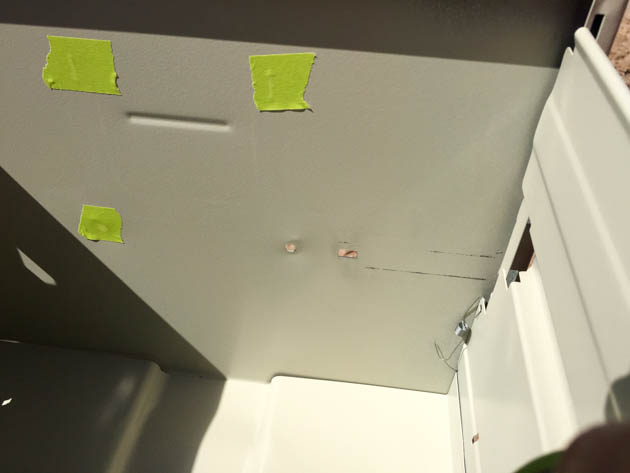
To protect the inside of the cabinet from overspray or paint dripping through, cover all of the holes from the inside using masking or painter’s tape.

edited-8168

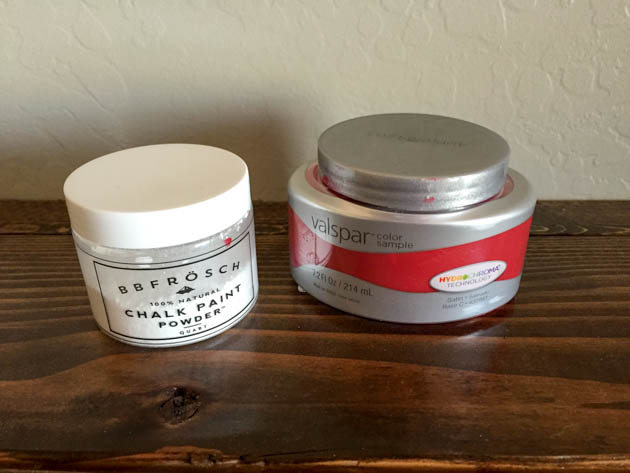
Time to mix your chalk paint.  What I love so much about BB Frösch Chalk Paint Powder is that there’s virtually no waste.  You mix as you go.  I like using the sample-sized paint containers because they’re cheap and if it’s a project where I’m not sure how much paint I’ll need, at least I know I won’t go way over by buying a quart.  The other amazing thing is that there’s virtually no prep work.

Wipe down the file cabinet with a wet cloth and that is it!

edited-8170

If you choose to paint your cabinet using a roller or paint brush, you can get started from this point.  If you plan to use a paint sprayer, you’ll need to prep the paint.  First and foremost, strain your paint!  Lowe’s sells little cone paint strainers (they look like coffee filters) for $.98 a four pack.  Once your paint is strained, you need to thin it with water.  The HomeRight paint sprayer that I use comes with everything you need to do this, plus great instructions. Read more

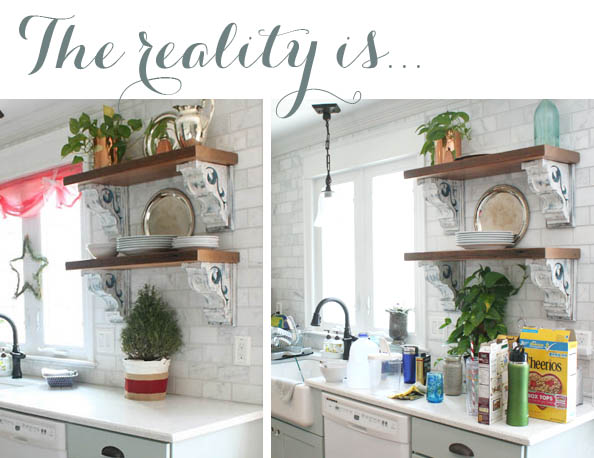
The reality is...it's not real | Pretty Handy Girl

The reality is that what you see on TV and magazines isn’t real life. We all know this, but do we tend to forget after a while?

I was watching one of those popular HGTV reality shows the other day. This one happened to be filmed in our neighborhood, so I was very familiar with the home that was being renovated. I drove by the house several times while the work was being done and I only saw the show hosts there three times. Those were the few days that filming was being done. The rest of the time (many months of renovating) I never saw the hosts. But, I’m sure you probably already realized this fact. It’s understandable, the celebrity hosts have to record other shows. And there’s no reason for them to stick around and watch joint compound or paint dry.

As you can imagine, I couldn’t wait to see the episode. Before the show aired I ran into the homeowners while walking our dogs. We chatted for a while and I thought they were a super delightful couple. Both polite, kind and fun to talk to. They both shared my love for our neighborhood. When the show finally aired last month, I was dismayed to see this young couple turned into picky, hard-to-please homeowners that fit into the “script” of the show. But, what surprised me most was the final reveal of the “new” value of the improved house. The home was valued above homes almost 1,000 sq feet larger in similar condition in our neighborhood. I shouldn’t have cared much. But, I did.

I’m not sure why I was feeling anger. I’ve known for a long time that reality tv isn’t really reality. Maybe I was angry because I see too many photos and TV shows that portray “real” people living in perfect homes. I think I was angered because the more we watch, the more we read and the more we pin — we begin to forget that what we see isn’t reality. I think we all need a reminder about how unreal “reality” is. Read more

PB Knock Off Monogrammed Bulletin Board

edited-0510

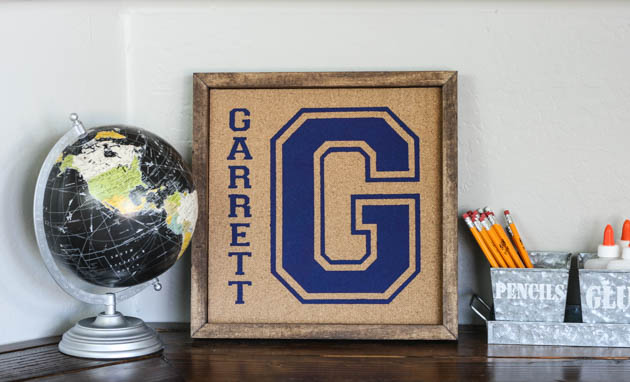
Hey everyone!  If you remember, last month, I shared with you how I updated my boys’ desk in our den with a wood plank desktop.  The den is just about ready for the big reveal and now I’m just working on adding little details.  This includes these fun personalized bulletin boards I made for each of my boys.  I was searching for desk organization ideas one day and saw these personalized pinboards on Pottery Barn Kids.  I knew they would be perfect for my boys and that I could knock them off pretty easily.  I made two of these pinboards, but my supply list will be for one pinboard.

Materials:

  • 12″ x 12″ wrapped canvas (mine was 3/4″ thick)
  • 12″ adhesive backed cork sheet
  • Adhesive vinyl
  • Transfer paper
  • Die-cutting machine
  • Acrylic aint
  • 2 – 1″ foam paintbrushes
  • 1″ x 2″ x 6′ pine board
  • Wood stain
  • Sander w/ 220 grit sandpaper
  • Miter saw
  • Brad nailer
  • 1″ Brad nails
  • 24″ Bar clamps
  • Hot glue gun

Instructions:

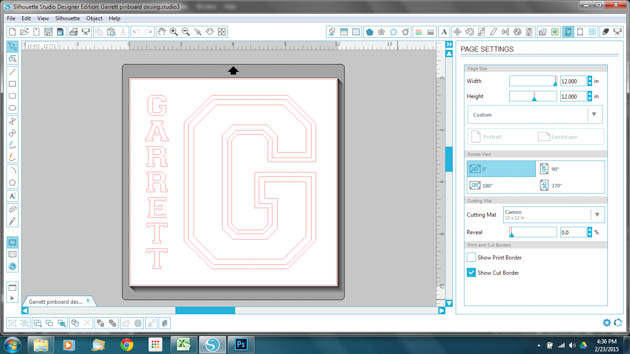
Start by designing your stencil.  To make it look just like the PB Kids version, use the Varsity font.  (FYI, the letters are all capitalized, but when you use the shift key or CAPS lock, it will add the outline.)

Knockoff Personalized Pinboard

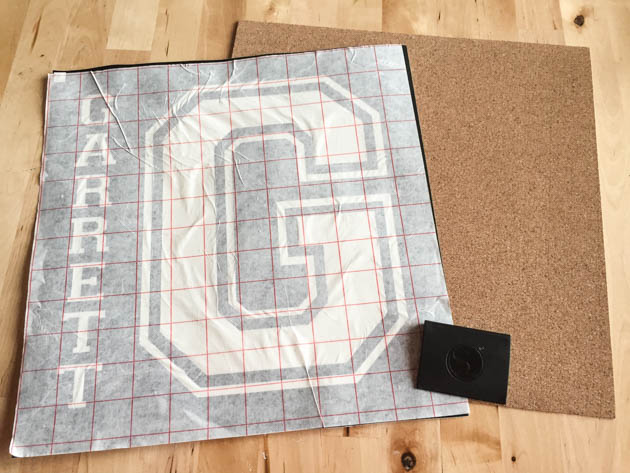
Cut your design out on the 12 x 12″ sheet of vinyl and weed the negative pieces out.  Remember that this is a stencil, so make sure to weed out the correct parts of your design.  Place your transfer paper over the design and use a scraping tool or a credit card to get out any air bubbles.

edited-7687

Peel the backing off of your vinyl and very carefully center it onto your cork sheet.  Use the scraping tool or credit card again to firmly adhere the vinyl to the cork sheet.  Carefully peel the transfer paper off. Stencil your design using the acrylic paint and foam brush. Read more