Anyone else detest cleaning their homes? {Major hand raised over here!} I don’t like to clean, but what I really dislike is paying those exorbitant prices to purchase store bought cleaners. Did you know that you can make your own cleaning products using ingredients that cost pennies compared to a bottle of cleanser!

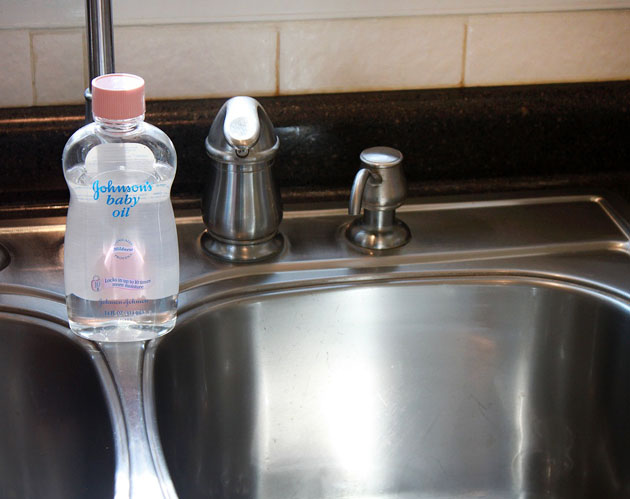
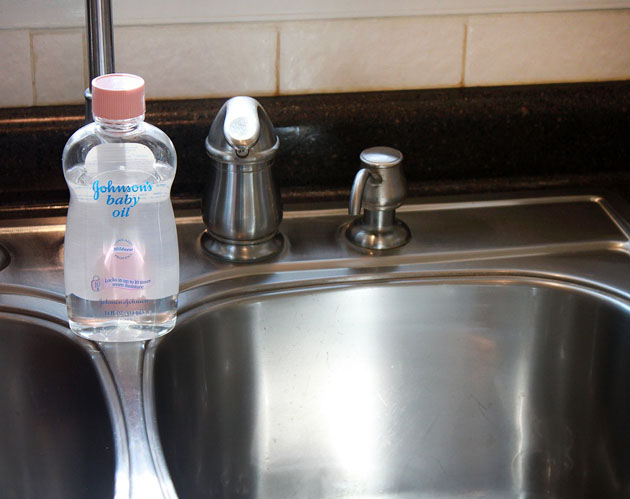
For example, baby oil makes an excellent stainless steel sink shiner (who knew!)

Read more

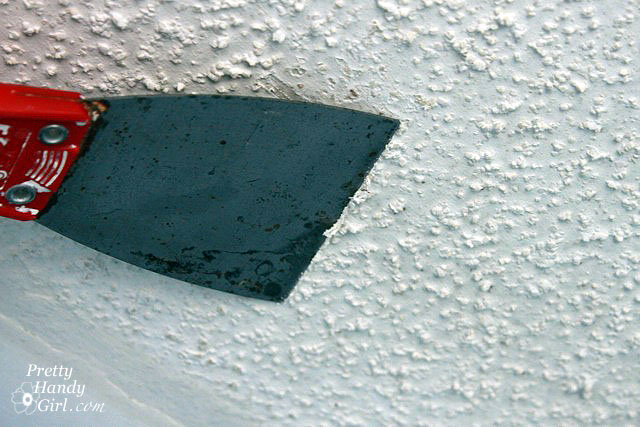
Many of you guessed correctly that I would be scraping my own popcorn ceilings.

It wasn’t hard to do, but it also isn’t for the bad neck or bad back sufferers. Normally I hire out this job — but because our laundry room is so small — it seemed silly to pay someone else to do the work. Now that it is done, I’m really glad I decided to tackle this project. The sense of accomplishment and the resulting smooth ceiling is HUGE!

IMPORTANT NOTE: If you live in a house that was built around 1978, take several small samples of your ceiling and test it for asbestos before you begin. Even though the cutoff date for asbestos in popcorn texture was 1978, the inventory could still be bought from store shelves well into the 1980’s. Do yourself and your family a favor, If you have asbestos popcorn contact a professional who is trained in asbestos removal to handle the job. If you want to learn more, you can read more about our experience with asbestos remediation.


Read more


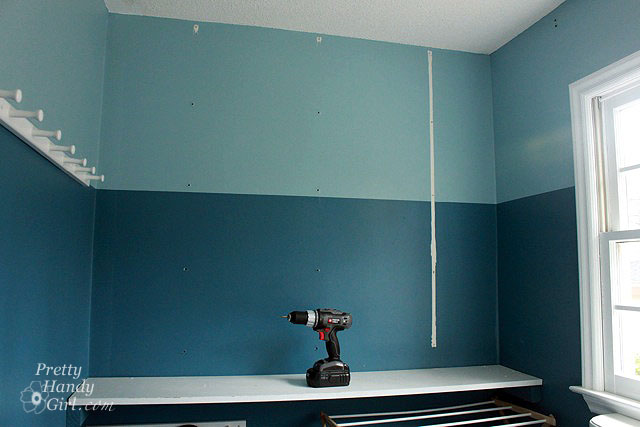
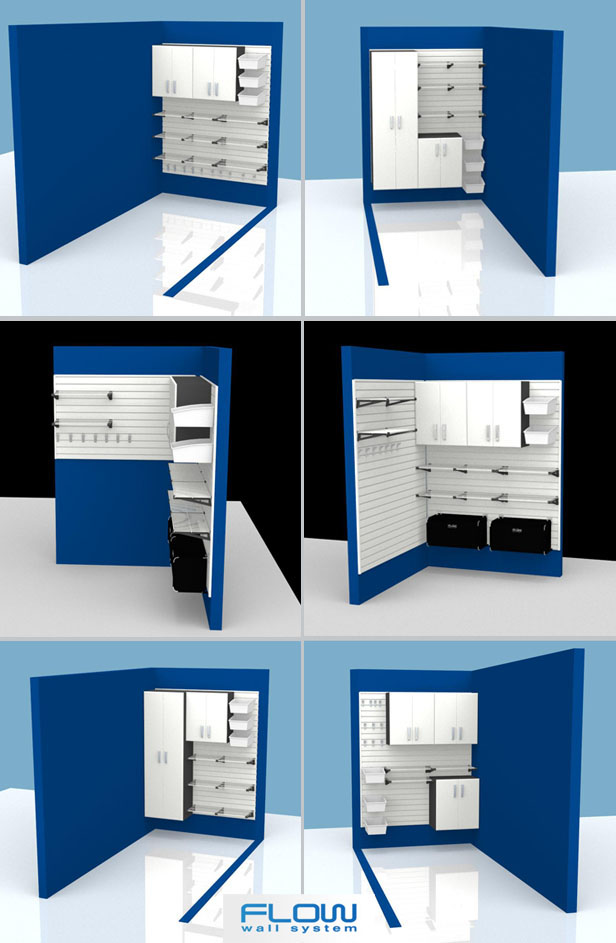
This past weekend I was able to make some serious progress on our laundry room. Yeehaw! Sometimes in order to make a room pretty, you have to make it uglier first. That was certainly the case with this project. If  you are just joining me, a few weeks ago the nice folks at Flow Wall sent me a custom wall system to install in the laundry room. The FlowWall system of storage will look something like this: Read more

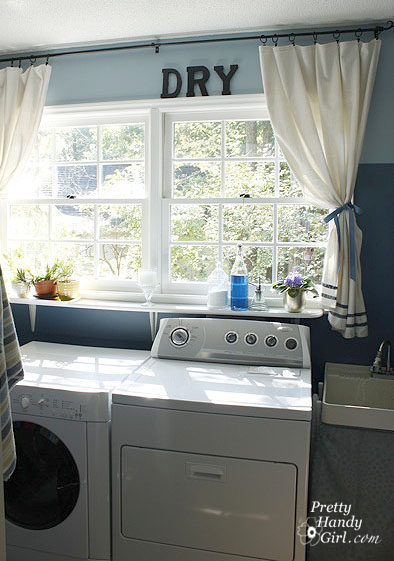
You know that beautiful laundry room I showed you last year? Yes, this one:

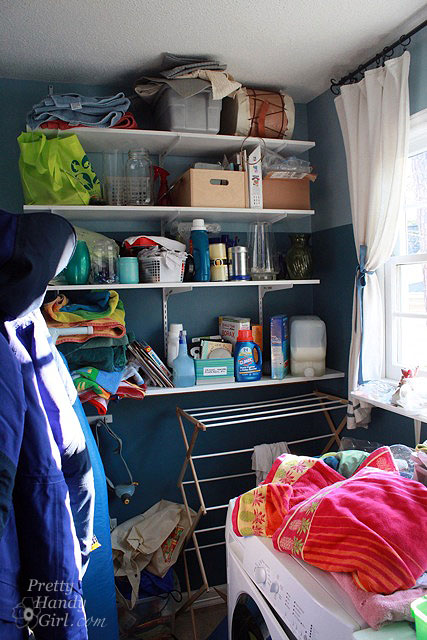
Well, it isn’t so pretty right now, and honestly I strategically didn’t photograph the ONE wall in the laundry room that isn’t….so….pretty. Can you blame me?!

But, that is all about to change! I’ve been working with a Flow Wall System representative to come up with a plan for my laundry room wall.

Flow Wall Garage and Home Storage Solutions

Within half an hour of sending him my measurements (of my laundry room, not my body measurements – LOL), he sent back multiple possible configurations for our room.

I can’t even begin to tell you how fantastic it is to turn over the planning to someone else for a change! Of course, being the planner that I am, I had to tape up a few paper templates to help visualize how they would work in my space.

The Flow Wall System looks like it is going to be a snap to install (and I will definitely let you know for sure!) Here is a short 60 second video to show you a little more about Flow Wall System:

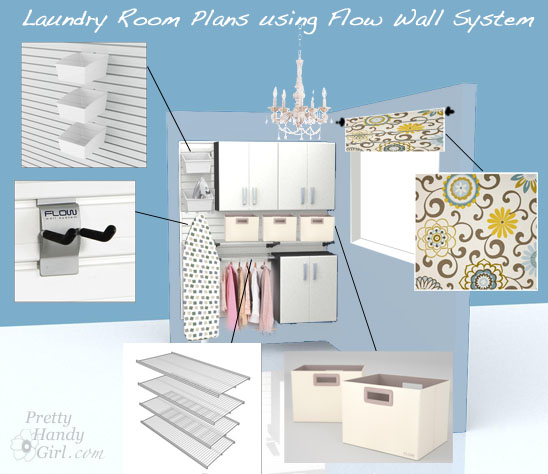
Here are my beautiful plans for the laundry room using the Flow Wall System sketches as inspiration.

1. Flow Wall medium wall mounted storage bins to hold the iron and ironing supplies

2. Flow Wall small storage hook to hang ironing board on

3. Flow Wall white coated wire shelves for extra storage and drying clothes

4. Flow Wall jumbo decor bins in cream to corral detergents, spot cleaners, etc

5. Waverly Pom Pom Play Spa fabric for a faux roman shade

6. Spray painted brass chandelier inspired by Modern Parsonage

7. Flow Wall cabinets to hide my unsightly mess

What do you think? Do you like the design? I’m probably going to scrape the ceilings and repaint in there too. The exact wall color will have to wait until I get the fabric. I’m particular about color like that. More on my color snobbishness next week. Until then, I hope you have a great weekend.

Disclosure: This is a sponsored post for Flow Wall Systems. I have been compensated for my time and will be receiving some complimentary products. However, the ideas and words are all my own. I was not told what to write or what products to write about. I believe you have the right to know when a post is sponsored. Regardless of whether a post is sponsored or not, I believe in honesty, truthfulness, and complete transparency in my posts.

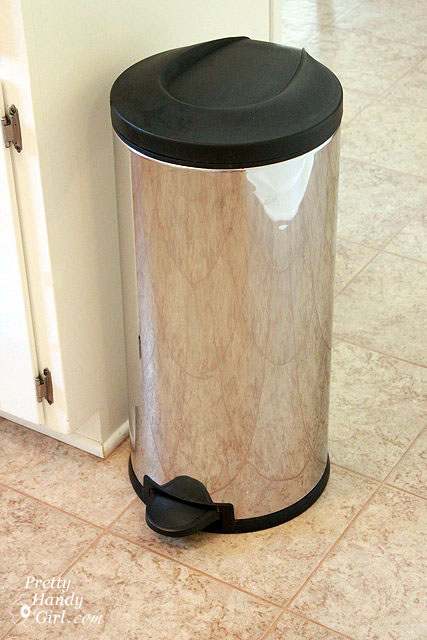
I know that no one likes to take out the garbage in my house. How do I know this? I know it because we seem to be able to push our 9 gallon trash can to hold 12 gallons! Don’t do the math, it is just one of life’s unsolved mysteries.

When this mystery trashcan reaches these epic proportions, the bag of trash resists all efforts to remove it from the can. It holds tight to the can liner bringing it up with itself. I’ve only known one other thing in this world that can hold on this tight. And that would be my son at age two as he death gripped my shirt while the babysitter tried in vain to remove him.
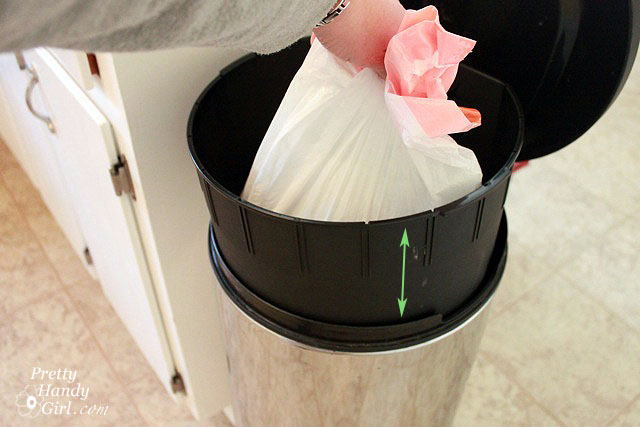
Releasing the trash’s grip takes some practice, I use the this little dance I call the Can Can Jig. (Not to be confused with your parent’s Can-Can.)

Here is what it looks like:
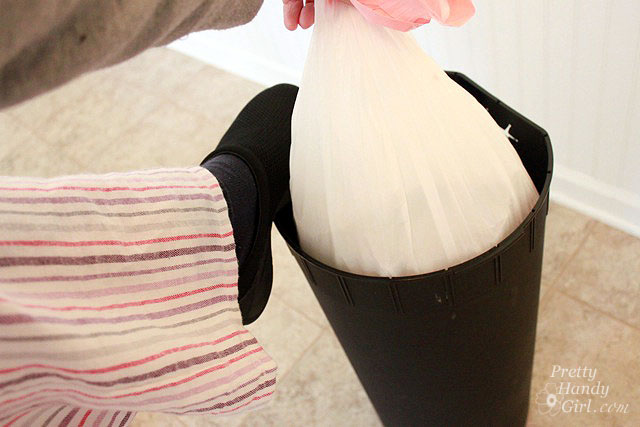
One foot on the floor, the other raised over your waist height trying to keep the trash can liner from coming with the trash bag as it is extracted from the can. Yeah, I’m still working on mastering the move myself. It is not for amateurs.

Okay, all kidding aside, I found the cure for the stubborn trash bag who didn’t want to be emptied. I’d heard about this trick a few times but never tried it until now.

Materials:
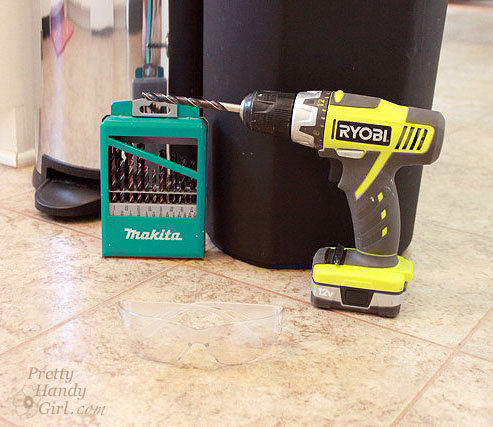
  • Drill
  • Drill bit – medium size (approximately 1/4″)
  • Safety glasses

Step 1. Empty the trashcan (less you drill holes in your bag of trash. Gross!)

Step 2. Take out the plastic trashcan liner if you have one. If not, this will work just as well if you have a plastic trashcan without a bucket liner.

Step 3. Drill 3-4 holes into the bottom of the liner (or can if you don’t have a liner).
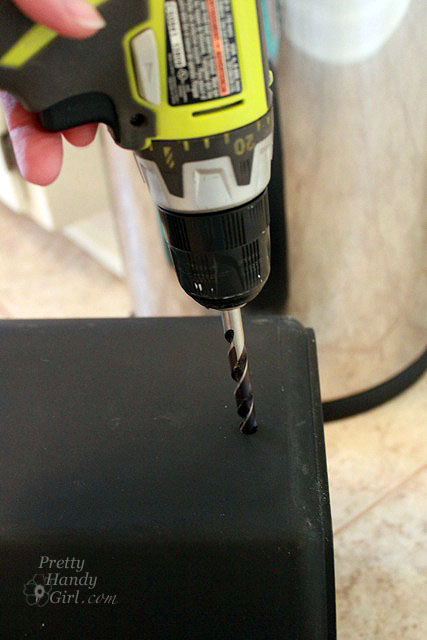
Drill the holes about 1″ above the bottom just in case you ever have any leakage (just thinking about it makes me gag.)

Step 4. Insert the can liner back into the can. Put a trash bag into the liner. Now wait for that garbage can to fill beyond capacity again.

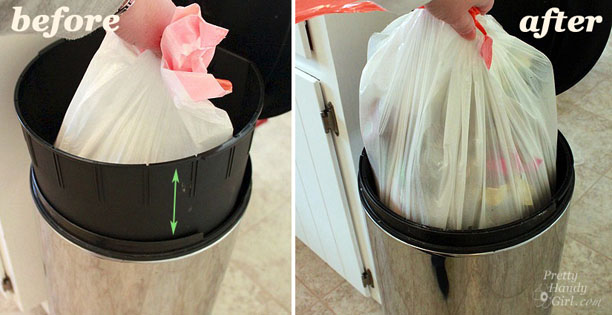
And voila! The bag slides out easily. I almost wish I had some kind of bet with Pretty Handsome Guy to see who could extract the trash faster. You know I’d time him before drilling the holes and then unbeknownst to him I would add this quick fix and let him time me as I whipped that trash out no problem.
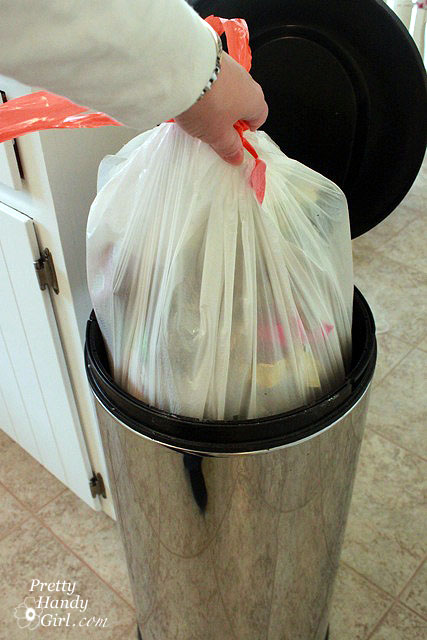
And now for the dramatic before and after pictures! Ooooo and ahhhhh:
Which leads me to just one question: “How will I practice the Can Can Jig now?”