Chocolate Gift Basket

Warm & Cozy Chocolate Gift Basket

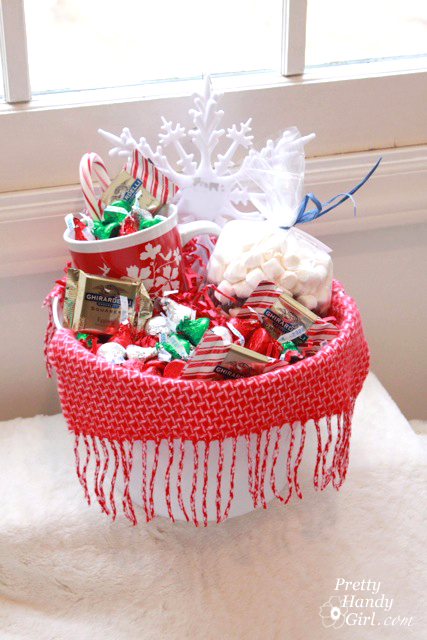
I love making my own gift baskets. They cost less than a store-bought version. Plus, they don’t need to be wrapped! (Call  me lazy, but I prefer a pretty gift basket to a wrapped gift any day. And I’ve been known to pop a gift in a gift bag for an even easier “wrapping.” But, today I want to show you how to create this super simple and quick Warm & Cozy Chocolate Gift Basket.

If I ever quit blogging, I need to find a job where I can make gift baskets for a living ;-). Or maybe a job where I can sniff sawdust and drink coffee all day. Do you know of a job with those perks?

My last trip to the grocery store had me wandering down the seasonal aisle where I spotted warm fuzzy scarves for $6.99! (If you have a Kroger near you, look for them!) I thought they’d make great teacher gifts, but by themselves they seemed a little…errr meek? But, add some chocolate, gourmet hot cocoa mix and a mug and the recipient might just exclaim…Eeeeeek!

Chocolate Gift Basket Materials:

(I’ve included affiliate links for your convenience. I earn a small percentage from a purchase using these links. There is no additional cost to you. You can read more about affiliate links here.)

Chocolate Gift Basket


Non-Candy Warm & Cozy Gift Basket Fillers:

I get it, you may not want to fill your gift basket with sweets. No problem, here are a few warm and cozy ideas that don’t involve sugar.

  • Tea
  • Coffee
  • Mittens
  • Hat
  • Throw blanket
  • Hand warmers
  • Ear muffs
  • Mugs


Chocolate Gift Basket Instructions:

The key to a beautiful gift basket is creating layers and propping things up so you can see everything.

Chocolate Gift Basket

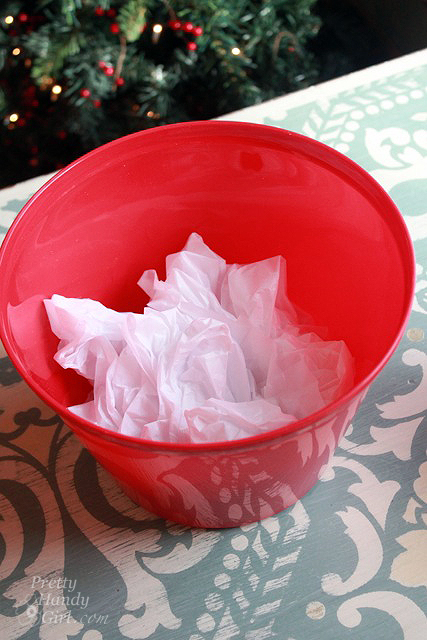
Start by using tissue paper (bubble wrap and recycled cardboard under tissue paper can help hold heavier objects.)

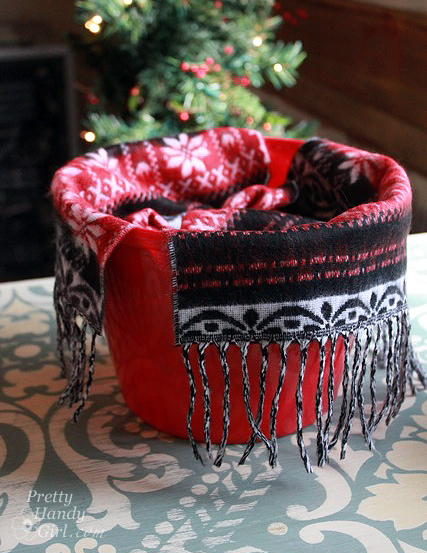
Fold the scarf neatly inside the bottom but let the ends hang over the bin.

Chocolate Gift Basket

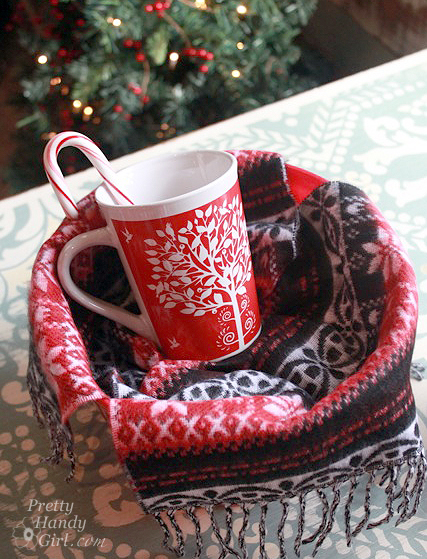
Work from tall to short putting the taller items in the back.

Chocolate Gift Basket

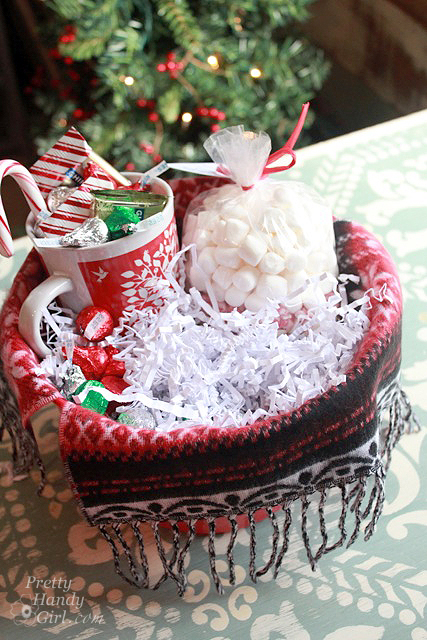
Add the rest of your gift items: hot chocolate mix, filler candies, basket filler, etc. If you have a paper shredder or pasta maker you can shred your own paper. Brown paper bags look like nest material when shredded.

Chocolate Gift Basket

Write on an ornament or tag using a permanent marker or ink pen to create a unique gift tag.

Chocolate Gift Basket

Prop up any items that sank and fill in any holes with more candy!

Chocolate Gift Basket

You can buy cellophane bags to protect your gift basket, but I prefer the eco-friendly option of just leaving the basket as is.

Chocolate Gift Basket

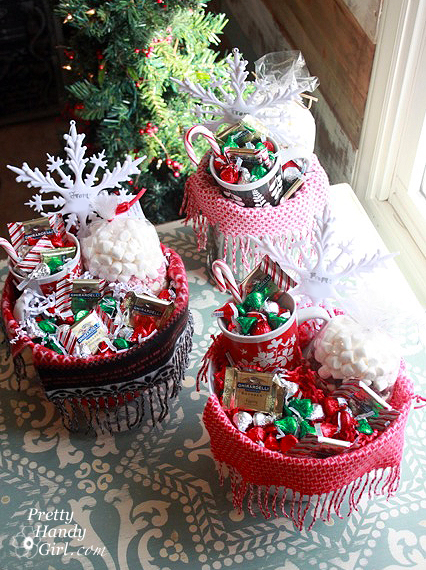
These Warm & Cozy Chocolate Gift Baskets look so cozy, warm, and —who am I kidding—YUMMY!!!

Chocolate Gift Basket

I hope this quick Warm & Cozy Chocolate Gift Basket took some of the stress off your gift-giving tasks this year.

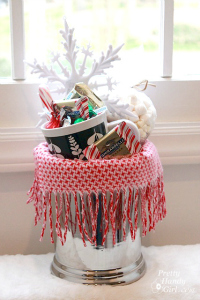
Chocolate Gift Basket

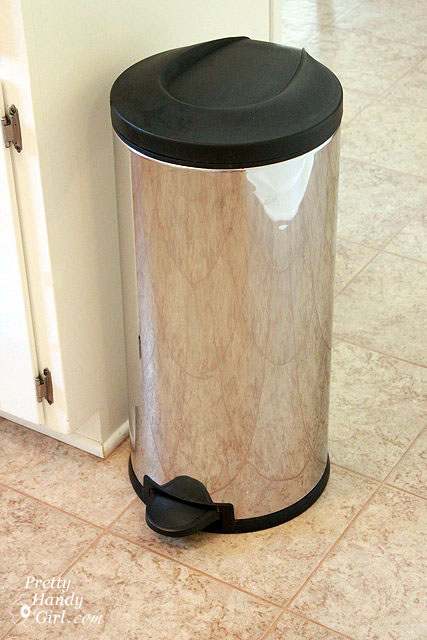
I know that no one likes to take out the garbage in my house. How do I know this? I know it because we seem to be able to push our 9 gallon trash can to hold 12 gallons! Don’t do the math, it is just one of life’s unsolved mysteries.

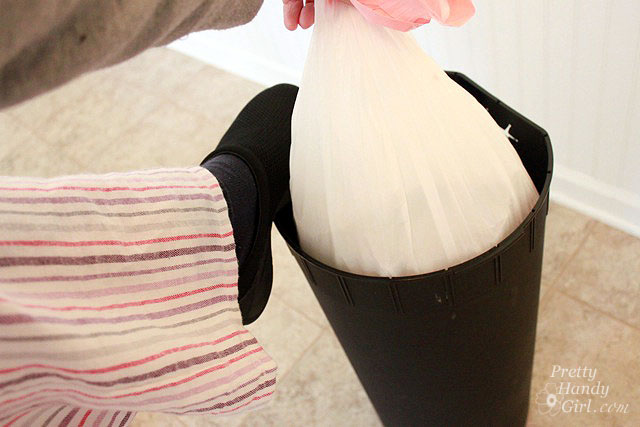
When this mystery trashcan reaches these epic proportions, the bag of trash resists all efforts to remove it from the can. It holds tight to the can liner bringing it up with itself. I’ve only known one other thing in this world that can hold on this tight. And that would be my son at age two as he death gripped my shirt while the babysitter tried in vain to remove him.

Releasing the trash’s grip takes some practice, I use the this little dance I call the Can Can Jig. (Not to be confused with your parent’s Can-Can.)

Here is what it looks like:

One foot on the floor, the other raised over your waist height trying to keep the trash can liner from coming with the trash bag as it is extracted from the can. Yeah, I’m still working on mastering the move myself. It is not for amateurs.

Okay, all kidding aside, I found the cure for the stubborn trash bag who didn’t want to be emptied. I’d heard about this trick a few times but never tried it until now.

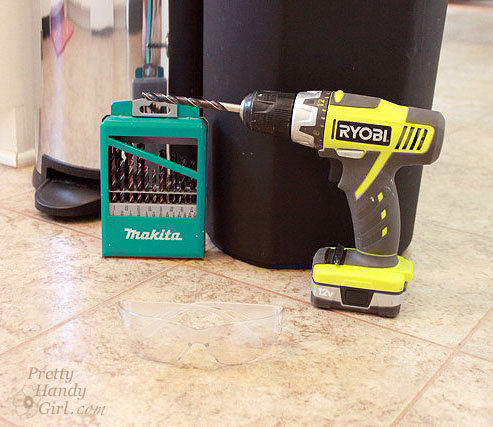
Materials:

  • Drill
  • Drill bit – medium size (approximately 1/4″)
  • Safety glasses

Step 1. Empty the trashcan (less you drill holes in your bag of trash. Gross!)

Step 2. Take out the plastic trashcan liner if you have one. If not, this will work just as well if you have a plastic trashcan without a bucket liner.

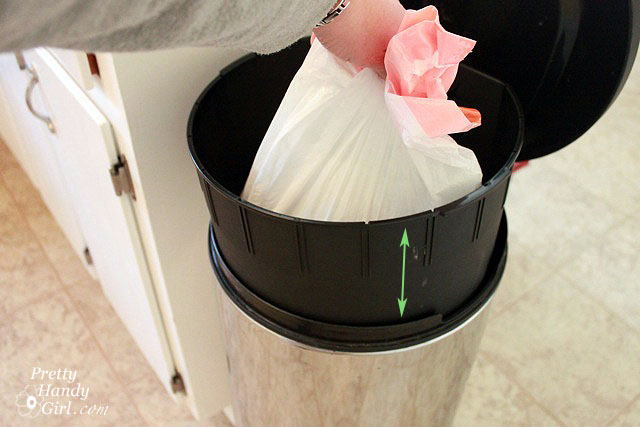
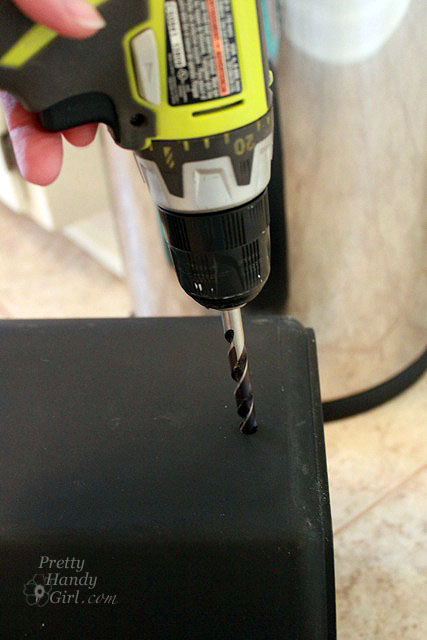
Step 3. Drill 3-4 holes into the bottom of the liner (or can if you don’t have a liner).

Drill the holes about 1″ above the bottom just in case you ever have any leakage (just thinking about it makes me gag.)

Step 4. Insert the can liner back into the can. Put a trash bag into the liner. Now wait for that garbage can to fill beyond capacity again.

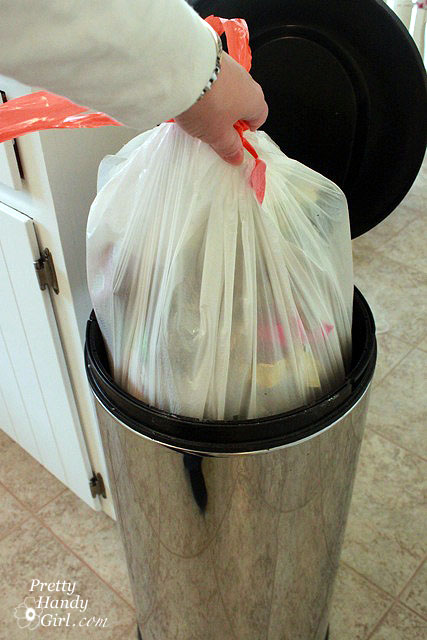
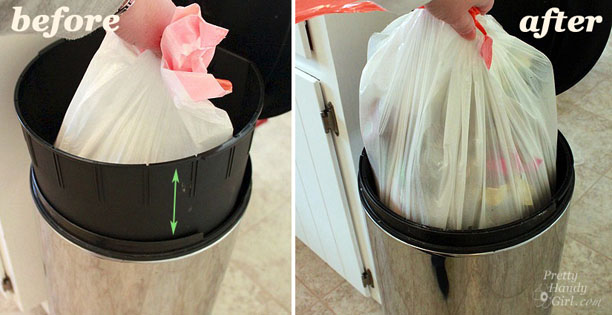
And voila! The bag slides out easily. I almost wish I had some kind of bet with Pretty Handsome Guy to see who could extract the trash faster. You know I’d time him before drilling the holes and then unbeknownst to him I would add this quick fix and let him time me as I whipped that trash out no problem.

And now for the dramatic before and after pictures! Ooooo and ahhhhh:

Which leads me to just one question: “How will I practice the Can Can Jig now?”

Hidey-ho my bloggios. I’m in a giddy mood this morning. The kiddos are at the in-laws to spend a day of fun. LOVE my in-laws! So Pretty Handsome Guy and I will have our own day of fun.

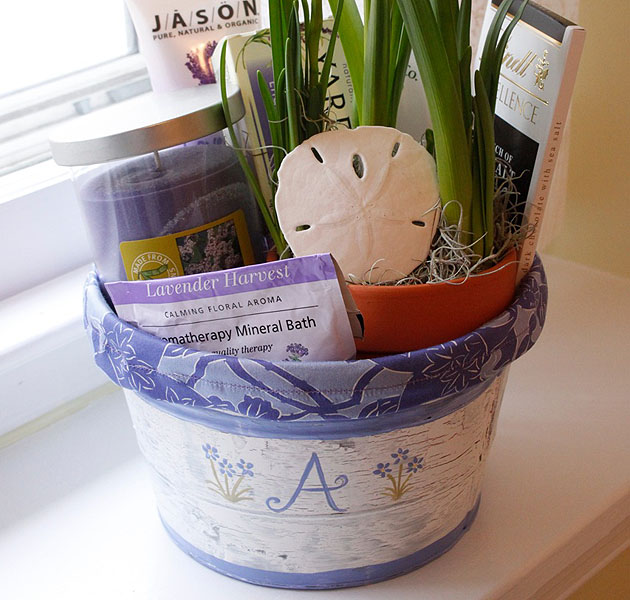
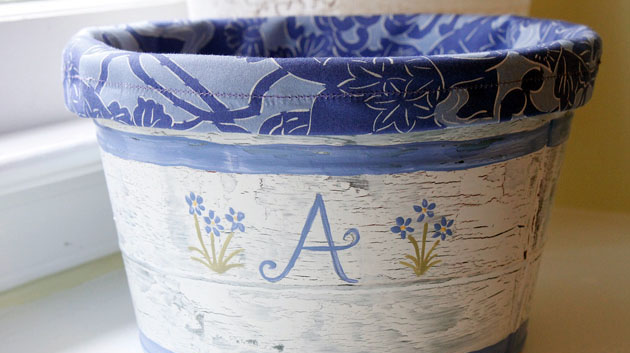
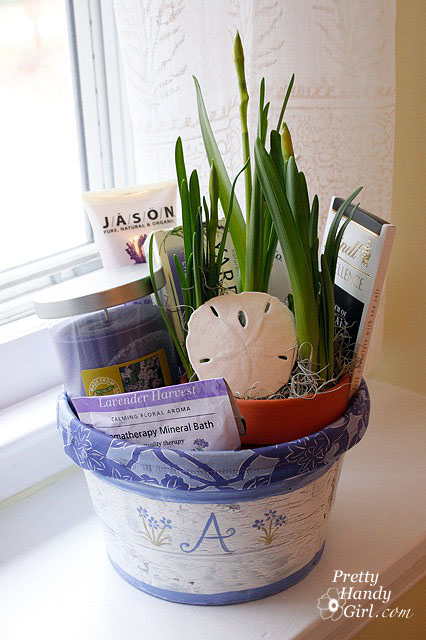
Did you see that cute bucket of bath and body love above? (Who am I kidding, how could you miss that gigantic picture.) Today I’ll show you how to make the liner.

So, I started this post and wrote “How to Make a Pants Liner” in the title field until I realized that pants liner is only one letter away from panty liner. {snicker, giggle} Not good.

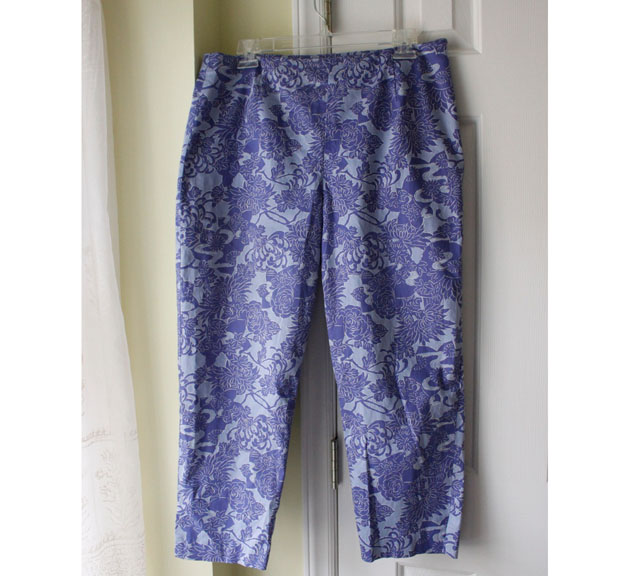
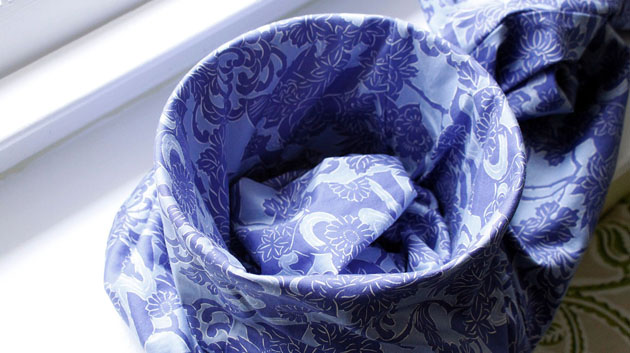
The liner started out in a previous life as a pair of pants:

Not my pants, I found them at Goodwill. I liked the print and had plans to use the fabric for a sweater embellishment, but then I saw how nicely the purple color looked next to my newly painted bucket and inspiration hit.

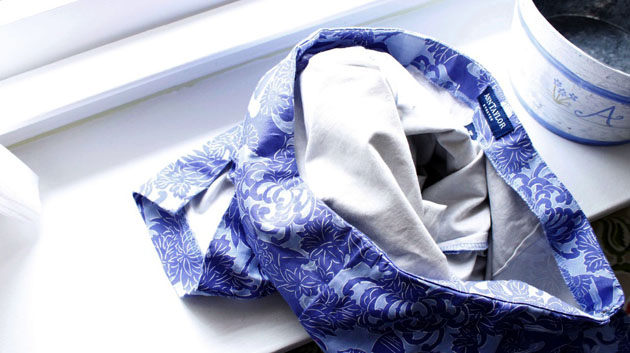
Start by turning the pants inside out.

Set the foot of the pants inside your bucket. And roll the waist outside the bucket. Move the pants up and down on the bucket until you have a snug fit.
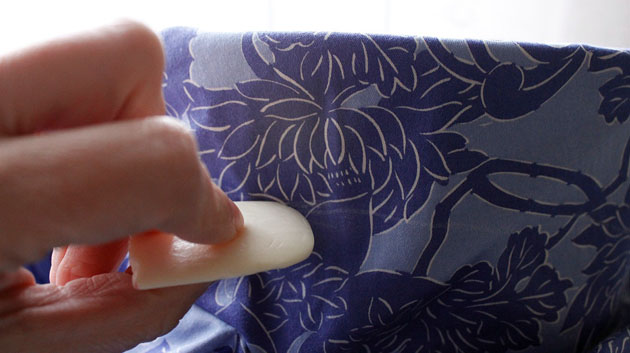
Mark the outside edge of the pants with a disappearing fabric marker or an old sliver of soap. Make sure you allow an extra inch to roll under when you sew it.
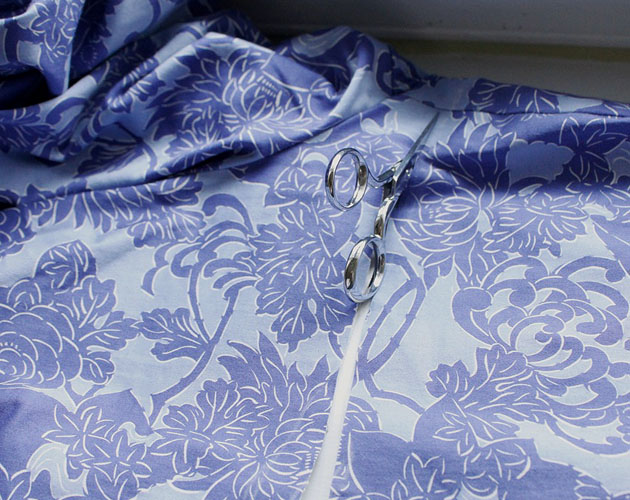
Remove the pants from the pail, take a big breath and cut the pants. Yes, I cringe at cutting up pieces of clothing. One day I hope to overcome my phobia.

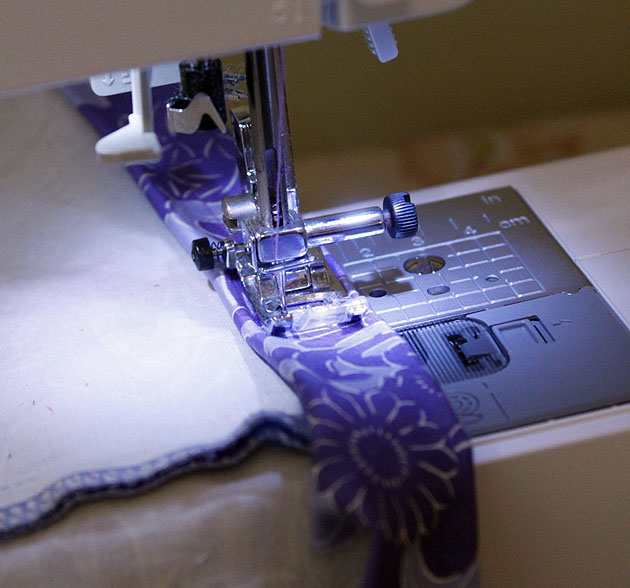
Fold over the cut edge twice and sew it.

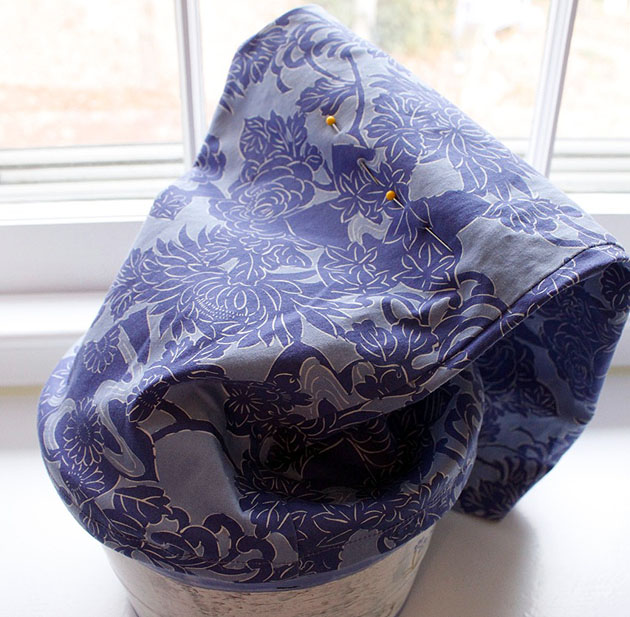
Set the pant leg into the bucket again and roll the finished edge over the bucket until you are happy with how much cuff shows. Then use a pin to mark where the bottom of the bucket is.

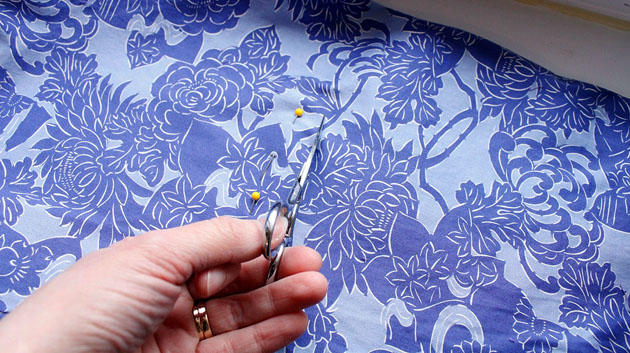
Remove your pants liner {snicker, snicker, giggle. I almost said panty liner again.} And use some more pins to mark a straight line across the leg.

Take another breath and cut just below the pins on the leg. Remember to allow at least 1/2″ seam allowance.

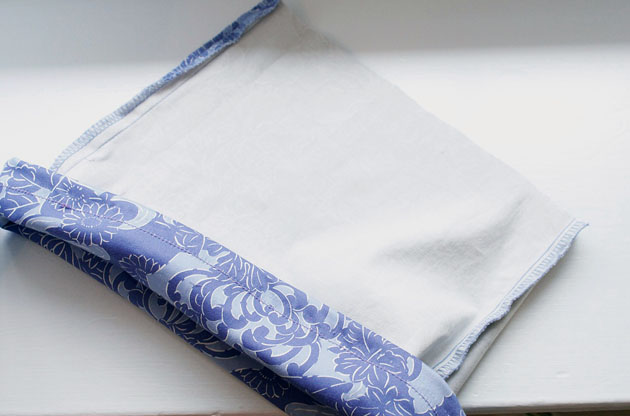
Turn the pants inside out (right sides together) and stitch the bottom closed.
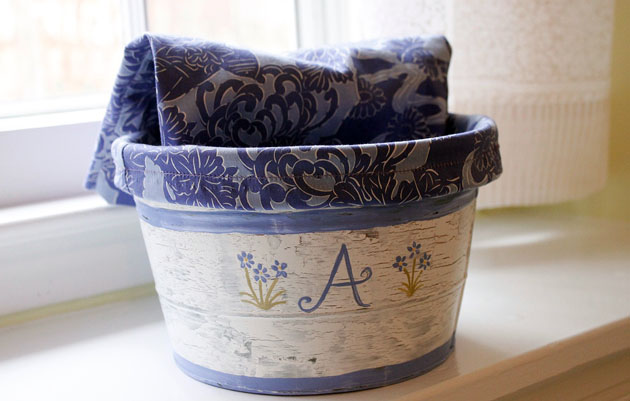
Slip the liner back onto your bucket…
…and smooth out the bottom of the liner into your bucket.
That’s it. You are done. Now fill up your bucket with a few of your favorite things.

The possibilities for this project are endless. How cute would a pair of old jeans look as a liner? Or some funky striped pants. So get thee to Goodwill ASAP and scour those pant racks. Size large or bigger works the best.

Oh and while you are there look for 100% wool sweaters to felt. I’ll have a tutorial to make these adorable never wilt roses.

Never Die Roses