How to Refinish Rusted & Scratched Appliances | Pretty Handy Girl

How to Refinish Rusted & Scratched Appliances | Pretty Handy Girl

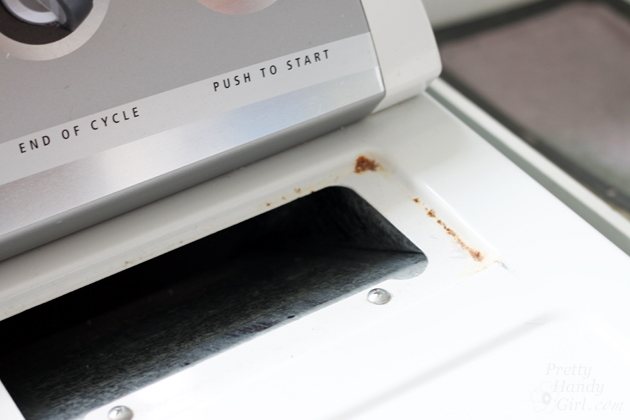
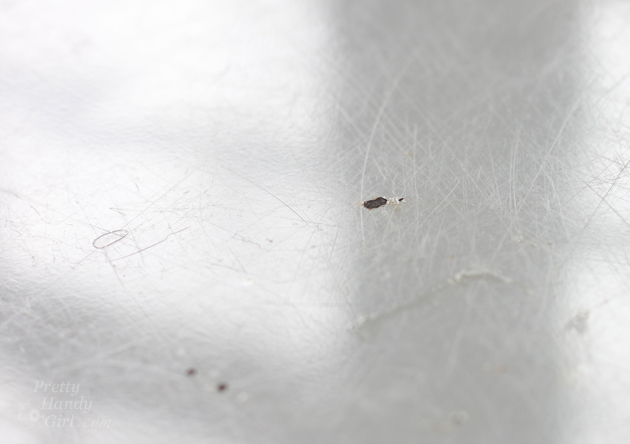
Do you have an appliance that has scratches and/or rust spots? Unfortunately over time the rust will get worse if you don’t deal with it.

How to Refinish Rusted & Scratched Appliances | Pretty Handy Girl

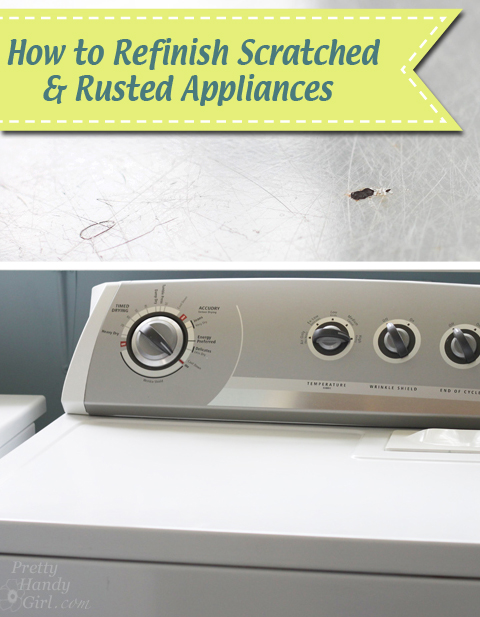
Today I want to show you how to refinish scratched and rusted appliances so you can extend the life of your appliances and make them look almost like new again.
How to Refinish Rusted & Scratched Appliances | Pretty Handy Girl

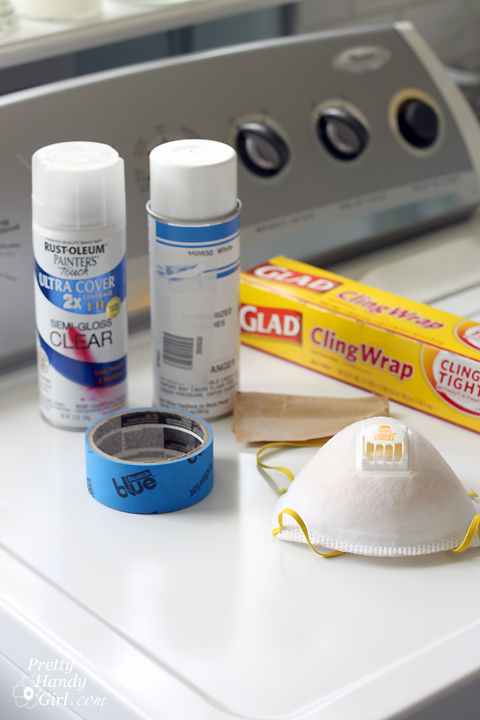
Before you get ready to tackle this project, you’ll need to order spray paint specifically for your appliance. If your brand doesn’t carry a touch up spray paint you can try the universal spray paint by Rustoleum. Or buy the liquid touch up paint and only paint the rust spots.

Be aware that all white paint is not the same color. However,  typically the colors are usually the same within a specific brand. (i.e. All Whirlpool white appliances are painted with the same white.)
How to Refinish Rusted & Scratched Appliances | Pretty Handy Girl

Materials:

Instructions:

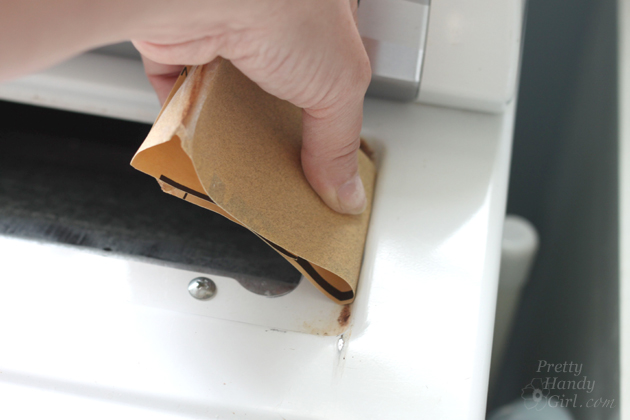
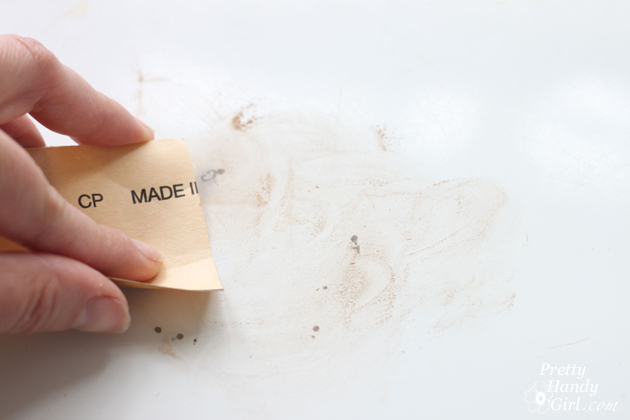
Begin by sanding any rust spots down to the metal. Sand the entire surface lightly to minimize scratches.
How to Refinish Rusted & Scratched Appliances | Pretty Handy Girl

Fold the sandpaper in half to get into grooves and tight spots.

How to Refinish Rusted & Scratched Appliances | Pretty Handy Girl

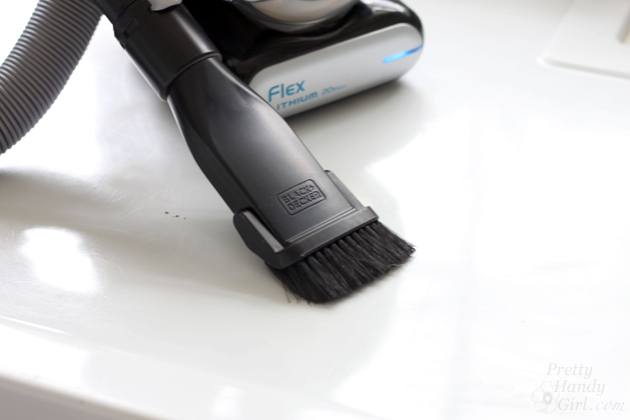
Vacuum up any sanding dust and dirt.

How to Refinish Rusted & Scratched Appliances | Pretty Handy Girl

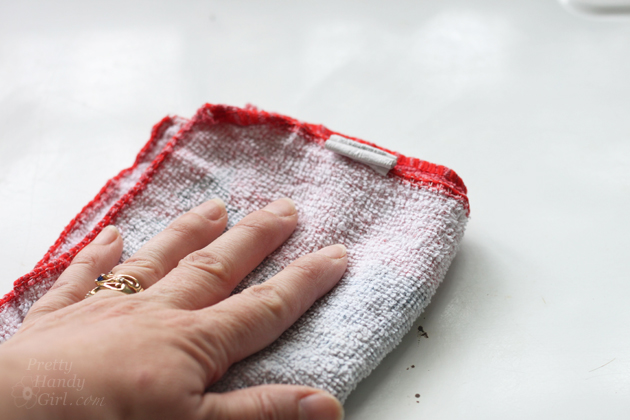
Use a clean damp cloth to wipe any additional dust off your appliance.

How to Refinish Rusted & Scratched Appliances | Pretty Handy Girl

If you can drag your appliance outside, that’s the best way to spray paint it. But, if you can’t, you can mask off an area around your appliance with cardboard and newspaper. You can also use saran wrap to mask off tricky areas.

How to Refinish Rusted & Scratched Appliances | Pretty Handy Girl

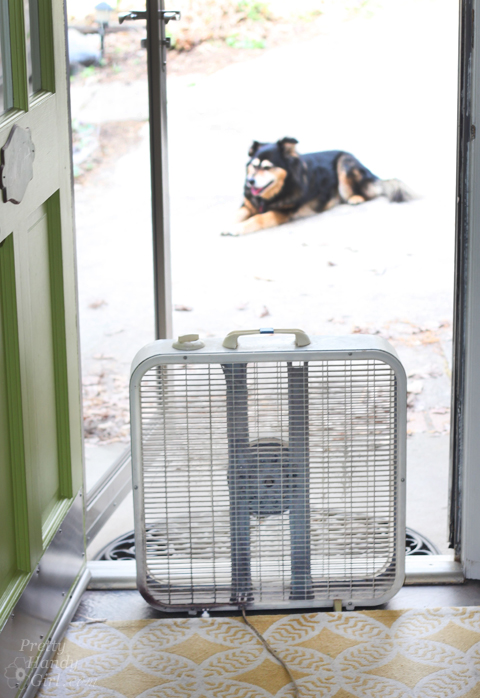
If you are working inside, crack a window and open a door. Use a fan to pull air away from your work area. Send the kids and pets outside if you are painting indoors.
How to Refinish Rusted & Scratched Appliances | Pretty Handy Girl

Put the respirator mask on. Spray the appliance with the spray paint. Use back and forth strokes that extend off the appliance and onto the masked area. If you stop at the edge you’ll have puddles of paint. A light coat is all you need for your first coat. Read more

How to Refinish Wood Floors without Sanding | Pretty Handy Girl

How to Refinish Wood Floors without Sanding | Pretty Handy Girl
How to Refinish Wood Floors without Sanding

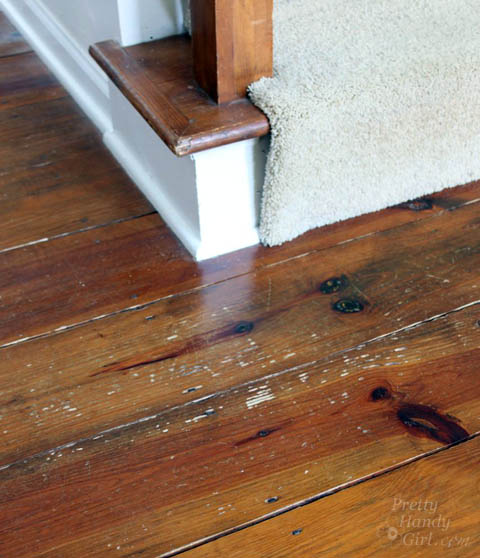
I love our antique heart pine floors! They are beautifully distressed. The round pegs and square nails securing them in place add loads of character. However, the square nails sit flush with the surface preventing us from ever being able to refinish them with a sander. The nails would tear up the sandpaper in no time. But, that’s no problem because I know a way to Refinish Wood Floors without Sanding!


How to Refinish Wood Floors without Sanding | Pretty Handy Girl

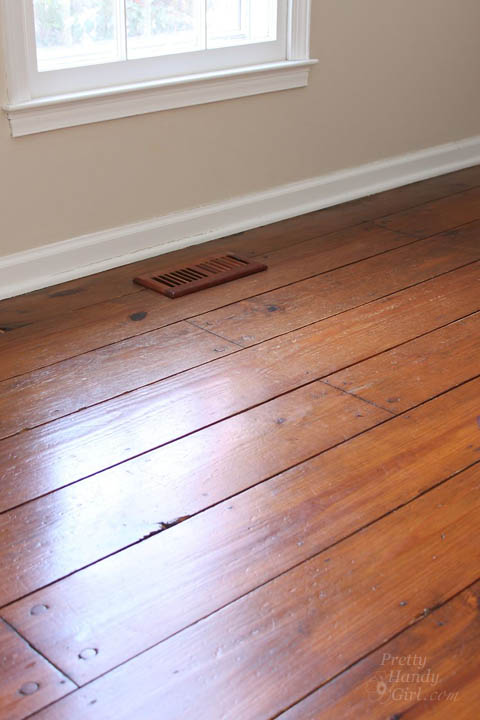
From time to time, our floors start to look dull…

How to Refinish Wood Floors without Sanding | Pretty Handy Girl

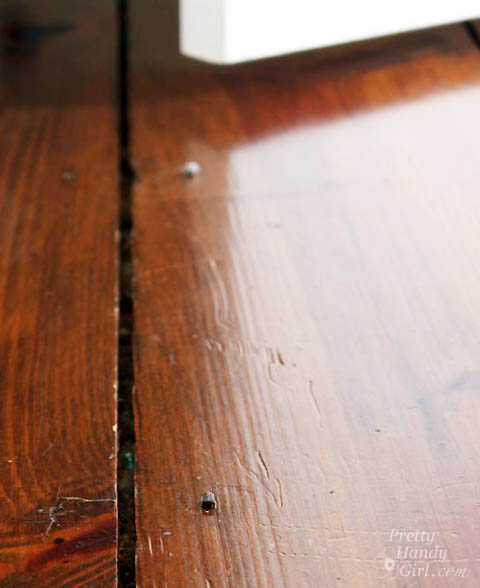
…and the scratches are more noticeable. This is when I know it’s time to refinish them.

How to Refinish Wood Floors without Sanding | Pretty Handy Girl

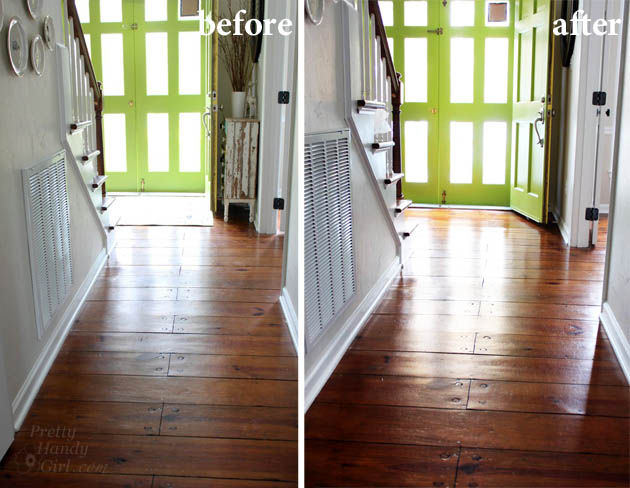
The first time I refinished our floors, it was several years ago when we were painting the office and dining room. I decided to try to refinish the floors because the rooms were already devoid of furniture. Several neighbors had recommended Bona® Hardwood Floor Cleaner and Bona® Hardwood Floor Polish. I was skeptical, but the results were beautiful floors that had luster, but still showed their beautiful age.

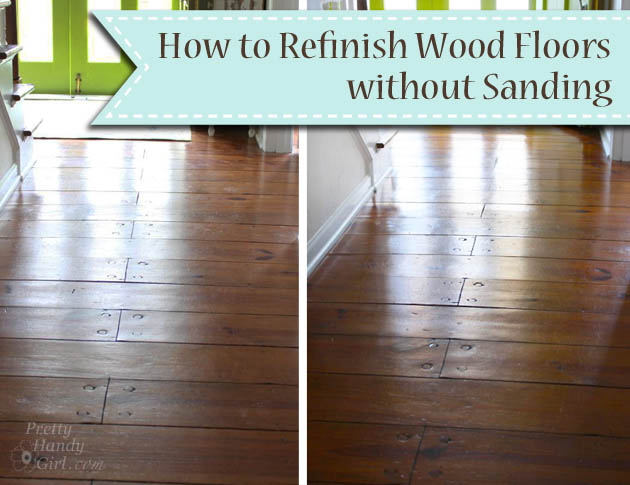
Before and After Finishing Wood Floors without Sanding | Pretty Handy Girl

The Bona® Hardwood Floor Cleaner did a fabulous job of cleaning the floor without damaging them. And, the Bona® Hardwood Floor Polish provided a strong finish without any waxy build up. The high gloss protective layer adds some shine, but isn’t overly shiny. The polish also fills micro-scratches, evening out the appearance of the floor.

How to Refinish Wood Floors without Sanding | Pretty Handy Girl

Fast forward to this past week when Bona asked me to write a sponsored post for them, I jumped for joy because I already use and love the Bona® Hardwood Floor Products! (Here’s my full disclosure: Yes, this is a sponsored post. No, I was not told what to write. And yes, I probably would have blogged about my experiences using Bona® Hardwood Floor Products at some point anyway. Win-win.)

I highly recommend trying the combo of the Bona® Hardwood Floor Cleaner and the Bona® Hardwood Floor Polish before spending huge amounts of money to have your floors refinished. (Bona® Hardwood Floor Cleaner & Polish will not work on floors that have an oil or wax coating. Test in an inconspicuous area to be sure it will work for your floors.)

Here’s how to Refinish Your Wood Floors without Sanding:

Materials:

(I’ve included affiliate links for your convenience. I earn a small percentage from a purchase using these links. There is no additional cost to you. You can read more about affiliate links here.)

Instructions for Cleaning the Wood Floors:

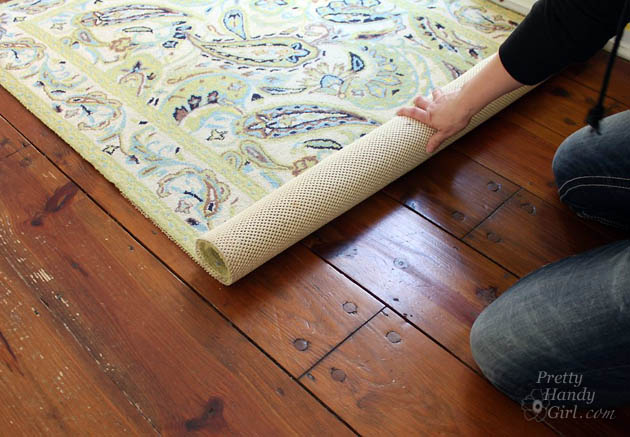
Remove all rugs and furniture from the room. If you have heavy furniture pieces that are never moved, you can leave them in place.

How to Refinish Wood Floors without Sanding | Pretty Handy Girl

Vacuum or sweep the floors to remove all dirt and debris.

How to Refinish Wood Floors without Sanding | Pretty Handy Girl

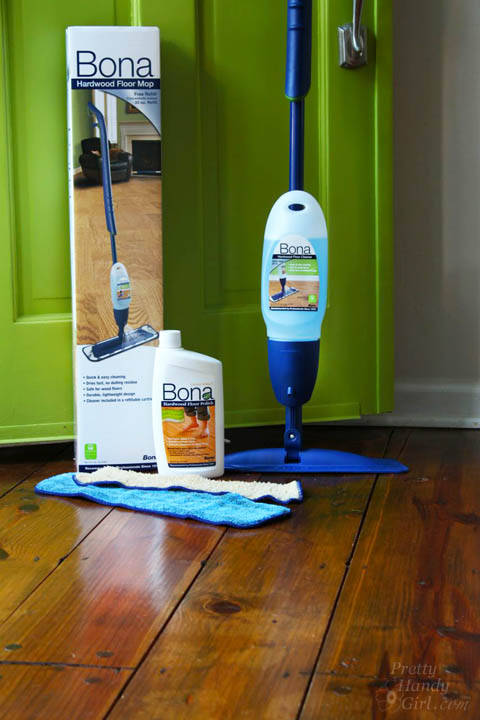
Assemble your Bona® Hardwood Floor Spray Mop as shown here: Read more

How to Securely Install a Towel Bar | Pretty Handy Girl

How to Securely Install a Towel Bar | Pretty Handy Girl

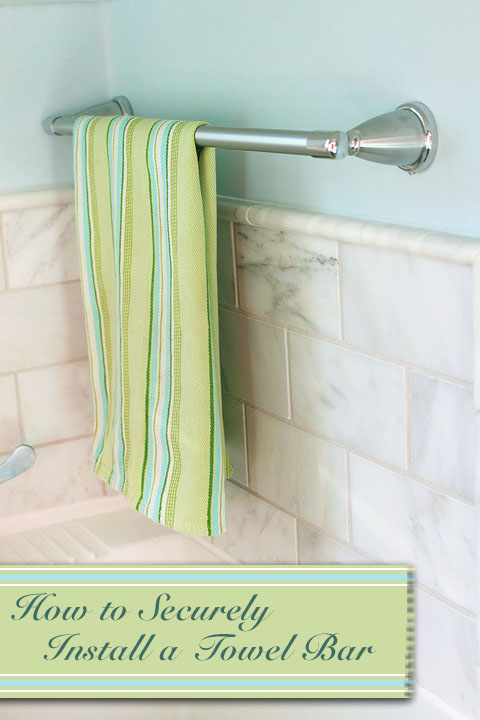
Have you ever reached for a towel and realized that the towel bar was barely secured to the wall? Installing a New Towel Bar Securely is a fairly simple DIY task if you know how to anchor the brackets.

As part of my little laundry room refresh, I decided to replace the dated brass towel bar that had started to come loose.

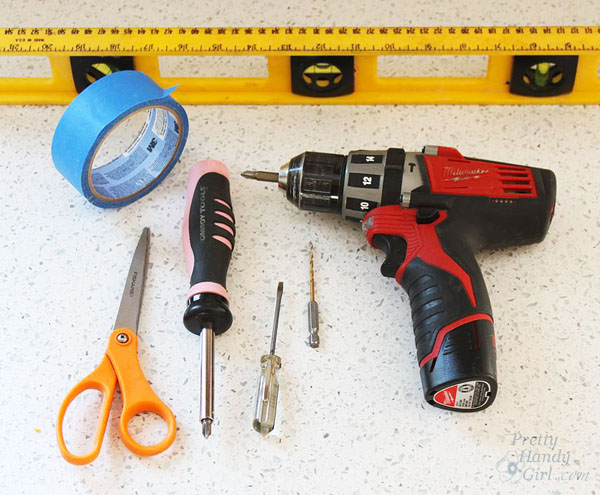
Install a Towel Bar Securely Materials:

(Contains some affiliate links)

How to Securely Install a Towel Bar | Pretty Handy Girl

Optional:

Install a Towel Bar Securely Preparation:

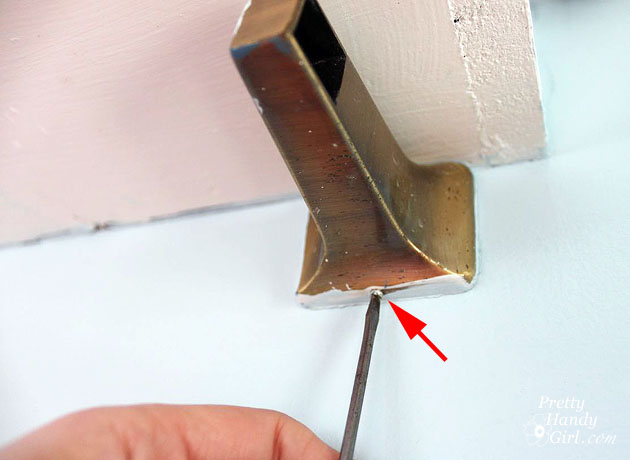
Begin by removing the old towel bar if you have one already installed. Look underneath for a tiny set screw. Usually you will need a small flat head screwdriver or allen wrench to remove it.

How to Securely Install a Towel Bar | Pretty Handy Girl

Once the mounting bracket is removed, you will see the mounting plate which can be removed by unscrewing the screws. Patch any holes in the wall and touch up the paint before installing the new towel bar.

Mounting Instructions:

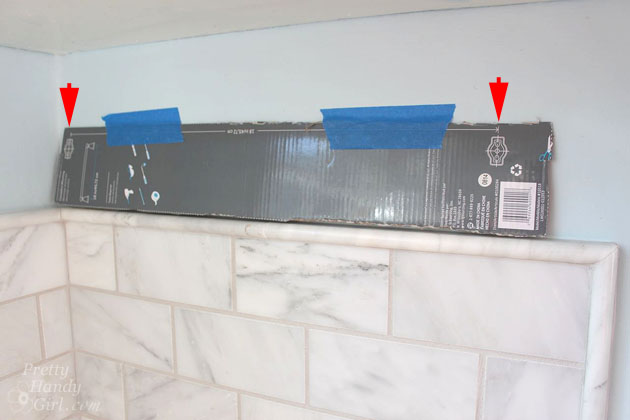
Find the template that came with your new towel bar. Sometimes it is on the instruction sheet, and sometimes you have to cut it off the product box.

Hold the template up and line up the bracket locations with studs. If  you can’t line it up with two studs, you can use a good wall anchor. Don’t use the anchors that came with the towel bar. (Here’s why you should never use those freebie wall anchors.)

How to Securely Install a Towel Bar | Pretty Handy Girl

Tape the template in place and level it. Make any adjustments necessary to get the template perfectly level. Read more
Auto Cup Holder Extender | Pretty Handy Girl

Auto Cup Holder Extender | Pretty Handy Girl

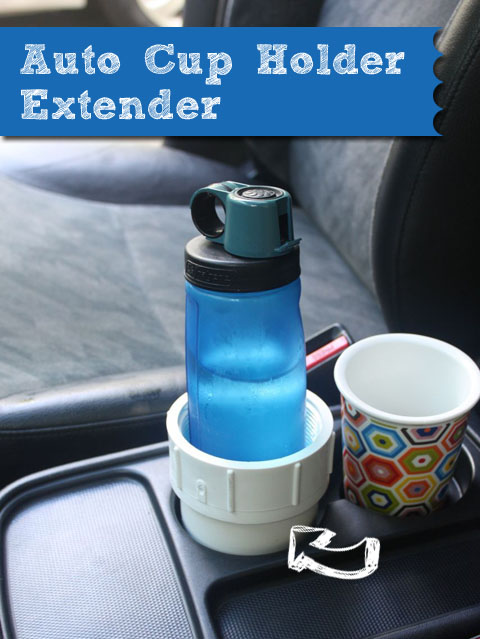
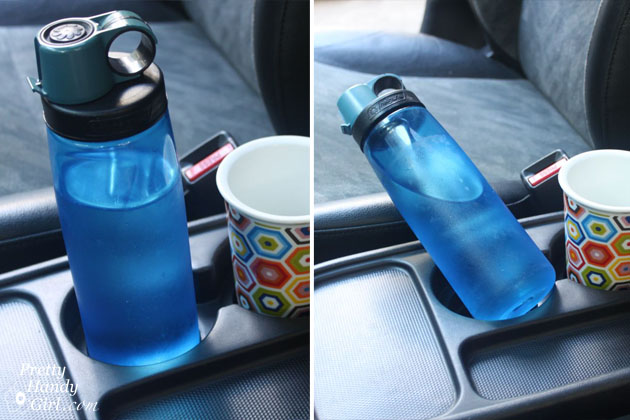
Do you have a solid cup holder in your car that doesn’t hold all size bottles and cups? The console cup holder in our older Honda CRV has been a constant source of frustration for myself and Pretty Handsome Guy. When we drive around a corner the larger water bottles will inevitably tumble. Finally, I got tired of our bottles tipping and spilling on turns.

Auto Cup Holder Extender | Pretty Handy Girl

Auto Cup Holder Extender

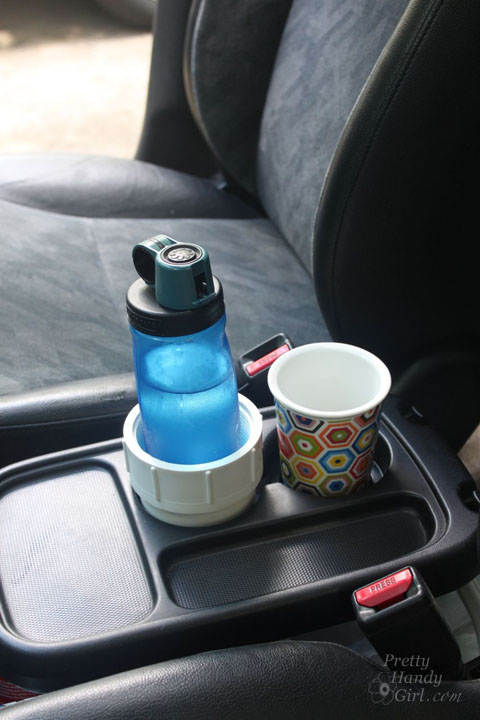
I found the solution in the plumbing aisle at Lowe’s! This plumbing part has solved our problem by becoming an auto cup holder extender.

Auto Cup Holder Extender | Pretty Handy Girl

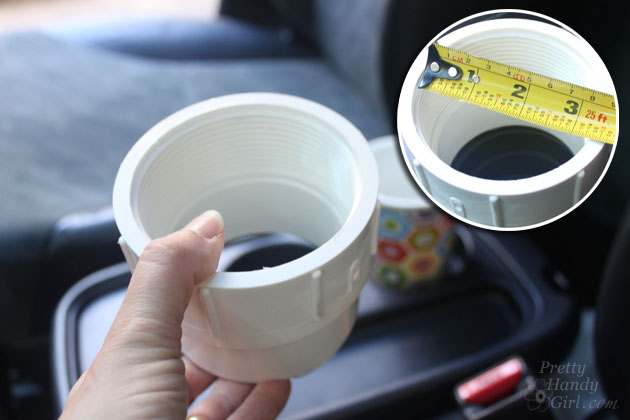
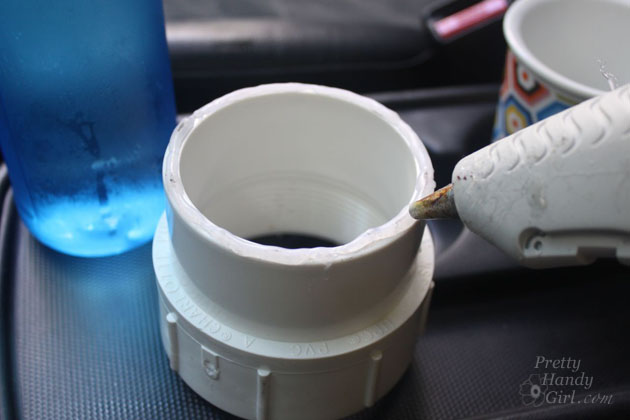
It’s called a 3″ PVC Cleanout Adapter Fitting and it costs less than $4. Simply run a line of hot glue onto the bottom of the fitting and set it onto the car cup holder.

Auto Cup Holder Extender | Pretty Handy Girl

Now we can take turns like a race car driver and not worry about those taller bottles and drinks spilling.

Auto Cup Holder Extender | Pretty Handy Girl

Do you have any other auto tips or tricks for keeping your auto clean? I could use a little more help in that department.

PHGFancySign


Pin for later!

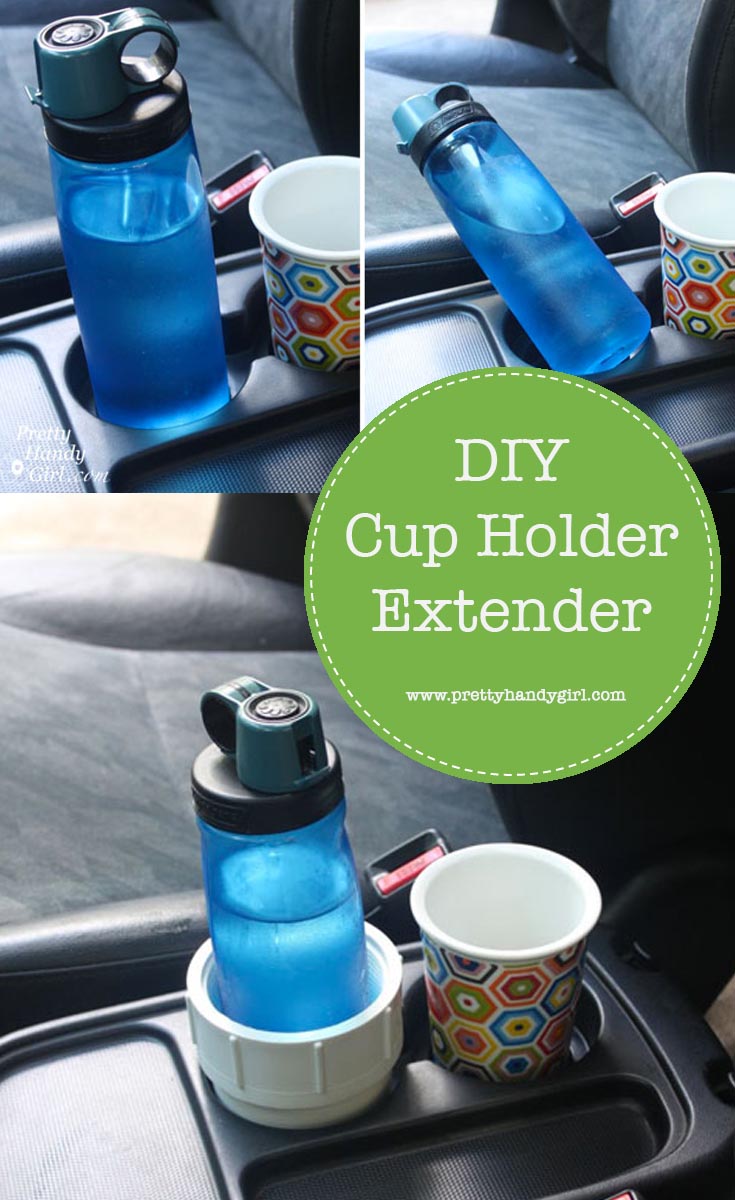
End the bottles tipping and spilling on turns in your car with this DIY cup holder extender! | Pretty Handy Girl #prettyhandygirl #DIY

Fix a Leaky Faucet - Take 2 | Pretty Handy Girl

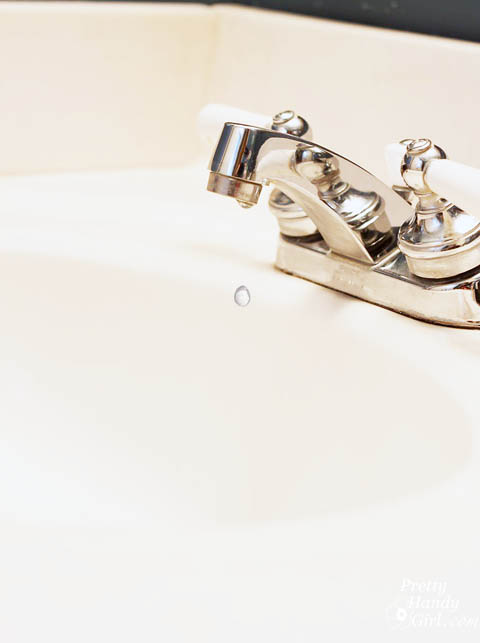
Remember last week when I was showing you how to fix a leaky faucet in 10 minutes? Well, sometimes a fix doesn’t always solve the problem. This is not unusual in home repairs. It doesn’t mean you did it wrong or it’s time to call a plumber. It just means you have to look further for the solution. Don’t give up! Today’s tutorial should also take 10 minutes or less (minus the trip to pick up the parts) and should definitely fix that leaky faucet.

In my tutorial last week I showed you how to replace the “O” ring and seat washer on the faucet. This worked for a few days, but then the faucet began leaking again. The cause was a worn valve. As promised, let’s get to this equally easy and quick fix for your leaky faucet.

dripping-faucet

(Side note: it will cost approximately $15-$20 for new valves vs. $5 for new seat washers and “O” rings. This is still cheaper than a plumber. But, one reason you might want to try changing just the washers is that they are easier to find at Lowe’s or other home improvement stores. Replacement valves may be a bit trickier to locate. Valves can usually be purchased at a plumbing supply store. If you have one nearby, I’d suggest replacing the whole valve stem that comes with a new seat washer and “O” ring.)

Materials:

Fix a Leaky Faucet - Take 2 | Pretty Handy Girl

  • Screwdriver
  • Pliers
  • Faucet stems (cartridges) purchase after removing the old

Instructions:

(This may be déjavu from the other post, but at least you’ll be familiar with the steps by now.)

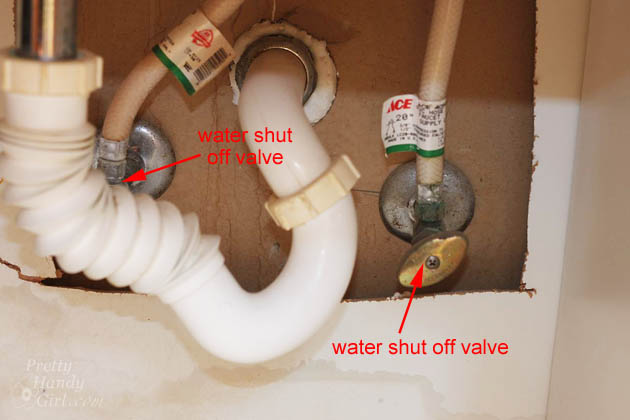
Begin by turning off your water. You can locate the water shut off valves under the sink.

10 Minute Fix for a Leaky Faucet | Pretty Handy Girl

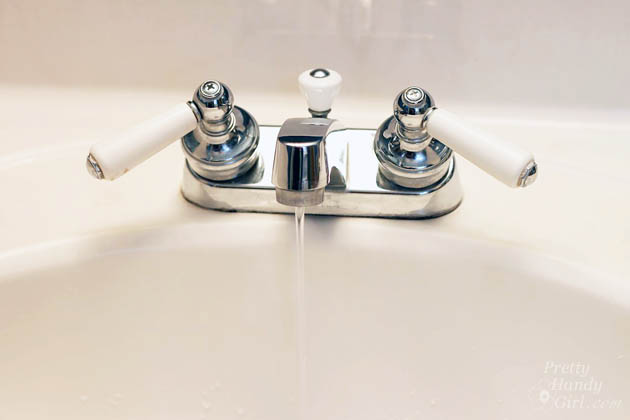
Turn on the water until the faucet runs dry.

10 Minute Fix for a Leaky Faucet | Pretty Handy Girl

Use the philips screwdriver to loosen and remove the screw on top of the faucet handle. Read more