Seal Gaps Around Pipes with GREAT STUFF | Pretty Handy Girl

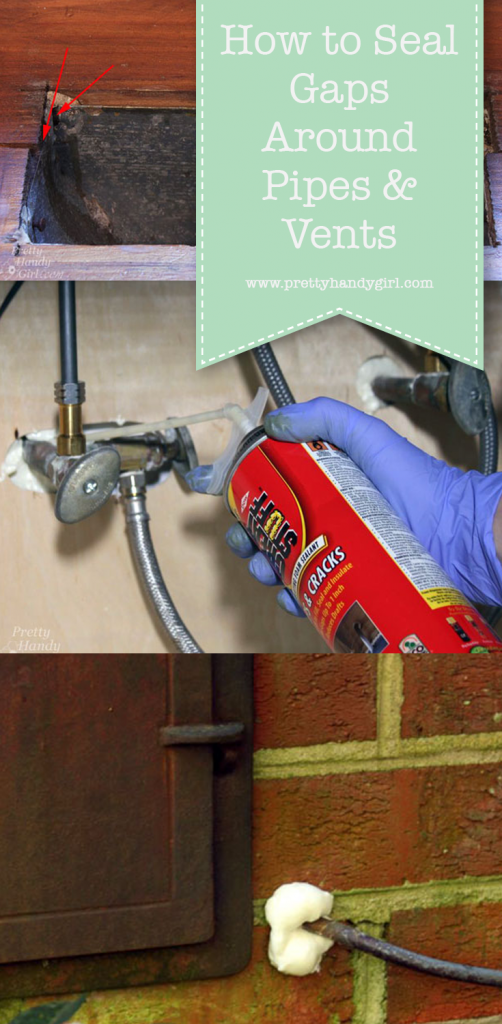
Seal Gaps Around Pipes

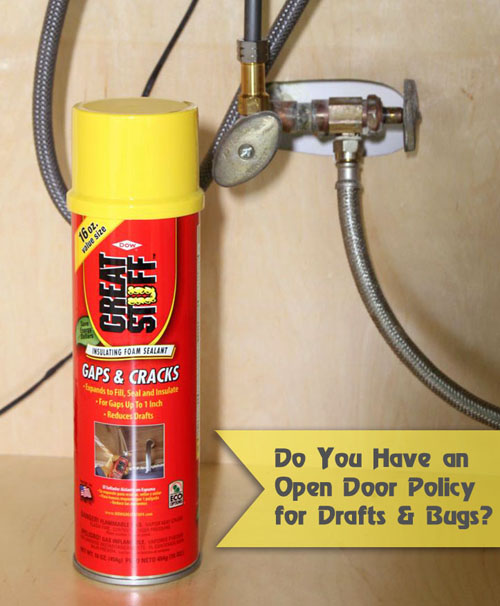
Do you have an open door policy for drafts and bugs?
Seal Gaps Around Pipes with GREAT STUFF | Pretty Handy Girl

Of course not! Wait… you might and not know it. Have you looked under your sinks around the water pipes? If you have gaps around the pipes, you have the welcome sign up for cold air and bugs. Take a few minutes to seal around pipes with GREAT STUFF and you’ll stop them from entering your home.

Before GREAT STUFF approached me about writing a sponsored post for them, I was already a huge fan of their product. And between you and me, this post was already on the list of 31 Days of Handy Home Fixes! But, let’s keep that secret, because we don’t need GREAT STUFF to get an inflated ego. Ha, ha. Get it? Inflated. Oh yes, GREAT STUFF expands!
Two Headed Handy Girl

So much so, that I created a second head when I was working on my kitchen renovation. (I think my Halloween costume is complete, right?!)

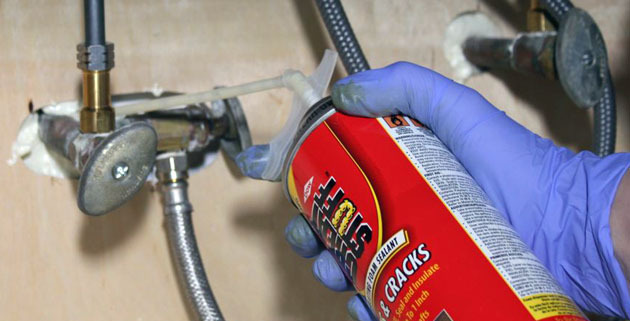
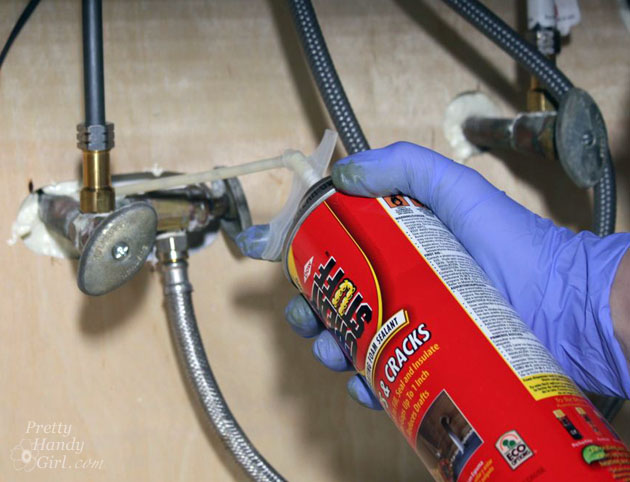
But seriously, this is GREAT STUFF! It will fill in any gaps and holes in your home and foundation to prevent bugs and drafts from coming in. GREAT STUFF is easy to use, simply shake the can for 30 seconds. Add the spray nozzle. Don’t forget to put on gloves and eye protection. I created a super quick video to show you how to use GREAT STUFF.:

Spray GREAT STUFF into the gaps around your pipes. Do not overfill as GREAT STUFF expands as it cures.
Seal Gaps Around Pipes with GREAT STUFF | Pretty Handy Girl

Keep a wet wipe or paper towel nearby to wipe off the nozzle and wipe up any drips.

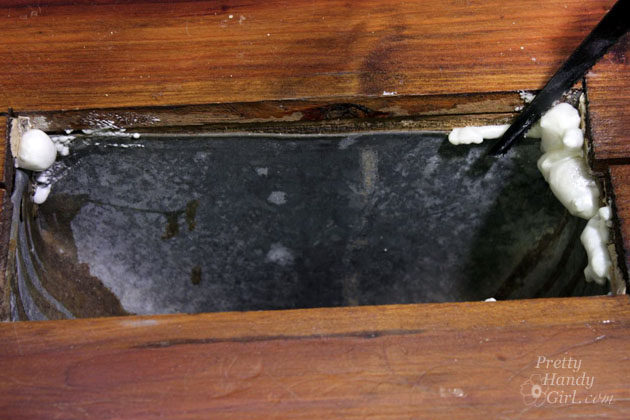
Once the GREAT STUFF has cured, trim off any excess with a serrated blade if necessary.
Seal Gaps Around Pipes with GREAT STUFF | Pretty Handy Girl

Here are just a few places you can use GREAT STUFF:

Around plumbing pipes under your sink:
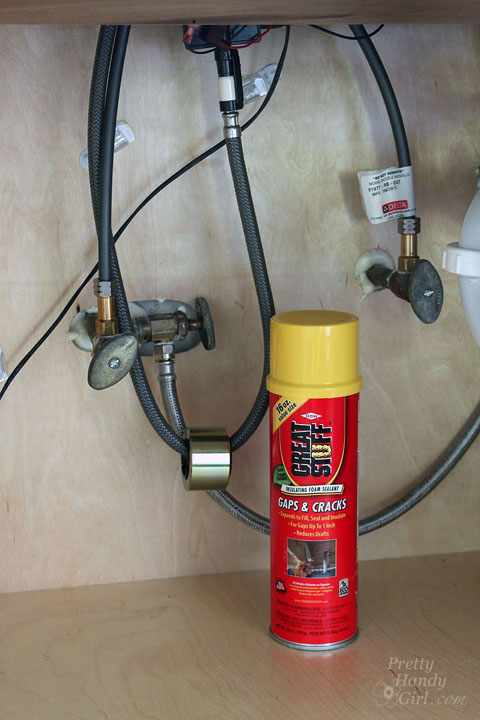
Seal Gaps Around Pipes with GREAT STUFF | Pretty Handy Girl

In the openings and gaps in your floor vents:
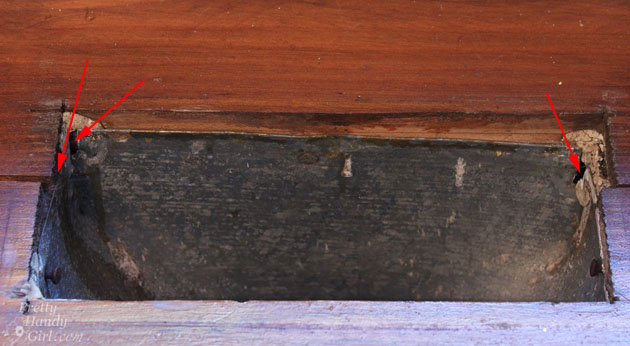
Seal Gaps Around Pipes with GREAT STUFF | Pretty Handy Girl

Around pipes and wires entering your home’s foundation:

Seal Gaps Around Pipes with GREAT STUFF | Pretty Handy Girl

Have you checked under your sinks or around your foundation lately? Buy a can of GREAT STUFF and seal all the gaps. Then enjoy your winter draft-free and your summers bug-free ;-).

Check out the Dow GREAT STUFF Pinterest board for more ways to use GREAT STUFF.

Seal Gaps Around Pipes

Pin for later!

sealing pipes with foam

Disclosure: This post was sponsored by GREAT STUFF. I was compensated for my time. As always, I’m extremely picky about the products I promote. If I don’t like a product, you won’t see it mentioned. All projects and opinions are my own. I was not told what to write or say about GREAT STUFF.

Other tips in the 31 Days of Handy Home Fixes series:


How to Caulk Cracks | Pretty Handy Girl

31 Days of Handy Home Fixes | Pretty Handy Girl

One of the best thing you can do to save money is to prevent water from getting through your home’s exterior. Now is a good time to walk around your home and look for gaps and cracks around doors, windows, trim and siding. If you see any, I’ll show you super quick way to caulk and fill them.

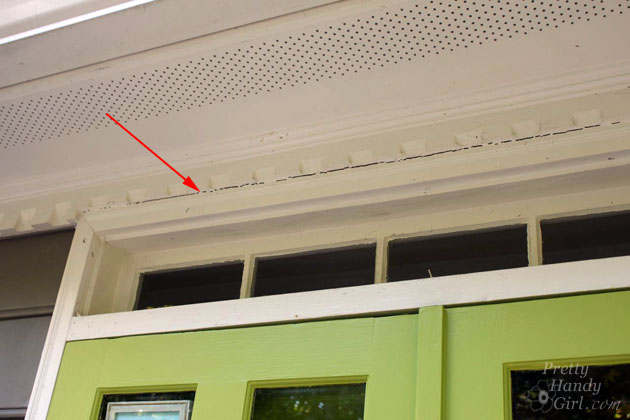
Here’s a big crack over our front door.

How to Caulk Cracks | Pretty Handy Girl

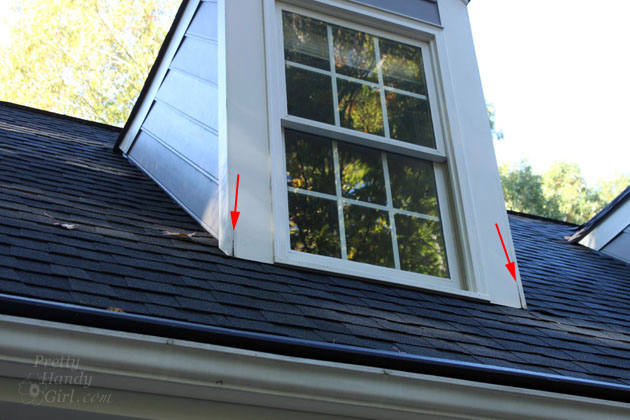
Gah! Two more gaps:

How to Caulk Cracks | Pretty Handy Girl

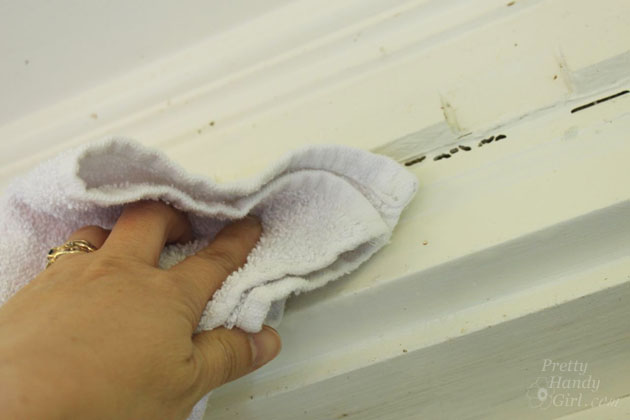
Clean off around the crack with a wet rag dipped in mild soap and water. If there’s mold or mildew, a water and bleach solution should get rid of it.

How to Caulk Cracks | Pretty Handy Girl

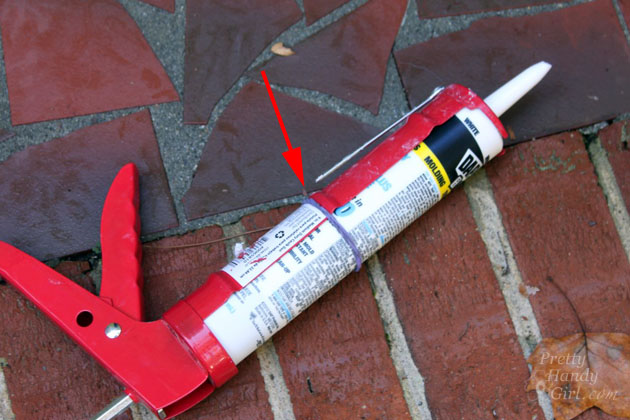
Thanks to my reader, Susan Cole, for this tip. If you are caulking upside down or the tube keeps slipping out of the gun, slip a rubber band around the tube and gun to hold it in place.

How to Caulk Cracks | Pretty Handy Girl

Here’s a quick video tutorial to show you how I breeze through caulking cracks and gaps:

That’s all there is to it! Now our home is protected from water and insects.

How to Caulk Cracks | Pretty Handy Girl

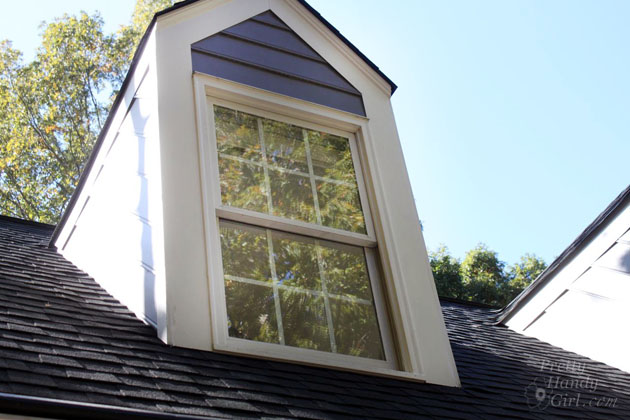
In case you were wondering, I was able to lean out the dormer window while keeping my feet on the floor.

How to Caulk Cracks | Pretty Handy Girl

If I had needed to lean out any further, I would have used a sturdy ladder or hired someone to do it for me. Recently I’ve been leaning (pun intended) toward hiring out any task that involves climbing higher than one story. Falling from a ladder is just too risky for this DIY Mom. Just because I can do it doesn’t mean I always will.

PHGFancySign

Pin for later!

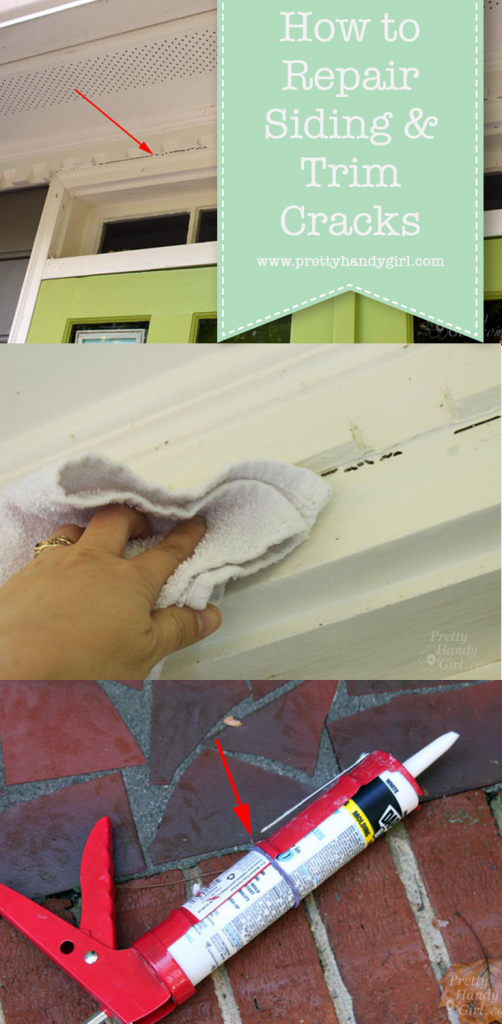
repair cracks in siding and trim with caulk

31 Days of Handy Home Fixes | Pretty Handy Girl


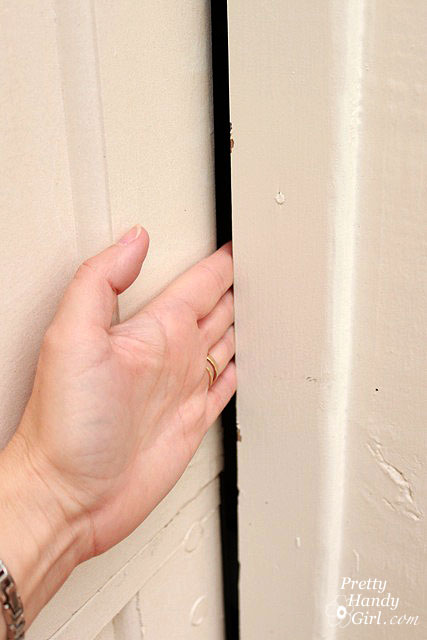
Do you have a garage? Are your garage doors insulated or weather stripped? Or do you have big gaps in the sides like this:

gap_in_garage_door

If you don’t have weather stripping on your garage doors, you could be throwing away money on heating spaces above and/or next to your garage. Not to mention, making it uncomfortably cold for any of us Handy Peeps who work in the garage.

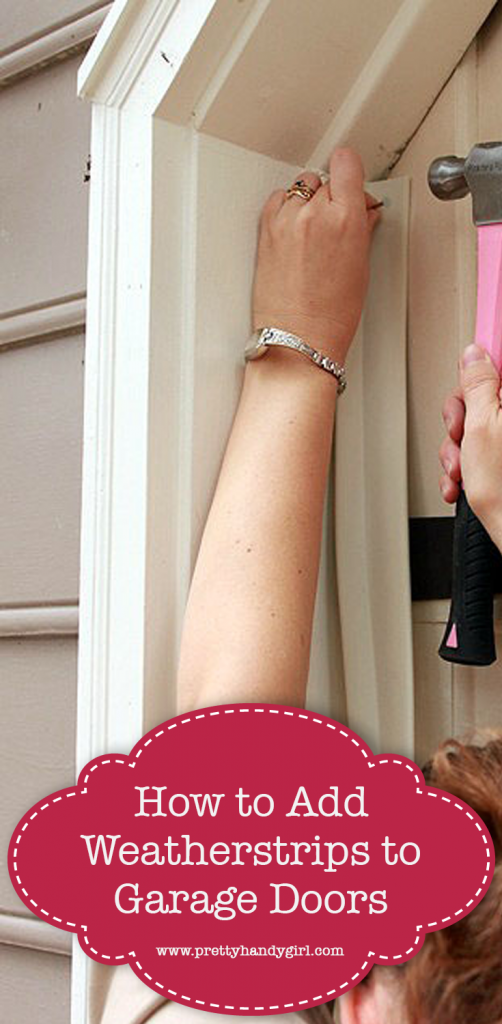
Day 26 – Weatherstrip Your Garage Doors

In an hour you can seal the gaps around your garage door. This could make a huge difference in the temperature of your garage. And you could improve the temperature in adjacent rooms. After installing the weather stripping we noticed a huge difference in the temperature of our bonus room that sits on top of the garage.

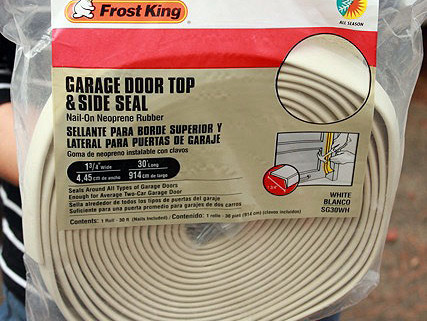
A Garage Door Side and Top Weather-strip Kit costs less than $20. Be sure to measure the sides and top of your garage doors and order enough to cover.
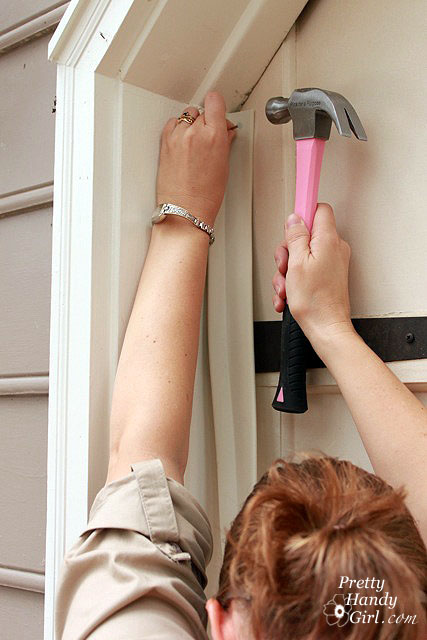
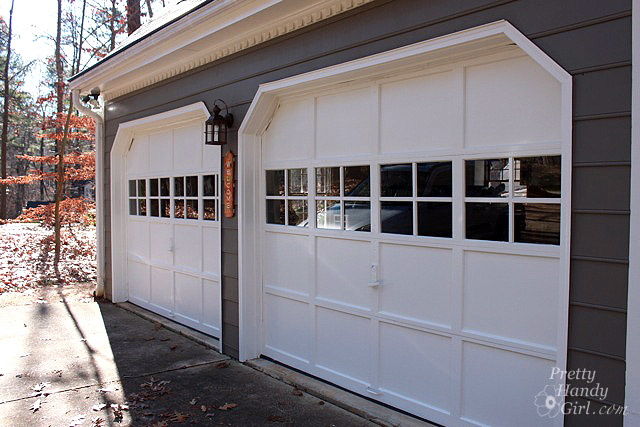
Use the nails included in the kit to secure the garage door seal against your doors.

For a time saving tip and more detailed directions you can follow my full tutorial for installing garage door weatherstripping.

These were the resulting temperature shifts after I installed the weather stripping on our garage doors:

Before Weather Stripping:

Outside Temperature Inside Garage Temperature Temperature Difference
45ËšF 55ËšF 10 degrees
30ËšF 45ËšF 15 degrees


After Weather Stripping: 

Outside Temperature Inside Garage Temperature Temperature Difference
45ËšF 65ËšF 20 degrees
30ËšF 58ËšF 28 degrees


Go ahead and seal those gaps and enjoy a warmer garage and home this winter.

garage_doors

PHGFancySign

Pin for later!

adding weatherstrips to garage door

Do You Open or Close Crawlspace Vents | Pretty Handy Girl

31 Days of Handy Home Fixes | Pretty Handy Girl

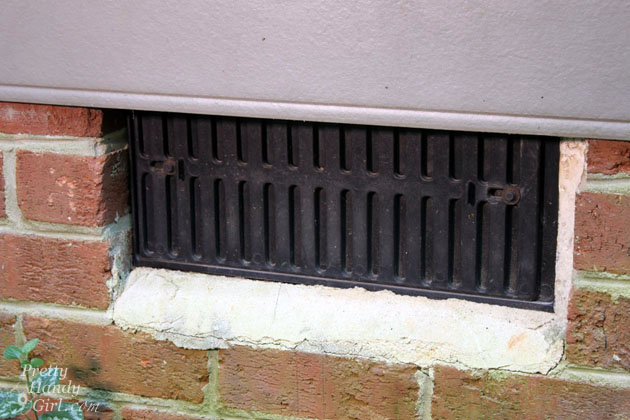
Do you leave your crawlspace vents open or closed? The great debate ends now.

Do You Open or Close Crawlspace Vents | Pretty Handy Girl

If you guessed open, you are right. If you guessed closed, you are also right!

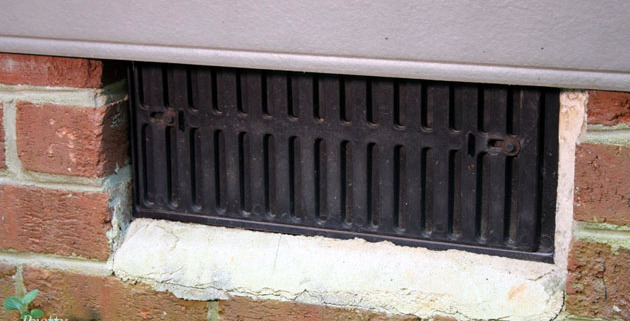
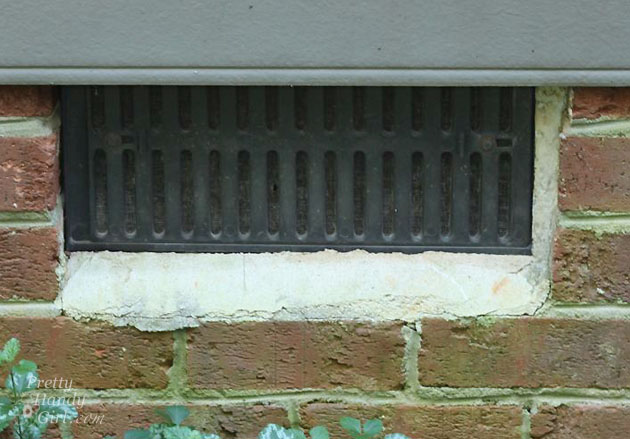
Crawlspace vents should be opened in the spring and closed in the fall. The reason being that you want to preserve any heat in your crawlspace in the winter. This will help protect your water pipes from freezing and keep your home a little cozier on those cold days.  Once spring arrives, go ahead and open the vents to allow better air flow in the crawlspace and to eliminate moisture build up.

Adjusting the vents should take you 5-10 minutes total.

Do You Open or Close Crawlspace Vents | Pretty Handy Girl

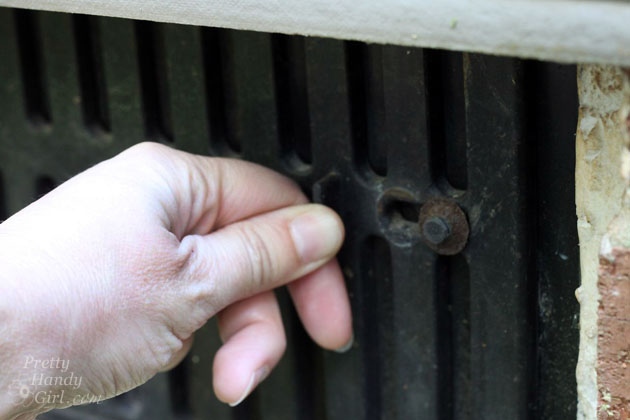
Usually, they will slide freely open and closed with your own hand strength.

Do You Open or Close Crawlspace Vents | Pretty Handy Girl

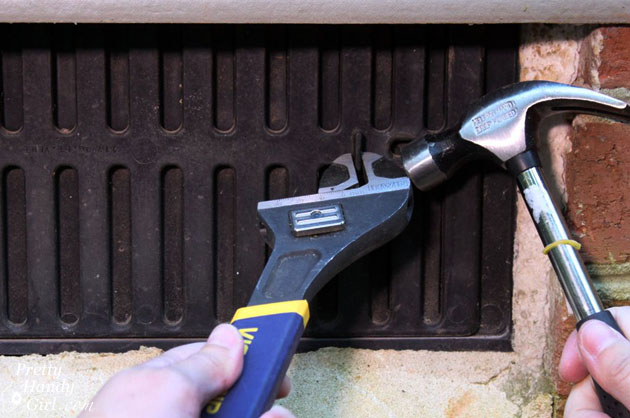
Occasionally you’ll run into a stubborn vent that might be rusty or stuck.  Use pliers or a wrench to grab the vent tab as close to the base as possible and gently tap on the wrench with a hammer.

Do You Open or Close Crawlspace Vents | Pretty Handy Girl

The only time you shouldn’t close your vents is if you have high radon; an appliance that can build up fumes; or excessive water and moisture problems. If you have these issues, you have bigger problems than worrying about your vents being opened or closed. Consult with an expert to remedy those situations immediately.

PHGFancySign

Quarterly Reminders on Google | Pretty Handy Girl

31 Days of Handy Home Fixes | Pretty Handy Girl

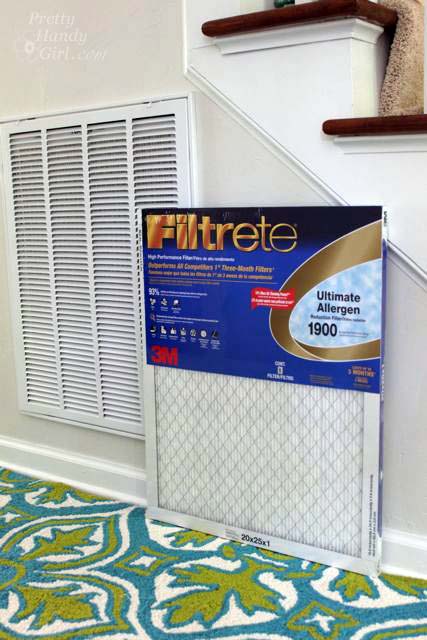
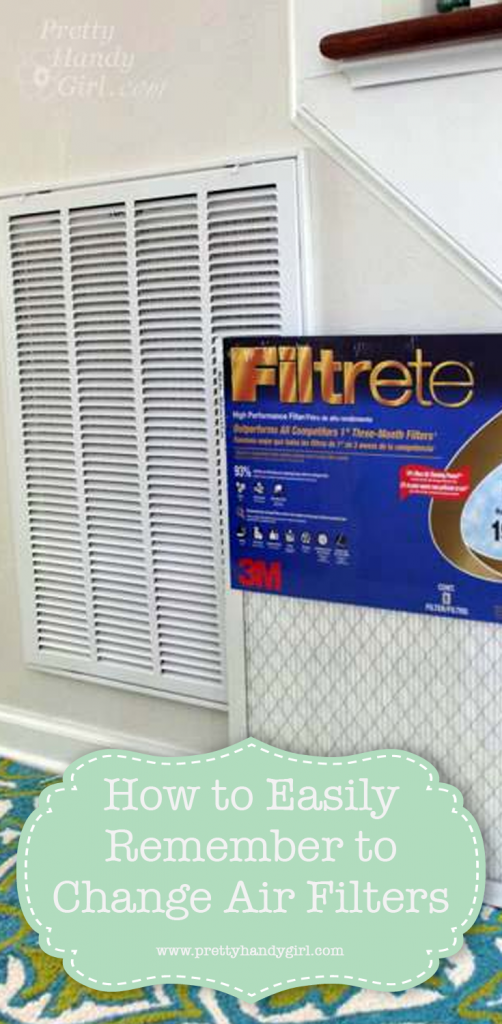
I’m sure you already know how important it is to change your air filters in your home. As a Filtrete Ambassador, I’m happy to remind you why you should replace your Filtrete Healthy Living Ultimate Allergen Reduction MPR 1900 filters on a regular basis:

  • Helps improve air quality in your home
  • Allergen reduction from air passing through the filter
  • Clean filters allow better air flow and less stress on your heating and cooling system
  • Capture airborne microscopic particles that can carry bacteria and viruses
  • Regularly maintenance and filter changes can help maintain your system

ultra_allergen_filtrete_filter

If you’re like me it’s hard to remember when it’s time to change your air filters. I have a solution!

Two tips to help you remember to change your air filters regularly.

1. Write the date you changed the filter on the new filter. That way you can peak at the filter to see if you need to change them soon.

date-on-filter-watermark

2. Sign up for a reminder email. You can sign up for the Filtete Clean Advantage Club to get reminder emails when it’s time to change your air and/or water filters. It’s easy and they’ll email you at your preferred intervals to help you remember to change your filters.

Get Reminders to Change Your Air Filters | Pretty Handy Girl

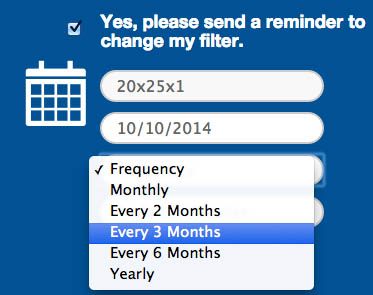
Simply enter your filter size, the date you need your first reminder (or the date of your last filter change). Then choose how often you replace your filters (or should I say how often you should replace your filters.)

Get Reminders to Change Your Air Filters | Pretty Handy Girl

Don’t forget to add your email address and click submit.

Get Reminders to Change Your Air Filters | Pretty Handy Girl

Now sit back and don’t worry about remembering to change your air filters ever again! When it’s time, you’ll get an email from Filtrete!

Now you can spend time trying to remember other important things, like what time is Flip or Flop on? Anyone else watching this show? Is is just me or does it bother you that Christina doesn’t ever get her hands dirty. Must be a Handy Girl pet peeve. 😉

Follow Filtrete via social media on Facebook or Twitter for more tips and tricks to help create a healthier home.

PHGFancySign

Pin for later!

white air filter in home

filtrete-brand-ambassador-Badge_sm

Disclosure: This is a sponsored post for Filtrete Brand. I have the honor of being an ambassador for them and have been sharing information from  Filtrete Brand. I was given key messages to share, but all the words and thoughts are my own and additional products used in the project were selected by me.  I have been compensated for my time and for this post. I continue to work with certain brands  like the Filtrete Brand that I believe in, because of their quality and because I feel they have helpful messages for my readers. I will always disclose to you if you are reading a sponsored post. #HealthierHome #Ad


Other tips in the 31 Days of Handy Home Fixes series: