If you googled “Sad Excuse for a Gate”, this is the image that would pop up:
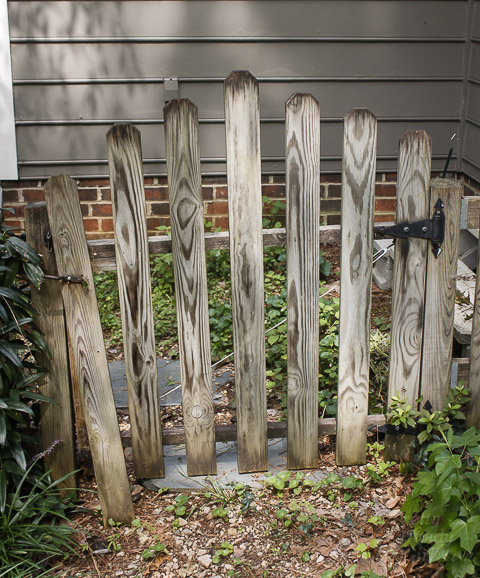
Rotted, sagging and falling apart are all words you could use to describe it.
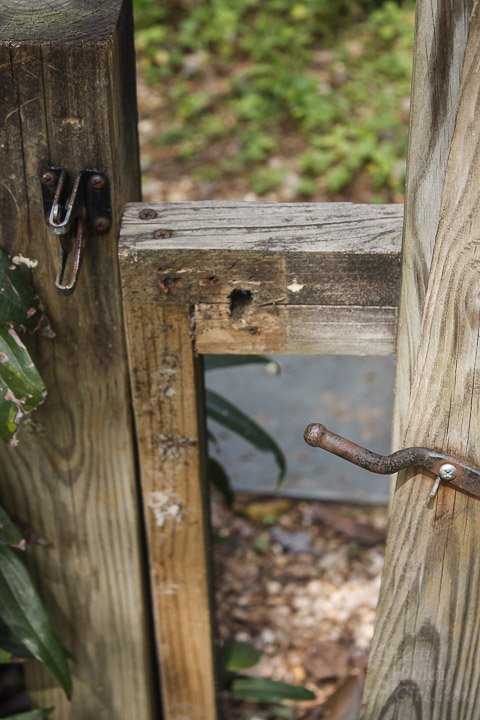
One of the main reasons this gate is in poor shape is because it wasn’t built rock solid! Building a rock solid gate requires a 2″x4″ frame, not these measly 2″x2″ pieces. The wire can only help so much with sag. This gate just wasn’t built to last.
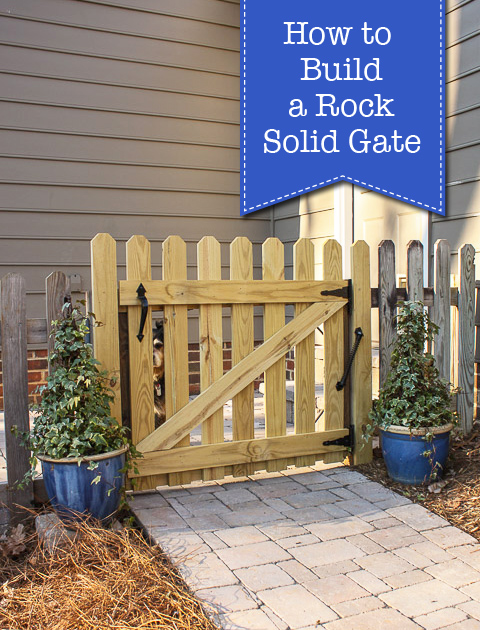
Want to learn How to Build a Rock Solid Gate?
Let’s get building!
Materials:
(contains affiliate links)
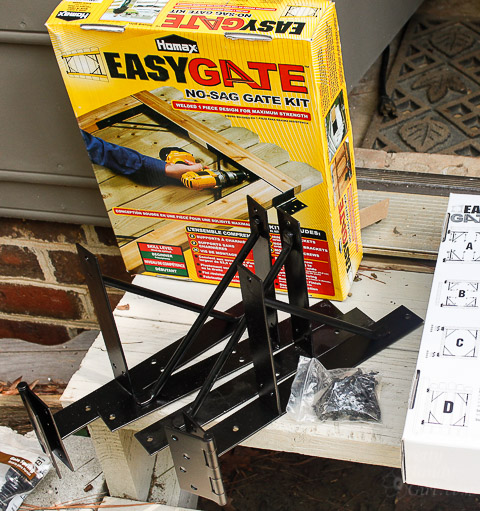
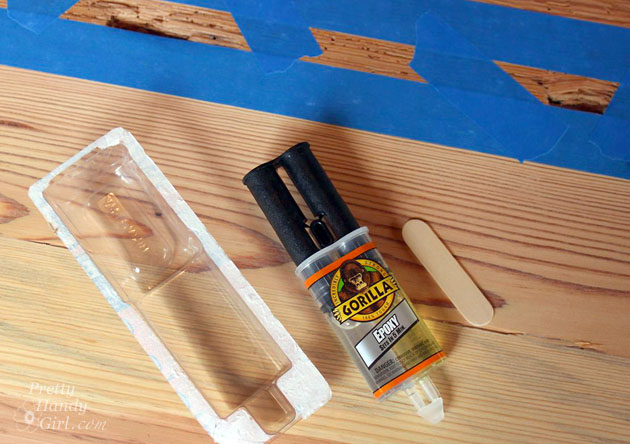
- Homax Easy Gate Kit
- 2″x4″ board(s)
- Tape measure
- Pencil
- Hammer
- Level
- String
- Shims
- Drill
- Saw
Instructions:
I’ve built several gates, but the Homax Easy Gate is the easiest way to build a Rock Solid Gate (NOT paid to say this!) The frame is custom sized to your gate by the length of the 2″x4″ boards. The hinges are integrated into the frame, making this one of the quickest and strongest gate kits I’ve ever built.
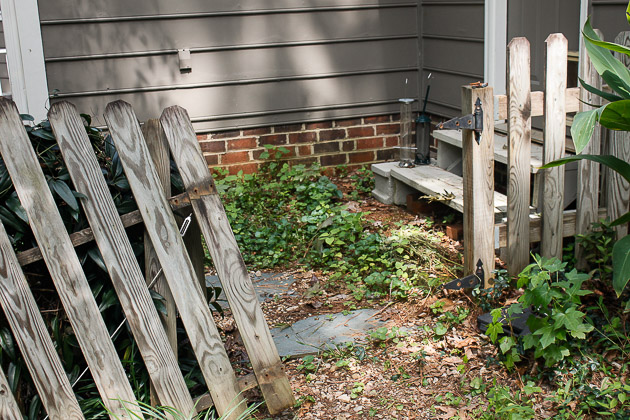
Start by removing your old gate. If the pickets are in good shape, save them for use on the new gate.
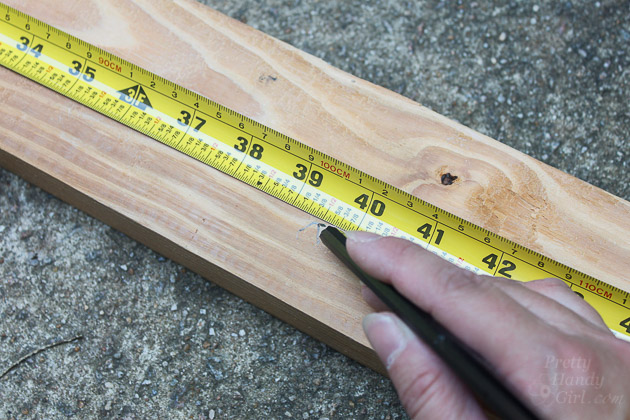
Measure the width of your opening.
Subtract 1.5″ from the width and cut two 2″x4″ boards to this dimension.
Measure the height of your adjacent fence posts.
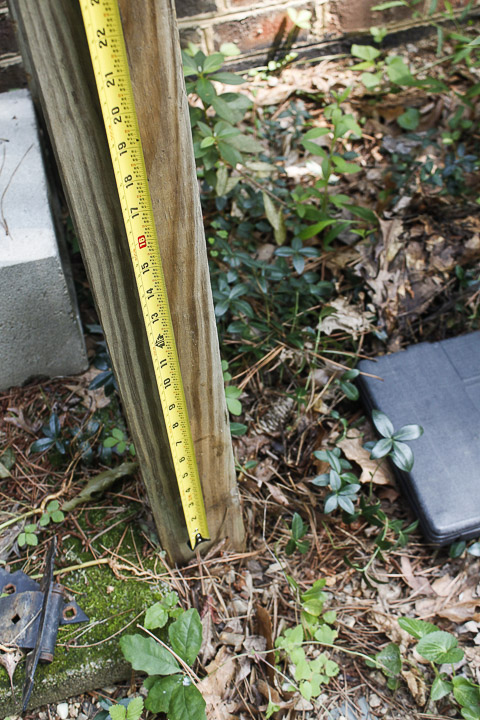
Subtract a few inches from the height measurement to allow the gate kit hinge to secure to the post. (And to keep the bottom 2″x4″ a few inches above the ground to keep it from rotting.) Cut the two 2″x4″ boards to this measurement.
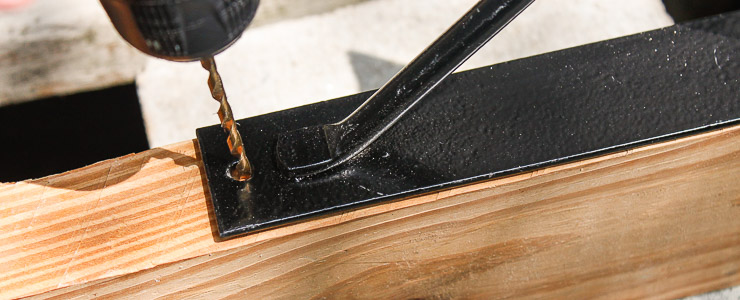
Insert your cut boards into the gate kit. You may need the hammer to force some stubborn studs into place. Read more