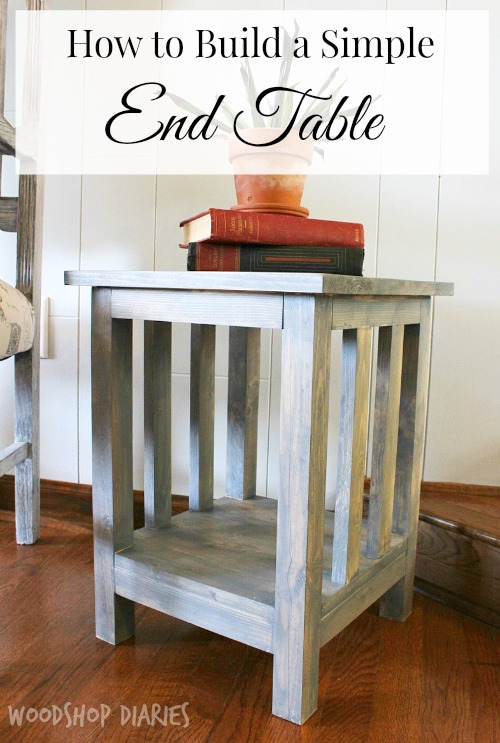
How to Build a Simple Mission Style End Table

How to Build a Simple Mission Style End TableDIY Side Table Plans

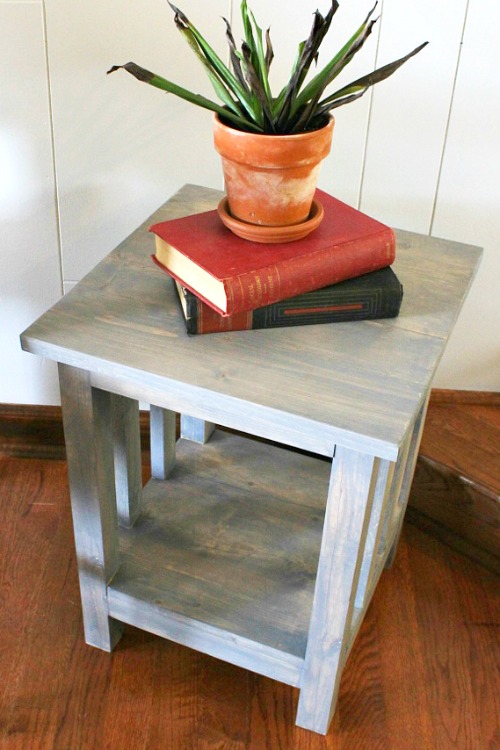
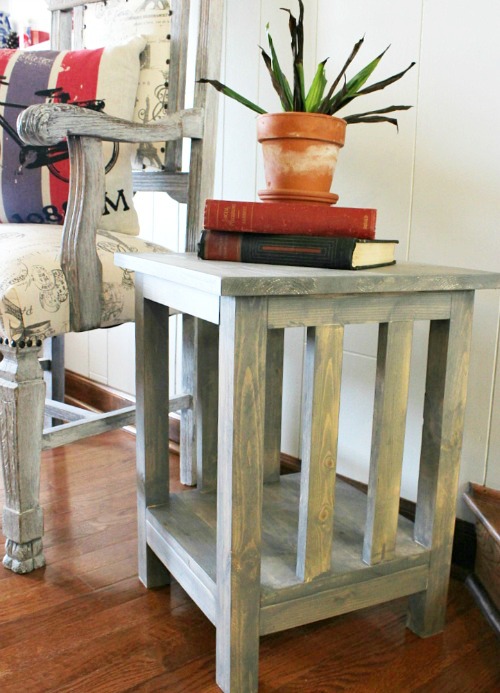
This little end table is a perfect fit for tight spaces or it would make a great plant stand! My sister asked me to make her a simple side table to sit between her chairs on the front porch, so here I am with the DIY Side Table Plans for you.

Hey guys, it’s Shara again from Woodshop Diaries! I’ve been working on several larger projects and decided to switch things up a little and work on some fun smaller builds like this cute little side table! The railings on the side make this somewhat of a “mission style” piece of furniture, which I’m quickly becoming a fan of. But the style is so simple that it would fit in with just about any décor—modern, farmhouse, traditional.

How to Build a Simple Mission Style End Table

If you’re ready to get building this cute little DIY side table, here’s what you’ll need:

(I’ve included affiliate links for your convenience. I earn a small percentage from a purchase using these links. There is no additional cost to you. You can read more about affiliate links here.)

Tools:

Materials:

  • (1) 2”x 2”x 8’ board
  • (2) 1”x 2”x 8’ board
  • (1) 1”x 6”x 8’ board
  • (1) 1’x 4’ x 8’ board
  • 1 ¼” pocket hole screws
  • 1 ¼” and 2 ½” wood screws
  • Wood Glue

Cut List:

  • (4) 1 ½”x 1 ½” x 19” (table legs)
  • (8) ¾” x 1 ½”x 11 ½” (top and bottom supports)
  • (3) ¾”x 5 ½”x 16 ½” (table top)
  • (1) ¾”x 3 ½”x 14 ½” (part of bottom shelf)
  • (2) ¾”x 5 ½”x 14 ½” (other part of bottom shelf)
  • (4) ¾”x 1 ½”x 12” (side rails)

DIY Side Table Plans Instructions:

Step 1: Cut legs and supports

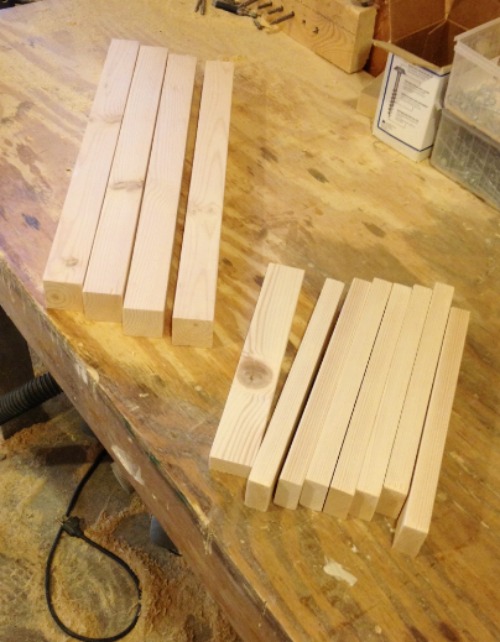
Cut four 2”x 2” pieces for table legs according to the cut list above. Then, cut eight 1”x 2” pieces according to the cut list for the top and bottom supports.

DIY Side Table Plans

Step 2: Assemble the frame

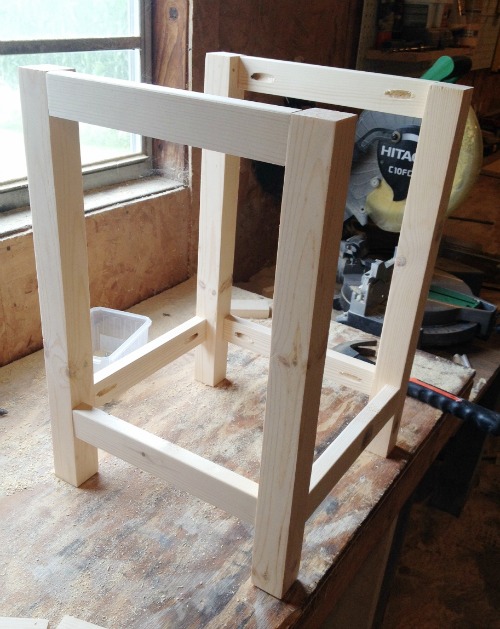
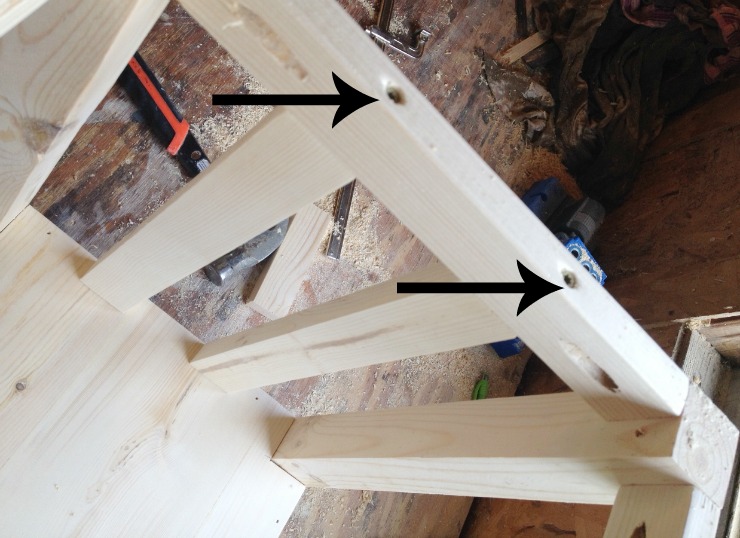
Drill a ¾” pocket hole into each end of all 8 support pieces. Make a mark on the legs 3” from the bottom. Attach the supports as shown below (line up the bottom edge of the bottom support with the 3” mark.)

DIY Side Table Plans

Once you have two frames assembled as shown above, attach two supports between the two frames at the bottom (as shown below.) You can go ahead and attach the other two at the top, but I found it easier to do this after the bottom shelf is in place.

DIY Side Table Plans

Step 3: Add bottom shelf

The bottom shelf is composed of two 1”x6” boards and one 1”x4” board. Cut the shelf pieces according to the cut list and glue them together using wood glue.

Once the glue has dried, use a jig saw to notch out 1 ½” squares into all four corners.

DIY Side Table Plans

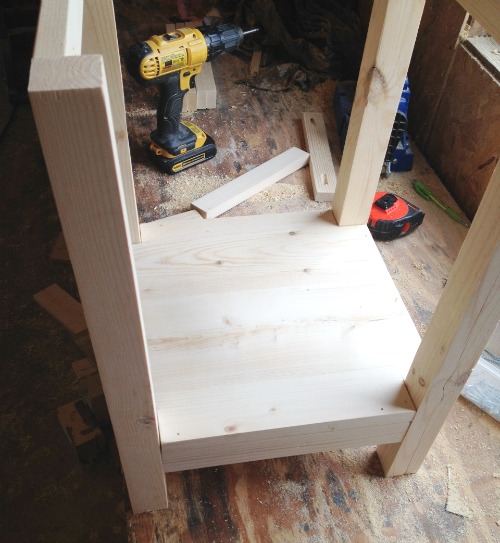
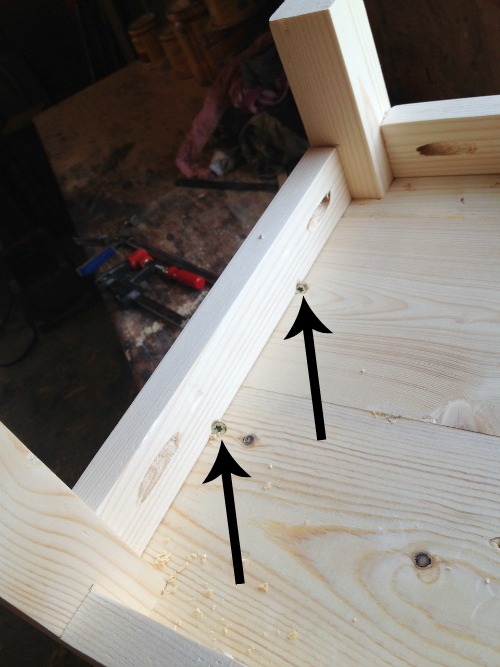
Slide the shelf in place and use a nail gun to secure the shelf to the bottom supports.

DIY Side Table Plans

Step 4: Add side rails

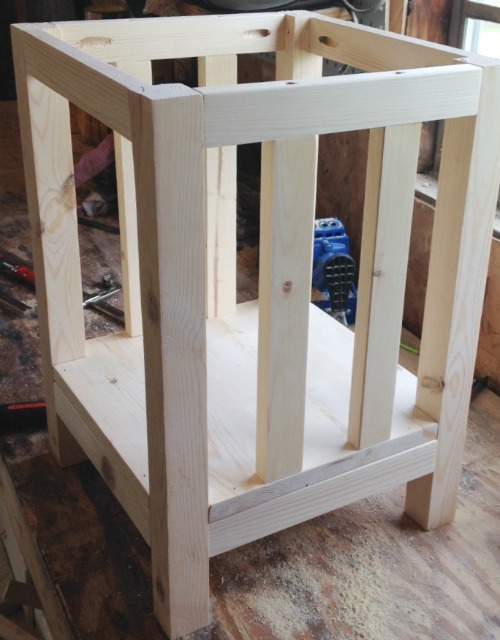
Cut four 1”x 2” side rails according to the cut list. If you haven’t already attached the last two top supports from step 2, go ahead and attach these using 1 ¼” pocket hole screws. Place the 1”x 2” side rails in place (two rails on two opposite sides) spacing evenly. (I found 2 7/8” space between the rails provides even spacing.) Clamp rails in place while you screw them in.

DIY Side Table Plans

Drill pilot holes through the top supports and screw in 2 ½” screws to hold the rails in place at the top.

DIY Side Table Plans

Then, drill pilot holes at an angle through the bottom and screw in 1 ¼” screws to hold the rails in place at the bottom.

DIY Side Table Plans

Step 5: Attach the top

Cut three 1”x6” boards for the top according to the cut list. Just like the bottom shelf, glue the boards together.

DIY Side Table Plans

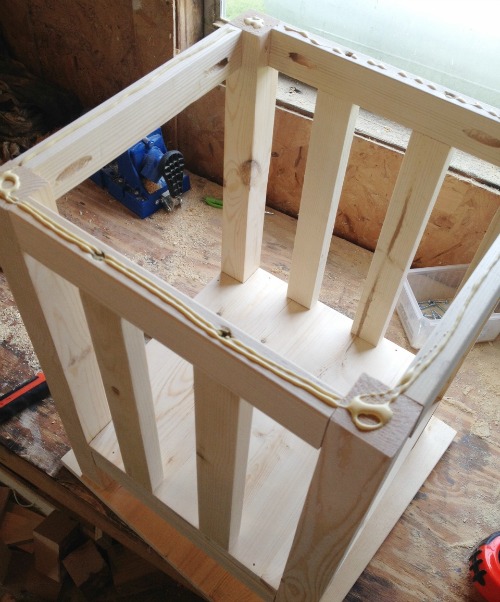
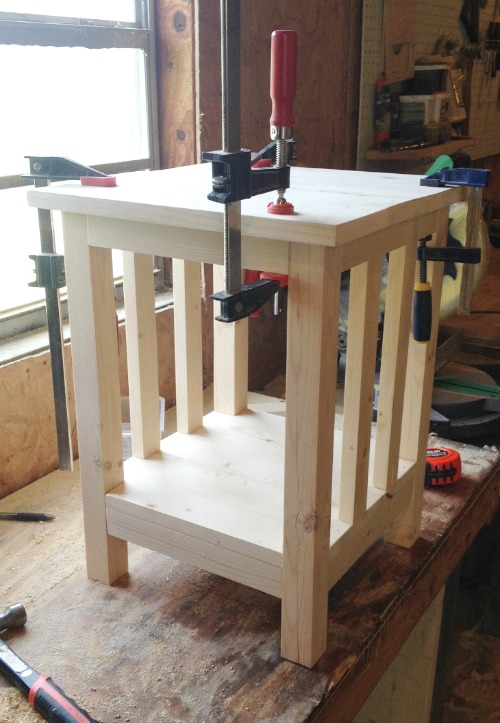
Once the glue has dried, line the top of the table base with glue and clamp the top on.

DIY Side Table Plans

Finishing Your DIY Side Table:

Sand it down and putty holes. Paint, stain or finish as desired. I stained the table with Rustoleum Weathered Gray.

How to Build a Simple Mission Style End Table

I love the simple style of this table.  What do you guys think? Do you think you could use these DIY plans to build your own side table?

How to Build a Simple Mission Style End Table

For another simple, but stylish end table, check out my twisty table!

Until next time, happy building 🙂

Shara's Signature

Like this side table? You may also like this copper pipe and wood half round table:
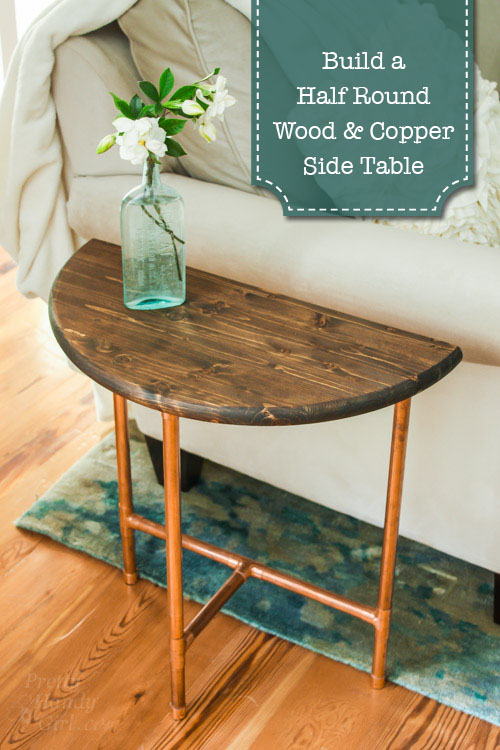
Half Round Copper & Wood Side Table | Pretty Handy Girl


How to build an easy scrap wood multiuse caddy

How to build an easy scrap wood multiuse caddy

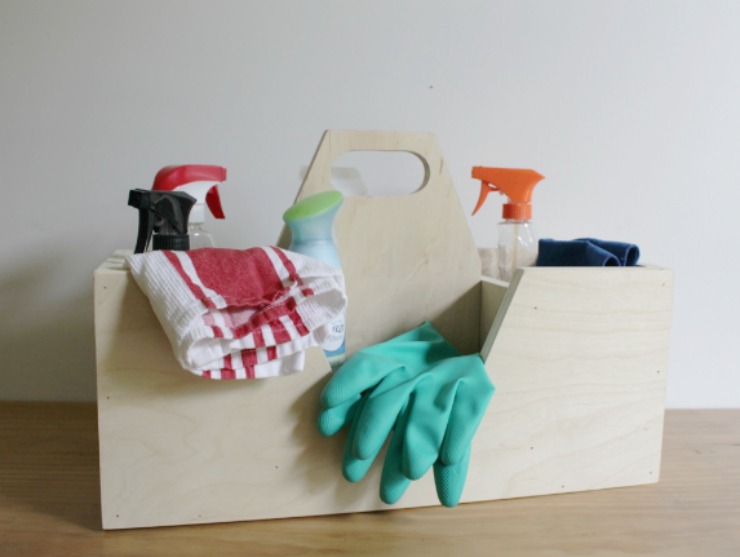
Hey everyone!! It’s Shara here again from Woodshop Diaries to bring you a simple, versatile, and really fun project. It’s a scrap wood caddy!

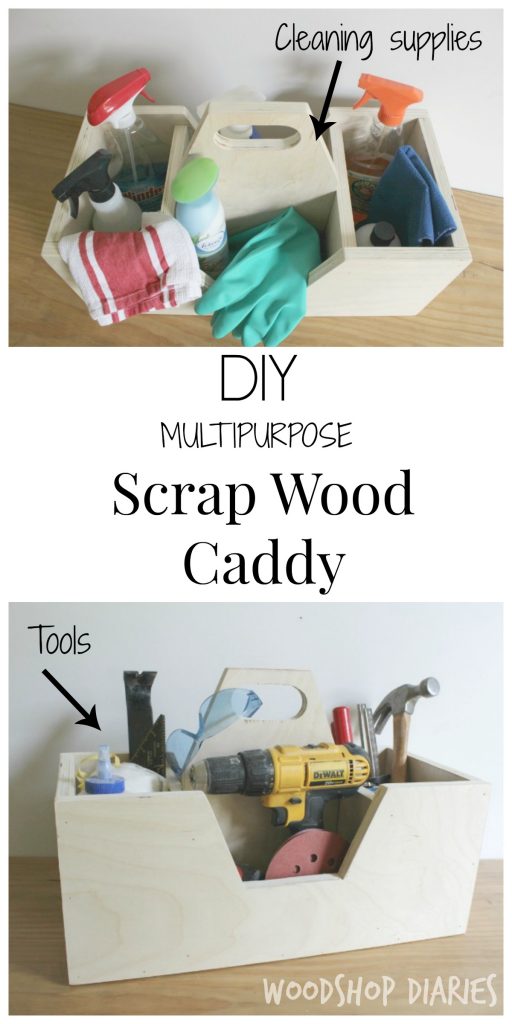
I hesitate to put a label on what type of caddy it could be because you can carry whatever you want inside. Cleaning supplies, tools, craft knick knacks, gardening accessories — the possibilities are endless!

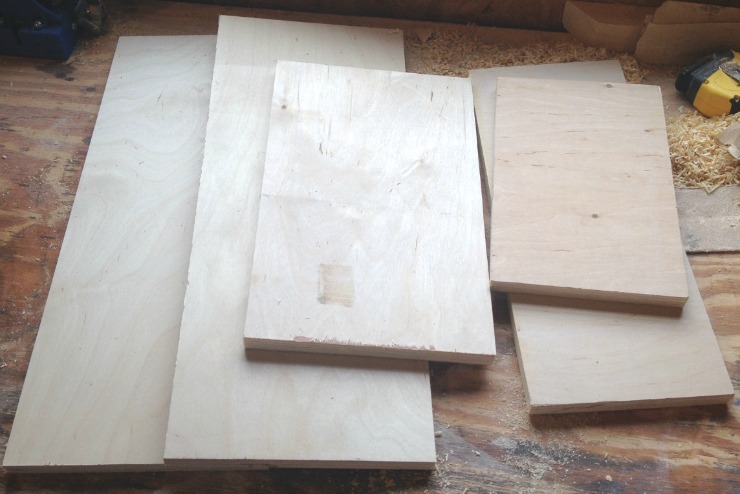
The size is easy to customize and you only need a few tools and some scrap plywood. If you don’t have any scraps, pick up a quarter sheet of 3/4” or 1/2” plywood at the lumber yard or big box store to make this.

If you’re ready to get building, here’s the plan:

Materials:

(I’ve included affiliate links for your convenience. I earn a small percentage from a purchase using these links. There is no additional cost to you. You can read more about affiliate links here.)

Cut List:

(Keep in mind: you can customize for different size scraps or for a larger or smaller caddy)

  • (2) pieces 3/4” x 8” x 19” (front and back)
  • (1) piece 3/4” x 8” x 17 ½” (bottom)
  • (2) pieces 3/4” x 8” x 8” (sides)
  • (1) piece 3/4” x 8” x 12” (middle divider w/ handle cutout)
  • (2) pieces 3/4” x 8” x 6 ½” (middle dividers)

Instructions:

Step 1: Cut out middle divider with handle

Cut your scraps to 8” wide to make the build easier. (If you don’t like 8”, you could make it another size, but the cut list will change slightly.)

Scrap wood DIY Cleaning Caddy

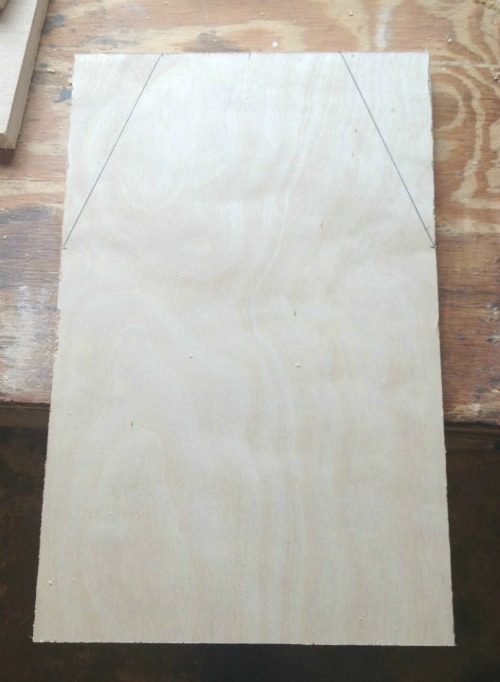
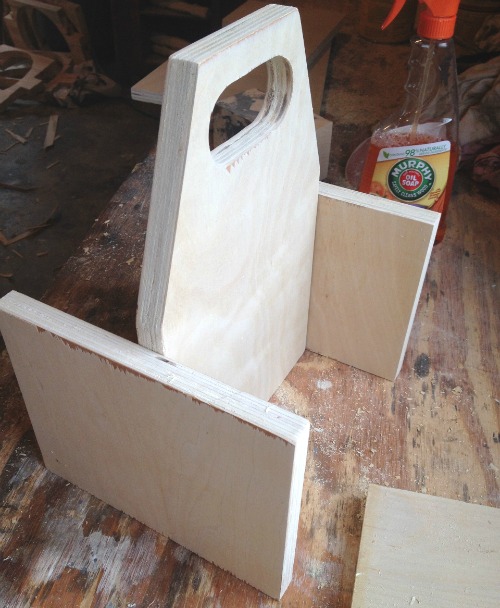
Take a piece of 8” wide x 12” tall and mark the center. Measure and mark 2” to each side of the center and 5” down. Draw diagonal lines to connect the marks as shown:

How to make a multiuse caddy

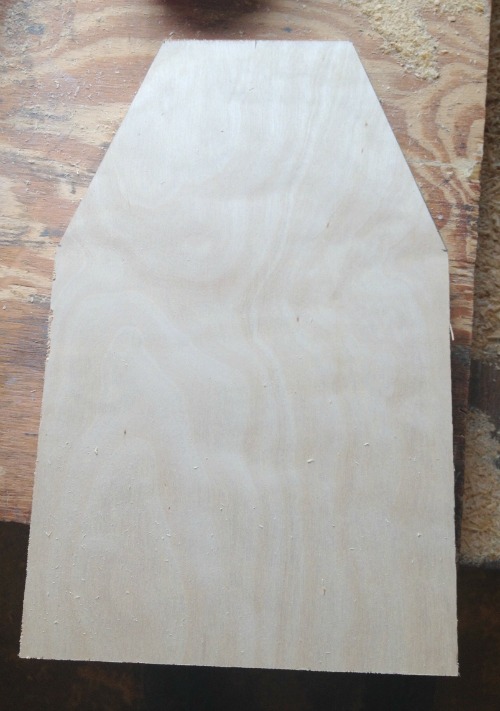
Use a miter saw to cut the diagonal corners off.

How to make a multiuse caddy

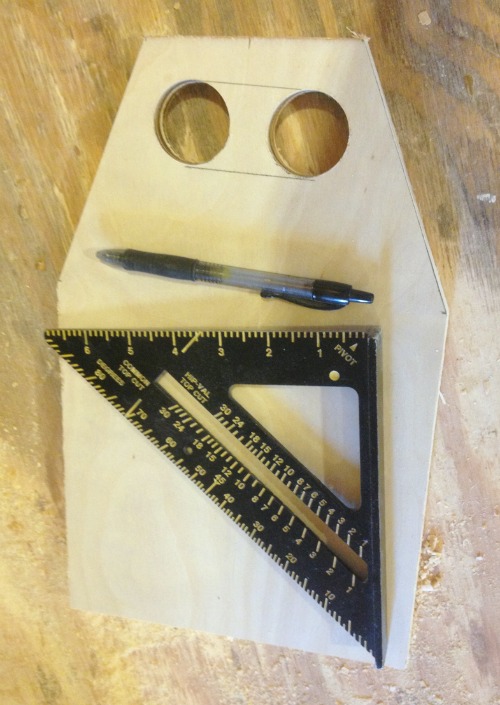
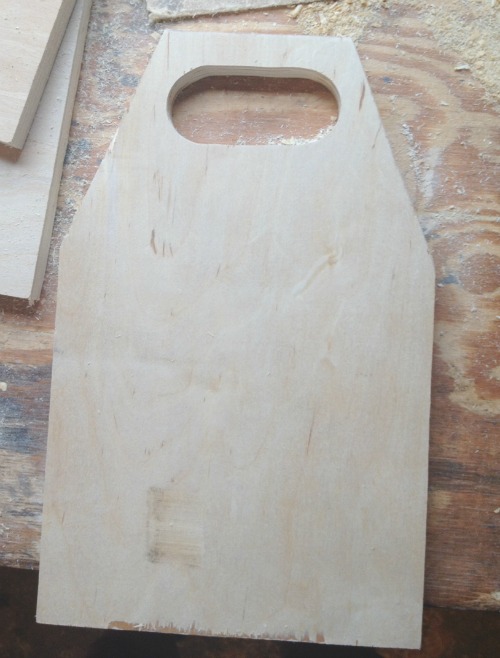
Draw a handle hole. To make this an easy task, drill two holes first (using a drill bit or hole saw) to get the blade in.

How to make a multiuse caddy

Then cut along your line.

How to make a multiuse caddy

Sand your edges smooth.

Step 2: Cut out the front and back sides

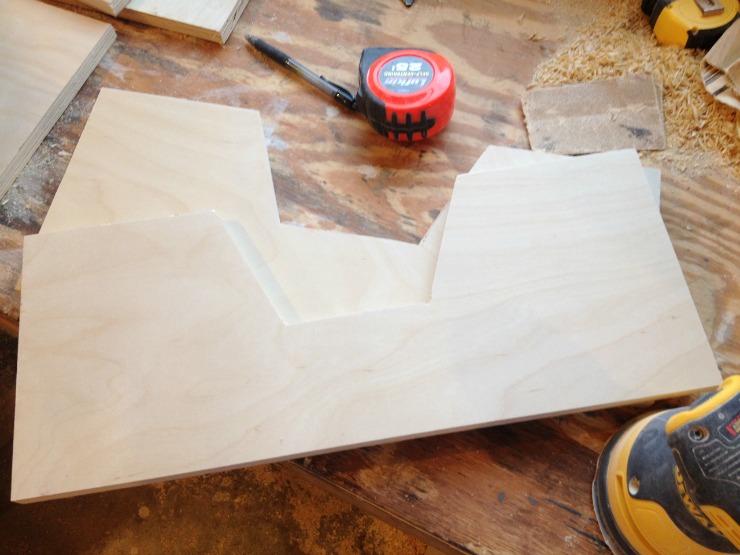
Cut two pieces of your plywood to 8” x 19”. Find the center of one of the pieces lengthwise. Flip the middle divider from step 1 upside down and center it on the 8″ x 19″ plywood. The top of the divider should line up 3” from the bottom of the plywood. Trace the diagonal cut out onto the plywood and cut out using a jig saw. Trace the same shape onto the second 8″ x 19″ plywood piece and cut out to match.

How to make a multiuse caddy

Step 3: Assemble the bottom

Cut the bottom piece* (8” x 17 ½”) and 2 side pieces (8” x 8”).

*If you are using 1/2” scrap plywood instead, be sure to add an extra 1/2” to the length of your bottom piece.

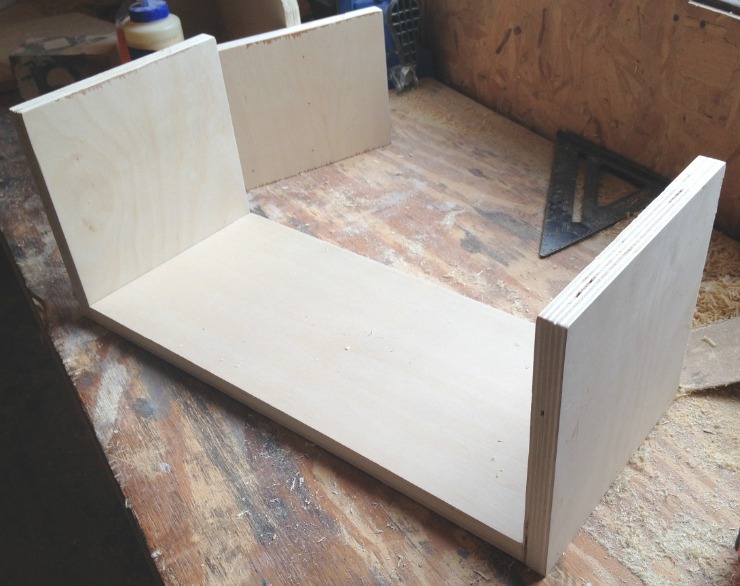
Glue and nail the pieces together as shown below. You can use hammer and nails, but a nail gun would be ideal to save time and prevent pieces from moving while you assemble.

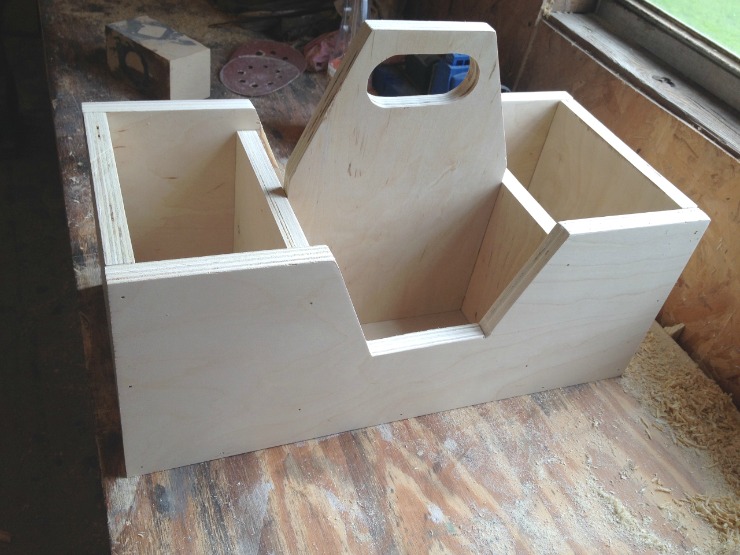
How to make a multiuse caddy

Step 4: Attach sides

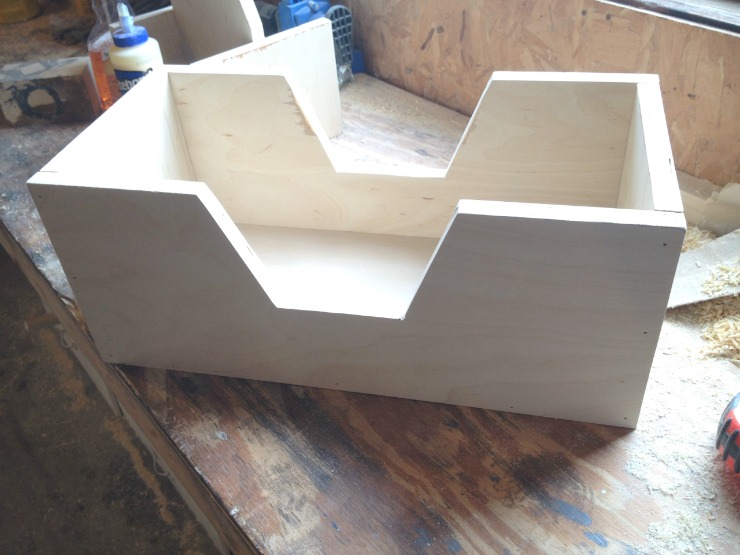
Glue and nail the front and back pieces from step 2 to the sides and bottom from step 3.

How to make a multiuse caddy

Step 5: Assemble the middle dividers

Cut the 2 middle dividers from the cut list (8” x 12”). Measure and mark the vertical centers of the divider pieces. Make sure that the piece with the handle is centered on the middle dividers. This will make your inside “compartments” the same size.

How to make a multiuse caddy

Glue and nail these pieces to the handle cut out piece from step 1.

How to make a multiuse caddy

Step 6: Add dividers

Slide the dividers into the box you made in step 4 and make sure to center it. Nail the dividers in place through the front and back of the caddy. You can add a couple nails in the bottom as well, just be careful that you don’t miss and have stray nails coming up through the bottom of your caddy.

How to make a multiuse caddy

Give your caddy a good sanding and it’s good to go. You can add paint or stain, but I left mine natural.

How to build an easy scrap wood multiuse caddy

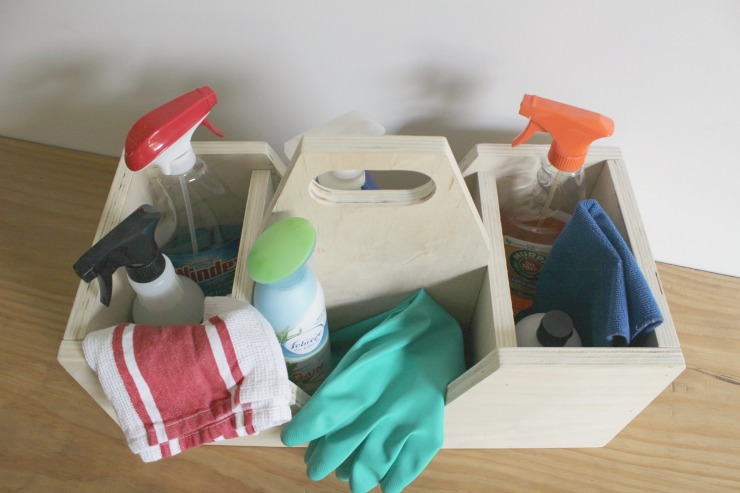
This caddy could be used for cleaning supplies. . .

How to build an easy scrap wood multiuse caddy

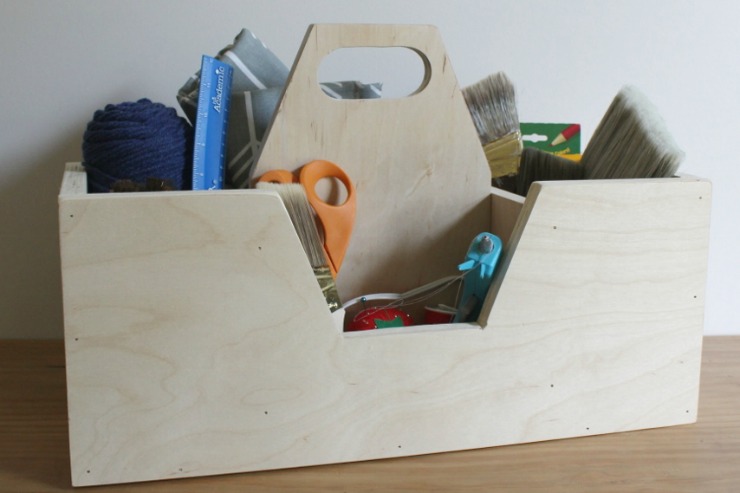
. . . craft supplies. . .

How to build an easy scrap wood multiuse caddy

. . . tools or any small things you want to organize.

How to build an easy scrap wood multiuse caddy

Don’t you love a good scrap wood project? Me too! For more fun scrap wood projects, check out this DIY personalized lazy Susan made from 2x scrap boards, or this floating mirror shelf made from a scrap 2×4.

You may also like these simple scrap wood caddies:

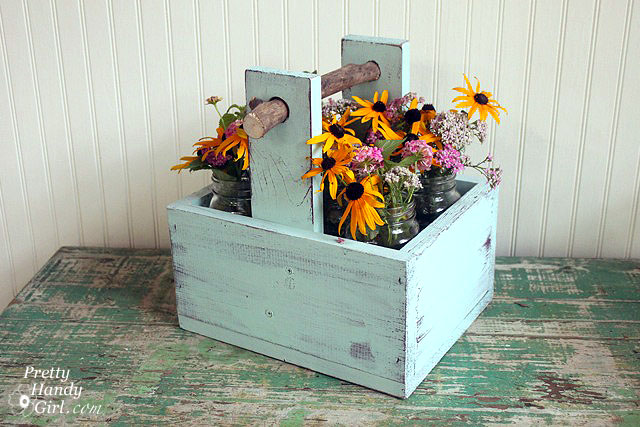
Rustic Branch Handled Caddy

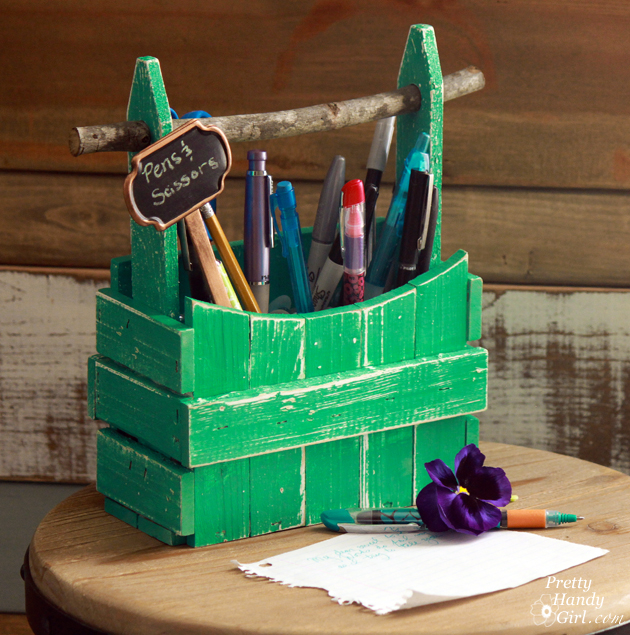
Mini Picket Fence Caddy

Until next time, happy building!

Shara's Signature

~ Read more of Shara’s tutorials ~

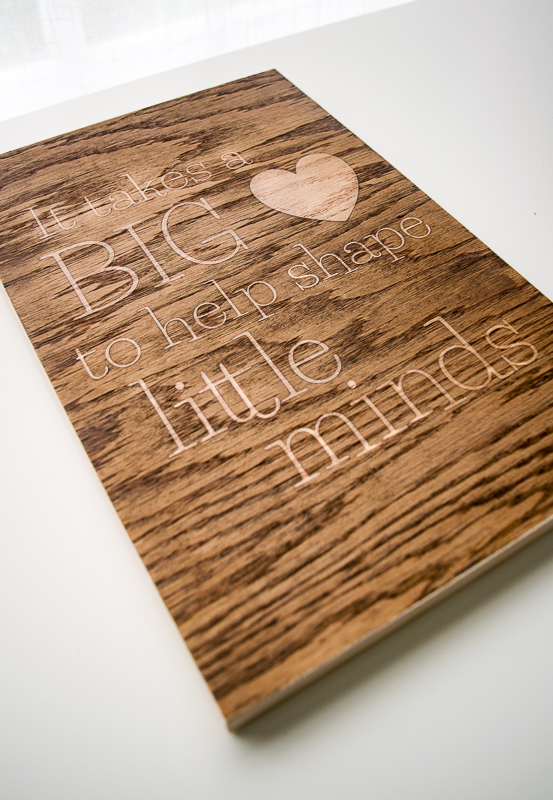
This teacher sign is the perfect end-of-year gift!

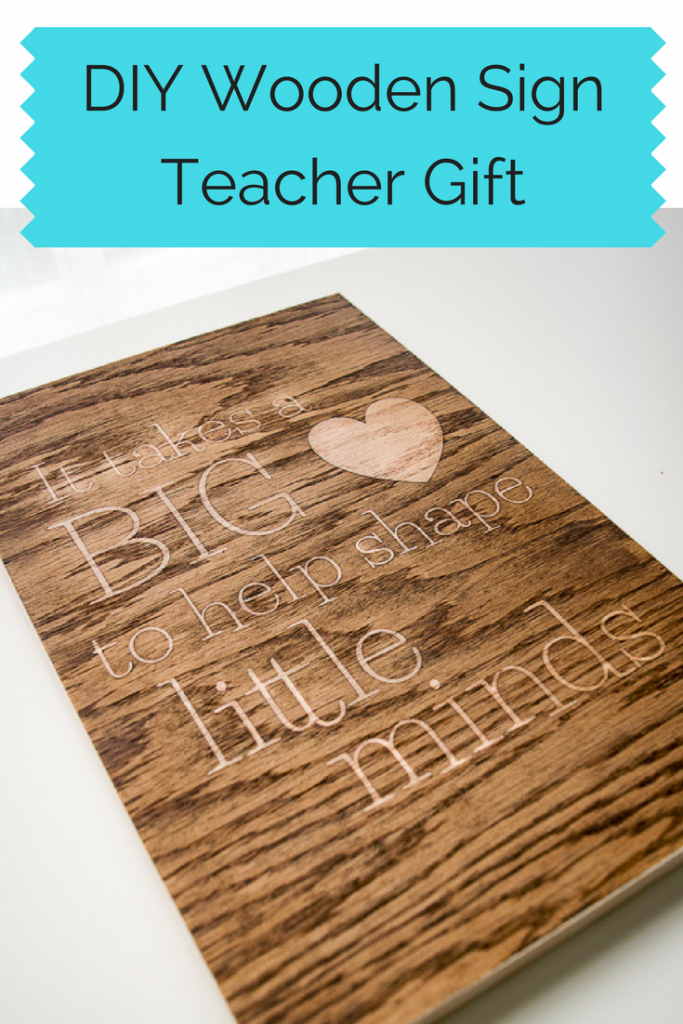
This wooden sign would make the perfect end-of-school-year gift for your child's teacher!

Hi everyone! It’s Vineta from The Handyman’s Daughter back with another fun project to share with you! It’s almost the end of the school year, and I’ve been racking my brain to come up with a nice gift for my son’s second grade teacher. Hopefully this little wooden sign will make its way into her classroom next year and reminds her of how much she means to her students.

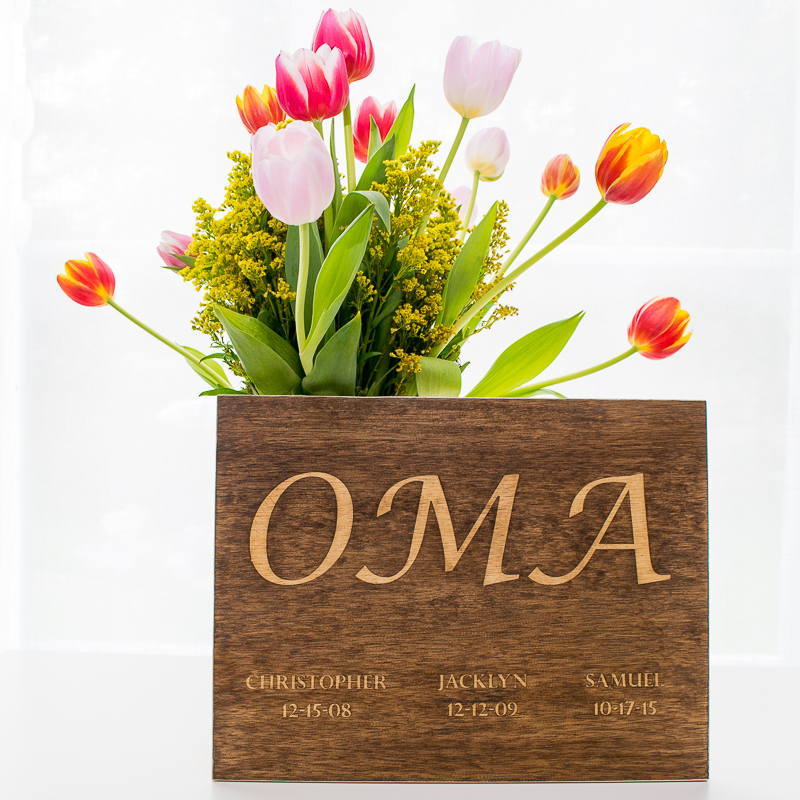
I used one of my favorite stencil techniques, on this family birthdate sign I created for Mother’s Day. The reverse stencil effect appears almost like magic when stain is applied!

This family birthdate sign uses the same staining technique as the teacher sign!

We’re going to use the same technique for this DIY Teacher Sign. Here’s how it works!

Materials:

(I’ve included affiliate links for your convenience. I earn a small percentage from a purchase using these links. There is no additional cost to you. You can read more about affiliate links here.)

Instructions:

I started by digging through my wood pile for some scrap plywood and unearthed a 9″ x 12″ piece that would work perfectly. Remove any dust from the surface with a tack cloth.

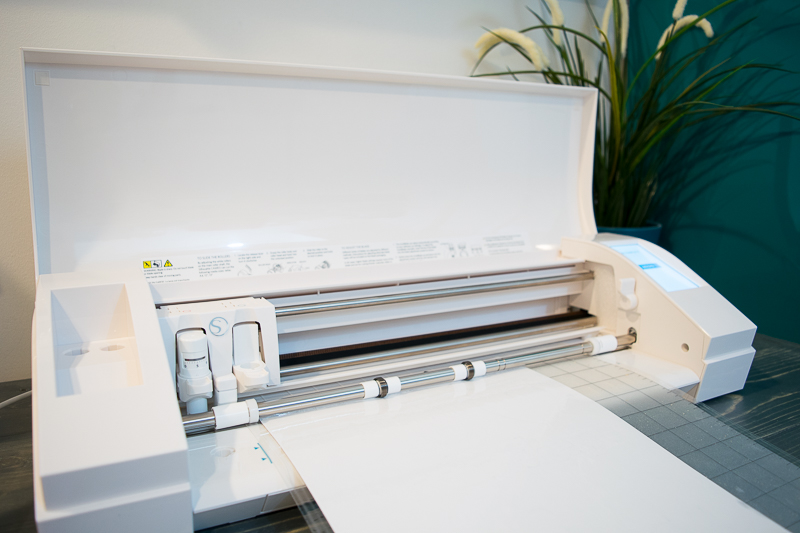
You can choose from one of the many designs in the Silhouette Store (I used this one), or design your own. Apply the white stencil vinyl to the cutting mat and let the machine do the cutting.

I used a Silhouette machine to cut the stencil for my teacher sign.

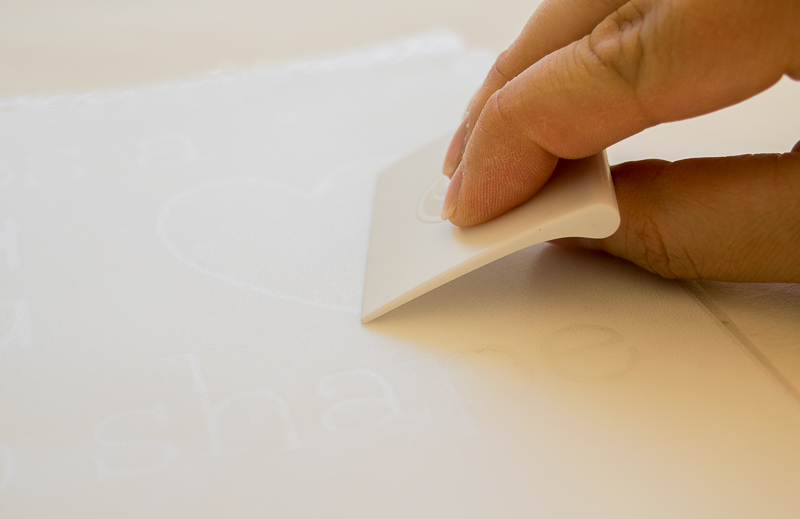
Weed out the letters and shapes, then lay the transfer tape on top of the design. Use the smoothing tool to push out any air bubbles and ensure that the stencil is on securely.

Apply transfer tape to the stencil to keep all the elements in place.

Peel up the stencil and transfer tape together. Apply it to the plywood. Smooth out any air bubbles, then remove the transfer tape. The stencil should remain. Give the stencil one last rub, concentrating on the edges of the letters and shapes.

Apply the stencil to the plywood for your teacher sign.

Here’s the trick to this stenciling technique: wood glue! Have you ever discovered a big blob of wood glue preventing stain from soaking into your project? We’re going to take advantage of that instead of fighting it!
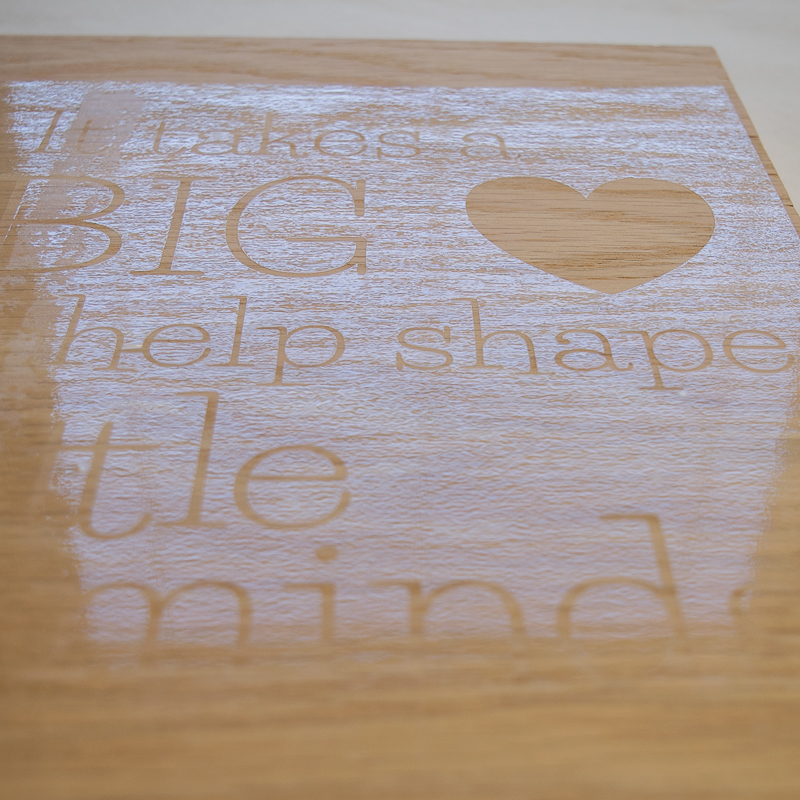
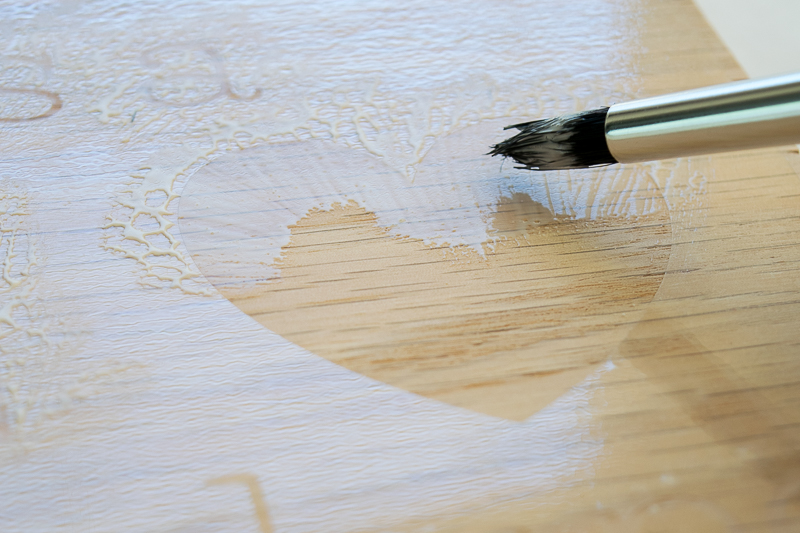
Dip your craft brush into the wood glue and carefully paint a thin layer inside the stencil. Move from the outside in, and try not to get any glue under the stencil vinyl. Allow it to dry for at least half an hour and the wood glue has turned clear.

Apply wood glue to the voids in the stencil, ensuring even coverage on all the letters of the teacher sign.

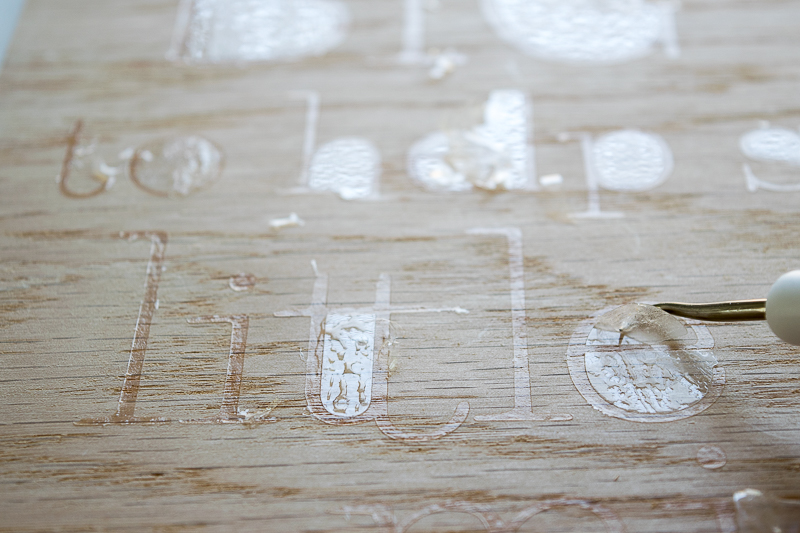
Carefully remove the stencil from the plywood. Some of the wood glue may flake off or stick to the letters. Use the fine grit sanding sponge to remove any excess. Anything with glue on it won’t take the stain, so make sure the edges are as sharp and clean as possible.

Remove any excess glue flakes from the stencil of the teacher sign.

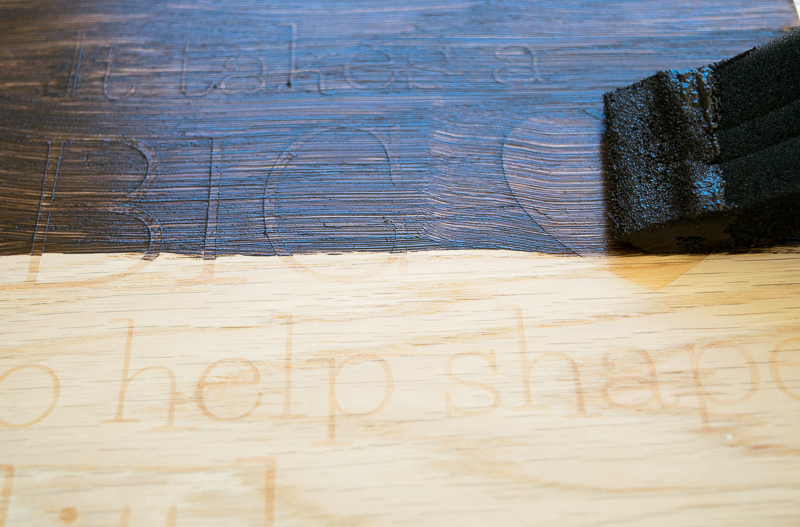
Using a foam brush, stain the surface of the sign. Gel stain works best for this technique.

Use gel stain over the glue stencil of the teacher sign.

After a few minutes, rub off the excess. I prefer to stick my gloved hand in an old sock to wipe off the surface. Like magic the letters pop against the dark stain!

Using an old sock, I removed the excess stain from the stencil.

If you prefer more contrast, apply a second coat of stain. I found that thicker fonts and dark stain show up best. Apply a coat of poly over the surface to protect the surface and give it a glossy finish.

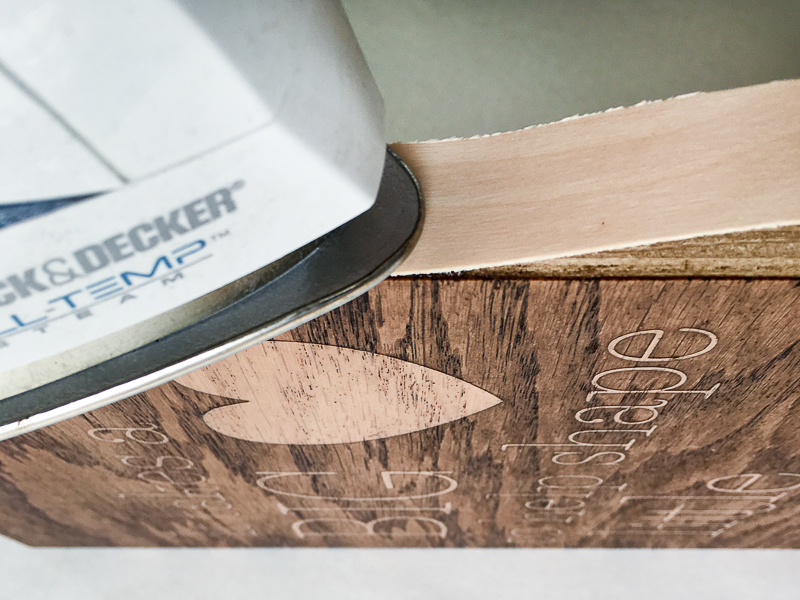
Use iron-on wood veneer edge banding to cover up the plywood edges and cut off the excess with a utility knife. Brittany has a great tutorial on how to apply edge banding. You could also create a simple frame using trim.

Iron on the edge banding to cover up the raw plywood edges of the teacher sign.

Your teacher sign is ready for the last day of school (although I’m not!)

This teacher sign is the perfect end-of-year gift!

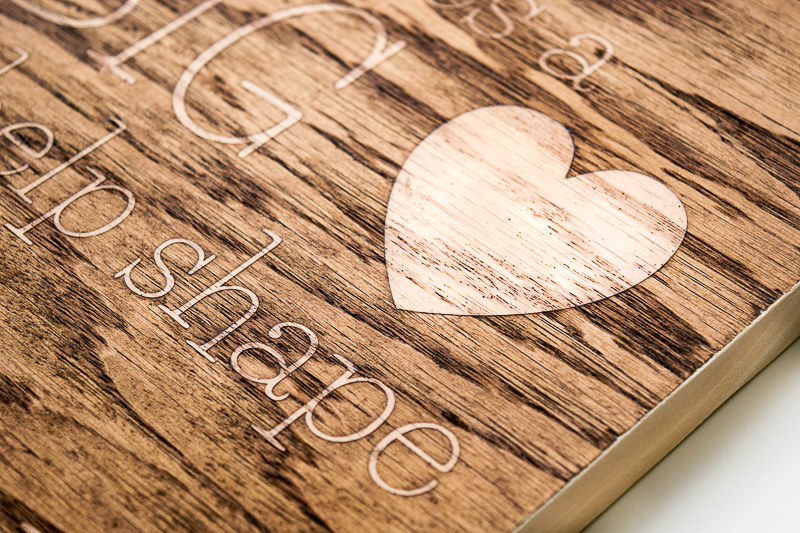
This stenciling technique really makes the lettering pop against the wood stain of this teacher sign!

Hope you enjoyed this tutorial! Don’t forget to check out all my other woodworking projects over at The Handyman’s Daughter!

Until next time!

 ~ view more of Vineta’s projects ~

Get all your gardening tools in one spot with this hanging garden tool organizer!

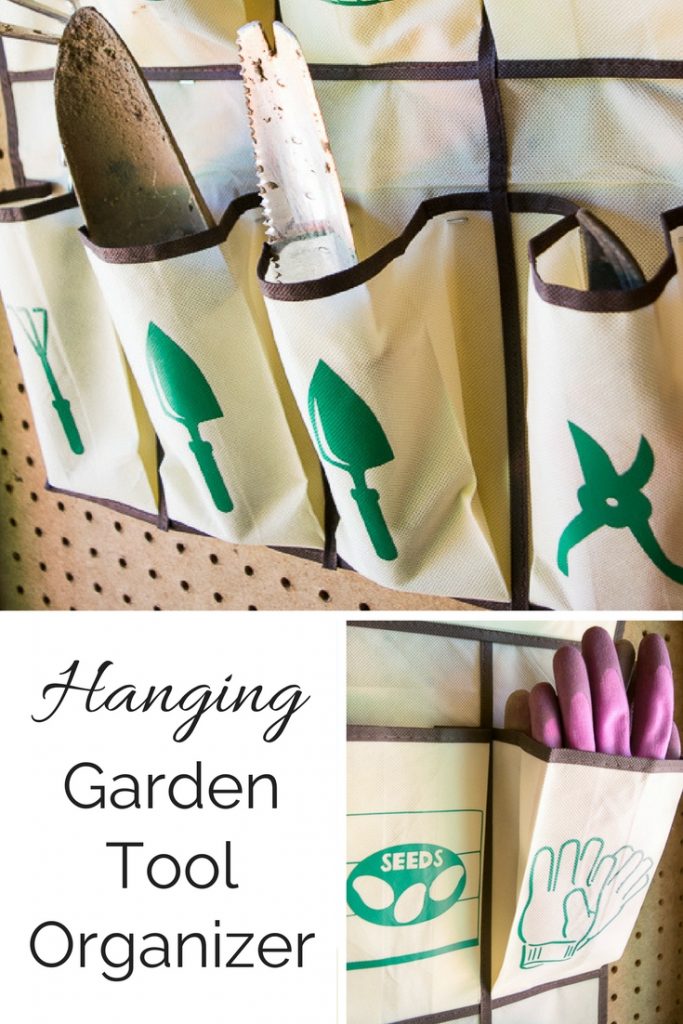
Get all your gardening tools in one spot with this hanging garden tool organizer!

Hi again, I’m Vineta from The Handyman’s Daughter and I’m back this month with a smart idea for organizing your garden tools. My garden tools were always scattered throughout the shed making it hard to get started on a gardening project. Thanks to this Hanging Garden Tool Organizer, there’s now a place for everything.

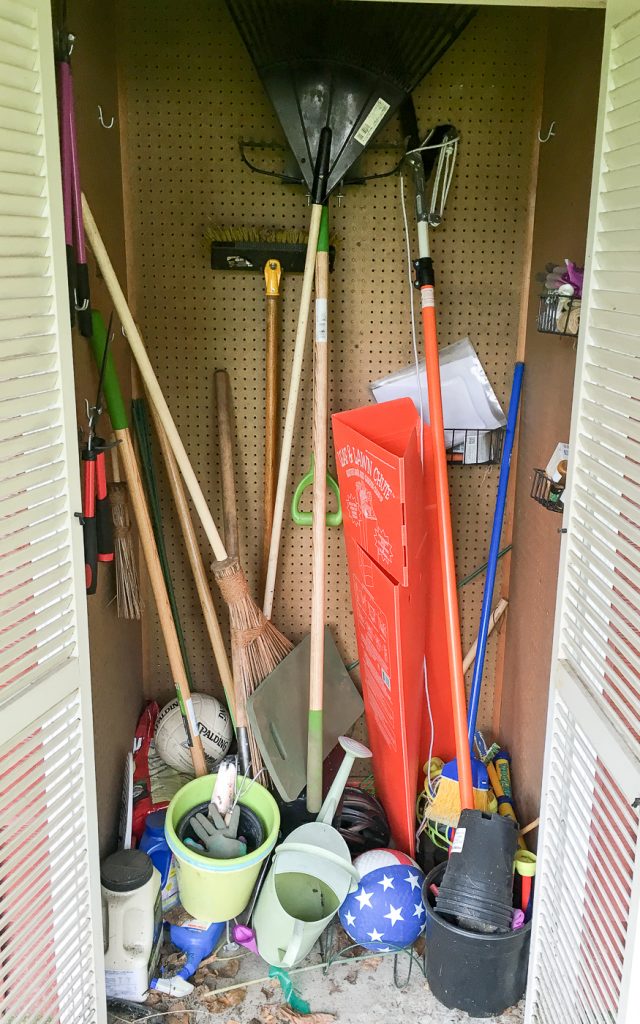
Seattle’s Spring got off to a slow start, so as soon as the sun came out I was anxious to get new plants in the ground. I recently built a garden trellis and it was time to add climbing vines! Unfortunately, when I opened the garden shed, I faced this disaster . . .

Our garden tool shed was a disaster! But with my new hanging garden tool organizer, small tools each have their own space.

Toys, leaves, and even my husband’s long lost bike helmet littered the floor. Sadly half the hooks on the pegboard walls were empty. Obviously I needed a better organizational system before someone got a rake to the head!

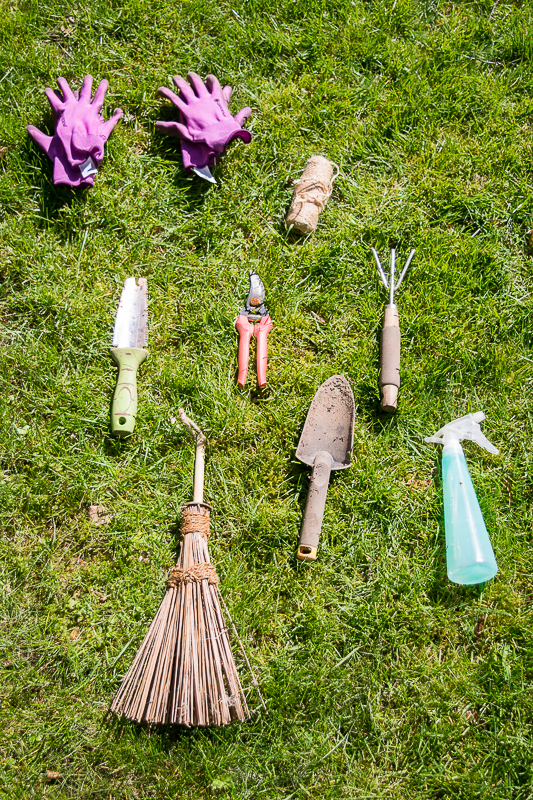
I cleared everything out (including too many spiders) and took inventory. Toys were relocated to the new storage bench I built for the backyard; plastic pots were recycled; and broken tools were tossed. Bigger shovels and rakes went back on the hooks, but I needed to create a home for the small hand tools and gloves.

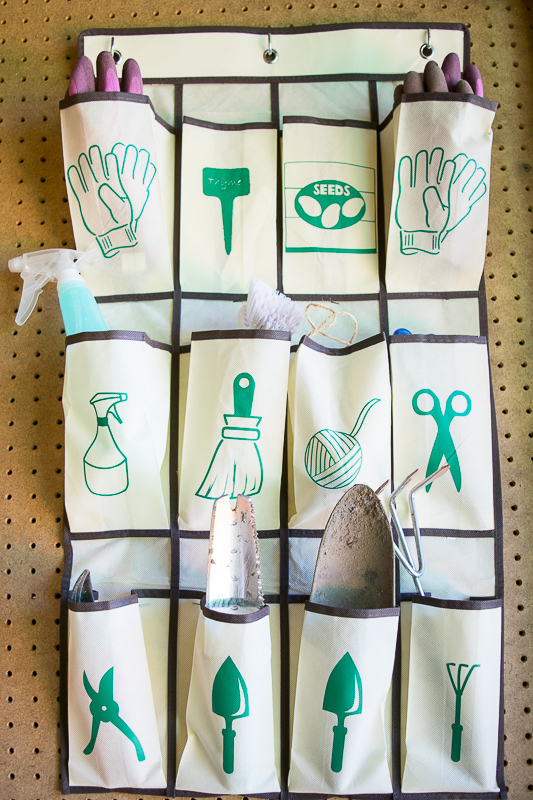
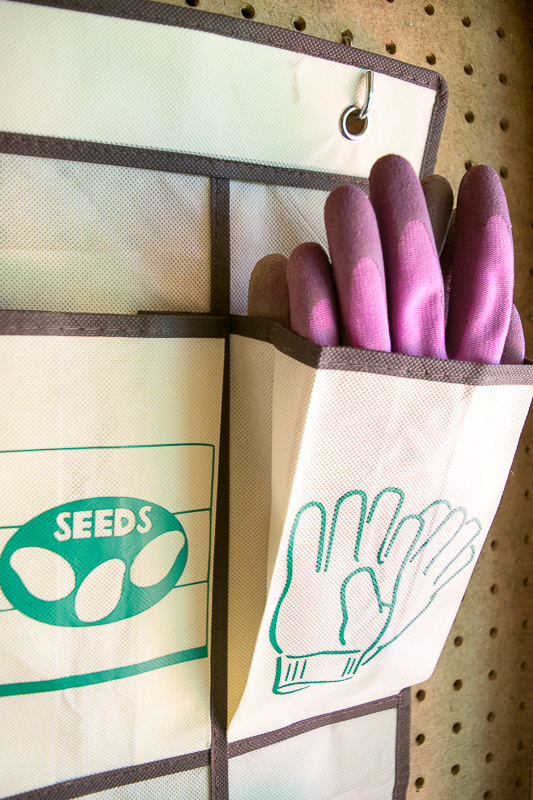
My new hanging garden tool organizer created a home for all these garden tools, and more!

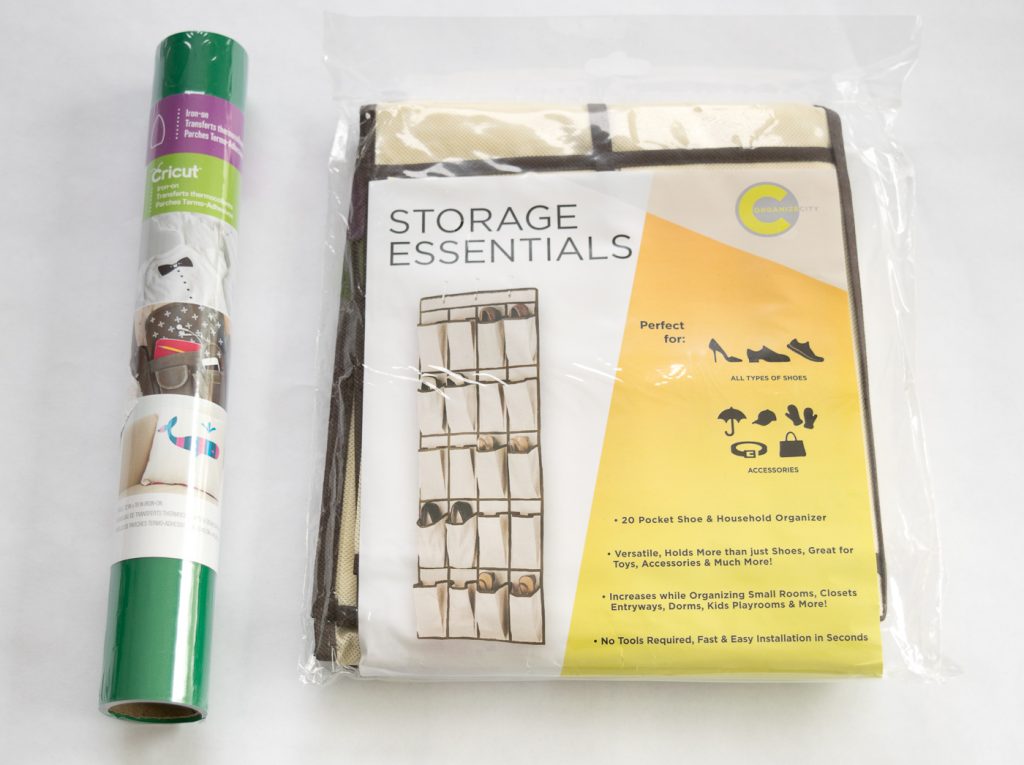
I didn’t want to throw all the smaller items in a bucket where they would get lost again. An inexpensive shoe organizer was the perfect solution. Adding labels to each pocket helps keep everything in its place.

Materials:
(I’ve included affiliate links for your convenience. I earn a small percentage from a purchase using these links. There is no additional cost to you. You can read more about affiliate links here.)

These are all the supplies you'll need to make a hanging garden tool organizer!

How to Make a Hanging Garden Tool Organizer:

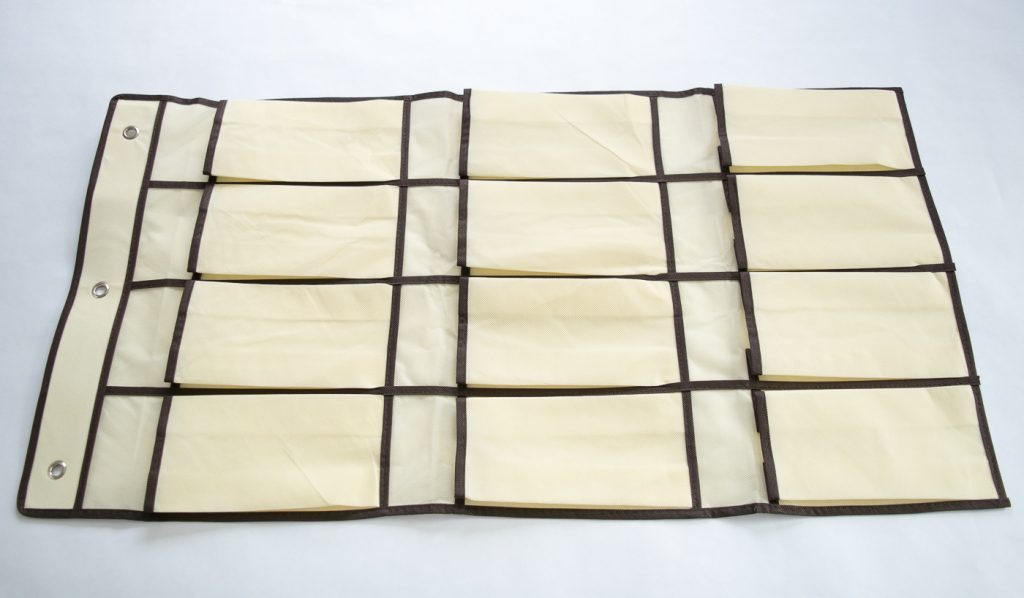
Start by measuring the size of one pocket of the shoe organizer. (Mine are a little over 4 inches wide and 7 inches long.) If you don’t want to use all the pockets, feel free to trim off the extras. I only needed a dozen for all my small items, so I cut off the bottom two rows.

If there are more pockets than you have tools, trim off the bottom rows of your organizer.

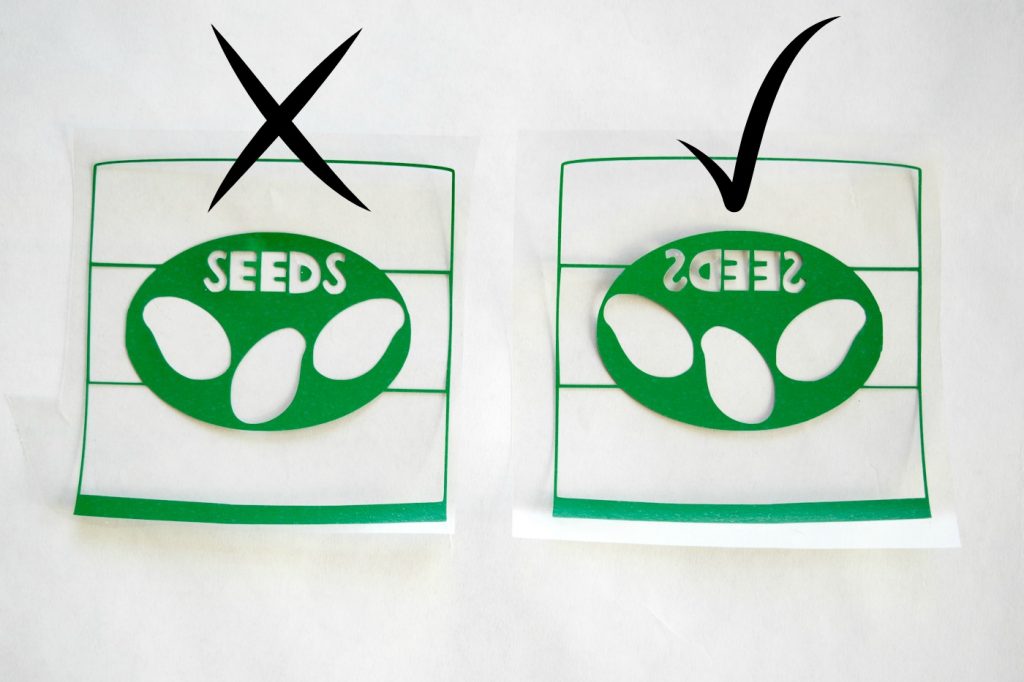
Make a list of all the tools you want to store in the pockets. Using the software that comes with your vinyl cutting machine, create labels with text or images. (Mine are a combination of this design and clip art I found online.) Don’t forget to mirror the image if it has text!

Make sure to create a mirror image if you're using text with iron-on vinyl!

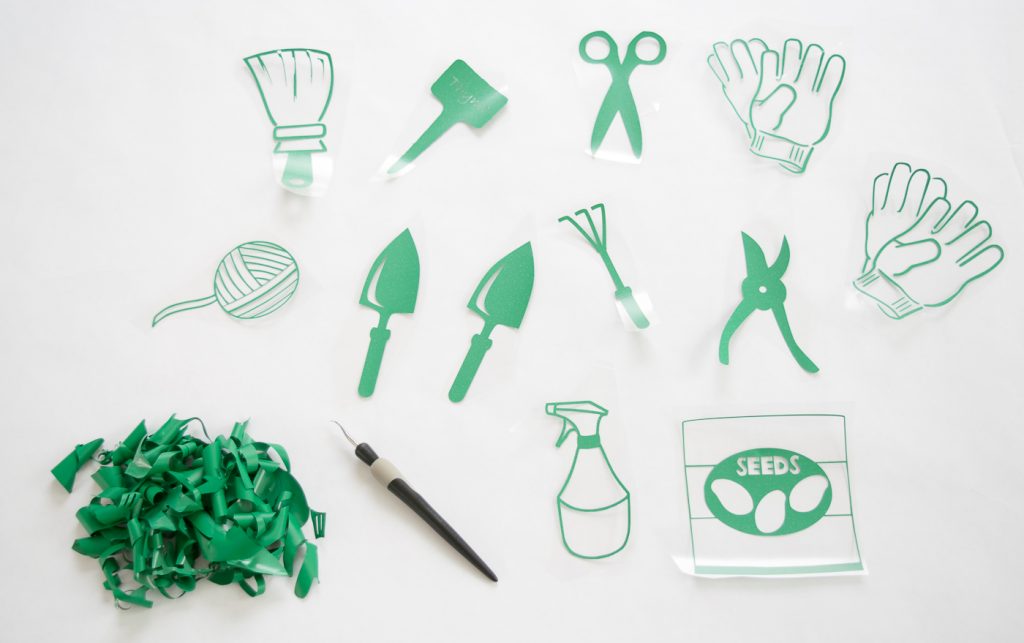
Place the iron-on vinyl onto the sticky mat (shiny side down) and feed the mat into the machine. Send your design to cut. Cut apart the individual designs and weed out the negative space.

Each design corresponds to an item to be stored in the hanging garden tool organizer.

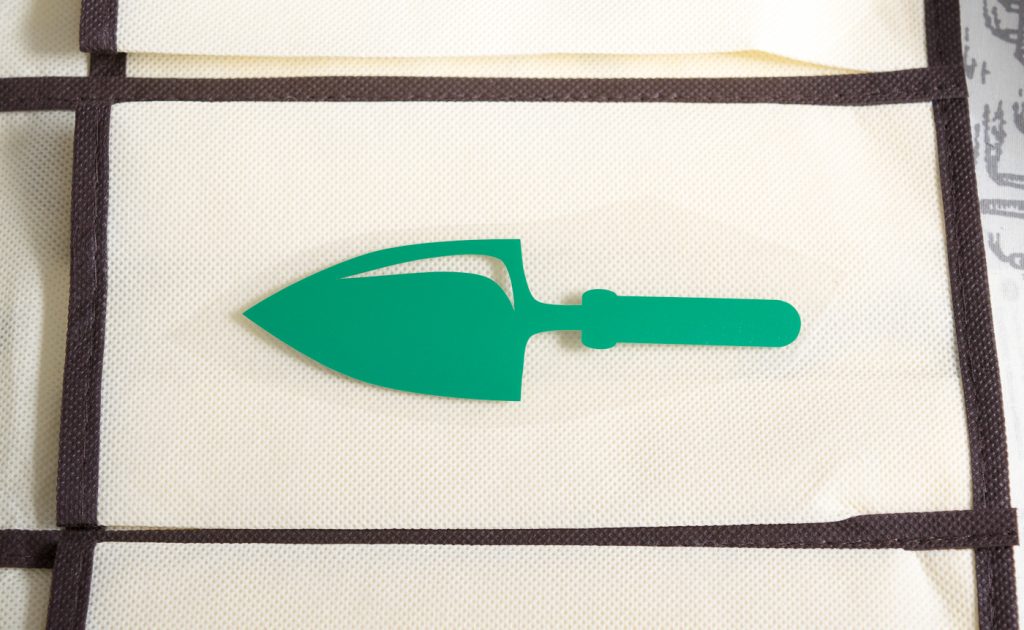
Place each design (plastic side up) on a pocket of the shoe organizer. It’s a good idea to keep heavier tools like the trowel and pruning shears at the bottom and lighter items like seeds and gloves at the top.

When using iron-on vinyl, make sure to apply it with the clear plastic side up.

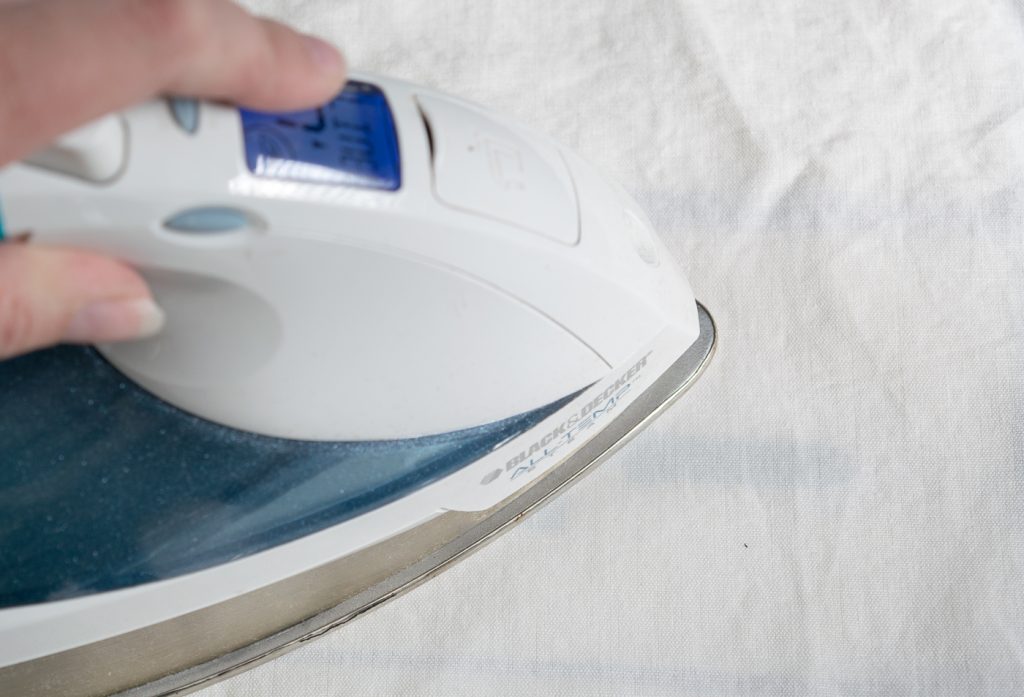
Set your iron to the highest setting. Lay a piece of cotton cloth (a thin tea towel or even a t-shirt is fine) on top of your design. Iron it in place. Move the iron around over the design for 30 seconds to adhere the vinyl to the pocket. Be careful not to leave the iron in one spot too long or you risk scorching the fabric.

Iron your design to the pocket of your hanging garden tool organizer.

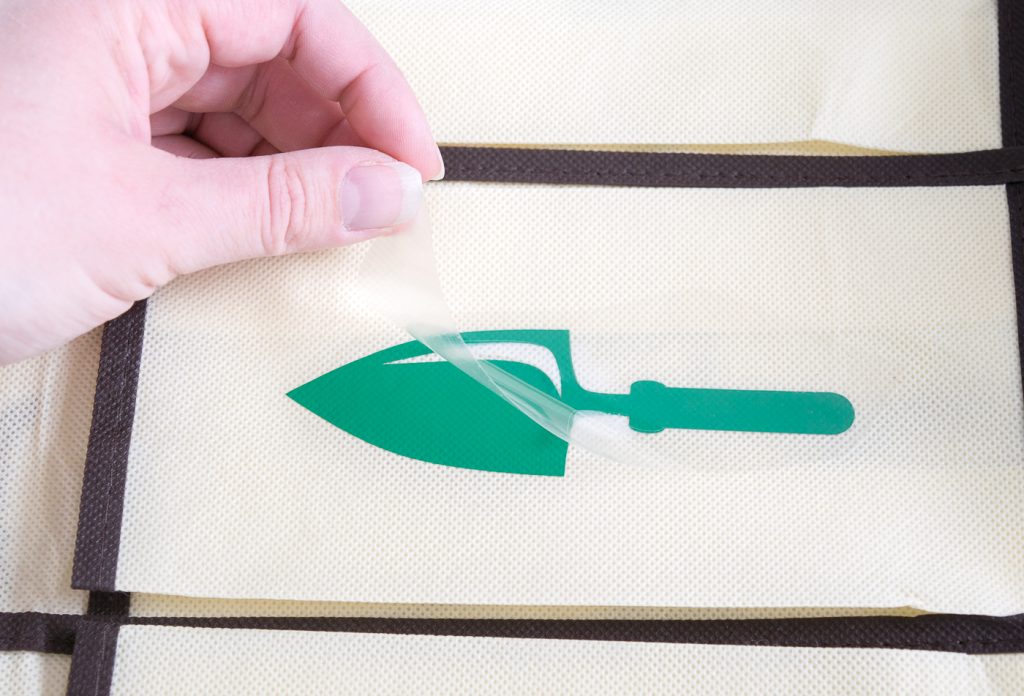
Your design is adhered properly when the clear plastic peels away cleanly. If it still sticks, iron more!

You know your design is ironed onto the fabric well when the plastic peels up easily.

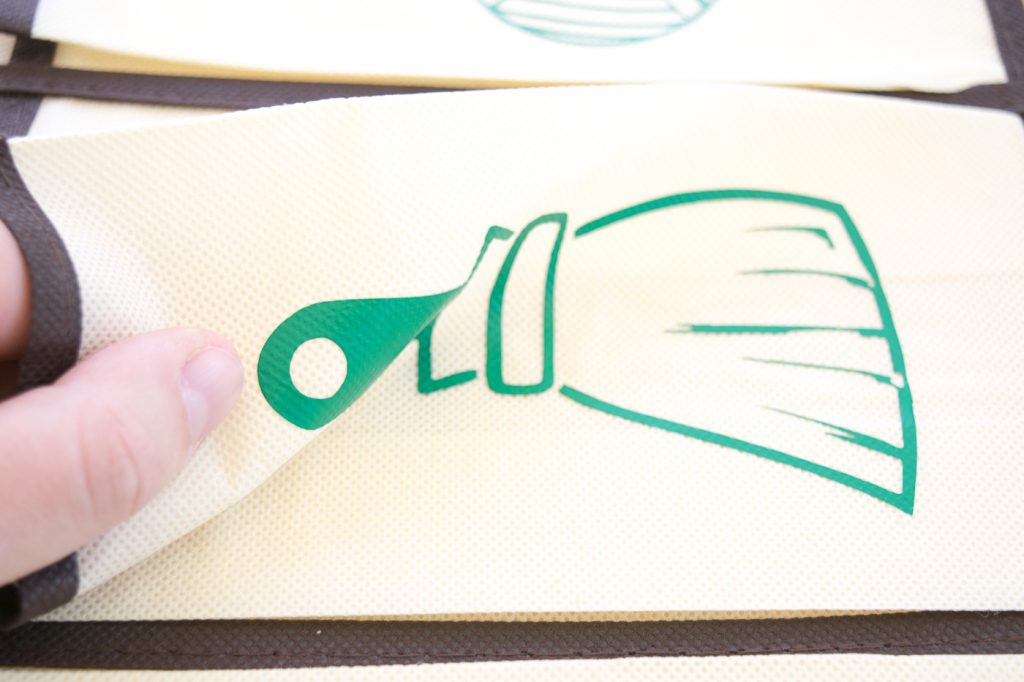
Once the iron on is cool, move on to the next one. I had never used iron-on vinyl before and was pretty impressed at how flexible it is. The vinyl looks like it would peel up easily, but it adhered firmly.

The iron-on vinyl is more flexible than it looks!

Hang your organizer. My organizer came with over-the-door hooks, but they were too big for the louvered doors of my shed. I used hooks to hang it on the pegboard wall. Time to fill up your organizer.

Get your shed or garage organized with this hanging garden tool organizer!

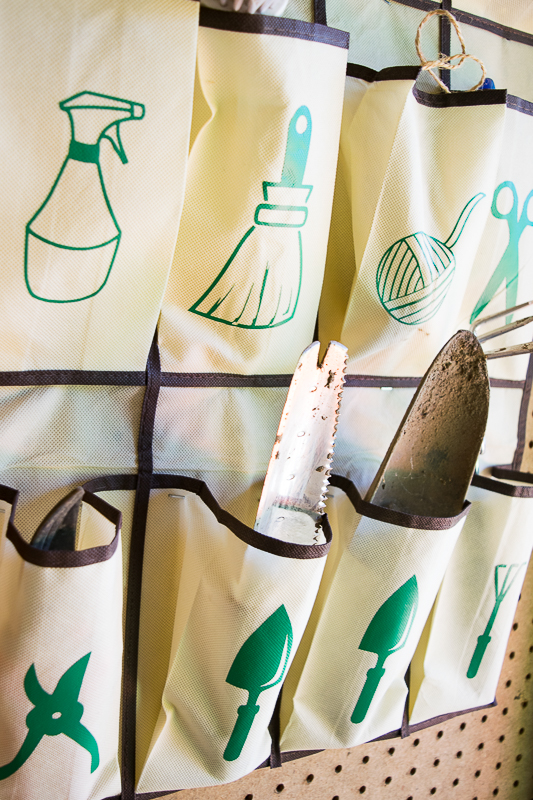
The heavier tools flopped forward so I stapled the fold of the pockets to the pegboard to keep them straight.

If the tools fall forward too much, staple the fold of the pocket to the wall to keep them straight.

No more hunting for that matching glove! They always have a home now.

No more hunting for that missing gardening glove! Matching pairs fit perfectly in the pockets of this hanging garden tool organizer.

Now my garden shed is neat and organized! I can instantly see what tools are missing and hunt them down in the garden before they turn to rust. The images on the garden tool organizer make it easy for even the little kids to help with clean up.

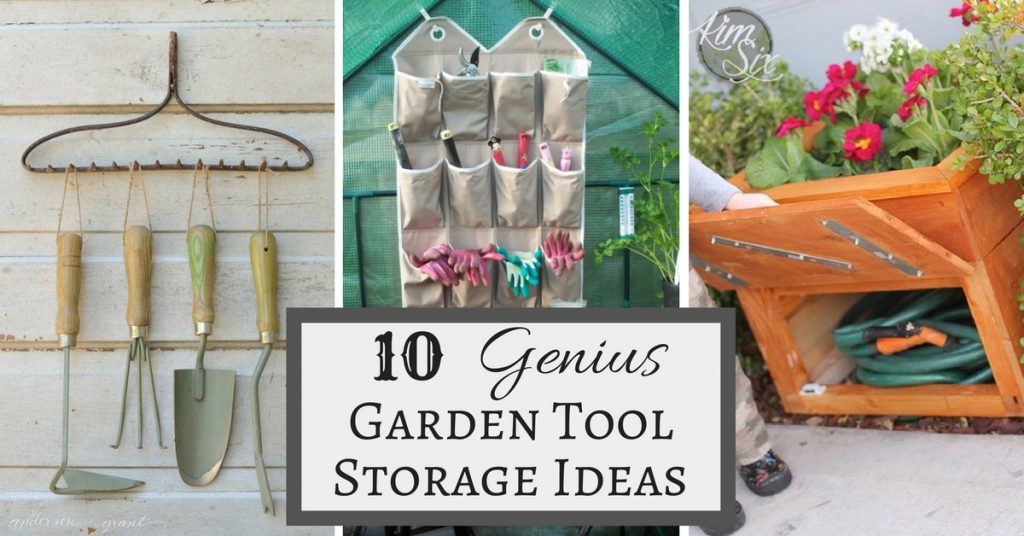
Need more garden tool storage ideas? I’ve found some genius garden tool storage ideas, including the inspiration for this project, here.

Get organized with these 10 genius garden tool storage ideas!

Thanks for reading and don’t forget to check out my blog at The Handyman’s Daughter for more projects!

~ view more of Vineta’s projects ~

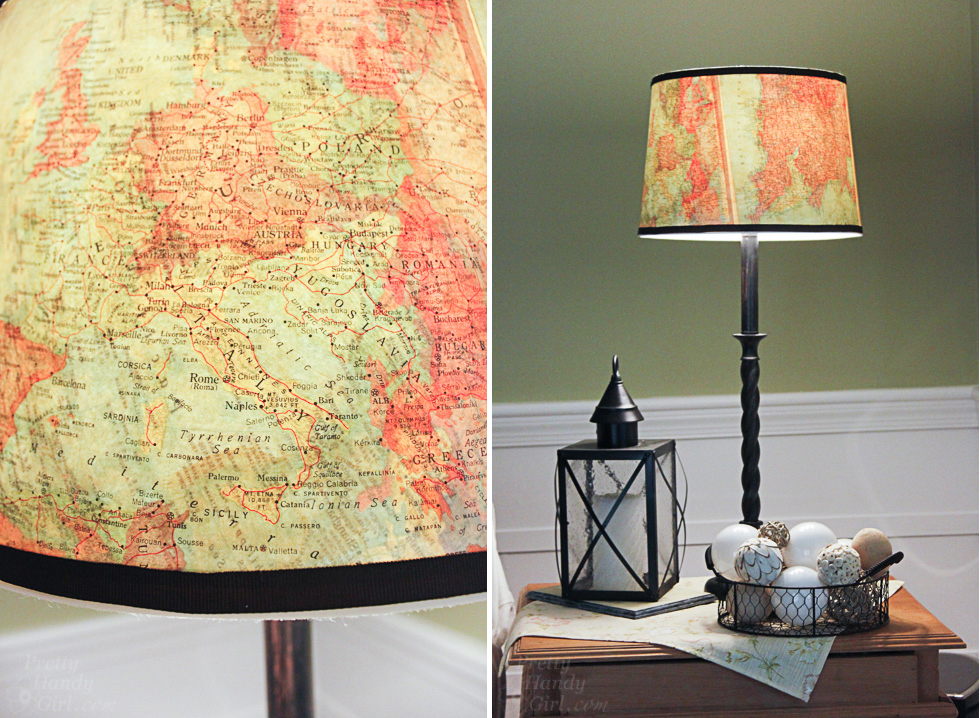
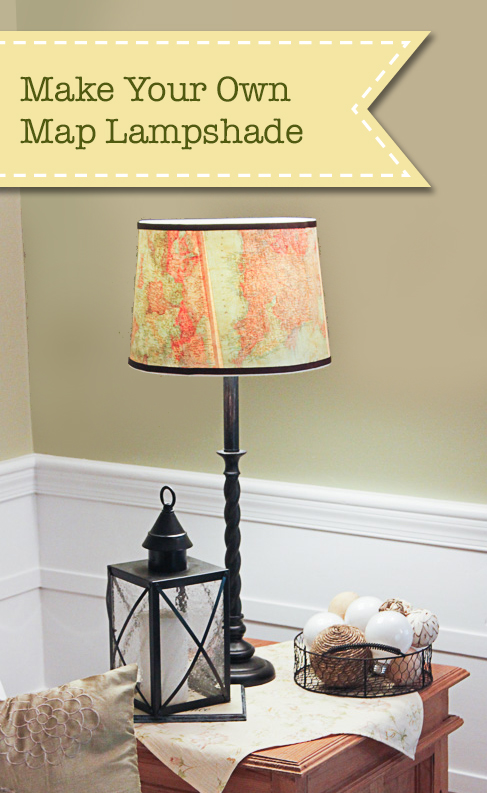
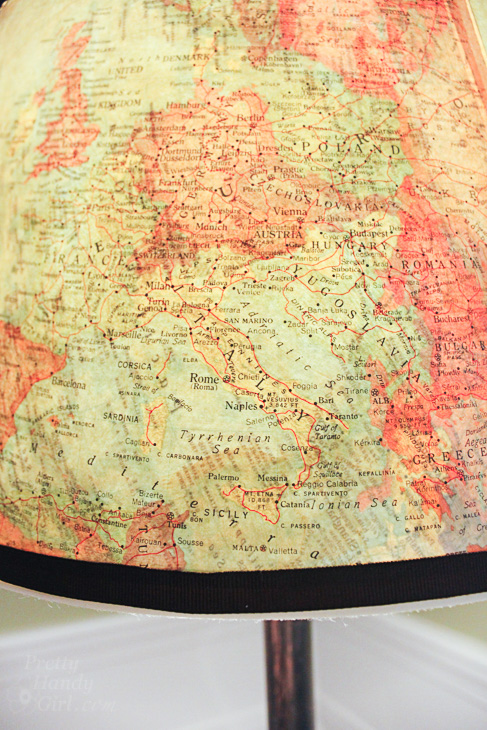
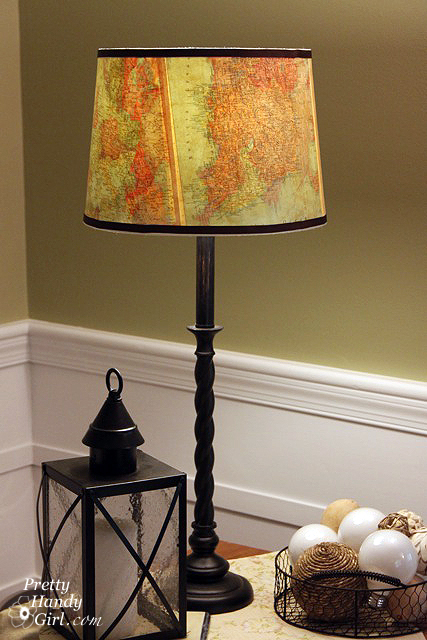
Vintage Map Lampshade | Pretty Handy Girl

Vintage Map Lampshade | Pretty Handy Girl
Do you want to update a plain vanilla lamp shade? Do you have a vacation you want to remember? You can do both with this vintage map lampshade!

The process to create a Vintage Map Lampshade is easy, especially if your lamp shade is close to a perfect cylinder. But, what do you do when you have a cone shaped shade? The instructions are a little more complicated, but I can show you how.

Pull up a seat and I’ll show you how to create a cool decorated lampshade. (Keep in mind you don’t have to use maps. You could use wallpaper, fabric, a poster, or anything you want!) Let’s do this.

Vintage Map Lampshade | Pretty Handy Girl

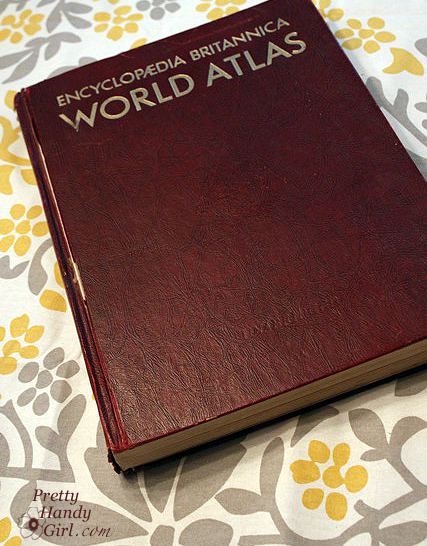
During a trip to my local thrift store, I discovered an old atlas and knew I could use it for oodles of projects. As I walked out of the store a flood of ideas came to me. One of them was to make a Vintage Map Lampshade.

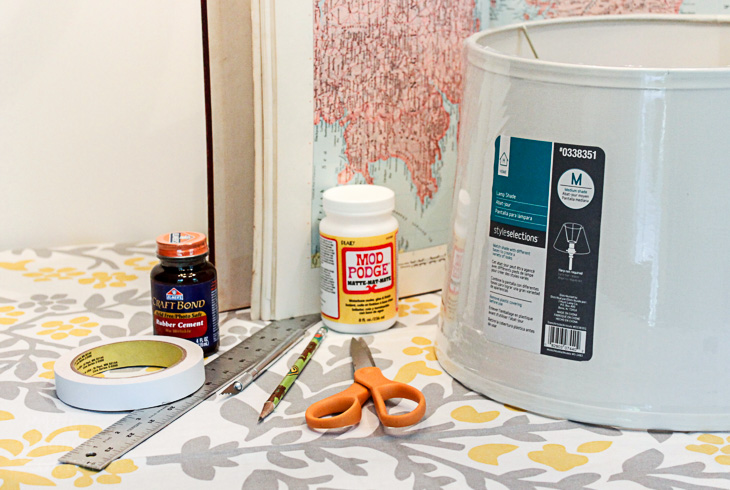
Materials:

(I’ve included affiliate links for your convenience. I earn a small percentage from a purchase using these links. There is no additional cost to you. You can read more about affiliate links here.)

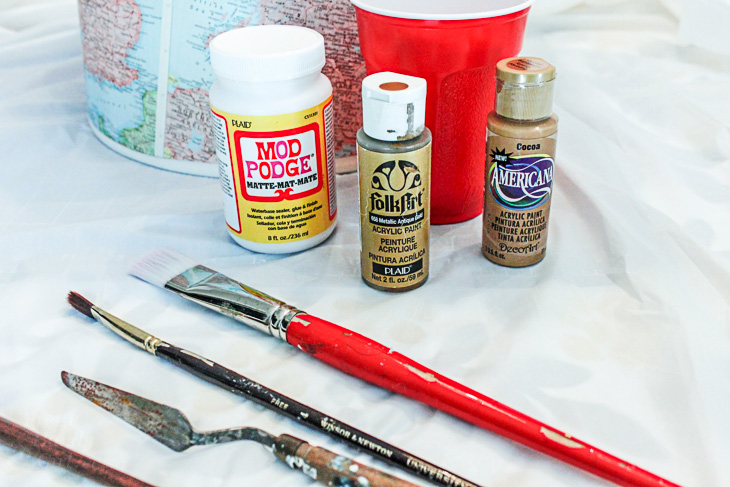
To add a vintage glaze you will also need:


Instructions:

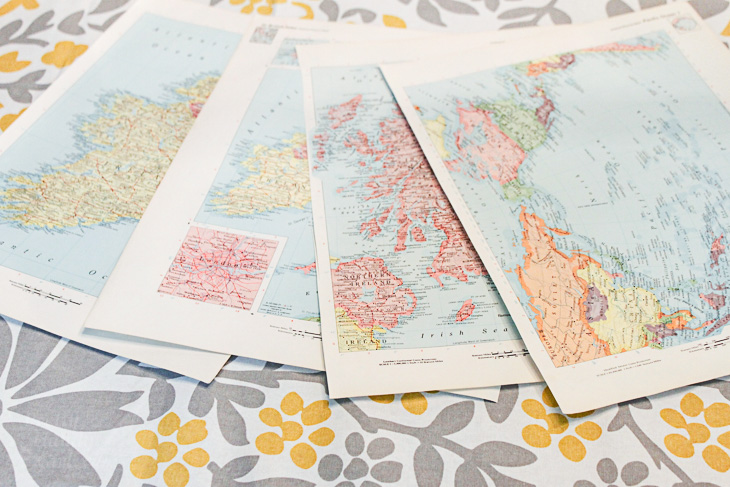
Start by selecting the maps or paper you want to use. Carefully cut them out along the spine using a fresh x-acto blade — don’t let your blade get dull. (I use a new one for each project. Your cuts are much cleaner when working with a fresh blade.)

Set your pages aside for now.

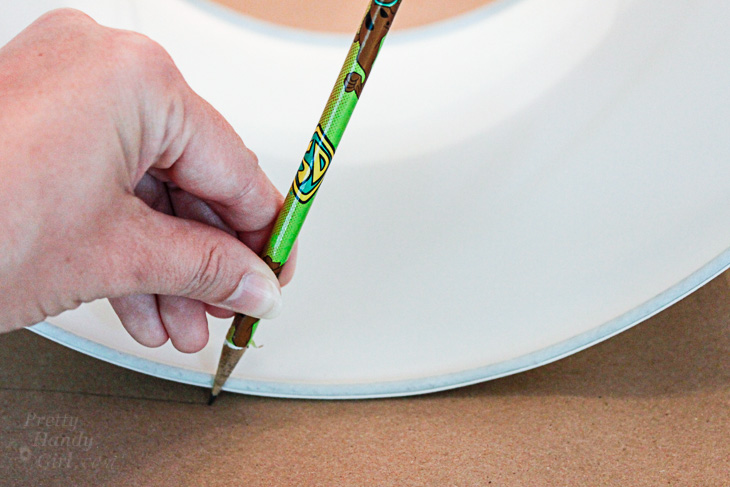
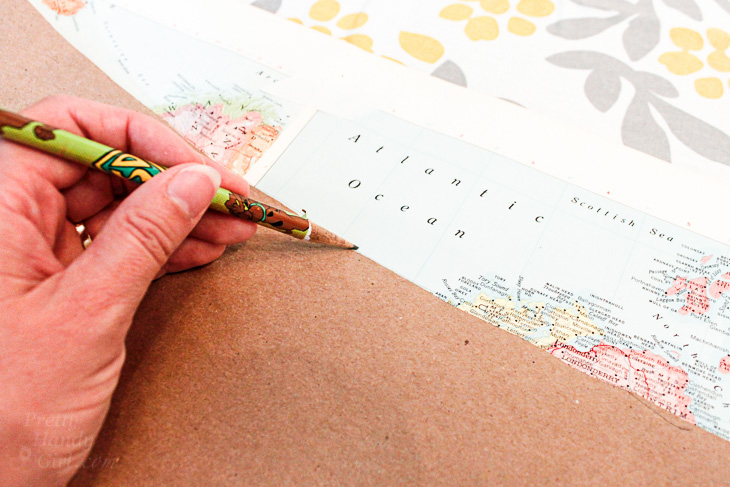
To make a template for your shade, roll out a large piece of craft paper. Lay your lampshade on the craft paper. Start at the vertical seam on the shade (to give you a visual of where to start and stop) and set your pencil along the bottom edge of the lampshade.

Gently roll the shade on the paper and mark along the bottom edge of the shade.

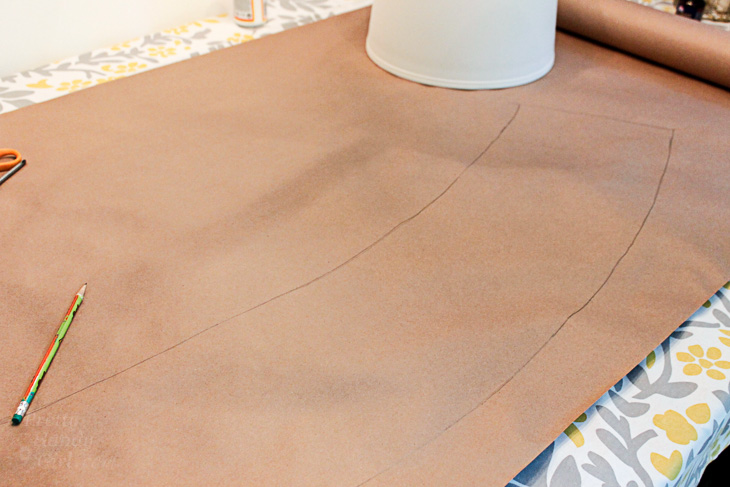
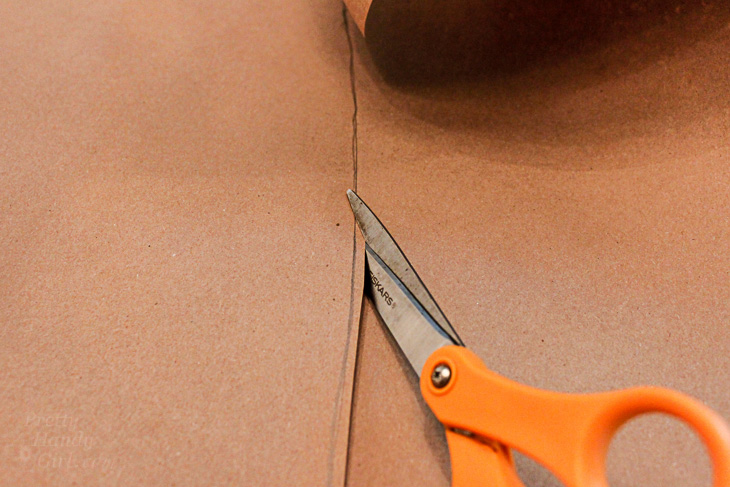
When you reach the end, reverse your shade and draw along the top edge. At the end, add an inch or two for overlap. Cut along the outlines to create your lampshade template.

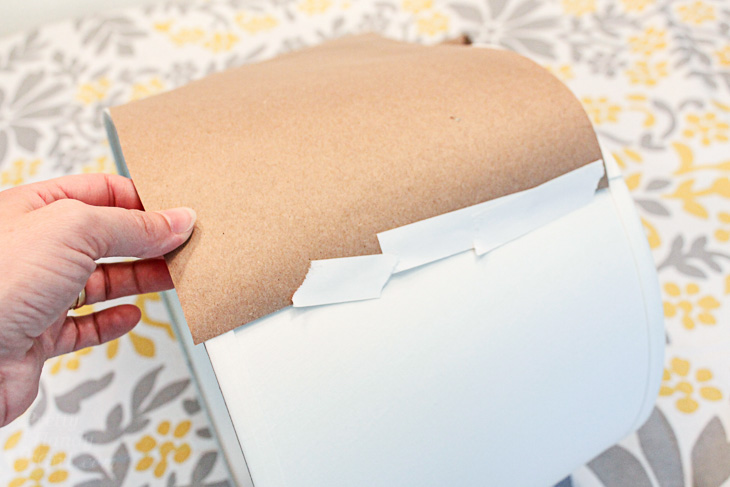
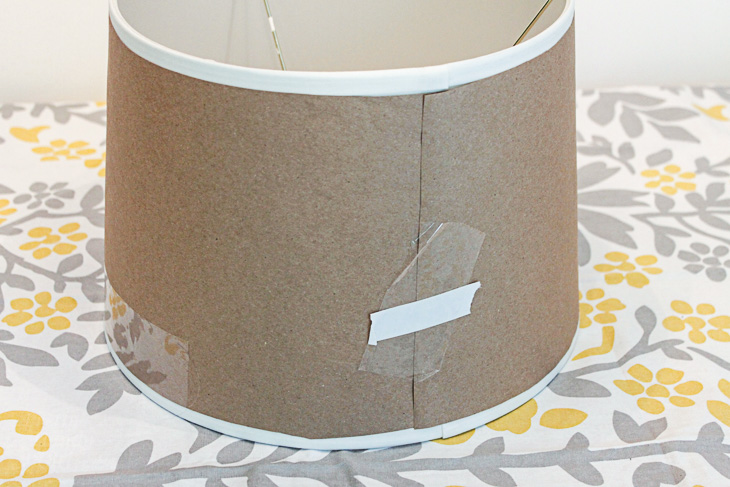
Tape the template onto your lamp shade using the low tack tape. Make sure it fits snugly.

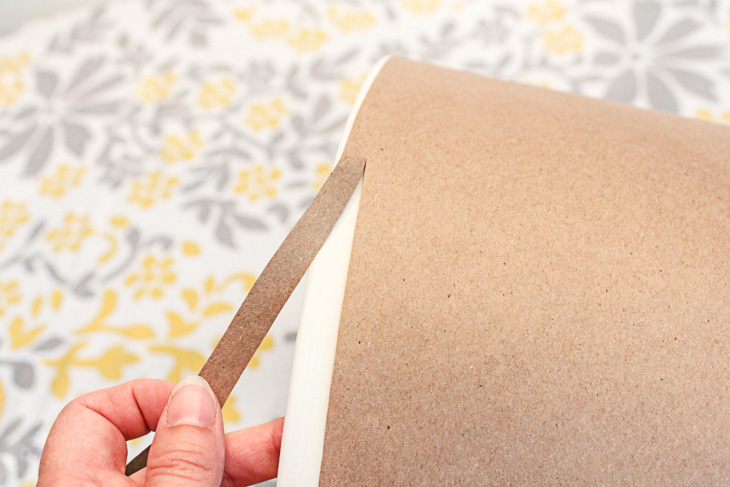
Trim any excess from the edge of your template. Should you choose, trim excess to allow room for the grosgrain ribbon.

Make sure your template fits perfectly before you proceed.

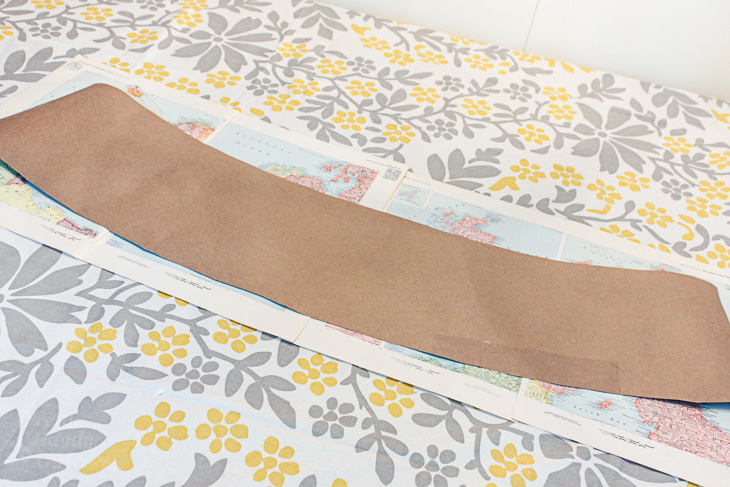
Lay out your craft paper template on top of the map pages. Make any adjustments to the page layout.

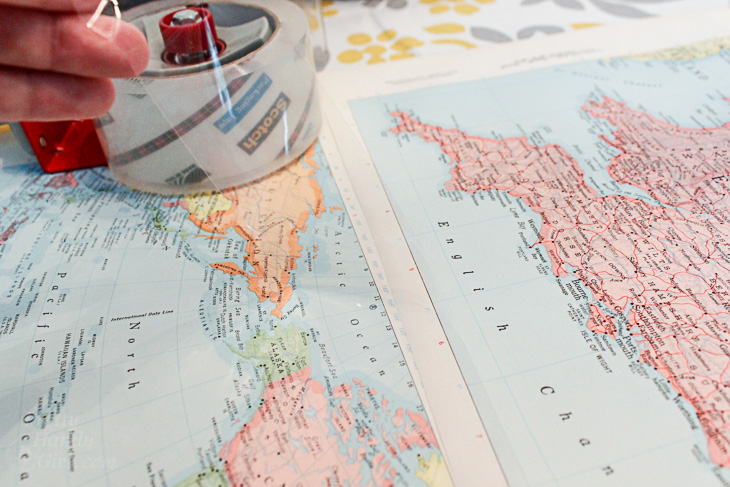
Tape your map pages together using clear packing tape on the inside only.

Trace the template on top of the map pages.

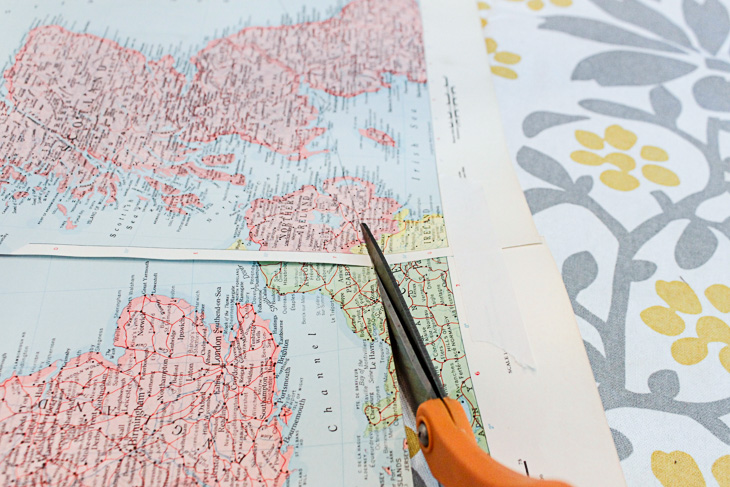
Cut out the shape along the pencil line.

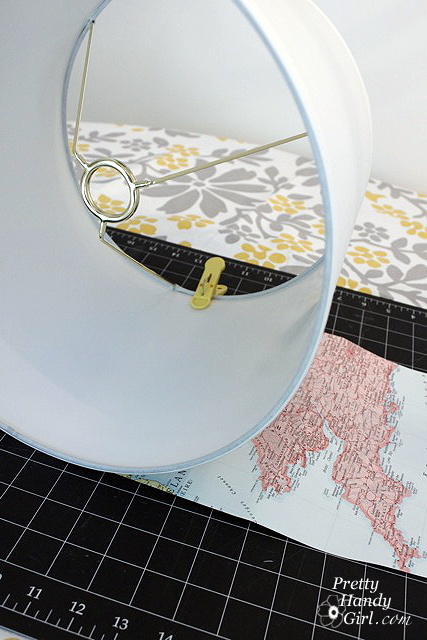
Wrap the lampshade with your cut out map pages.  Clip the edges with clothes pins.

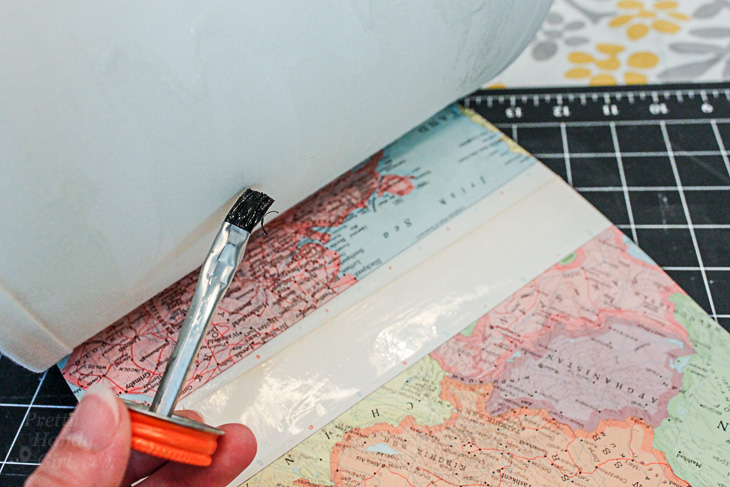
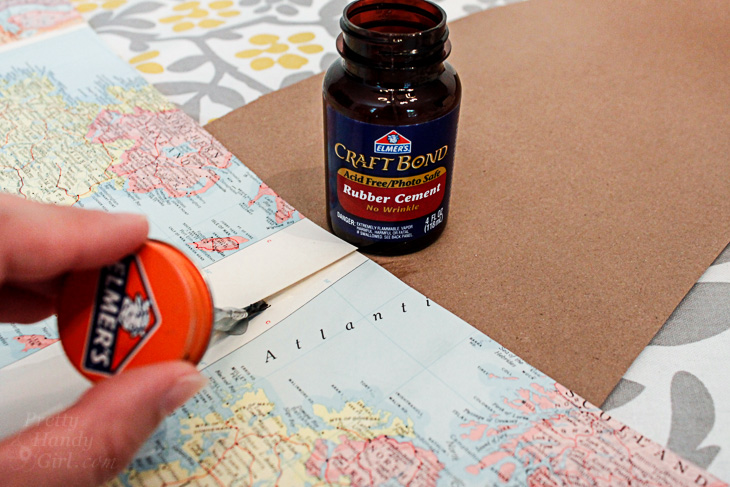
Working in small 8″ sections, brush rubber cement onto the map and the lamp shade. Wait a minute or two for the glues to dry. Then press them together. This is the best way to get maximum adhesion when using regular rubber cement. It creates a stronger bond than just one coat applied and joined while it is still wet. Alternatively you could use spray adhesive (especially if you are using fabric.)

Continue by gluing another section until you reach the end. To finish the seams on the outside, brush some rubber cement under the seams where your maps overlap. Press and hold them down until the glue dries.

Add a Vintage Aged Glaze:

Time to give your maps a vintage aged look! Pour 2 parts mod podge into an empty cup. Add about 1 part cocoa paint. Mix them together. Test some of the glaze on a scrap piece of paper. If you like the glaze color, start brushing it onto the lamp shade. Be careful not to use too much of the glaze or the paper will start to wrinkle. (If it does, no worries, some of the wrinkles will come out when it dries. Any remaining wrinkles make it look old.)

Let the glaze dry.

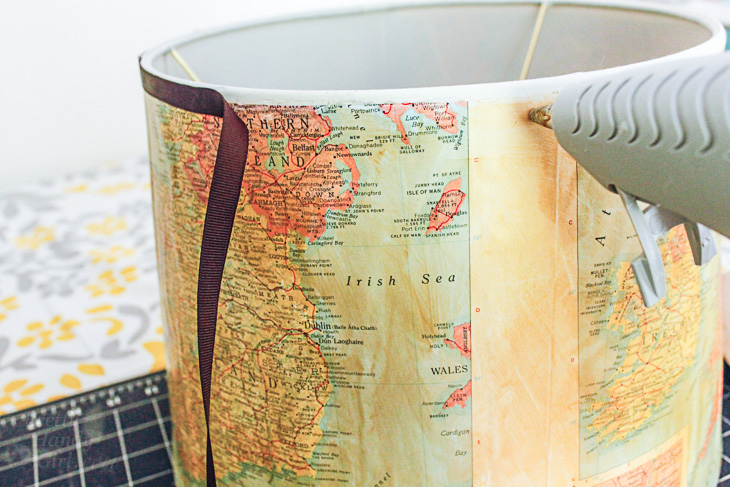
Cut two strips of grosgrain ribbon the circumference of your lamp shade plus an inch for overlap.

Hot glue the ribbon onto the top and bottom edges of your lamp shade. (Please, please, protect your fingers, read my hot glue gun safety post before working with hot glue!)

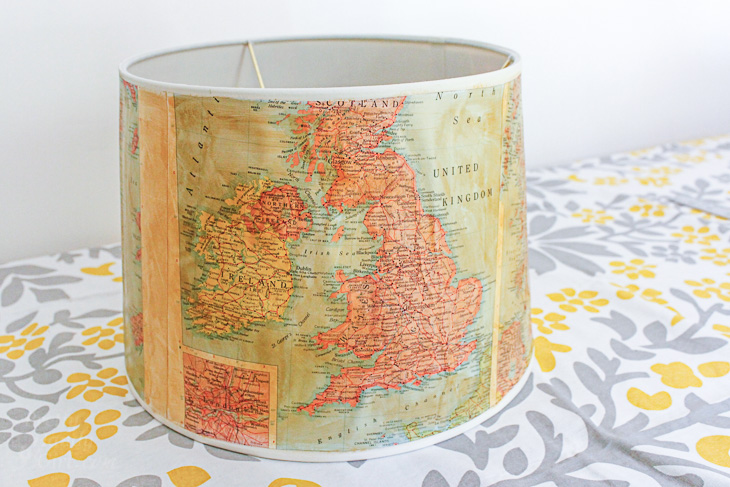
Put your lampshade on your favorite lamp.

Admire your unique lamp shade that brings back fond memories of a special trip.

If you make one of these, what map would be on your’s? Your home state? The place you were born? Where your family’s heritage resides? Or something completely different? I would love to hear your ideas.

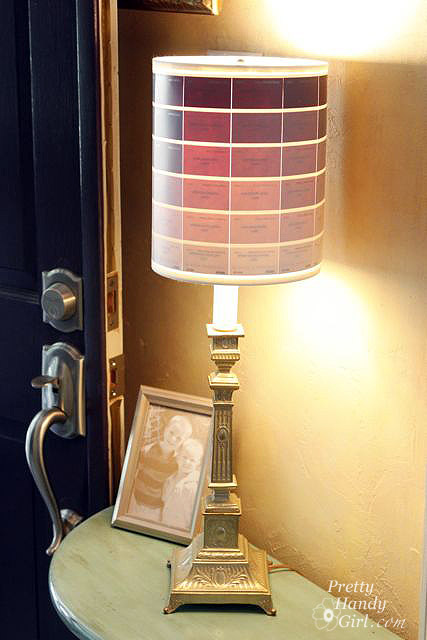
Did you like this tutorial? Want to learn how to revamp another lamp shade with paint chips!

The result are a beautiful ombré lamp that is fun and colorful.