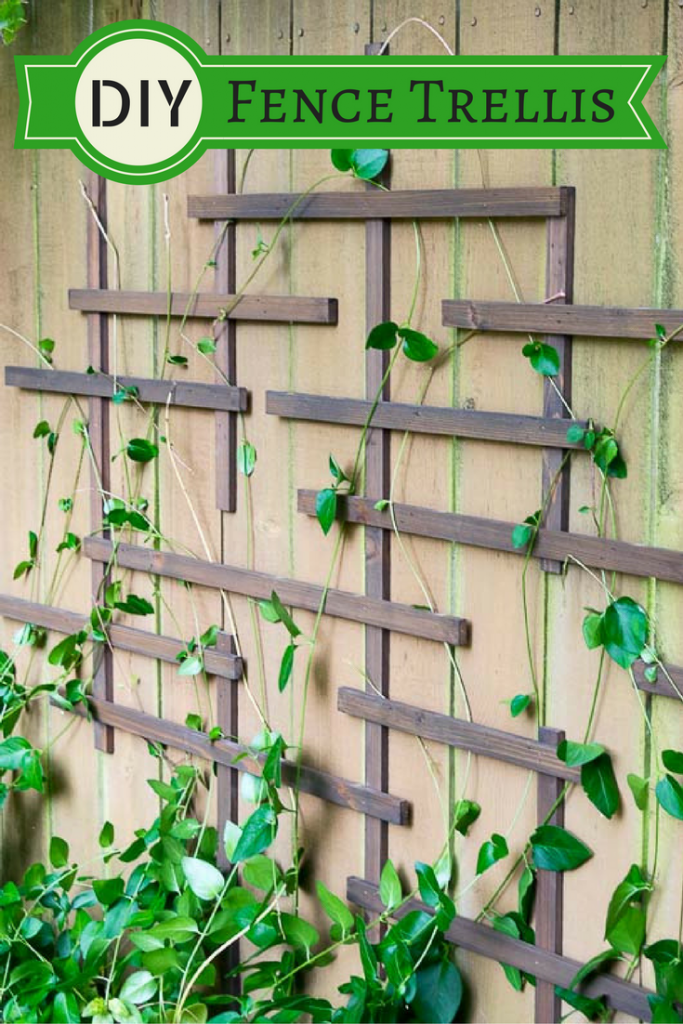
 DIY Fence Trellis
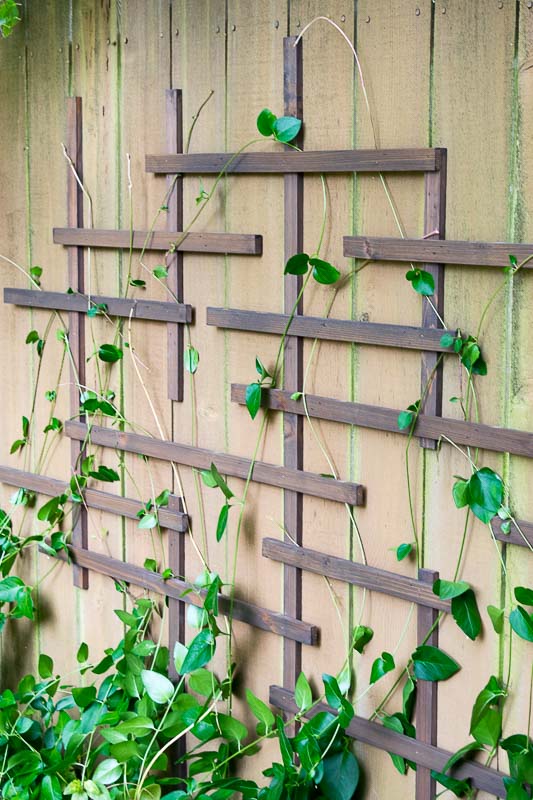
Hi, Pretty Handy Girl readers! I’m Vineta from The Handyman’s Daughter, and today I’m going to show you how to create this easy DIY fence trellis. Easily give a boring, flat fence visual interest in winter, and a place for vines to grow in the summer!
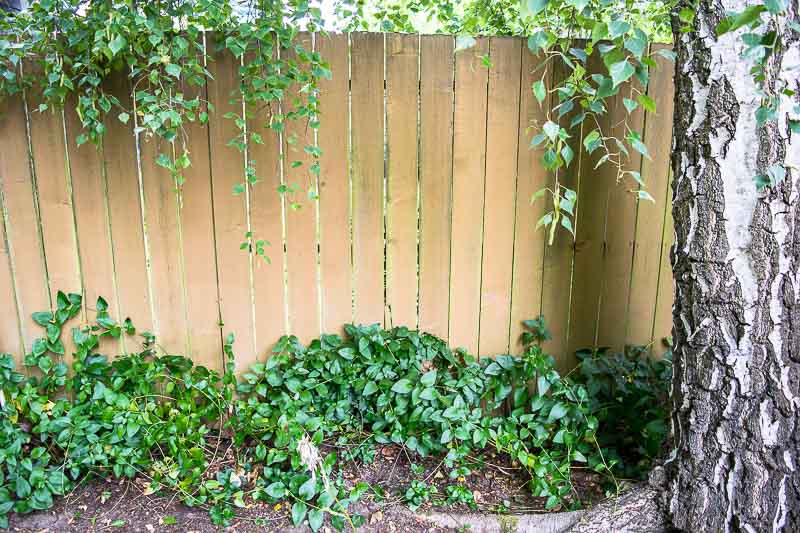
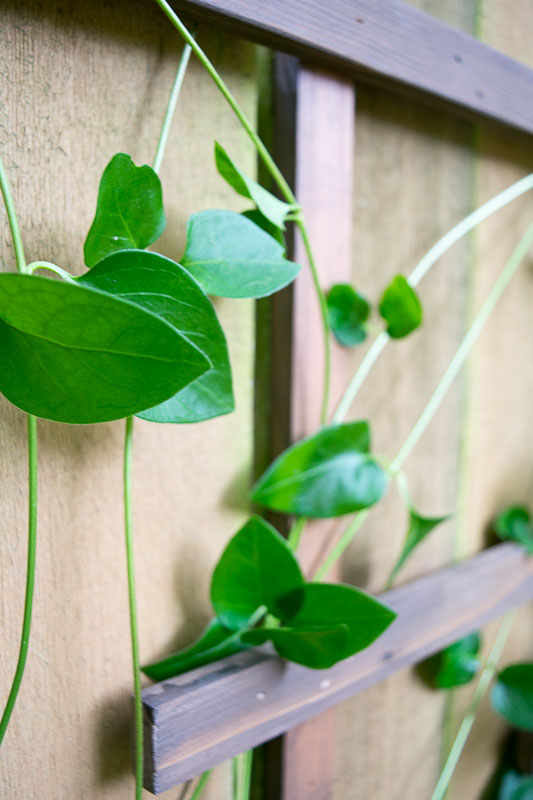
Our entire backyard is surrounded by a six-foot-high cedar fence, which gives us plenty of privacy but isn’t exactly pretty. The previous owner planted clematis vines along one side, but didn’t give it anything to grab onto. So it sits in a pile on the ground instead! This fence trellis will give the vines something to climb and fill in the plain background.
Materials for Fence Trellis
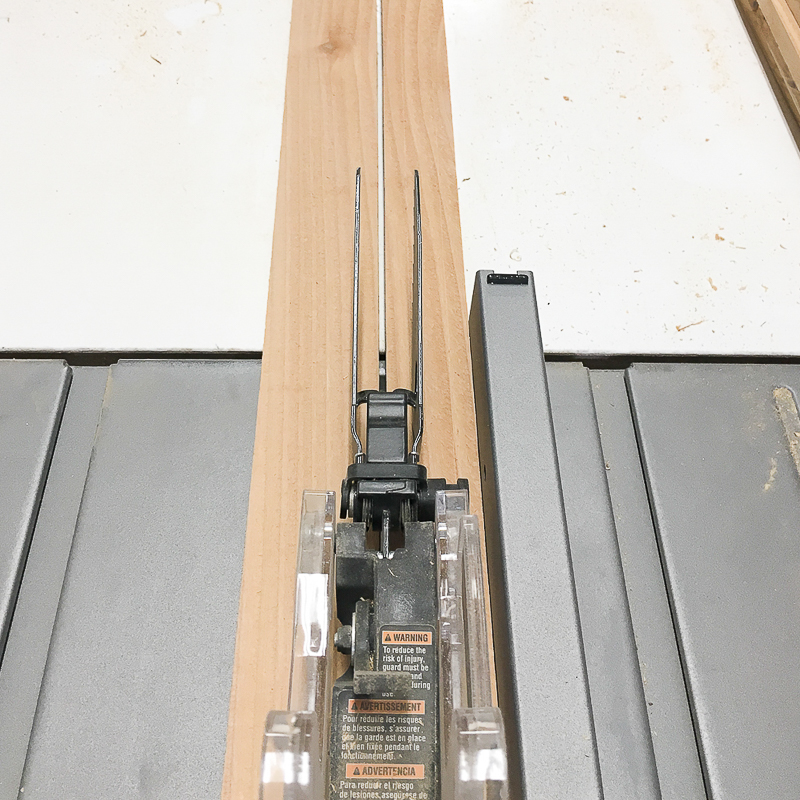
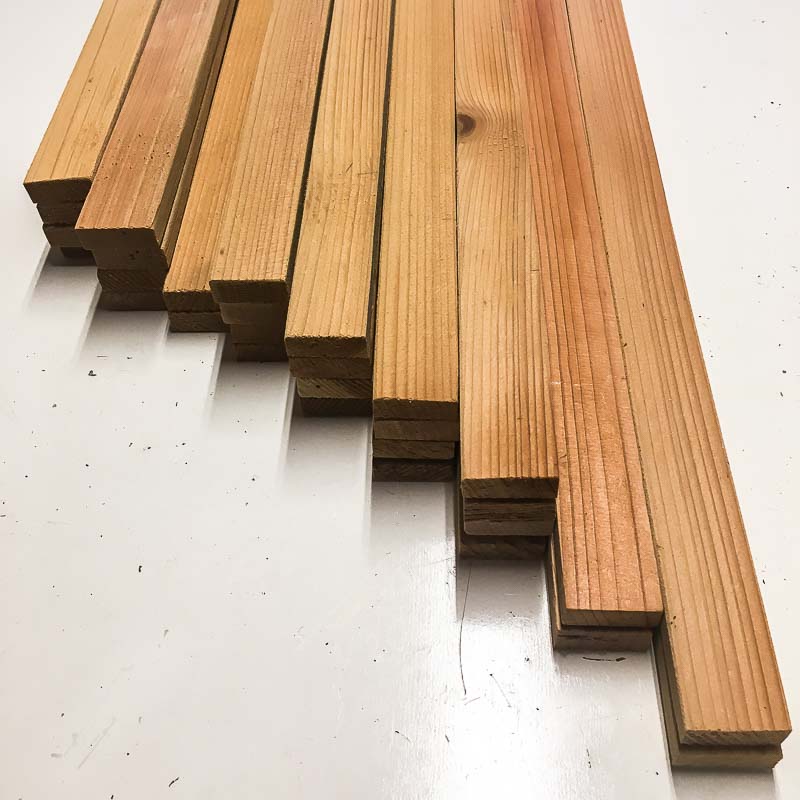
- Cedar fence pickets (I ripped 6″ wide pickets into 1 ½” strips, but you can also use 1 x 2 boards.)
- Sander and sandpaper
- Exterior wood stain (I used Behr’s waterproofing exterior stain in Coffee)
- Nail gun or hammer
- 1 ¼” brad nails
- Level
- Scrap of 1 x 4 board to use for spacer
How to Build a DIY Fence Trellis
Start by cutting four 6″ wide cedar pickets into 1 ½” wide strips lengthwise. If you don’t have a table saw, you can simply use 1 x 2 boards.
Next, cut the strips down into shorter lengths. I made a few of each of these dimensions: 16″, 20″, 22″, 24″, 26″ and 30″.
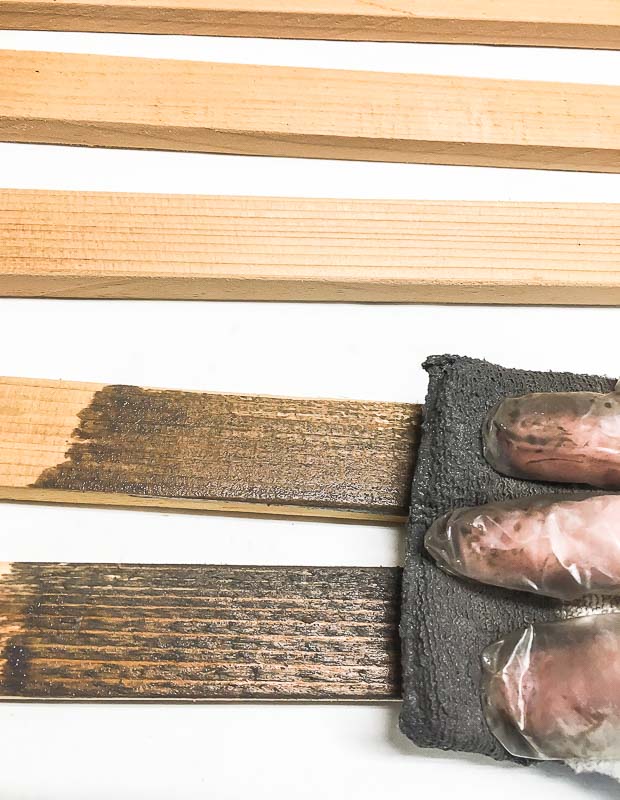
Sand each piece, then give them all two coats of your preferred exterior wood stain.
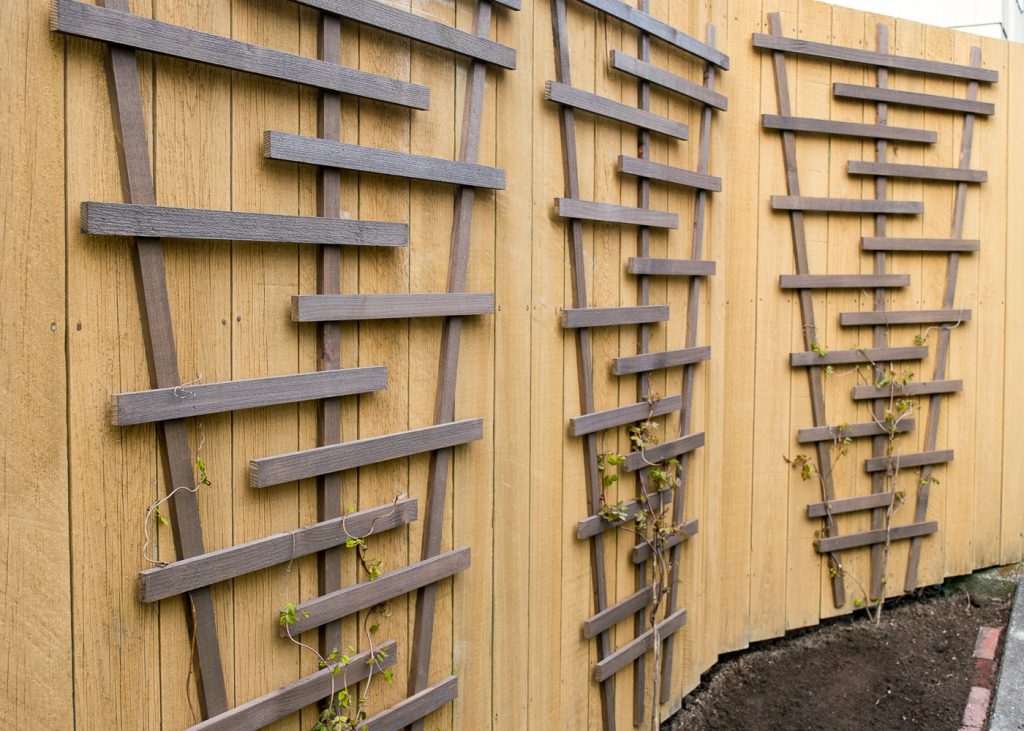
Once the stain is dry, you can start assembly! Begin with the longest pieces. Hold them vertically against your fence, spacing them out along the fence evenly and nailing them directly to the fence.
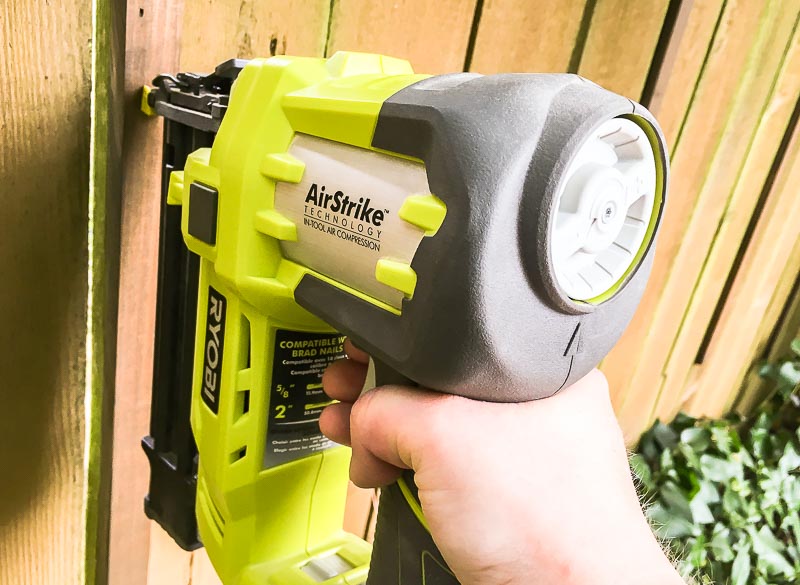
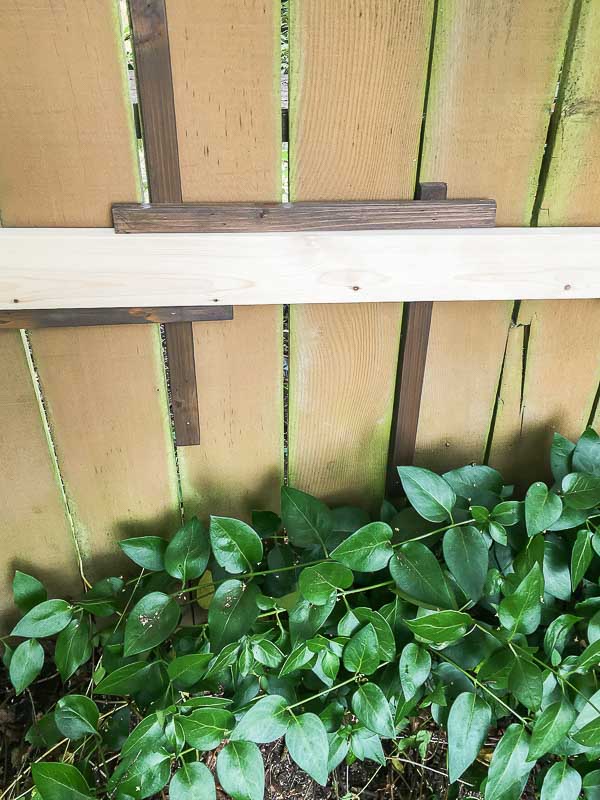
Next, select a few pieces to attach horizontally at the bottom. Nail one end to the vertical support, then use the level to make sure it’s even before nailing down the other end.
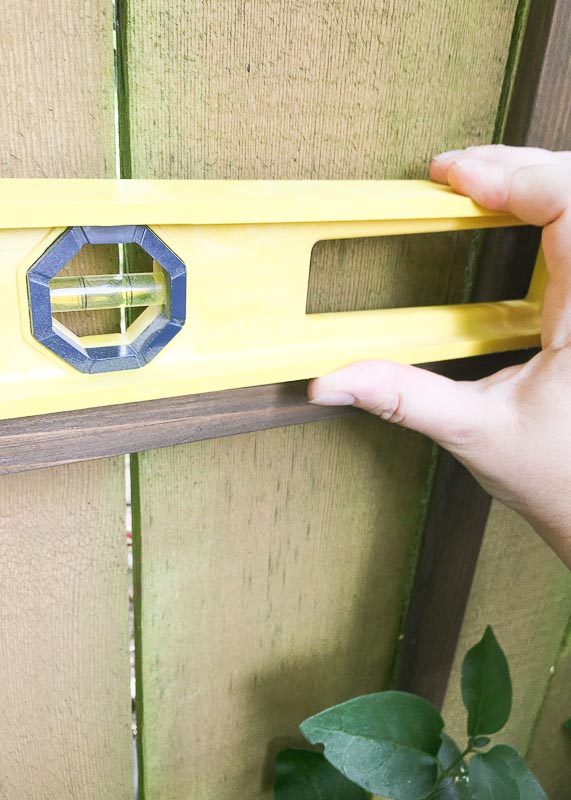
Use the 1 x 4 spacer to keep the distance between horizontal pieces the same. Rest the spacer on top of the attached piece, then prop another piece on top and nail into place. This is much easier than using a tape measure!
Work your way up the fence, randomly placing horizontal pieces. Make sure each one is attached to at least two vertical supports. Add more vertical supports as needed to bridge the gaps.
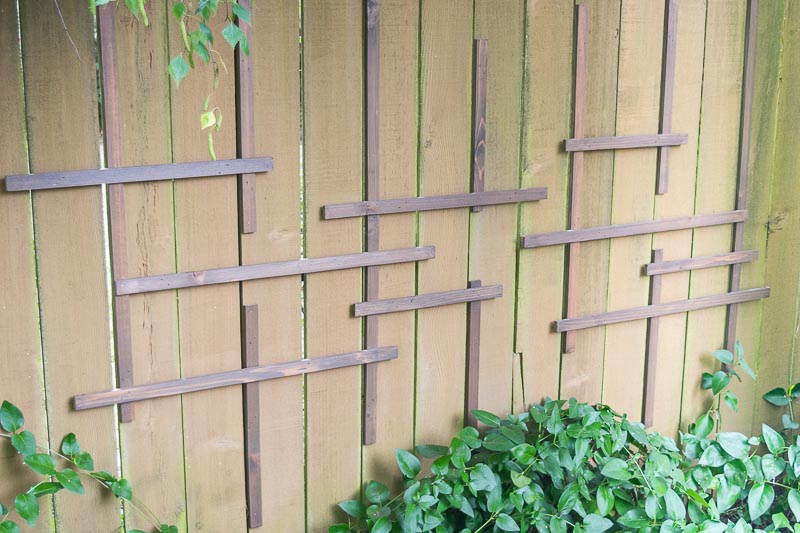
Remember to step back and to view your overall design every once in a while. It should look random, but not TOO random! It’s easy to pull off pieces and move them around if you don’t like how it’s turning out. I went for an asymmetrical look, but you could make a simple grid if you prefer.
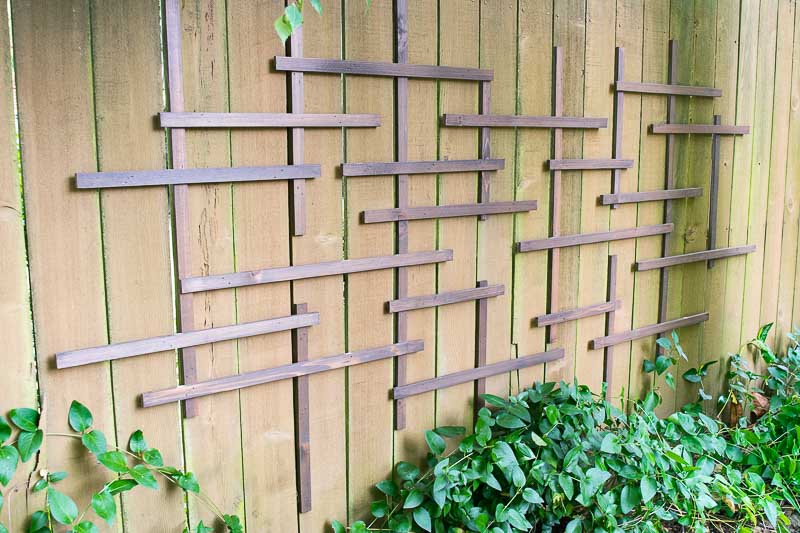
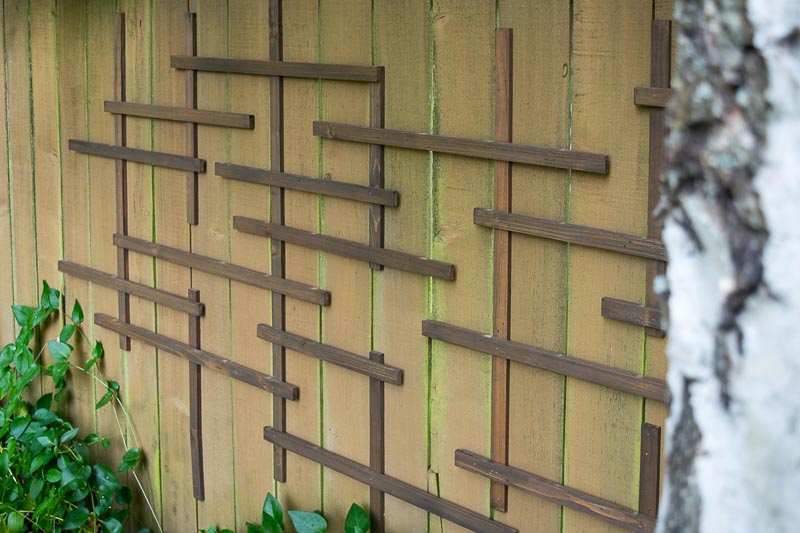
Weave the vines under the elevated pieces to help the plants find a spot to grip. Over time, the vines will find their own way up the DIY fence trellis. I can’t wait to see them blooming next spring!
Want some more trellis ideas? You can get the free building plans for this angled garden trellis I created for another part of the fence at The Handyman’s Daughter!
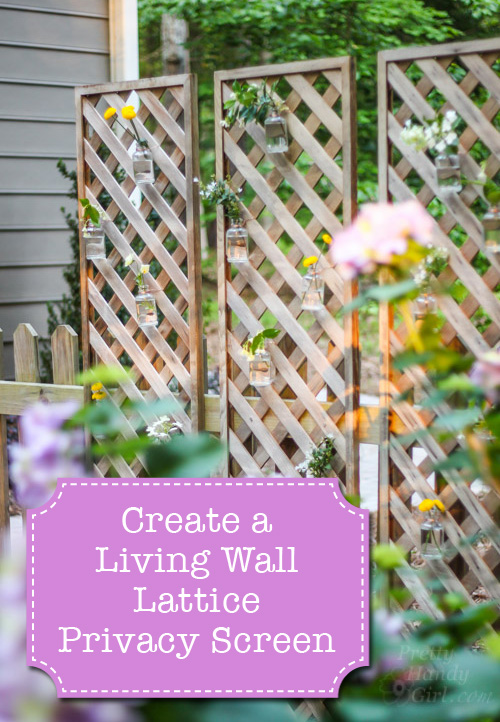
Or create a lattice privacy wall trellis instead!
I’d love to hear what you would recommend planting under this DIY Fence Trellis. Until next time!


 DIY Side Table Plans