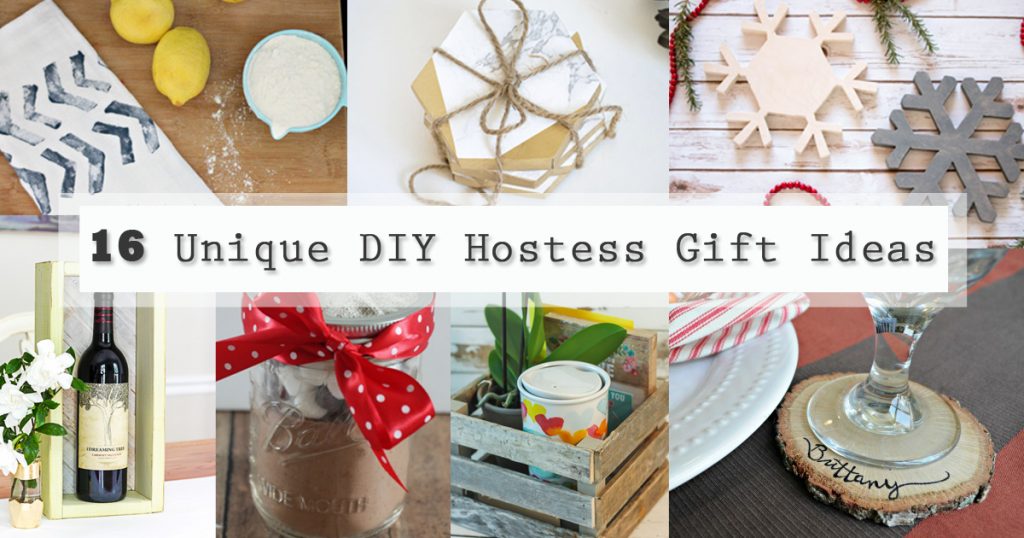
 16 Unique DIY Hostess Gift Ideas

Holiday festivities are about to begin, and you don’t want to arrive to those parties empty-handed! Thank your hostess by bringing a thoughtful and personal gift that is sure to put a smile on his or her face. Here is a collection of Unique DIY Hostess Gift Ideas!
YEAR-ROUND IDEAS
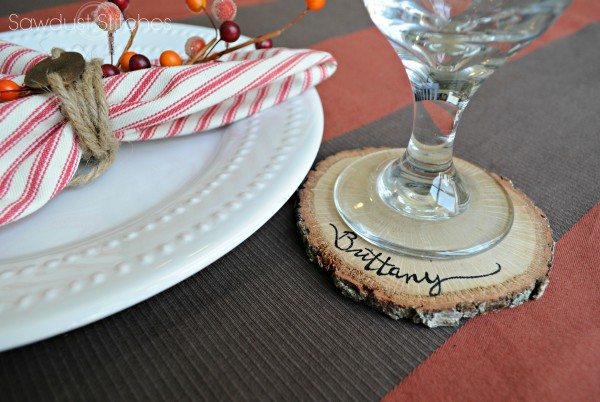
Give your hostess something unique like these Personalized Wood Slice Coasters.
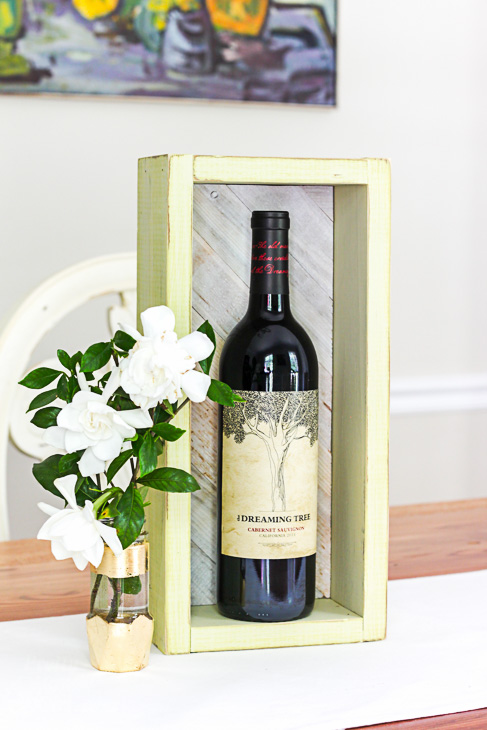
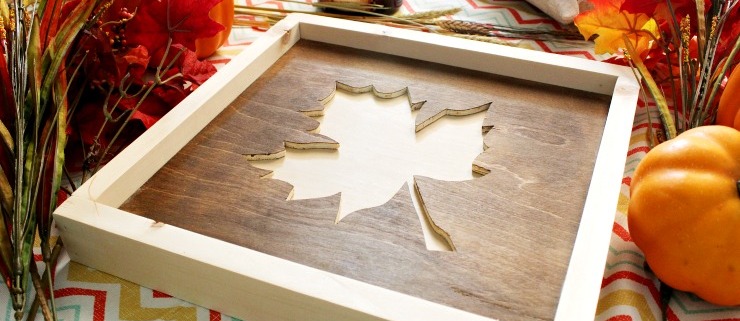
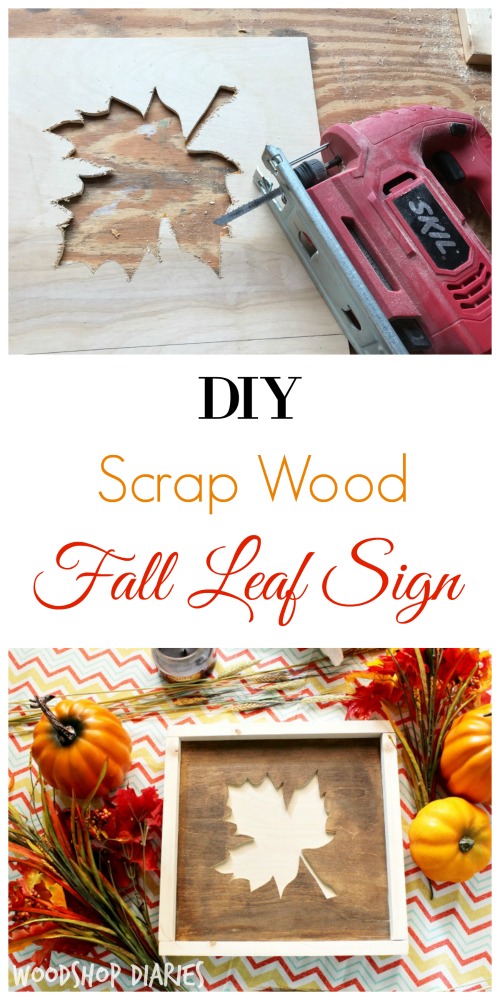
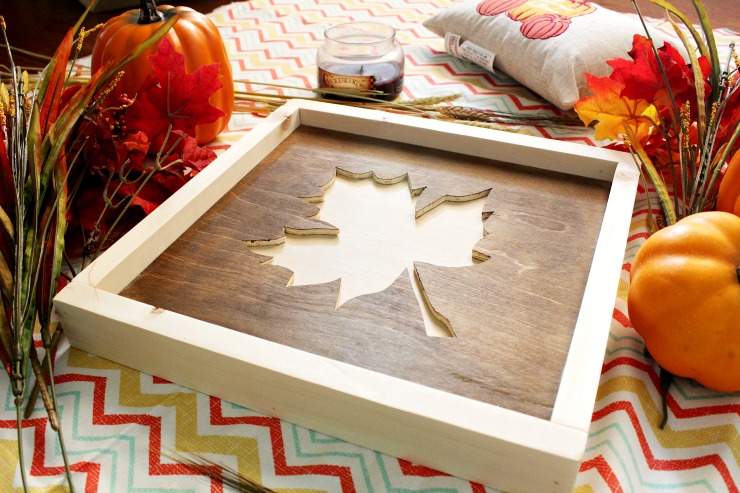
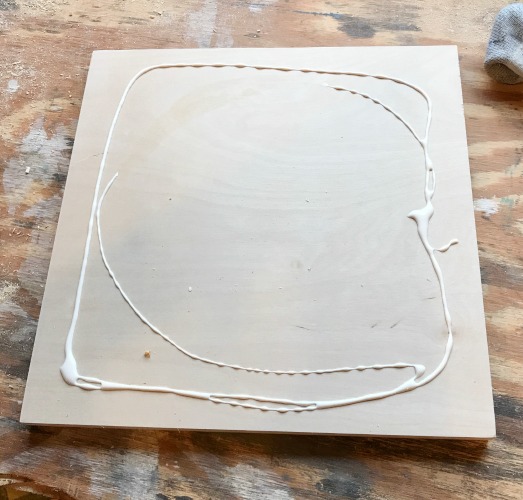
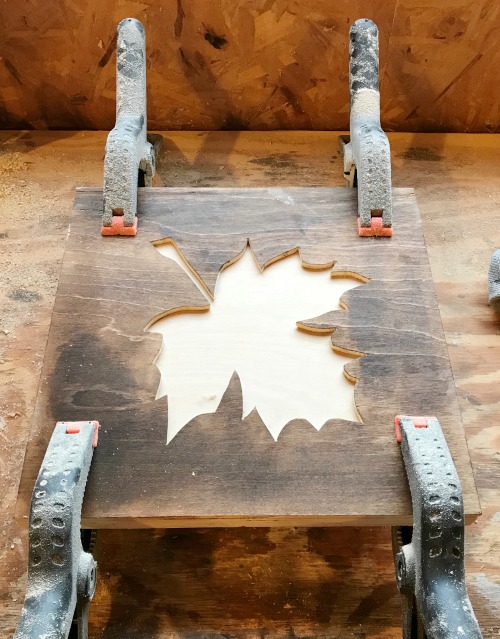
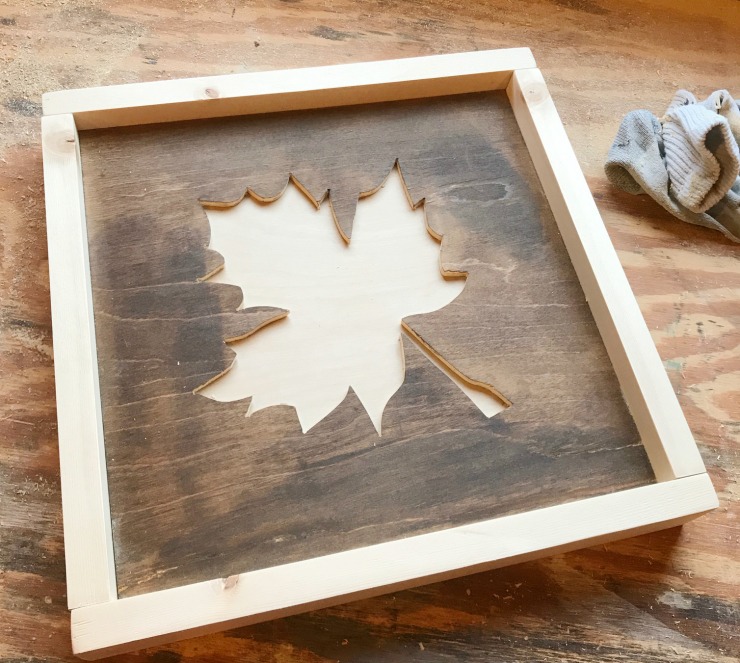
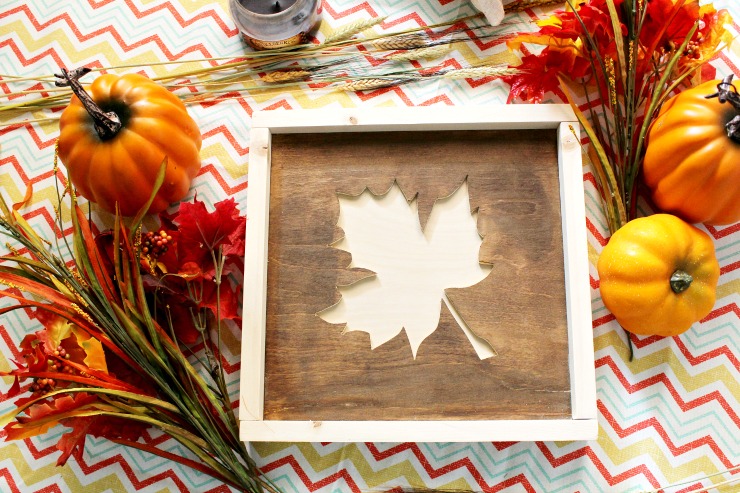
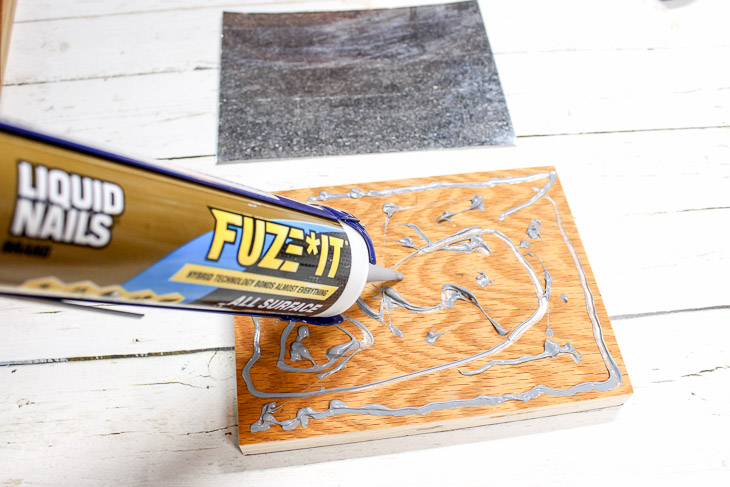
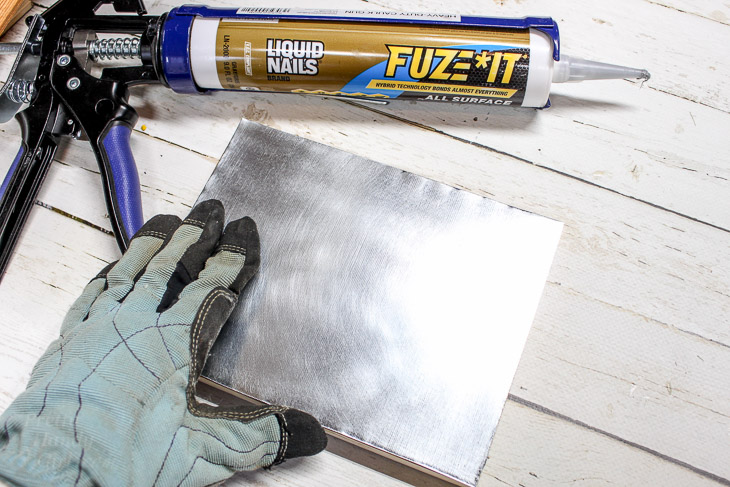
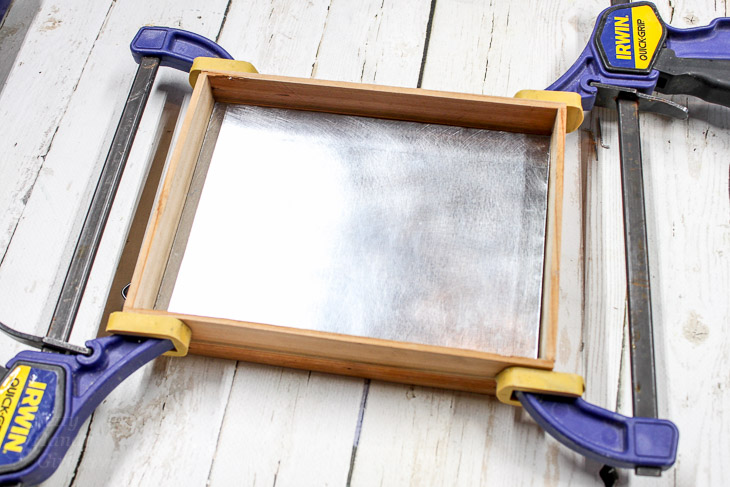
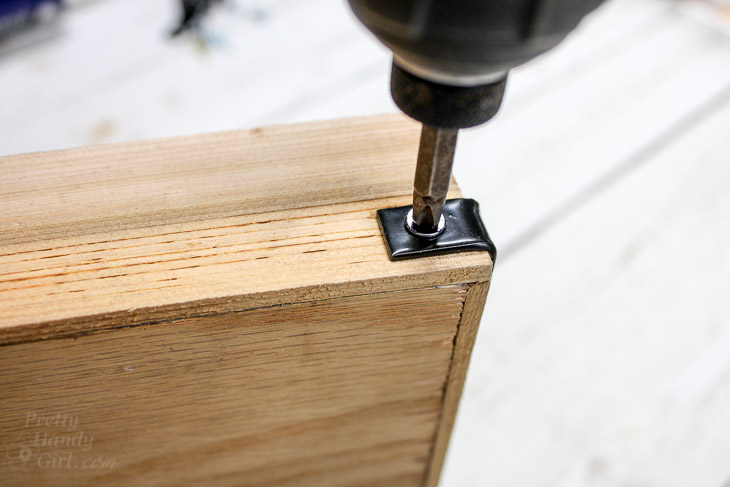
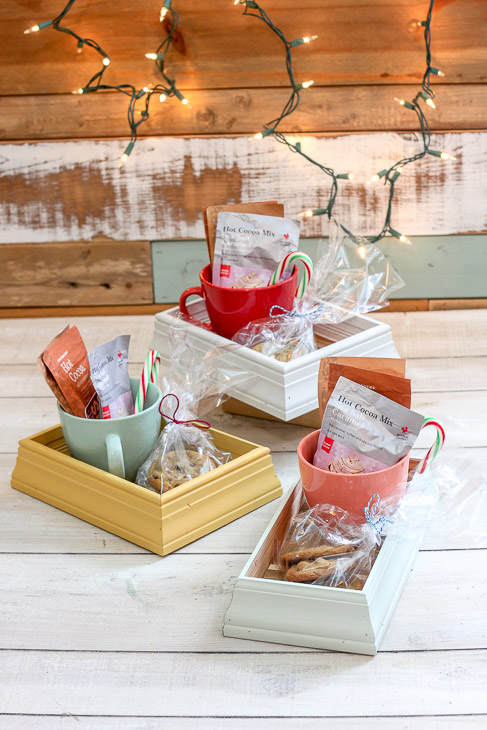
Add wine or a few small items to this DIY Gift Tray Box for a sweet thoughtful gift.

These Gold and Marble Coasters would make a sleek gift for your next dinner party hostess.
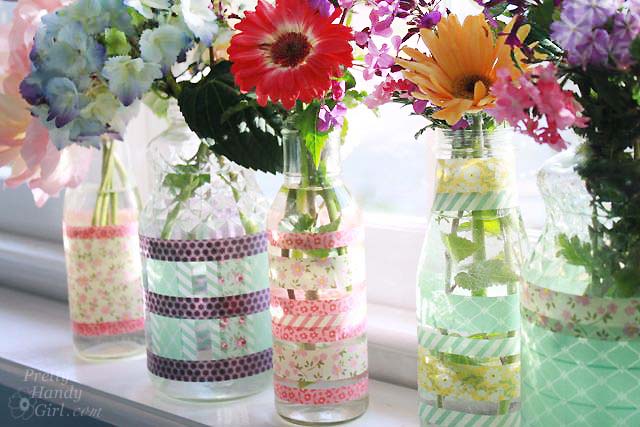
Add some flowers to a Simple Washi Tape Vase for a beautiful gift at the next party.
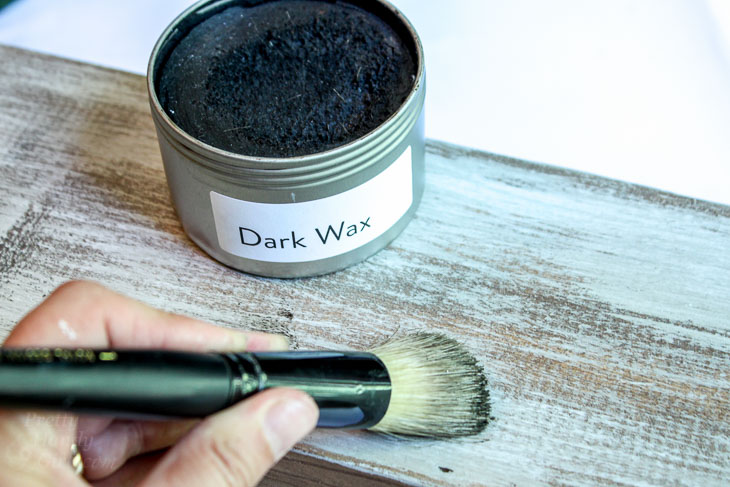
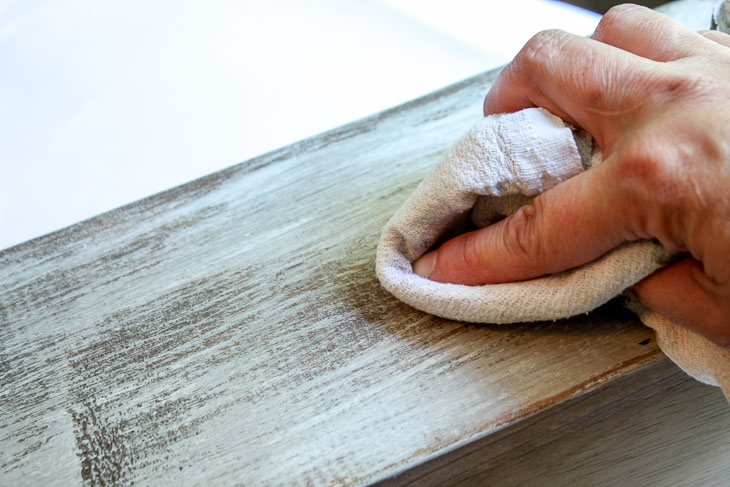
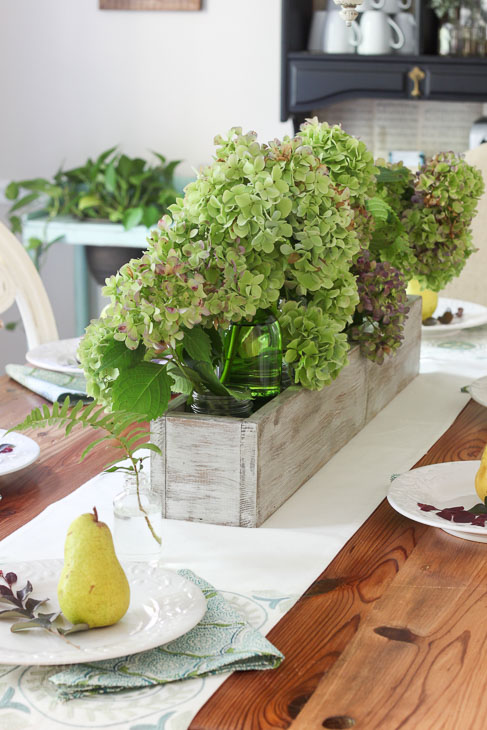
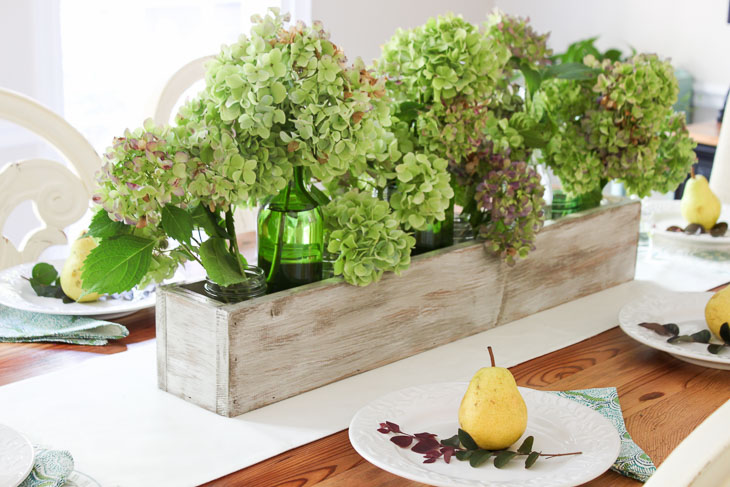
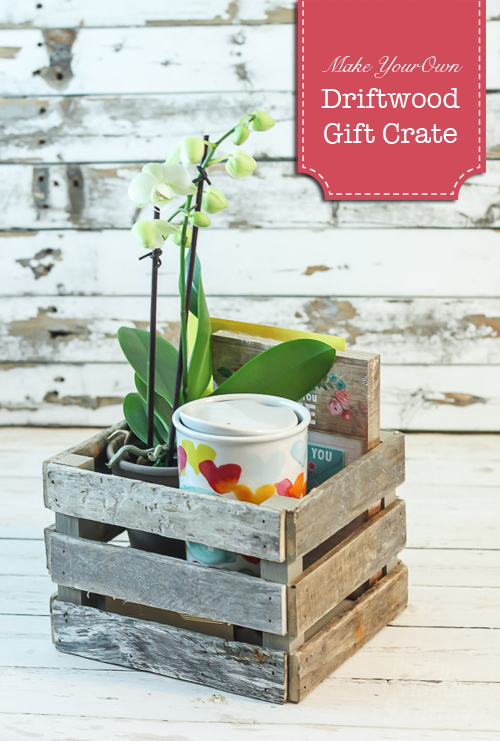
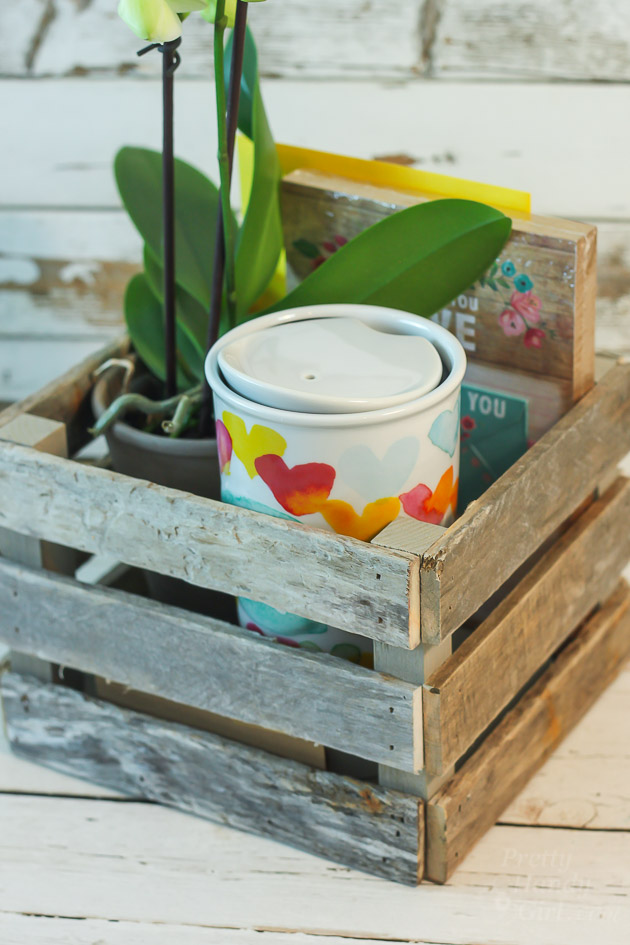 Build a Driftwood Gift Crate and fill it with some items as a kind gesture.
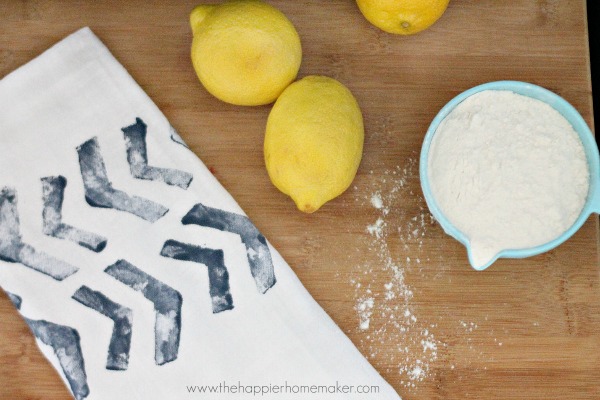 Does your hostess love to work in the kitchen? Make some custom Block Print Stamped Tea Towels.
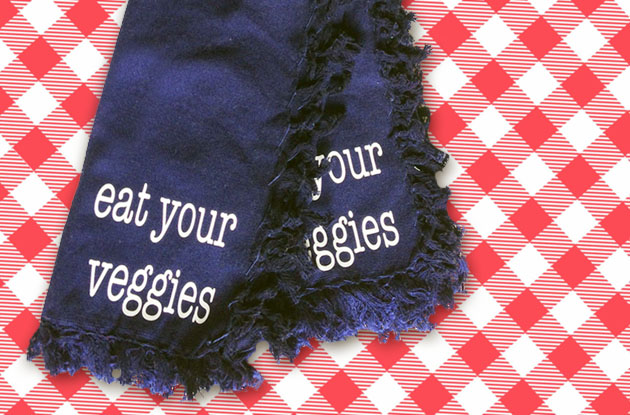 This “Eat Your Veggies” cloth napkin set is sure to be the perfect gift for the hostess with a good sense of humor.
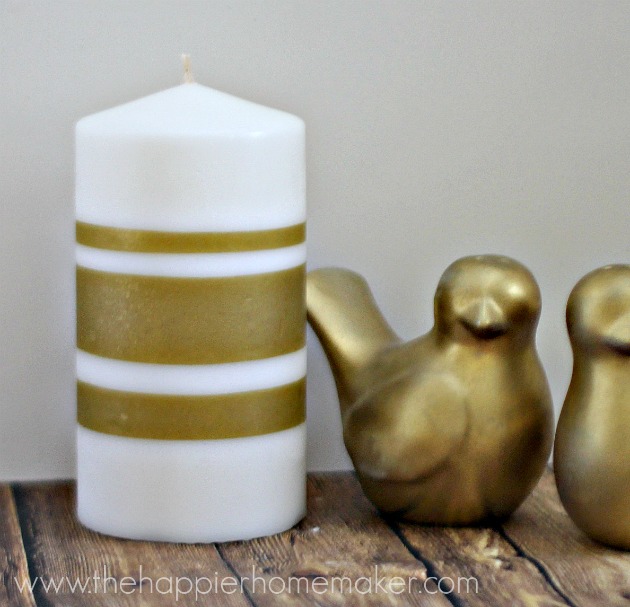 For a hostess who loves gold touches in her home decor, these Tissue Paper Candles would be a perfect thank you.
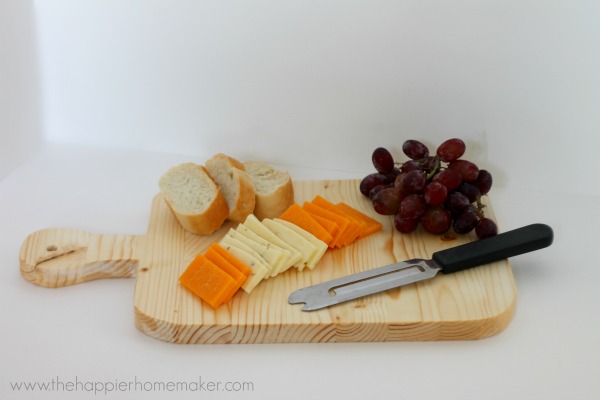 How about a custom DIY Cutting Board for your next hostess gift? Useful and beautifully crafted.
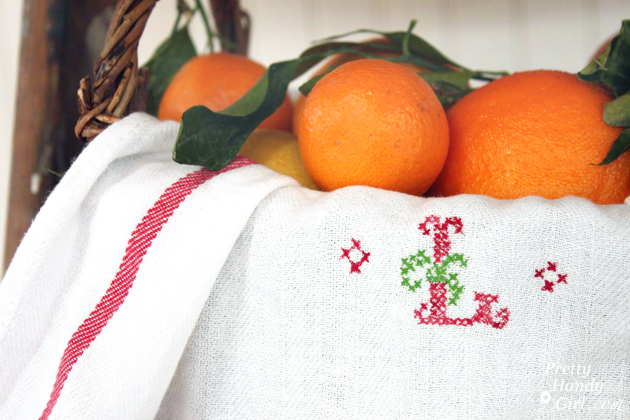 Impress your host with this adorable Faux Cross-stitch Tea Towel that is sure to make a lasting impression.
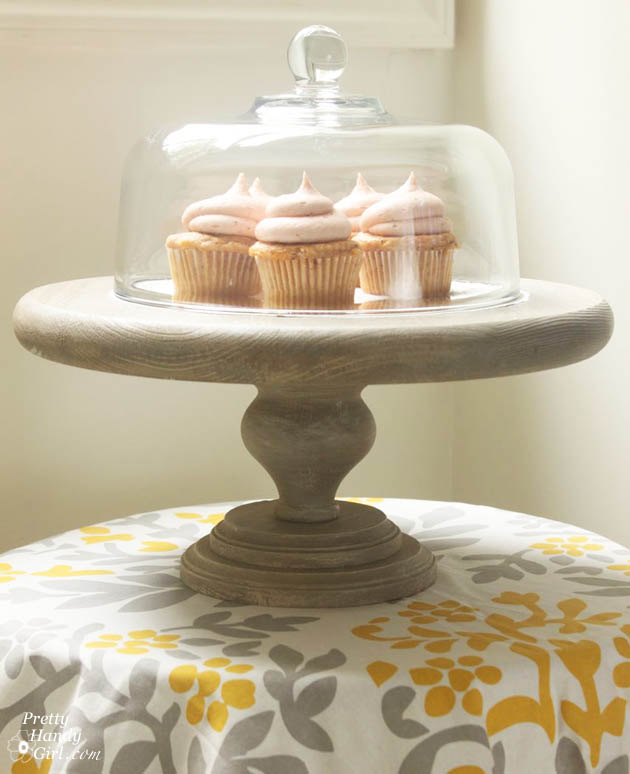 Does your hostess love to bake? Make this amazing Rustic Cake Stand!
HOLIDAY IDEAS
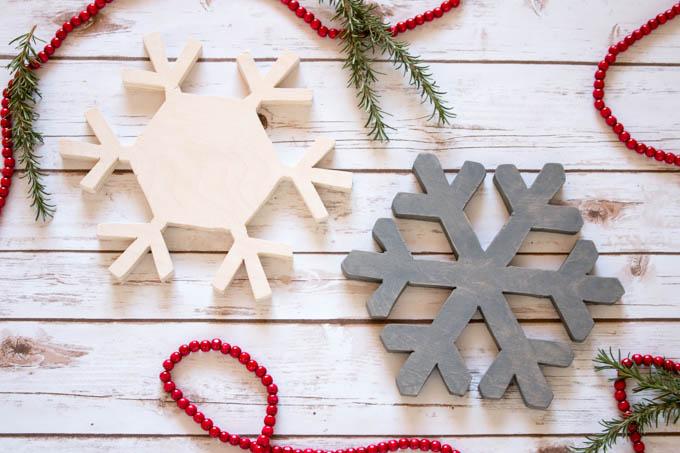
These Snowflake Christmas Trivets would be the perfect gift to keep the table festive and protected.

A Paper Bag Ornament would be a sweet holiday gift for their tree.
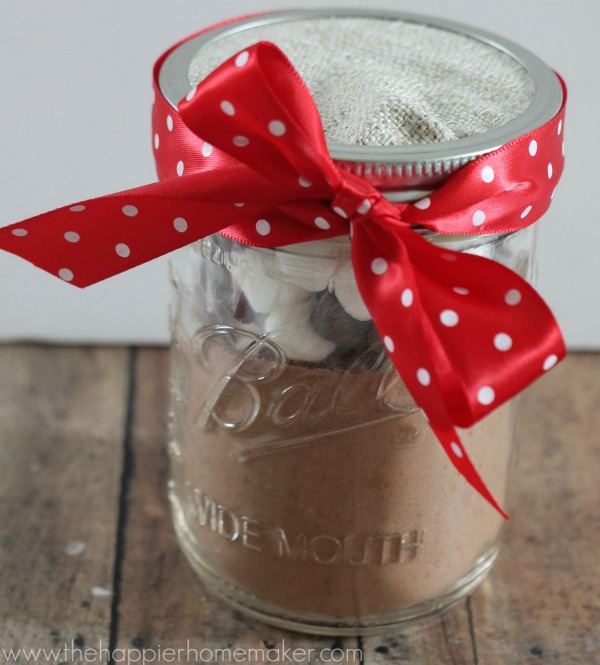 Make your dear friend some Hot Cocoa Mix in a Jar as a thank you for their next holiday gathering.
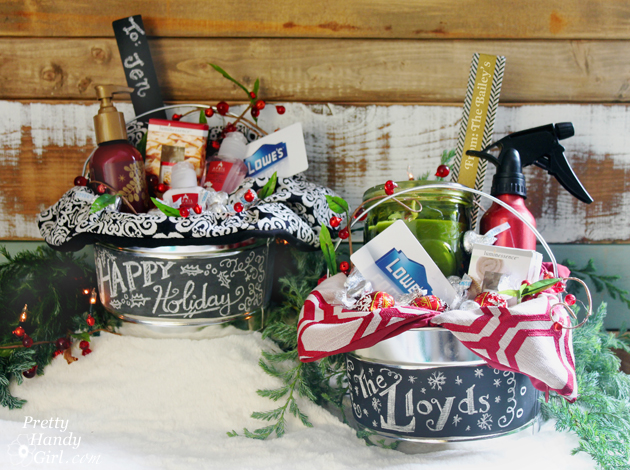 Add some fun items to this Customized Gift Paint Can for a unique and fun gift! (This would also make a fabulous housewarming gift.)
 An adorable set of Chalkboard Painted Mugs would make the perfect gift for a holiday hostess.
I hope this post gave you some great ideas for gifts that you can give to show appreciation for your hostess! We all know how much work goes into a party or gathering. Giving thoughtful gifts is a sure way to keep the invites coming!
If you like this roundup, please Pin this image:
Here are some other posts you might like:
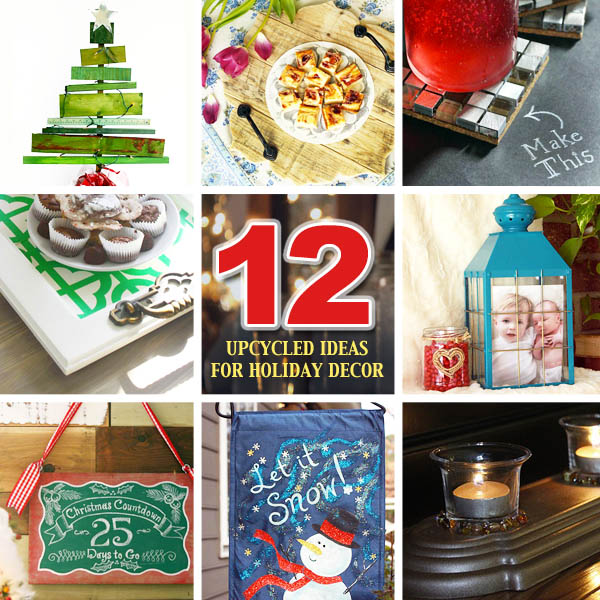 12 Great Upcycled Ideas for Holiday Decor
 21 Creative Gift Wrapping Ideas
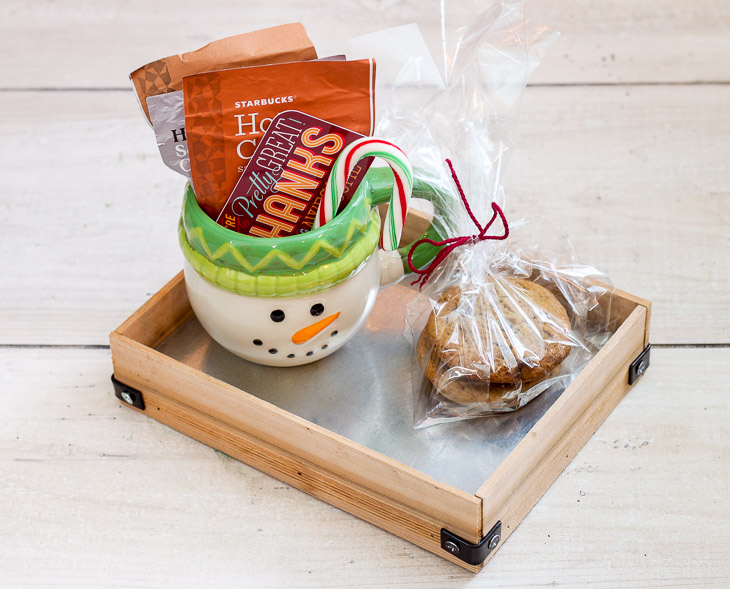
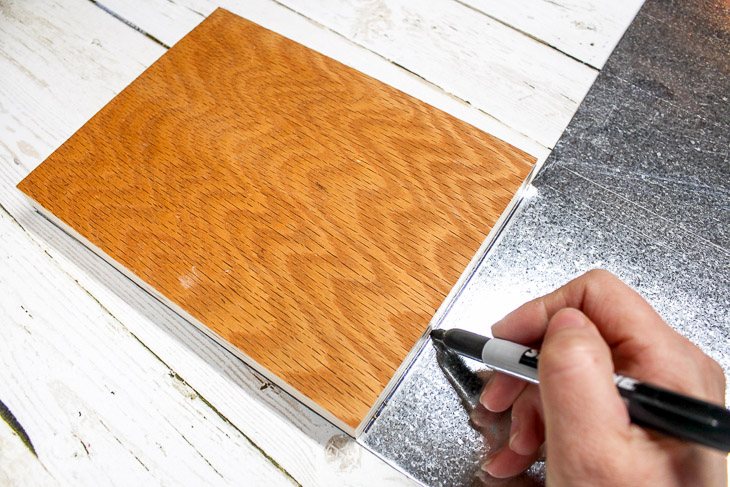
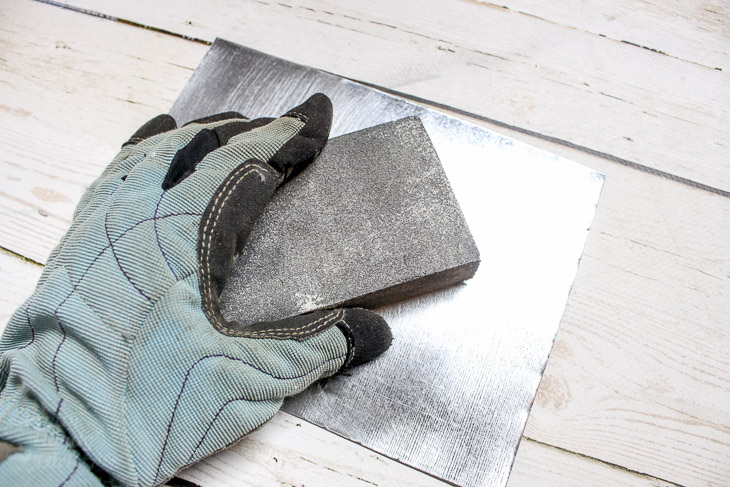
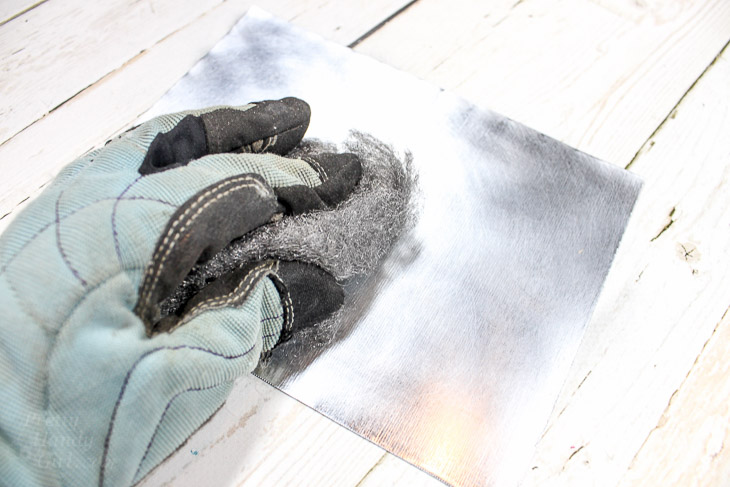
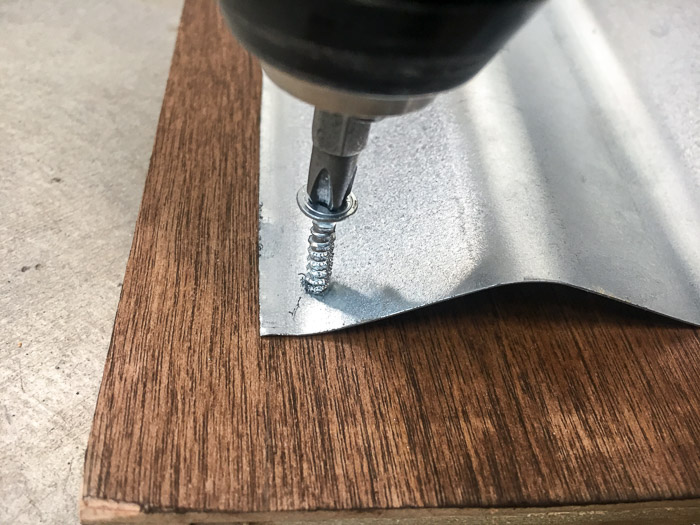
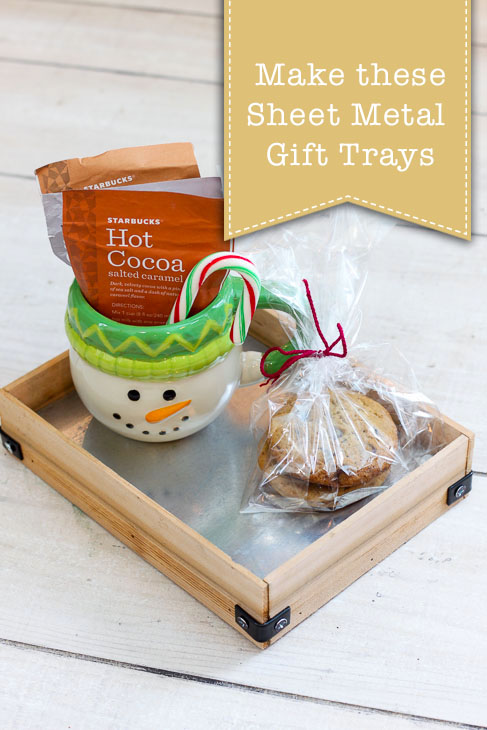 DIY Sheet Metal Gift Trays
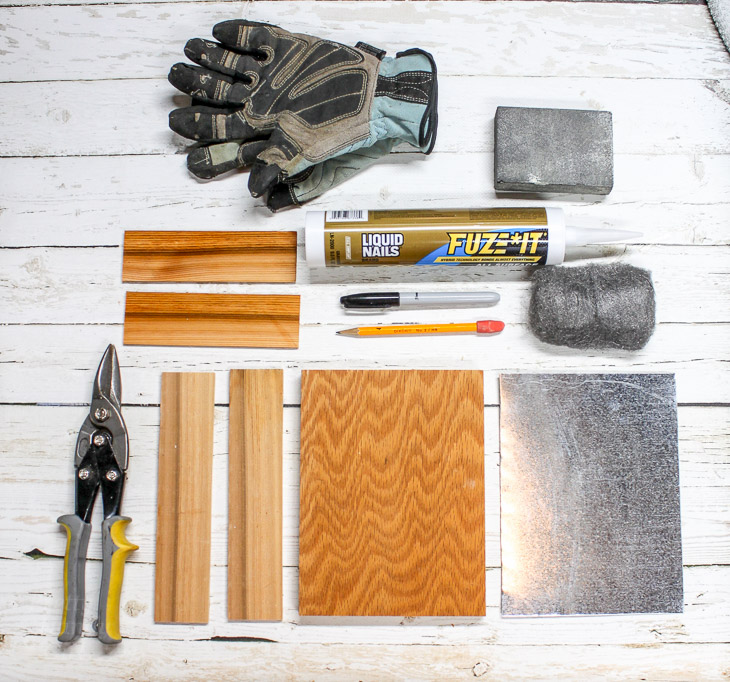

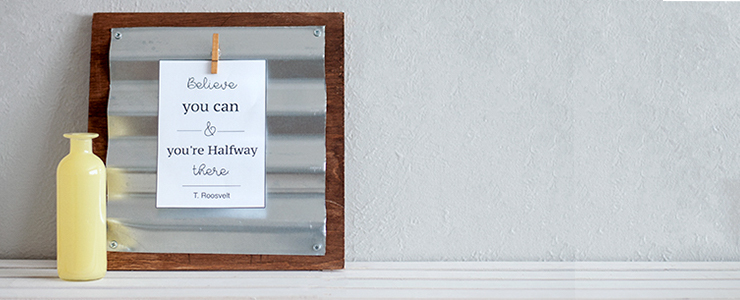
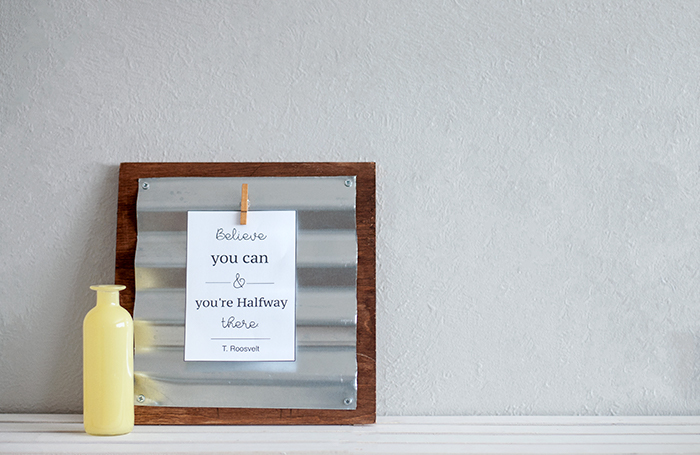
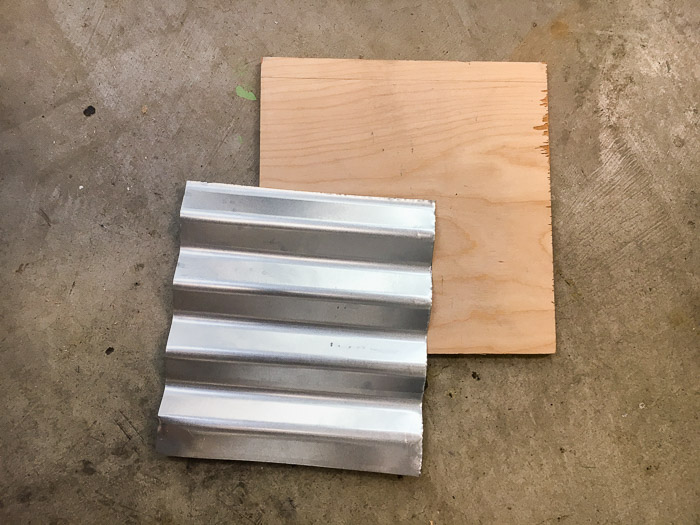
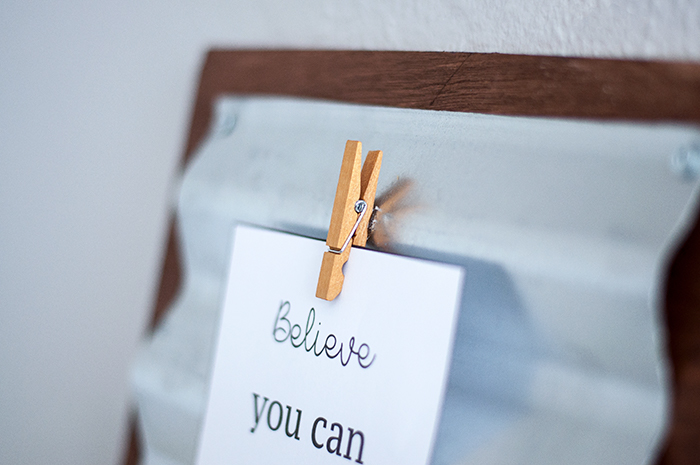
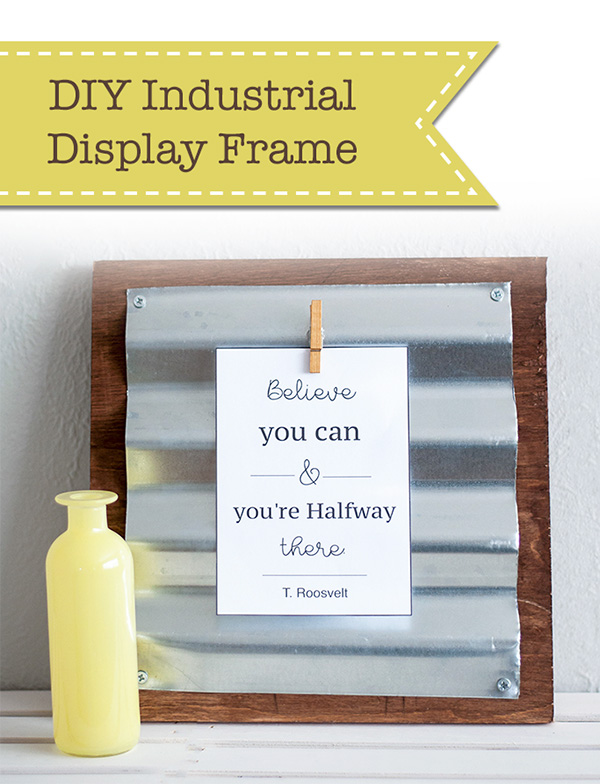 Easy DIY Industrial Display Frame
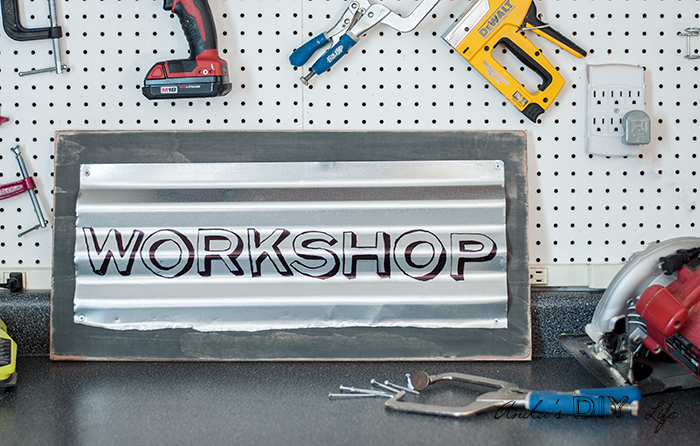
 ~ View more of
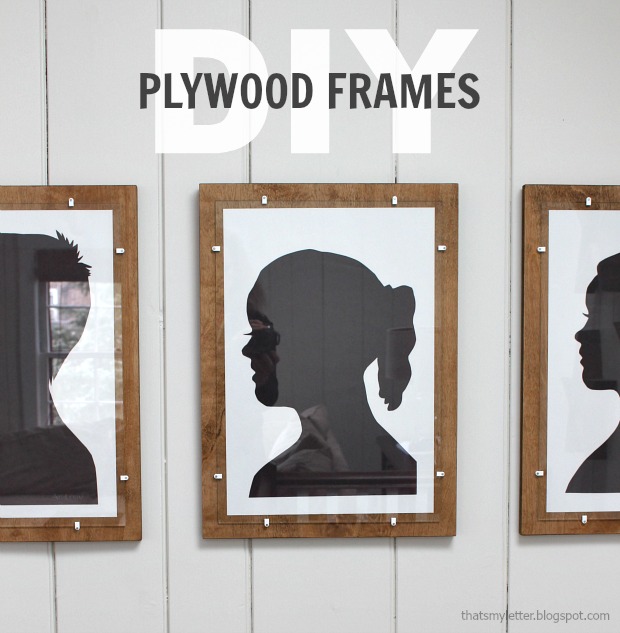
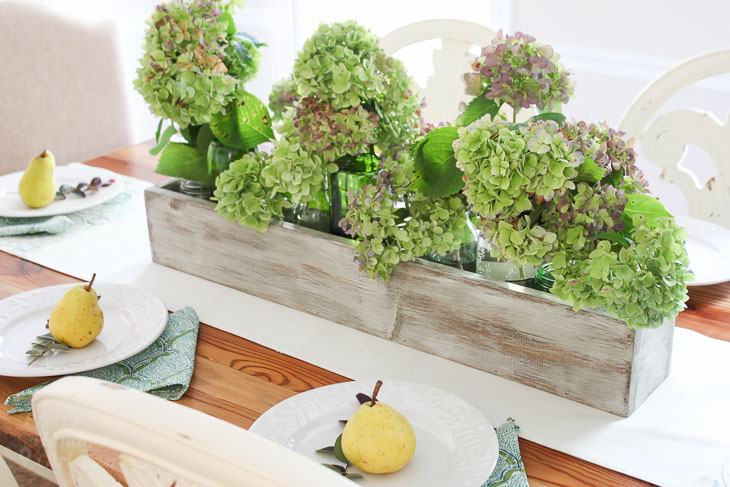
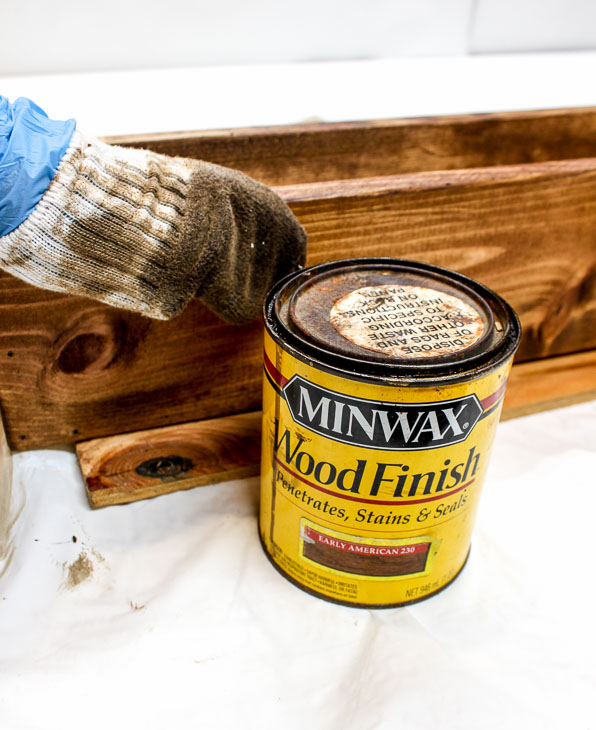
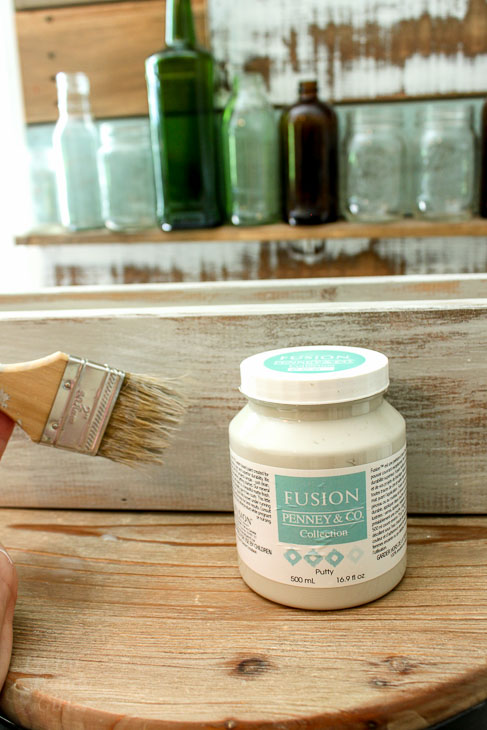
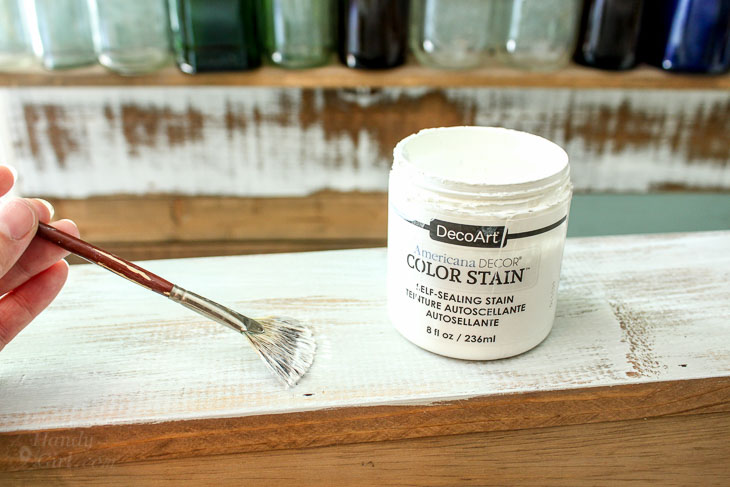
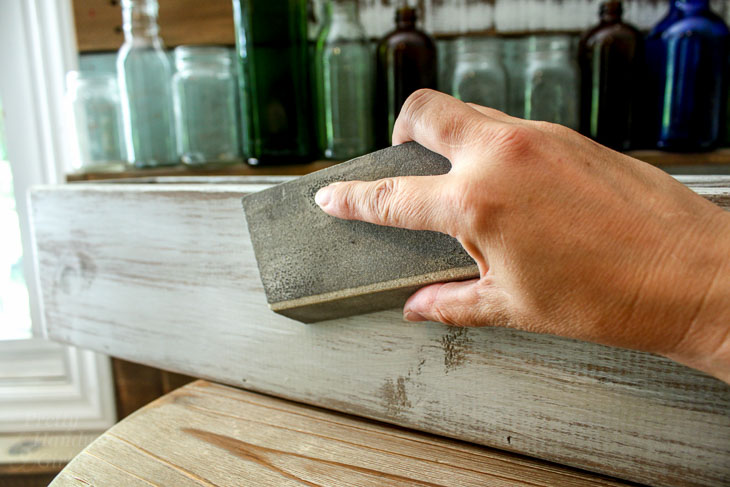
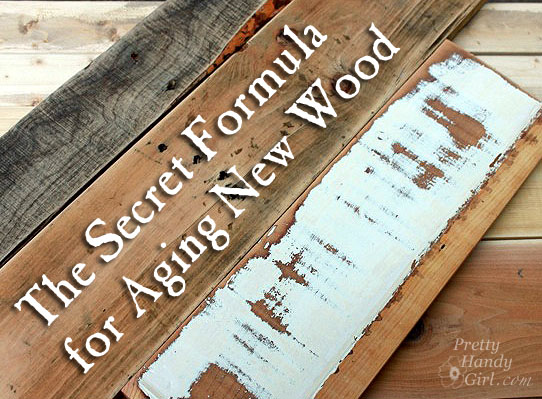
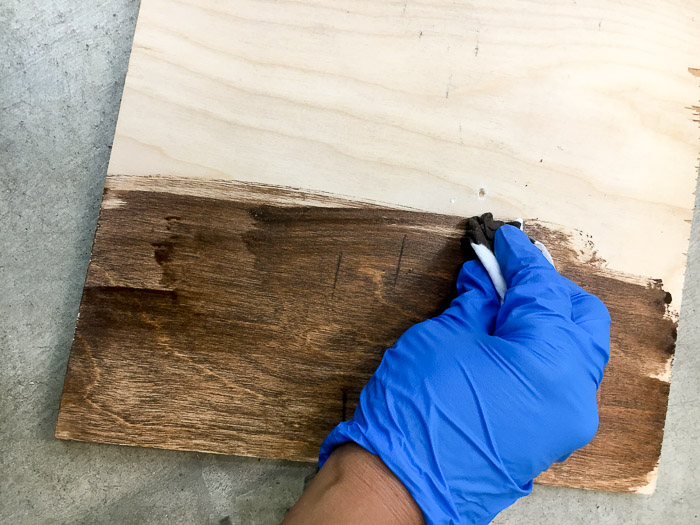
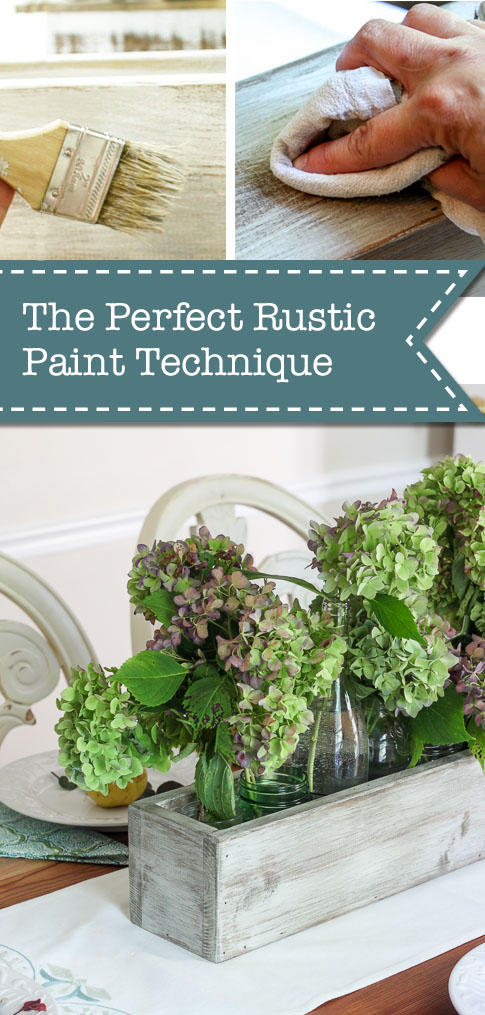 The Perfect Rustic Paint Technique {with Video Tutorial}