screen porch decor

You know the saying about not waiting for your house to be perfect to invite people over? Well, I realized that even though my porch is not 100% complete, I shouldn’t wait to invite y’all over.

I have wanted to spruce up our screened porch for 3 years now. Screen porches like Between Naps on the Porch have beckoned me from afar. I always knew I wanted to do something similar to Susan’s porch.

So, after living here for 4 years, I finally got around to giving the screen porch a much needed makeover.

This is basically a representative “before” picture taken the month before we bought the house.

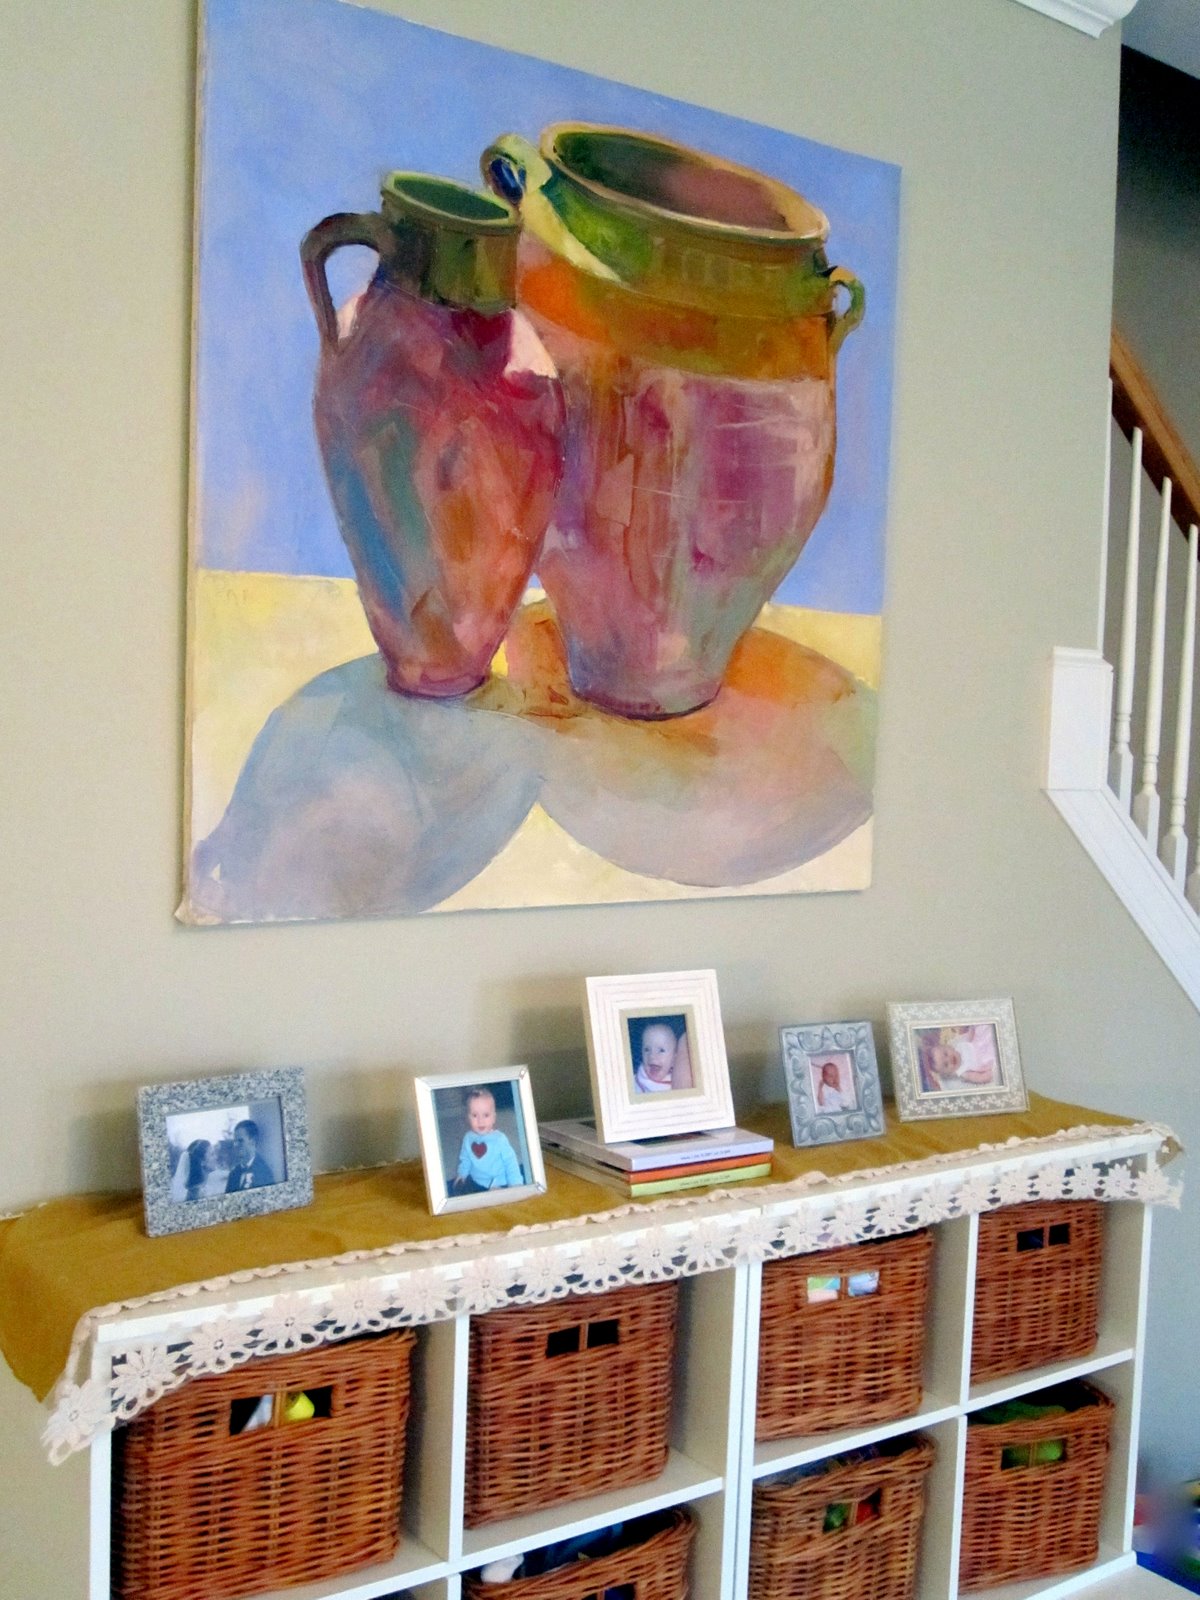
After we moved in, it stayed the same except we had a white square table and chairs for meals on the porch. Slowly I have been furnishing and decorating the porch with fixtures and accessories like: Ladder Display Shelves, Beachy Coffee Table,  Minnow Trap Lights, Bamboo Painted Rug, Dream Big Butterfly Window, and my Garden Bench. My budget for this makeover was next to nothing, which presented a little bit of a challenge.

So, are you ready? Here is a tall glass of sweet tea with lemonade. Please come join me on my porch:

The two side chairs are actually from the table and chairs set. I just dressed them up with IKEA throw pillows. Someday I want to buy some wicker rockers to put in their place.

Remember the disgusting moldy coffee table I saved from the trash? There she is!

My favorite spot on the weekend. My Dad gave me this hammock for my 30th birthday and it is still in good shape after 10 years! Thanks Dad!

My semi-famous ladder display shelves I built from a $15 rickety old ladder.

The minnow trap pendant lights add the perfect amount of light after dark.


Were you wondering where I hung my Dream Big Butterfly window? Here she is:

That chippy little cabinet is the most expensive piece of furniture on the porch! I paid $85 for it at the flea market. It used to be a table, but someone cut off the legs and nailed boards to the sides and added a door to the front.

screen porch decor

Such a great spot for catching up on my favorite magazines: Country Living, Better Homes and Gardens and Flea Market Style (the issue Layla and Kevin were recently in.)

Can you believe a neighbor was trying to get rid of this little decorator table? I gladly sprinted over to her house to pick it up. Then I draped a clearance shower curtain from Target over it. Yup,that is a shower curtain!

{Sigh} My favorite flower, blue hydrangeas.

Remember that purple garden bench? Well, she wasn’t weathering the constantly changing weather conditions, so I brought her in the porch and gave her some TLC and a few coats of paint. I just need to sew a cushion for her.

Thank you so much for coming over. I enjoyed our time together. Now, if you’ll excuse me, I have a date with a hammock. Zzzzzzz.


It’s a jolly good day, wouldn’t you say?! Did you watch the Royal Wedding this morning? Or did you DVR it to watch later  (like I did.) I hope you enjoyed my photos from London and didn’t mind the diversion.

Now I’m back into DIY tutorial mode for the time being. Today you can get a double dose of Pretty Handy Girl! Can I get a “WOOT!”

First up I will be showing you how to make Cubby Shelves out of a Bread Crate and a wooden pallet.

And the best part about this project is it doesn’t require any nails or screws! To view this tutorial you will want to head over to visit with the very lovely and very beautiful Amy from Positively Splendid.

Not only is she as beautiful as Kate Middleton, but she also possesses the talent to create a royal wedding gown. Too bad Kate didn’t call her to design her dress. Amy is a sweetheart and a fellow blogger I met at Blissdom. You will just love her blog!

After you have read my tutorial (and gobbled up several of Amy’s tutorials) you can slip back over here to learn how to hang almost anything on the wall perfectly level and plumb the first time. I’ll be showing you how I hung my bread crate cubby shelves in the tutorial.

Let’s begin, shall we?

Materials:

Picture Hangers (be sure to check weight limit)

Hammer

Level

Pencil

If your object doesn’t have hooks or a wire yet, you will likely need:

D-ring hooks

Screwdriver or Drill with a screwdriver bit.


If you have had misadventures hanging pictures, I have the tutorial for you! Hanging anything on the wall successfully doesn’t have to be hard. All you need are the right hangers and the right technique.

Because my crate didn’t have any hangers attached to it, I needed to add D-ring hooks. Starting on the left, I carefully measured 3″ down from the top of my object. Then made a mark 4″ in from the side. I repeated the same steps on the right side making sure the hooks would be the same distance in from the edges and 3″ from the top edge.

Then I screwed the D-ring hooks into the back of the crate.

Hanging something heavy requires using some different hangers that are rated for the weight of the object you are hanging. Bulldog Hardware sent me some of their rubberized picture hanging hooks to try. These have rubberized tips to keep pictures from shifting or moving (like when my son rushes inside slamming the door behind him.)

In my case, my crate weighs about 12 lbs. filled up. So, I reached for two 50 lb. hangers (Did you forget I have boys that can exert up to 100 lbs. of pressure on anything in my home?)

Start by holding your object up against the wall where you want to hang it.

Make a pencil mark at the top of your object. Set your object down.

Now determine what you want to center your object on. For example: centering the object on a wall;  centering it between two windows; or centering your object on another object. In my case I am centering my shelf on the toilet.

Find the center and make a pencil mark.

Set your level vertically against the center mark.

When the level reads perfectly plumb (straight up and down) you can transfer the center mark higher and closer to the top of your object.

Now, measure the distance between the hooks on your object.

Mine are 3″ down from the top. And let’s say the hooks are 16″ apart.

This tells me I need to install my picture hangers at 3″ down from the top of the object and  8″ out from the center mark on both sides.

Use the level to make sure that both marks are level.

Set the picture hanger against the wall so the bottom of the hook lines up with the marks you made.

Gently tap the nails in with a hammer.

Carefully lift your object and line up the D-ring hooks with the picture hanger hooks. Sometimes it helps to have an assistant for this part.

Pull down on your object and make sure it is secure. Now fill ‘er up and enjoy!

What do you think? Did this method make sense? You can certainly use the same technique to hang pictures or a group of pictures.


Ahhh, the birds are chirping and the flowers are in full bloom. The azaleas in our yard look like fireworks exploding with color.

I long to open the windows and let in the sounds and the sweet smells.

But, alas, the pollen bomb is still in full dumping mode.

I’m not going to let that get me down. I decided to bring the outdoors in and finished switching out my Valentine’s Day decorating (yup, I like to get the most out of my seasonal décor.)

So, without further ado, here is how I’m celebrating Spring!

I saw the window idea at Classicly Amber (via Pinterest) and had just pulled a few old windows out of a curbside pick up pile. Speaking of Pinterest, if you haven’t tried it yet, you are missing out! It is a great place to “pin” ideas you see and be able to refer back to them easily.

Beth at The Stories of A2Z gave a tutorial on using Pinterest HERE. She’s the one who introduced me in the first place, so I’ll let the master show you the ropes!

I always make it a point to refer back to the original source if I get an idea somewhere else. (Granted, some things are so widespread amongst bloggers, that it is hard to credit the original source.) Pinterest has helped me keep all the ideas together and makes it easier to find the original source. Plus, you can follow other people’s pins and boards. Feel free to sign up and follow mine HERE. Then you can steal my ideas before I blog about it…just kidding!

The striped pedestal holding up the plant is actually a cake stand I made recently using a plate and a candlestick. I’ll be blogging about it later this week, but trust me it is nothing new. You’ve probably seen this trick somewhere else.

This little adorable birdhouse was lovingly painted by my 7 year old son. I always have a stock of $1 birdhouses that they like to decorate on a rainy day. This one brings so much sunshine into my heart.

I love how easy this centerpiece was to create. I rested the ceramic bird into  a shredded paper bag nest. Then set the nest on top of a ceiling medallion ($3 at a yard sale) and surrounded the medallion with ivy.

And finally, my favorite: a robin’s egg nest that I made with chicken eggs.

You can view the tutorial for making the eggs and nest at TLC’s Parentables today.

If you struggle with decorating and creating vignettes, you might want to read a few of the guidelines I use when designing groupings and seasonal décor HERE.

Entering this post into the CSI Spring Decor and Vignettes challenge:

Visit thecsiproject.com

Oh happy day! My spirits are being lifted by the showy flowers that are blooming outside my window. This post is for those of you that are still suffering through this brutal winter. My thoughts are with you often, and I hope these colors help brighten your day and let you know that Spring is on its way.

So, grab a warm drink or blanket and sit back for a few minutes of buds, blossoms and blooms.


When there is so much colorful artistry outside, I couldn’t help bringing a few inside.

I wish you had smell-o-vision. Those little white flowers on the left are called Daphne, and they have the most fragrantly sweet lemon scent.

I’m going to try to root some Daphne shortly after the flowers fade. Apparently that is the best time to snip them, add some rooting hormone, and stick them in a pot. Wish me luck!

I found this decanter set at Goodwill last week and they are the perfect size to hold a few daffodils at our table.

Does anyone else’s child have Staff & Teacher appreciation week coming up? Ours is this week, and I found an economical solution for the multitude of gifts I needed for each teacher, office staff, bus driver, etc. I’ll be sharing that with you later this week!

As we say goodbye to February, I have one final guest blogger for you. It is with great pleasure that I introduce you to Erin from Two Story Cottage.

If you haven’t been in Erin’s Two Story Cottage, she gives her readers a warm open invitation to view her beautiful home.

Two Story Cottage Dining Room

Reading her blog is like leafing through the pages of a home design magazine! And she shares her decorating secrets with you! Her home can be described in one word, GORGEOUS! Be sure to accept her invitation to view her home today.

Please welcome Erin from Two Story Cottage.


Dear Friends of Pretty Handy Girl,

Hi! I’m Erin @ Two Story Cottage. I’m a catalogaholic who enjoys art and all things cheerful in decor. As a Mom of two little ones I’m working to achieve balance between my creative side and my responsibilities at home. I’m a DIY newbie so I’m a total work in progress!

Today is the last day of “Falling in Love with your Home” so I’m hoping that by now you are smitten. If not maybe creating a focal point will tip you over the edge. The goal of a focal point from a design perspective is to draw the viewer’s eye to a central point. Do you have a room in your home that needs some “umph”? Or maybe you are looking to focus attention away from something else? Creating a focal point may be your answer.

There are many great ways to accomplish this! I’ll show you some ways I have created focal points in my home.

A Focal Point Using Color
We have a TV over the fireplace in our family room which I like to draw attention away from. To do that I hung a large, bold painting on the perpendicular wall.  It draws your eye away from the TV wall for sure!

A Focal Point to Ground the Room
We have a living room/ dining room combination that felt like a bowling alley. To help define the living room I created a large focal point by adding a fireplace ( an ambitious project for a DIY beginner like me). The addition of the fireplace served two purposes. It took attention away from the looong space but also served as a central point to arrange furniture around.  I painted it white and used glaze to antique it for contrast so that it would stand out a little more while staying within my neutral palette.
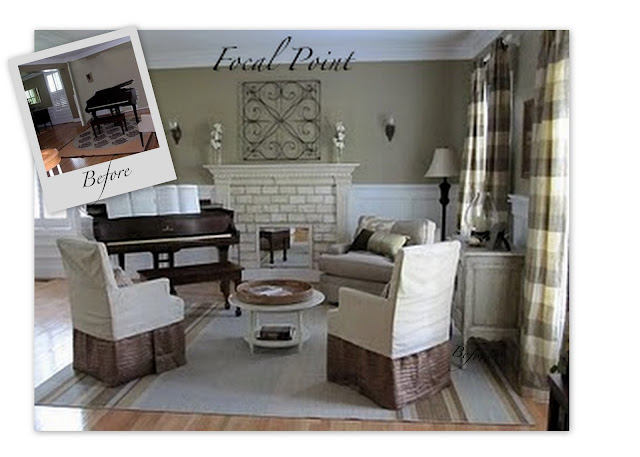
A Focal point to distract from the obvious

My desk in the breakfast room is large and seemed to stick out like a sore thumb in our very open home. An unintended focal point! However, I did NOT want to get rid of my workspace so I decided to take attention away from its’ purpose. I took away all of my obvious office supplies and utilized the shelves to decorate it as if it were a buffet. I also mounted the hutch to the wall and added Ikea cabinets
underneath to store all my clutter.

A Focal Point to Create Interest
My dining room is very neutral and I love it but it needed something to jazz it up a little. Enter my accent wall. A few stripes and decoupaged plates took it from barely noticeable to “wow”.

Thanks for letting me guest post, Brittany.  You have definitely empowered me to find my inner DIY skills!

Thank you Erin! I hope you enjoyed her post on Focal Points. I realize I have some work to do in a few of my rooms now. How about you?


This concludes the “Falling in Love with Your Home” series at Pretty Handy Girl.

This is also your last chance to enter my 1,000 follower giveaway. Be sure to enter HERE,
because I will be choosing a winner on March 1st!