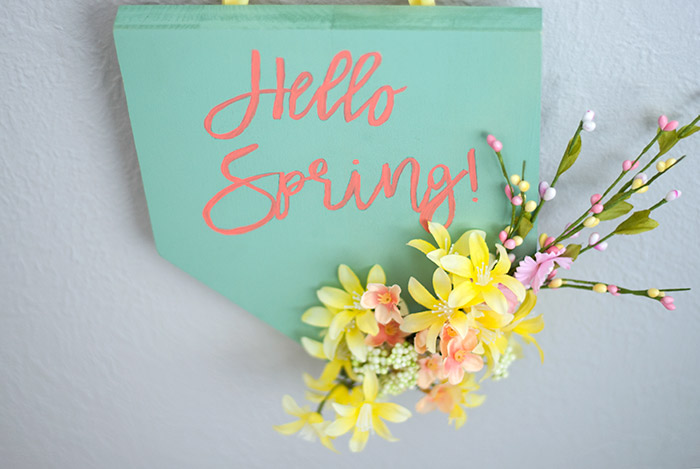
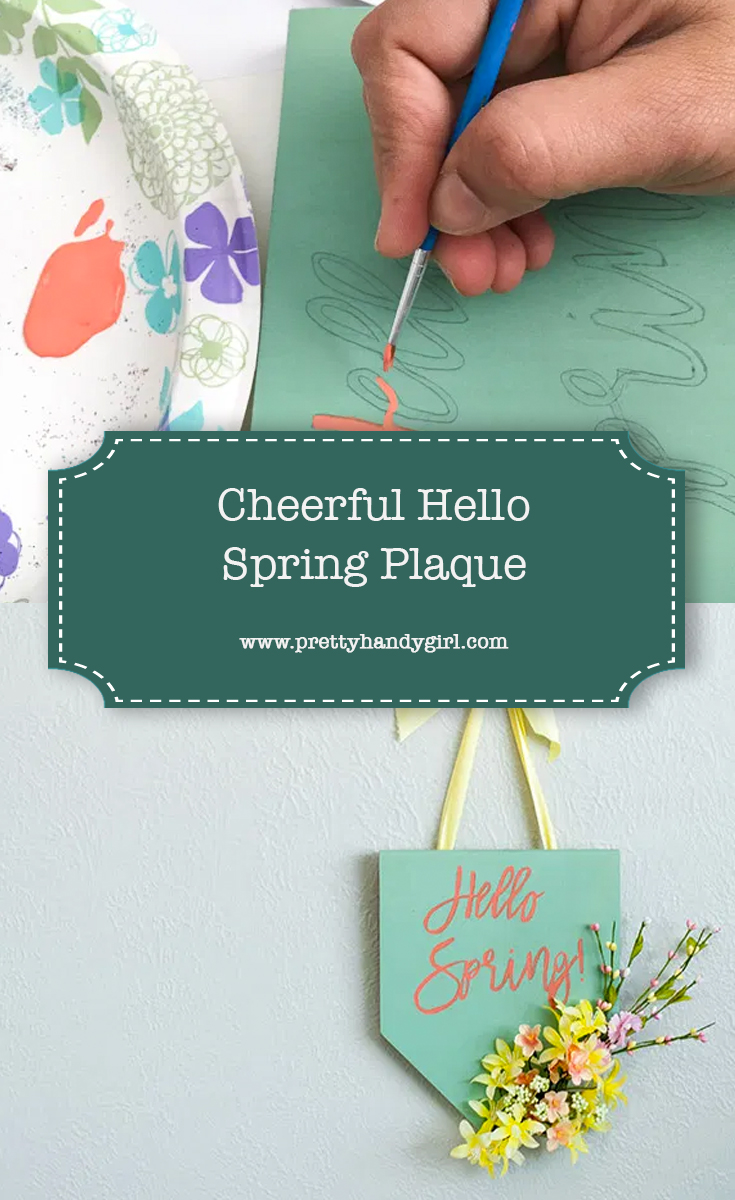
Cheerful Hello Spring Plaque
Hello, Pretty Handy readers! It is Anika from Anika’s DIY Life here with a fun new project to get your home’s decor ready for spring!
While we are impatiently waiting for spring, I thought we could create a colorful plaque to welcome spring with open arms. I love creating seasonal decor, but don’t like spending too much money (as it gets changed out too often.)
This simple and cheerful spring sign is made from scrap wood and the only thing I had to buy were the flowers!
Materials:
(I’ve included affiliate links for your convenience. I earn a small percentage from a purchase using these links. There is no additional cost to you. You can read more about affiliate links here.)
- Scrap wood or pre-cut wood sign
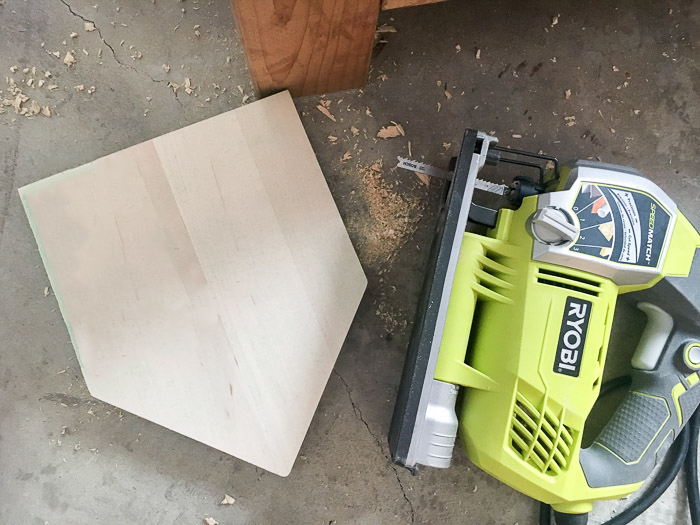
- Jigsaw (if cutting your own shape)
- Paint for base color
- Paint for the letters (I chose a coral acrylic paint)
- Faux flowers (you can find some pretty ones at the Dollar Store too!)
- Hot glue gun
- Sawtooth hangers
- Ribbon
Instructions:
Step 1 – Cut out your wood shape from scrap wood. I cut a pentagon shape, but feel free to buy your own pre-cut shapes.
Step 2 – Paint the plaque in a base color of your choice. I chose [amazon_textlink asin=’B018HBN2OE’ text=’Americana Decor Chalky finish paint in Refreshing.’ template=’ProductLink’ store=’prett-wp-001-20′ marketplace=’US’ link_id=’d466e4bf-272b-11e8-b3c4-9bb32c38ba1e’]
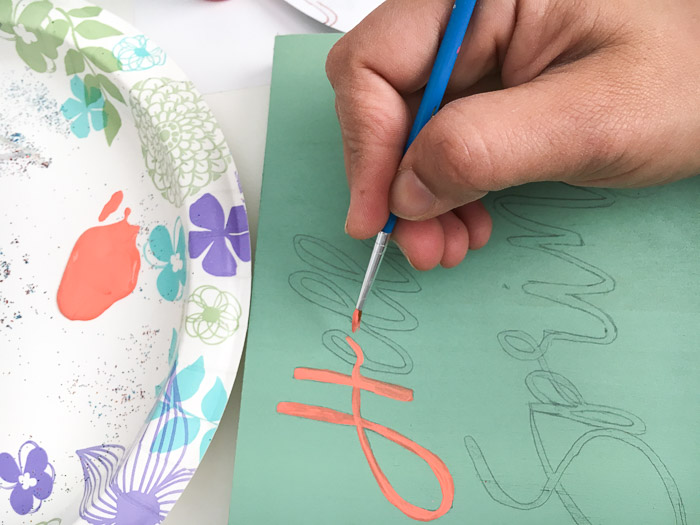
Step 3 – Transfer the “Hello Spring!” onto the wood shape using transfer paper. To make it easy, here is a free printable available for you to print out and trace.
Download the Hello Spring printable here
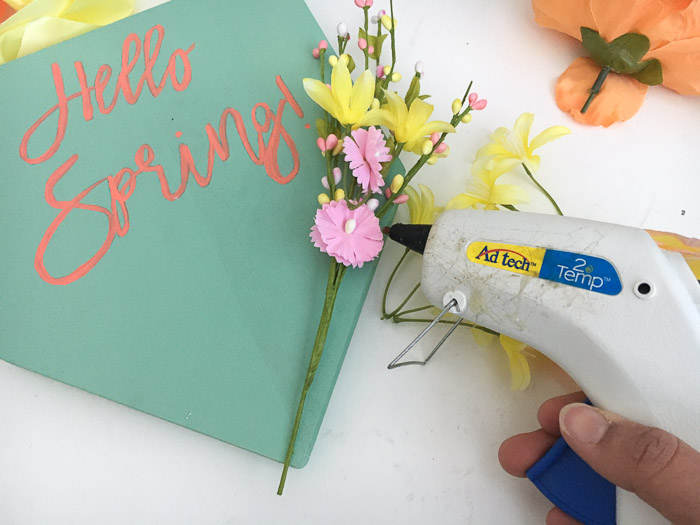
Step 4 – Paint the letters using a fine tipped round brush.
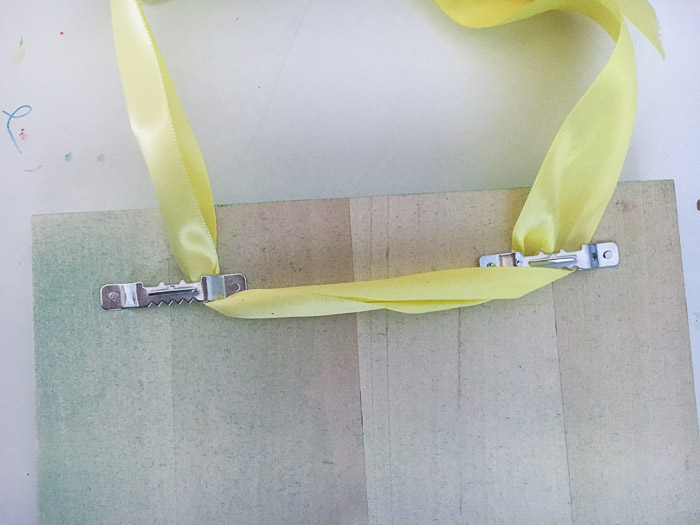
Step 3 – Attach sawtooth hangers to the back of the wood shape and thread ribbon through them. (If you don’t have hangers, you could staple the ribbon to the wood (just make sure your ribbon is strong enough to hold the plaque and your staples are strong enough to hold both the ribbon and plaque.)
Step 4 – Attach the faux flowers to the front of your plaque using hot glue.
That’s it! You just made yourself a colorful, cheerful sign for spring! It makes a great alternative to a traditional wreath or wall decor.
If you enjoyed this, and are looking for a more traditional wreath on a budget, be sure to check out my simple spring wreath. You might also enjoy this fun spring decor I made from old spice bottles.

~See more of Anika’s tutorials~
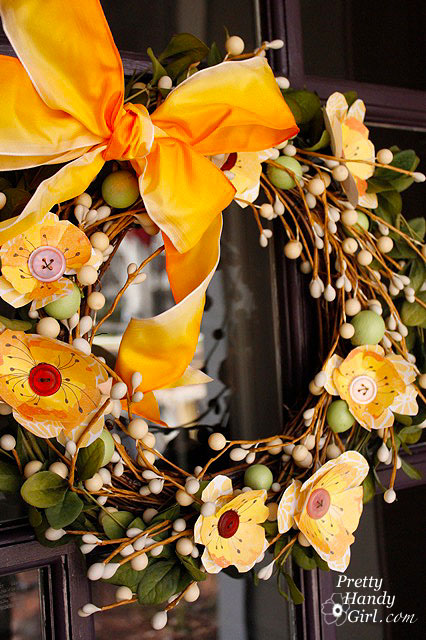
If you liked this spring plaque, you’ll definitely love this button flower spring wreath:
or 71 Practically FREE Scrap Wood Projects:

Pin for later!
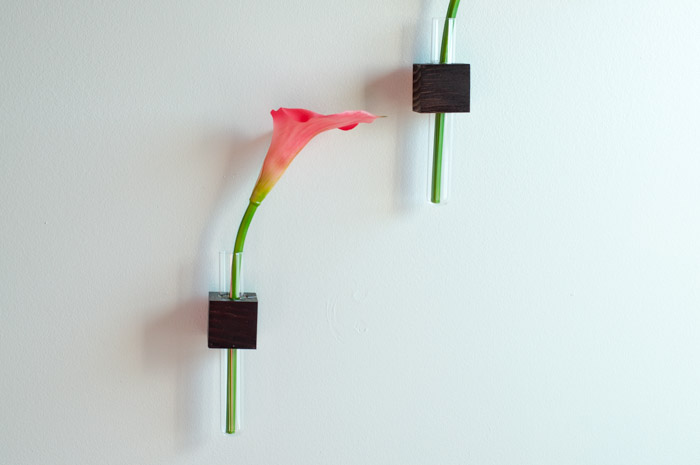
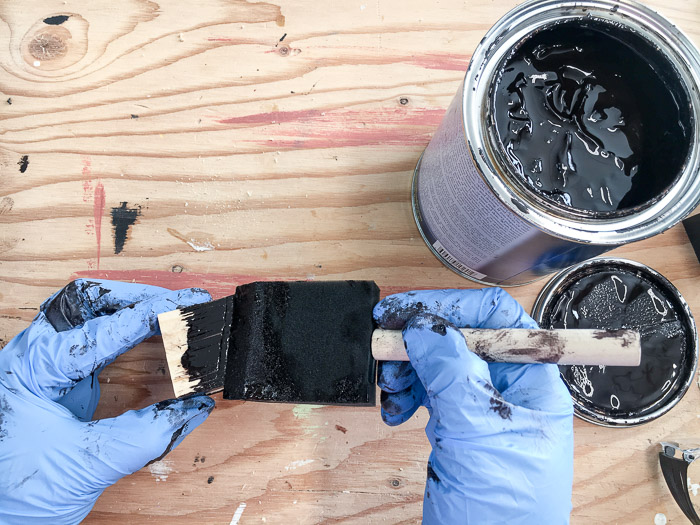
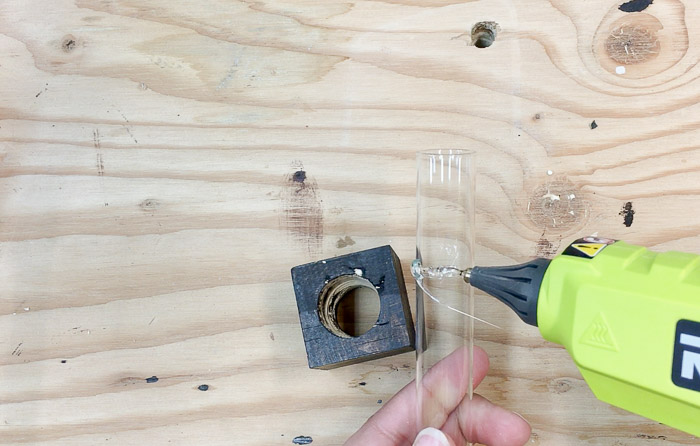
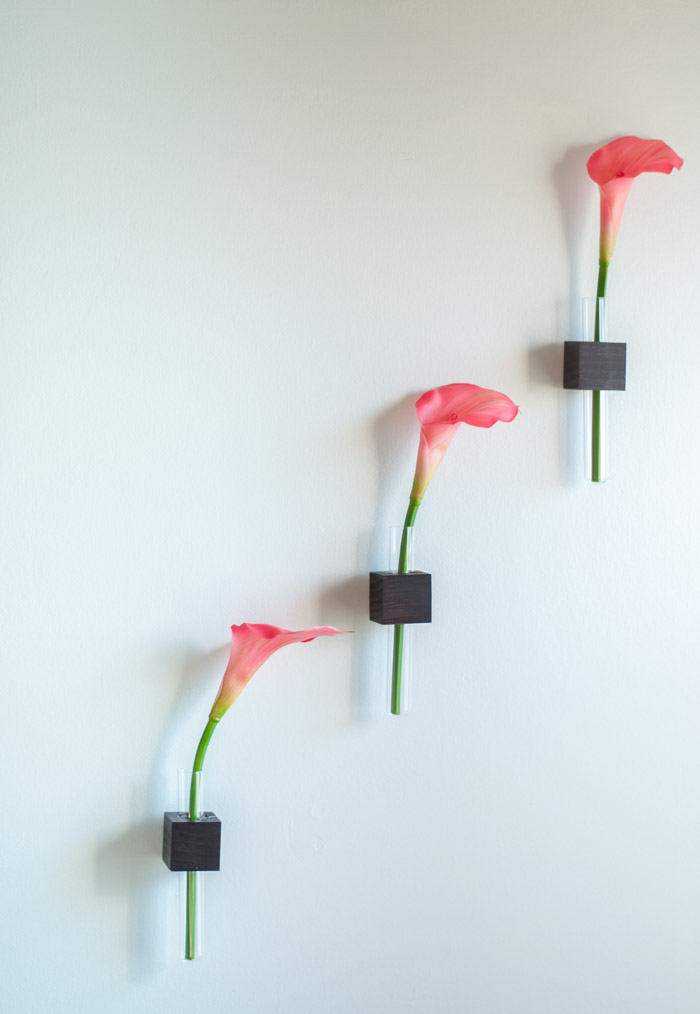
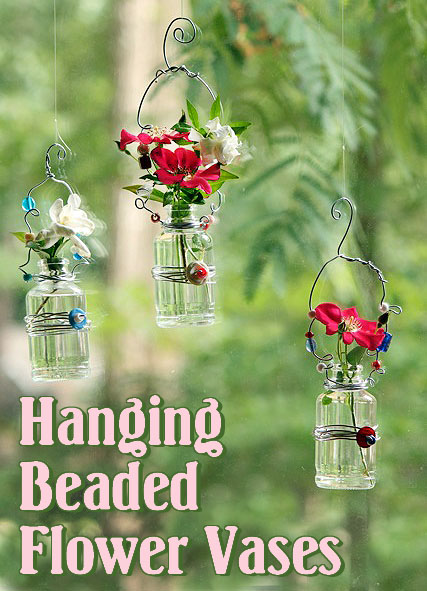
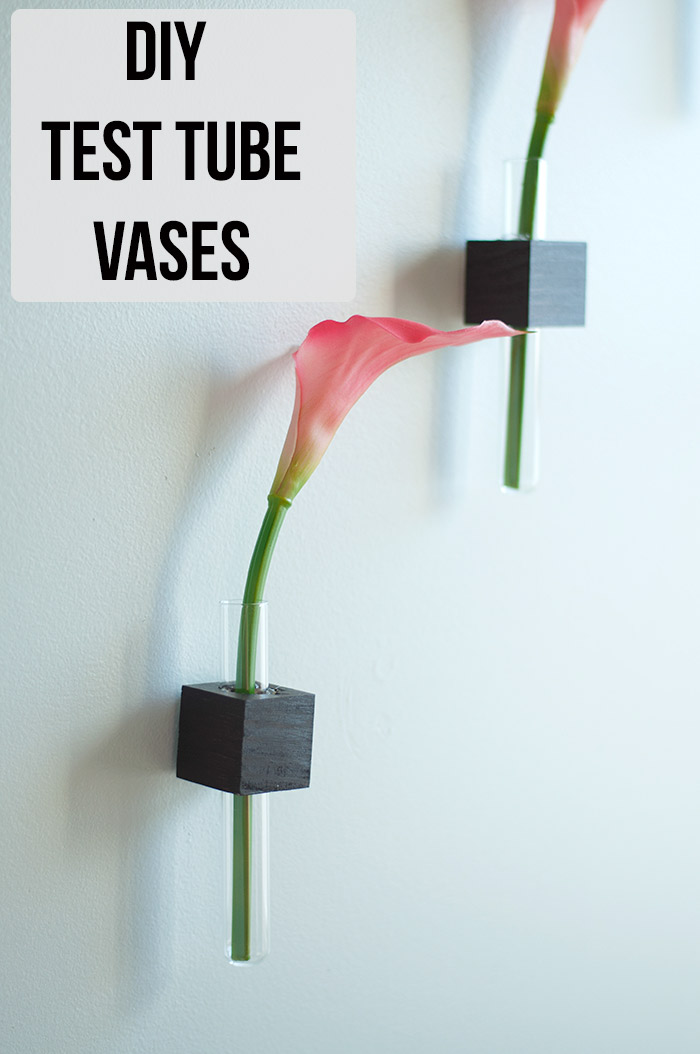 DIY Wall Mounted Test Tube Vases

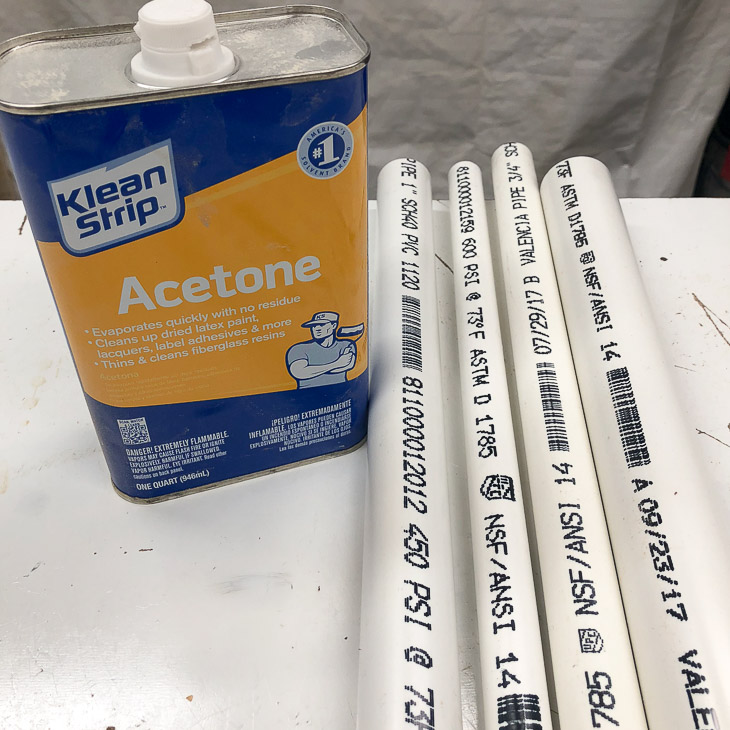
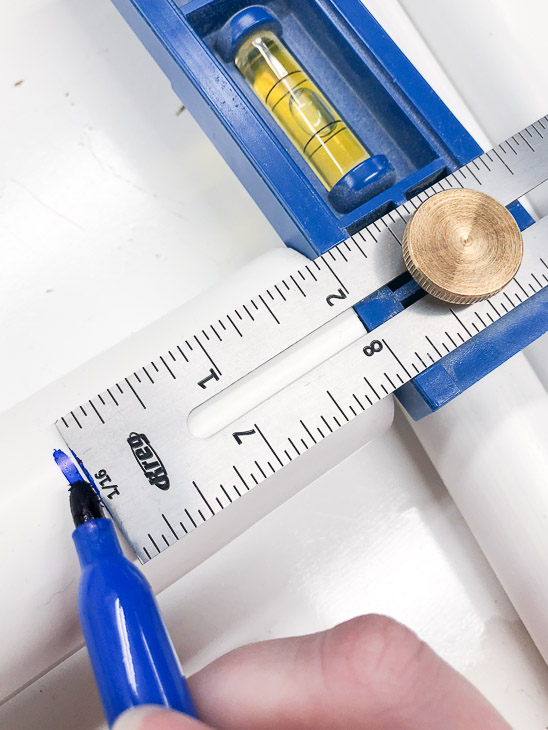
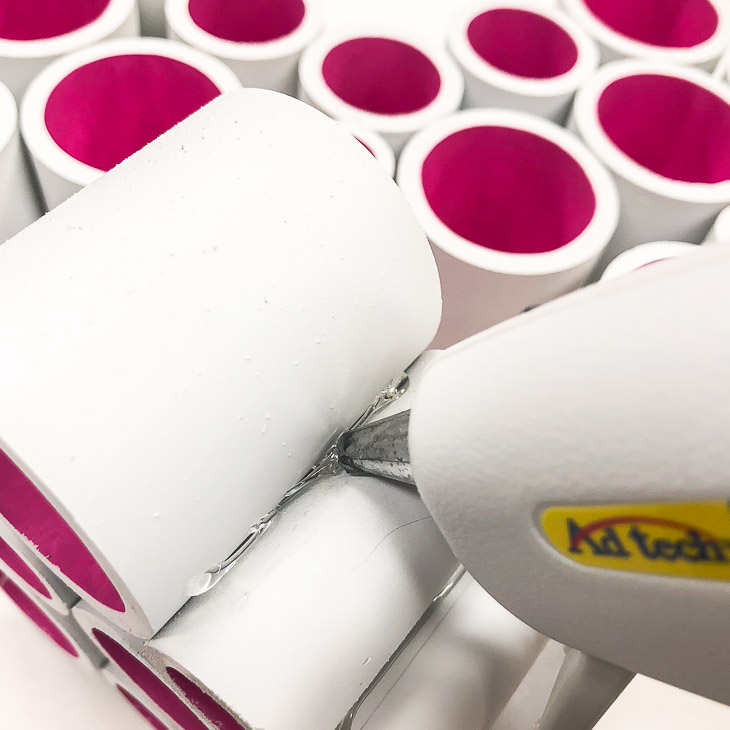
 PVC Pipe Heart Decoration


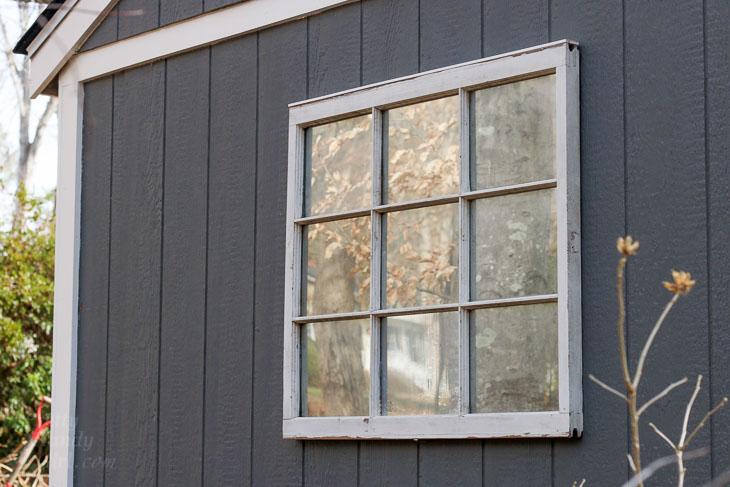
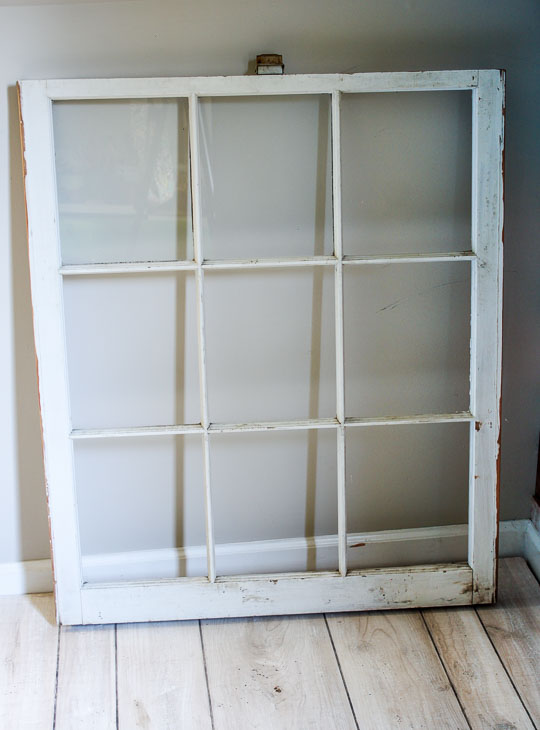
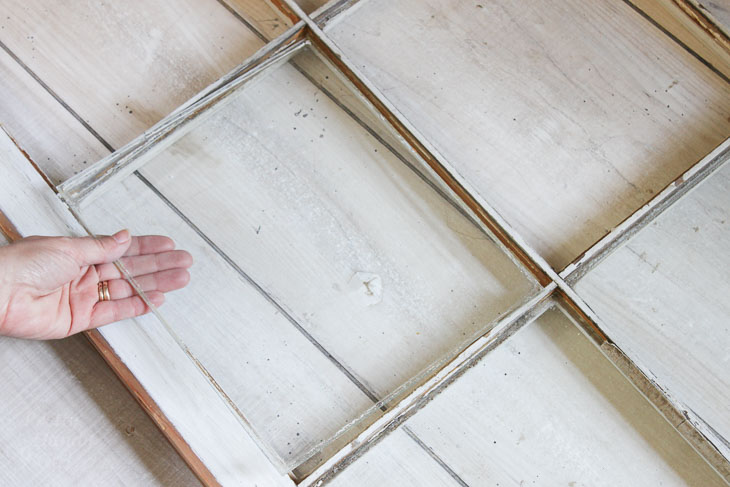
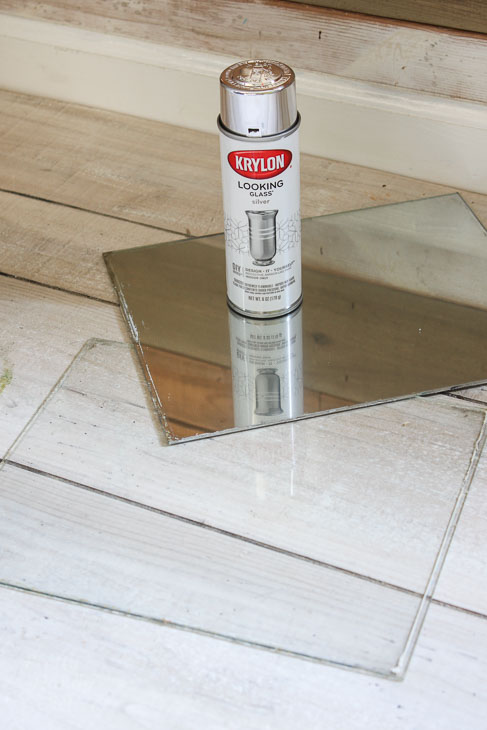
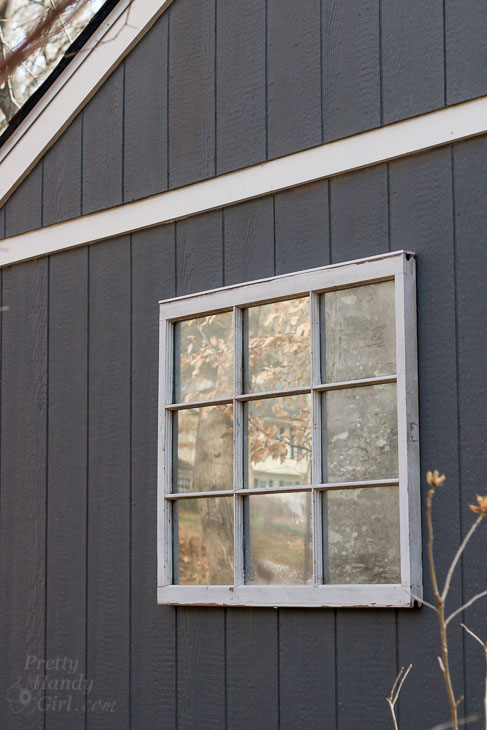
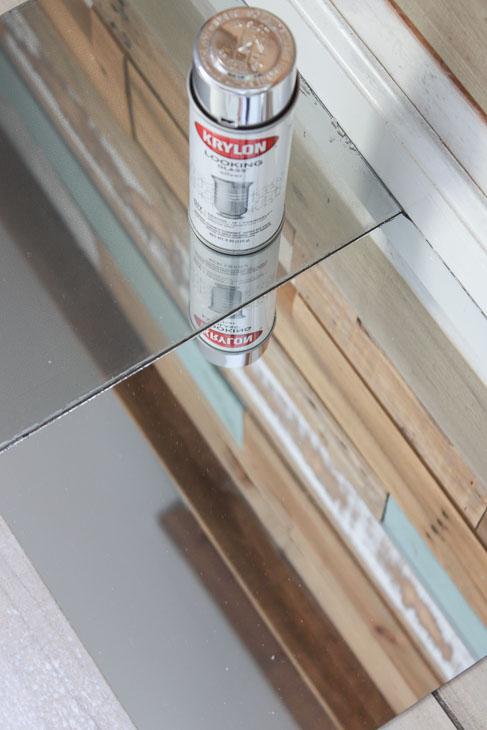
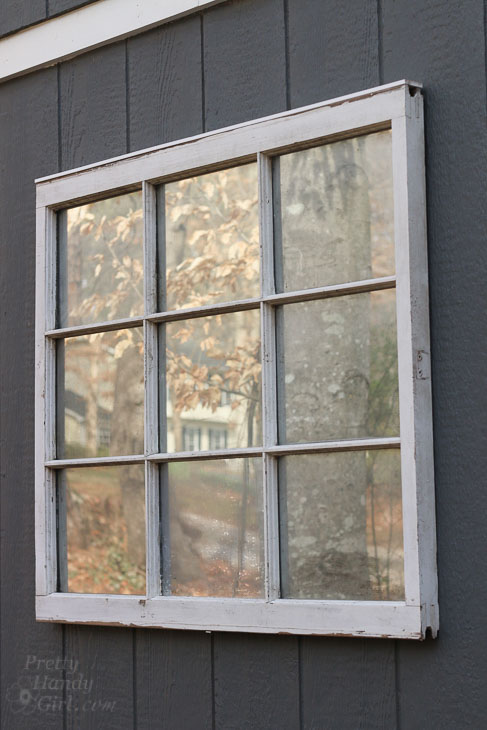
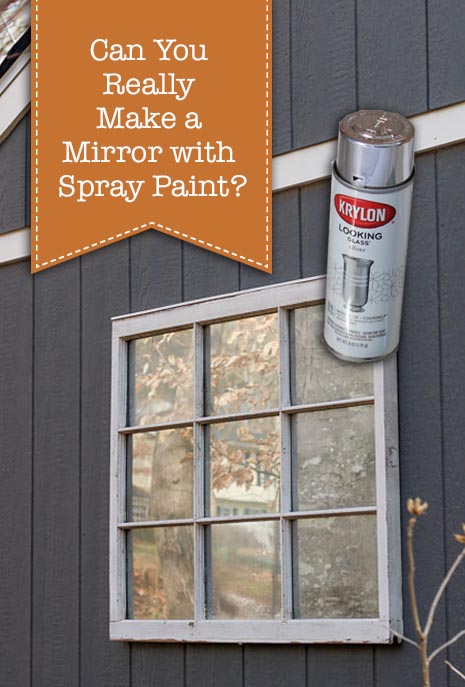 Can You REALLY Make a Mirrored Window with Spray Paint?