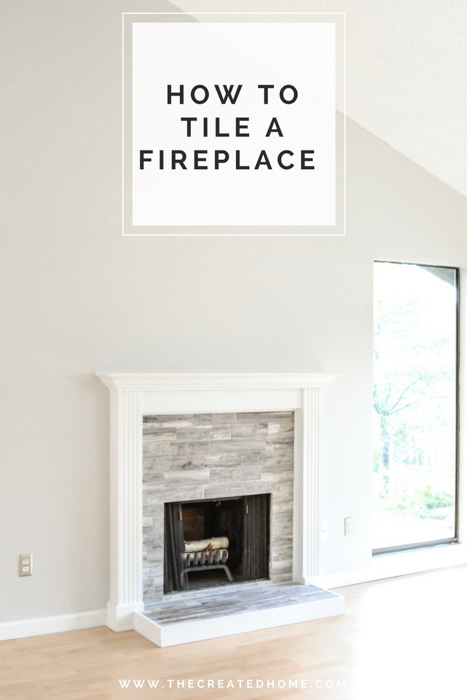
 How to Tile a Fireplace
Hello Pretty Handy Girl Readers! Sarah here from The Created Home. Today I’m sharing how you can update and customize your fireplace by doing your own tile work. Don’t be intimidated, tiling is actually quite accessible for DIYers, and once you get the hang of it you’ll be unstoppable. You may even find that you really enjoy it!
As with any DIY, especially one you are new to, you will need to read all the way through to make sure you are familiar with the process and always take proper safety precautions. Use ear and eye protection when you are using a tile saw. Read the manual for your tile saw and make some test cuts to get the feel for using it.
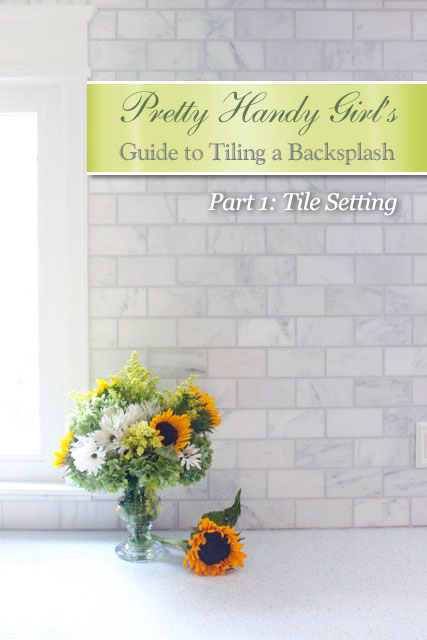
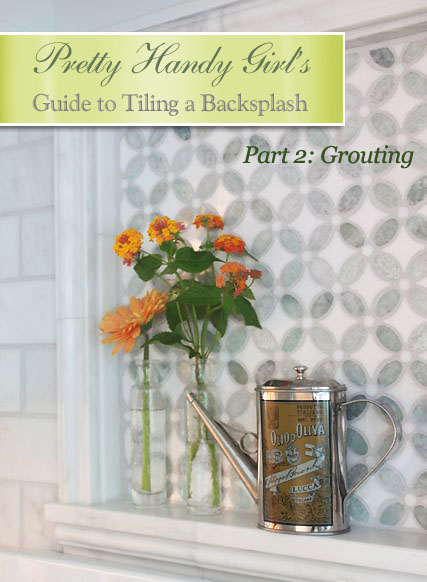
Note: This tutorial will not cover the grouting step. The tile I chose for this project was close together and did not require grout. I’ll cover that in more detail in just a bit. To learn how to grout, read Brittany’s tutorial on grouting and sealing tile.
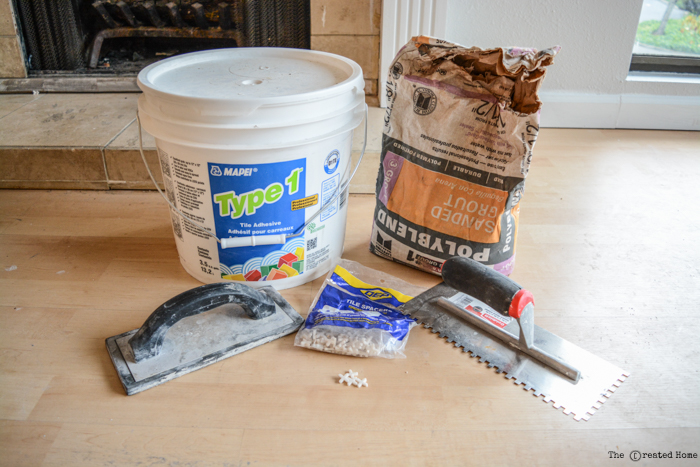
Materials:
(I’ve included affiliate links for your convenience. I earn a small percentage from a purchase using these links. There is no additional cost to you. You can read more about affiliate links here.)
How to Tile a Fireplace: Make a plan
Entire tutorials can be written about how to choose and plan out your tile. There are a LOT of options out there. Bear in mind that a patterned tile will require more work when laying out, as the pattern needs to be visible and centered in the space. Example: In this fireplace I would have loved to use a cement tile look, but the tiles I found were 8″ and the sides of the firebox only allowed for 6 ½” (which would have looked awkward with the designs I liked.)
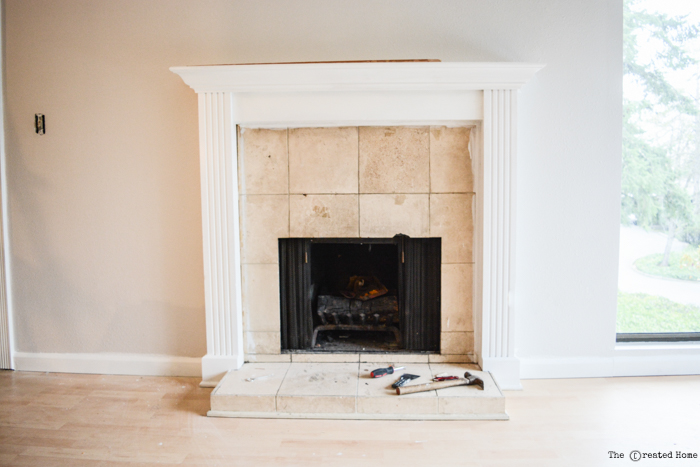
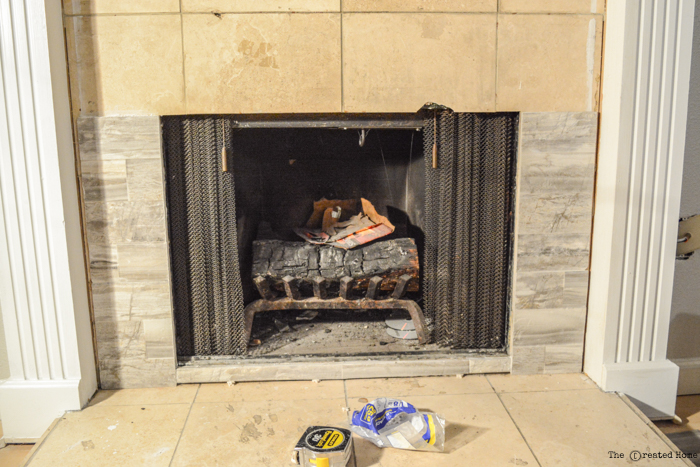
Ugly Before Shot:
A second thing to keep in mind is that knowing the square feet to be covered is only half the battle. Chances are you’ll have a number of small pieces to cut which will render some part of each tile unusable. It’s a good rule of thumb to always get 10 – 15% more tile than you need.
Once you have the tile you will need to plan your layout. Where will a row have to be ripped to fit? Where will the pattern repeat? What order will the tile need to be applied? For this project my husband and I spent just as much time making the plan as actually installing the tile.
Get to work:
For this project we chose to tile over existing tile, which was far simpler than removing what was there (even with the poor shape it was in.) If your tile doesn’t have adhesion issues this may be a great route for you. We tested the waters [tile] here and found that the damage to the existing tile was superficial, albeit highly unattractive.

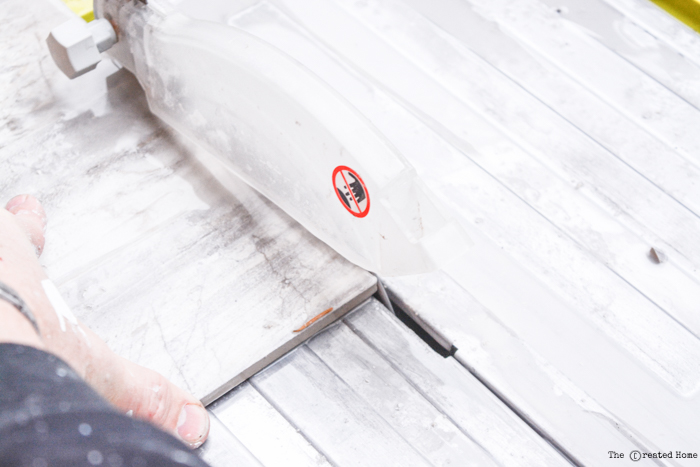
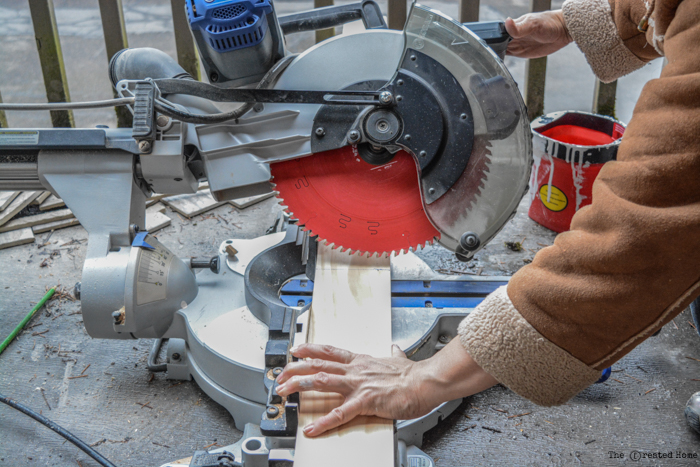
Once you have a game plan it’s time to make your first cut. A tile saw (or wet saw) cuts much like a table saw, but it needs a constant source of water to keep the blade cool and the dust down. Keep a pail of water on hand to refill the saw as needed. Some tile saws can be hooked up to a water source via a hose.
You will be covering the edges where the tile runs into the wood mantle surround with some sort of trim, so it’s not important that you are dead on with every cut fitting perfectly against that edge. This is also useful if you run into issues with things being out of square (which happens frequently). You can see in the photo below the tile does not fit snuggly, or uniformly along the far sides.
Using a Wet Saw: a few tips
I recommend using a tile saw rather than a snap cutter (which just doesn’t work very well). It can be intimidating at first, but go slow, use caution, and follow some basic rules to ensure a professional looking, safe job.
The first rule, is to keep those fingers away from the blade. Make your cuts slow and steady. Water should be flowing around the blade constantly as you gently push the piece through. You can avoid chipped ends by pushing the piece through very, very slowly as you reach the end, being careful not to force the blade. Too fast and the corner of your tile will likely chip off.
Use your fence to make sure your cuts are straight. You may have to trim off ends if you tile is staggered, as ours was. Place the trimmed end to the outside, where it will be covered with molding.
How to Tile a Fireplace: adhering the tile
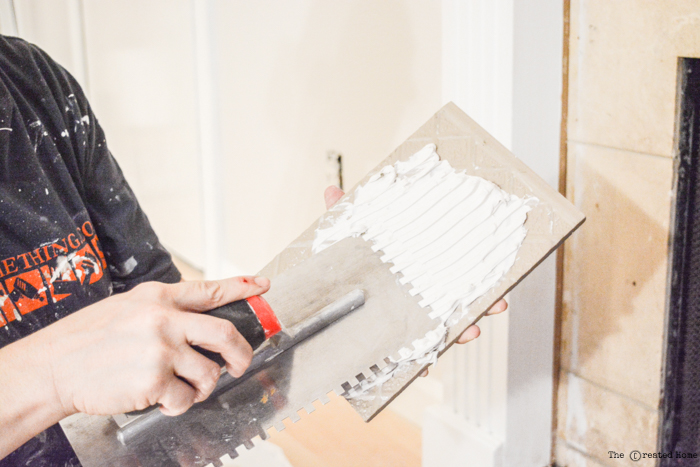
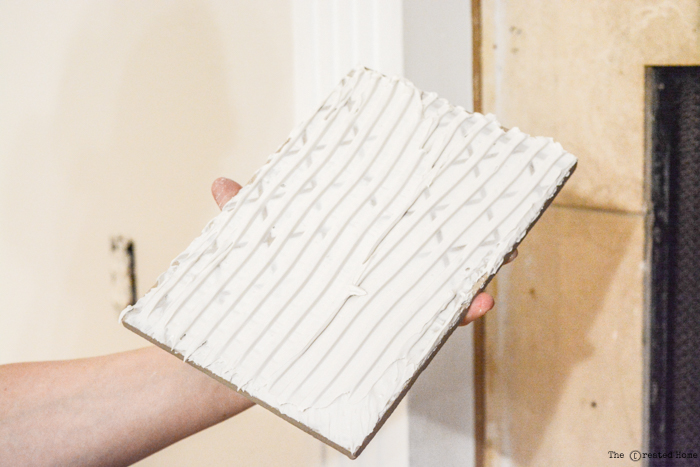
Tile adhesive comes either pre-mixed or in powder form. Pre-mixed is great for small jobs like a fireplace, but either route is fine. Use the notched trowel to spread the adhesive on the back of the tile piece, covering the entire back.
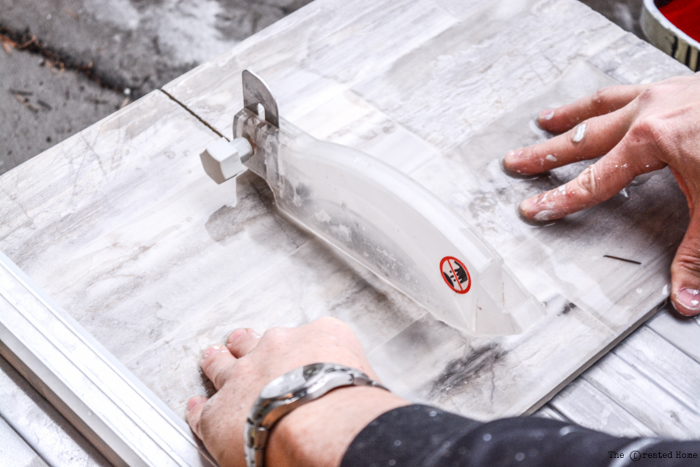
The notches will leave tracks, like so:
Position the tile where you want it and push firmly, wiggling it around a bit so those tile tracks fill and the tile is firmly adhered along every point to the fireplace.
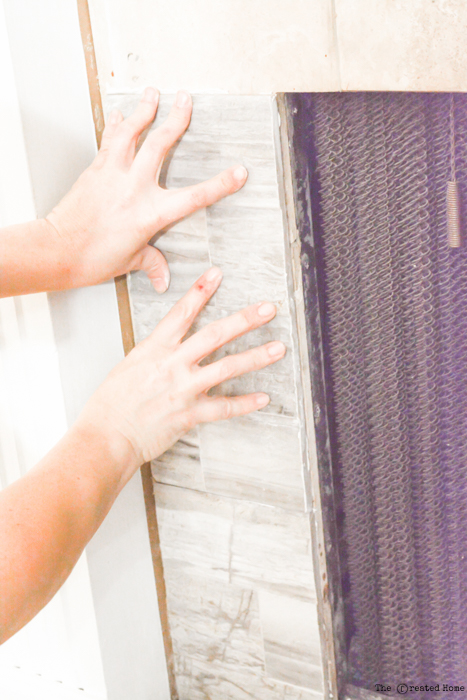
If you are grouting between your tiles you will use spacers around each piece. The pieces we used required being set close together to mimic the look of the “preset” tiles. We used the adhesive to fill any small gaps that did show. Again, be sure to check out Brittany’s grouting tutorial if you plan to use grout.

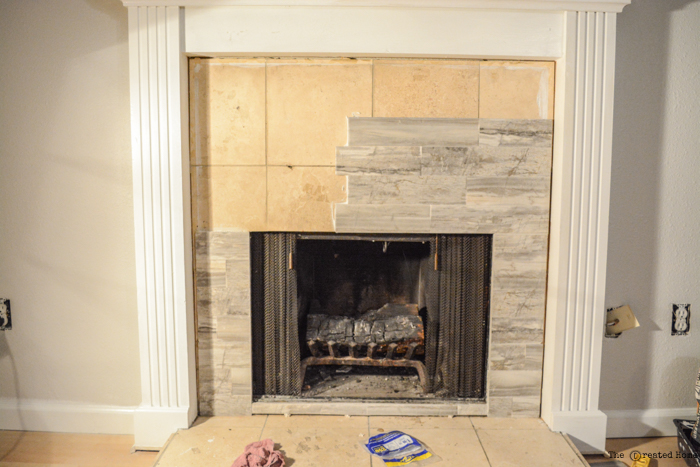
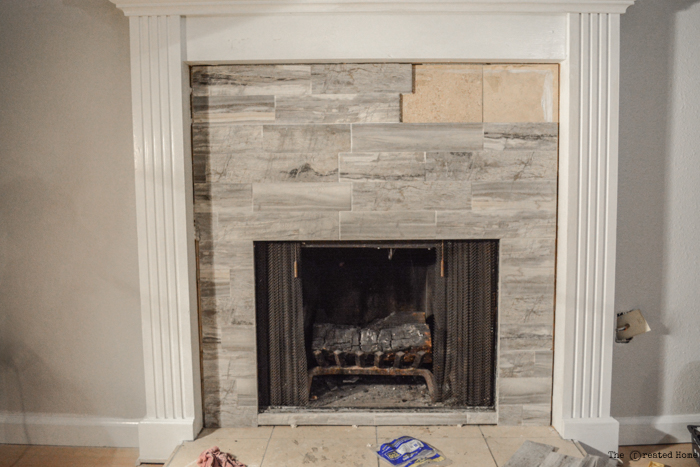
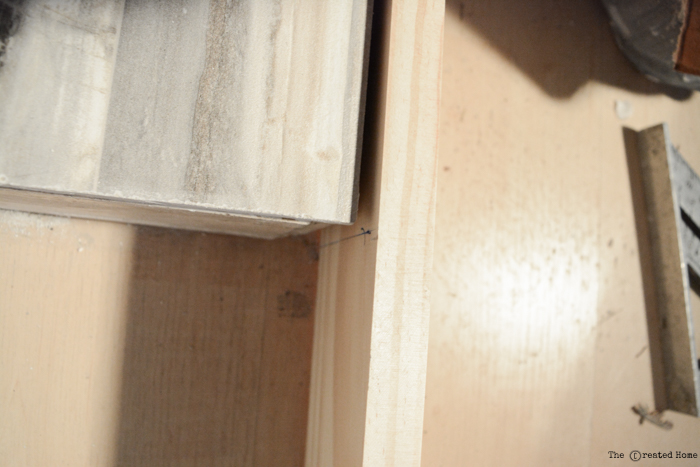
Continue adding the tiles to the desired pattern. Be sure to account for how your final row will fit, as it will in all likelihood require cutting the tile crossway to fit correctly. The good news is you will be able to hide the seam at the top with some molding.
This fireplace required tile down on the hearth as well, which meant notching around the mantle. To make those cuts be sure you are cutting the tile face up and draw lines to help guide your cuts. The blade will undercut a bit farther than your top cut, but it will be hidden underneath. You’ll quickly discover that most lines are not square, and probably have a gap something like this. Use some caulking to seam it all together and it will look just fine.

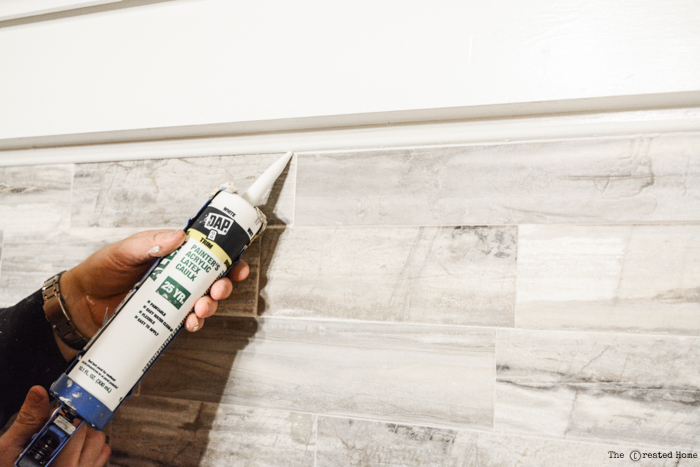
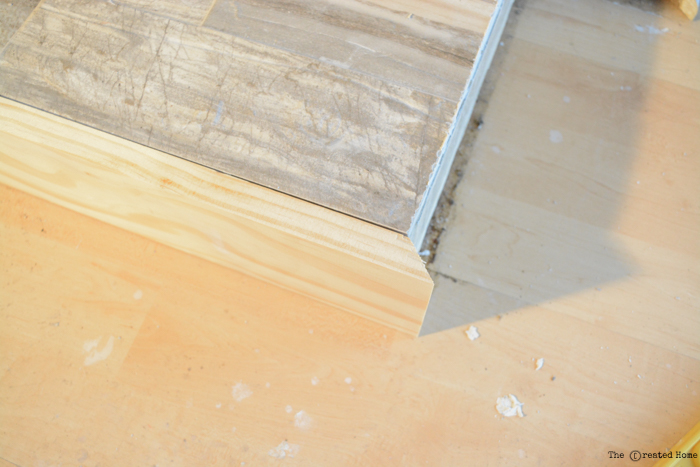
Finishing the Fireplace: adding trim
Molding completes the finished product and hides those seams. Quarter round is a great option for the fireplace. Paint the molding to match the mantle. Attach by driving brad nails through the quarter round at an angle so it goes into the hearth. Caulk around the molding for a seamless look.
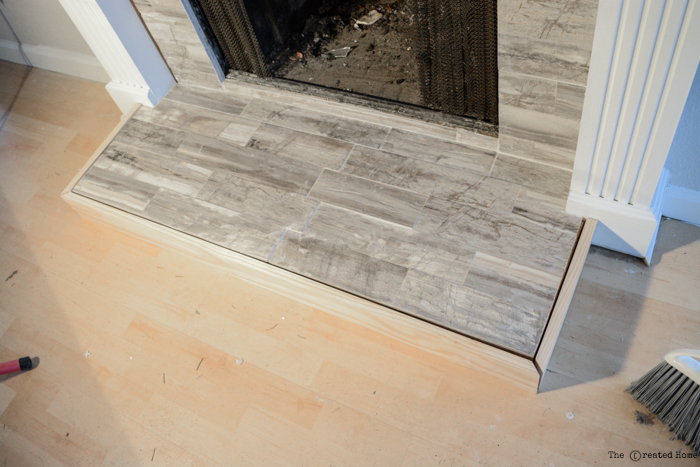
Bonus Content: wrapping the hearth
The front of the hearth here had tile, and I decided the better look would be to wrap it in wood instead to tie it into the white of the mantle and break up the tile a bit. It’s the same look I created when we redesigned our own fireplace.
To create this look you will need a piece that is the same width as the height of the hearth front inclusive of the tile you just added. If you are lucky you won’t have to rip a piece down to fit.
The sides of that front can be square cut or mitered. To miter the front, cut one end at a 45 degree angle. I prefer to use the saw’s bevel function to get this cut nice and straight.
Place the piece against the front of the hearth and line up where it will sit.
Mark the other end where the short end of the 45 will sit. This is easier and more accurate than simply measuring.
It also helps to sketch the angle of your cut while the wood is in place to ensure you don’t cut the wrong way (it’s easy to do).
Cut 45˚ for the side pieces, then measure and make the 90 degree cuts. You can easily cut those back to fit, so cut a little at a time. Paint the molding. Attach by finish nailing the angles together, and then either nail or glue it to the face of the hearth. We used construction adhesive and clamps, letting them sit overnight.
Stand back and enjoy your hard work!
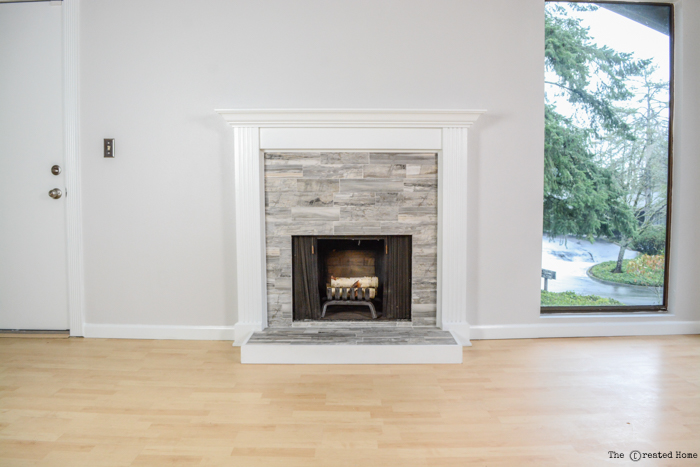
As you can see, not only are there a lot of options for refinishing a fireplace, there are a ton of options for tile itself. Tiling is a great way to go that doesn’t have to cost a lot of money. Our cost for this fireplace was just over $100.
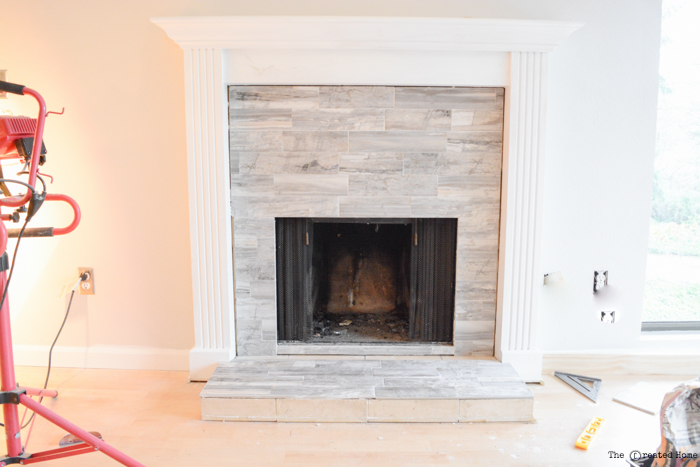
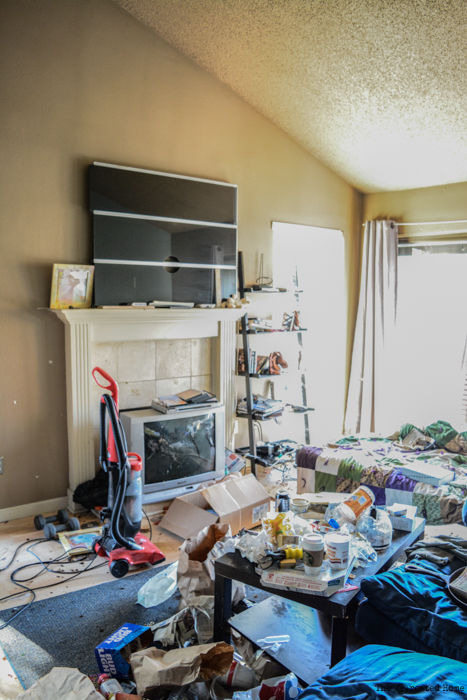
When we started, this fireplace was far from the focal point of the home, as you can see . . .
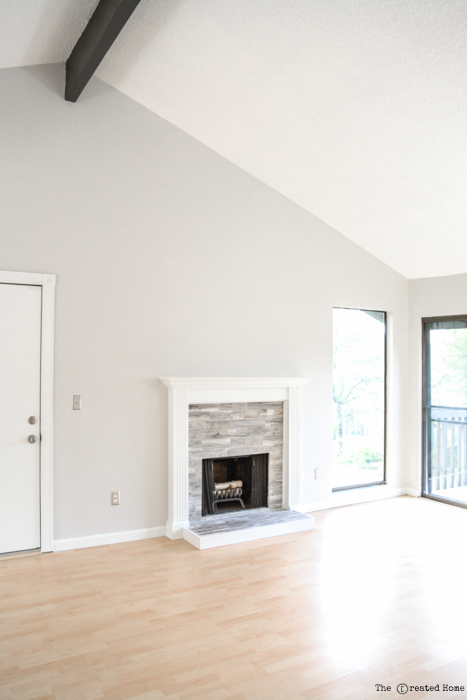
. . .and here’s the dramatic finished look.
Now it’s your turn! Put those tiling skills to work and tile it up! In no time at all you’ll be chatting with company and casually mention, “Oh yes, the fireplace. I did that. No big thing.” And don’t forget to share your before and after photos so we can all admire the transformation with you.
Happy tiling!
 ~See More of Sarah’s Projects~
Check out these other posts to up your tiling game!

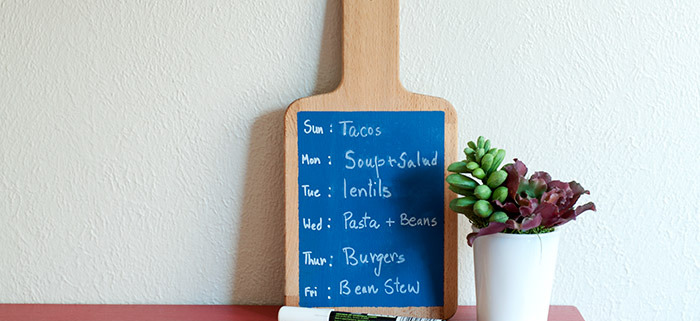
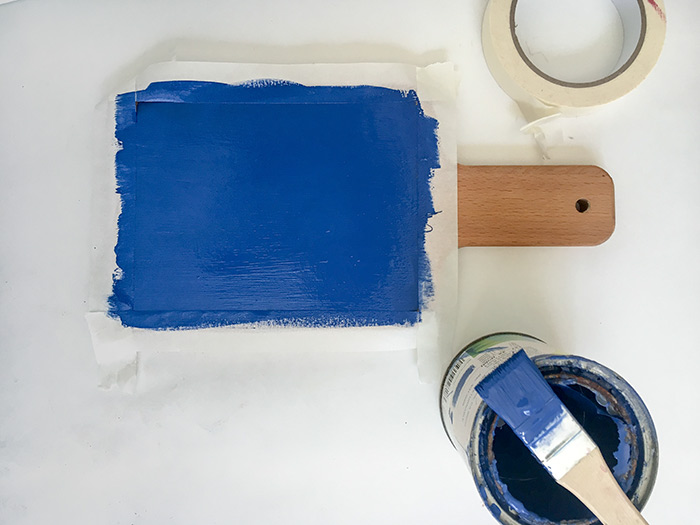
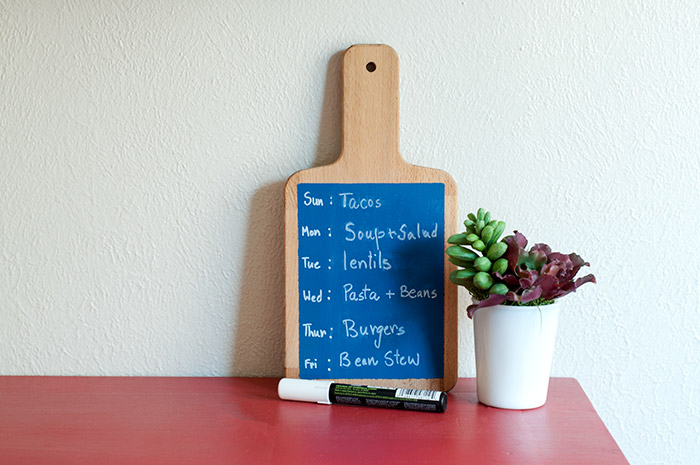
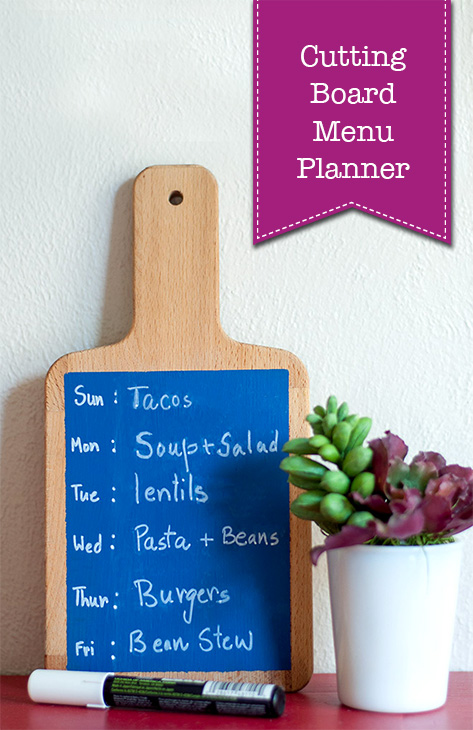 A Quick Cutting Board Makeover for Meal Planning
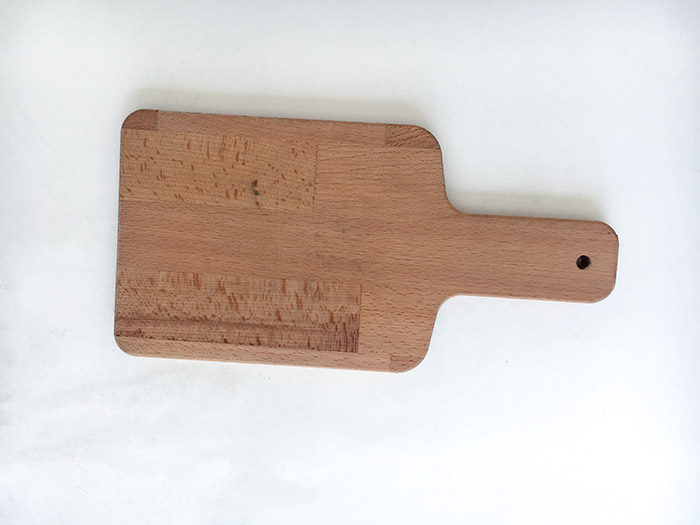


 You’ll definitely want to see inside each of their homes: