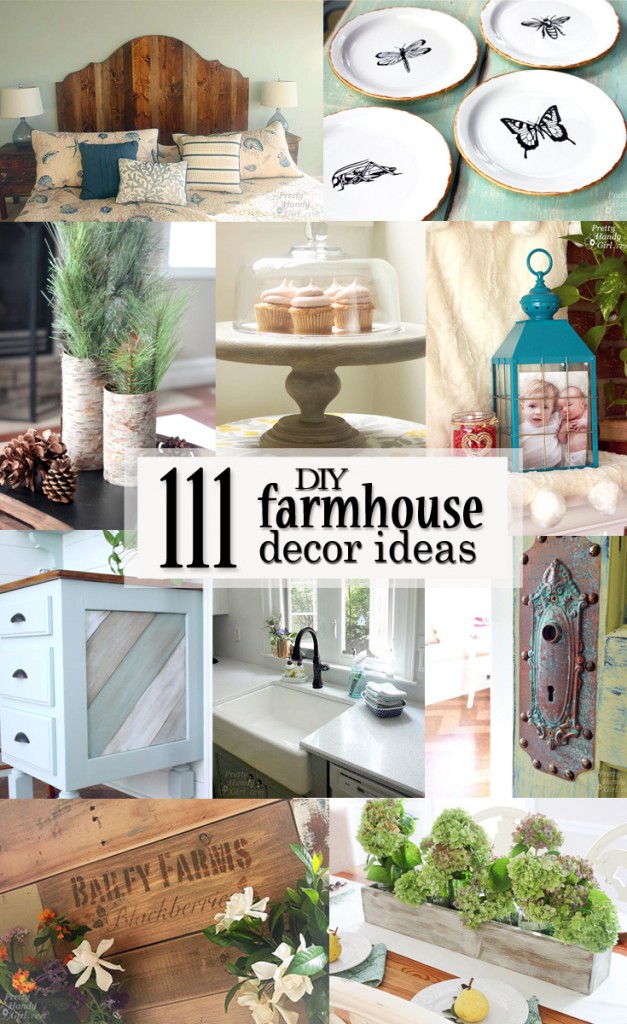
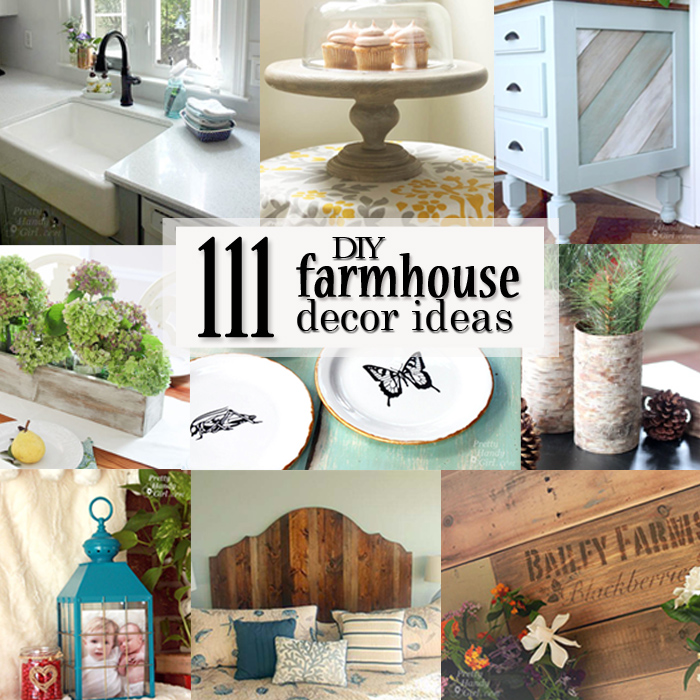
111 DIY Farmhouse Decor Ideas
Do you love farmhouse decor as much as I do? What is Farmhouse Style exactly? It can be described as worn, weathered, rustic, comfy, or anything that reminds us of a simpler time. If you’re like me (and love all things farmhouse), you may find yourself being lured into buying new decor that can put a dent in your budget. But, rest assured, today I’m giving you 111 DIY Farmhouse Decor Ideas to help you create the space you desire for less money. Get ready to be inspired!
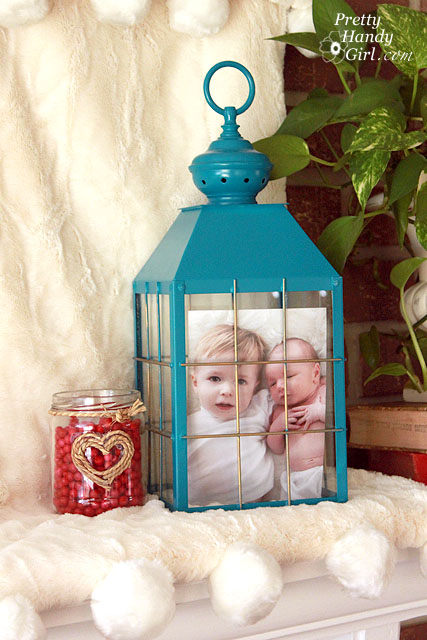
DIY Lanterns for your mantel or side table.
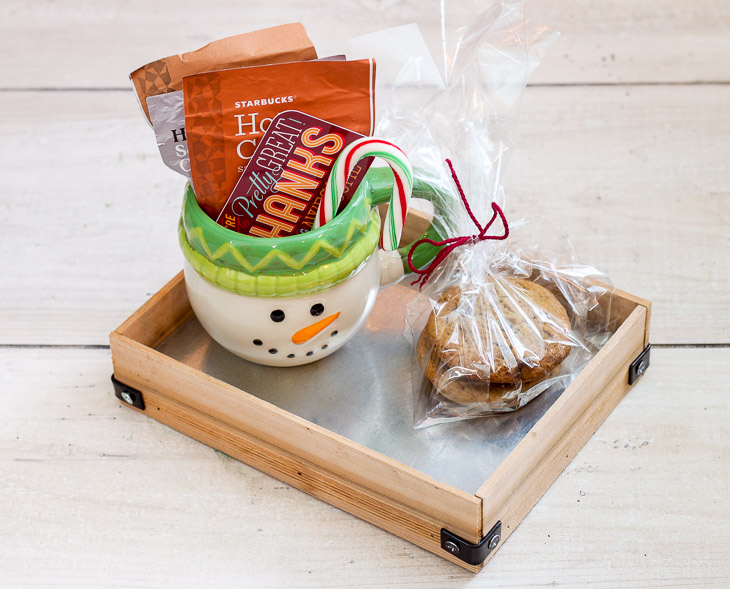
DIY Sheet Metal Trays to display on tables, counters, or your desk.
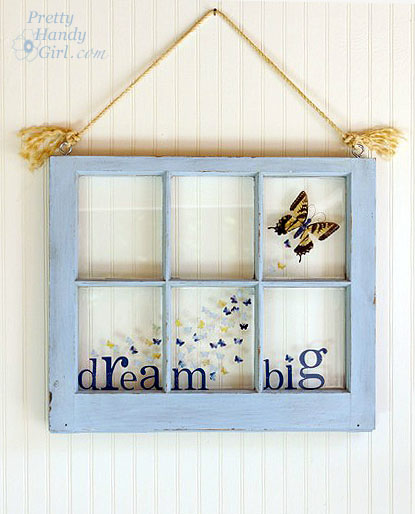
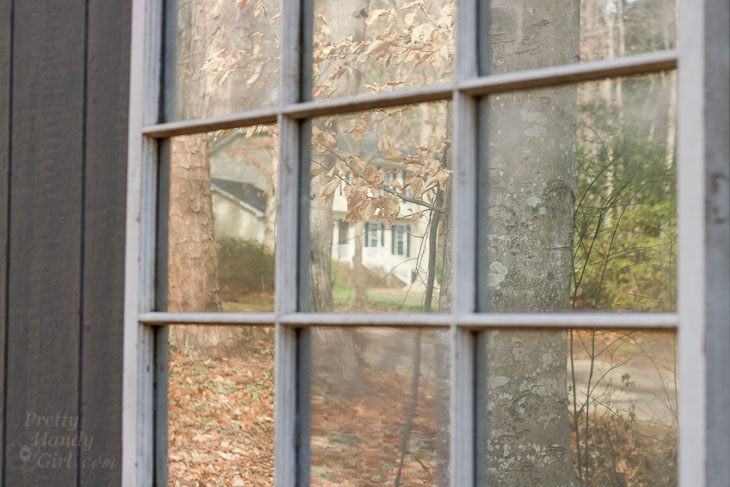
Upcycle an old window into sweet wall decor.
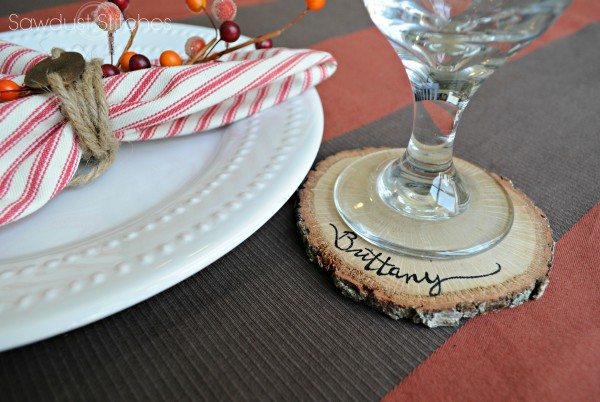
DIY Personalized Wood Slice Coasters to decorate your table.
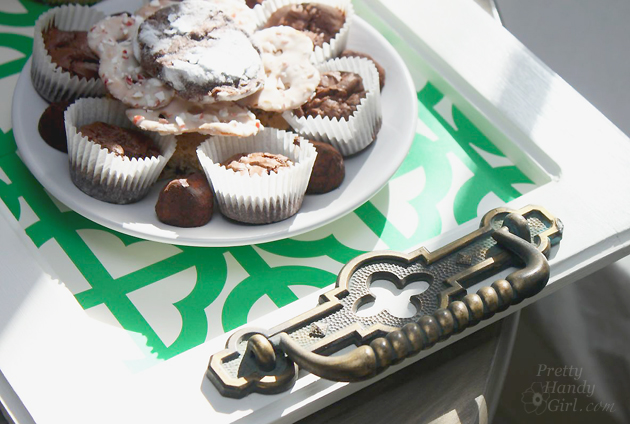
Make a tray from a cabinet door for serving drinks at your next party.
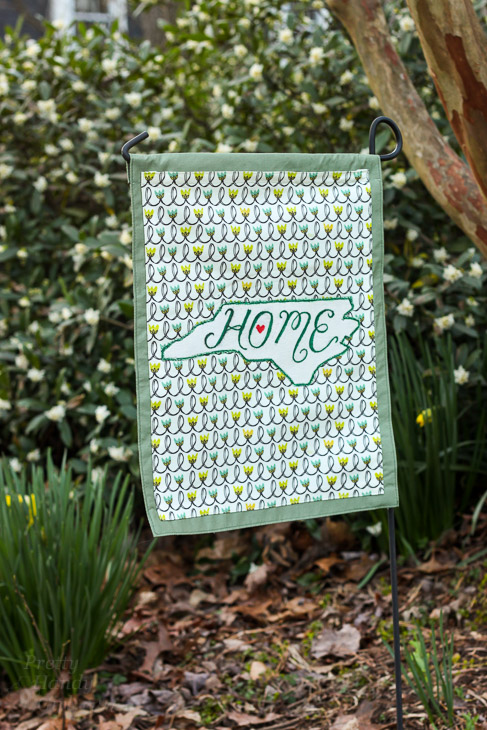
Make this Home State Pride Garden Flag from a Placemat to add some interest to your yard.
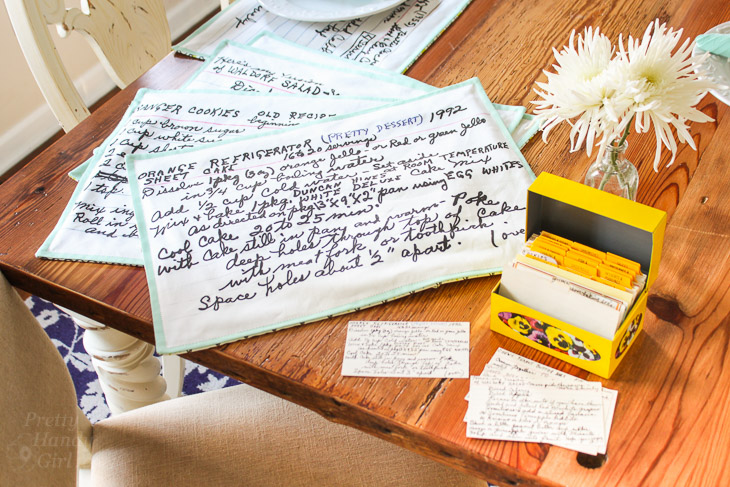
Sew these memory making Reversible Recipe Placemats for a personal touch to your tablescape.
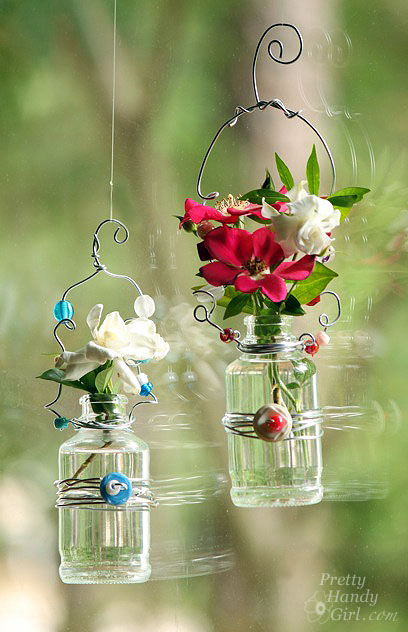
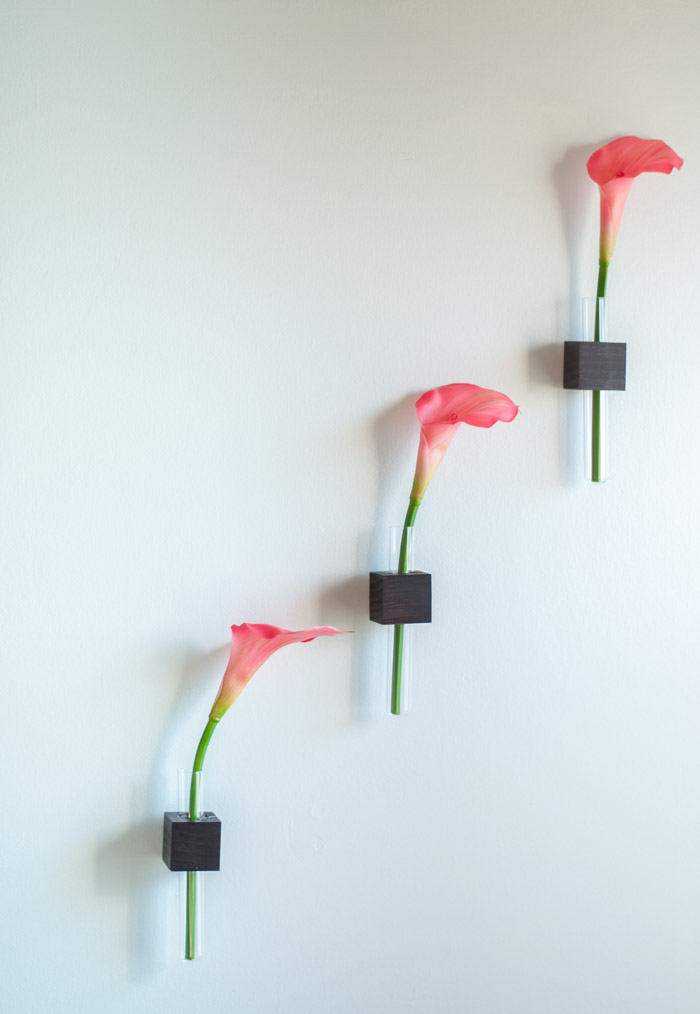
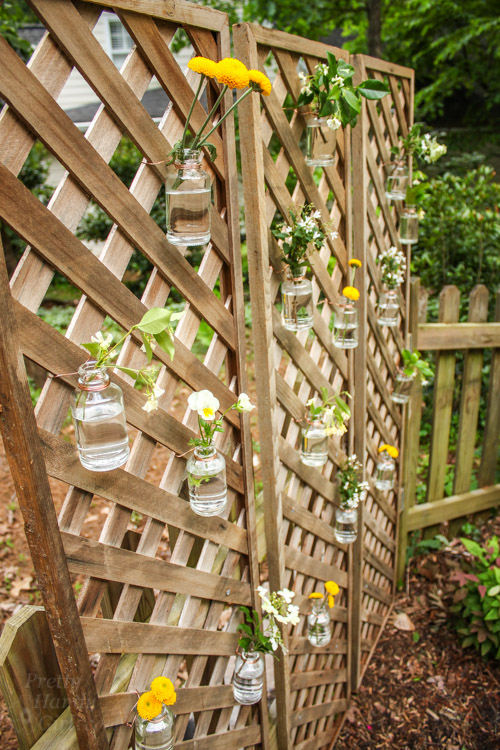
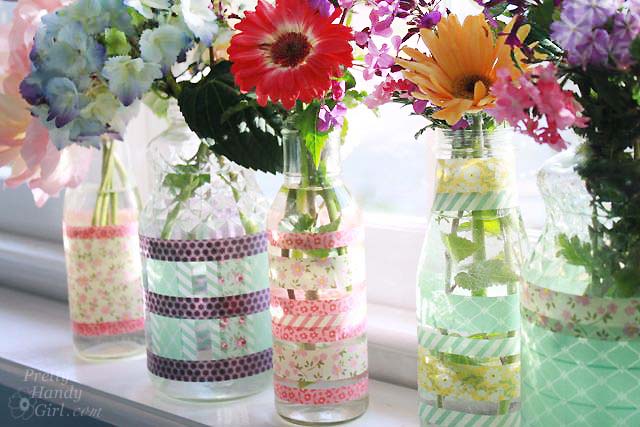
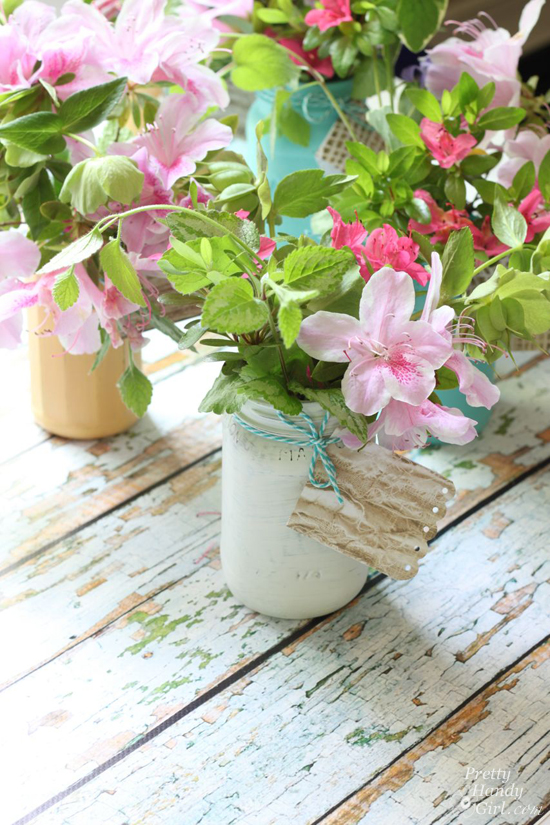
Hanging Beaded Flower Vases add color and sparkle to your windows.
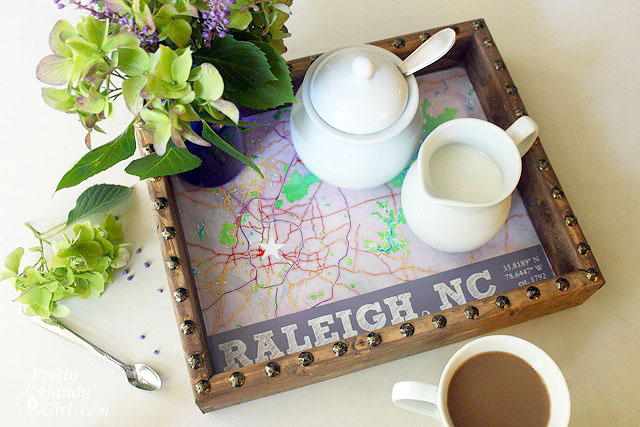
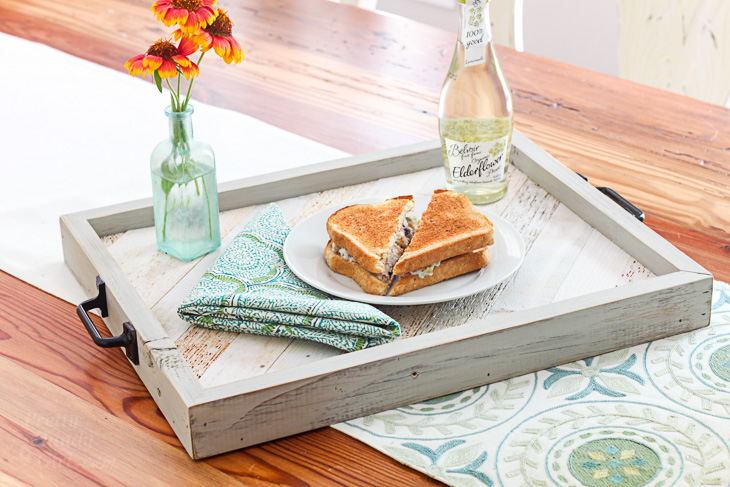
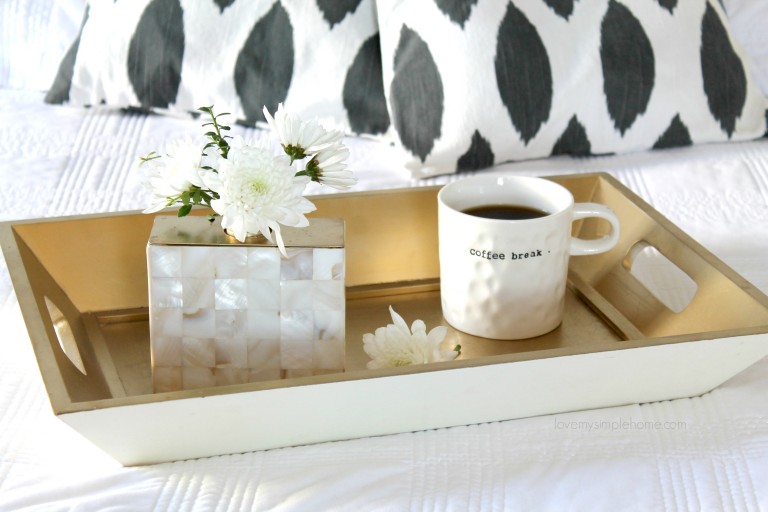
Make this State Capital Rustic Tray to carry coffee each morning.
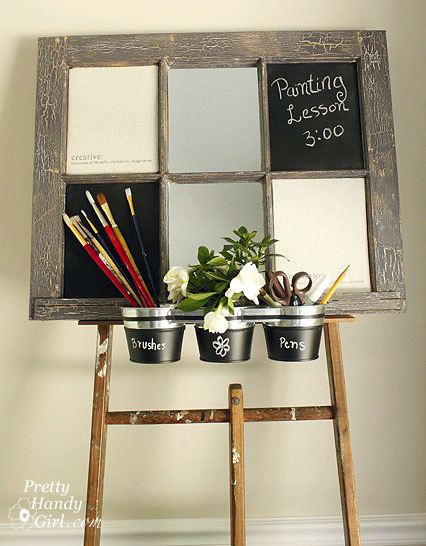
This Artist Inspiration Board is made from an Old Window for the artist in your home.
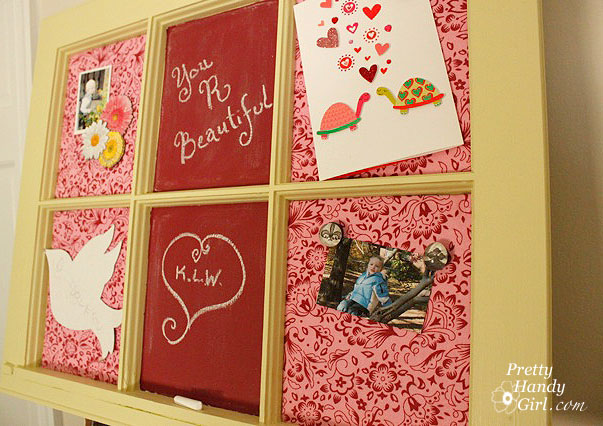
Another window can be transformed into a memo board with Colored Chalkboard Paint (make custom colors for your chalkboard projects.)
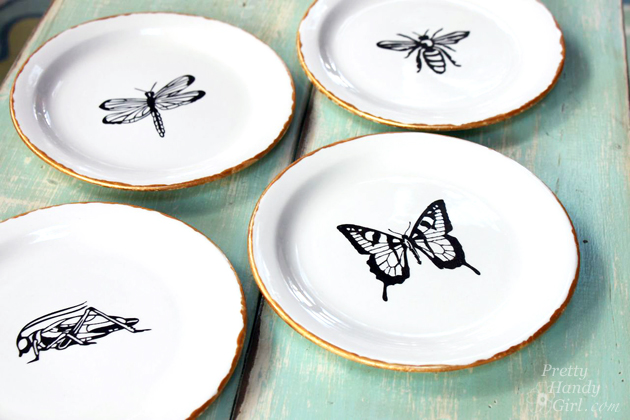
Gorgeous Pen and Ink Sketch Decorative Plates to hang on your wall.
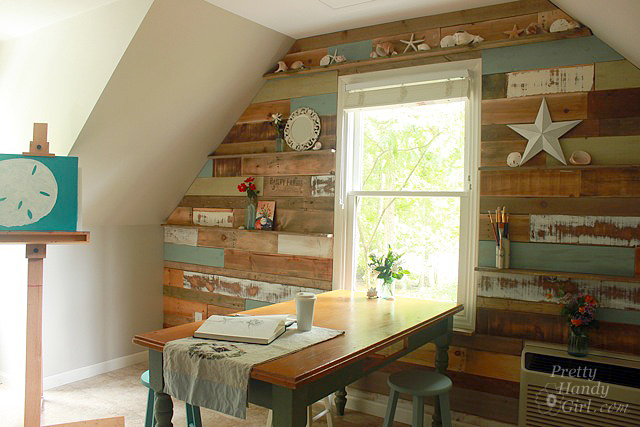
How to Install a Scrap Wood Wall to add character to any room!
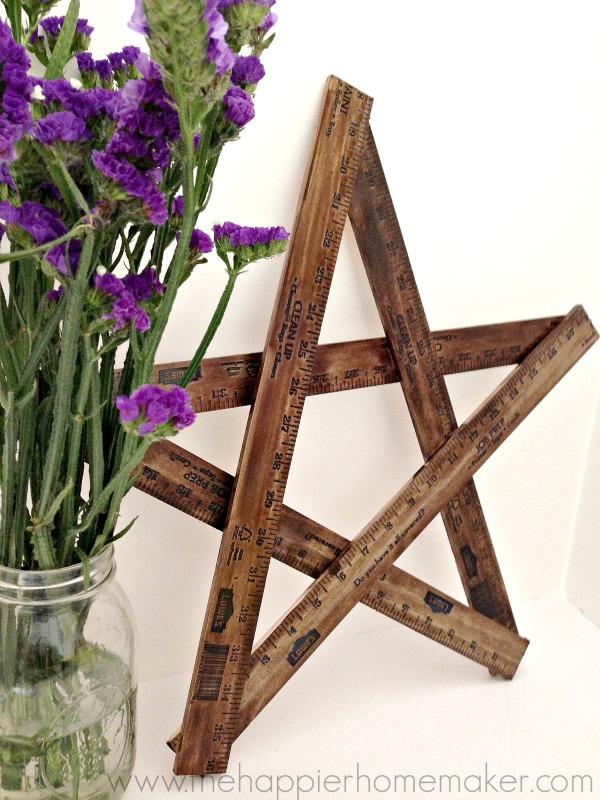
Easy DIY Yard Stick Star to stand or display on your mantel.

DIY Chalkboard Painted Mugs to give to guests at your next holiday party.
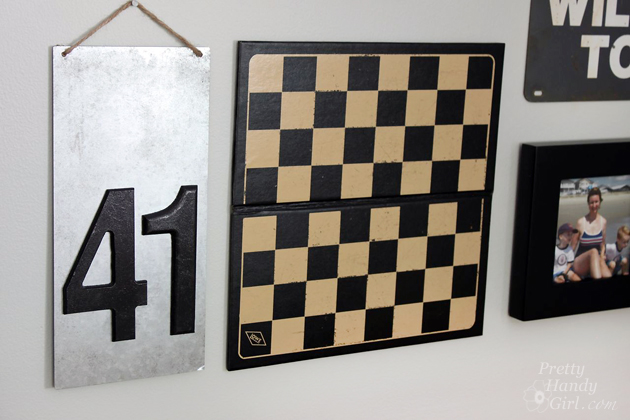
A DIY Metal Number Sign adds rustic/industrial interest to your wall collage.
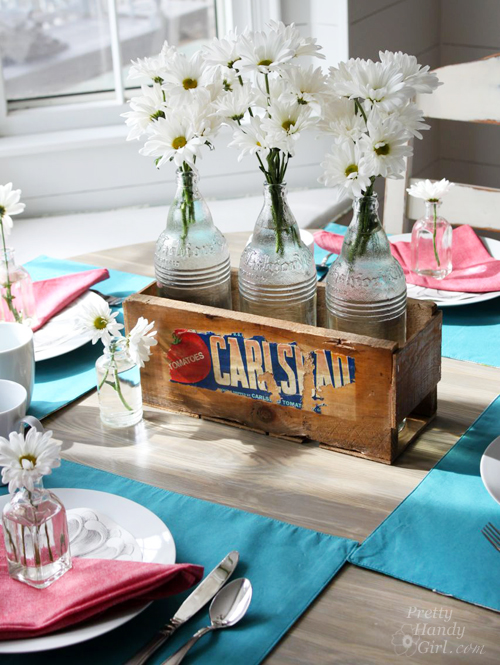
This DIY Vintage Produce Crate Centerpiece adds rustic beauty to your table. Best of all, you don’t need any power tools to make it!
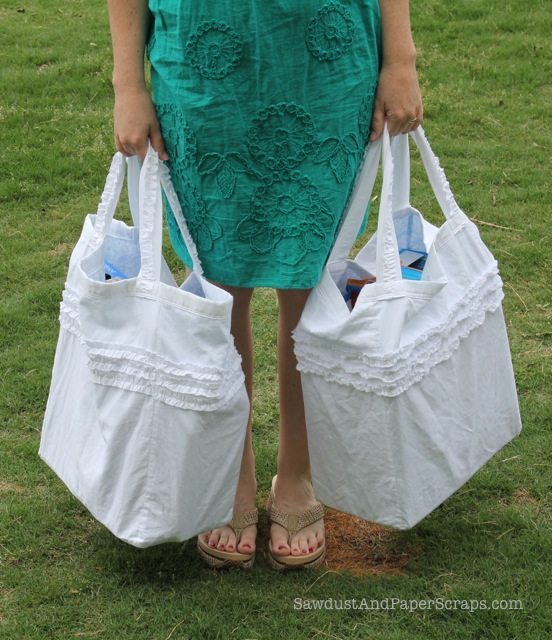
Reusable Tote Bag Sewing Tutorial would be cute hanging on a wall hook in your mudroom. Or use them at the grocery store and watch the other shoppers gawk.
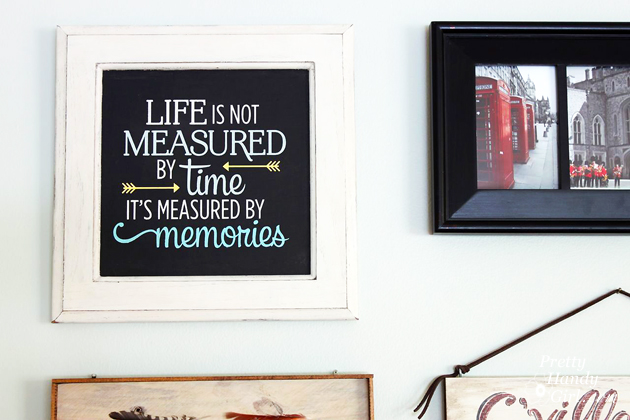
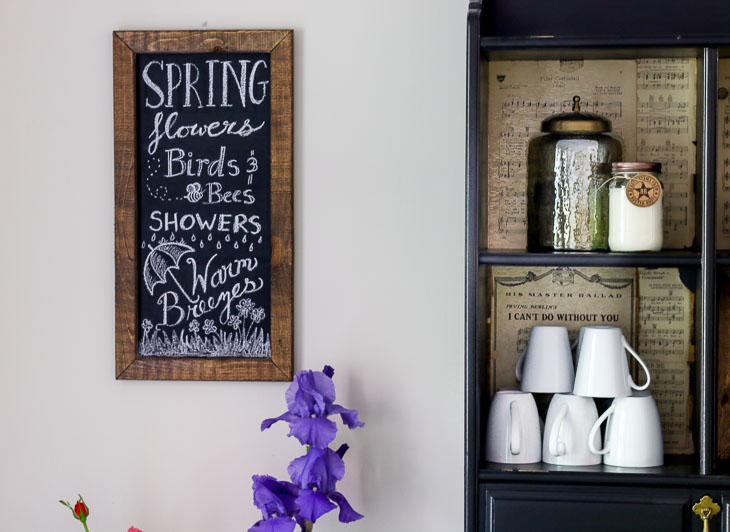
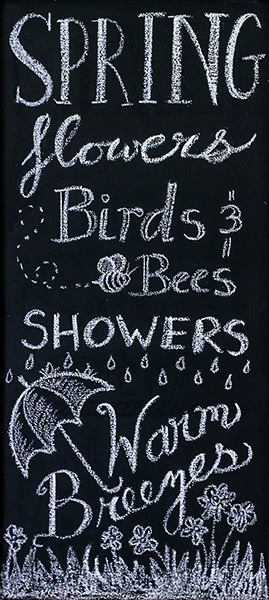
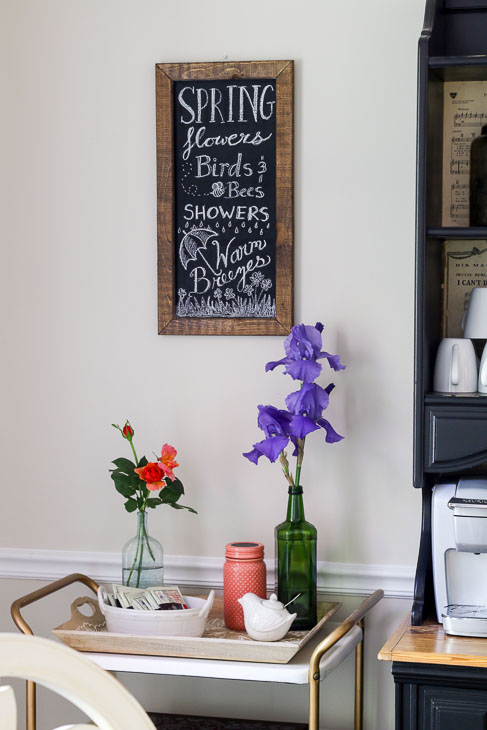
Make Upcycled Cabinet Door Chalkboard Art to add a sweet quote to your wall.
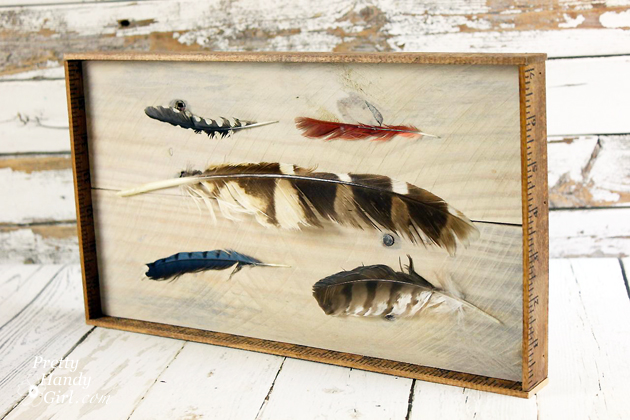
DIY Feather Art is unique and eye-catching.
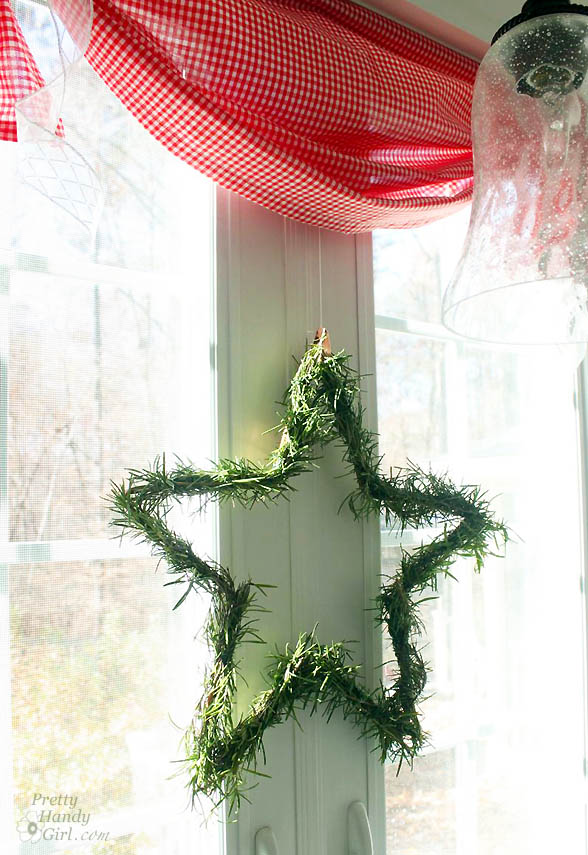
This DIY Star Garland is simple yet impactful for year round decor.

Customize a tote bag with an old shirt to carry everything you need.
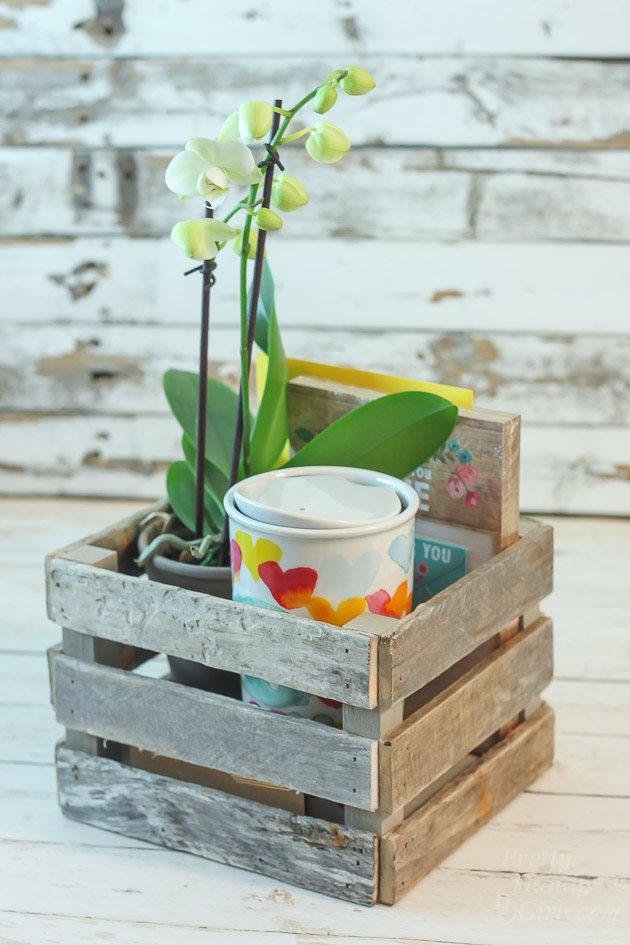
Make a Driftwood Gift Crate to attractively store books, trinkets, or any small items in your home.
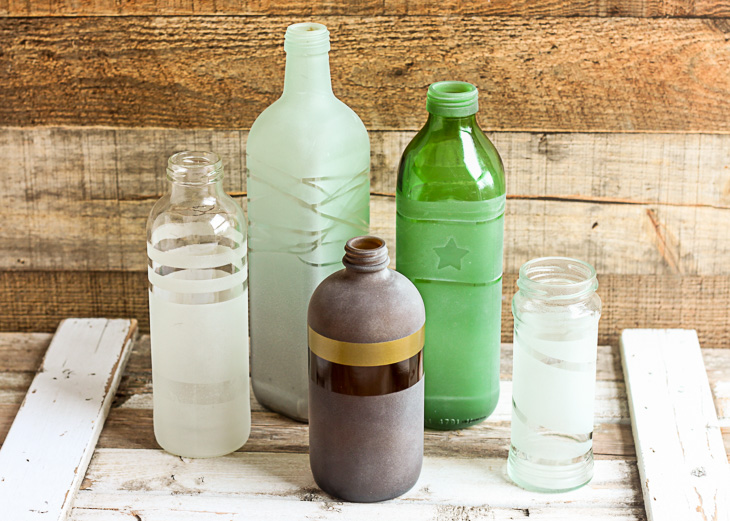
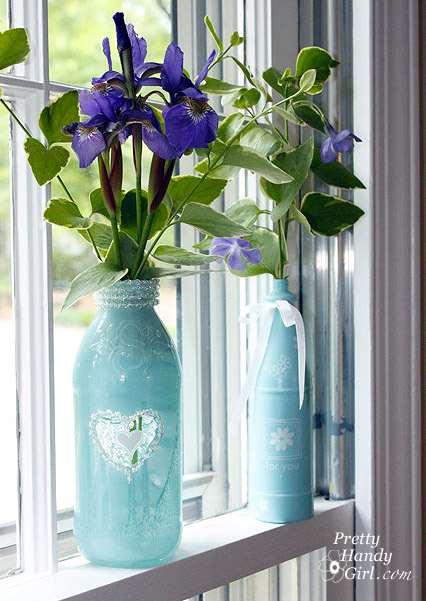
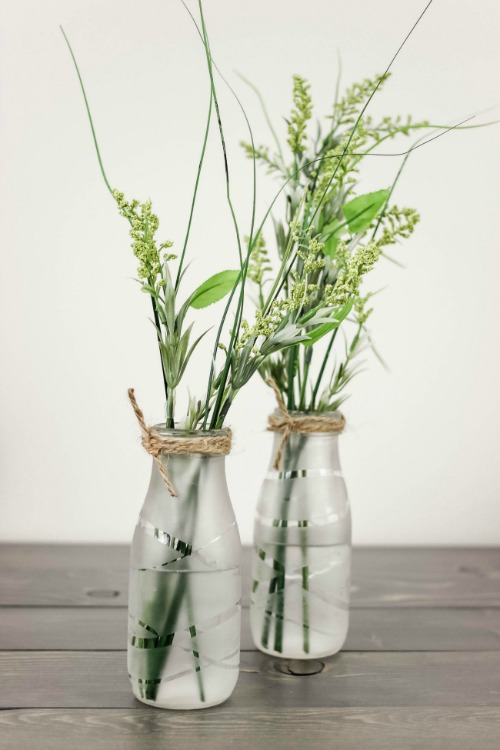
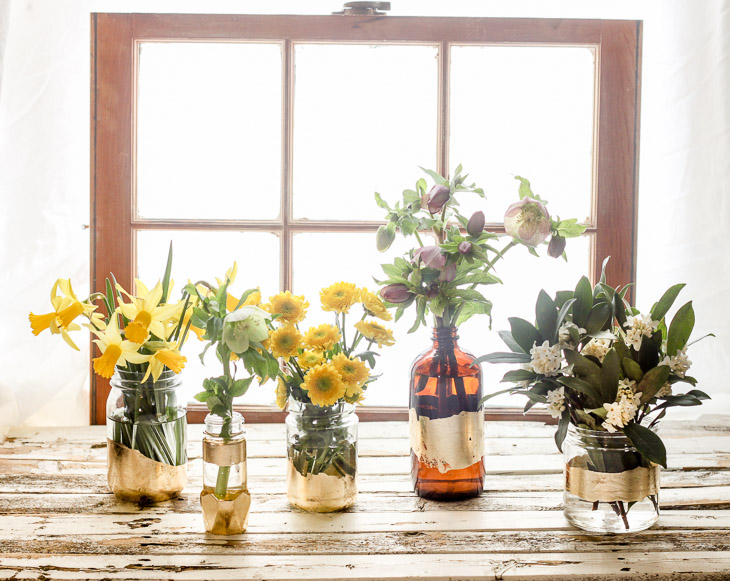
Frosted Glass Vases from the recycling bin can be used all over your home, with flowers or none.
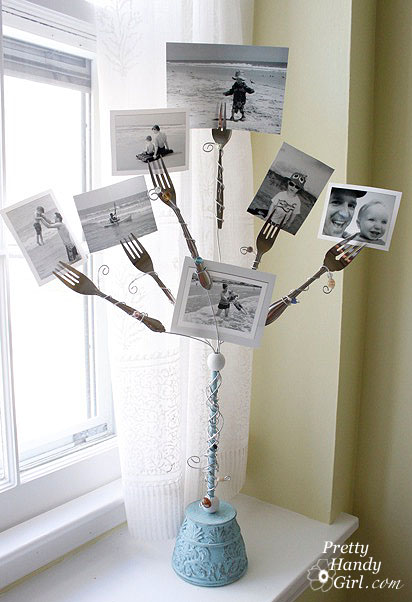
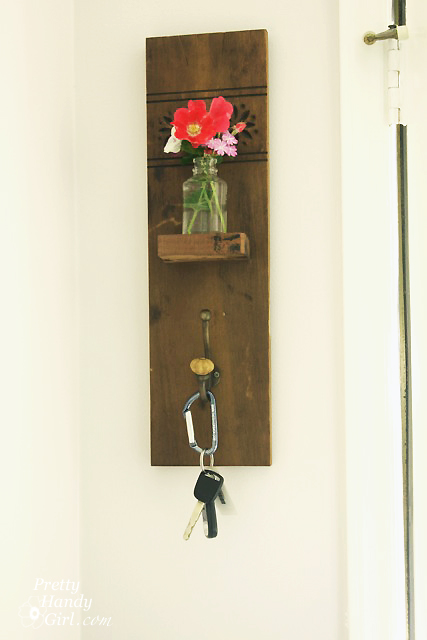
This Fork Photo Holder is a simple and fun way to display photos!
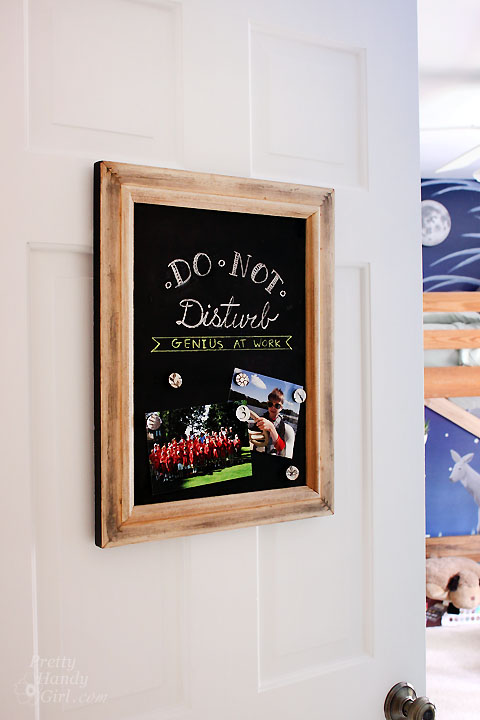
An Upcycled Magnetic Chalkboard Frame lets your kids write messages on their door.

Decorated Chalkboard Clipboards are a great way to stay organized or give as gifts to the teachers.
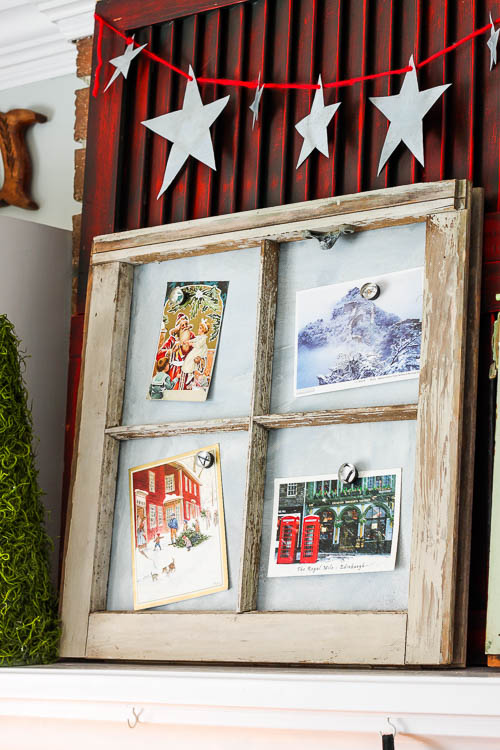
Create a Rustic Metal Magnetic Window Frame to display photos anywhere.
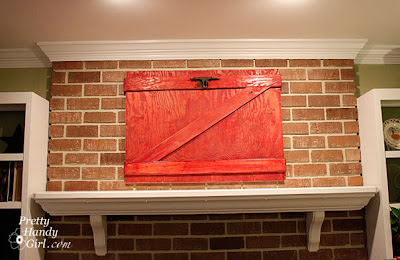
Make a Decorative Barn Door for impactful wall decor.

Dress up a Dormer Window with Shutters to add cute character to a window.
Build a DIY Gift Tray or Box (because you can always use trays for a multitude of things.)
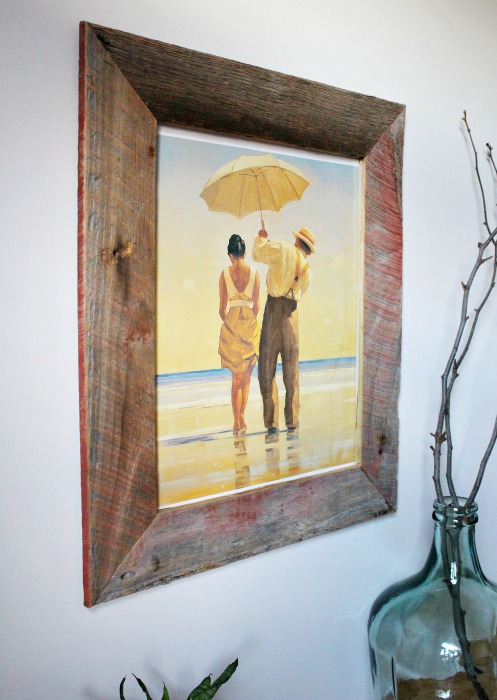
A DIY Barn Wood Picture Frame adds some rustic charm to your art.
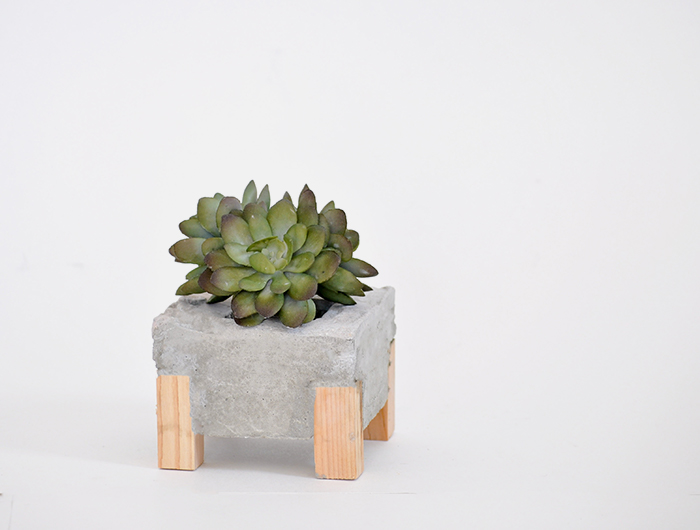
Make a Concrete and Wood Planter for your sweet succulents.

This Pottery Barn Inspired Lantern came from a super inexpensive source! You too can score one like it for less than $10!
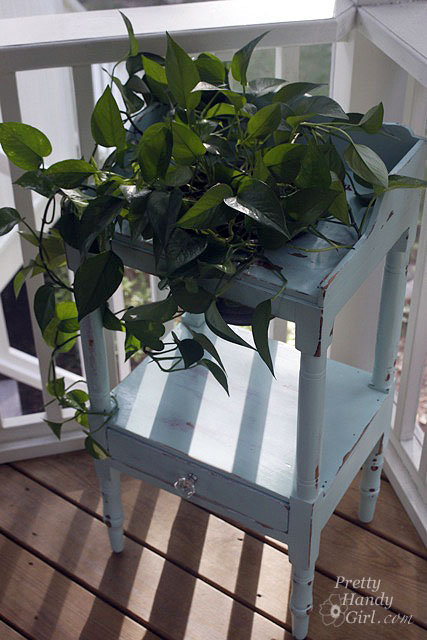
Learn how to paint and antique an old wash stand or any furniture.

This Rustic Wooden Caddy with a Branch Handle is the perfect farmhouse accent with rustic charm.

Create a Faux Ceiling Medallion with Stencils to add instant decorative detail to your room.
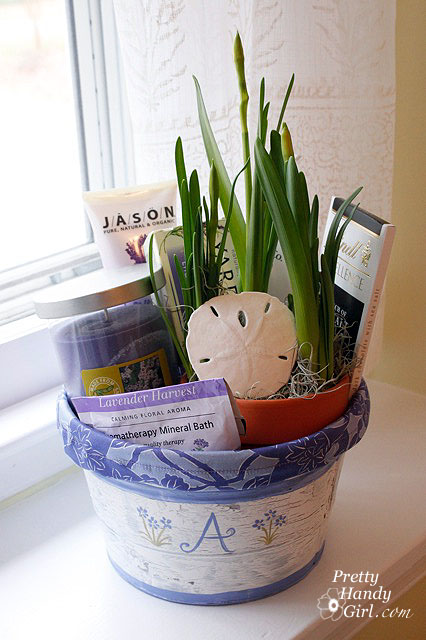
Follow this Aged Painted Pail Tutorial to create chippy paint on almost any surface.
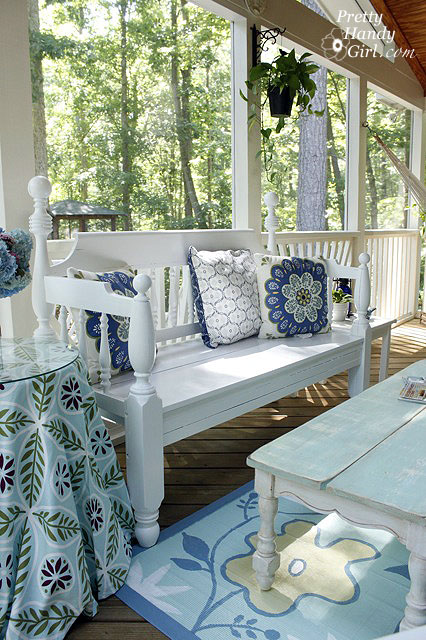
Try Refinishing a Garden Bench to update furniture that has seen better days.

Shutters are great for Displaying Christmas Cards or any cards throughout the year. It’s the perfect tall decorating item for your farmhouse look.
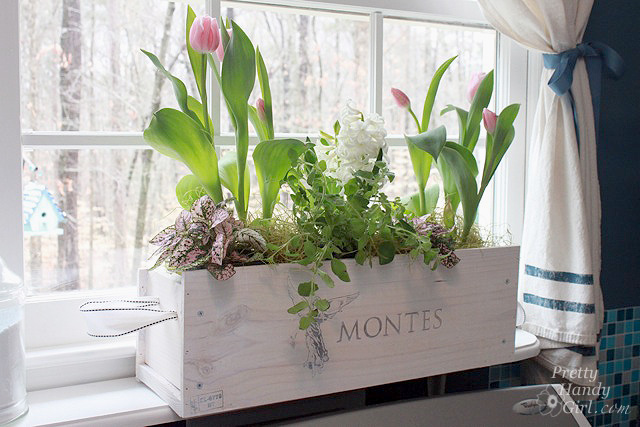
A White Washed Window Box from a Wine Crate is perfect for a farmhouse accent for any window.
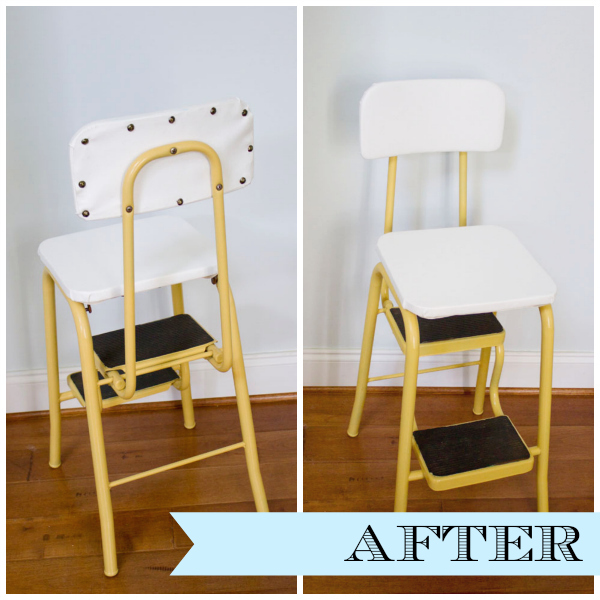
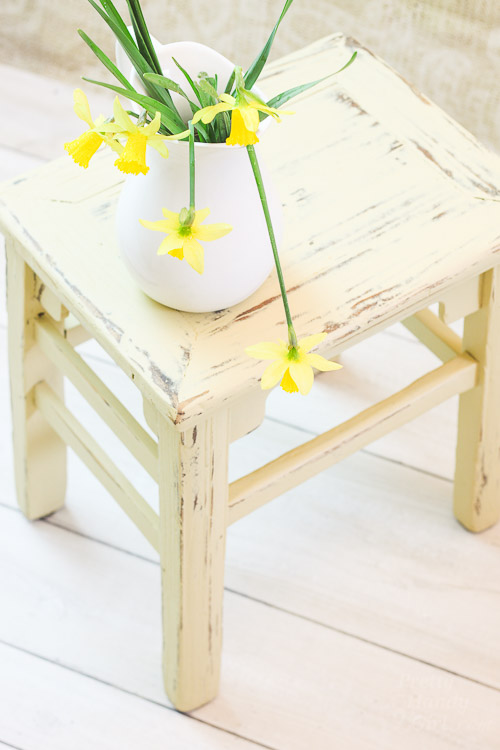
This Vintage Step Stool Makeover transformed from an old worn out style to new farmhouse style.
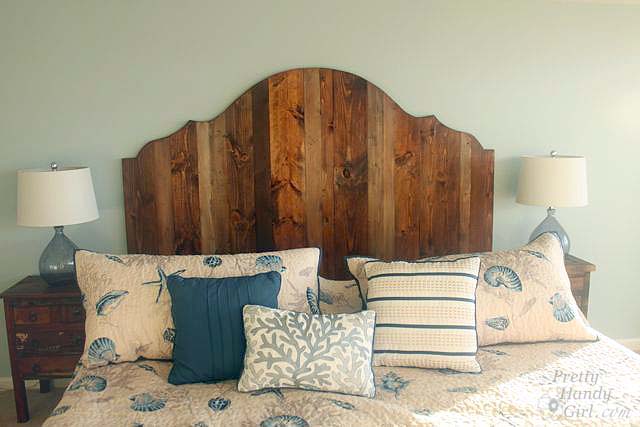
Create a Rustic Wood Headboard to add farmhouse beauty to your bedroom. You’ll be surprised by how affordable this project is.
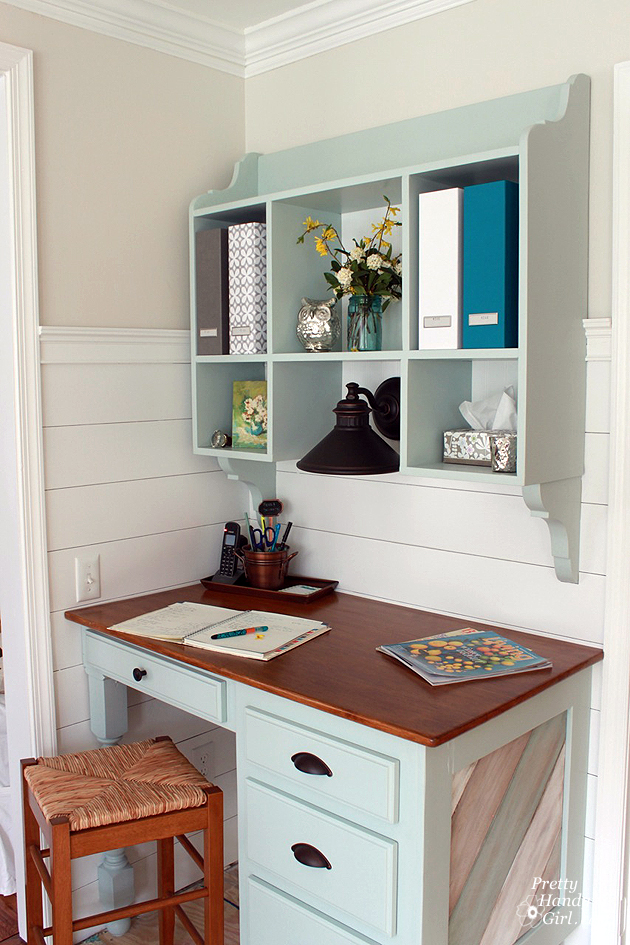
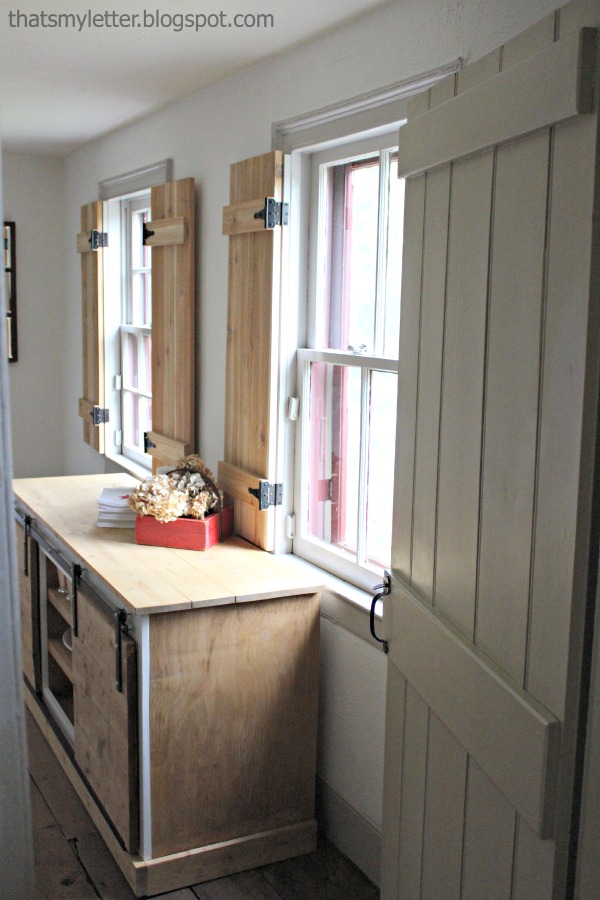
Cut and Finish an Old Tabletop To Create a Wood Desktop in your kitchen instead of spending big money on countertops.
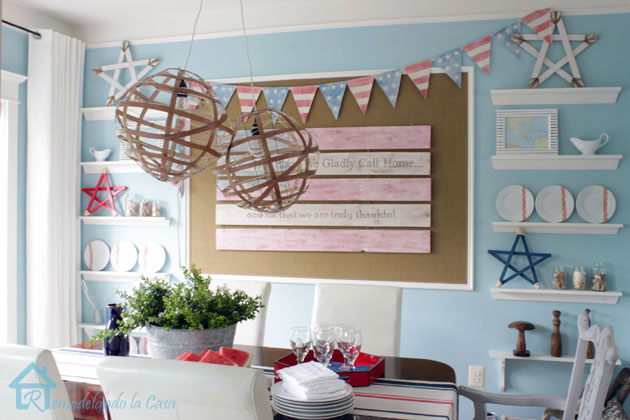
A White Washed Patriotic Flag adds a patriotic farmhouse feel.
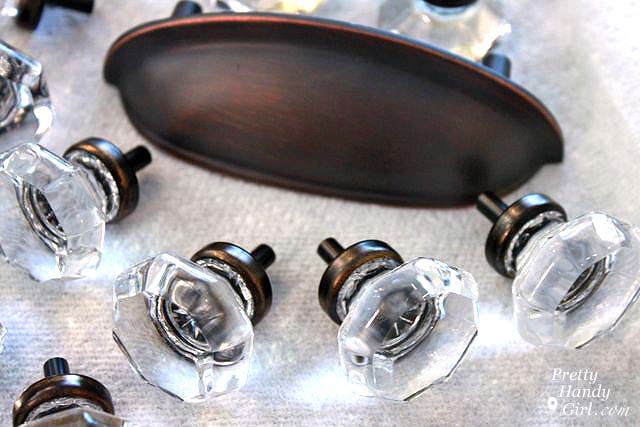
Rubber Bronzing Cabinet Hardware can update your dated cabinet knobs and pulls.
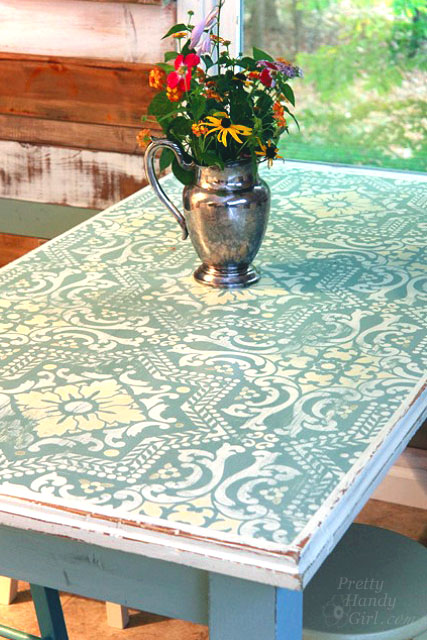
A Painted, Stenciled, and Distressed Table was previously a dumpster cast off.
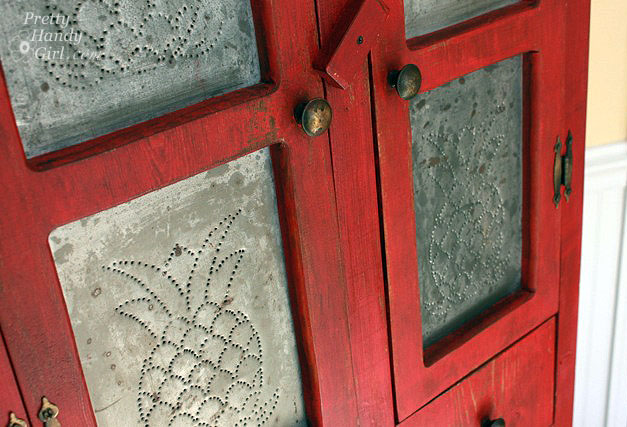
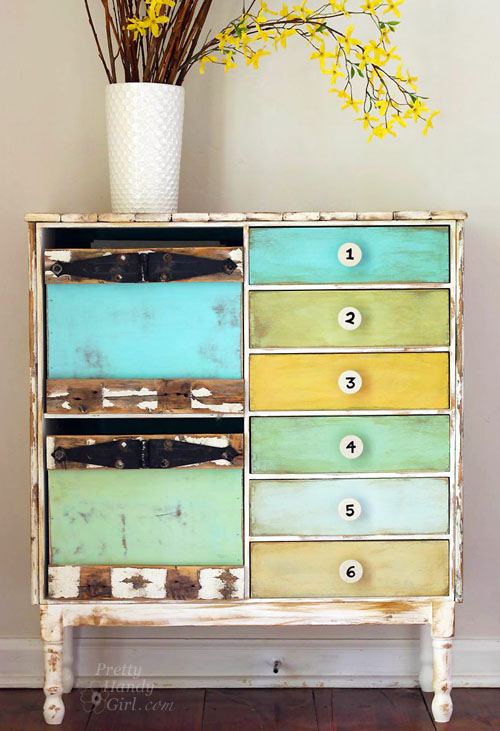
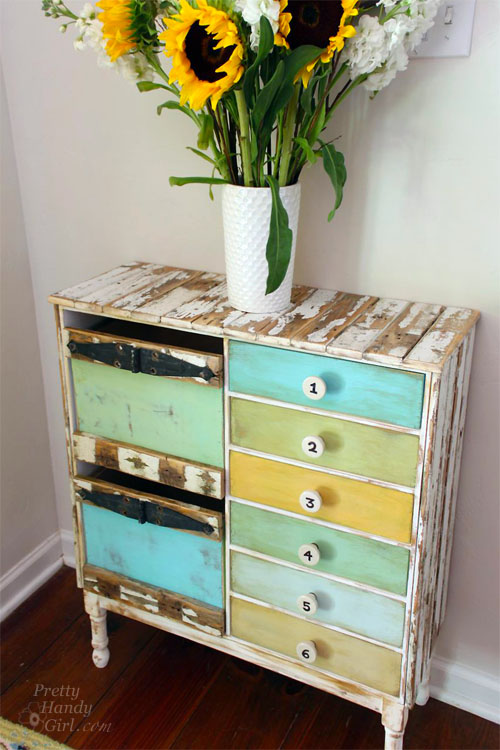
A Rustic Pie Safe got a vintage makeover with some Milk Paint in a bright color. (Farmhouse style doesn’t have to be colorless.)
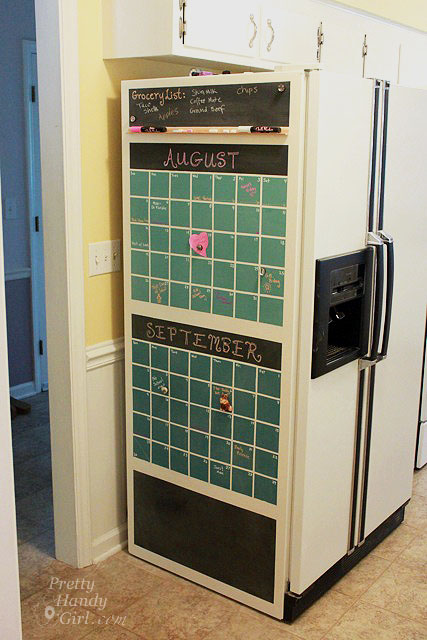
Have an old fridge you don’t mind painting? Add a Chalkboard Calendar to keep your family on schedule.
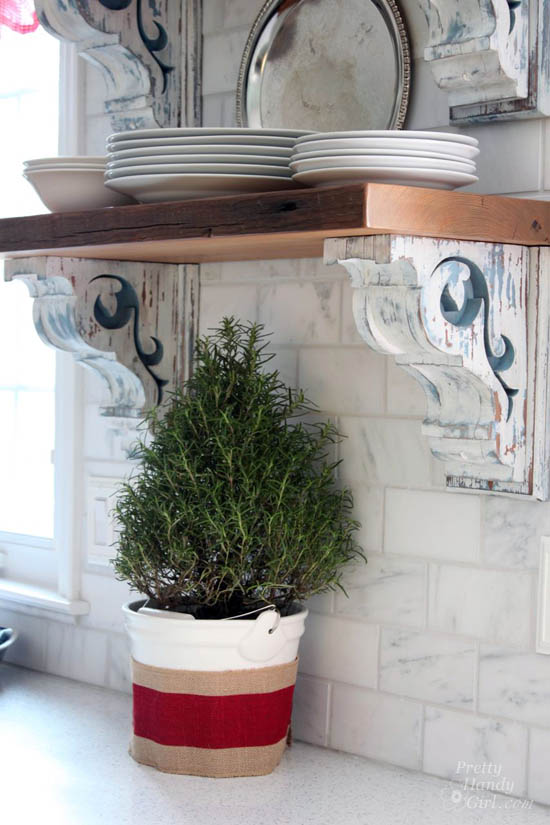
Chippy Painted Corbels are the definition of farmhouse style. This is one tutorial you must read!
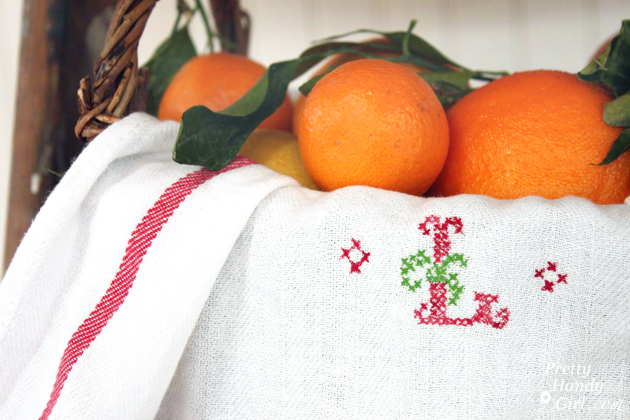
This Easy Faux Cross Stitch Tea Towel is a sweet farmhouse accent to your kitchen.
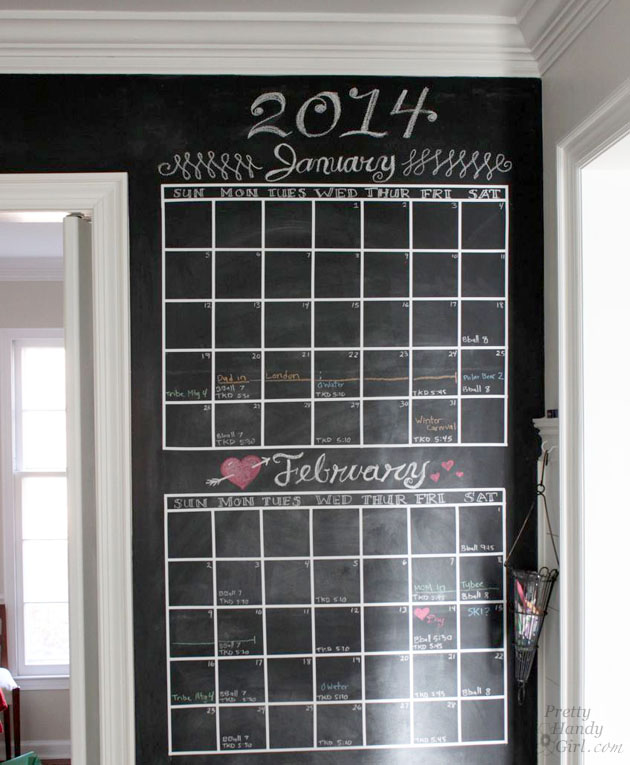
This DIY Chalkboard Calendar Wall is one way to be sure you don’t miss an activity.
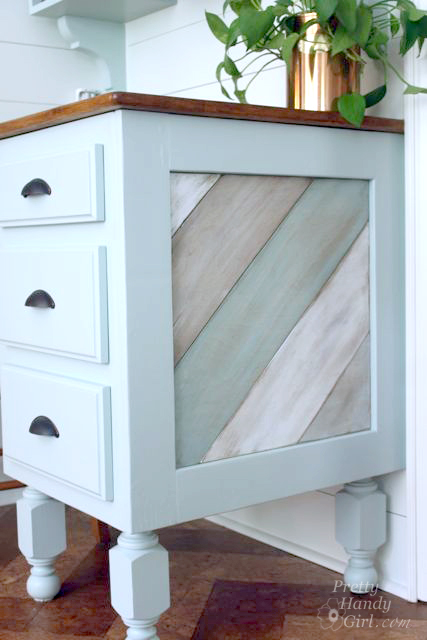
A Painted and Distressed Wood Tutorial will help you add rustic colorful wood anywhere you want.

DIY Vintage Painted Oars are a fun way to add nautical accents.
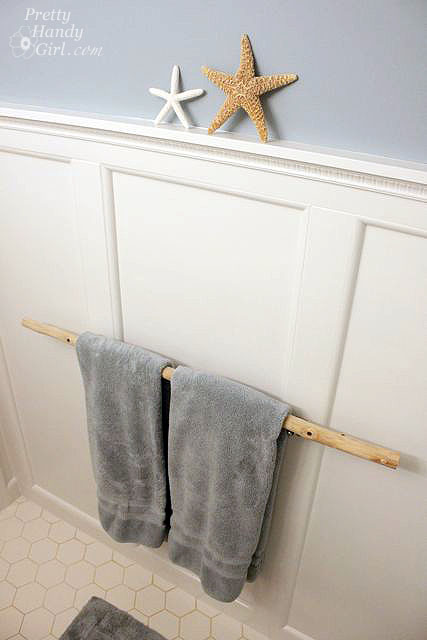
Install a Branch Towel Bar to add some nature to your bathroom.
Chalk Painted Wooden Stools are handy and attractive to have around.
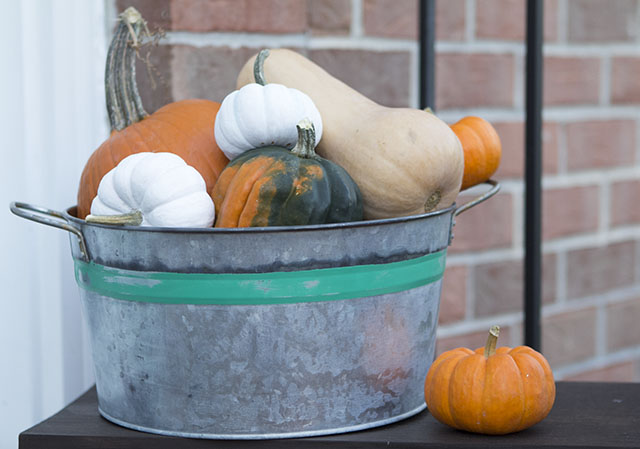
Learn How to Age Galvanized Metal Quickly and save some money on that aged metal look.

My Personal Gray Restoration Hardware Stain Recipe is perfect for the farmhouse aesthetic.

A Scrap Wood Christmas Tree is a great farmhouse holiday centerpiece.
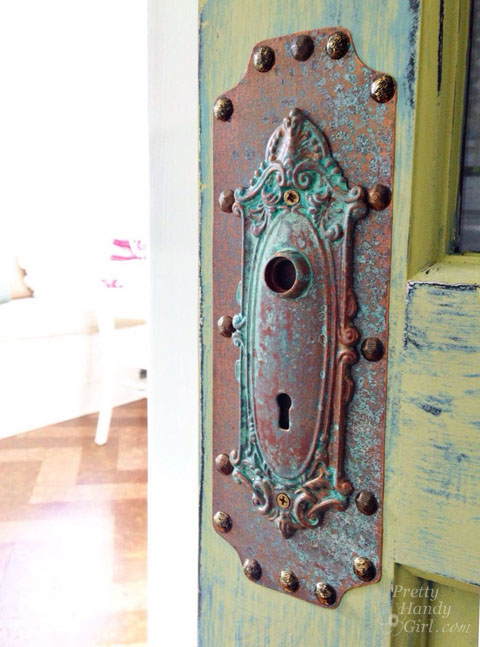
Create Inexpensive Faux Copper Patina to add gorgeous character to your home.
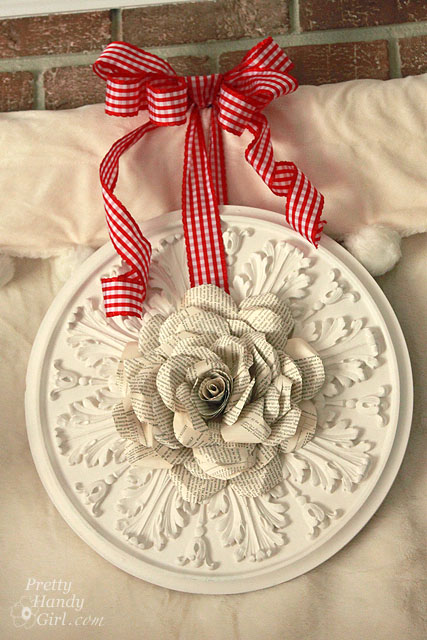
This Book Page Rose Wreath is a beautiful DIY craft.
The Perfect Rustic Paint Technique Tutorial can be used for many items or furniture for a farmhouse look.
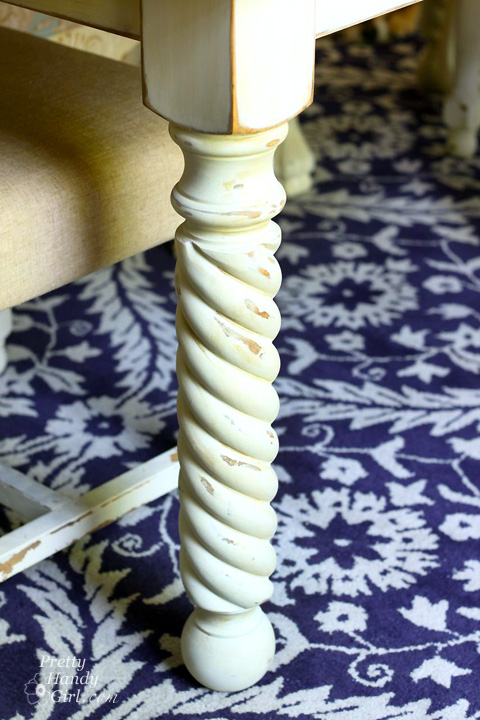
Aging and Antiquing Furniture Legs gives it an old, worn and beautiful look.
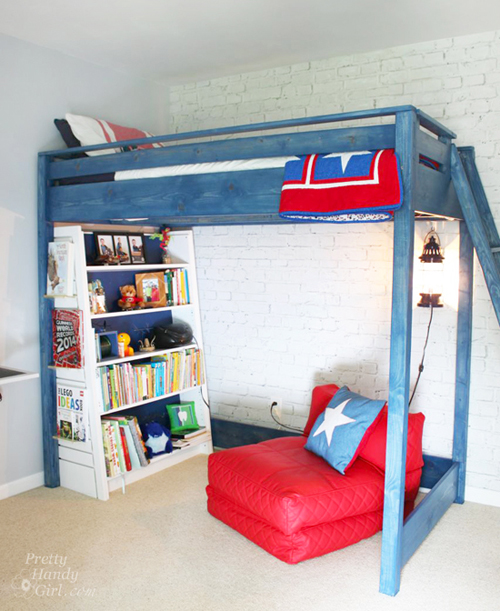
Build a Blue Loft Bed with colorful wood stain, so pretty!
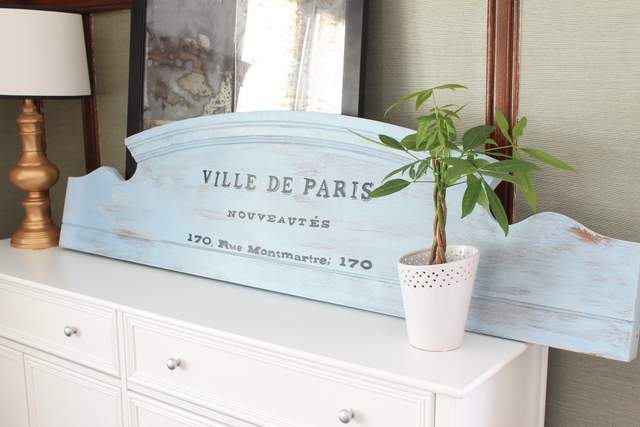
Make an Old Sign from a Footboard to decorate your mantel. Signs like this sell for hundreds of dollars, but this one will cost you much less!

Create a Unique Wine Rack From an Old Dresser for an instant bar cart.
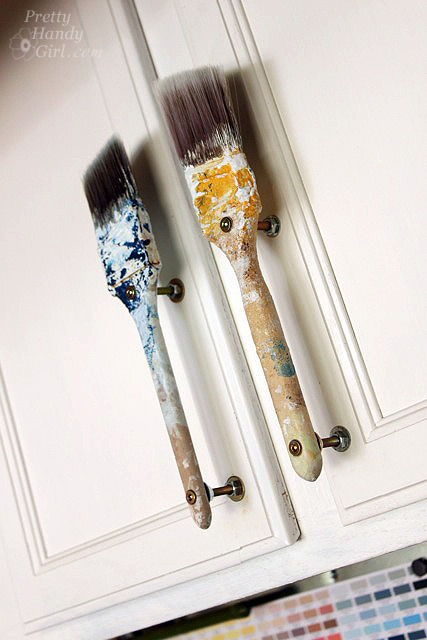
Old Paintbrush Cabinet Door Handles are a clever addition to your craft room.
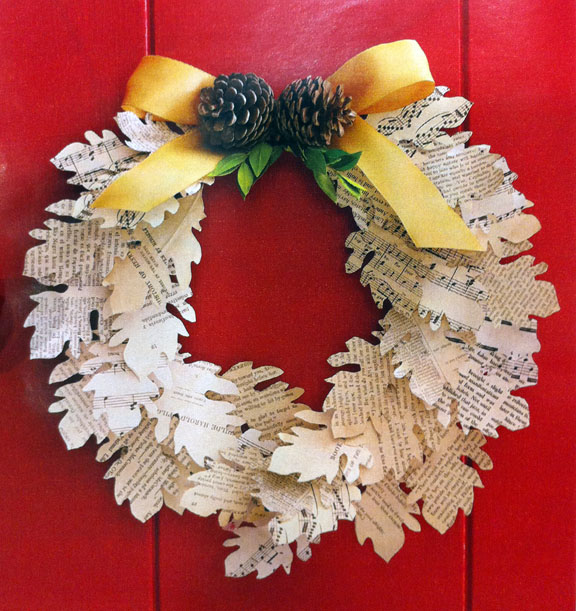
An Autumn Book Page Leaf Garland is a pretty and simple DIY craft that looks great.
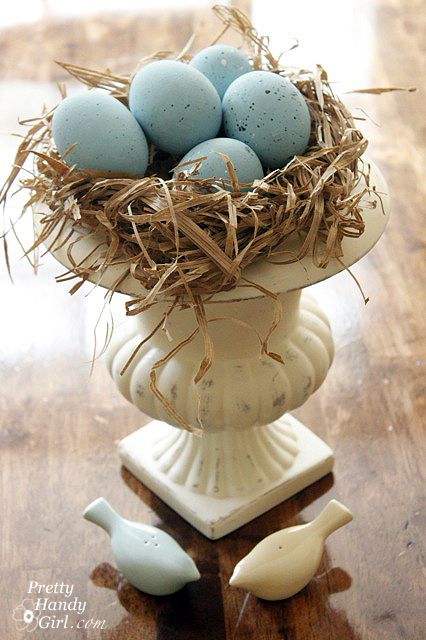
For your springtime tablescape, make this DIY Springtime and Easter Blue Bird Nest.

DIY a Rustic Farm Crate Sign to fake a farm in your family name.
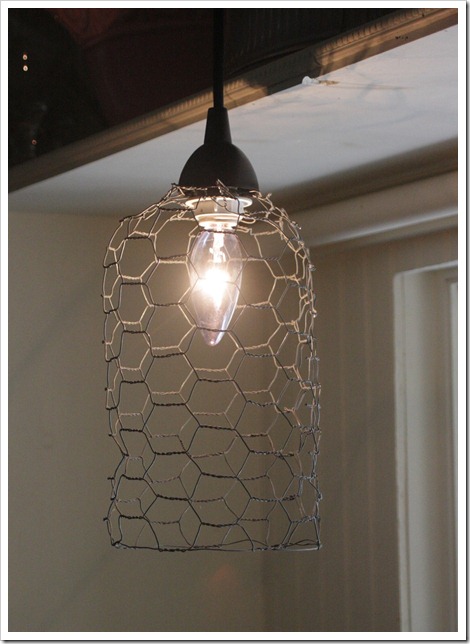
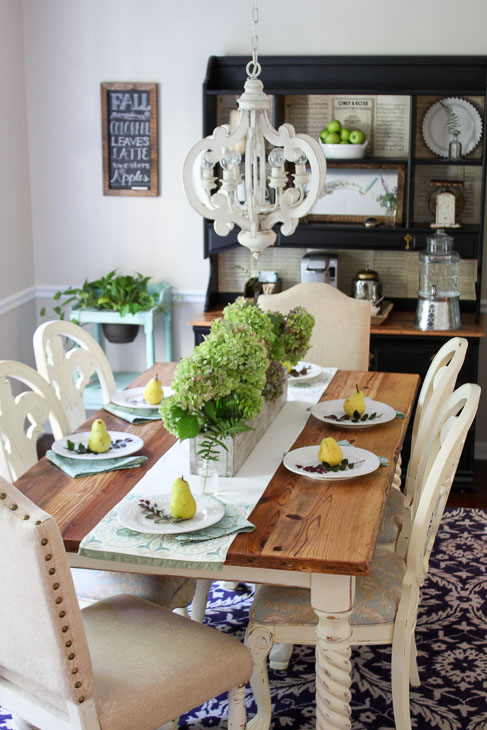
This Anthropologie Inspired Pendant Light looks like it came right from the farm.
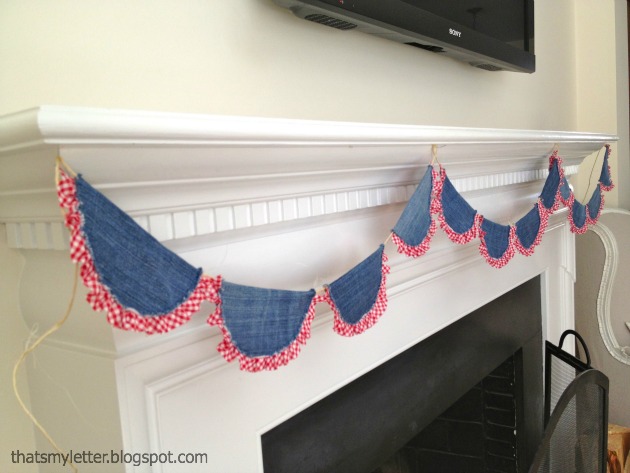
This Patriotic Denim Bunting Tutorial is perfect for your summer decor.
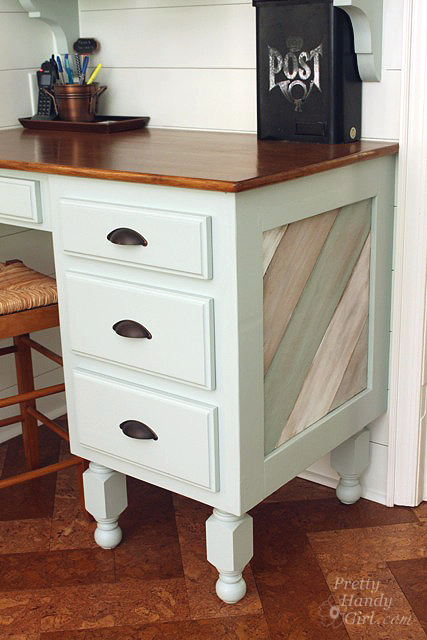
Build a Kitchen Counter Height Desk to customize your organization center.
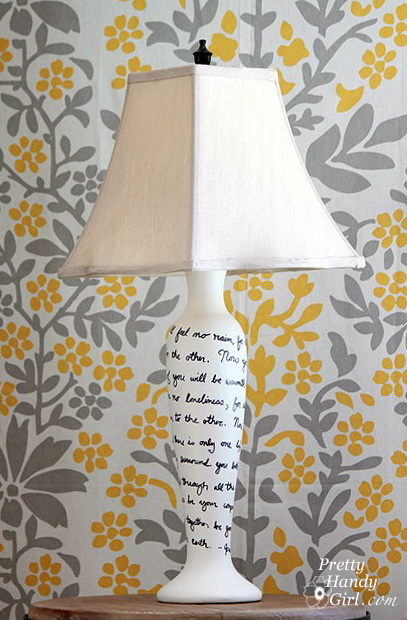
This Song Lyrics Lamp Makeover has simple colors and is perfect for a bedroom.

Twig Star Decorations are quick and cute farmhouse decorations.
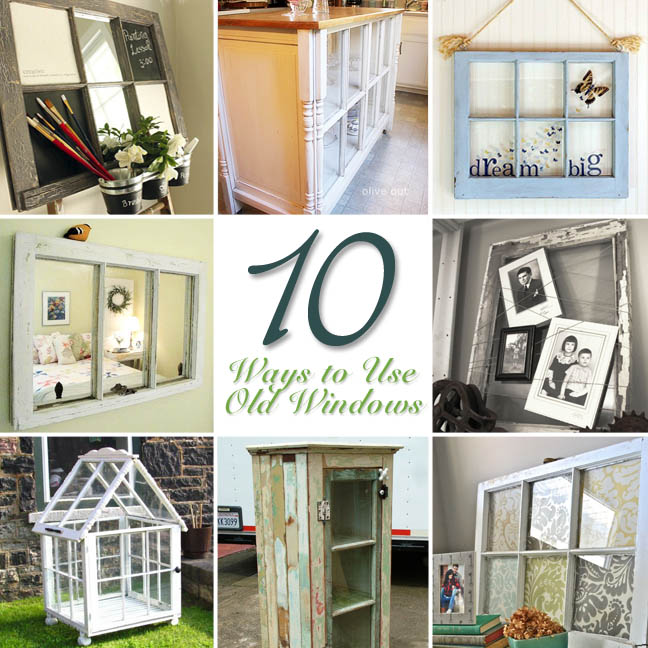
10 Uses for Old Windows help you achieve farmhouse aesthetic in any room.
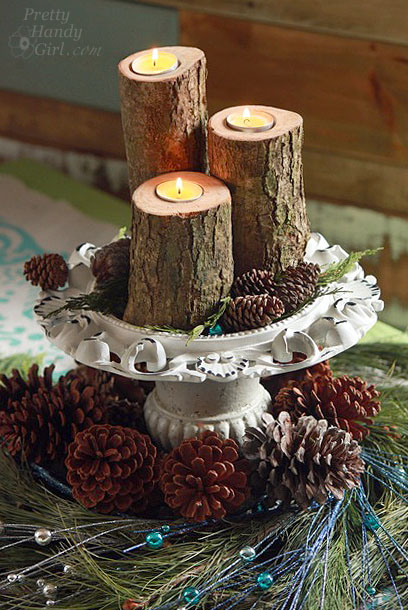
Log Tea Light Pillar Candles are rustic yet elegant.

How to make a Chalkboard Surface Desk to create a built in workspace for your kids.
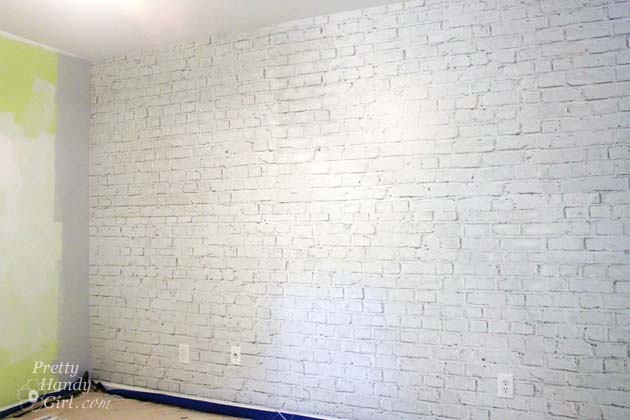
Installing Brick Wallpaper Mural gives an aged feel to any room.
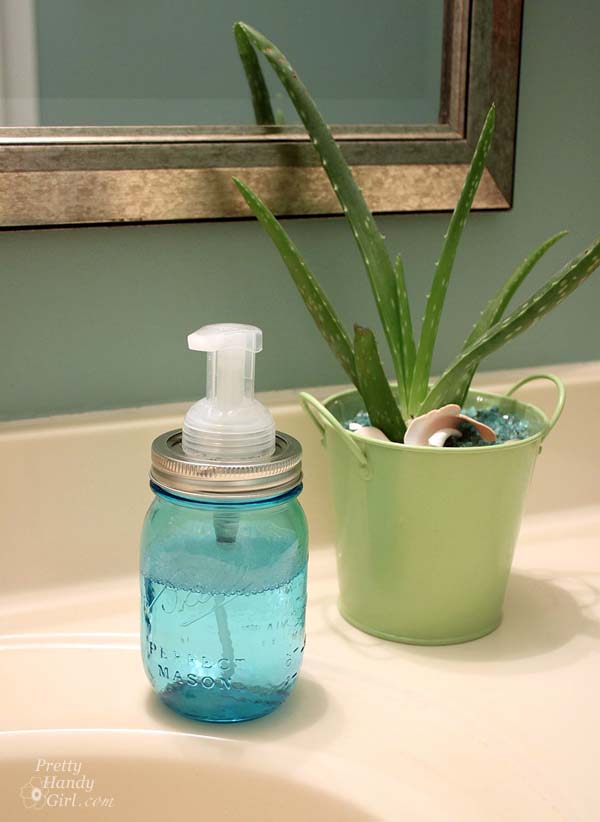
Make a Mason Jar Soap Pump and use that blue ball glass to remind you of old times.
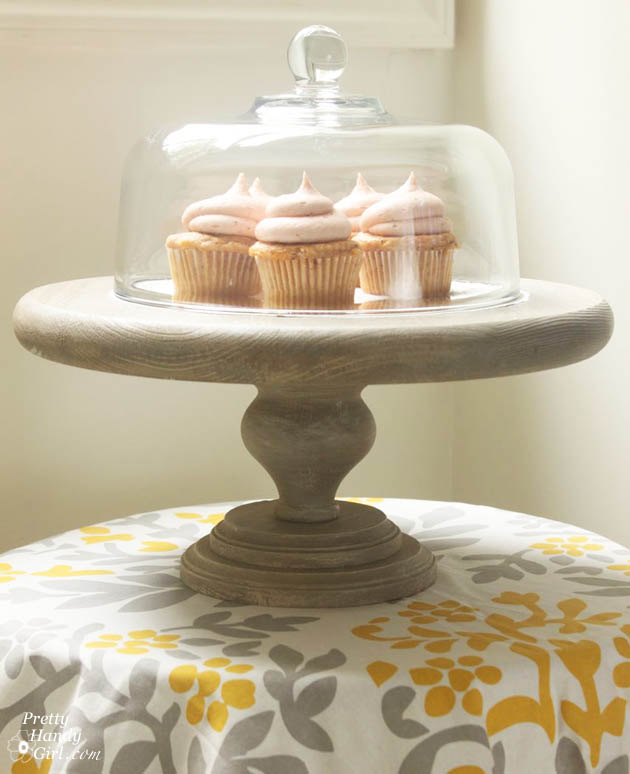
This DIY Rustic Cake Stand can be decorative and functional.
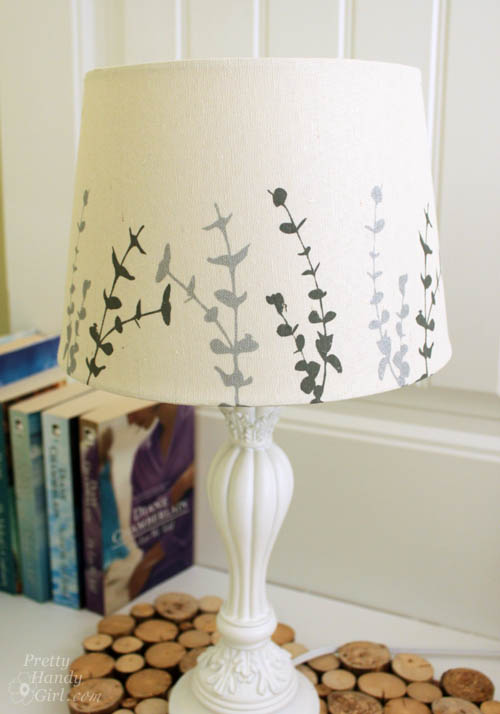
Take a plain lampshade and paint it to match your farmhouse-inspired room.
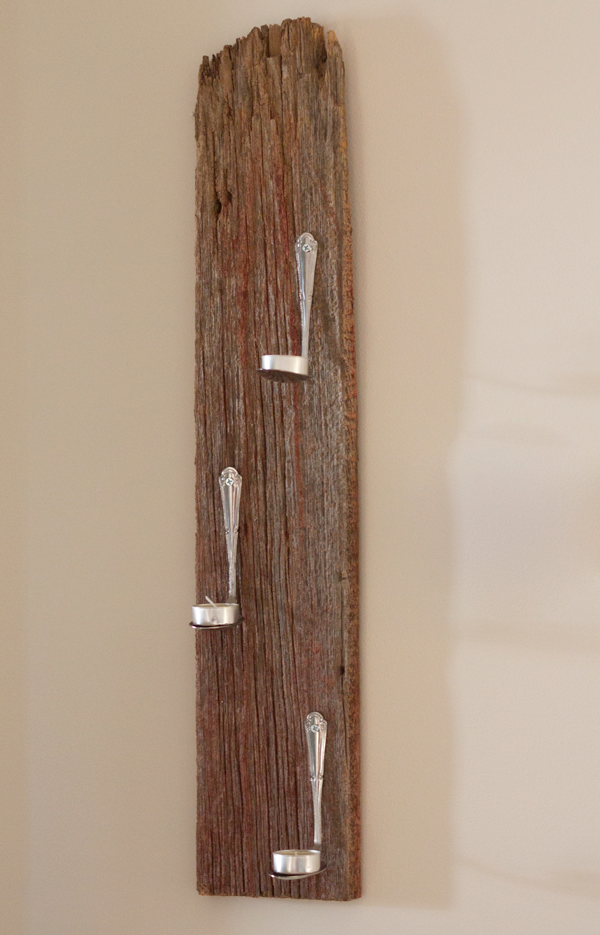
A Spoon Tealight Candle Holder is a great use of old spoons.
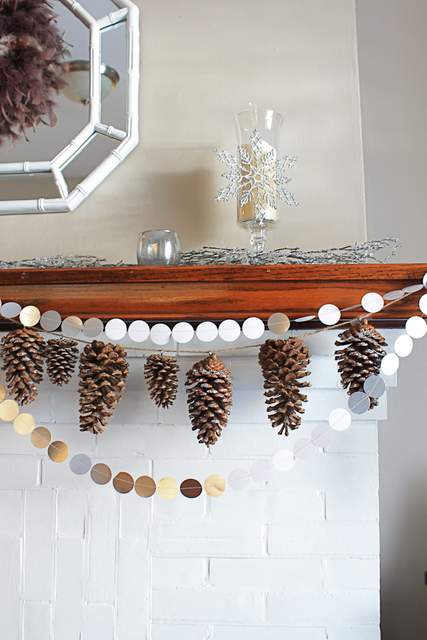
Make a Simple Pinecone Garland to bring some outdoors to your indoors.
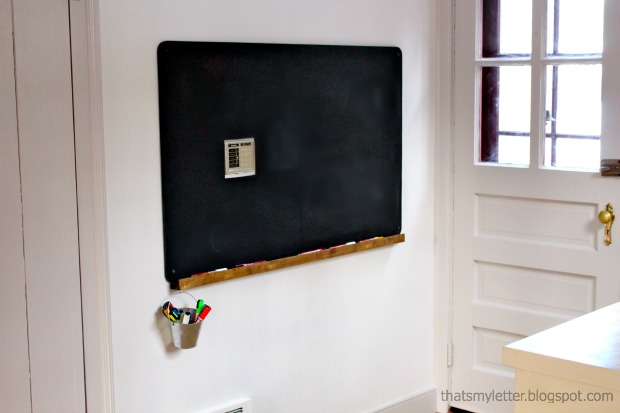
Build a Wall Chalkboard with a Chalk Ledge for the entire family to use.
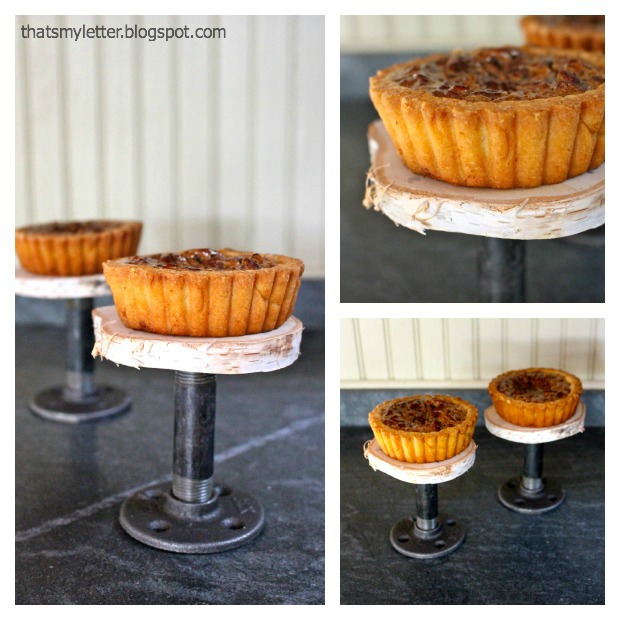
DIY Industrial Cupcake Stands are a cute farmhouse style addition to any party.
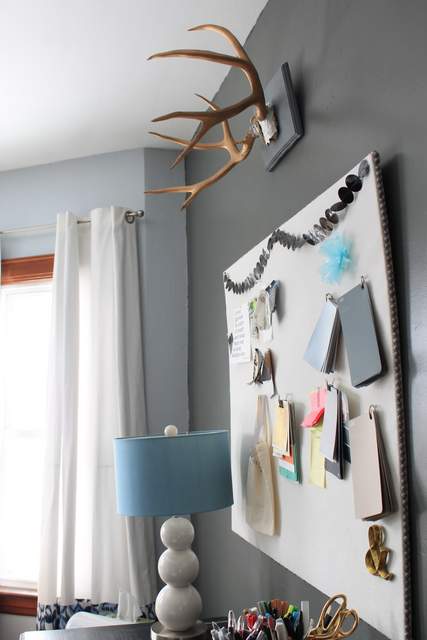
Learn How to Mount Antlers and bring some farm to your decor.
Here’s How to Build Custom Rustic Wood Box Crates that will fit into many spaces.
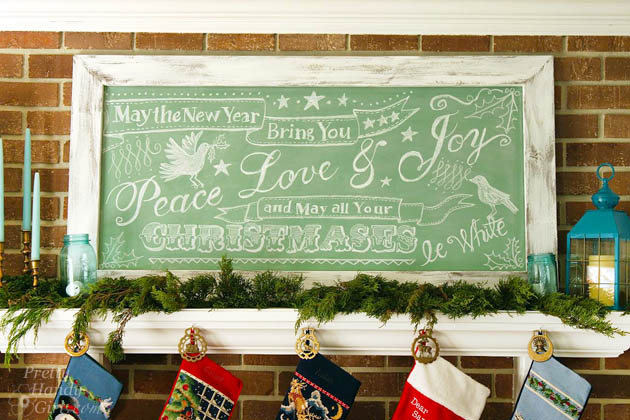
You must Build a Giant Chalkboard to decorate for all the holidays.
DIY Interior Cedar Shutters are a staple for any farmhouse home.
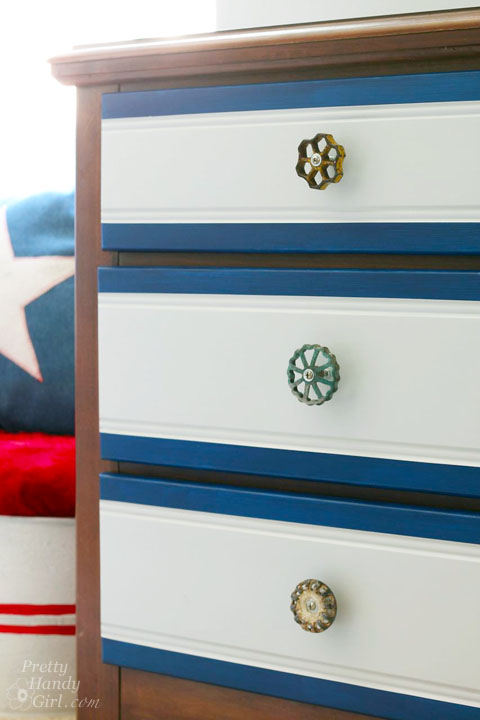
Adding these Spigot Handle Drawer Pulls is a cute and creative way to update a dated dresser.
Learn How I Took a Standard IKEA Cabinet and gave it a rustic farmhouse look.
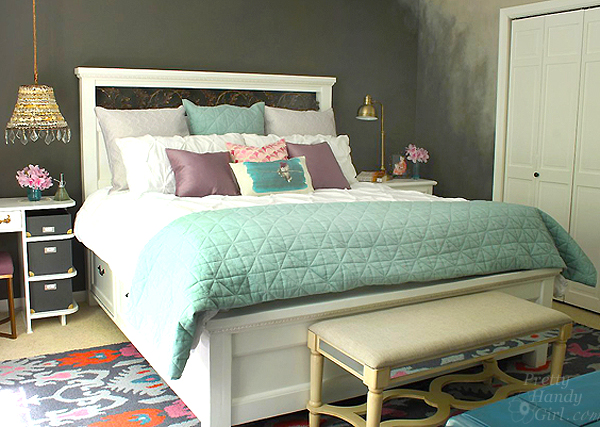
A Farmhouse Bed with Storage is a great addition to your farmhouse styled bedroom.
Use Mirrored Glass Spray Paint to give glass an aged look and make it reflective.
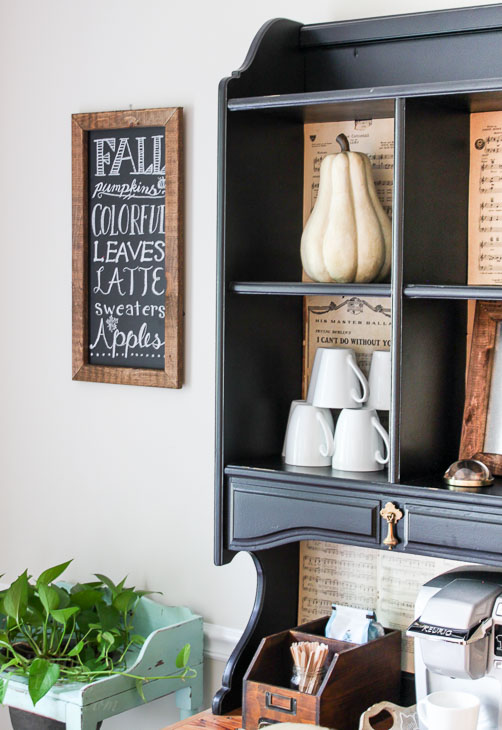
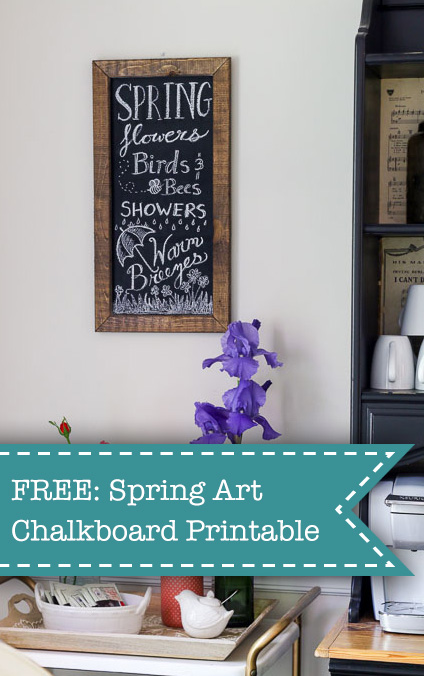
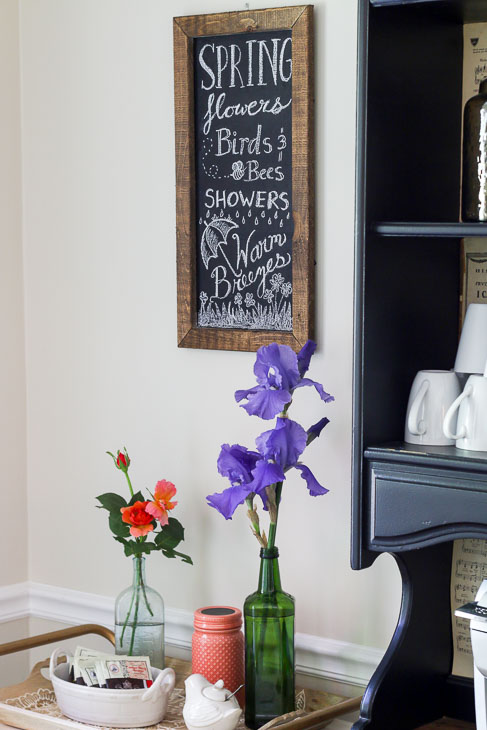
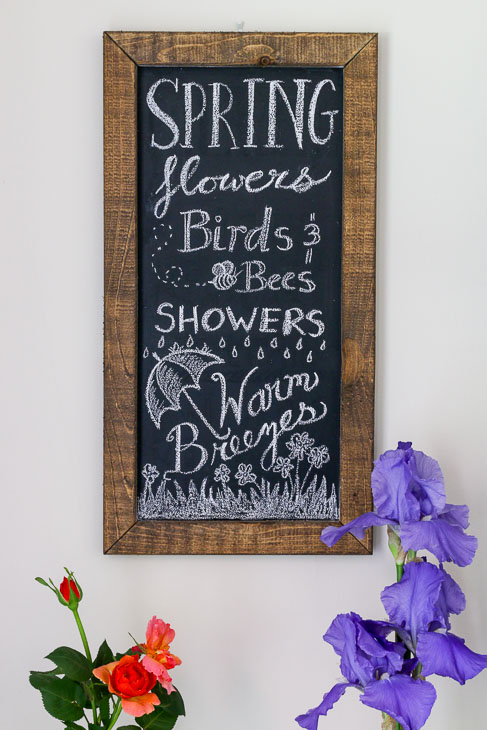
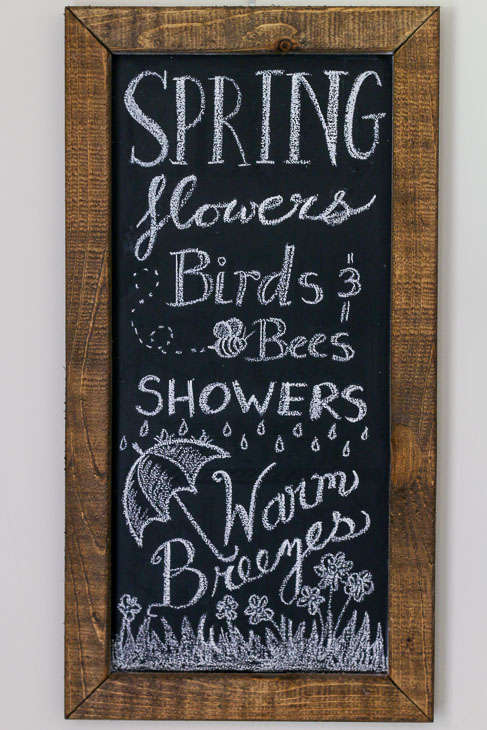
FREE Printable: Fall Chalkboard Art is a great wall decor item.
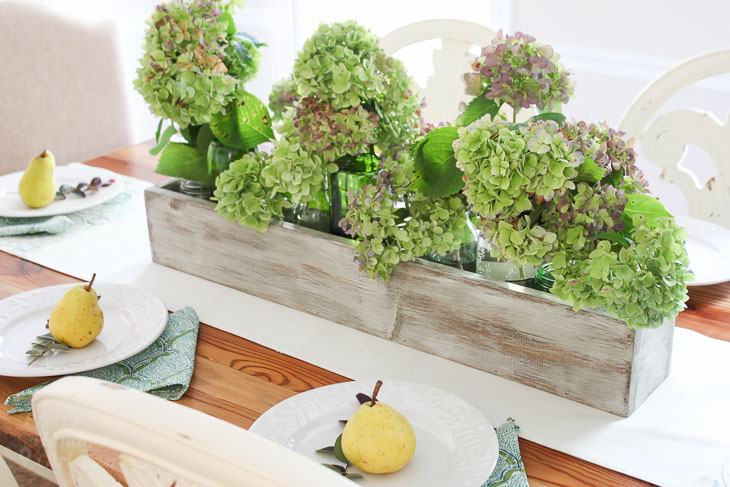
Build a Trough Centerpiece to add to your farmhouse style dining room.
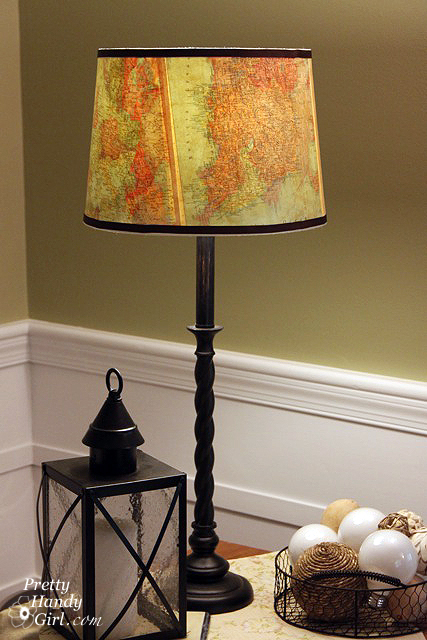
This Vintage Map Lampshade is perfect for your living room or office.
Re-paint Dated Home Decor to update old decor and transform it into farmhouse style.
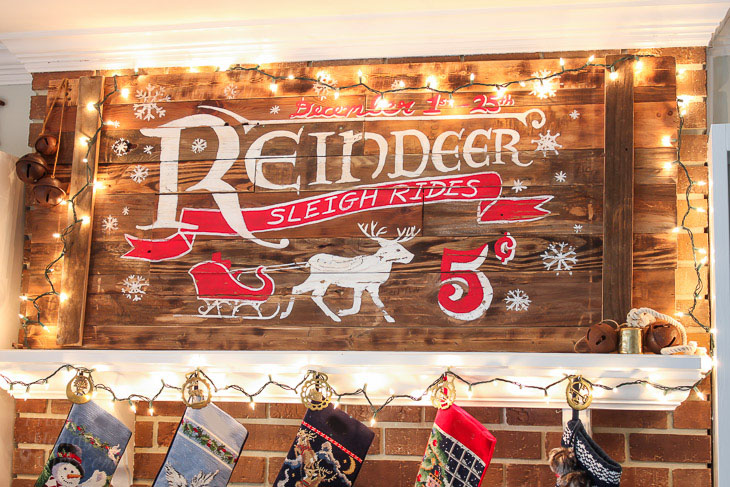
How to Build Vintage Rustic Sleigh Ride Sign and keep the farmhouse look through the holidays.

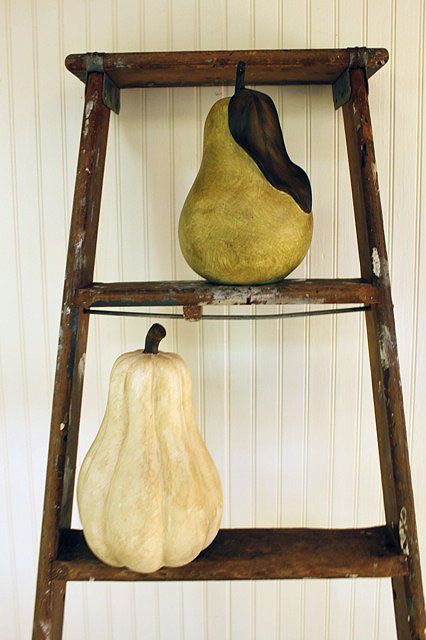
This Metal Tree Form is simple and beautiful.
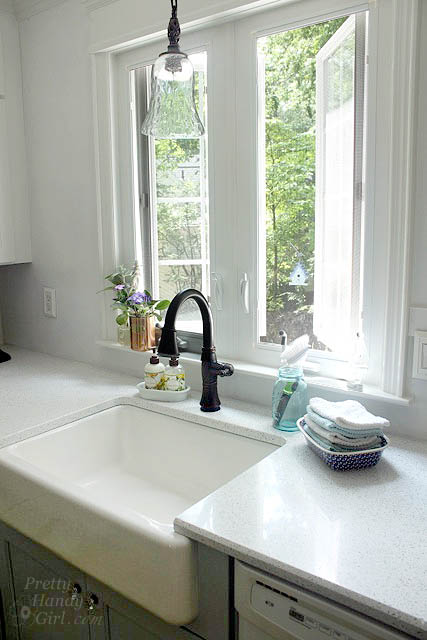
This isn’t a DIY, but thought you should know the Pros and Cons of a Farmhouse Sink before you purchase one.
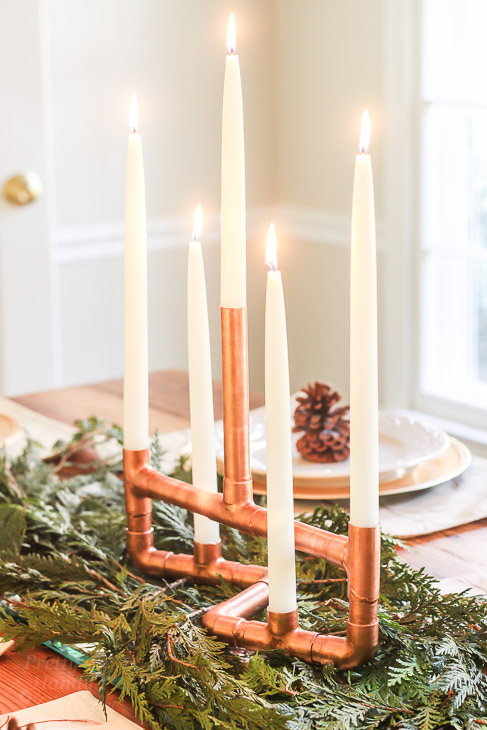
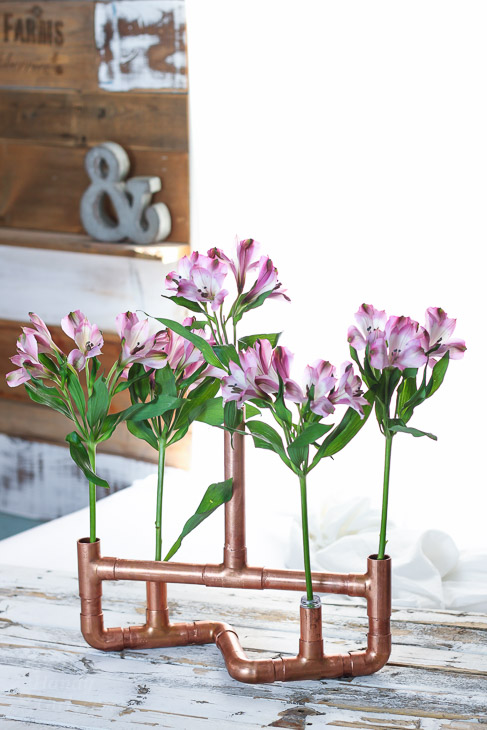
A DIY Copper Pipe Centerpiece adds some shiny and industrial farmhouse feel.
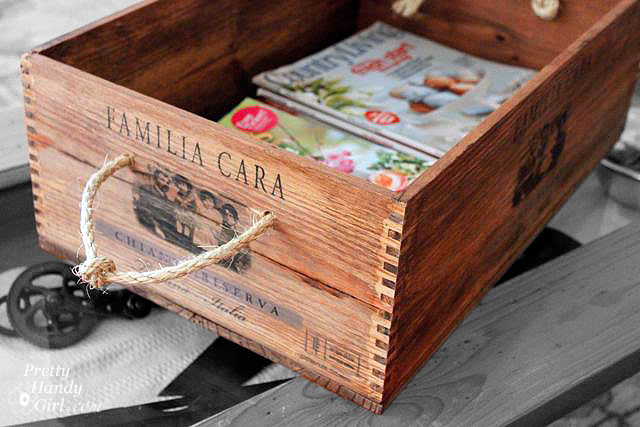
Rustic Wine Crate with Rope Handles are an attractive way to store magazines or books.
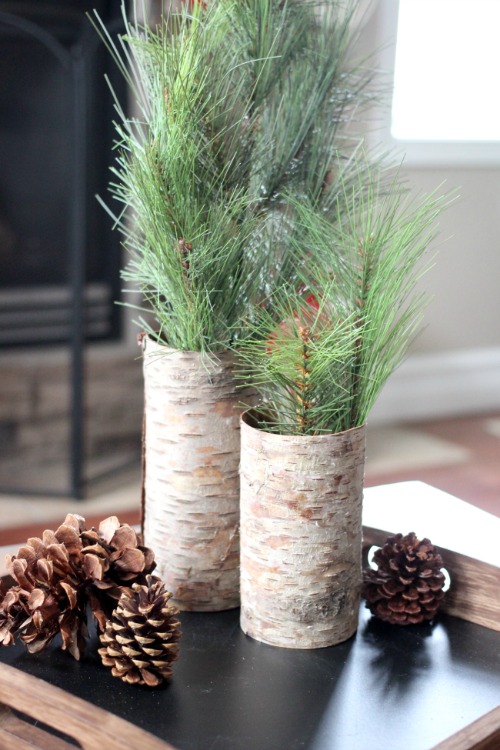
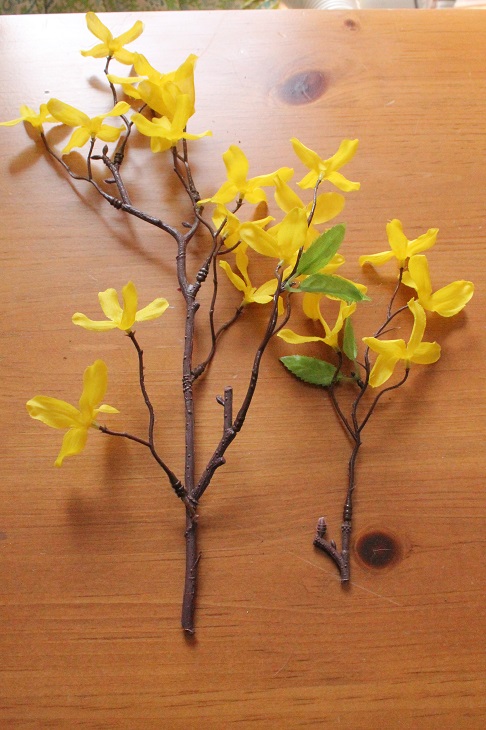
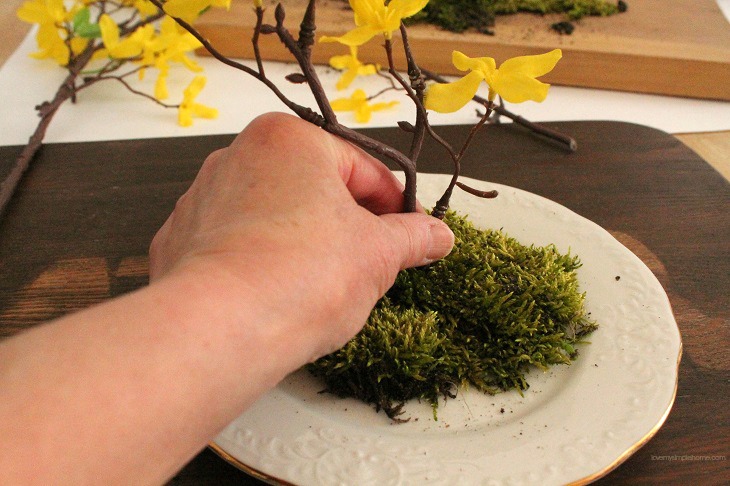
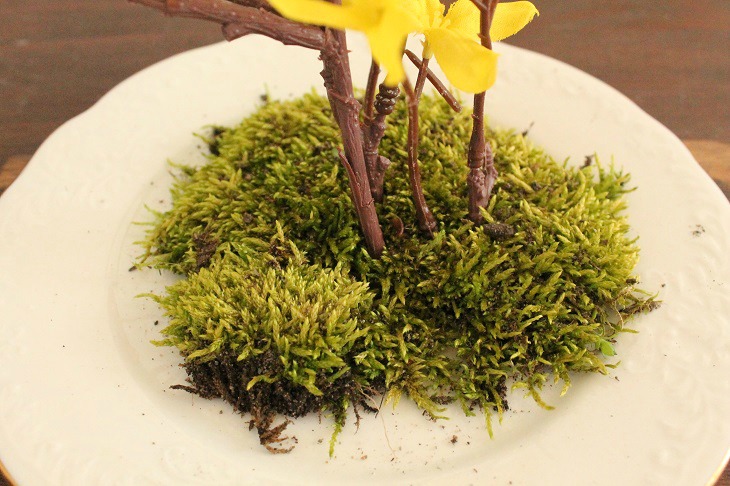
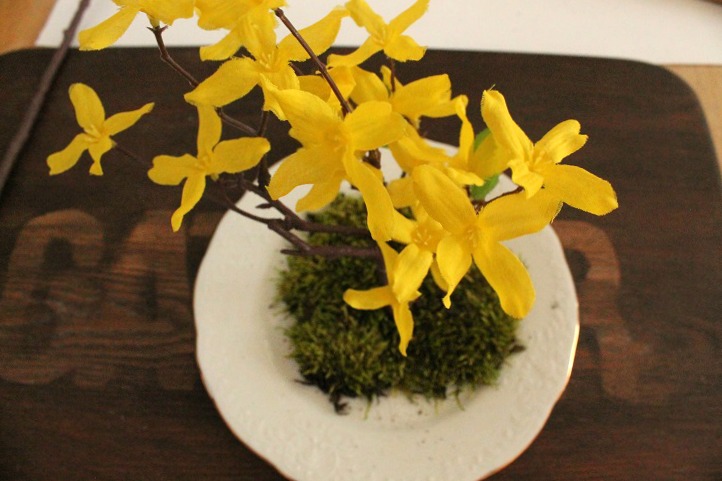
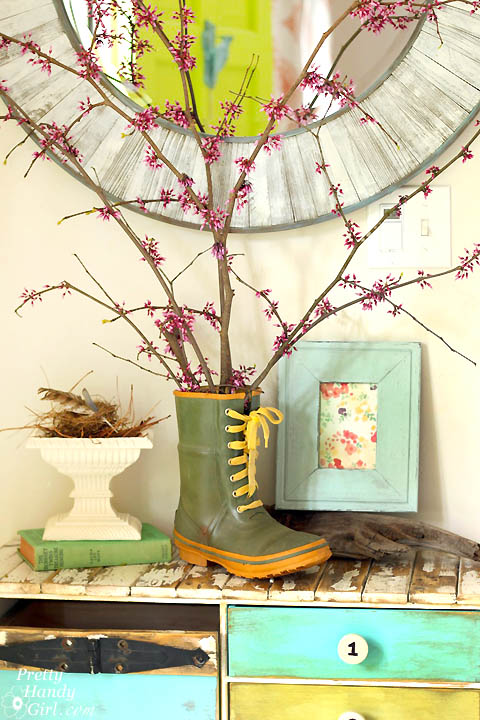
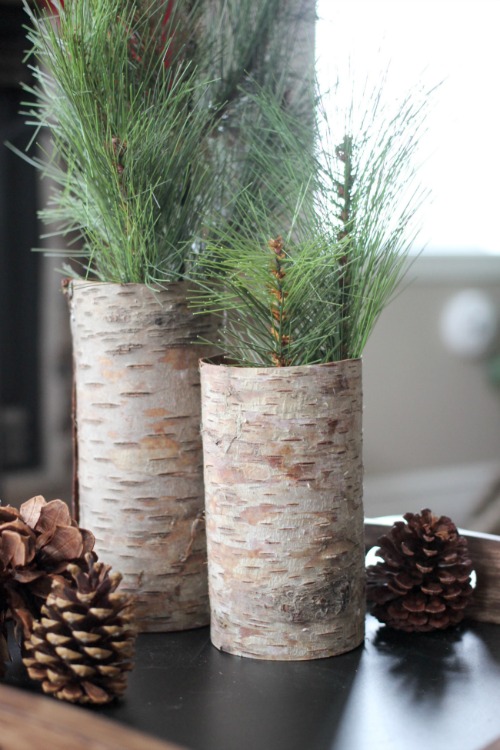
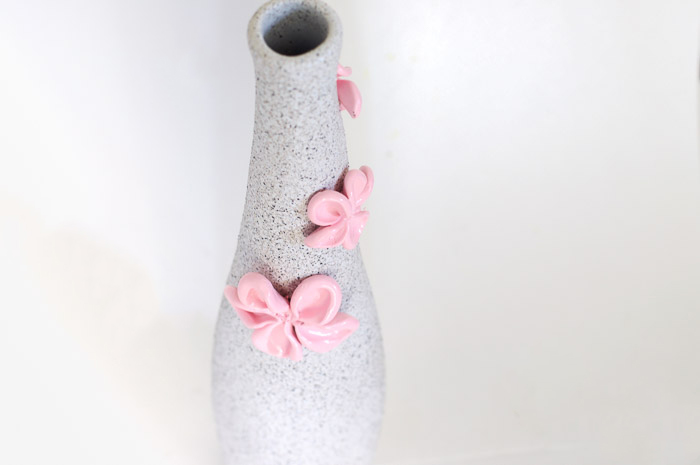
Rustic Bark Vases are so easy to make and look perfect anywhere in your home.

Make Your Own Street Sign to add your personal flair to your gallery wall.
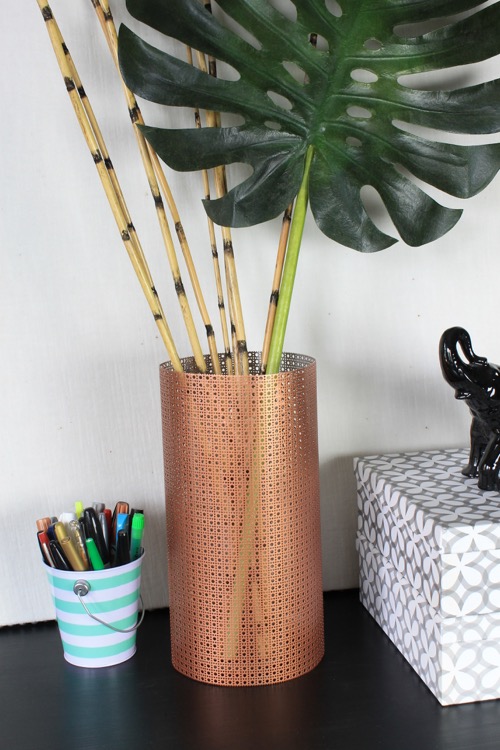
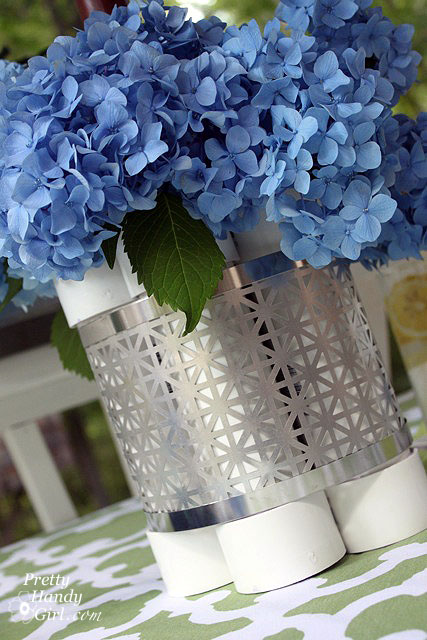
DIY Sheet Metal Vase is shiny, industrial and beautiful.

Give Tired Magazine File Boxs a Facelift with rustic, natural papers.
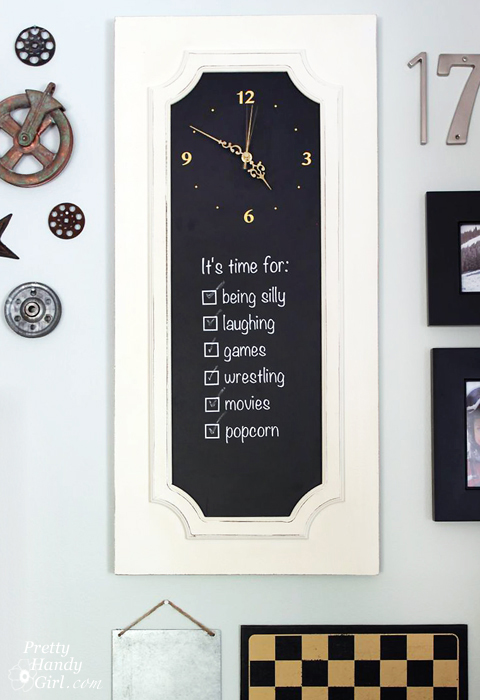
Make Your Own Clock Sign from any flat surface material.
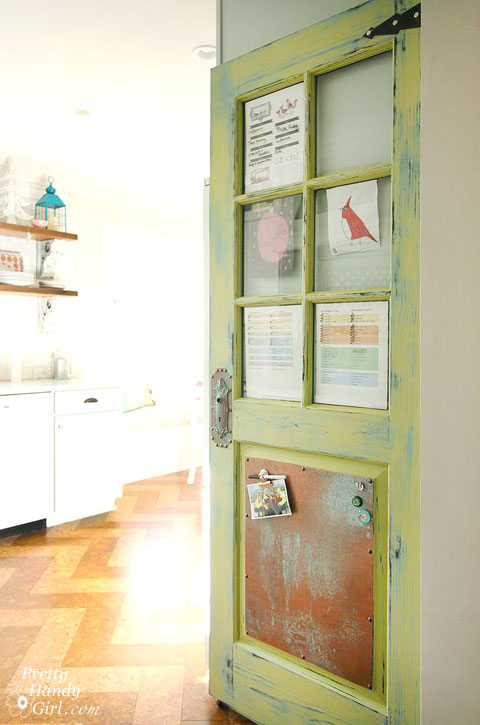
A Family Organization Center Door with aged copper and distressed paint screams of farmhouse charm.
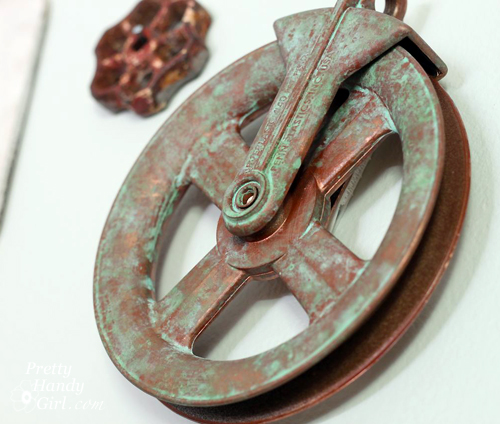
Guess what?! This DIY Faux Aged Metal Pulley is actually a cheap plastic pulley I painted!
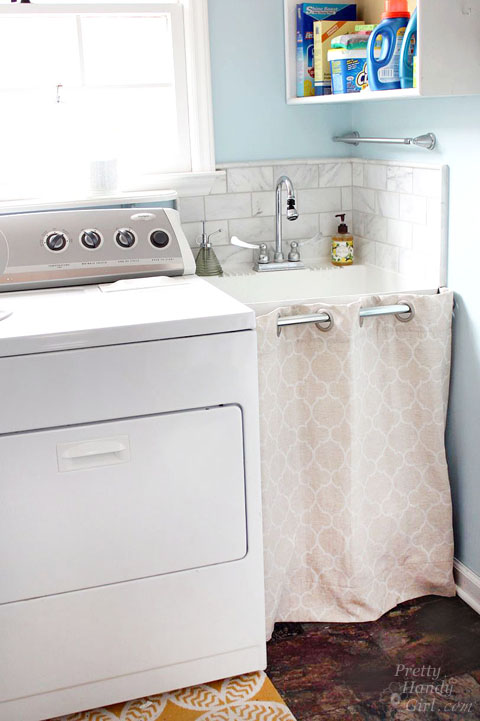
Hidden Storage Under Laundry Room Sink makes an otherwise messy space beautiful.
I hope you liked these 111 DIY Farmhouse Decor Ideas and found a lot of inspiration! Share it on social media and PIN this image to show your friends how they can save money on Joanna Gaine’s worthy decorating.
If you liked 111 DIY Farmhouse Decor Ideas, you’re going to love:

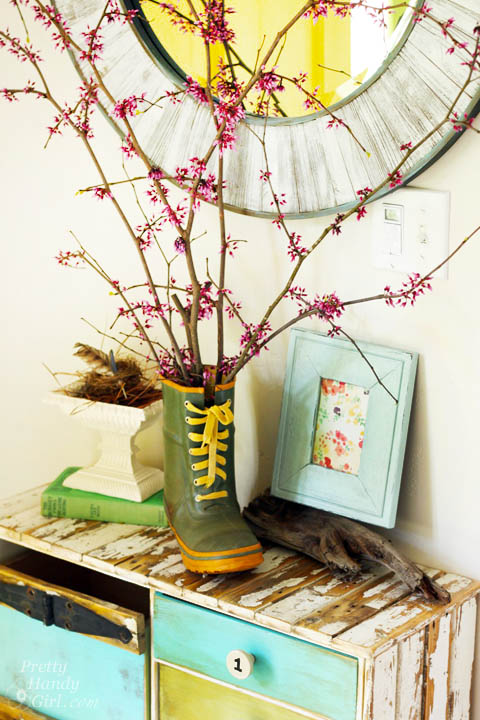
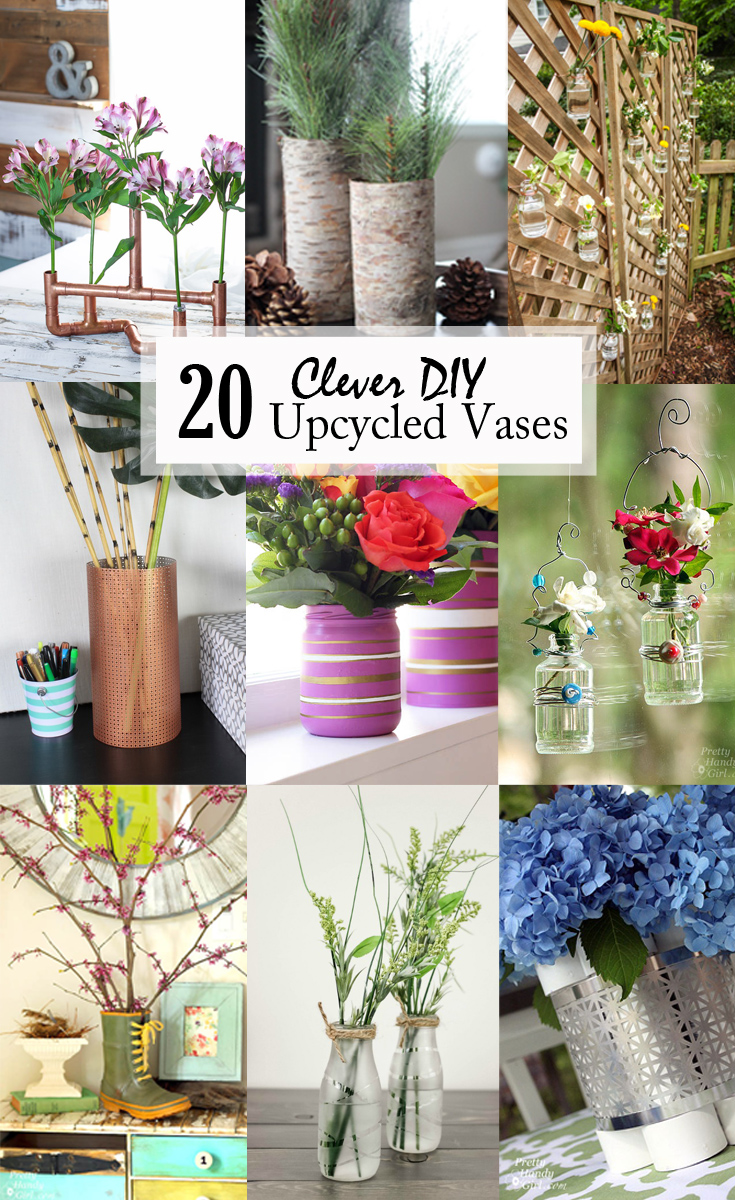
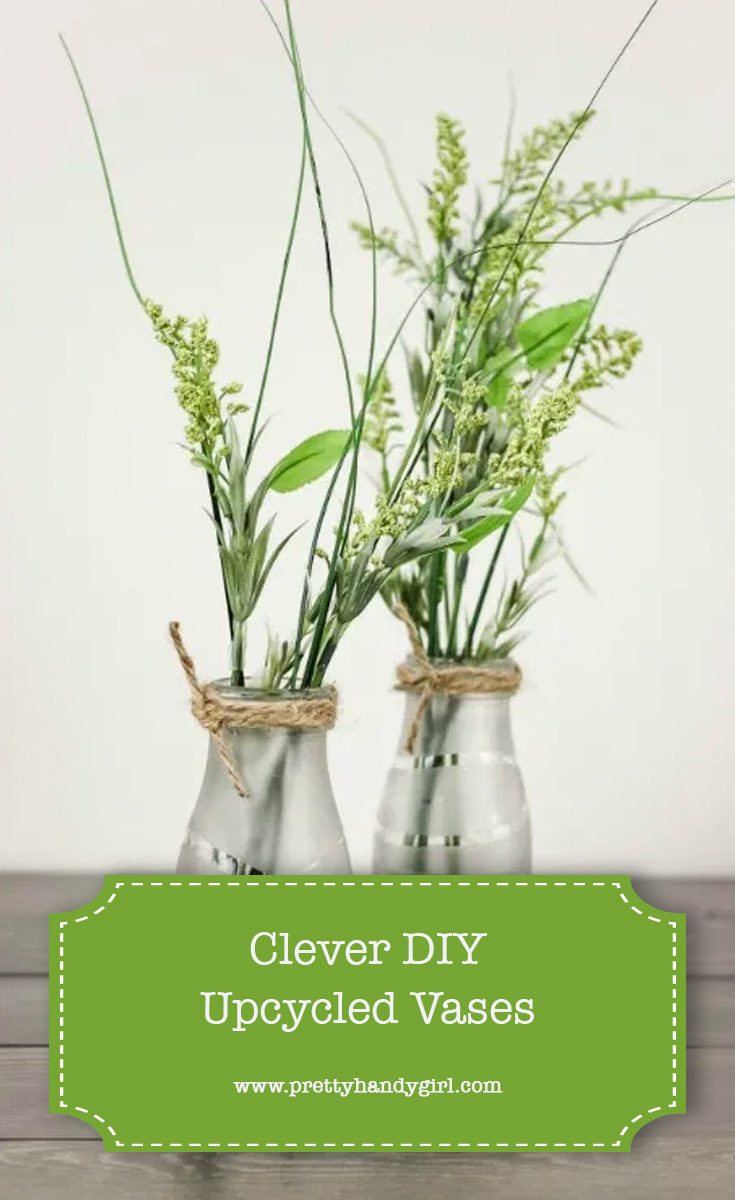
Clever DIY Upcycled Vases

16 Unique DIY Hostess Gift Ideas

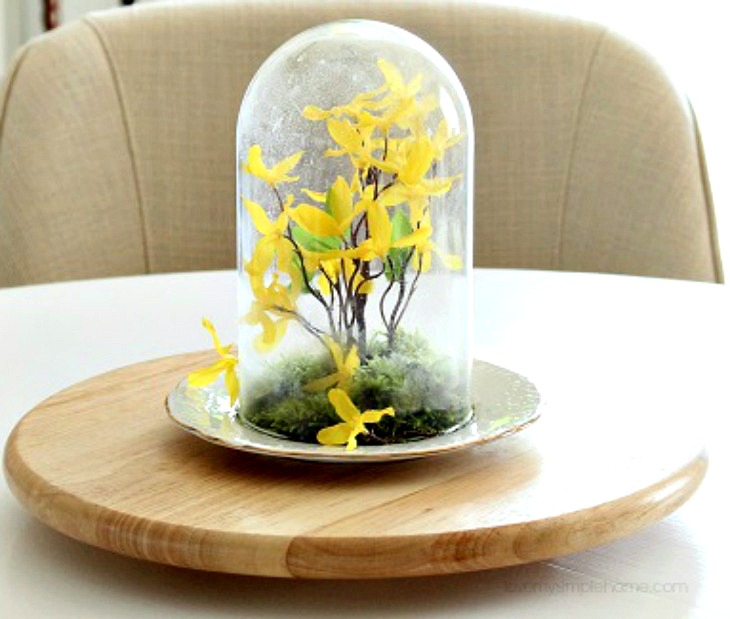
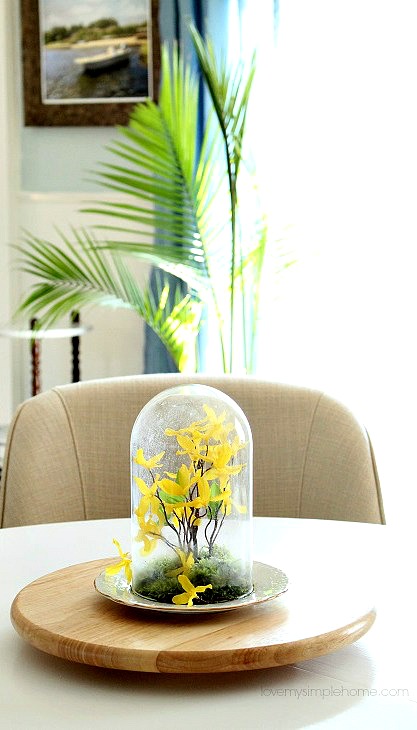
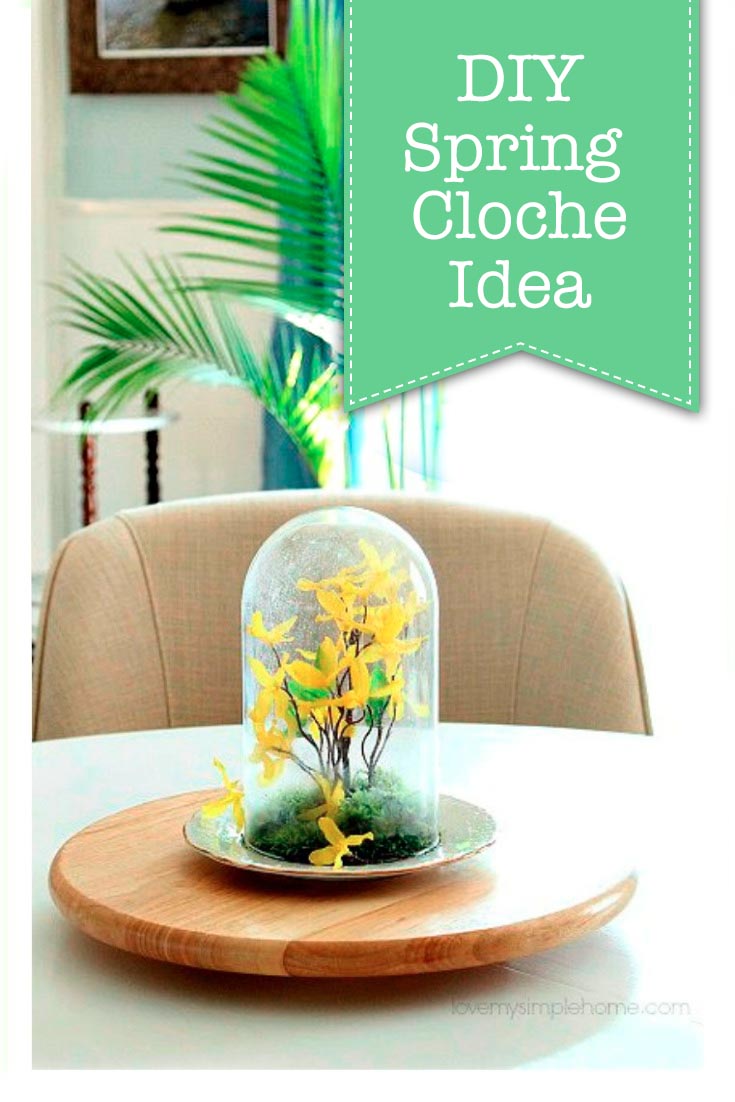 Spring Cloche Idea


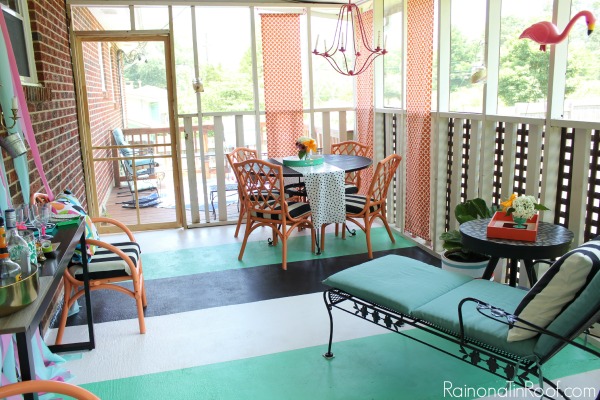

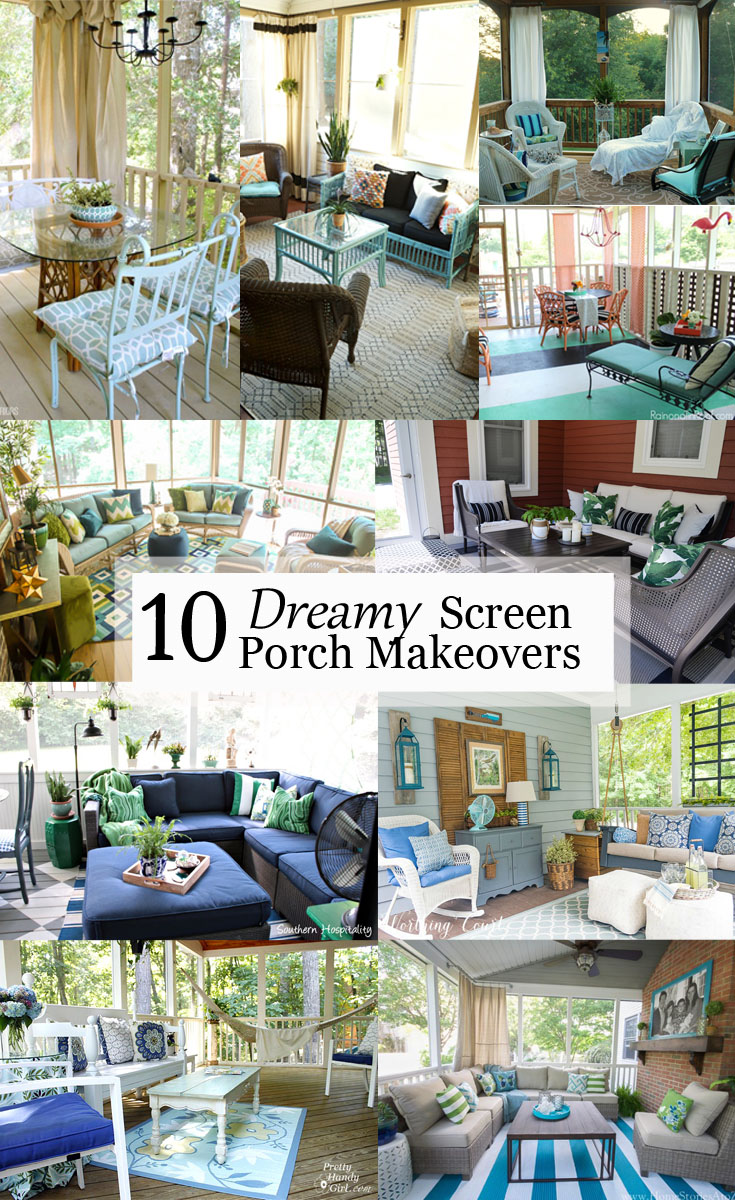
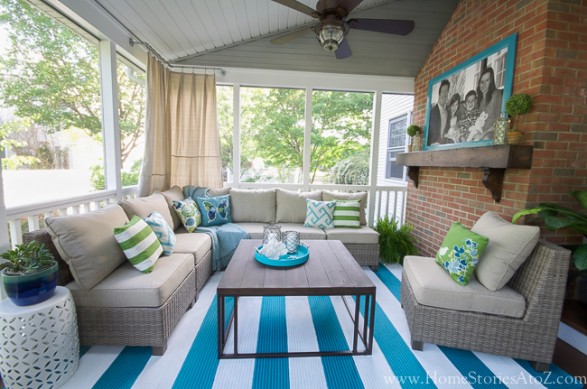 Home Stories A to Z uses bold stripes and bright, cool colors
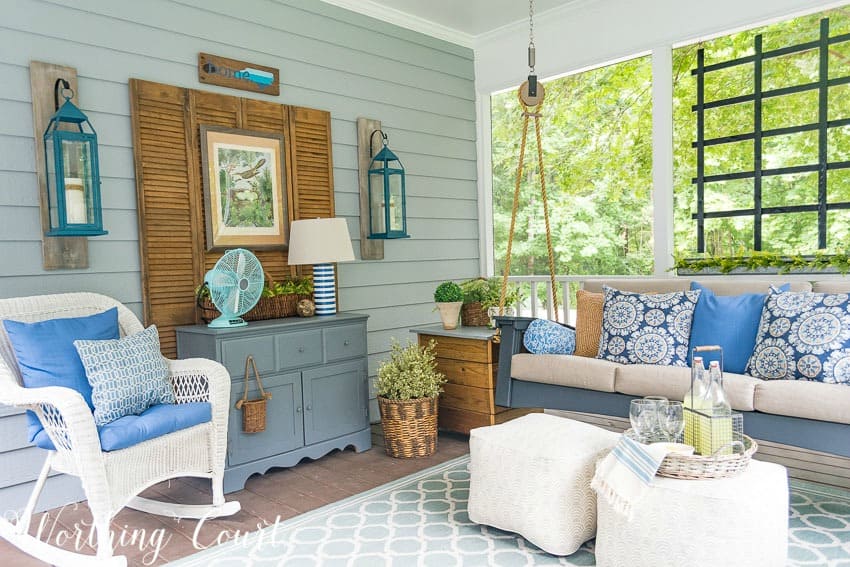
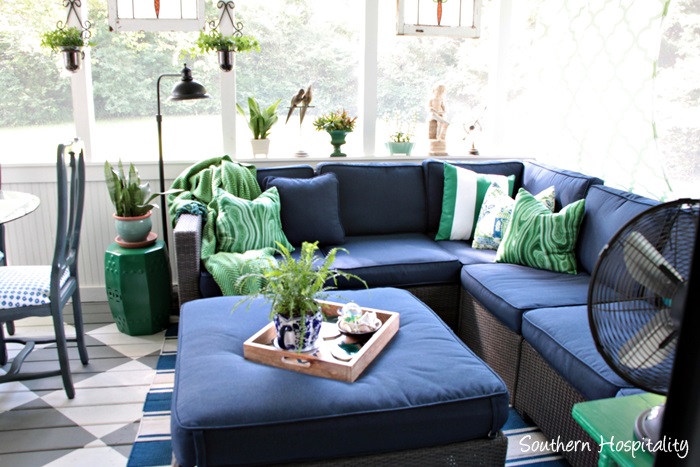 Southern Hospitality created a cozy space with a sectional