Make Your Own Finger-Printed Star Pillows | Pretty Handy Girl

Make Your Own Finger-Printed Star Pillows | Pretty Handy Girl

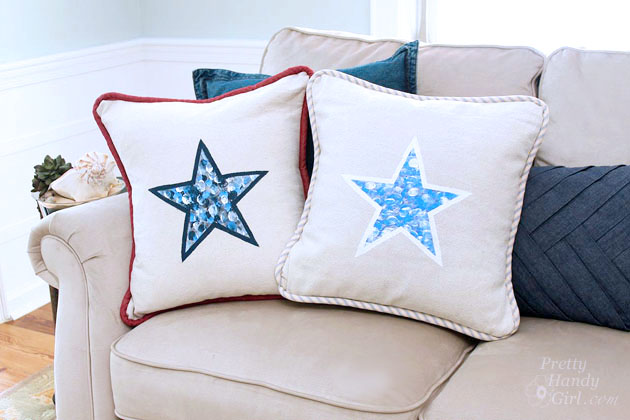
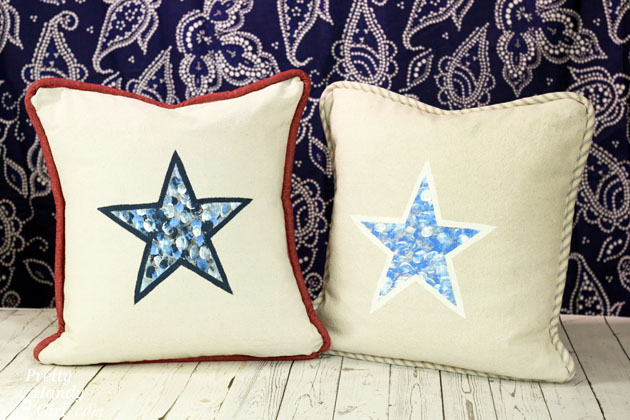
Personalized finger-printed envelope star pillows are an easy and fun gift item to make. My boys and I enjoyed making these pillows for their home room teachers. We got the idea from Cristina’s beautiful seaside themed thumb print pillows.

Materials:
Make Your Own Finger-Printed Star Pillows | Pretty Handy Girl

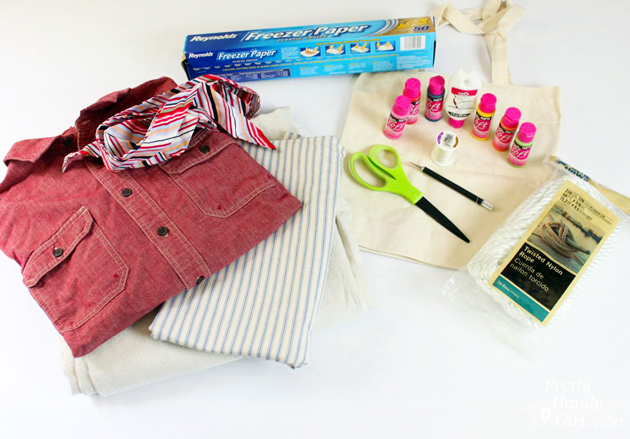
  • Fabric (I used bleached and washed leftover drop cloths)
  • Pillow insert
  • Thread
  • Sewing machine
  • Freezer Paper
  • Fabric Paint
  • X-acto knife
  • Small Flat Brush
  • Permanent Marker
  • Scissors
  • Piping (here’s the tutorial to make your own piping)

Instructions:

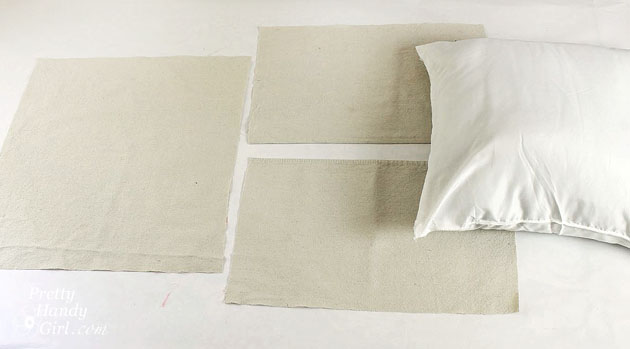
Cut your front fabric with 1 inch excess around the pillow form. Cut the two back pieces of fabric with a 1 inch excess on all sides, plus allow for a 3″ overlap in the center.

Make Your Own Finger-Printed Star Pillows | Pretty Handy Girl


Fingerprinted Star Tutorial:

Here’s a great way to customize your pillow for the recipient. Let your little ones finger-print inside the star. Read more

Pros and Cons of 4 Types of Picture Hangers

Pros and Cons of 4 Types of Picture Hangers

Hello! It’s Jessica, from Decor Adventures and I’m back this month with some very handy tips to help hang items up on the wall. Do you ever wonder which picture hanger to use? Did you know there are several ways you can hang things up? From curtains to art and mirrors to lightweight decorations — there are many options for hanging (and sometimes you don’t even have to put a hole in your walls.)

I live in a 115 year old house that has both plaster and drywall, and I’ve experimented with many types of ways to hang items on the walls. Today I’ve compiled The Pros and Cons of 4 Picture Hangers.

1. Picture Hooks and Nails:

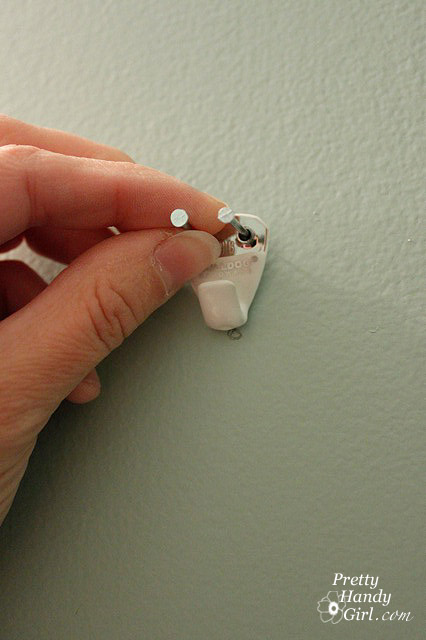
This is probably the most common way to hang up items. Simply mark where your item will go and hammer in your nail and hanger. Brittany shows you how to hang up items when putting together a gallery wall here.

insert-nails-into-hanger

Pros:

Hooks and nails come in many lengths so they can work well in most walls and are easy to use. They are also affordable and go into a wall quickly. All you need is a hammer.

Cons:

Hooks and nails don’t always work in every wall type and can rust. They can’t be used in plaster walls. When hanging heavier art, you need to find a stud to nail into. Read more

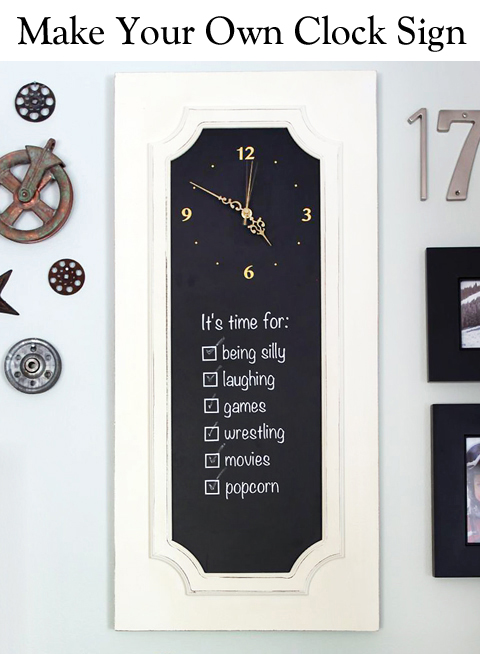
Make Your Own Clock Sign | Pretty Handy Girl

Make Your Own Clock Sign | Pretty Handy Girl

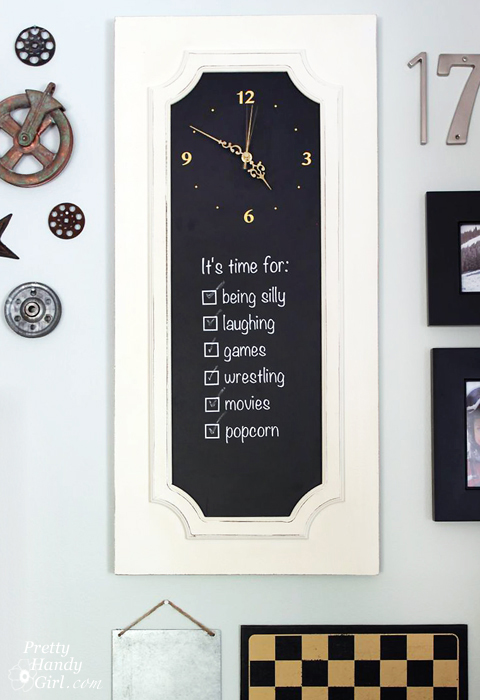
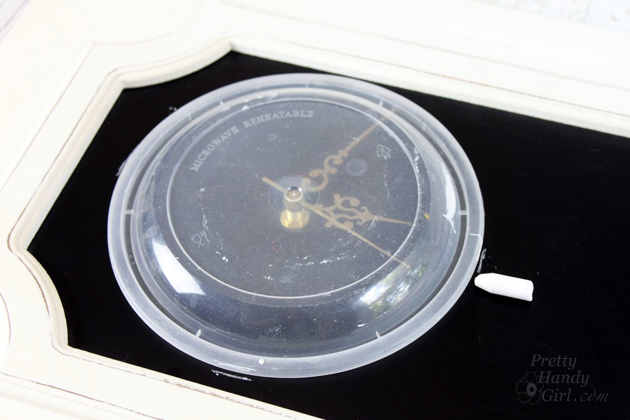
Making a clock is an easy project. All you need is a flat surface that you can drill a hole into and BOOM, you can make a clock. Let’s get started and I’ll show you How to Make Your Own Clock Sign.

Materials:

Make Your Own Clock Sign | Pretty Handy Girl

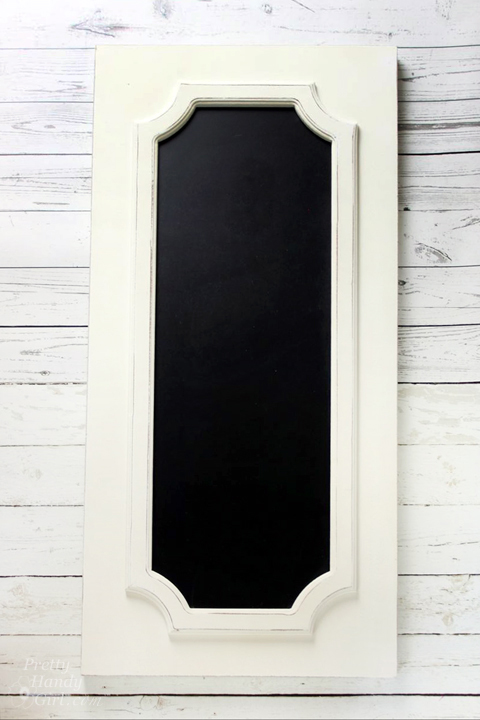
  • Chalkboard sign (I purchased this chalkboard sign at Tuesday Morning.)
  • Clock mechanism
  • Ruler
  • Drill
  • Drill bit
  • Chalk
  • Damp rag
  • Vinyl lettering and numbers
  • Plate or circle template

Instructions:

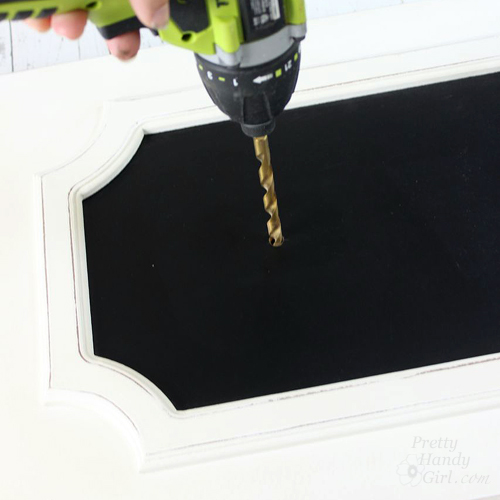
Use a ruler to mark the center of your chalkboard sign near the top. (Center from the sides and use the same measurement down from the top for a balanced look.)

Make Your Own Clock Sign | Pretty Handy Girl

Use a plate or circle template to trace a circle for the clock face.

Make Your Own Clock Sign | Pretty Handy Girl

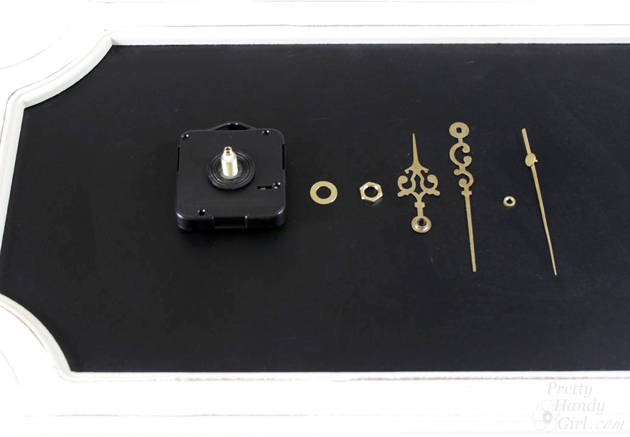
Disassemble the clock hands and parts. Lay them out in the order you removed them.

Make Your Own Clock Sign | Pretty Handy Girl

Insert the clock mechanism through the back of the hole. Read more

Faux Aged Metal Pulley | Pretty Handy Girl

Faux Aged Metal Pulley | Pretty Handy Girl

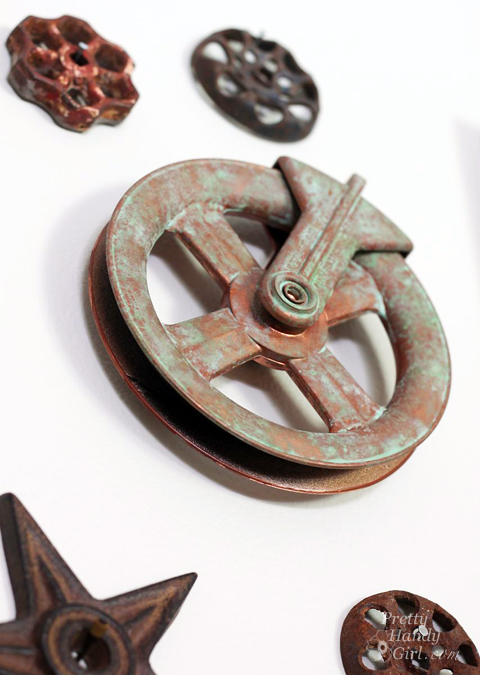
Do you love rustic metal pulleys, but don’t like the hefty price tag? Wouldn’t you rather have a rustic metal pulley for less than $5? Ah, I have a secret. That beautiful rustic metal pulley above is actually:

Faux Metal Pulley | Pretty Handy Girl

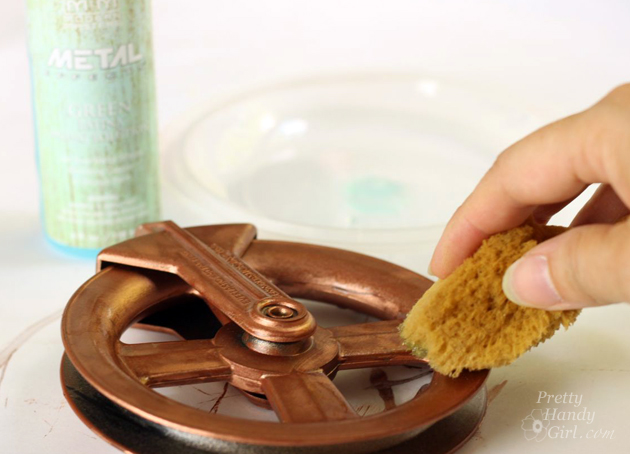
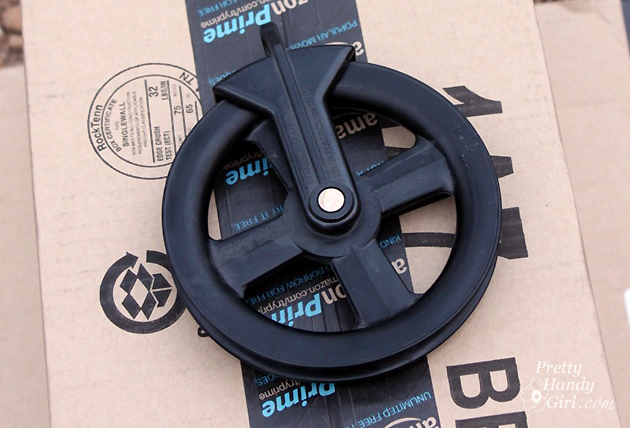
Plastic! Ready to see how I secretly transformed that black plastic pulley into a gorgeous faux aged metal pulley?

Faux Aged Metal Pulley | Pretty Handy Girl

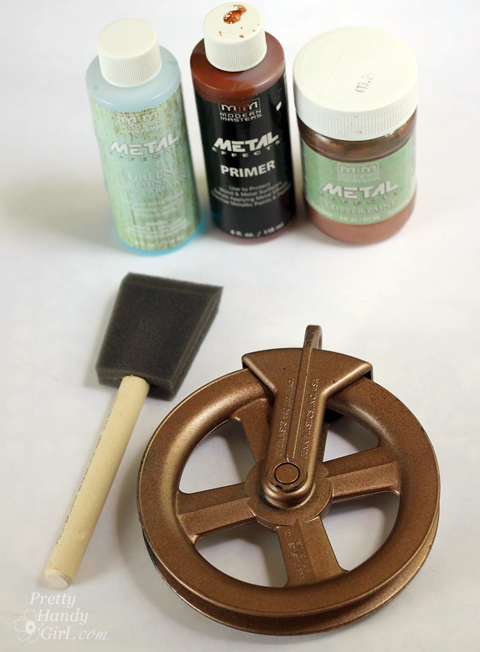
Materials:

(I’ve included affiliate links for your convenience. I earn a small percentage from a purchase using these links. There is no additional cost to you. You can read more about affiliate links here.)

Faux Metal Pulley | Pretty Handy Girl

Instructions:

Paint Metal Primer onto the plastic pulley. Read more

house-shape-door-decor-1

house shape door decor collage

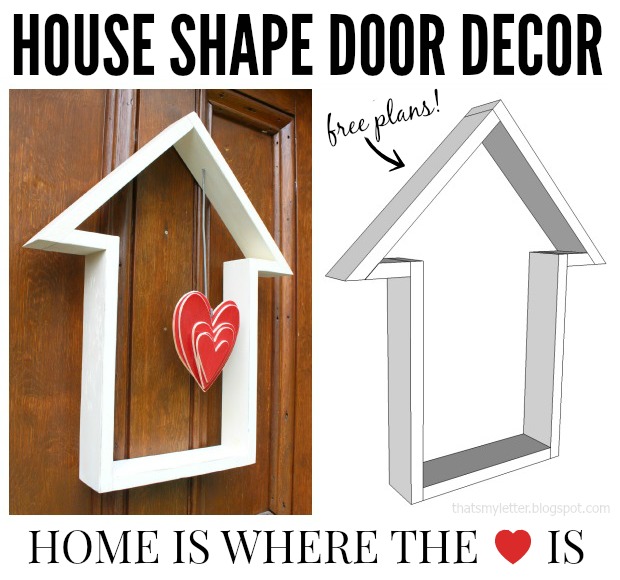
How about an unusual front door decor idea today?  Jaime from That’s My Letter here to share this house shape door decor project with free plans to make your own.

house shape door decor title

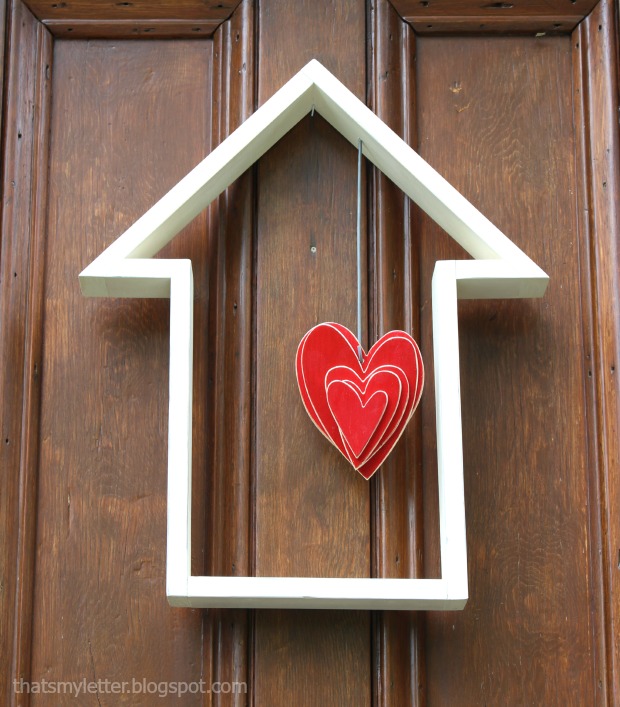
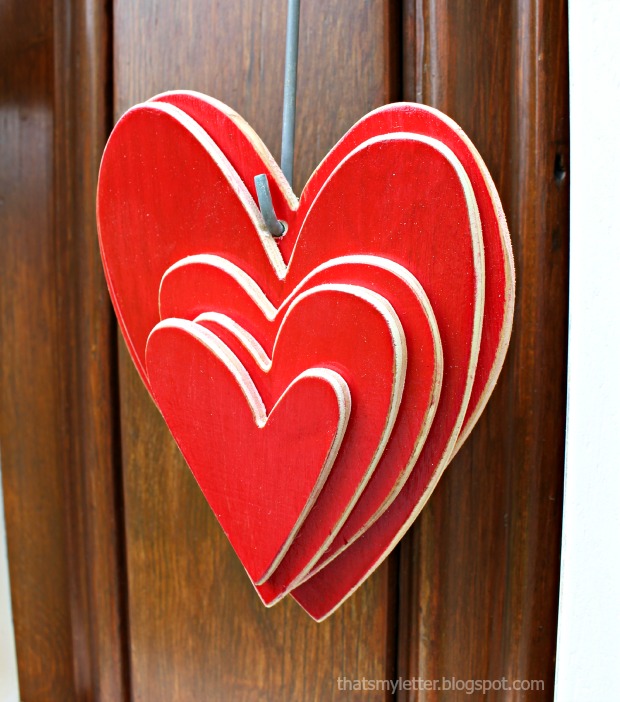
A little play on “home is where the heart is,” this door decor is definitely different and not your typical wreath.  I used 1×3 pine boards to make the house shape then added the cut out hearts to hang in the middle. (Yes the house shape does look like an arrow. If you want to make an arrow shape, those plans are below as well.)

house shape door decor 1

This would also make great indoor wall art. Imagine all the paint color possibilities!

house shape door decor hearts

Supplies:

  • 1 – 1″ x 3″ x 6′ pine board
  • 1/4″ plywood scraps
  • miter saw
  • measuring tape
  • pencil
  • wood glue
  • finish nailer
  • 1 1/4″ finish nails
  • 3/4″ finish nails
  • scroll saw or jigsaw
  • sandpaper
  • wire hanger
  • drill
  • 1/8″ drill bit
  • wood putty
  • white spray paint
  • red acrylic craft paint
  • paintbrush
  • clear exterior grade polyurethane spray

Below are the step-by-step instructions to make your own wood house shape door decor. Always follow all precautions and safety rules when using power tools.

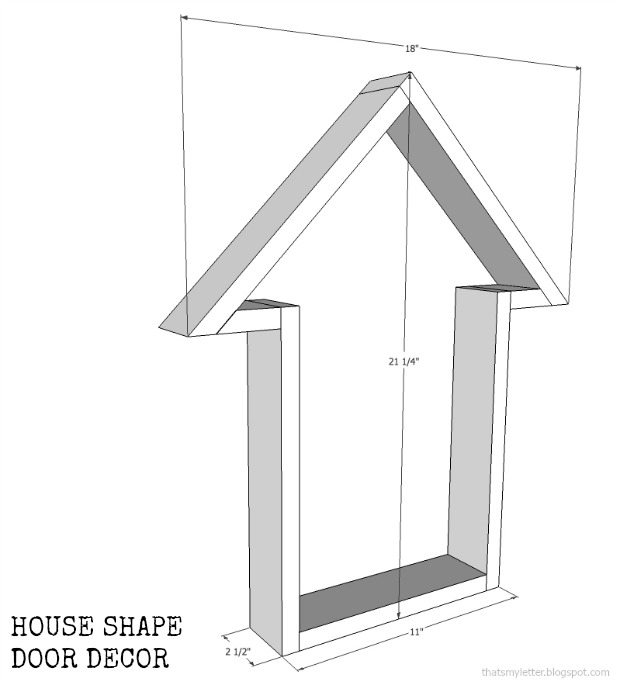
house shape door decor dimensions


Cut List:

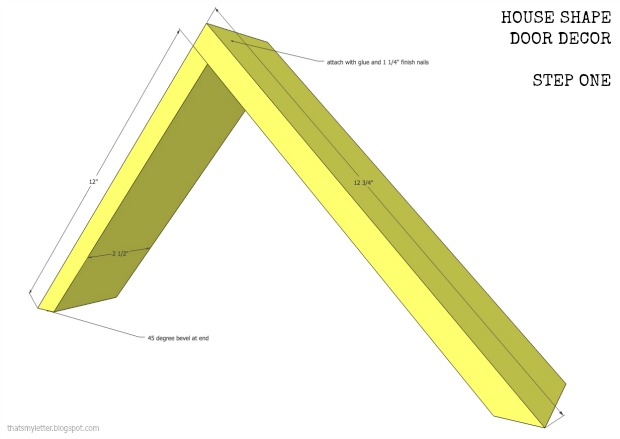
  • 1 – 1×3 @ 12 3/4″, one end 45 degree miter (roof)
  • 1 – 1×3 @ 12″, one end 45 degree miter (roof)
  • 2 – 1×3 @ 2 1/2″, one end 45 degree miter (roof overhang)
  • 2 – 1×3 @ 13″ (sides)
  • 1 – 1×3 @ 9 1/2″ (base)


Step 1: Assemble roof.  Attach long side to short side using glue and 1 1/4″ finish nails.
house shape door decor step 1

Step 2: Add roof overhang pieces to mitered ends of roof.  Use glue and 3/4″ finish nails here.  Below demonstrates how to cut these super short mitered pieces. Read more