The closet renovation is coming along nicely, even though I’ve only been able to work on it in fits and starts. After I added a new light switch for the closet, I added any missing insulation. Then I filled any and all gaps with Great Stuff. This closet had always been very cold in the winter or super hot in the summer. I decided to climate control the closet as best as I could while the walls were open. Then I closed up the walls with sheet rock and painted the small closet. You would not believe how well sheet rock (aka drywall or wall board) insulates! When I added the last piece, it made a huge difference in the climate control in the room. Who knew?!
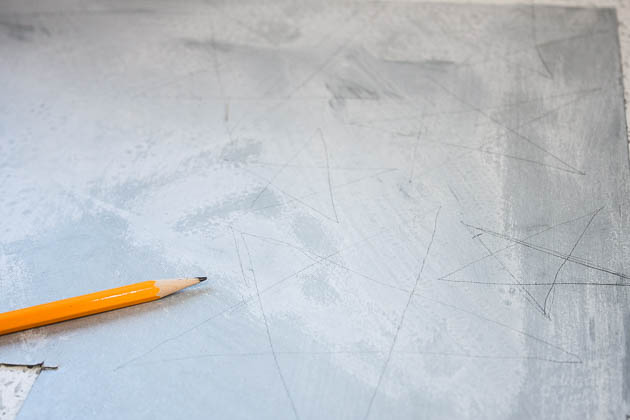
Every room we renovate, we like to leave little messages in the wall or on the floor. The boys and I had fun drawing before adding the carpeting.

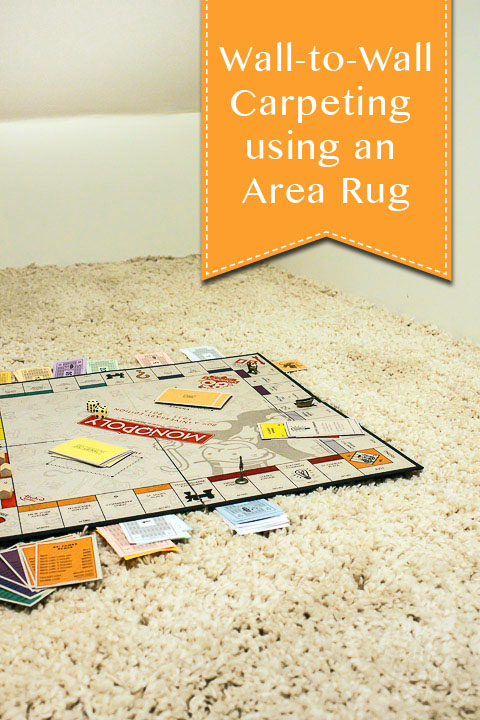
The closet dimensions are just under 5′ x 8′ which is perfect for an area rug. I wanted the closet to be as comfy and inviting as possible for the boys, so I settled on a super soft chenille shag rug.
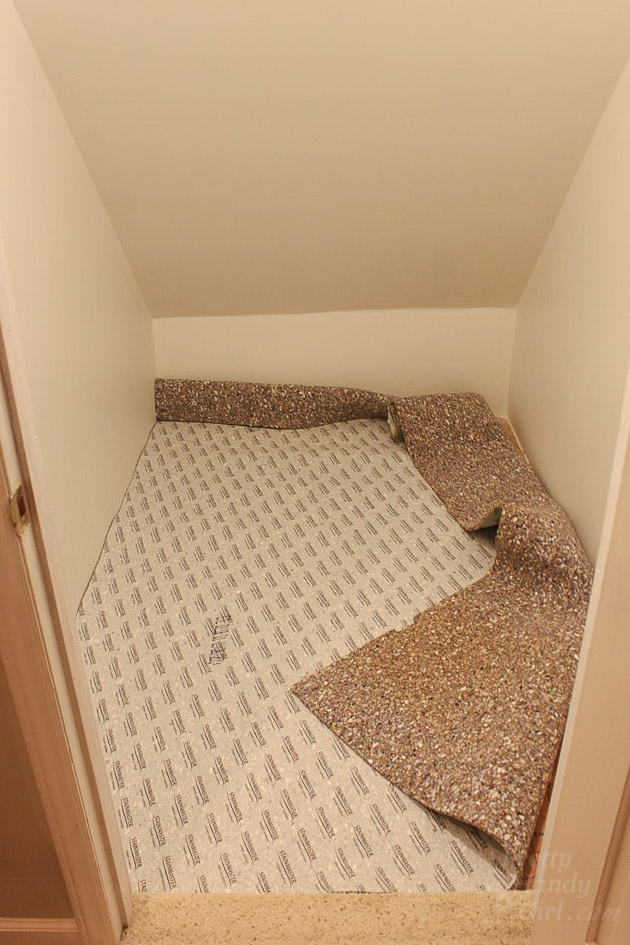
I also purchased enough carpet padding from Lowe’s to line the closet floor. In the interest of climate control, I bought the thickest padding and opted for the Stainmaster brand to resist spills from seeping through to the subfloor.
Ready to get started Faking Wall-to-Wall Carpet with an Area Rug?
Materials:

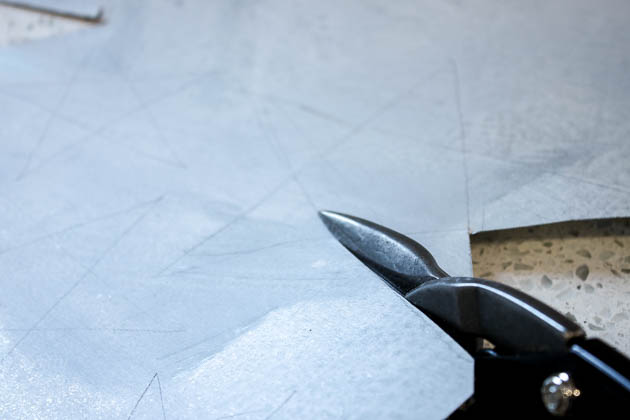
- Utility knife
- Scissors
- Metal ruler or straight edge
- Sharpie
- Staple gun and staples (1/2″ – 5/8″)
- Area rug large enough for your space
- Carpet padding
Instructions:
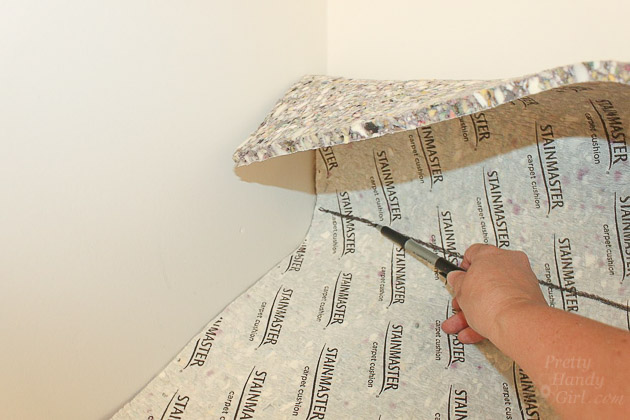
Lay the carpet padding on the floor. Line up two edges and fold the other edges up against the wall.
Use a pen to draw along the corner where the wall meets the floor.
Cut the carpet pad to size. Read more