Rustic Ironing Board Holder | Pretty Handy Girl

DIY Industrial Ironing Board Rack

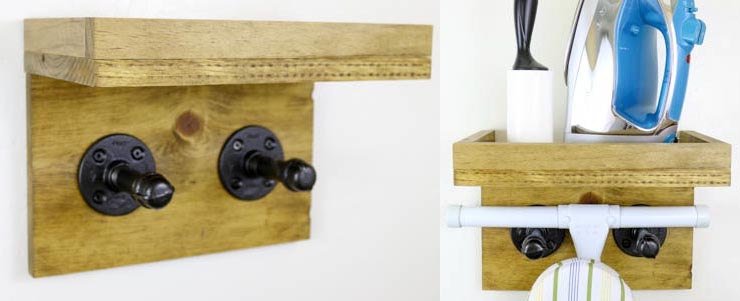
Hey there, everyone!  It’s Katie from Addicted 2 DIY again.  Today, I have a project that is not only quick and easy to put together, but it’s also made of scrap wood!  My lumber rack is getting a bit full, so I’ve been on a scrap wood purge kick lately.  If you remember, last month I shared a tutorial for how to build a rustic wine holder out of scrap wood.  This time I wanted to make a project that would solve two problems.  The first being my growing scrap pile, and my second being that I hate not really having a good space to store my ironing board.  I came up with a solution that took care of both of those problems and it was so fast to put together!

Materials:

  • 1×8 scrap wood (or purchase a 6′ x 1″ x 8″ pine board)
  • 3/4″ square dowels (I used leftover scraps from some wood I ripped down)
  • Kreg Jig
  • 1 1/4″ pocket screws
  • Brad nailer
  • 1 1/4″ brad nails
  • wood glue
  • two 1/2″ steel pipe flanges
  • two 3 1/2″ steel threaded pipe sections
  • two 1/2″ steel pipe caps
  • oil rubbed bronze spray paint
  • 3/4″ wood screws
  • D ring photo hooks

Instructions:

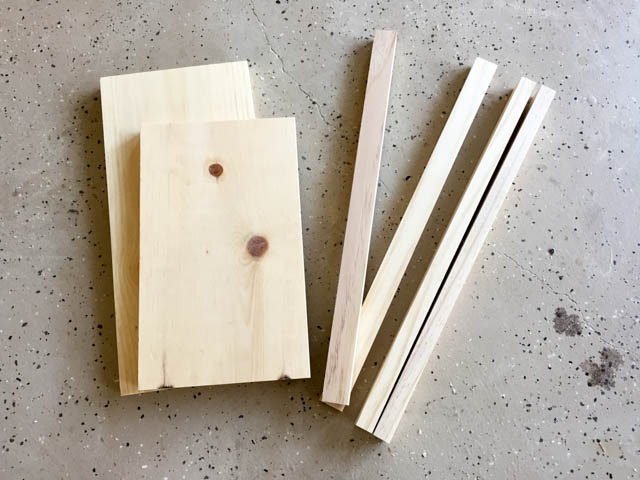
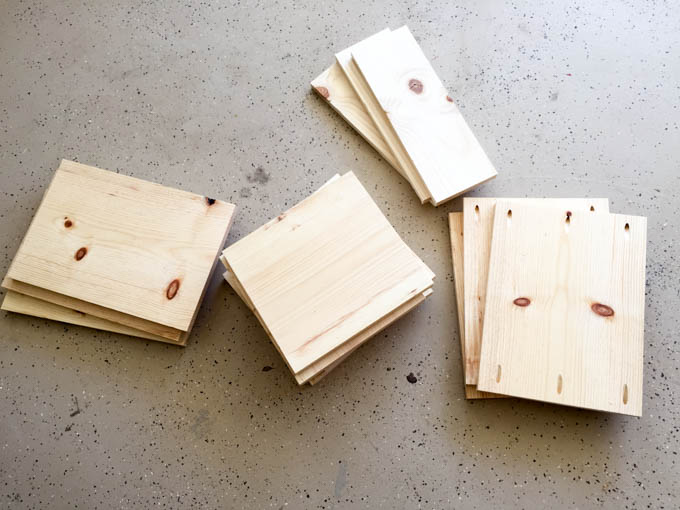
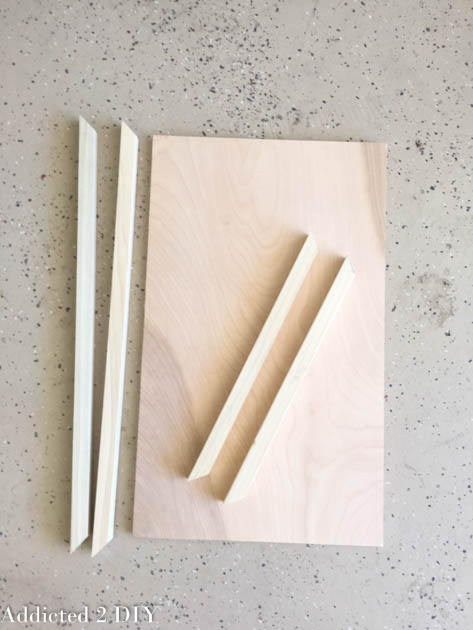
STEP 1:  Dig through your scrap pile or head to your local home improvement store to gather your wood pieces together.  I used 1×8 pieces of pine and rather than purchase 3/4″ dowels, I used 1″ scrap pieces that were leftover from some boards I had ripped down from another project.  Cut the 1×8 pieces to 12″ long.  Cut one 3/4″ dowel to 12″.  Cut two 3/4″ dowels to approximately 6 1/2″.  You’ll want to measure the exact length as not all woods are created equal and sometimes the thickness varies slightly.

Scrap_wood_ironing_board_rack

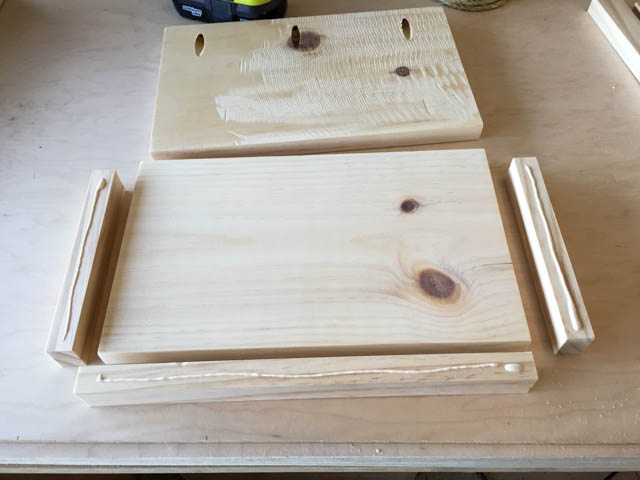
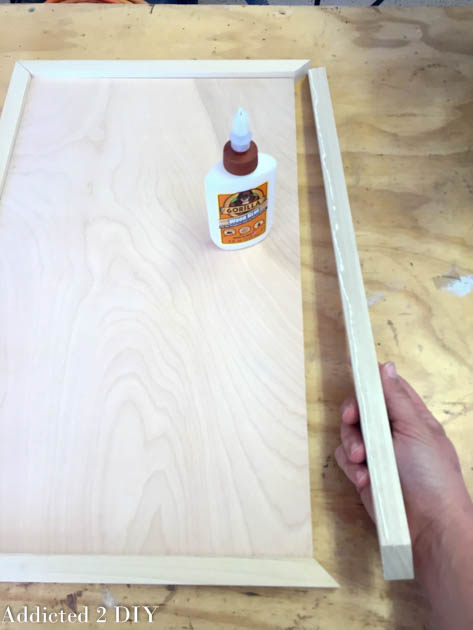
STEP 2:  Choose the board for the backing of the ironing board rack and drill 3/4″ pocket holes into the long edge of the piece.  Apply glue to the square dowels to attach to the piece that will become the shelf.

assemble_shelf

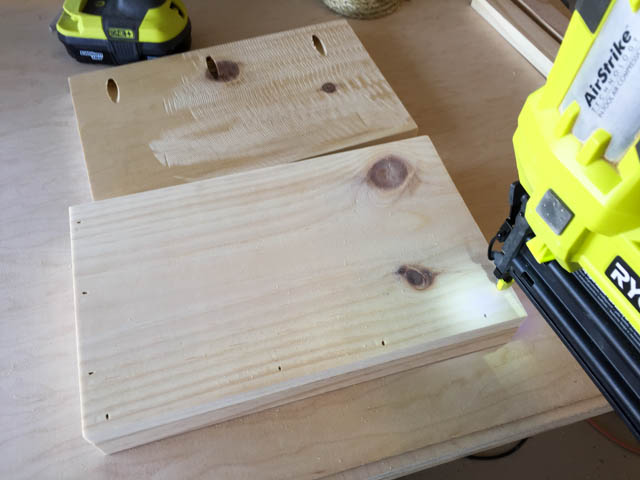
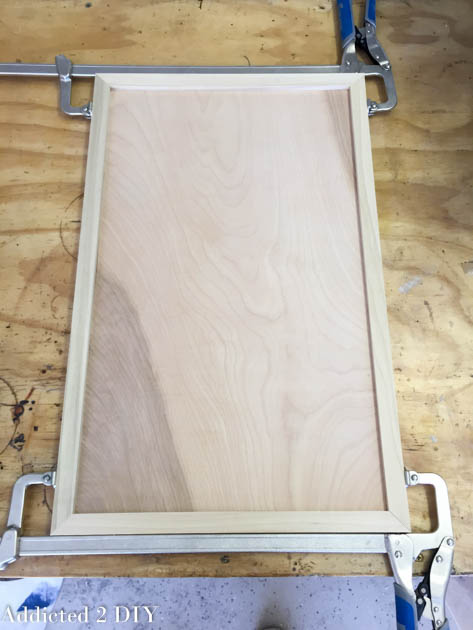
STEP 3:  Line the dowels up flush with the edges of the shelf and nail into place using 1 1/4″ brad nails.

nail_edges_to_shelf

STEP 4:  Attach the back to the shelf with wood glue and 1 1/4″ pocket screws. Read more

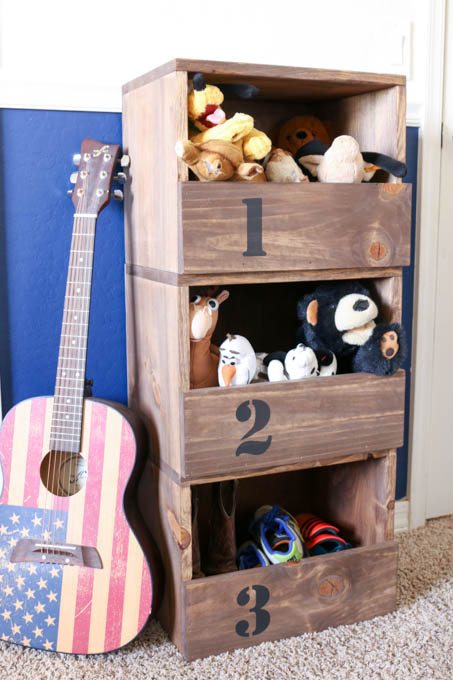
These DIY Stacking Cubbies are a great storage solution for stuffed animals, shoes, and more! The plans and tutorial make it easy to build as many as you like!

Hey everyone!  It’s Katie again from Addicted 2 DIY.  Today I’ve got a project to help keep things organized around the house.  These stacking storage cubbies are perfect for stashing away those growing stuffed animal collections, shoes, toys, books, etc.  They were so simple to build and they are easy to customize to fit your needs.  I’ve got the step-by-step tutorial for you below, and you can also stop by my site to download the printable plans.

Materials:
(contains affiliate links)

  • 2 – 1″ x 12″ x 8′ pine boards
  • 1 – 1″ x 6″ x 8′ pine board
  • 2′ x 4′ sheet of 1/4″ plywood (I used some that I already had on hand)
  • Kreg Jig
  • Brad Nailer
  • 1 1/4″ pocket screws
  • 1 1/4″ brad nails
  • 5/8″ brad nails
  • Kreg Rip-Cut
  • wood glue
  • orbital sander
  • 220 grit sandpaper

Cut list (for each storage cubby):

  • 2 – 1″ x 12″ @ 12″ (sides)
  • 1 – 1″ x 12″ @ 15″ (bottom)
  • 1 – 1″ x 12″ @ 16 1/2″ (top)
  • 1 – 1″ x 6″ @ 16 1/2″ (front)
  • 1 – 1/4″ plywood @ 12 3/4″ x 16 1/2″ (back)

Instructions:

Start by cutting all of your pieces for the cubbies.  Drill 3/4″ pocket holes into the bottom 1×12 pieces.

These DIY Stacking Cubbies are a great storage solution for stuffed animals, shoes, and more! The plans and tutorial make it easy to build as many as you like!

Attach the sides to the bottom using wood glue and 1 1/4″ pocket screws. Read more
Crochet Market Bag

21 Ways to Make and Decorate Tote Bags | Pretty Handy Girl

Have you been enjoying all of the awesome tote bag tutorials this week? Today we’ve rounded up even more sewing tutorials, decorating ideas, and an amazing crocheted tote bag. Let’s talk about 21 ways to Make and Decorate Totebags.

How To Sew Totebags:

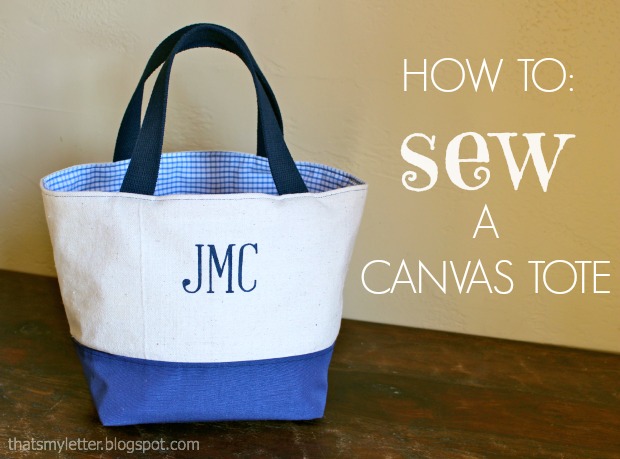
canvas-tote phg

Who can resist an adorable lined tote bag with a monogram. Can you believe this beauty is all DIY! Jaime of That’s My Letter whipped up a classic monogrammed canvas tote.

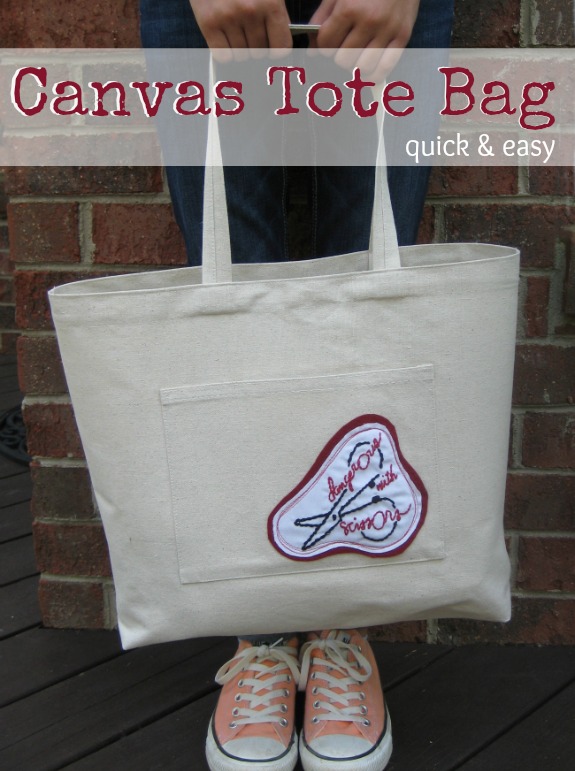
Quick-Easy-Tote-Bag

Drop cloths aren’t just for catching paint anymore! Heather of The Sewing Loft shows how to make an Easy Canvas Tote Bag out of painter drop cloths!

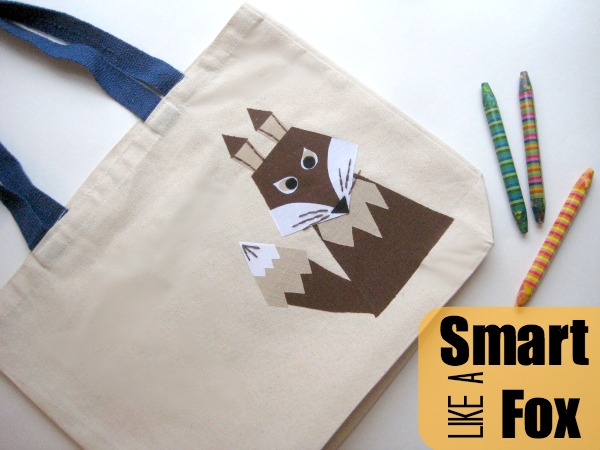
Fox book bag

What does the fox say? He’d say he’s head over heels in love with this tote bag. Perfect for back to school, Heather shows how to sew or iron on this fox applique with sweet embroidery details.

reversible-reusable-tote-tutorial

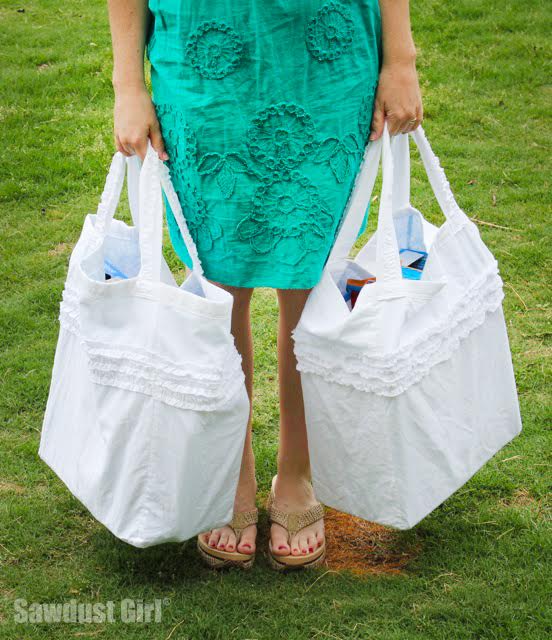
Sandra from Sawdust Girl is famous for her amazing woodworking so it should be no surprise that she has a fabulous tutorial for Reversible Reusable Ruffled Grocery Bags.

how-to-make-a-piped-edge-totebag

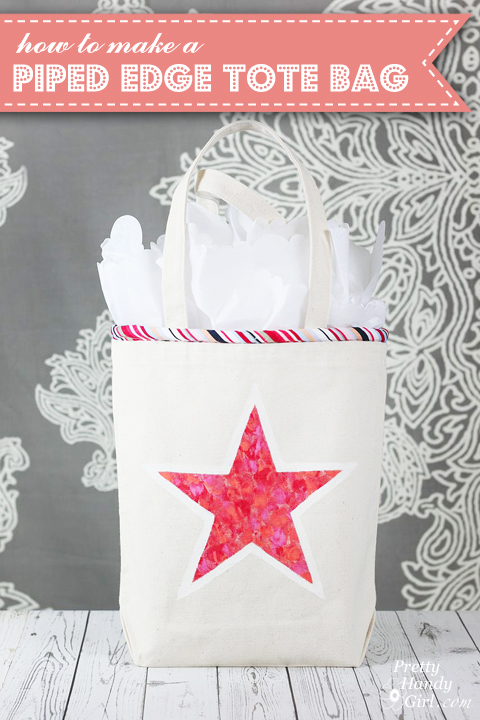
It’s okay to cheat a little. Grab a store bought tote and dress it up that plain tote bag with piping. This tutorial also shows a cheat for the non-sewer!

decorate tote with old shirt

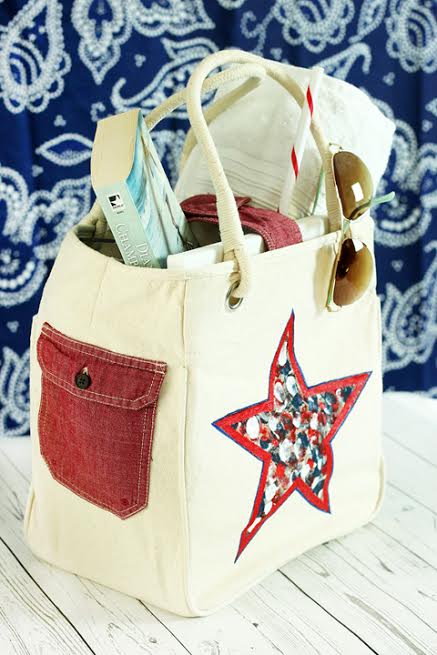
Old shirt + another store bought tote = Adorable! Customizing a Totebag With an Old Shirt in an hour.
This goes straight on my Christmas to-do list!

T-Shirt-to-Library-Tote-Bag

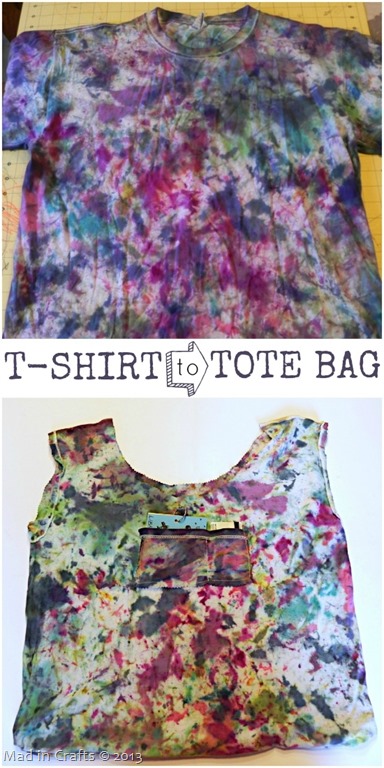
I know, it’s hard to discard that favorite t-shirt. Now you don’t have to! Repurpose that favorite tee into a library totebag? Jessica from Mad in Crafts shares how easy it is in her step-by-step tutorial.

tote bag from tee shirt

What’s better than repurposing one t-shirt? Of course, recycling two shirts! On Creative Green Living, Carissa shares another t-shirt-to-totebag tutorial using two shirts. One makes a stylish liner.

PostBreakblue

No-Sew Totebags: Read more
DIY-Painted-Pool-Sign

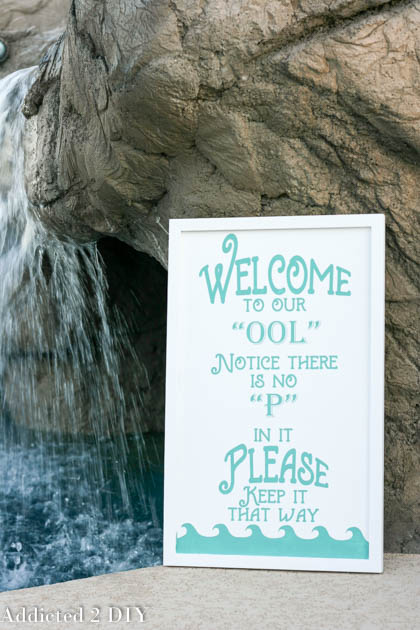
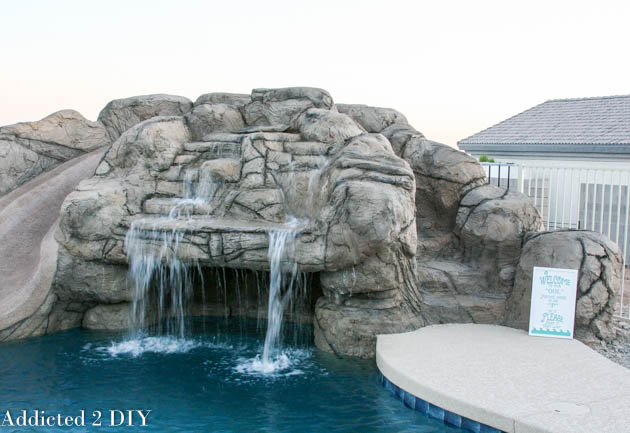
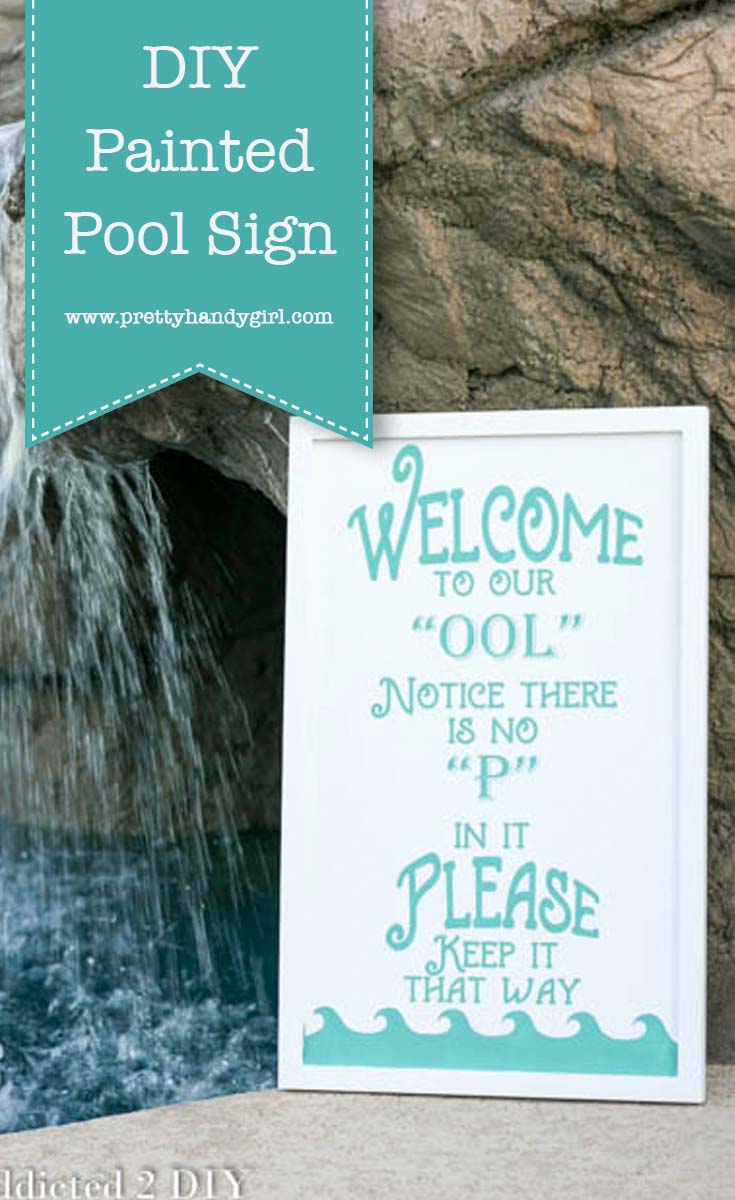
Hey everyone!  Katie again from Addicted 2 DIY.  It’s hard to believe, but it’s been two months now since we finished building our dream pool.  If you’ve ever wondered what you can learn (and save) by contracting your pool out yourself, I’ve got all of the handy details on my blog.  Now that we have our own pool to make fun family memories in, I thought a fun sign would be a great addition.  I designed this sign based off of one we had by our pool when I was a kid.  According to my mom, this one looks way nicer.  She wouldn’t lie to me, right?

To help you make your own sign, I’m also including the free SVG file I created for you to download.  Please use it for personal use only.

Here’s what you’ll need for your own sign:

  •  1×2 plywood project board (2’x4′)
  • 3 – 3/4″ x 3′ square poplar dowels
  • 1 1/2″ brad nails
  • brad nailer
  • wood glue
  • 220 grit sandpaper
  • orbital sander
  • 24″ clamps
  • wood filler
  • paint colors of your choice
  • paint roller and/or paintbrush
  • adhesive vinyl
  • transfer paper
  • electronic cutting machine (I have a Silhouette CAMEO)
  • Welcome to Our OOL SVG file

Start by cutting your plywood down to 12″ x 20″.  If you don’t have the ability to do this, you can always ask the helpful employees at the home improvement store.  Cut the square dowels on a 45 degree angle to frame the plywood.  The inside measurements should be 12″ and 20″.

supplies-for-wood-sign

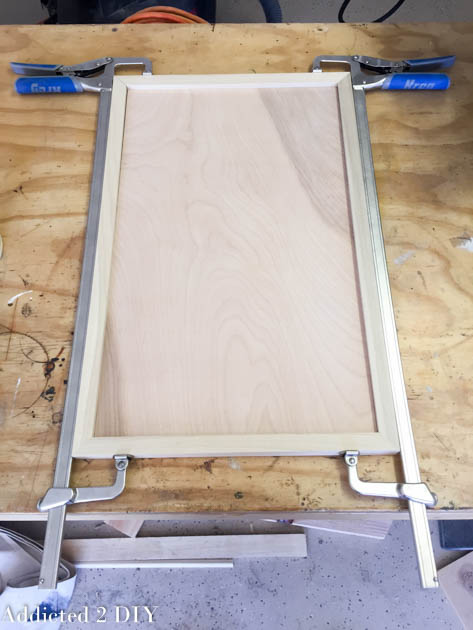
Frame the plywood with the dowels using wood glue.

add-trim-to-sign

Clamp the edges…

build-wood-sign clamp-trim-to-plywood

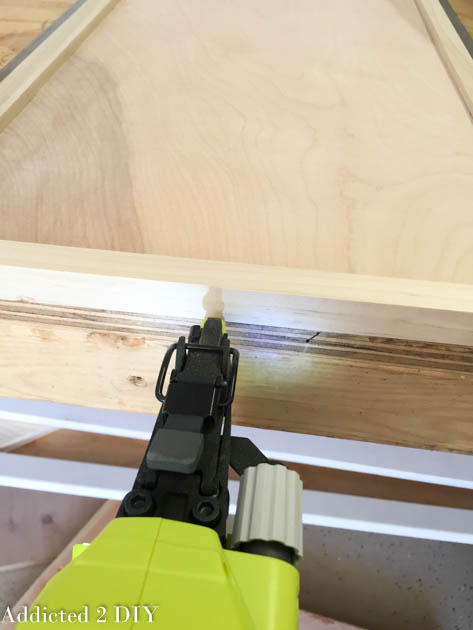
…and nail them to the plywood with your brad nailer.

nail-trim-to-plywood

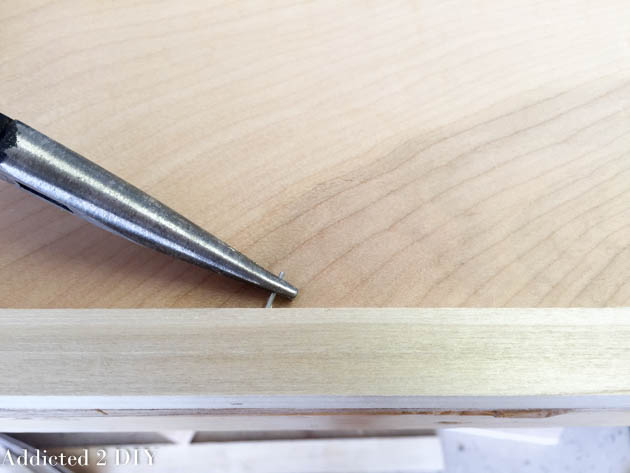
Since the plywood is only 1/2″ thick, you’ll have to be careful not to nail the trim too high.  I had one nail go astray, but I was able to get it out with needle-nose pliers.  It’s nothing a little wood filler can’t fix later on.

remove-nail-from-wood-trim

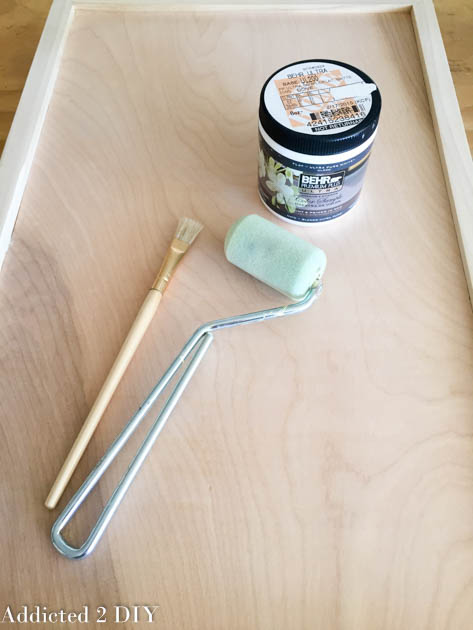
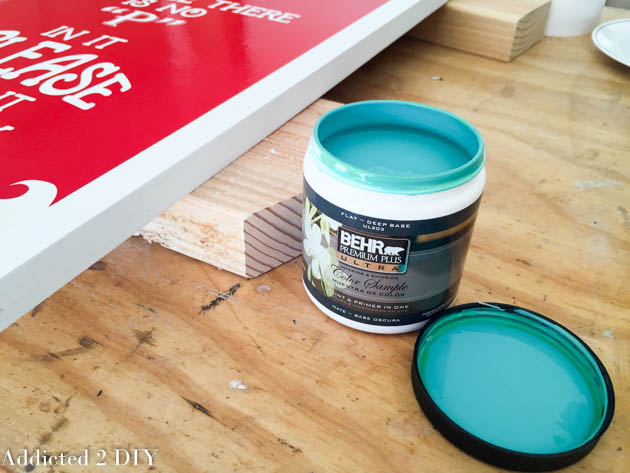
When your entire piece is assembled, sand it with 220 grit sandpaper to get rid of any rough spots.  Paint the entire sign, front and back, with your base color.  I love using sample size jars of paint for projects like this.

painting-wood-sign

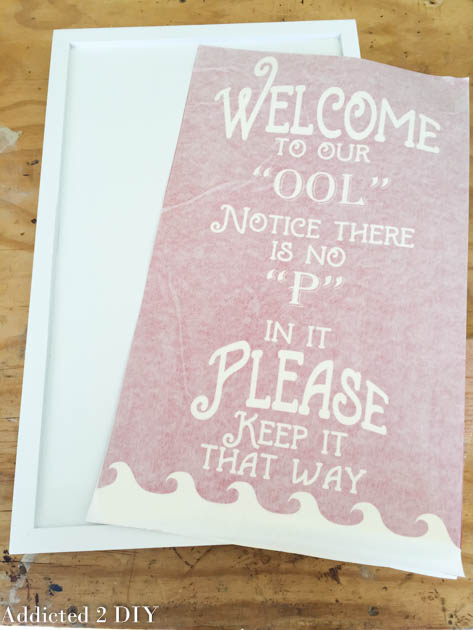
Cut your message out on an electronic cutting machine.  Weed out the vinyl design and cover it with transfer tape.

vinyl-for-wood-sign

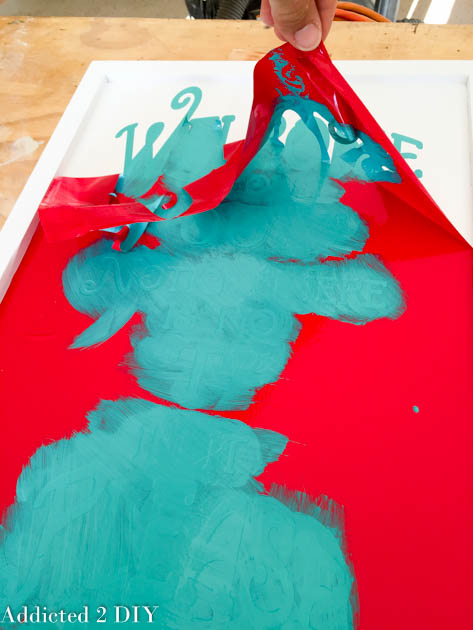
Peel the backing off of the vinyl and carefully center it over the plywood face.  Smooth it with a scraping tool (or credit card.) Carefully peel off the transfer paper.

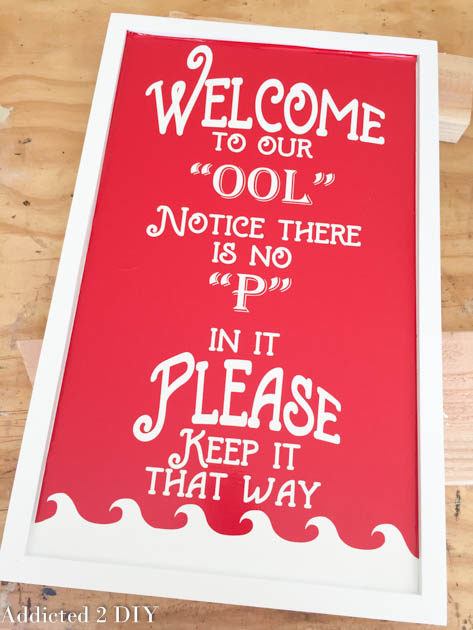
put-vinyl-on-wood-signGrab your second paint color and stencil the design with a paint brush or roller.  You can mask off the frame of the sign with painter’s tape or paper to protect it from any paint mishaps.  I opted to go slow and carefully paint inside the frame.

paint-for-wood-sign

Once your design is completely stenciled, carefully peel the vinyl off of the face of the sign.

stencil-swimming-pool-sign

You can leave your sign as it, or distress it a bit.  Whatever you like!  I love distressing things, but I decided that I really liked a cleaner look for this sign.

sign-for-pool

swimming-pool-sign

I’m so happy with how it turned out!  I’m no graphic designer, so I spent several hours coming up with a design that was just right, but it was well worth it.  My kids think it’s hilarious!  Let’s just hope everyone that comes and visits us will follow the rules!  I’m thinking it will look great somewhere near our grotto/water slide.  Once we get that area landscaped, I’ll give it a more permanent location.  Now that this sign is done, I kind of want to make another one for the waterfall that says “Mt. Wannahockaloogie” from Finding Nemo.  We have a “Nemo” mosaic inside the grotto, so it would tie in perfectly.  I may be the only one that gets it, but that’s okay.
Katies-sign

~learn more about Katie~
 

Pin for later!

DIY Pool Sign | Pretty Handy Girl

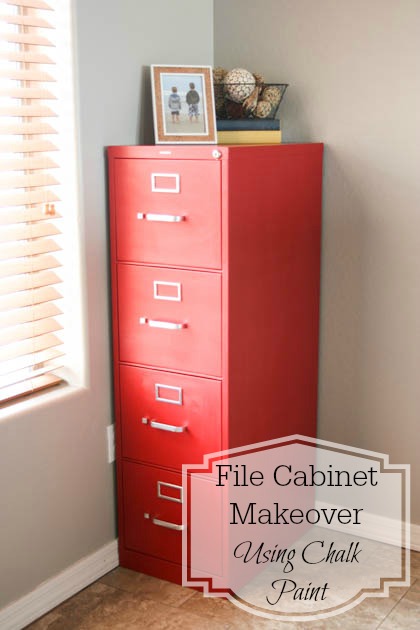
File Cabinet Makeover Using Chalk Paint

Hey there everyone!  I’m working in my craft room to give it a major overhaul and make it a much more functional and creative space.  It also doubles as an office that I share with my husband.  It’s not always the easiest thing to do, partly because of a lack of organization. One of the biggest projects we’re taking on is completely making over the closet.  I’ve already replaced the closet doors with curtains and I love how much easier it has made it to get to things in the closet.
File Cabinet Makeover Using Chalk Paint

edited-8164

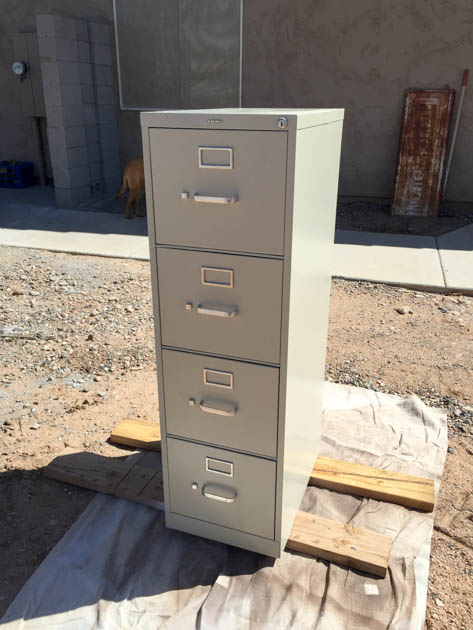
This file cabinet is one of the things that goes in that closet.  When we finish making over the closet, it will be moved to a more prominent location that will be more visible, especially if the curtains are left open.  Because of that, I decided that the boring beige color had to go and I gave it a quick and SUPER cheap makeover!

Here’s what you’ll need to do this project yourself!

File Cabinet Makeover Using Chalk Paint Materials:

File Cabinet Makeover Using Chalk Paint Instructions:

Unless you plan on painting it, you want to remove all of the hardware off of your file cabinet.  I wasn’t quite sure how this would go, but it was extremely easy to remove everything.  Just a couple of bolts and I was pretty much done!

edited-8166

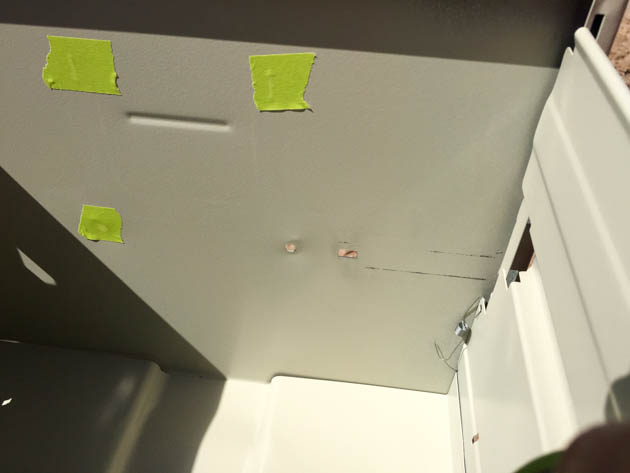
To protect the inside of the cabinet from overspray or paint dripping through, cover all of the holes from the inside using masking or painter’s tape.

edited-8168

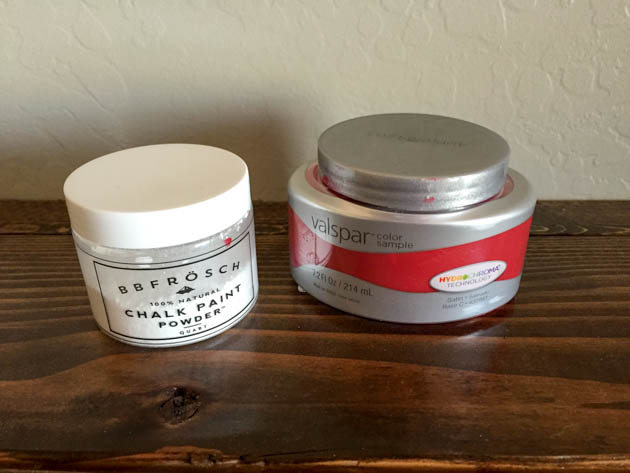
Time to mix your chalk paint.  What I love so much about BB Frösch Chalk Paint Powder is that there’s virtually no waste.  You mix as you go.  I like using the sample-sized paint containers because they’re cheap and if it’s a project where I’m not sure how much paint I’ll need, at least I know I won’t go way over by buying a quart.  The other amazing thing is that there’s virtually no prep work.

Wipe down the file cabinet with a wet cloth and that is it!

edited-8170

If you choose to paint your cabinet using a roller or paint brush, you can get started from this point.  If you plan to use a paint sprayer, you’ll need to prep the paint.  First and foremost, strain your paint!  Lowe’s sells little cone paint strainers (they look like coffee filters) for $.98 a four pack.  Once your paint is strained, you need to thin it with water.  The HomeRight paint sprayer that I use comes with everything you need to do this, plus great instructions. Read more