How to Caulk Cracks | Pretty Handy Girl

31 Days of Handy Home Fixes | Pretty Handy Girl

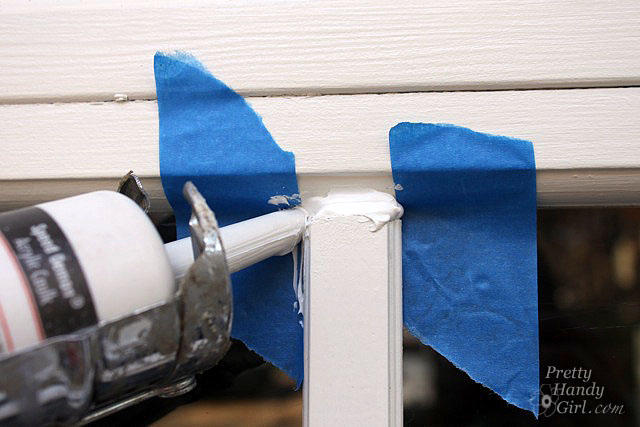
One of the best thing you can do to save money is to prevent water from getting through your home’s exterior. Now is a good time to walk around your home and look for gaps and cracks around doors, windows, trim and siding. If you see any, I’ll show you super quick way to caulk and fill them.

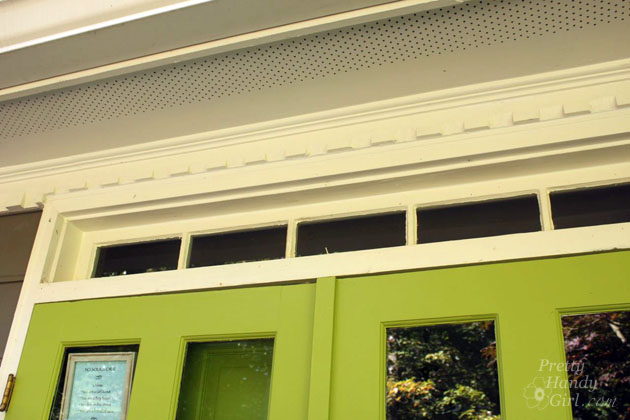
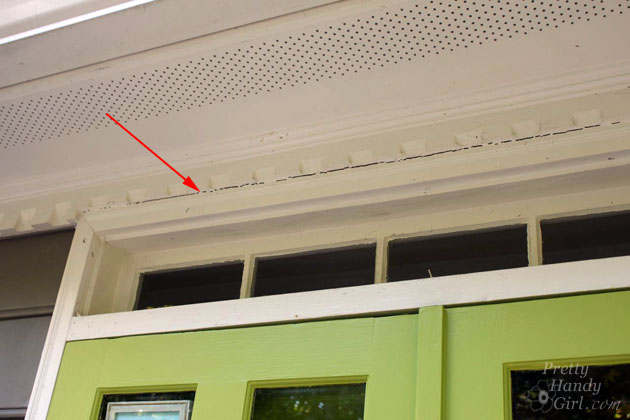
Here’s a big crack over our front door.

How to Caulk Cracks | Pretty Handy Girl

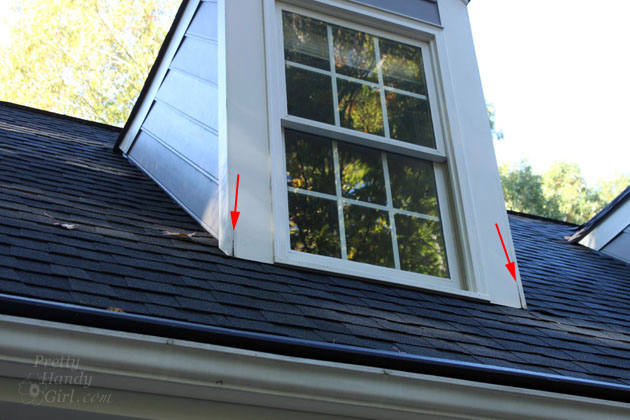
Gah! Two more gaps:

How to Caulk Cracks | Pretty Handy Girl

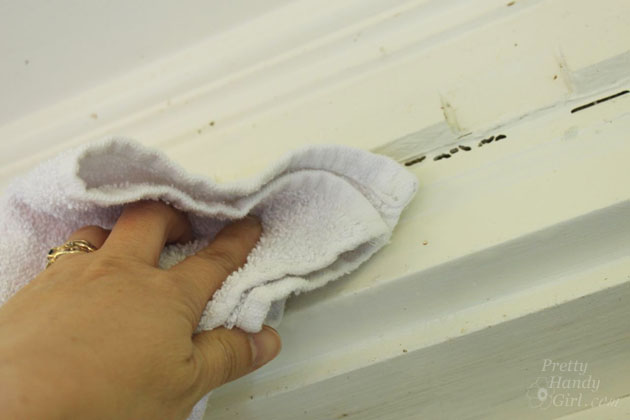
Clean off around the crack with a wet rag dipped in mild soap and water. If there’s mold or mildew, a water and bleach solution should get rid of it.

How to Caulk Cracks | Pretty Handy Girl

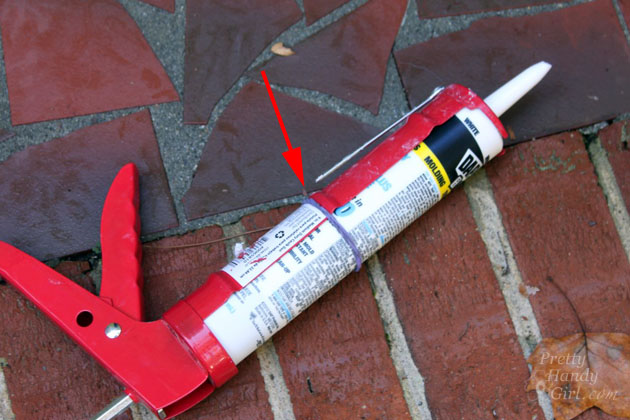
Thanks to my reader, Susan Cole, for this tip. If you are caulking upside down or the tube keeps slipping out of the gun, slip a rubber band around the tube and gun to hold it in place.

How to Caulk Cracks | Pretty Handy Girl

Here’s a quick video tutorial to show you how I breeze through caulking cracks and gaps:

That’s all there is to it! Now our home is protected from water and insects.

How to Caulk Cracks | Pretty Handy Girl

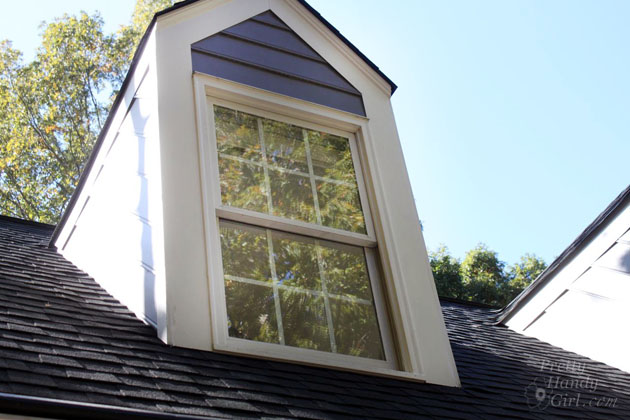
In case you were wondering, I was able to lean out the dormer window while keeping my feet on the floor.

How to Caulk Cracks | Pretty Handy Girl

If I had needed to lean out any further, I would have used a sturdy ladder or hired someone to do it for me. Recently I’ve been leaning (pun intended) toward hiring out any task that involves climbing higher than one story. Falling from a ladder is just too risky for this DIY Mom. Just because I can do it doesn’t mean I always will.

PHGFancySign

Pin for later!

repair cracks in siding and trim with caulk

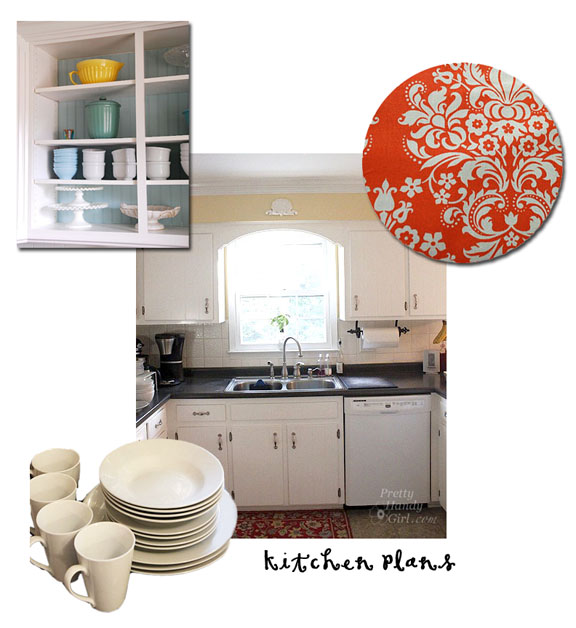
I’m back to show you the updates I made to my kitchen. Remember the plans I shared with you? These fabric backed cabinets made the kitchen new.
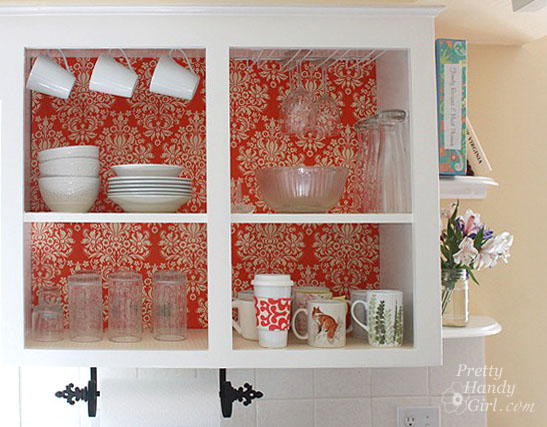
Well, they have been implemented and I LOVE the results! Best of all, the materials I bought cost me under $25 and that included the white dish set. But, the cherry on top is that I can easily reverse the changes if we move (or get sick of the look.)

And now, I present to you:
Fabric Backed Open Cabinets for the Kitchen

When we first met these sad cabinets, they were dark, dreary and had an eclectic collection of mugs:
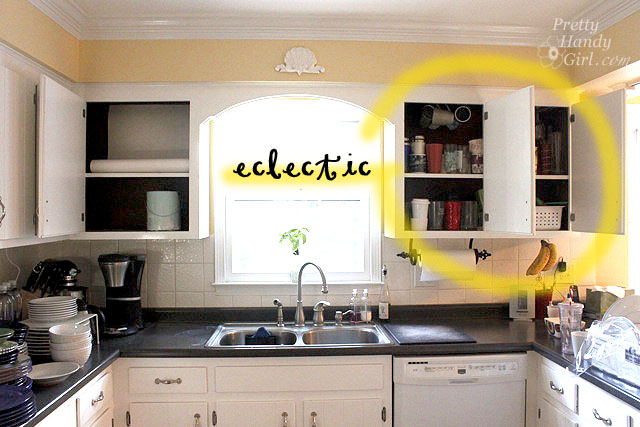
Within only a few hours (minus drying times), I had a stylish new look that is bright and cheery!
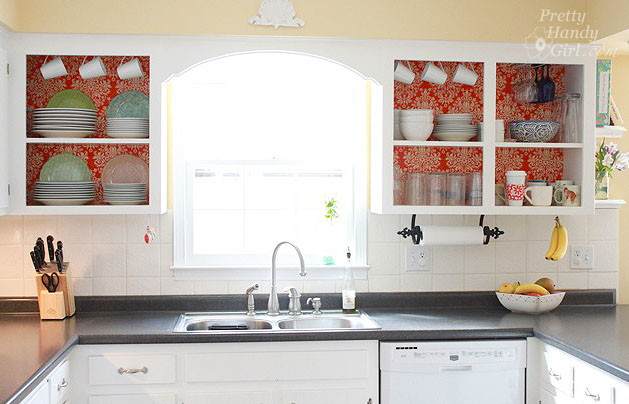
Follow along for the tutorial and the 50 cent tour (please deposit your pocket change on the way out.) Just kidding. I’ll let you in for free.

Materials:

(I’ve included affiliate links for your convenience. I earn a small percentage from a purchase using these links. There is no additional cost to you. You can read more about affiliate links here.)

Optional: 

Difficulty: Easy

Step 1: Empty your cabinets.

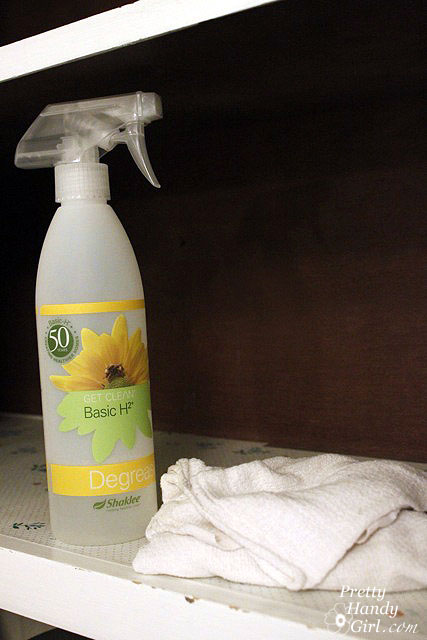
Clean the insides with an all purpose kitchen cleaner.
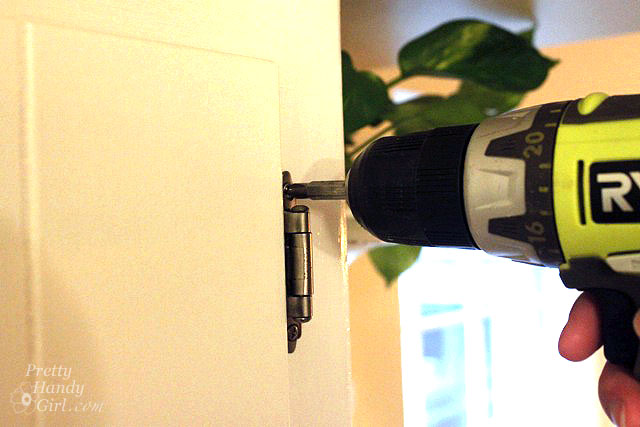
Step 2. Starting from the bottom, remove the screws from the cabinet door hinges. The last screw should be the very top hinge (to keep the weight of the door from wrenching the screw out of the wood.)
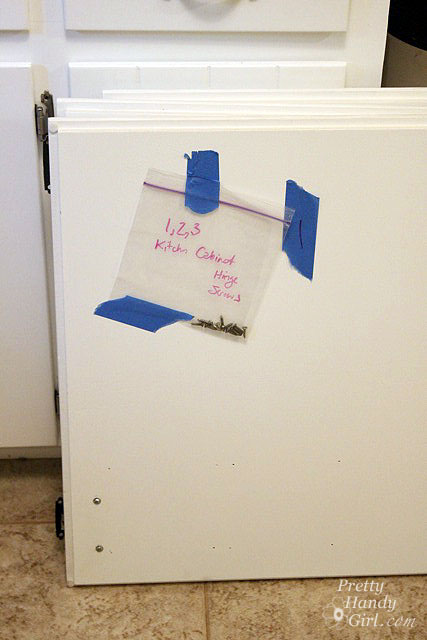
Put screws into a ziplock bag and label your cabinet doors in order so that you can return them to the appropriate cabinet opening at a later date.
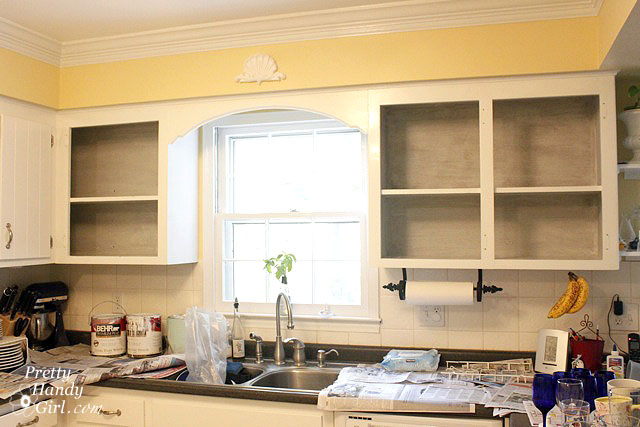
Now you should have a clean slate like this:

Step 3. If your cabinets are dark inside, you may or may not decide to paint the insides. (Be sure to check with your landlord if you are renting.) I chose to paint mine because the interiors were so dark. If you want to skip this step, fast forward to the next step.

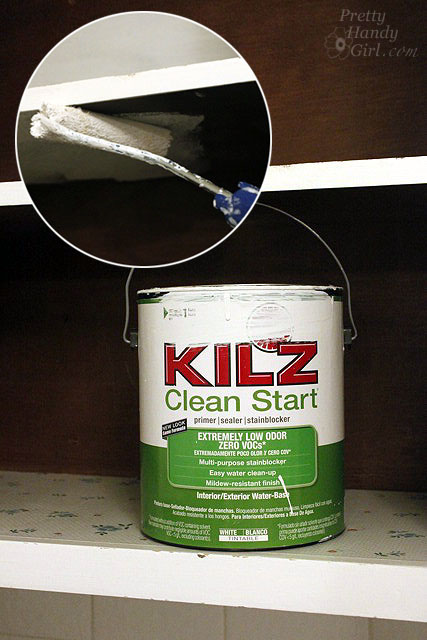
Prime the insides by rolling on primer over the flat surfaces. Use a brush to get into the corners and crevices.
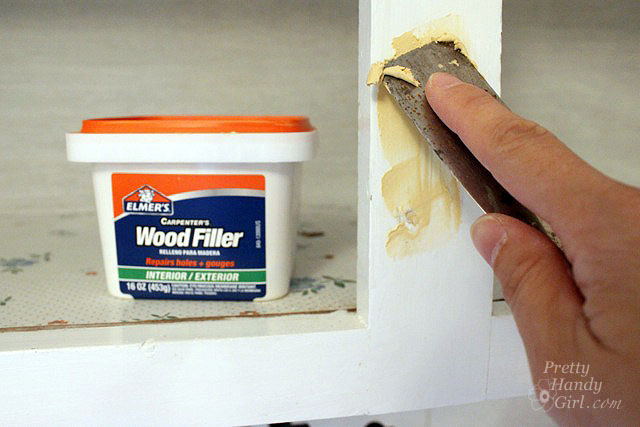
Once the primer has dried, get out the wood putty and putty knife.
Step 4. Using the putty knife, spread a small amount of putty over the holes where the hinges were. Push the putty into the holes, then scrape the excess off. Allow the putty to dry completely.
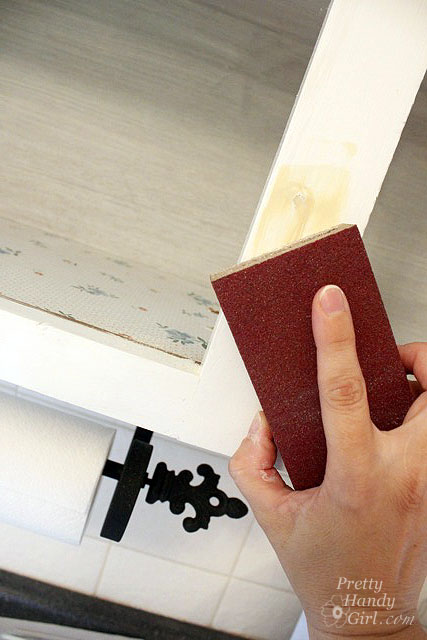
Step 5. Sand the puttied holes until smooth.
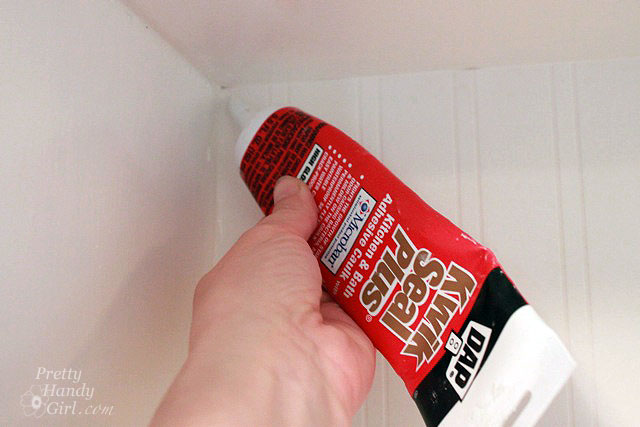
Step 6. Touch up the putty holes with paint or stain. Add caulk to any cracks or seams at the back of your cabinet. Allow the caulk to dry thoroughly.
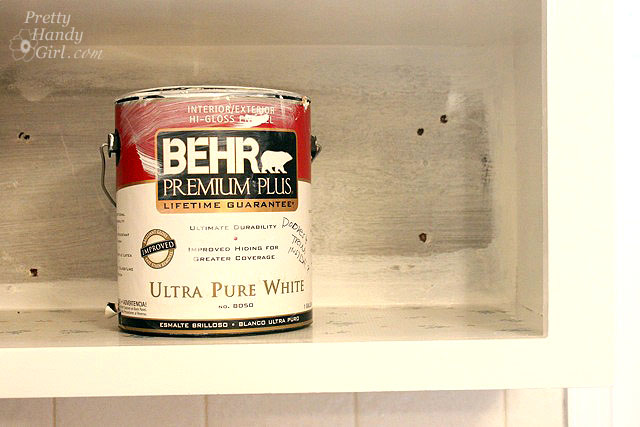
If you are painting the inside of the cabinets, roll on paint with the small roller and use the brush to smooth out the paint and get into the grooves.
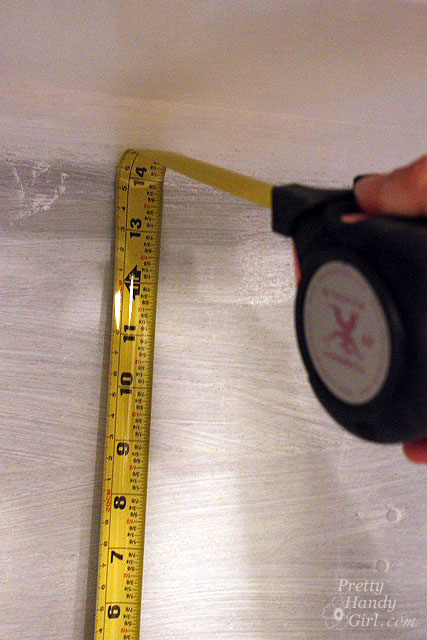
Step 7. Measure the dimensions of the back of your cabinets. Make sure your measurements are precise (measure twice, cut once is a good adage.)
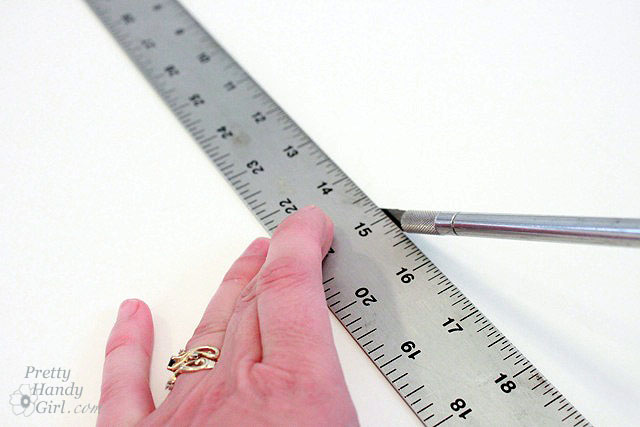
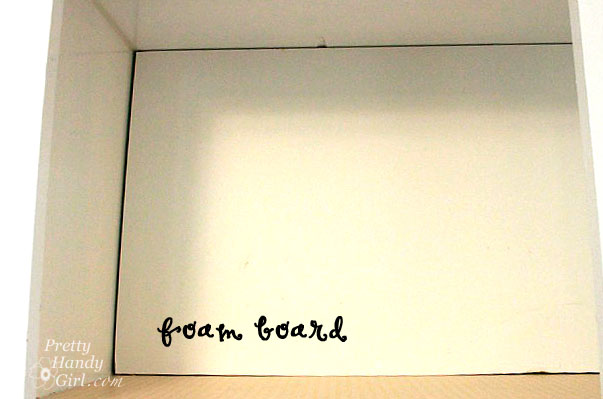
Cut a piece of foam board using the measurements you just took.
Test fit the foam board into the back of the cabinet. If your cabinet’s face frame is smaller than the cabinet back, you will probably have to bend the foam board to get it in.
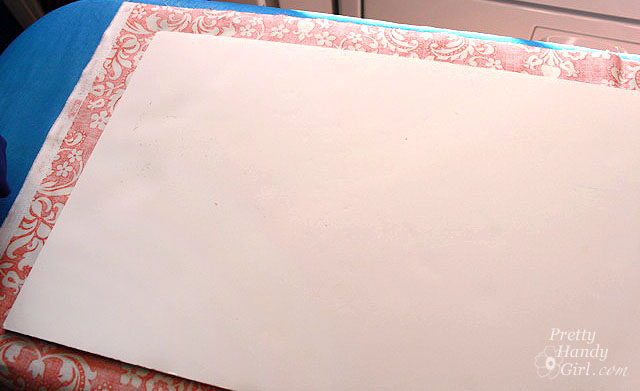
Step 8. Iron your fabric. Make sure to iron all the wrinkles out.

Cut the fabric 3 inches wider than the foam board. Lay the foam board on top of the fabric (wrong side facing up.)
Step 9. Tape the edges of the fabric onto the back of the foam board. Be sure to pull the fabric taut.
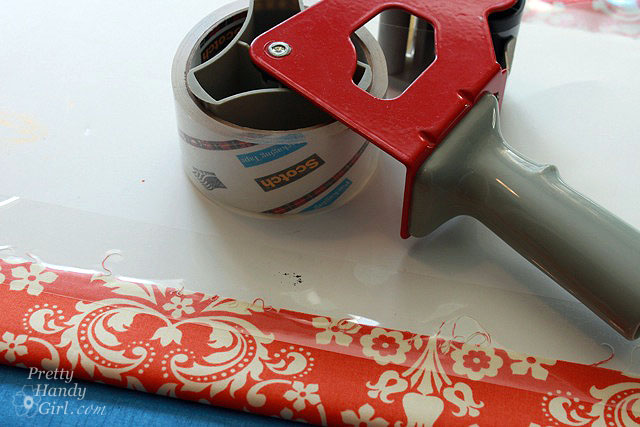
Fold the edges of the fabric as you would on a gift. Tape the ends to the back of the foam board.

Step 10. Insert the foam board into the cabinet.
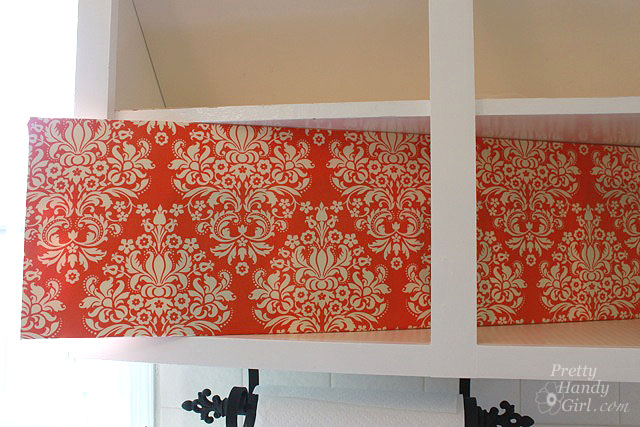
Push the foam board firmly against the back of the cabinet. The tension of the fabric and the board against the edges of the cabinet should hold it in place, no need to tape or glue anything!
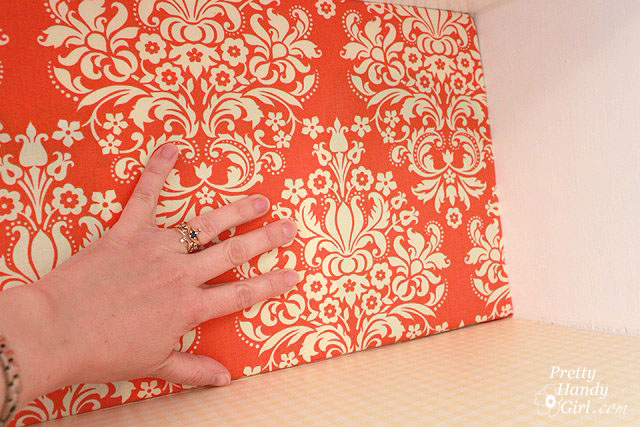
It is a good idea to try to line up your pattern if you have multiple shelves. (Do as I say, not as I do.)
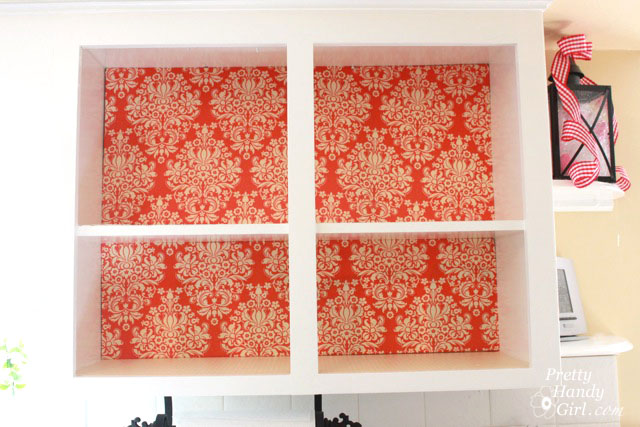
Start putting your coordinated dishes back into the cabinet. Think about displaying them as you might see in a store to complement these fabric backed cabinets.
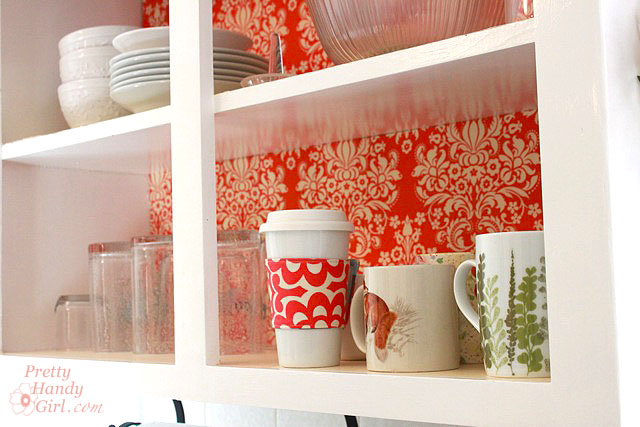
For visual interest and extra storage, I hung some mugs from the top of the cabinet.
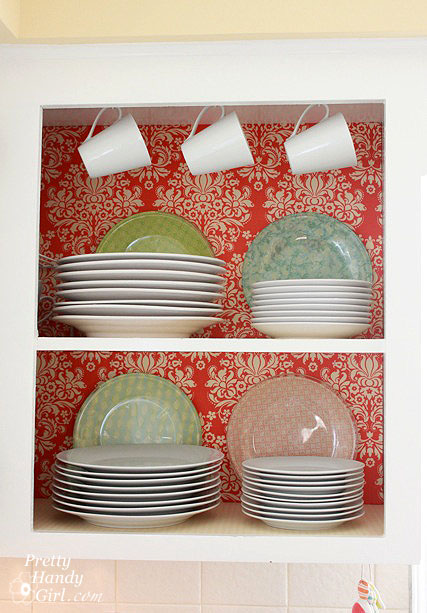
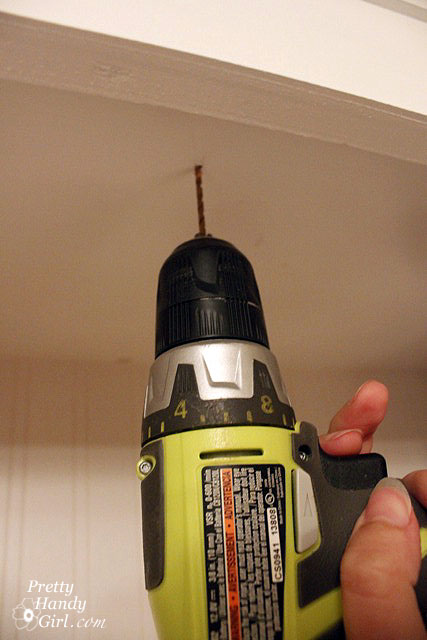
It was as simple as pre-drilling some holes and screwing in white cup hooks. (I did measure the same distance back from the face frame and spaced the hooks evenly. But, I’m a perfectionist like that.)
I am in love with my new kitchen! And all it took was less than $25 in supplies and a few hours.

What do you think?

The best part about this project is that I can easily remove the foam boards…
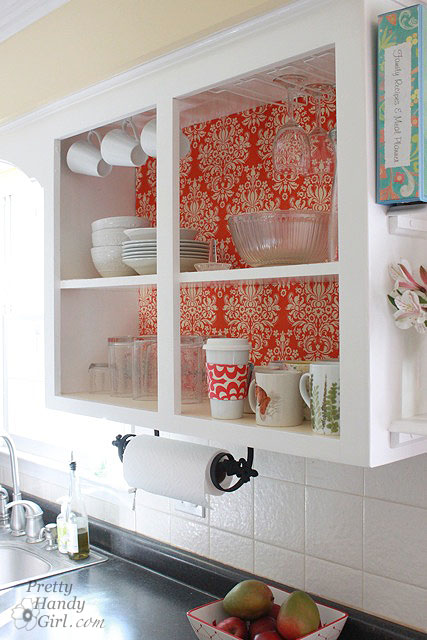
…or tape new fabric onto the back when I want to update the look!
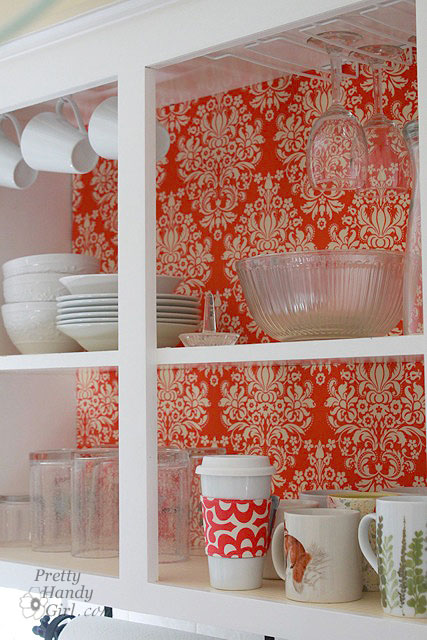
Can you imagine a cheaper, easier or more glamorous update to your kitchen?
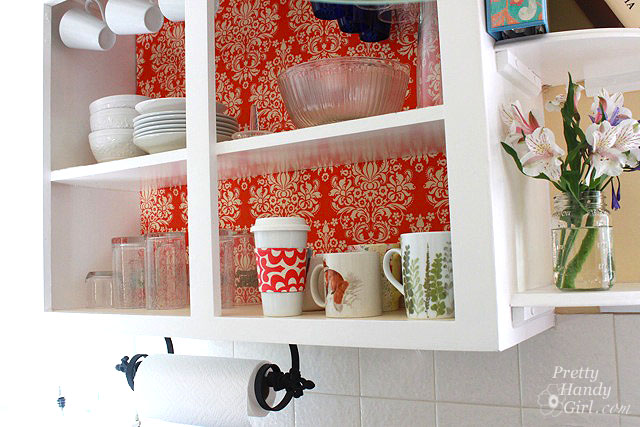
Are you an apartment dweller that is restricted from making permanent changes to your home? Or does your budget limit the renovations you’d really like to make? Why not make a few frugal changes that reflect your own style. These fabric backed cabinets are a win for any kitchen!

Apartment Guide has changes you can make that won’t break the bank:

Want to find even more design tips for your home? Apartment Guide has budget friendly ideas and DIY how-tos for people in any sized home on https://www.movingtoday.com and https://www.apartmentguide.com/blog/

Disclosure Statement:

Apartment Guide and owner Consumer Source, Inc. partnered with bloggers such as me to participate in their monthly blogger program.  As part of that program, I received compensation.  They did not tell me what project to create or what to purchase. Nor did they influence my opinions! We believe that consumers and bloggers are free to form their own opinions and share them in their own words. Consumer Source’s policies align with WOMMA Ethics Code, FTC guidelines and social media engagement recommendations.
How to Use a Caulk Gun

You know the old saying, “No question is a dumb question.” Well, I have to say that about this tutorial, “No tutorial is a dumb tutorial.”

I realize that a caulk gun isn’t a big scary power tool, and yet I still think learning how to use a caulk gun is a very valuable skill for any handy person.

So, let’s get right down to some Caulk Talk.

How to Use a Caulk Gun

A caulk gun is a necessary tool for any homeowner. Sealing gaps in siding, replacing the seal around the tub and shower surround when the old caulk gets dry and brittle is a must. Caulking around the trim around windows and doors will improve your homes energy efficiency and get rid of unsightly gaps. You can also use it for spreading construction adhesive and any other substrate that is sold in tube form. A caulk gun saves your hands from cramping, especially if you have a lot of caulking to do.

A basic caulk gun costs about $10 – $20, but you could buy a power version which run up to $200! Sheesh!

Starting a tube of caulk:

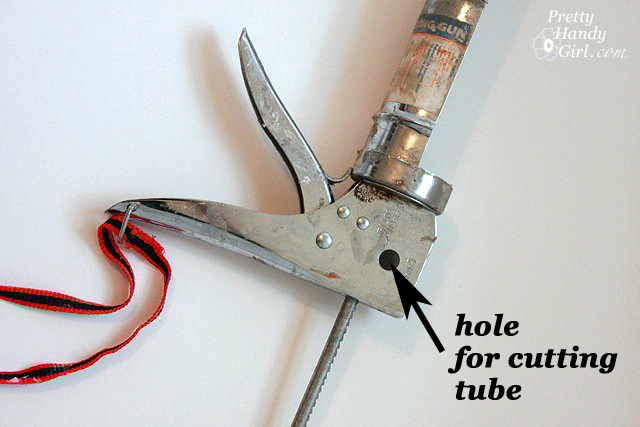
Cut off the tip of your tube by inserting it into the hole at an angle.

How to Use a Caulk Gun

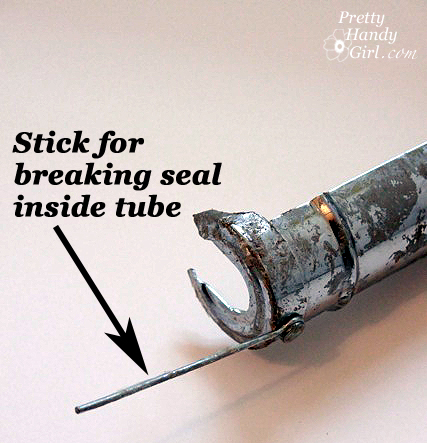
Poke the stick attached to the gun into the tube to puncture the seal.

How to Use a Caulk Gun

 Loading a caulk gun:

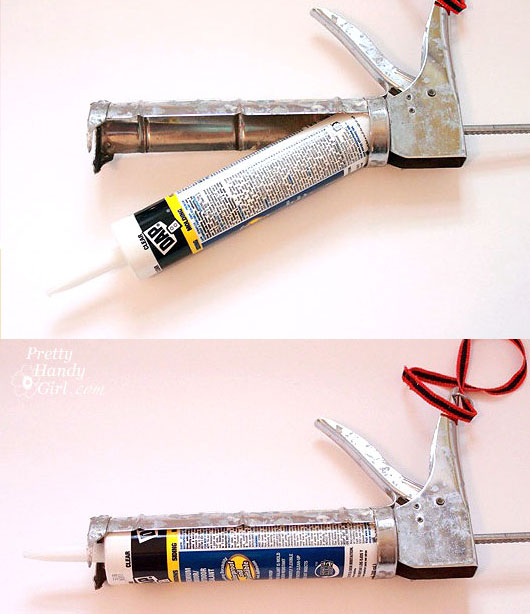
Pull the hooked rod all the way back. Insert your tube base first. Then tilt the nozzle end into the top of the gun.

How to Use a Caulk Gun

Rotate the hook so it is facing up and the teeth are facing down.

How to Use a Caulk Gun

Pull the trigger and you’re good to go!

How to Use a Caulk Gun

Be prepared to pull the hook rod back when you finish or the caulk will continue to flow out of the nozzle.

How to Use a Caulk Gun

Watch these videos for more details on using a caulk gun (also called a caulking gun) and why it is important to fill any cracks or seams in your siding!

*Thanks to The Real Tim Jones for sharing the secret about how to cut and start your caulk tube! Tim is sooo right, I never knew about this until I saw his video!

And, if you want to find out how to keep your caulk from drying out in between uses, my friend Sandra at Sawdust and Paper Scraps has this tip.

Happy Caulking!

How to Use a Caulk Gun

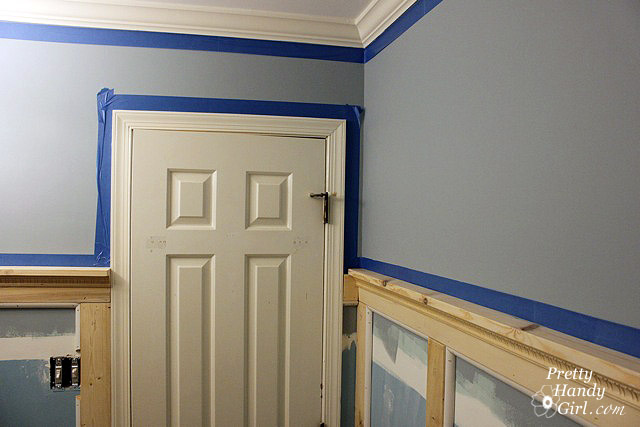
If you are just joining me and missed the tutorial for building board and batten moulding, you can view that tutorial HERE. Today I want to show you how to hide the holes, seams and how to paint the board and batten moulding. Plus, how I paint the wall so it looks more like wood and not like drywall.

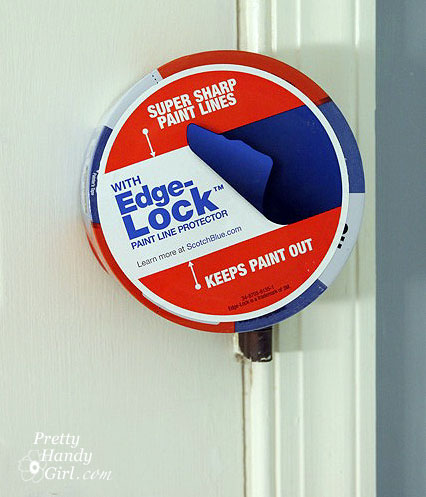
Start by taping off the moulding. I used ScotchBlue painter’s tape with edge lock technology because 3M just sent me these rolls to try out.

If you are re-painting the crown moulding and the door, tape them off as well.

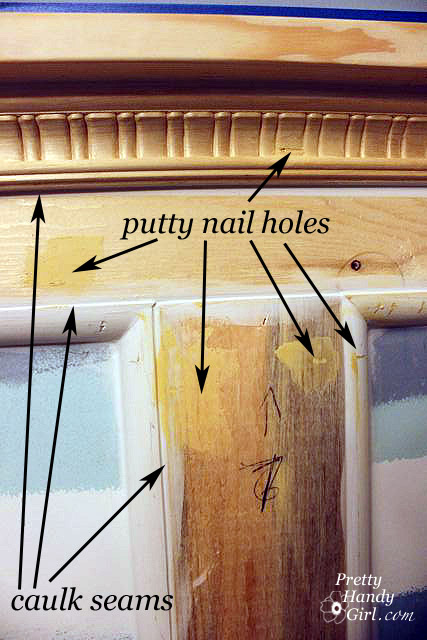
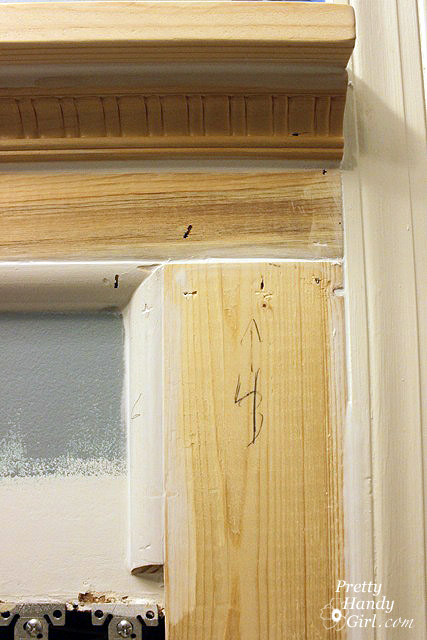
Usually I fill the nail holes with wood putty. Then I fill seams with caulk. To view a tutorial on filling holes with wood putty, click HERE.

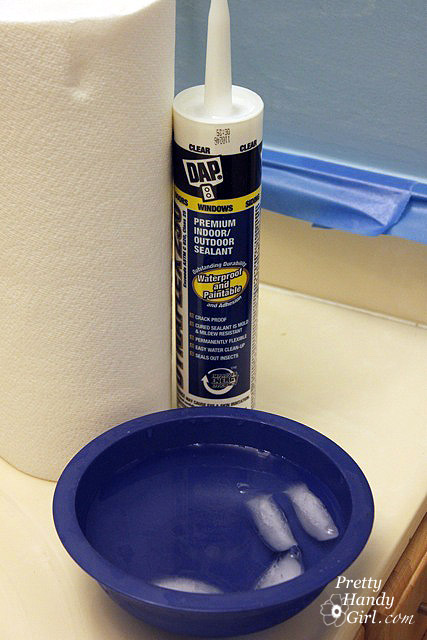
I actually just read about a neat tip on Diane’s blog (who also just added board and batten moulding in her bathroom.)  She uses ice cubes and cold water for working with caulk. I’ve never tried this, but am happy to report that it really helps smooth the caulk and keeps it from sticking to your fingers.


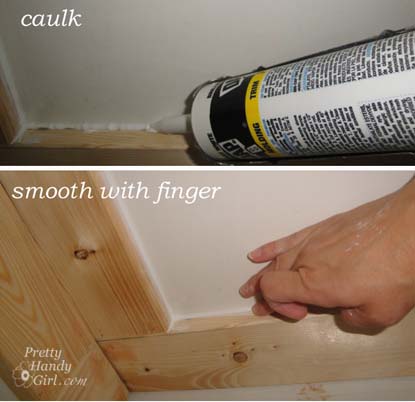
Which caused me to amend the Pretty Handy Girl’s tried-and-true caulking method:

  1. Squeeze out your bead of caulk, using a caulk gun.
  2. Dip finger in the ice cold water.
  3. Run your finger along the bead to smooth it.

Seal every seam in your moulding and then let it dry.

Once all the putty and caulk has dried, get the primer out. Paint primer on all the wood moulding using a paint brush. In the center (drywall areas), you can roll on the primer.

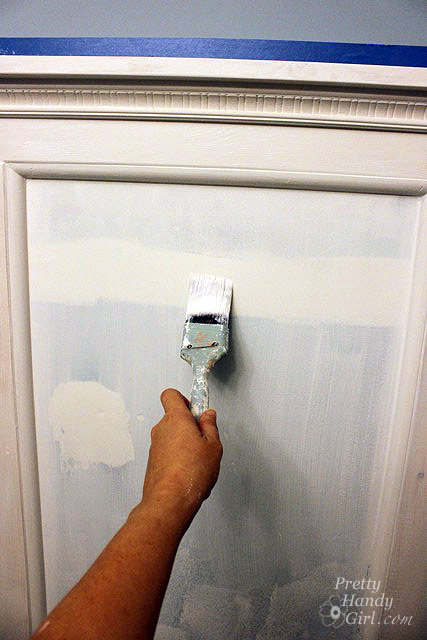
But, before the primer dries use the brush to spread it in long vertical strokes.

After the primer has dried, go ahead and add one coat of paint. Follow the same direction of strokes with the brush as you did when priming.

I made a video to show you the technique I used to give the wall a wood grain texture. Please forgive the painting clothes and unwashed hair! I haven’t hired a hair, makeup and costume stylist yet.

I have yet to be able to get away with only one coat of paint. If you look close you can still see some of the blue wall color showing through.

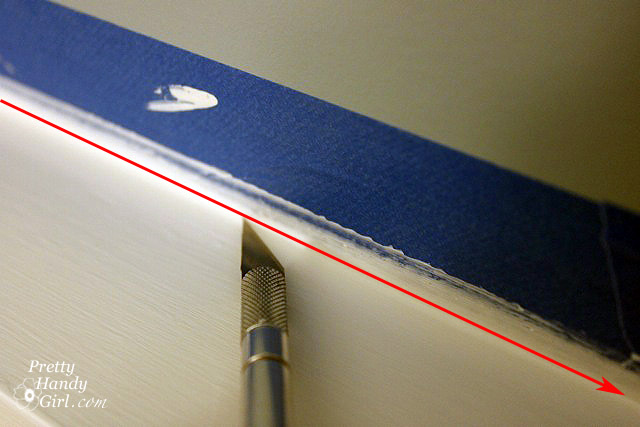
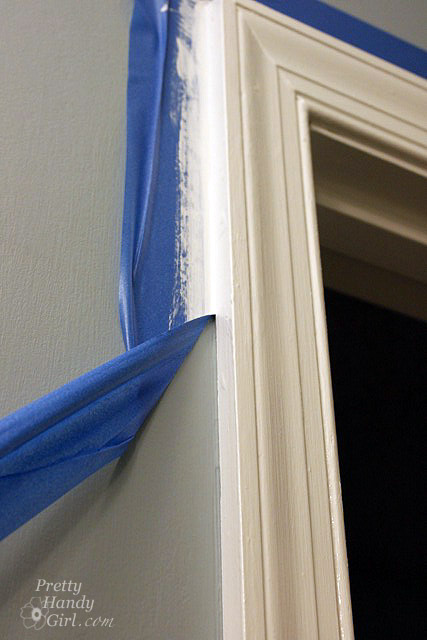
After the paint has dried, it is time to remove the tape. Anywhere that you caulked between the wood and the tape, you need to score the caulk to give it a clean edge when you remove the tape.

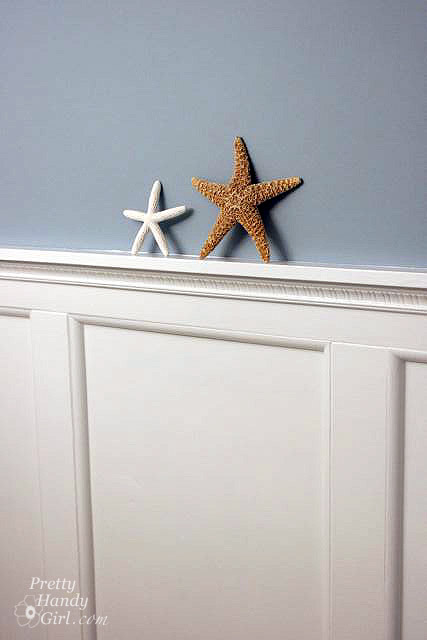
Remove the tape and looky at that clean edge! I’ve used ScotchBlue painter’s tape before, but I can honestly tell you that the new Edge lock technology is a big improvement. As long as you press the edges down firmly there is hardly any places where paint seeped underneath. The only places seepage occurred was where there was a dimple or imperfection in the wall.

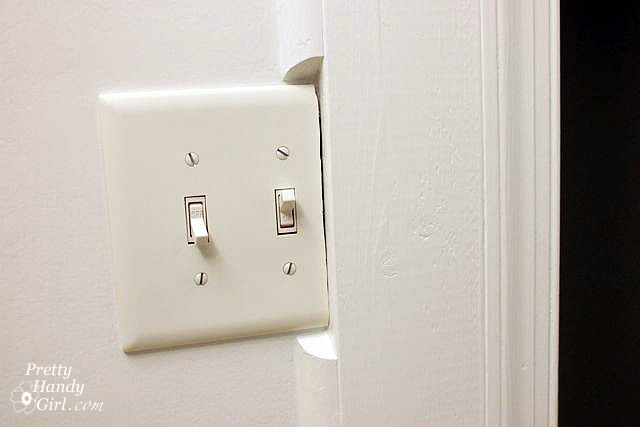
One thing I didn’t caulk was the light switch plate which I had to cut to fit next to the batten. I will probably go back and add a little caulk between the switch plate and the moulding.


I hope you learned something today. Coming up next, the bathroom reveal!

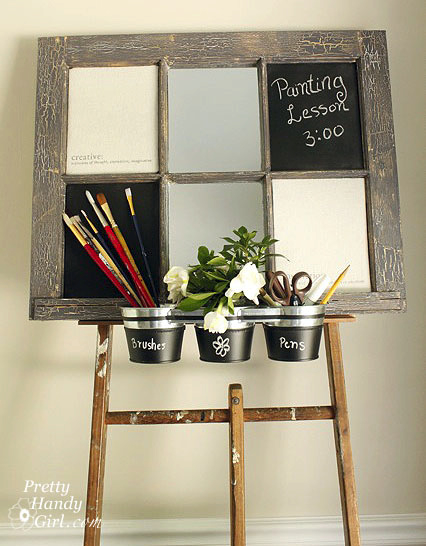
Artist Inspiration Board

Hey guys, today I’m dishing up a triple dose of posts for you. I’ve been busy, really busy, super busy! And you don’t know the half of it. As you are reading this, I’m on my way home from California. I flew out to surprise my little sister for her birthday. She and her husband are expecting their second child and I wanted to go all “Pretty Handy Girl” on their home ;-D.

First, you can read my tutorial for making this whimsical message center, from a curbside window, over at my friend Sandra’s blog,

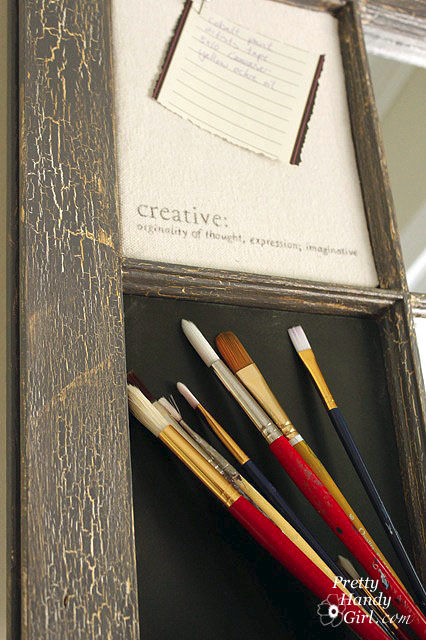
Then you can come back here and read about this Artist’s Inspiration board also made from an old window.

Finally, if you like what you see you can head over to Parentables to see an entire post on curbside transformations! You won’t believe some of the before and afters!

Okay, ready? Well, let’s get this show on the road.

Materials:

  • Old divided light windows
  • Foam core
  • Tin snips
  • 3M duct tape
  • Scissors
  • Primer
  • Chalkboard paint
  • Irwin mat knife (or x-acto knife)
  • Clear Caulk (window and door sealant)
  • primer
  • fine grit sand paper
  • Two colors of paint (gold and medium gray)
  • Crackle medium
  • Polyurethane
  • Foam double stick tape
  • mirror
  • ruler
  • mirrored glass
  • tin pots, buckets or recycled cans
  • drop cloth bulletin boards from THIS post

Prepping your window:

You will need to clean, prime and paint your window before beginning this tutorial.

Here is what I did during the prep phase: Cleaned the windows (I used a bleach solution because there was mold and mildew present.) I repaired the glazing that was cracked and missing. I used paintable caulk. No need to buy glazing.

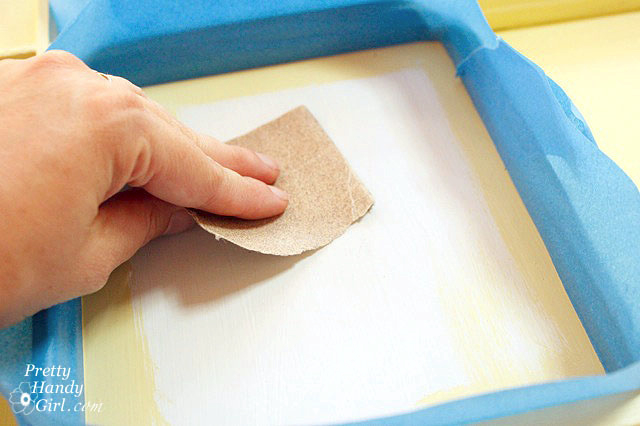
Prime the entire window, glass and all! Once the primer has dried, use the sandpaper to gently rough up the primer (especially on the glass. But, be careful not to scratch through to the glass.)

For the beautiful crackle finish on my window, I started by painting the window a metallic gold color.

When the gold had thoroughly dried, I coated the entire window with the crackle medium. Once that had dried, I painted a medium gray on top. That’s when the magic happens. The paint separates and reveals a hint of gold. It is important not to go back over the gray paint after you paint it on or you will get a gloopy mess!

I finished off the painting prep steps by applying two coats of water-based polyurethane.

Tutorial:

Measure all the individual window panes. Be sure to measure only the exposed glass.

Transfer your measurements to cut 2 squares of foam core. Make sure your blade is sharp! Dull blades will drag and tear the inner foam.

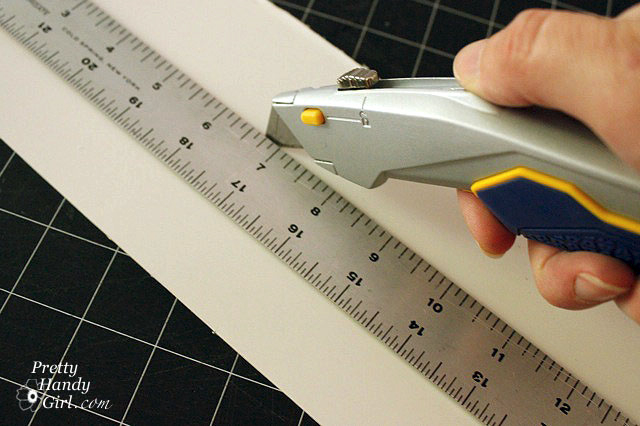
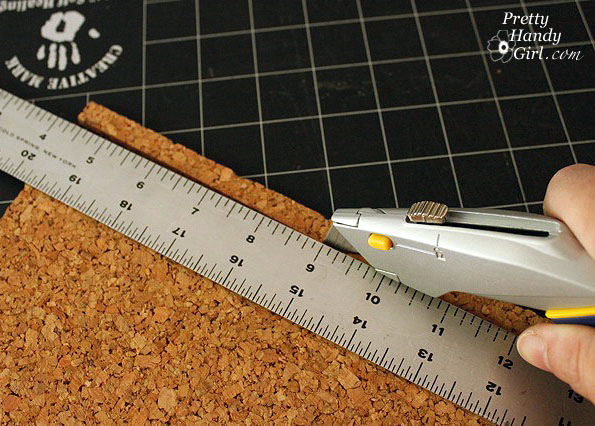
Next, transfer your measurements to cut two pieces of cork board. Cut the cork board with a ruler and mat knife.

Finally cut two pieces of mirrored glass to fit the remaining two panes (need help cutting glass? Have a professional do it, or watch Sandra’s tutorial HERE.)

You should now have 2 pieces of foam core, 2 pieces of cork board (wrapped in drop cloth as I showed you the other day), and two pieces of mirrored glass.

Dry fit all the cut squares to make sure they will fit in the window openings.

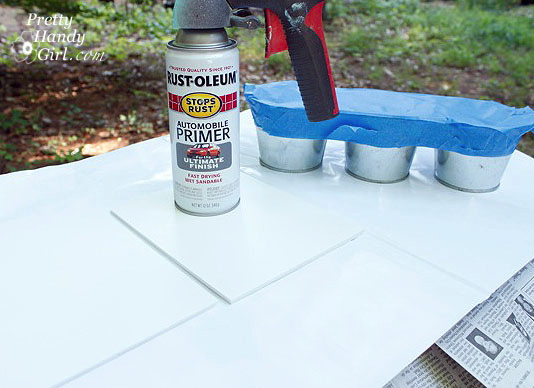
Take the foam core and tin pots outside. Spray them with primer.

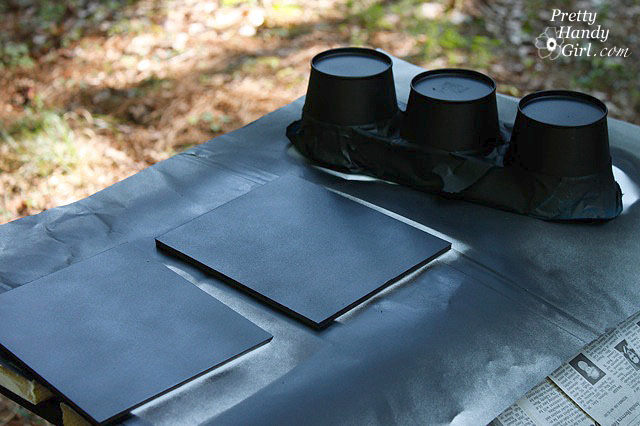
When the primer has dried, spray the foam core and buckets with a few coats of chalkboard paint.

To view how to print onto painter’s drop cloth, refer to my tutorial here.

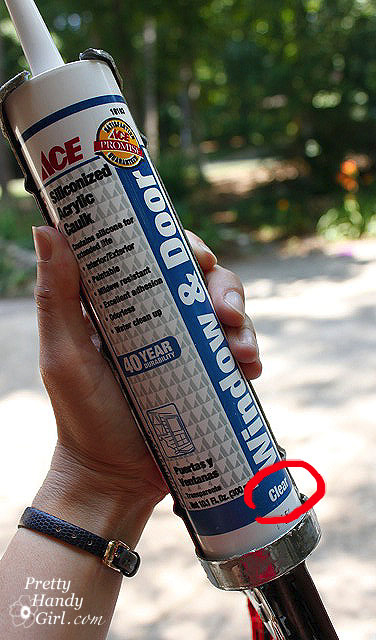
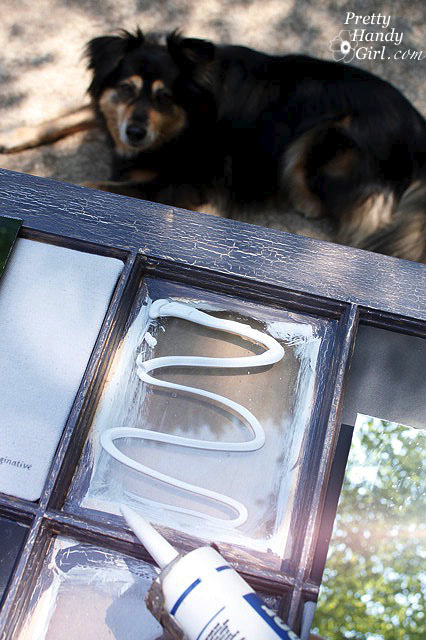
To attach the chalkboard foam core, mirrored glass, and drop cloth squares, you will need clear window and door caulk. Snip the top off at an angle. Insert a straightened coat hanger into the tip to puncture the inner lining of the caulk.

Put a fair amount of caulk onto each glass of the window. (Lazy supervisor in the background!)

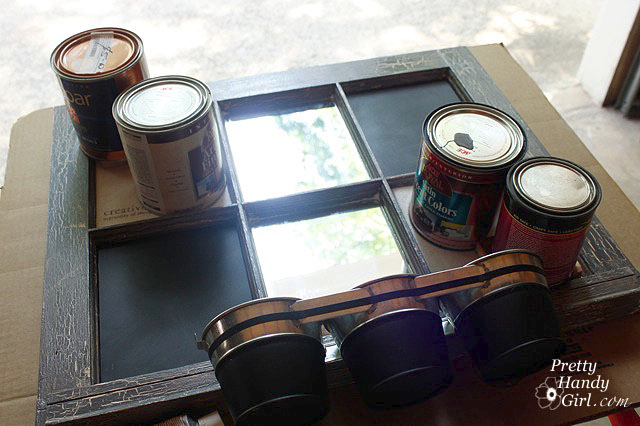
Press the individual squares into it. Weight the drop cloth squares (with paint cans) while they dry.

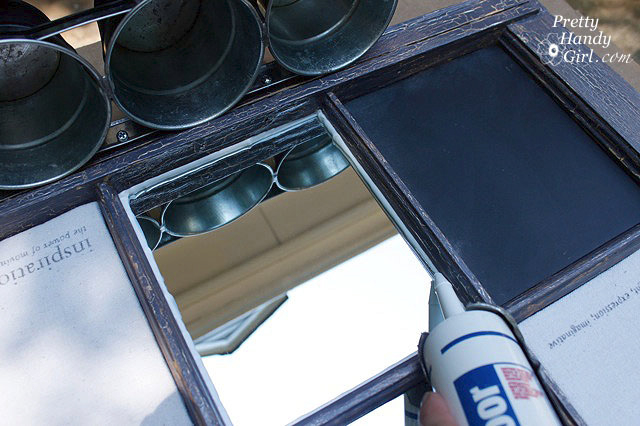
To secure the chalkboard and mirror sections, run a bead of caulk along the edges of the boards.

Use a damp paper towel to smooth and clean up the caulk edging.

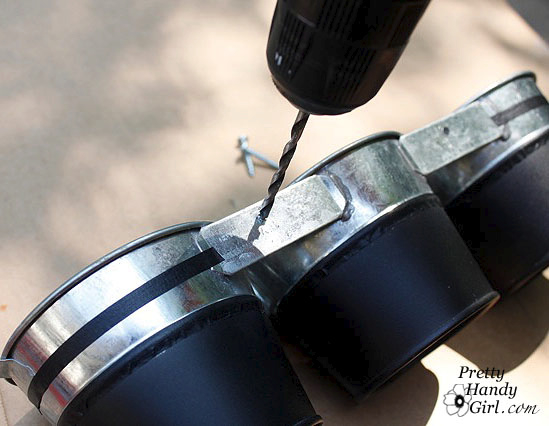
Once the caulk has dried, you can affix the tin buckets to the window. Drill holes through the bucket bracket or tin cans.

Attach a screw through the hole and screw it into the window pane.

To add a hanger to your memo center, flip the window over and measure down 3″ on both sides.

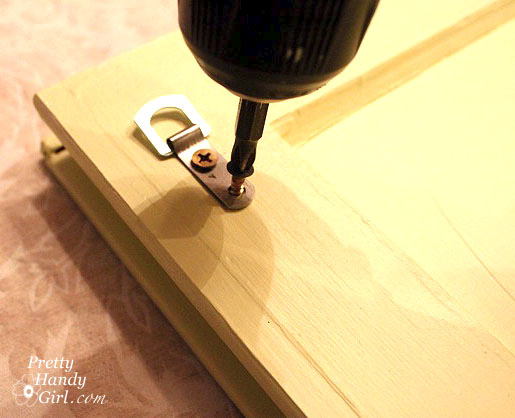
Use a drill to drive the screws into the D-ring style hangers.

I made this artist’s board to sell, but honestly I’m having a hard time parting with it. So, it may just find a home in my painting studio (aka Bonus Room). But, maybe you could convince me otherwise. How much would you pay for this one of a kind artist’s board? I keep thinking it is a real life version of Pinterest.

Don’t forget to view more of my curbside transformations.