Modified King Size Farmhouse Bed with Storage Drawers | Pretty Handy Girl

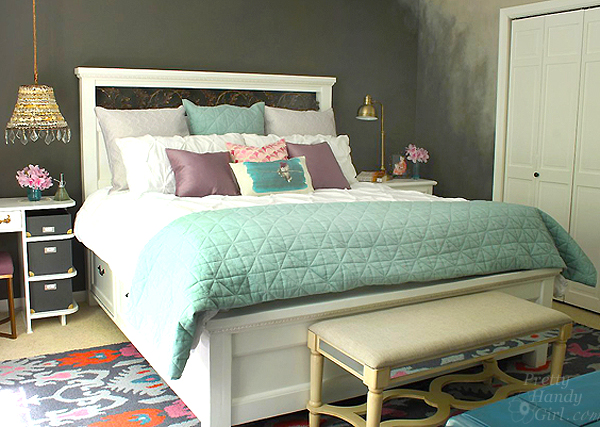
The master bedroom is almost finished. If you’ve been following along, I decided to give our bedroom a makeover when we upgraded our mattress to a king size. That decision has resulted in a few “give a mouse a cookie” decisions. Every time we needed a new mattress, we discussed whether it was time to upgrade to a king. Each time we decided to stick with our queen. Besides the savings, I was attached to our oak leaf sleigh bed. The wrought iron leaves are my favorite part of the bed.

MasterBed1

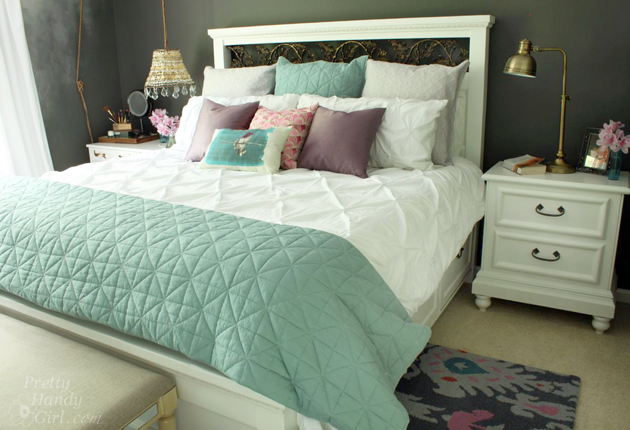
Farmhouse King Size Bed with Storage

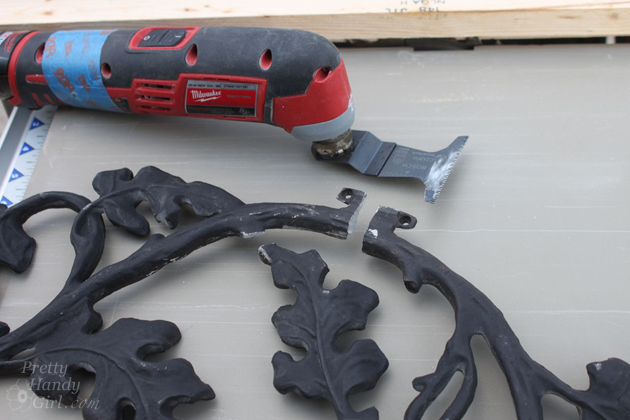
This time as the mattress buying decision loomed, I did extensive research and discovered Savvy Rest’s Serenity latex layered mattress. Who knew that this DIY mattress would last us for decades! (You have to read about this mattress, it will probably be the last mattress you ever buy!) Given the length of time we’d be sleeping on it, we decided it was finally time to make the switch and move up to a king. But, I have to admit, I was sad about saying goodbye to the oak leaves. A few sleepless nights later and I had formulated a brilliant plan of how I could use my beloved oak leaves in the new bed:

Modified King Size Farmhouse Bed with Storage Drawers | Pretty Handy Girl

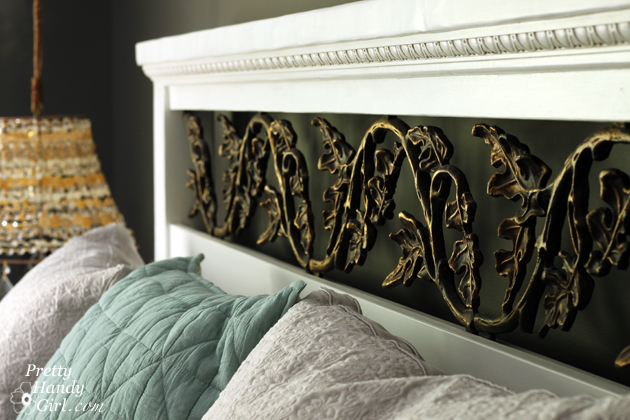
I ended up altering Ana White’s Queen size farmhouse bed with storage drawers plans by sizing it for a king-sized mattress. Plus, I altered the headboard design to incorporate my beloved oak leaf wrought iron.

Ana’s plans are great, so I’m going to send you to her site to download the basic plans. Then, I’ll give you the details and show you the modifications I made.

Modified King Size Farmhouse Bed with Storage Drawers | Pretty Handy Girl

Building the King Size Farmhouse Storage Bed: Read more

Facelift for a Knotty Pine Dresser | Pretty Handy Girl

Facelift for a Knotty Pine Dresser | Pretty Handy Girl

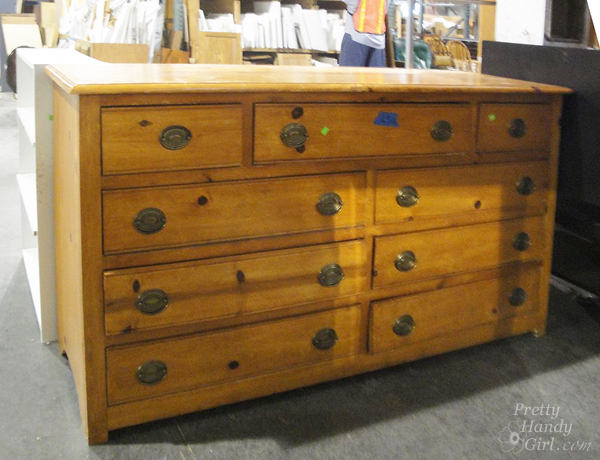
You know you’ve seen those knotty pine dressers from yesteryear. Their spotlight has faded and they are finding themselves at thrift shops, ReStores or worse yet…at the curb.

Facelift for a Knotty Pine Dresser | Pretty Handy Girl

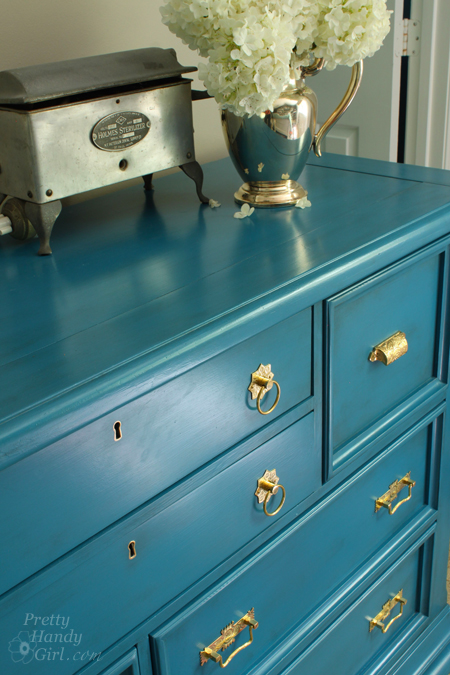
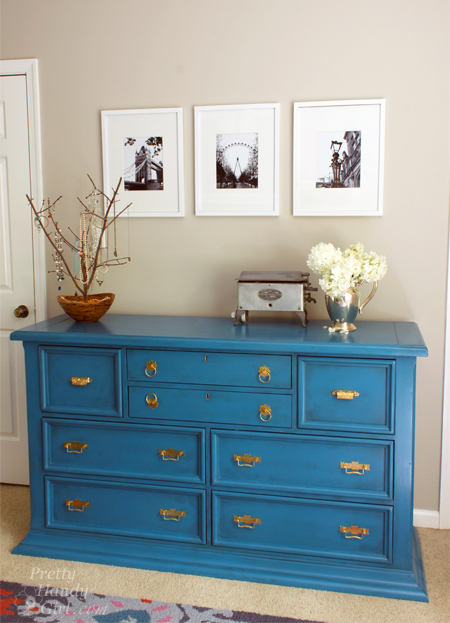
I’m begging you to let this knotty eyesore back into your home. It doesn’t have to be banished. It’s KNOT her fault she was built from cheap pine. All this dresser needs is a new coat of paint and some beautiful brass knobs and all her flaws and knots will be forgotten.

Facelift for a Knotty Pine Dresser | Pretty Handy Girl

Extra observant points to anyone who realized that this blogger forgot to take a good before picture! She looked very similar to the knotty pine dresser shown above, except she had wooden circle knobs and an unfortunate set of bun feet. I did remove the bun feet from the dresser when I first brought it home. Mama ain’t got no need for buns in this oven (or on my dresser.)

Here are the details on how to refinish a knotty pine dresser and give it a complete makeover!

Materials:

  • Sandpaper
  • BIN primer
  • Damp rag
  • Paint brush
  • Foam paint roller
  • Quart of Benjamin Moore Advance paint (Deep Ocean)
  • Valspar asphaltum glaze
  • Brass hardware (I bought mine from House of Antique Hardware)
  • Drill with bits
  • Screwdriver
  • Level

Instructions:

This tutorial will be fairly brief, if you need more photos and explanation, you can view my previous dresser painting adventure.

Begin by removing all the drawers and knobs. Lightly sand the dresser and drawer fronts. Wipe off any sanding dust. Read more

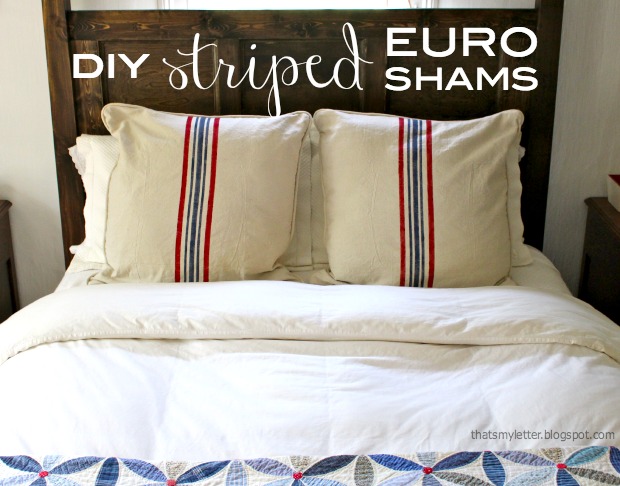
striped euro shams

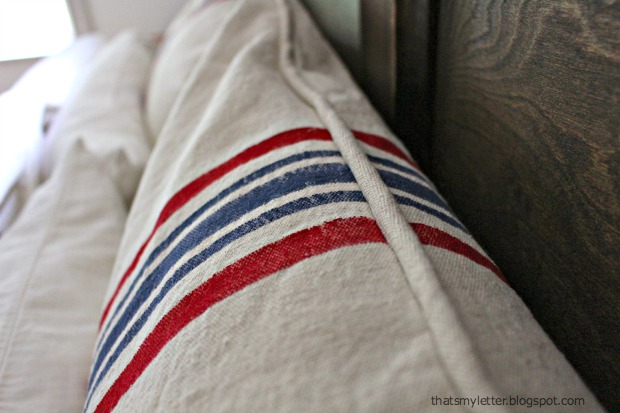
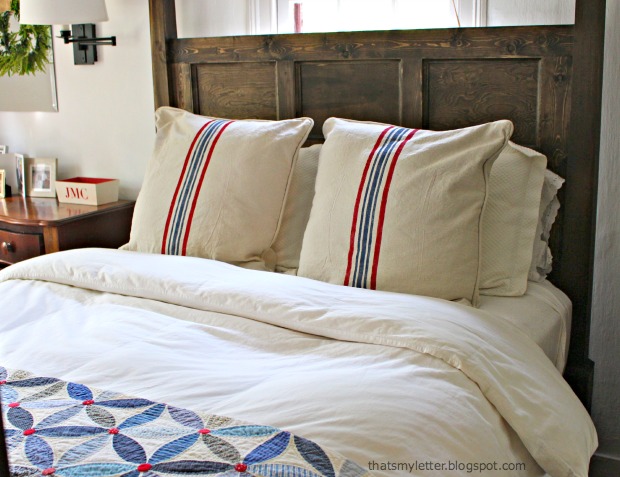
Every DIYer loves a little drop cloth project right?  Jaime from That’s My Letter here to share how to make striped euro shams.

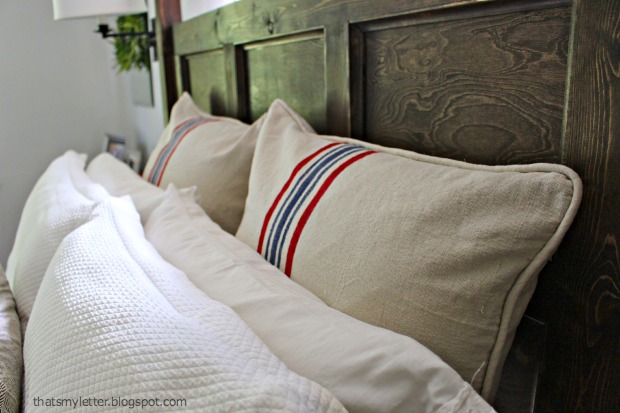
Using drop cloth and acrylic craft paint, I made these grain sack inspired shams to finish off our new poster bed.

striped euro shams 1

I added piping to finish the edges. It wasn’t too hard, and it was worth the extra effort.  Brittany has a great piping tutorial here or you could always leave off the piping if you choose.

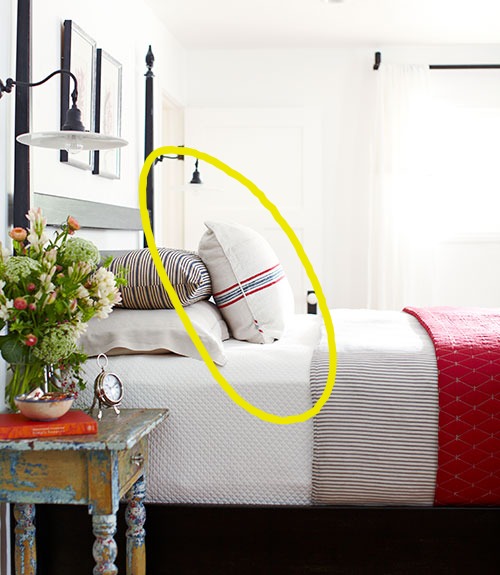
05-CLX-digging-deep-striped-duvet-cover-0613-xln 1

I found my inspiration for these shams from a Country Living article in the June 2013 issue.  The master bedroom in the featured home had the perfect striped lumbar pillow and I knew I just had to have my own!

striped euro shams 3

Similar but different, these striped shams coordinate well with my Joseph’s Coat quilt.  Check out how easy it is to make your own shams:

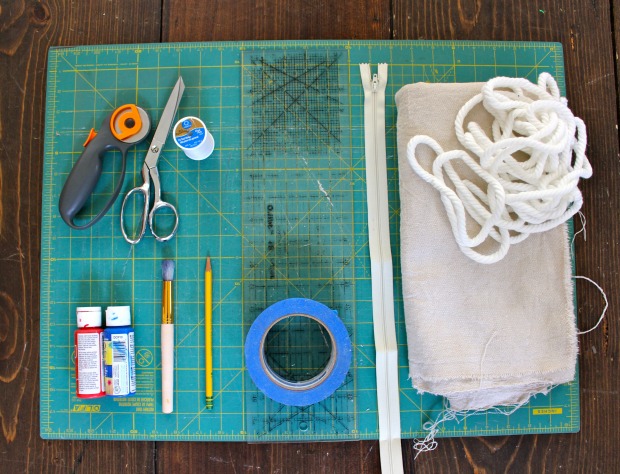
Materials:

striped euro shams supplies

  • drop cloth (2 – 26″ x 26″ square piece per sham)
  • cotton cording (2 yards per sham)
  • 22″ zipper
  • painter’s tape
  • stencil paintbrush or stiff bristle brush
  • acrylic paint
  • pencil
  • clear quilting ruler
  • rotary cutter
  • self healing cutting mat
  • scissors
  • thread
  • sewing machine
  • iron & ironing board

Instructions:

striped euro shams step 1

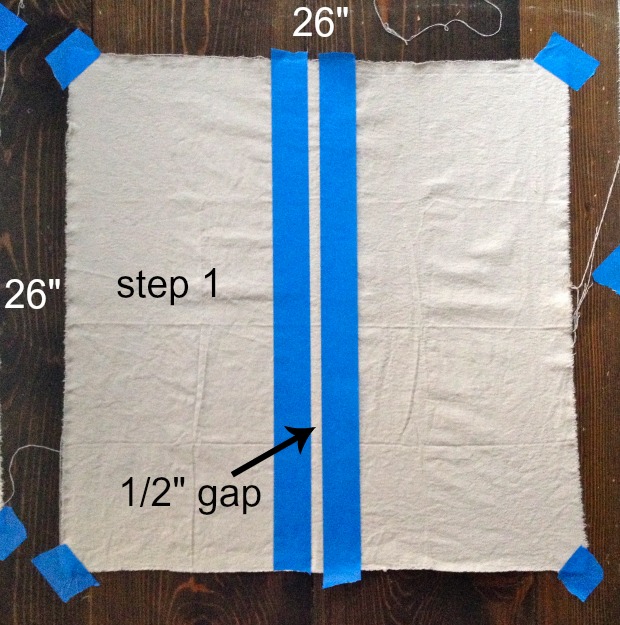
Step 1: Measure your sham inserts and add 1″ to each side.  (My inserts measured 25″ x 25″ therefore I cut the drop cloth at 26″ x 26″.)  Tape the corners of the drop cloth to a hard surface.  Slide a piece of cardboard under the drop cloth to protect your surface. Mark a 1/2″ wide stripe at the center and secure painter’s tape down either side of gap. Read more

How to Paint an Ombre Wall Technique | Pretty Handy Girl

How to Paint an Ombré Wall Technique

How to Paint an Ombré Wall Gradient | Pretty Handy Girl

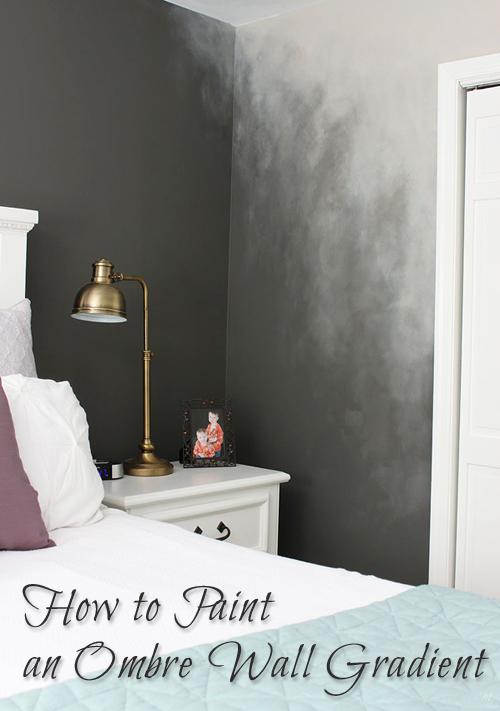
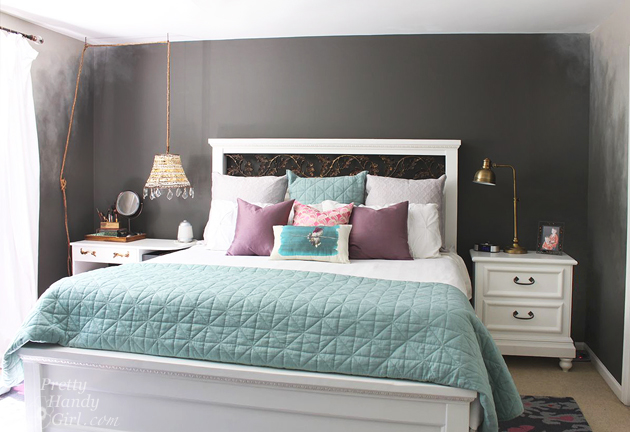
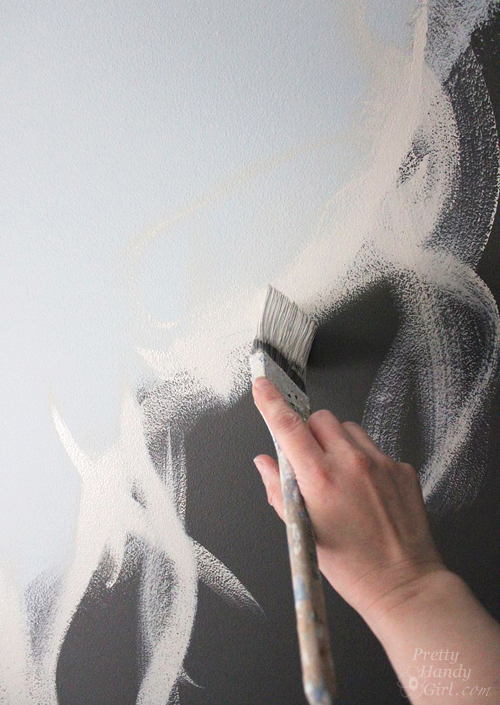
Ombré painting is EVERYWHERE. Clothing, home décor and even wall paint techniques. An ombré wall is the paint technique I chose to create a misty and ethereal look in our master bedroom. It started when I fell in love with Kendall Charcoal by Benjamin Moore but didn’t want to make our entire bedroom too dark (I have a hard enough time waking up in the morning.) I decided a good solution was to use the dark charcoal gray color on a focal wall behind the headboard. But, I didn’t want to stop the color in the corners and create a sharp line.

How to Paint an Ombré Wall Gradient | Pretty Handy Girl

Instead, I wanted a softer edge that would make us feel like we were being hugged by the room.

How to Paint an Ombré Wall Technique

How to Paint an Ombré Wall Gradient | Pretty Handy Girl

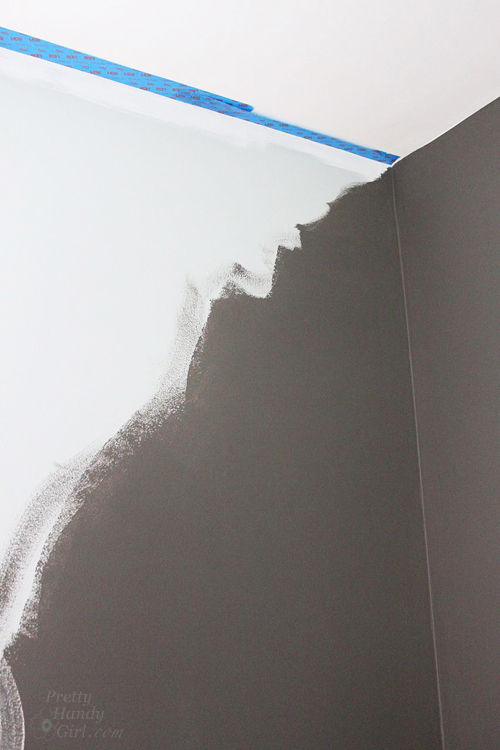
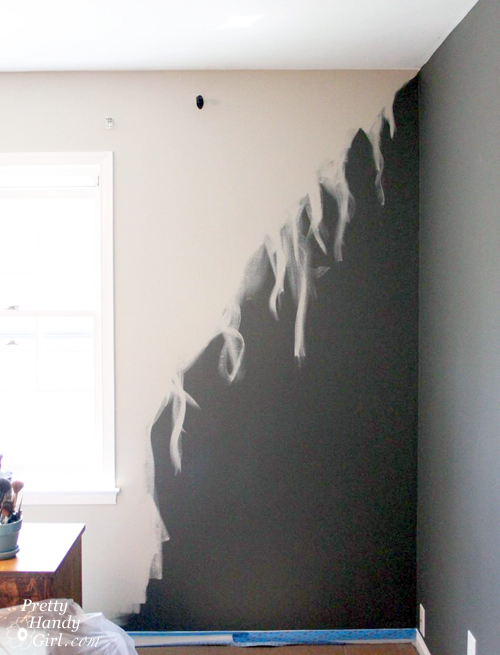
I used Revere Pewter by Benjamin Moore to paint the other three walls in the bedroom, but created a random ragged edge where the two colors meet.

How to Paint an Ombré Wall Gradient | Pretty Handy Girl

This is how the side walls look in preparation for the ombré wall technique.

How to Paint an Ombré Wall Gradient | Pretty Handy Girl

Materials:

  • Dark latex paint color (Kendall Charcoal by Benjamin Moore)
  • Lighter latex paint color (Revere Pewter by Benjamin Moore)
  • A small container with a mixture of the two colors to create an in between gray
  • Paint brush
  • Dry brush
  • Water-filled spray bottle
  • ScotchBlue Painter’s Tape
  • Damp car wash sponge
  • Rubber gloves
  • Wet wipes or wet rag

Instructions: Read more

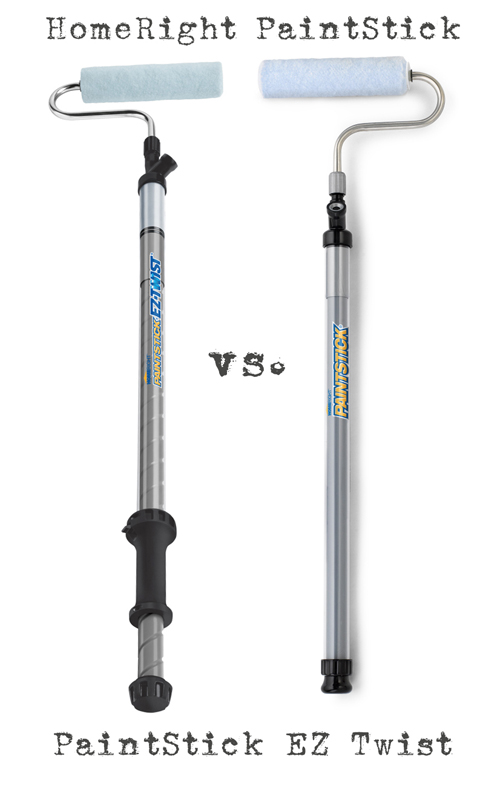
HomeRight PaintStick vs. EZ Twist Review | Pretty Handy Girl

HomeRight PaintStick vs. EZ Twist Review | Pretty Handy Girl

Remember when I declared that I only use a handful of painting products that I’ve used for 15 years? I usually detest “new and improved” painting gadgets. I’ve tried many and they are usually a flop or not as efficient as my current arsenal of painting tools. So, you’ll understand that when HomeRight first approached me about trying their PaintStick products, I declined. After saying no, I started seeing many rave reviews from other DIY bloggers. As I began anticipating the task of painting our master bedroom, I began to rethink trying the HomeRight PaintStick Paint Applicator. I was definitely tentative. Finally, I agreed to try out both the PaintStick original and the PaintStick EZ Twist. I warned HomeRight that I have high expectations and that if they weren’t met, I wouldn’t blog about their PaintSticks.

I guess you know where this is going because here I am to tell you that I really loved both PaintSticks! And I will be using one every time I paint a room from now on! Seriously, these products are a game changer.

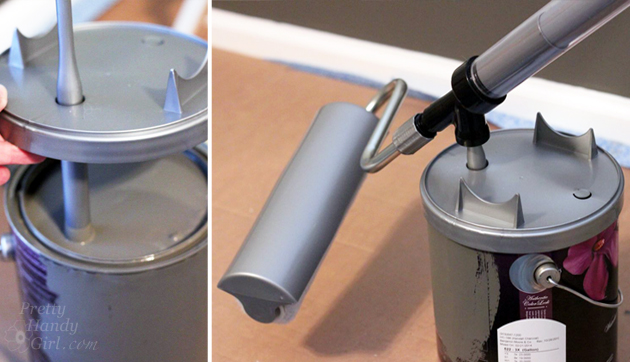
For one, you don’t have to worry about the messy task of pouring paint into a tray and moving the tray with you as you paint. Both HomeRight PaintSticks come with a paint can cover and fill tube that fits on your gallon paint container.

HomeRight PaintStick vs. EZ Twist Review | Pretty Handy Girl

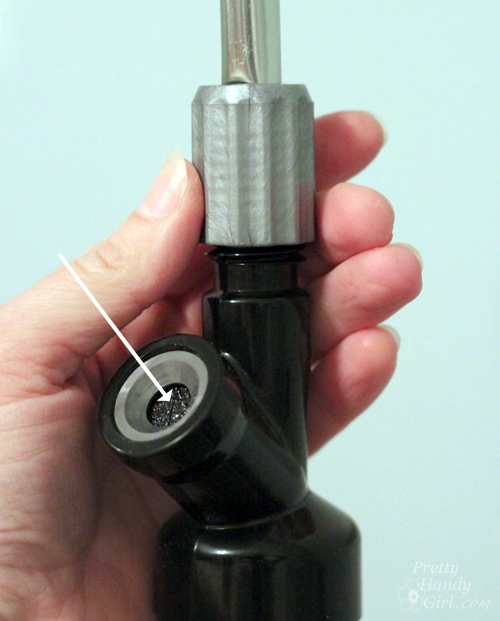
This keeps the paint from drying out and eliminates the need for a tray. The fill port on both PaintSticks is covered with a sponge type gasket that allows the fill tube to go through, but keeps the paint inside the PaintStick.

HomeRight PaintStick vs. EZ Twist Review | Pretty Handy Girl

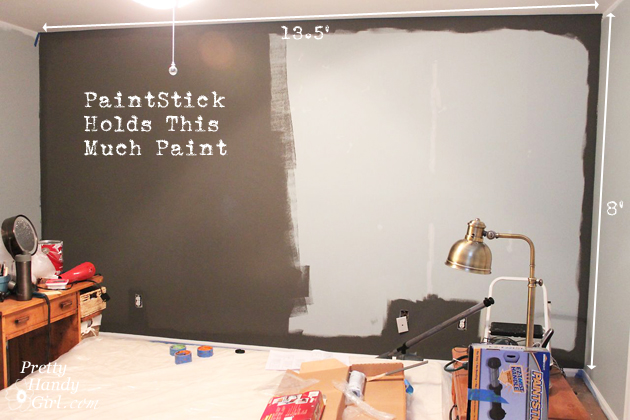
But, my FAVORITE aspect of the PaintSticks is that I can roll half a wall without stopping! No joke. With the traditional roller and tray I can usually paint a 4′ x 4′ square and then have to reload my roller. No more! The PaintStick literally allowed me to paint an 8′ x 7′ section (almost 4 times as much) without reloading.

HomeRight PaintStick vs. EZ Twist Review | Pretty Handy Girl

And refilling the tube is almost as fast as rolling. I cut my painting time down drastically. Here’s a video HomeRight made showing a side by side “Paint Off” race between the EZ Twist PaintStick and a roller and tray (and a paint sprayer). It’s pretty accurate in my experience.

The only negative, is that you will spend a little more time cleaning up. The PaintSticks have to be disassembled and cleaned out when you finish painting. But, this process doesn’t add enough time to come near exceeding the time it would take to paint conventionally with the roller and tray.

What’s the difference between the PaintStick and the EZTwist PaintStick? Read more