DIY Wanderer Felt Pillow

DIY Felt Letter Pillow Cover
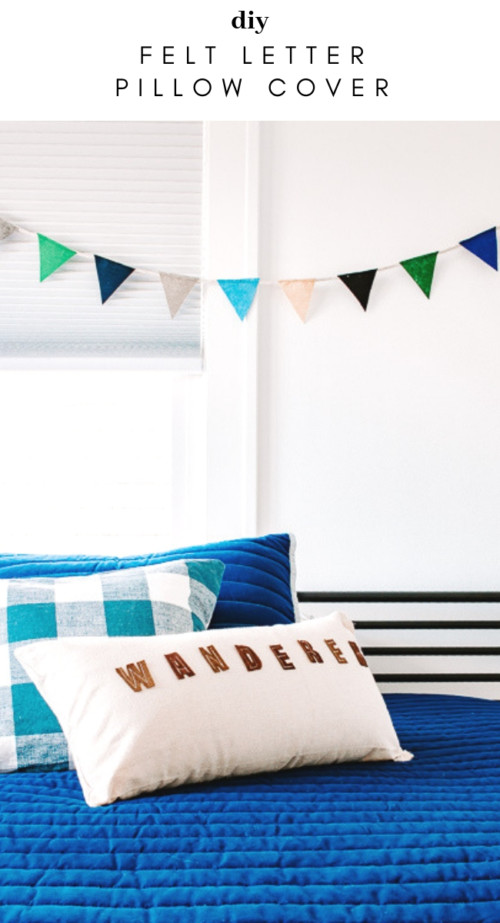
How to Make a Felt Letter Pillow Cover

Friends! I’m so excited to be back today with a new project for you, a DIY felt letter pillow cover. One of my favorite things to do is to scour home decor stores for inspiration for my kids’ rooms.  I love trying to recreate trendy looks for my home, but on a budget. Today’s project accomplishes this goal! I’ve seen some really cute letter pillow covers and I knew I could DIY one myself.  Originally I made one for my son’s room. It turned out so well that my daughter requested one for her room too. Lucky for you, a sewing machine is optional – so this project is for truly for anyone who wants to make their own Felt Letter Pillow Cover.

Let’s get started!

Materials:

(I’ve included affiliate links for your convenience. I earn a small percentage from a purchase using these links. There is no additional cost to you. You can read more about affiliate links here .)

Materials Needed to make a DIY Felt Letter Pillow

Instructions:

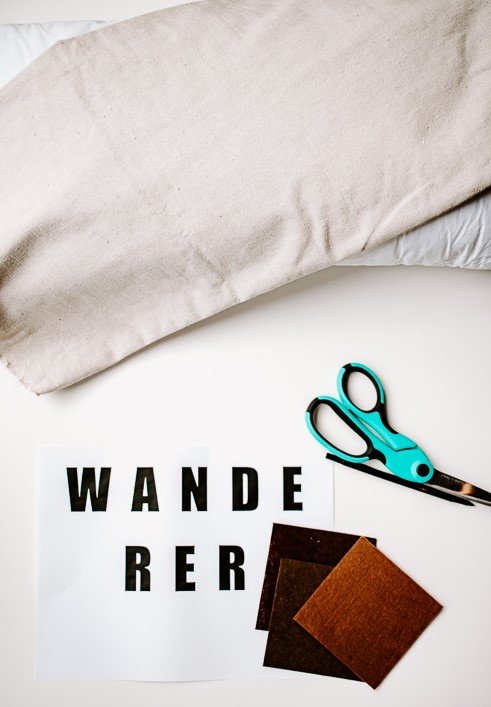
Step 1:  It’s helpful to type up and print out a word template for this project or use letter stencils.  It’s not totally necessary, but when tracing your letters onto the felt it helps keep all the letters relatively uniform.

Cut out letters from paper word template

Making Your Word Template:

Open up Word or Google Docs and type out the word you want.  Add a space between the letters. (I used the Impact font at font size 150pt for this project.)

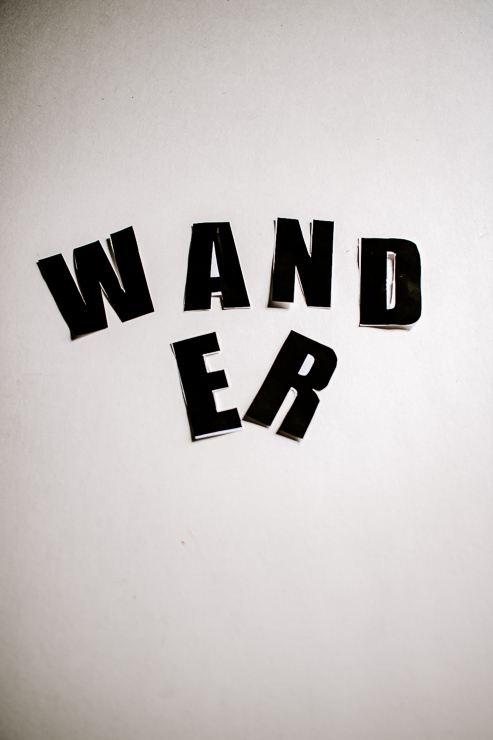
You can make your letters bigger or smaller. Just be aware, it gets a little tricky to cut out smaller letters. Cut your letters out of your template and let’s move on to the next step.

Tip:  If your word contains more than one of the same letter – you only need to cut that letter once. For instance – WANDERER has two E’s and two R’s, but I only needed one template for each letter because I could use the same one to trace two letters.  This should save you a few minutes.

Step 2: Trace your letters onto the felt using your stencil or cut out letters (or draw them freehand if not using a template).

Trace Letter with Pen or Chalk onto felt

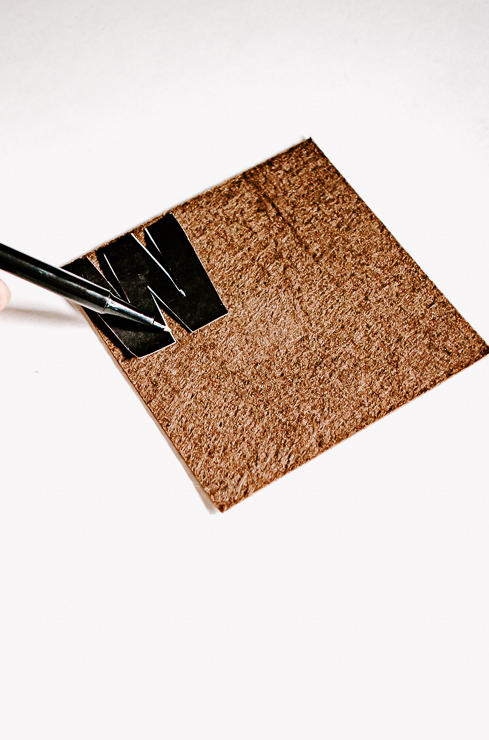
You can use pen, chalk, or pencil to trace.  Just make sure you can see the lines so you can cut them out.

Trace Felt Letters with Pen or Chalk onto you Felt Piece

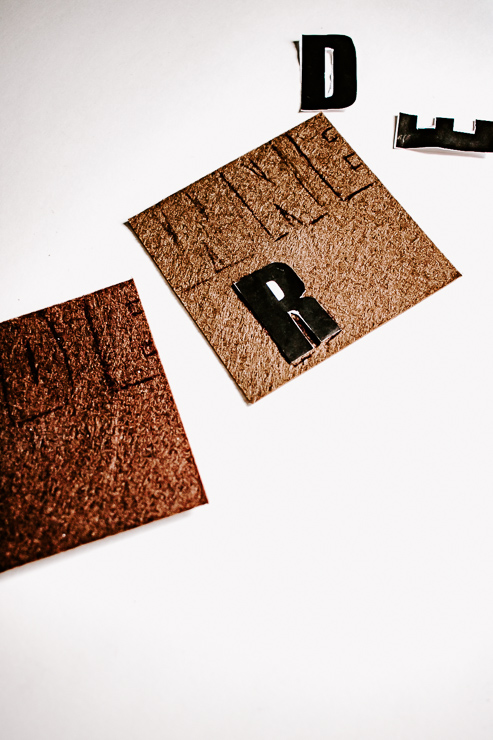
Step 3: Cut out your letters using scissors.

Cut your Letters out of Felt after tracing Continue to Cut out all Felt Letters

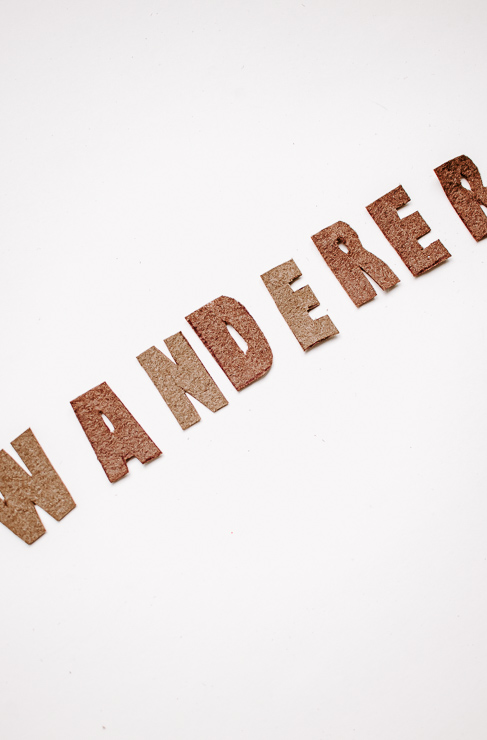
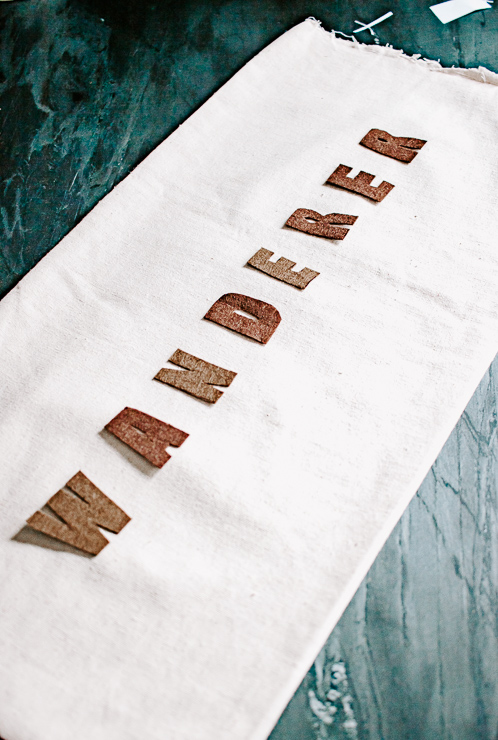
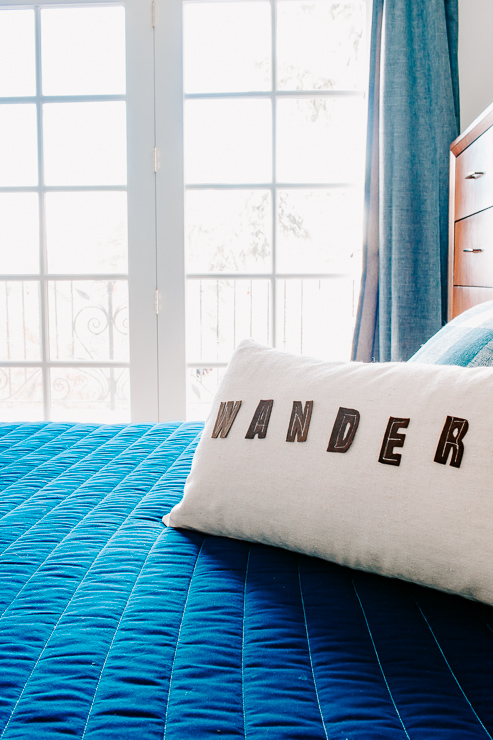
Step 4: Space your felt letters onto your pillow cover.  (I made a lumbar pillow cover from canvas drop cloth for this project, but you can also buy a plain cover.) It’s helpful to play with the placement and see where you want to start the word on your pillow cover.

Layout Felt Letters on your Pillow

Attaching the Letters:

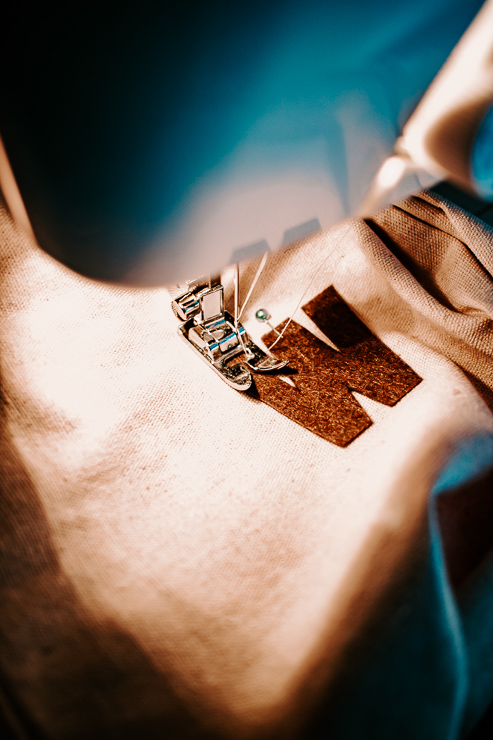
  • Sewing – Pin your first letter to the pillow cover.  Hand sew or use your sewing machine to sew the letter onto the cover. You can use matching thread or a different color to give it more of a rustic vibe.  My thread was white on brown felt.
  • Fabric Glue – Glue your felt letter to your pillow cover.

Sew your felt letters on your pillow cover or use fabric glue

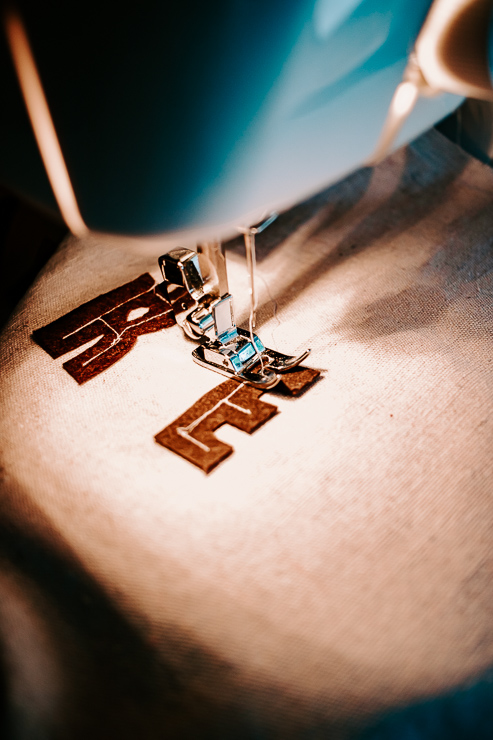
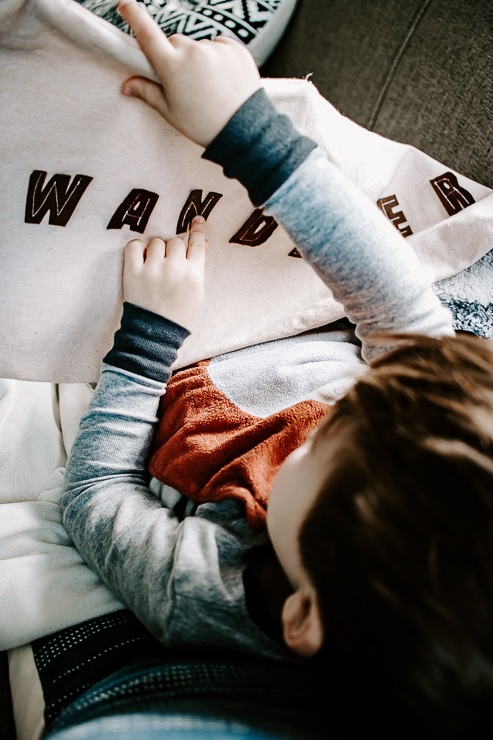
Step 5:  Continue to sew or glue the rest of your letters onto your pillow cover.

Use fabric glue or your sewing machine to attach felt letters to your pillow

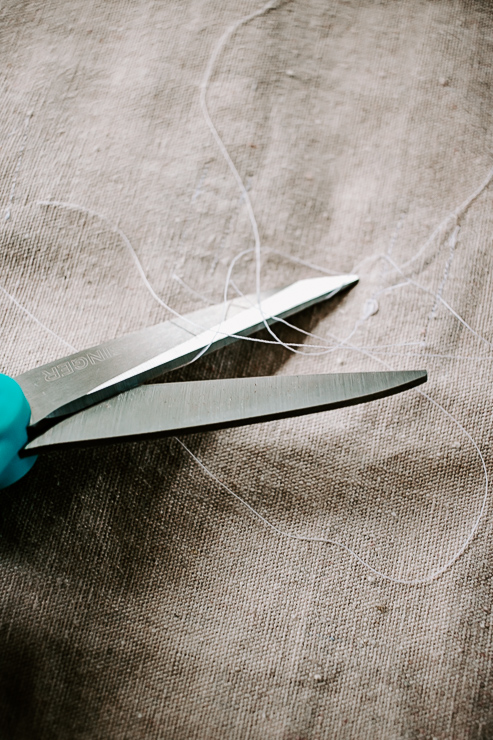
Step 6 :  After you finish sewing on the letters, cut off any loose strings.  If you used fabric glue, you want to let this dry for 24 hours before attempting to wash it.  (Please refer to the instructions on your specific fabric glue. )

Cut loose strings from your protect after sewing felt letters

Step 7 :  Insert your pillow form into your new cover.

Insert your pillow form into your new felt letter pillow cover!

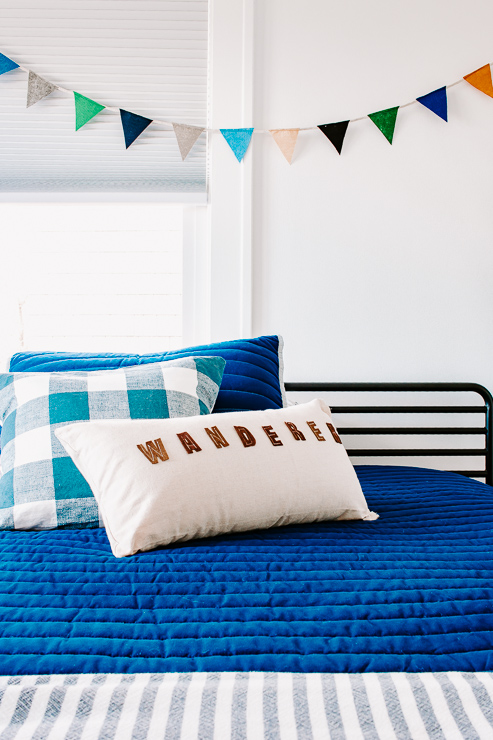
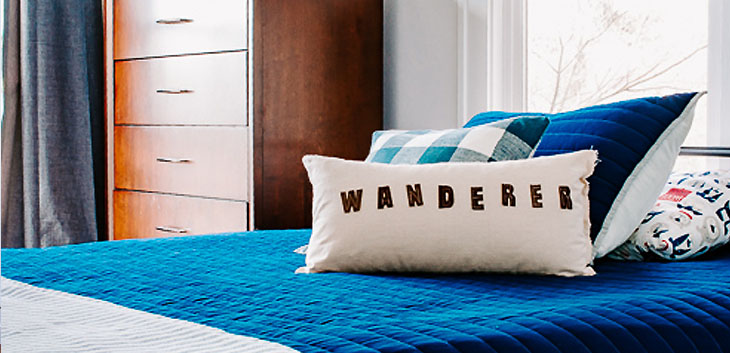
All done! This looks fantastic, don’t you agree?!

I have seen these letter pillow covers in stores for over $25!  Yet, I was able to make this knock off for less than $5 with a simple DIY canvas pillow cover and some inexpensive felt.

Kids Love these DIY Felt Letter Pillow Covers

I love the way this pillow turned out. As I mentioned, my daughter requested one for her room. (Although she’s having a little trouble choosing which word she wants!)  So far she’s come up with: Cupcake, Ice Cream, Unicorns – she can’t decide.

DIY Felt Letter Pillow Cover Tutorial

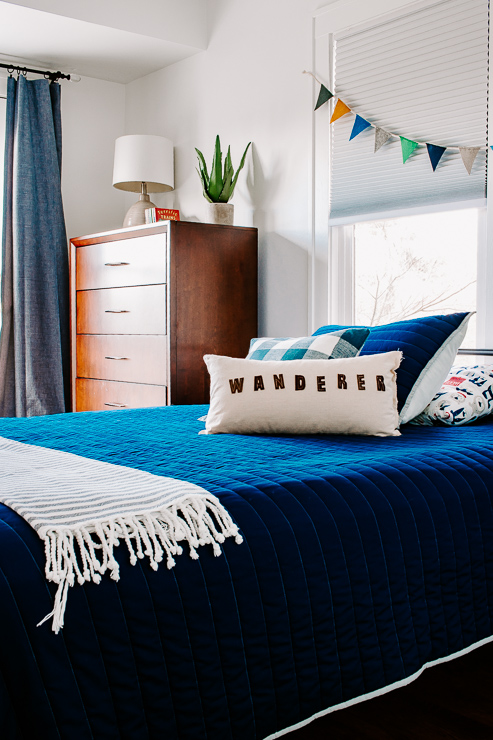
This project would also be cute as a personalized pillow cover. Or make it as a gift for someone who has young children.  It’s the perfect touch for a nursery or kids room.

DIY Felt Letter Pillow Cover perfect for Kids Rooms

Another idea would be to create one for each holiday: Halloween, Thanksgiving and Christmas are great occasions to display a felt letter pillow.

DIY Felt Letter Pillow Cover

I hope you guys enjoyed this tutorial for a DIY felt letter pillow cover.  You might also like to learn how to sew a rope basket at Decor Hint (where I blog regularly).

I’ll be back next month with another fun project for you! In the meantime, be sure to check out some other sewing tutorials on Pretty Handy Girl.

Thanks for reading!

karen signature

~ See More of Karen’s Tutorials ~


karen from decor hintHello!  I’m Karen, the creator of the Home Decor and DIY Blog: Decor Hint . I’m a Native of the East Coast, but I currently live in beautiful Seattle with my hubby, our two wonderful children and our spunky wheaten terrier.

You can usually find me with some sort of craft in one hand and a coffee in the other. And I’m always rearranging furniture or moving lamps from room to room. I have a passion (read: obsession) for decorating, DIY, and gardening. In short, I love making my house into a home.

Like many, I’m inspired by what I see in home decor magazines, but I’m not so inspired by the price tags.  Consequently, I love finding and creating beautiful budget-friendly home decor items. In a head to head competition, I bet you’d never know the difference between the designer items and my DIY creations!  Many of my DIY projects focus on sewing, crafting, upcycling and organizing. Some of my favorite projects have been making pretty wreaths , sewing my own tassel hand towels, and crafting these trendy wood bead garlands . I can’t wait to inspire you and spark your creativity through my DIY projects.

You can always connect with me on Pinterest , Twitter or Instagram.

cedar underbed storage

Hi Pretty Handy Readers, Jaime here from That’s My Letter to share a beautiful and simple storage idea using cedar boards.  Let’s build some DIY cedar under bed storage bins and make use of that hidden space!

Cedar boards are readily available in most home improvement stores and typically come in 1×4, 1×6 and 1×8 widths.  I used mostly 1×4 boards, which are actually 3 1/2″ wide, for this project because I only have 6″ of clearance under the bed. That’s still plenty of space to store items so let’s not waste it!

cedar underbed storage 2

You’ll want to measure your space and make the under bed storage fit best for your needs. At 17 ½” w x 29 ½” l, these bins work great for this space.  Cedar is naturally resistant to insects, smells great, and looks pretty too!

cedar underbed storage 3

I added a simple pull handle to one end to make it easier to pull.  A simple finger hole would work fine if you don’t want to use hardware.

cedar underbed storage 1

Below are the step-by-step instructions to build the cedar under bed storage.  (Please follow all safety precautions when operating power tools.)

Materials (for one bin):

  • 2 – 1x4x8 cedar boards
  • 1 – 1x6x8 cedar board
  • 1 ¼” pocket hole screws
  • wood glue
  • saw, drill & drill bits
  • nailer & 1¼” finish nails
  • sander
  • clear polyurethane (if desired)
  • 4 – 1 ½” – 2″ casters
  • 3/4″ wood screws
  • handle pull (if desired)

cedar underbed storage dimensions

Cut List (for one bin):

  • 5 – 1×4 @ 28″ l (3 base, 2 long sides)
  • 1 – 1×6 @ 28″ l (base)
  • 2 – 1×4 @ 17 ½” l (short sides)

Instructions:

Step 1: Make the base by attaching boards using wood glue and 1 ¼” pocket hole screws.  Be sure to pre-drill pocket holes around perimeter for later attaching sides.

cedar underbed storage step 1

Cedar typically has a rough and a smooth side. When making the base keep the rough side to the underside.

cedar underbed storage base

Step 2: Attach the long sides to the base using wood glue and 1 ¼” pocket hole screws.

cedar underbed storage step 2

Step 3: Attach the short sides to the base using wood glue and 1 ¼” pocket hole screws.  Then attach the short sides to the long sides with 1 ¼” finish nails.


cedar underbed storage step 3


Sand smooth and apply clear polyurethane if desired.  Attach casters to four corners and the pull handle to the center of the drawer front.

cedar underbed storage 4

Fill up your new cedar under bed storage bins and push underneath for out of site storage.  So beautiful, so functional, and great for off season storage or every day use.  I hope you enjoy this project and have a spot in your home for cedar under bed storage bins.  Enjoy!

Jaime signatureRead More of Jaime’s Tutorials ~


Pin for later!

Let's build some DIY cedar under bed storage bins and make use of that hidden space! | Pretty Handy Girl #prettyhandygirl #storage #DIY #organization

Install a ReadyMade Mirror Frame on Door | Pretty Handy Girl

Install a ReadyMade Mirror Frame on Door | Pretty Handy Girl

You guys, I can’t believe I have a middle schooler. I know, I know, I’ve been having a pity party for myself for two weeks. But, I’m finally coming to terms with it. This past week, I helped Handy Boy #1 de-clutter his room and carve out a space for him to do his homework (without being interrupted by his younger brother.) We moved his furniture around and actually had a lot of fun talking and working together.

Install a ReadyMade Mirror Frame on Door | Pretty Handy Girl

I also installed a mirror on his door. Although he’s not obsessed with how he looks or dresses yet, I know that time is coming soon. Instead of putting up a cheapy plastic-framed mirror, I worked with MirrorMate to test out their new READYFrame kit. You may remember when I ordered a custom MirrorMate frame for that ugly and naked mirror in my sons’ bathroom. It still looks great today (although I painted it blue for a new look.)

Seaside Theme Bathroom Refresh #LowesCreator | Pretty Handy Girl

MirrorMate now sells pre-made frames that fit several of the standard sized mirrors you can buy at Lowe’s, IKEA or HomeDepot. I chose the Essex Crosshatch Silver and the tall 16″ x 58″ mirror from Lowe’s.

I didn’t need to purchase any hanging hardware because MirrorMate ships it with your frame.

Install a ReadyMade Mirror Frame on Door | Pretty Handy Girl

Want to see how easy it was to hang and dress up the mirror? I’ll give you a hint, it was easy and it looks beautiful!

Materials:

(I’ve included affiliate links for your convenience. I earn a small percentage from a purchase using these links. There is no additional cost to you. You can read more about affiliate links here.)

Install a ReadyMade Mirror Frame on Door | Pretty Handy Girl

  • MirrorMateREADYFrame
  • Screwdriver (or drill with phillips head bit)
  • Rubber mallet (or hammer)
  • Tape measure
  • Pencil
  • Level
  • Wet wipe
  • Heavy book or weight
  • Thumbtack or pin
  • Rubbing alcohol
  • Cotton ball or rag
  • A helper

Assembling the Frame:

Open up the READYFrame box and remove the frame connectors from the packaging.

Install a ReadyMade Mirror Frame on Door | Pretty Handy Girl

Remove the top from the glue and peel off the seal. Poke a thumbtack in the glue bottle to create a hole in the nozzle. Apply glue to the edges of theREADYFrame. Read more

bookrack title 1

Who needs kids book storage that is easily accessible and holds a ton of books?  I’m Jaime from That’s My Letter and today I’m sharing a DIY wall bookrack with free plans to build your own.

This bookrack building project will have all your books corralled in no time.  The shelves are tapered and have plenty of depth for multiple books or thicker books.

bookrack 2

Personally I love this display style storage because it allows kids to see the book covers, easily making reading more enticing!

bookrack detail

I added a center cut out for style points, but this is totally optional. It doesn’t affect the operation of the bookrack.

bookrack profile

At only 4 1/2″ deep the bookrack is unobtrusive but still provides plenty of useful storage.

Materials:

  • 1 – 1x5x10 pine board
  • 1 – 1x4x10 pine board
  • 1 – 1x3x6 pine board
  • 1 – 1x2x6 pine board
  • 1/4″ plywood (1/2 sheet)
  • chop saw
  • measuring tape
  • pencil
  • sandpaper
  • wood putty
  • drill
  • pocket hole jig
  • 1 1/4″ pocket hole screws
  • 1 1/4″ & 3/4″ finish nails
  • finish nailer or hammer
  • wood glue
  • french cleat

Instructions:

Click here to download the step-by-step instructions to construct this bookrack.  Read through plans first before beginning.

bookshelf tapered plans

Cut list:

2 – 1×4 @ 31 ½” (sides)

3 – 1×5 @ 36” (shelf fronts)

1 – 1×4 @ 34 1/2” (bottom shelf base)

1 – 1×3 @ 34 ½” (middle shelf base)

2 – 1×2 @ 34 ½” (top shelf base & top cross support)

1 – ¼” plywood @ 36” x 31 ½” (back)

bookshelf tapered step 1 plans

Step 1: Sides. Follow measurements in guide above to cut out sides. Use a jigsaw and clamps to hold your wood steady. Cut 2 sides.

bookshelf tapered step 1 real

Tip: To ensure sides are equal, clamp together then sand smooth.

bookshelf tapered step 2 plans

Step 2: Shelf fronts. Attach (3) shelf fronts to sides at notched locations using glue and 1 ¼” finish nails. Read more

How to Turn a Bunk Bed into a Loft Bed

How to Turn a Bunk Bed into a Loft Bed | Pretty Handy Girl

Remember when I built a loft bed for my younger son? No sooner had I made his bed, when my oldest son was begging me to build him a loft bed too. Instead of starting from scratch, I was able to turn his bunk bed into a loft bed in a few simple steps.

How to Turn a Bunk Bed into a Loft Bed

Materials:

  • 2″ wood screws
  • 1 – 1″x 4″x 8′ board
  • Saw
  • Drill with philips head bit
  • Pencil

Instructions:

Remove the mattresses and bedding.

You will need to remove the bunky board (or slats) and the front side rail from the lower bunk.

How to Turn a Bunk Bed into a Loft Bed | Pretty Handy Girl

This will leave you with a loft frame.

How to Turn a Bunk Bed into a Loft Bed | Pretty Handy Girl

But, the bed will be wobbly until you add a diagonal support. Hold the 8′ board up at an angle against the back of the bed. Use the pencil to mark the angle and excess to cut off the ends. Read more